Figured i’d pull my build thread from s2ki and post it up over here.
Some quick background on myself. My name is Jake, i’m 24, a mechanical engineer. I work at an engineering firm by day and do car audio on the side, my business name is JSEnclosures. I’ve always been a car guy. In college I led a team that built the world first and only turbo diesel snowmobile, by the time we had it finished a few years down the road and the bugs tweeked out it was running 95+mph and getting 60mpg, as well as dismissing all the myths behind diesel engines and the cold weather. It was features in a number of magazines including diesel power. I have a lot of experience with all mechanical tools which makes this project fun because i can do most of the work myself. For the welding, shop space and help along the way my buddy Ozzy steps in, He owns Variant Fab in Amsterdam.
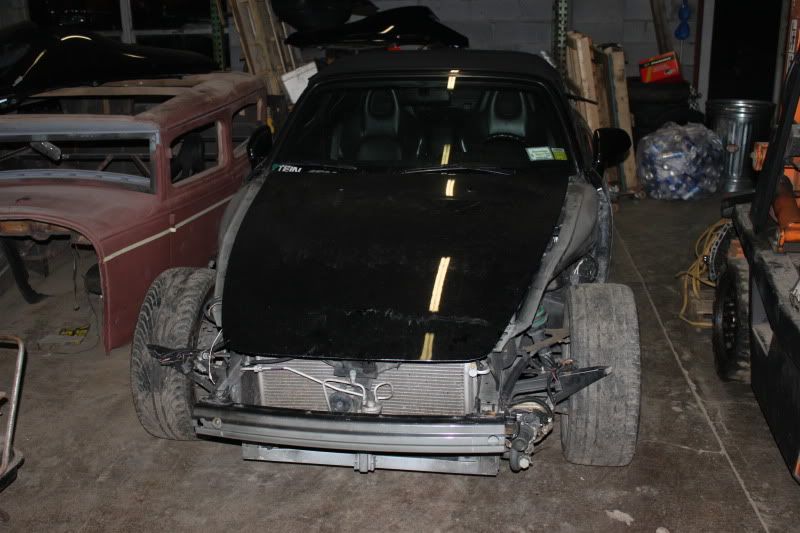
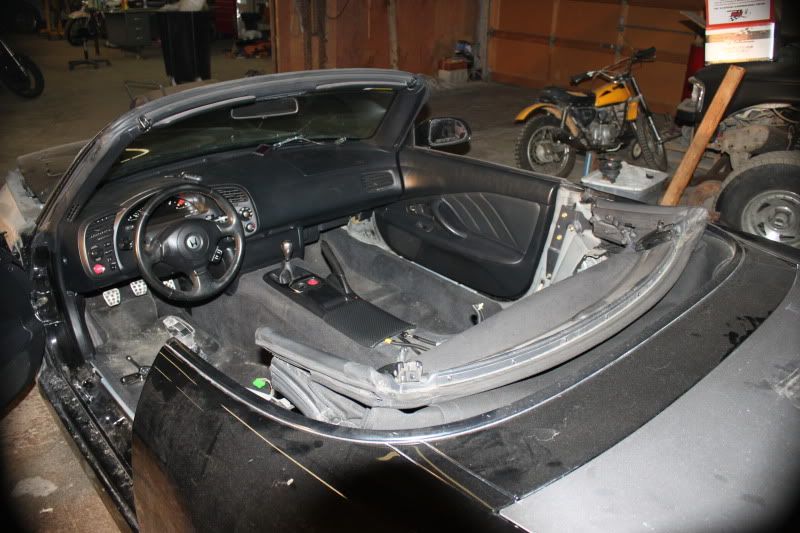
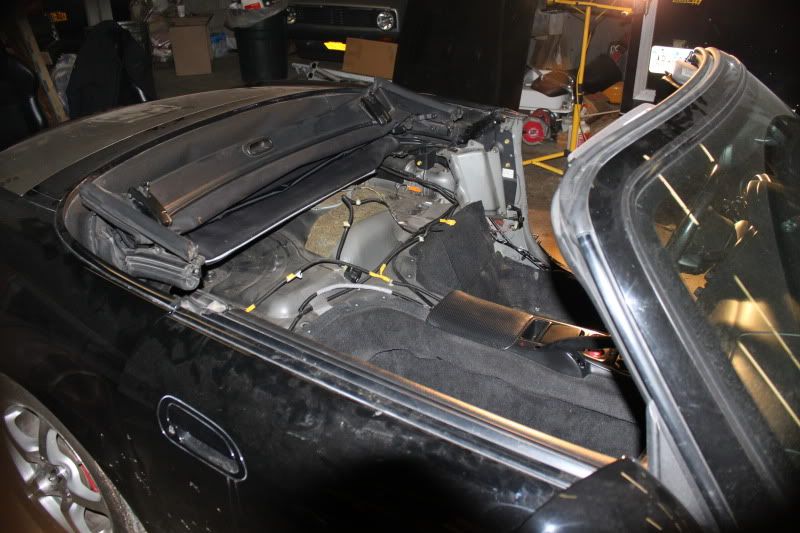
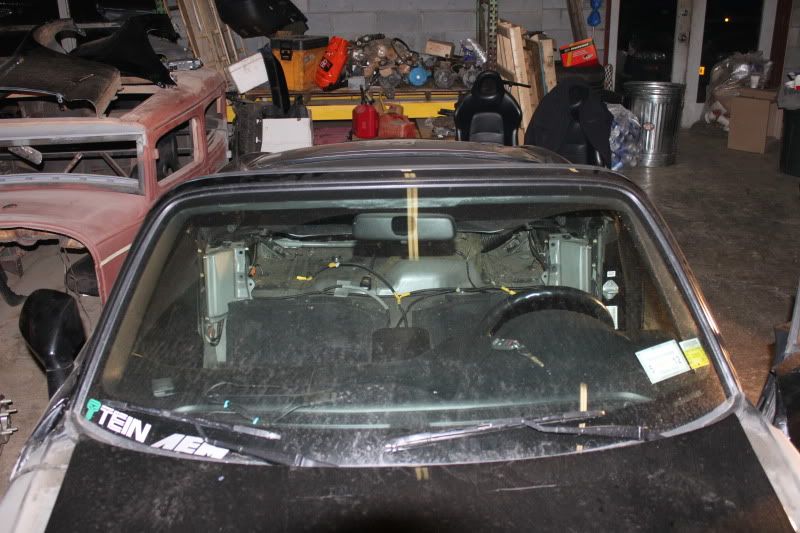
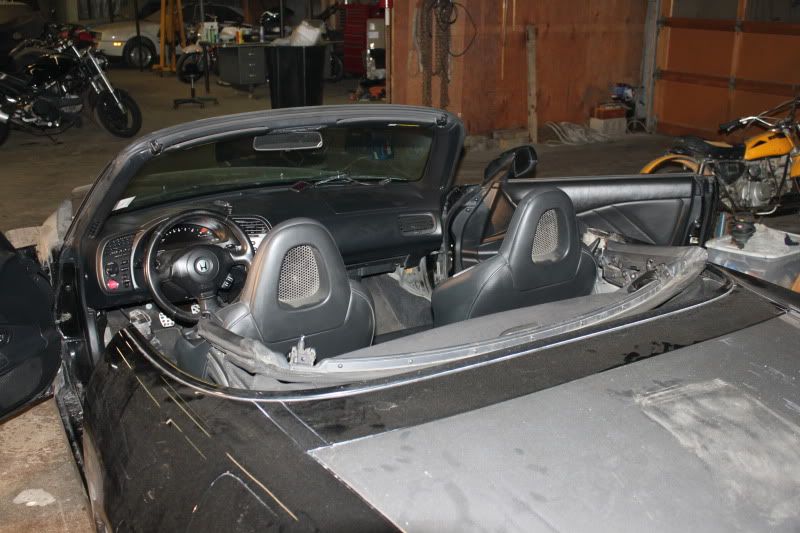
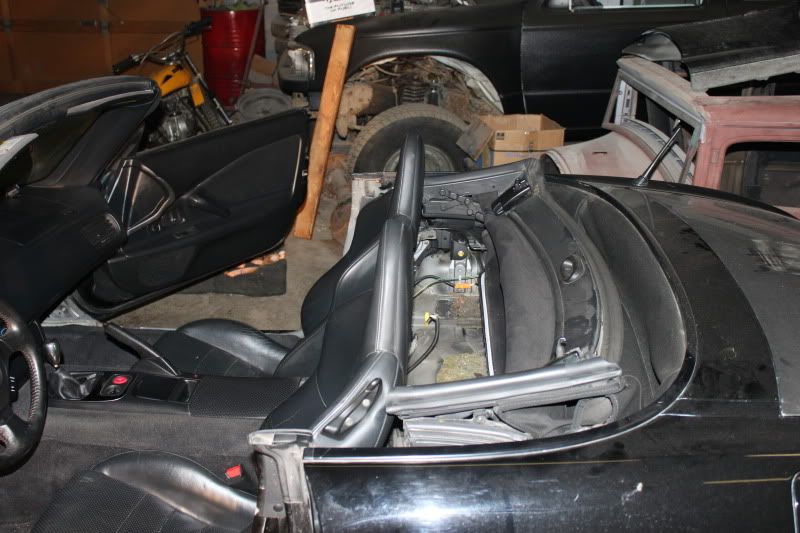
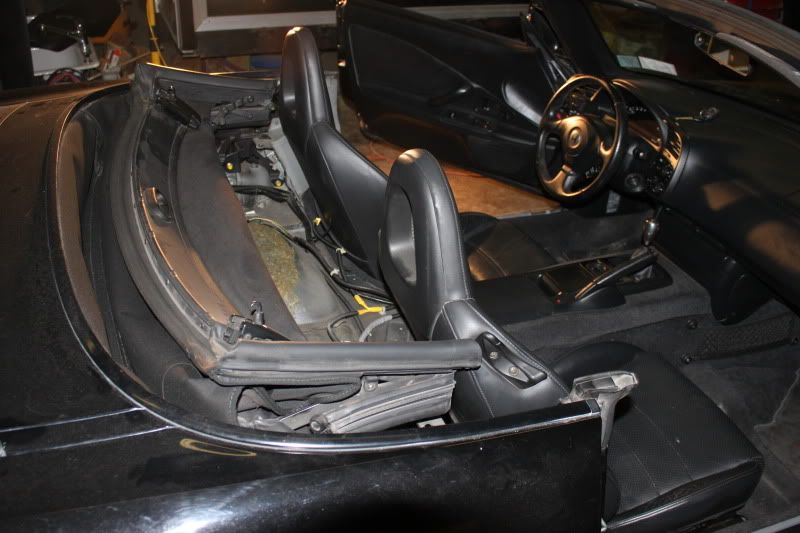
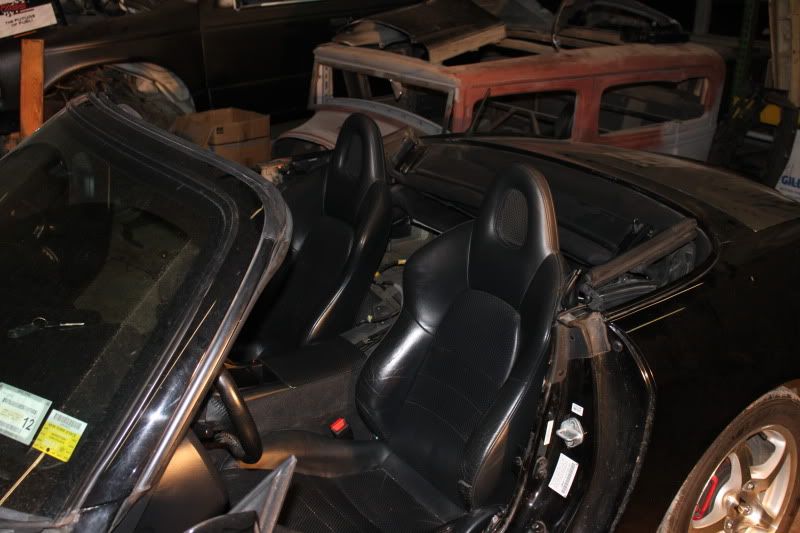
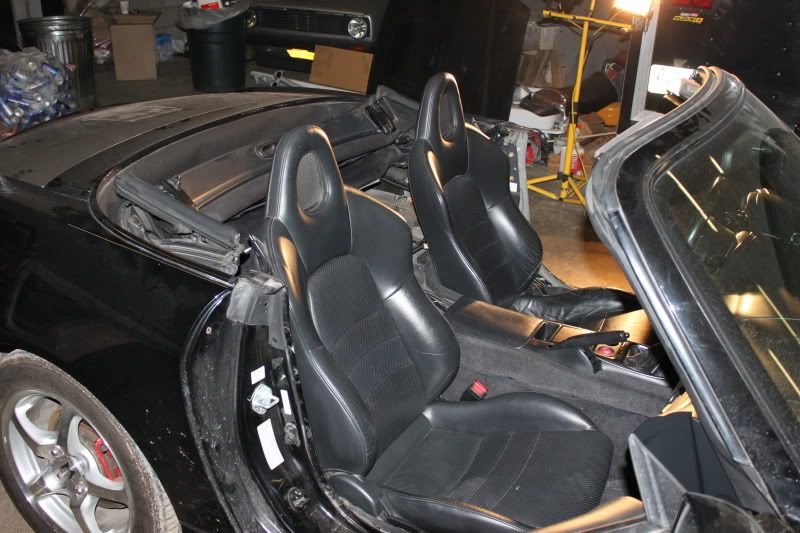
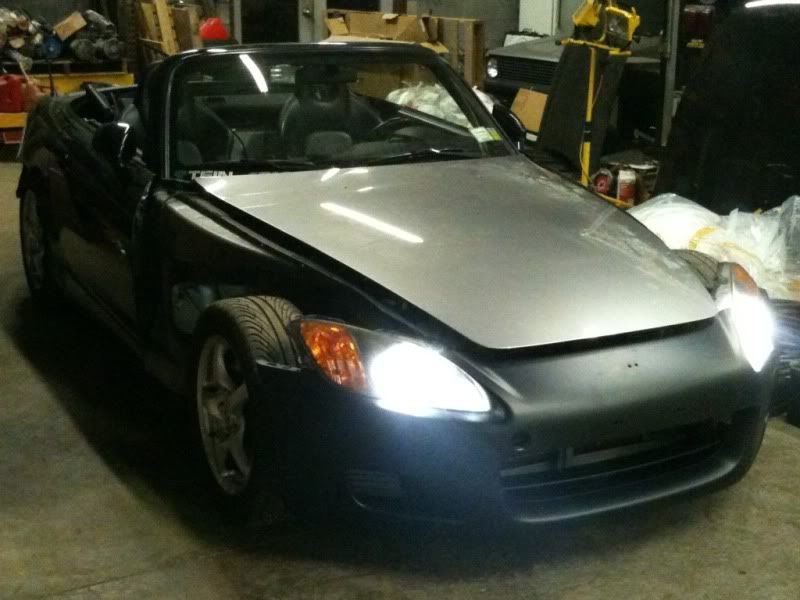
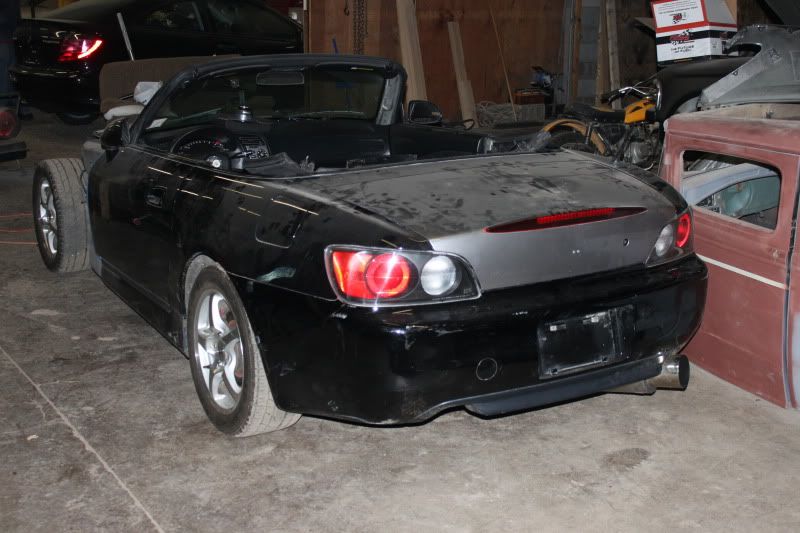
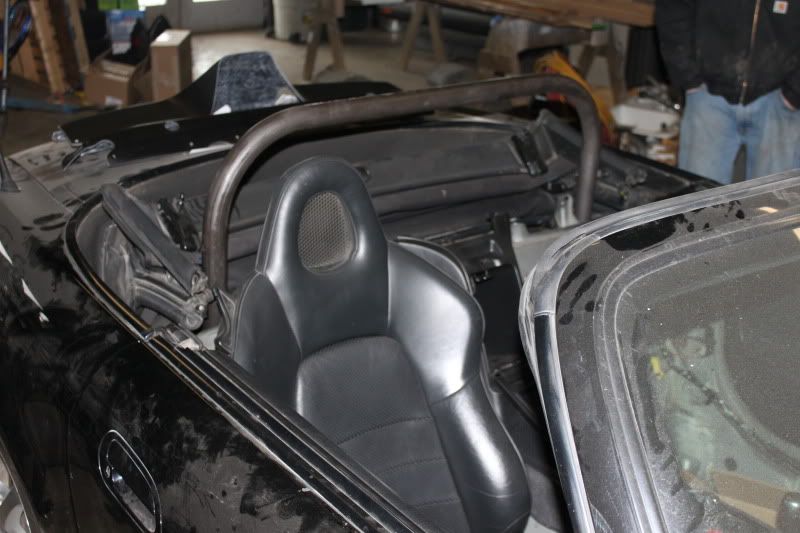
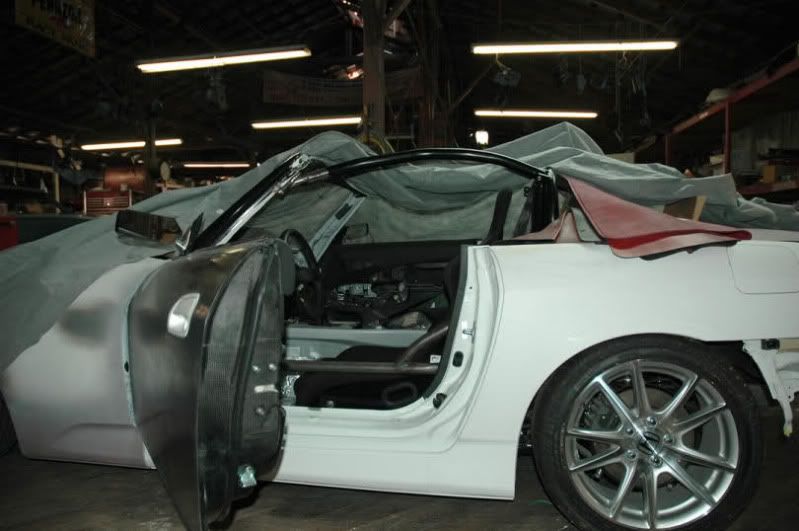
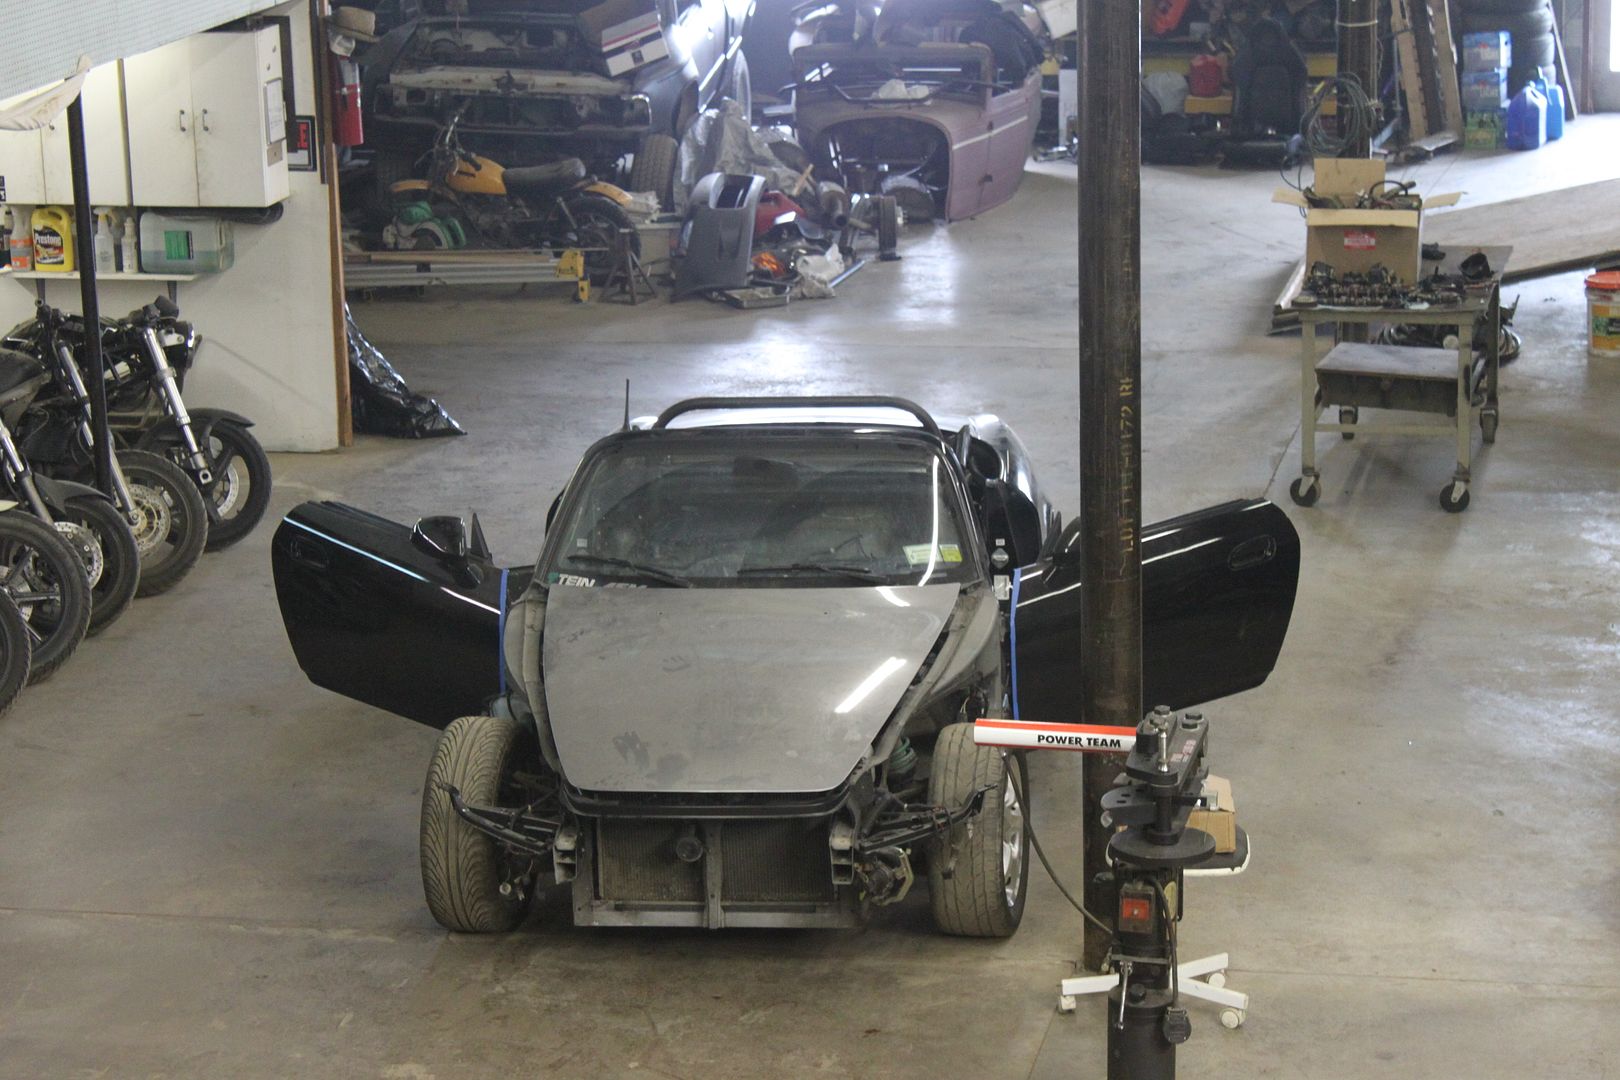
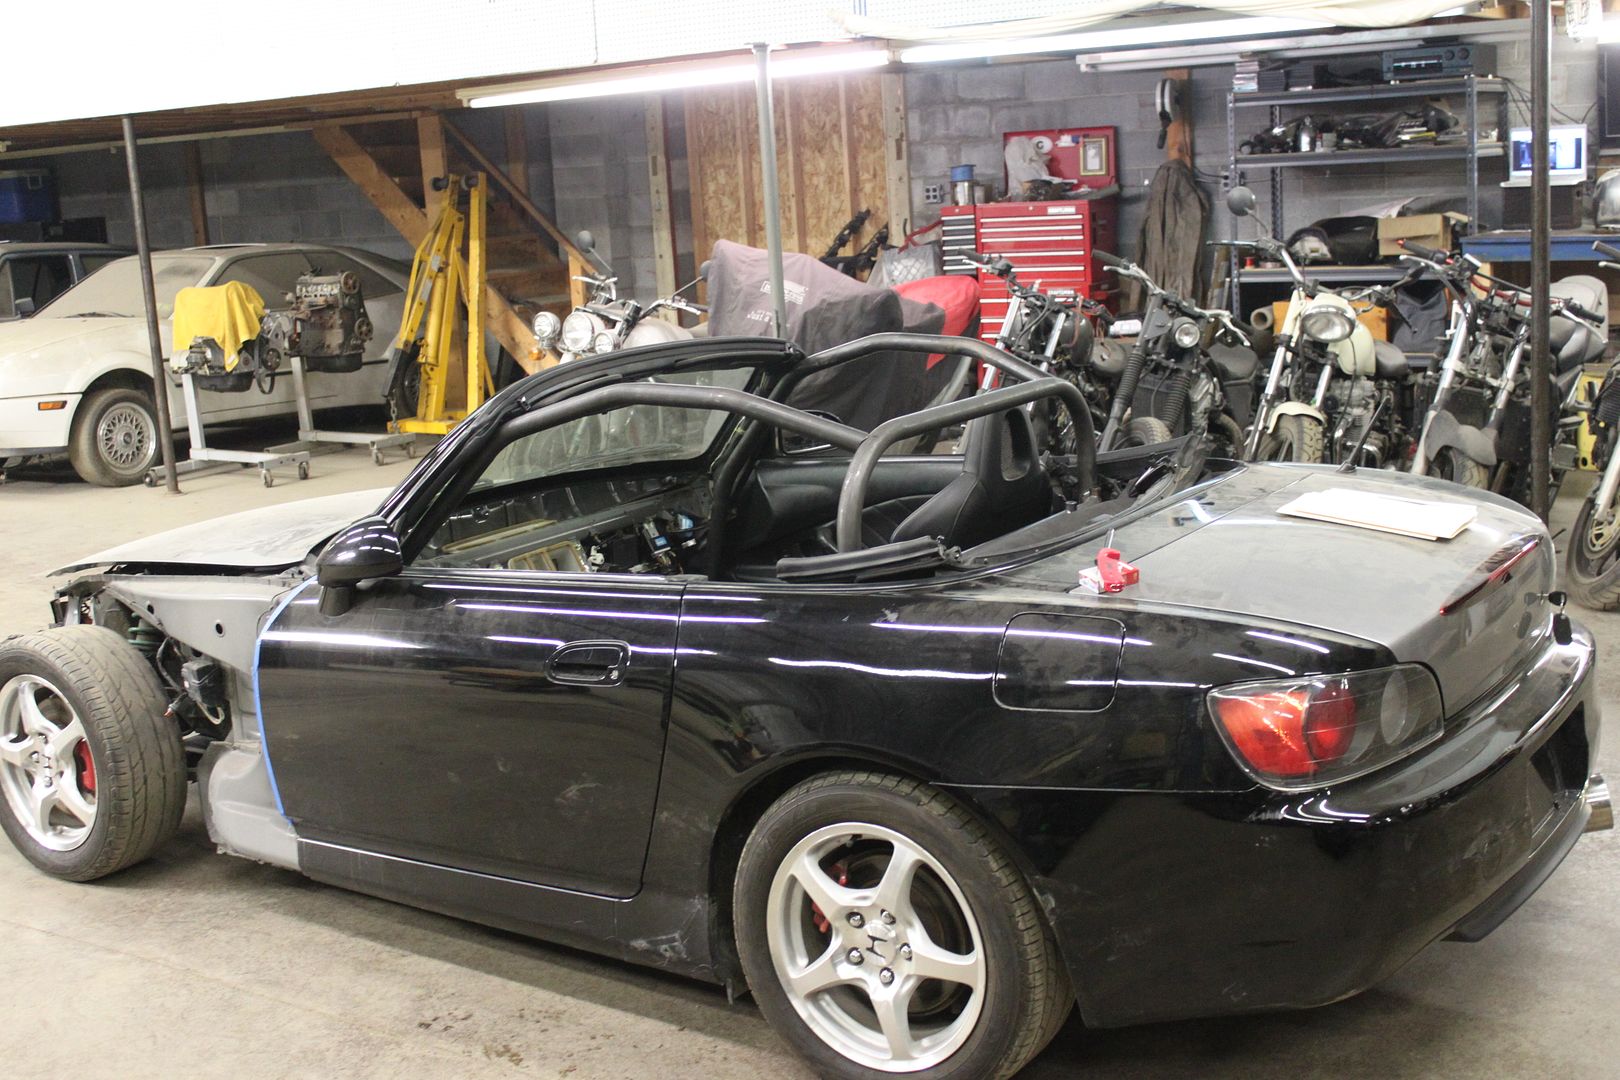
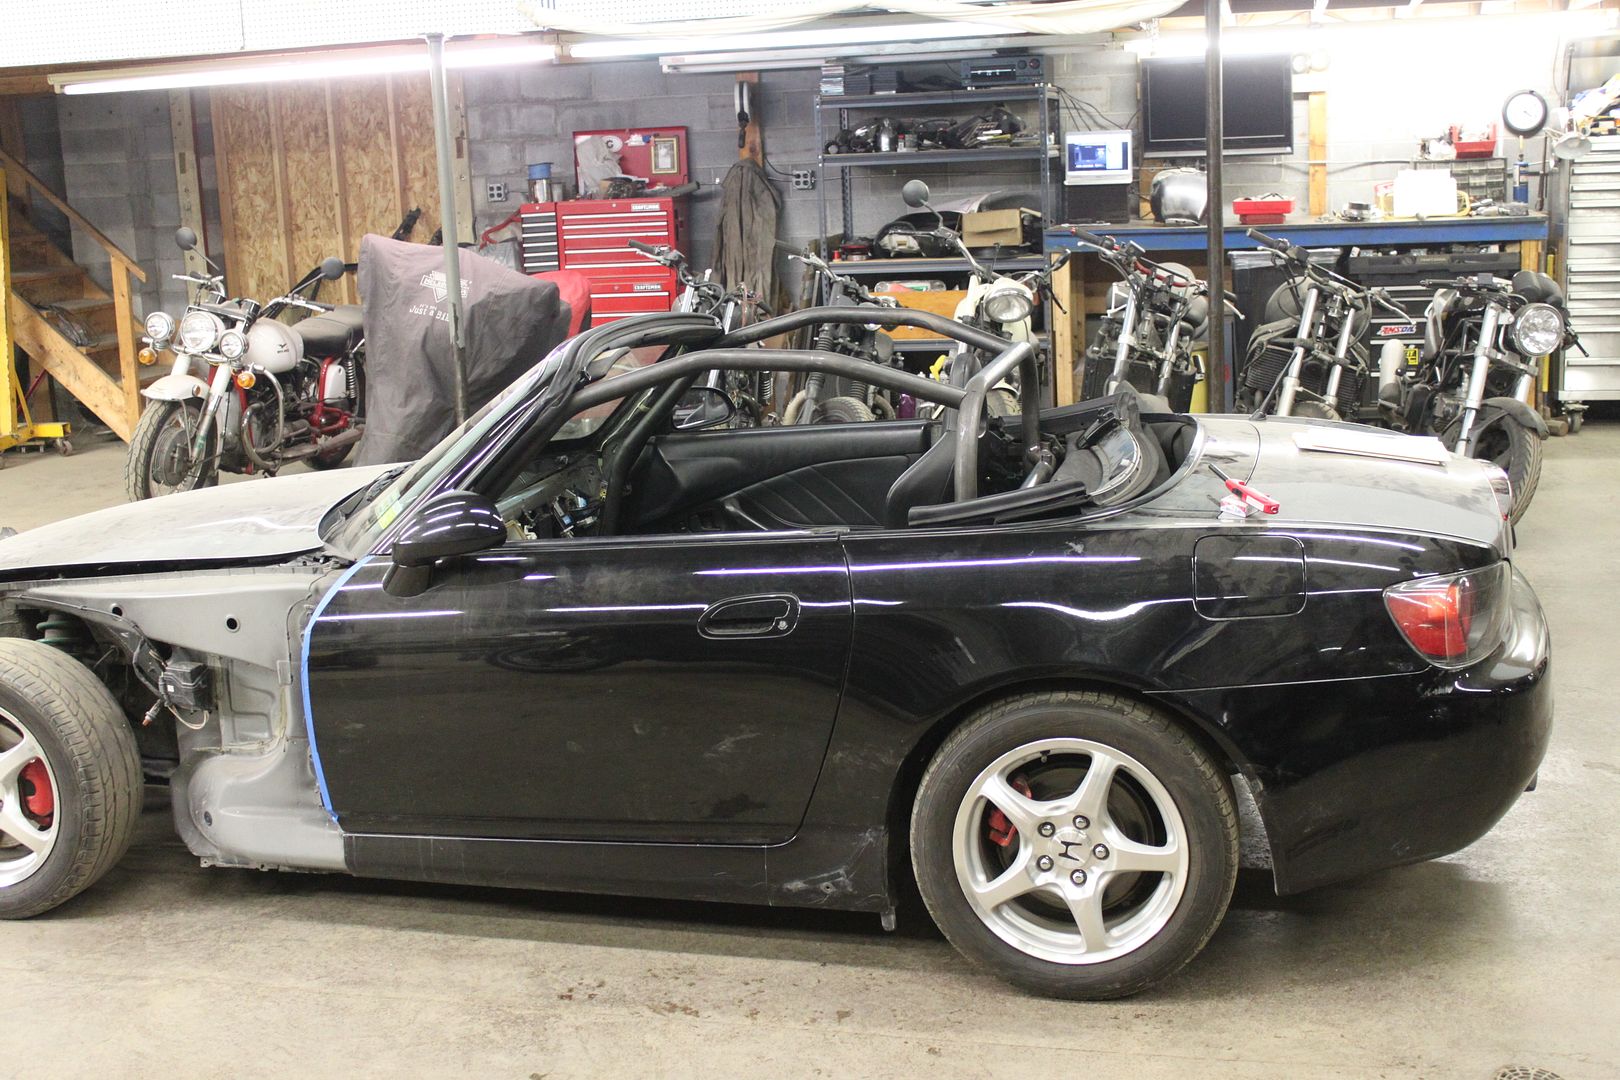
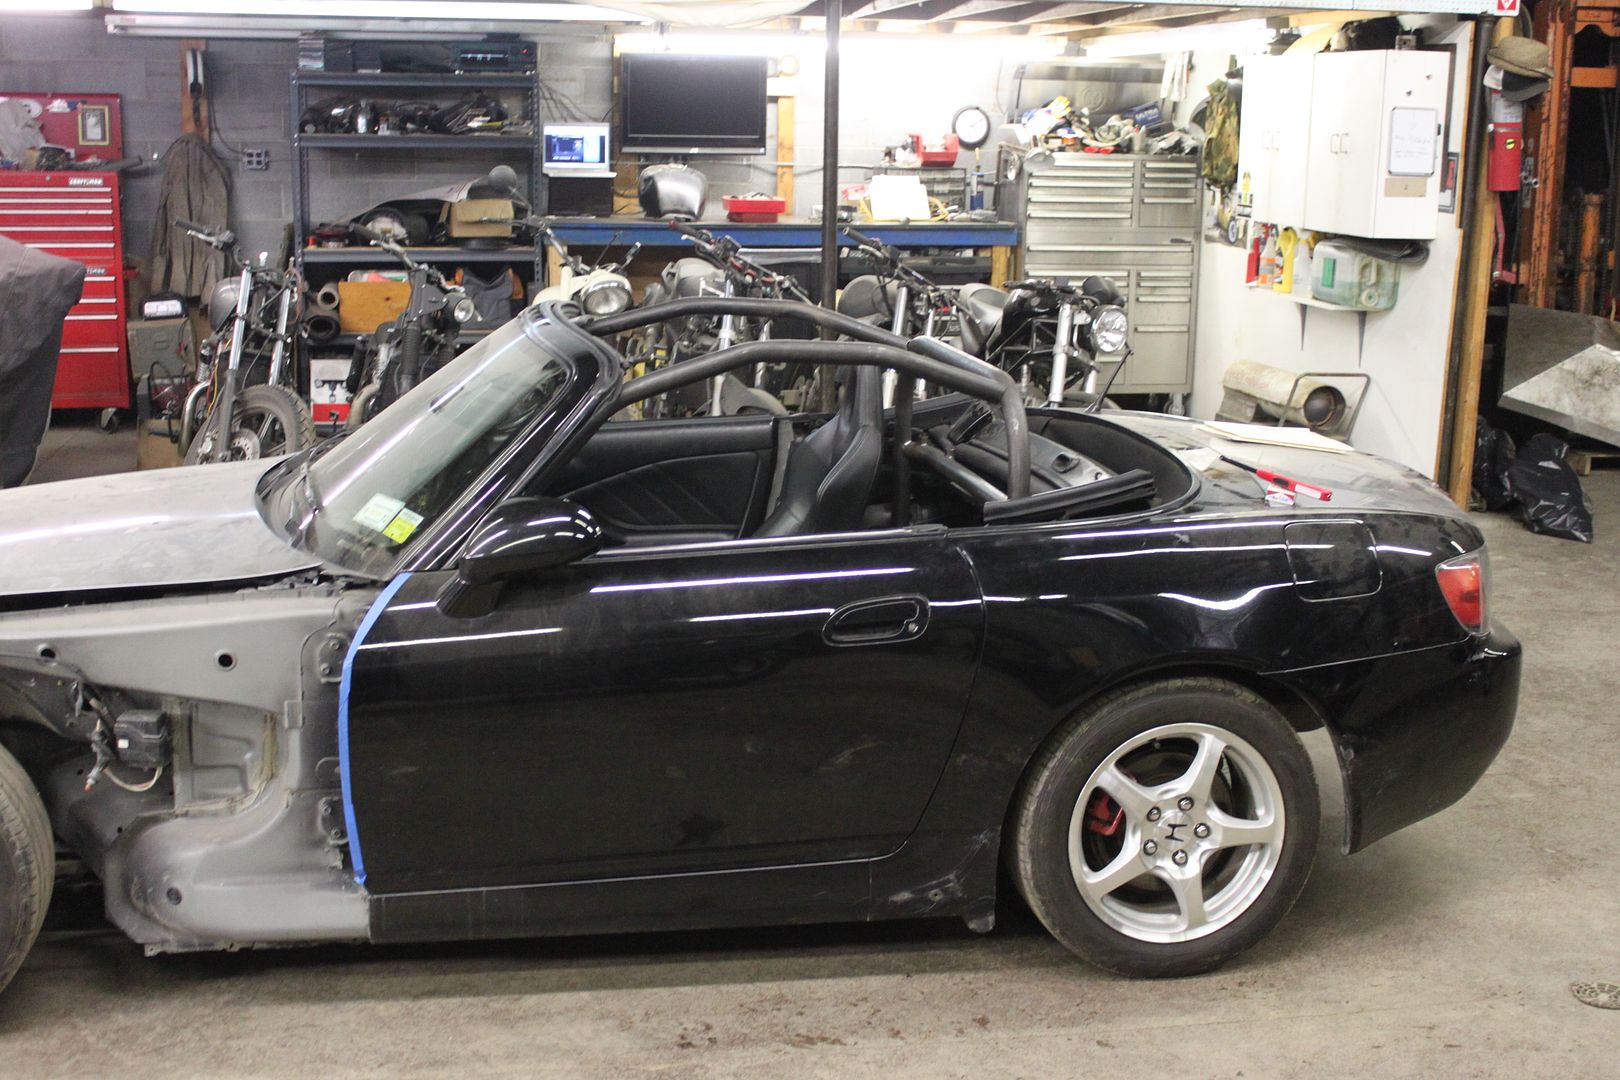
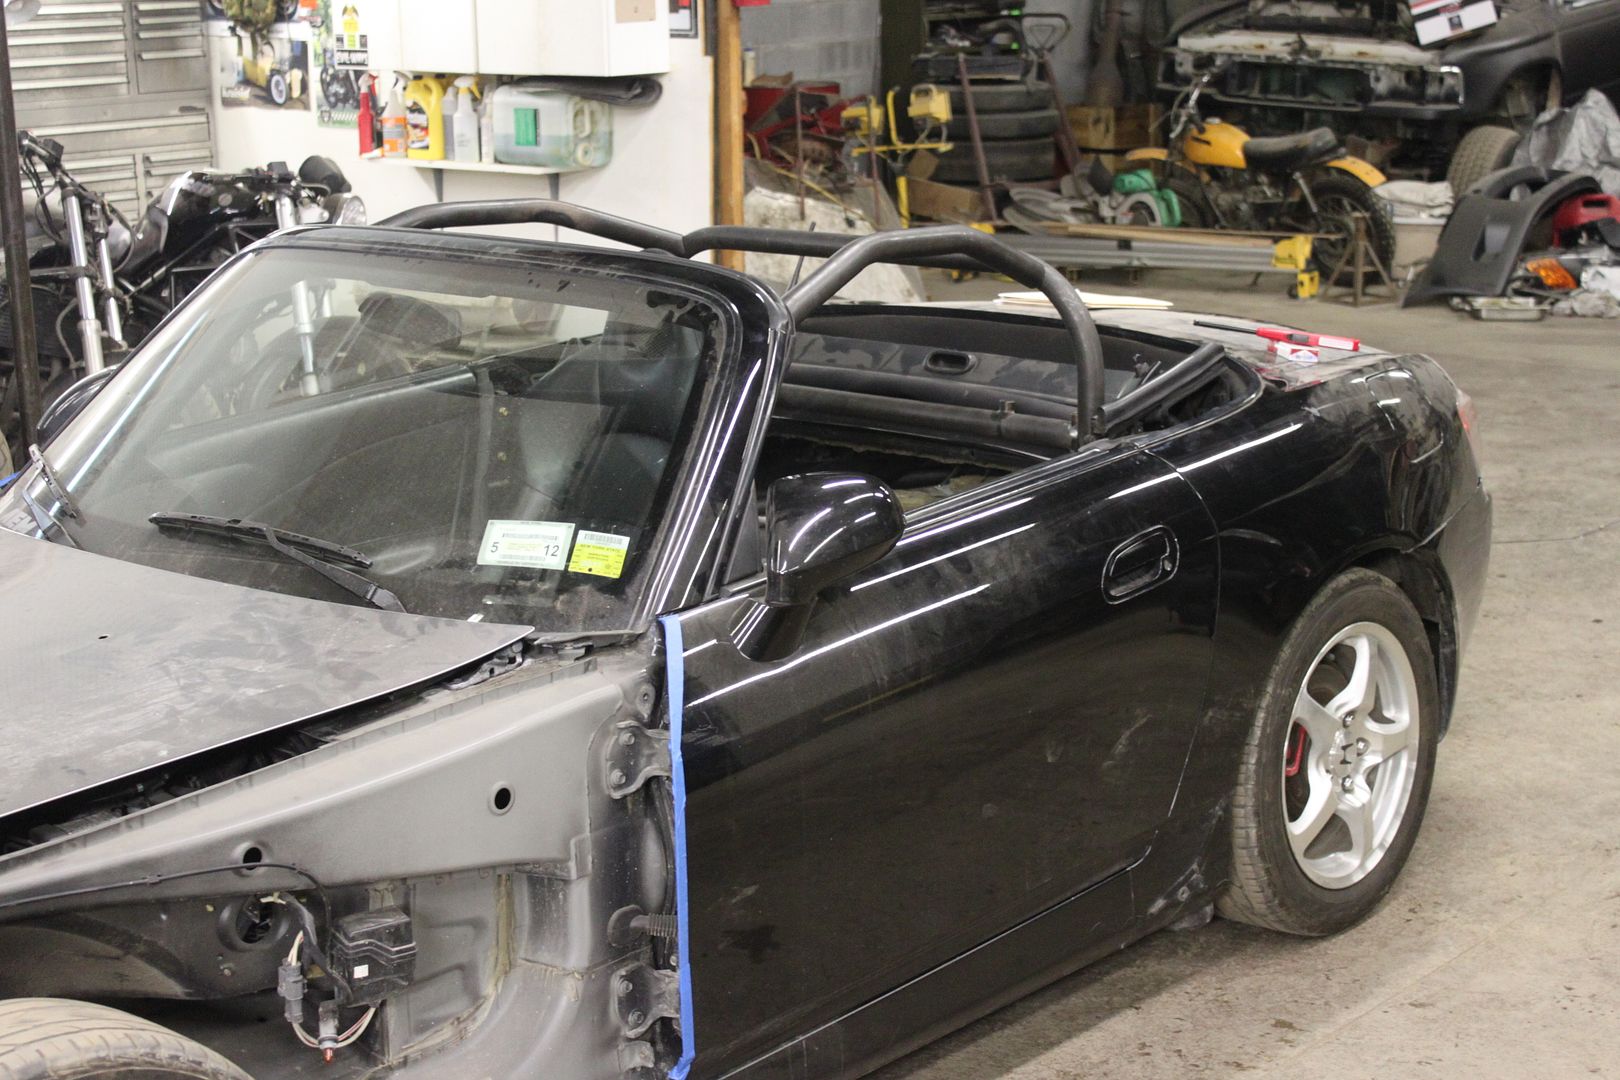
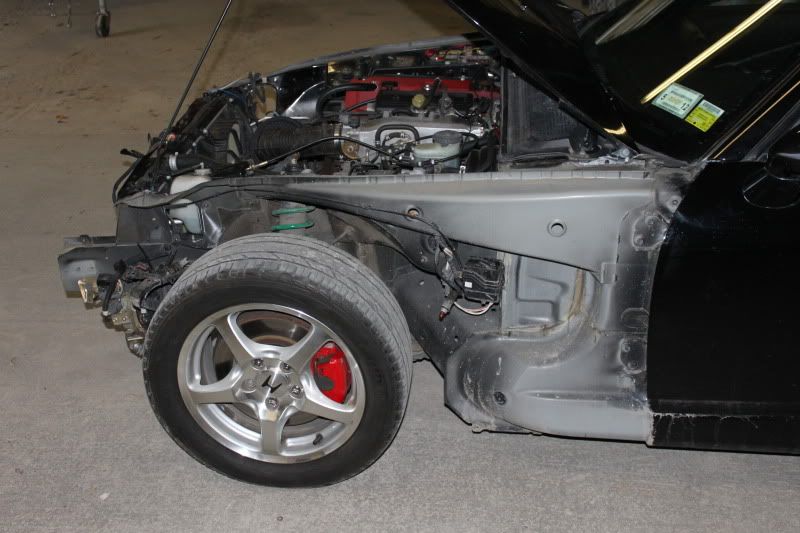
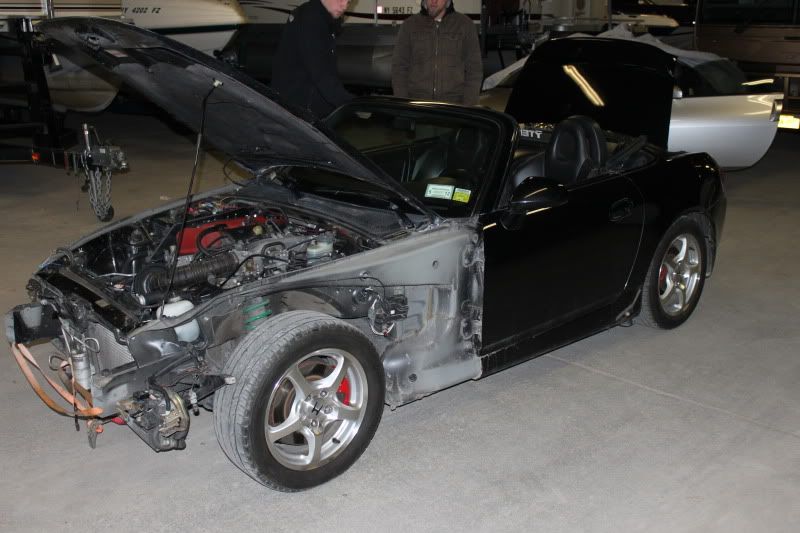
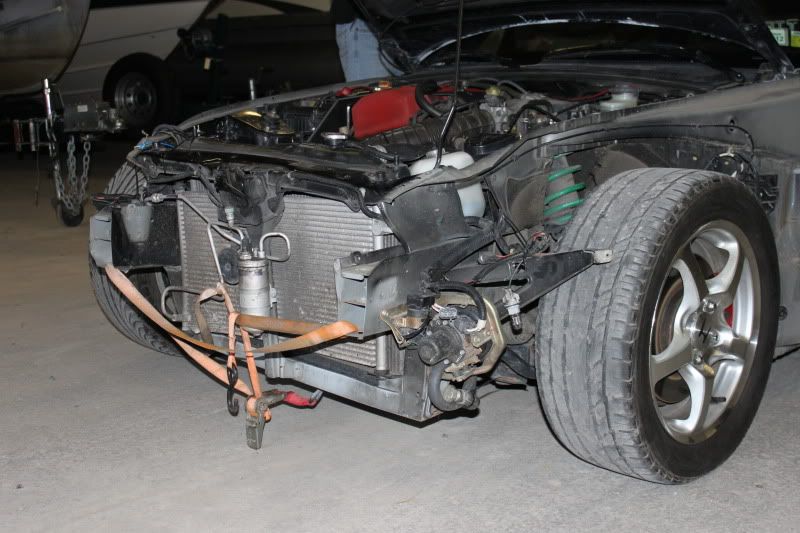
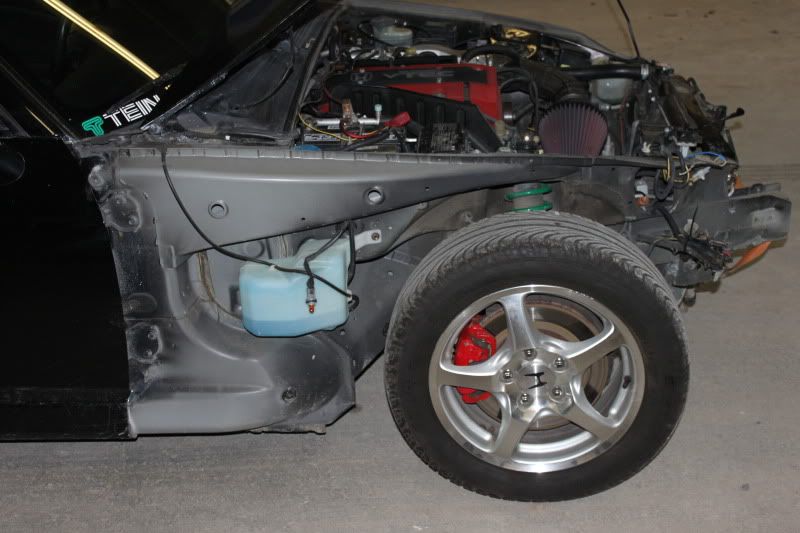
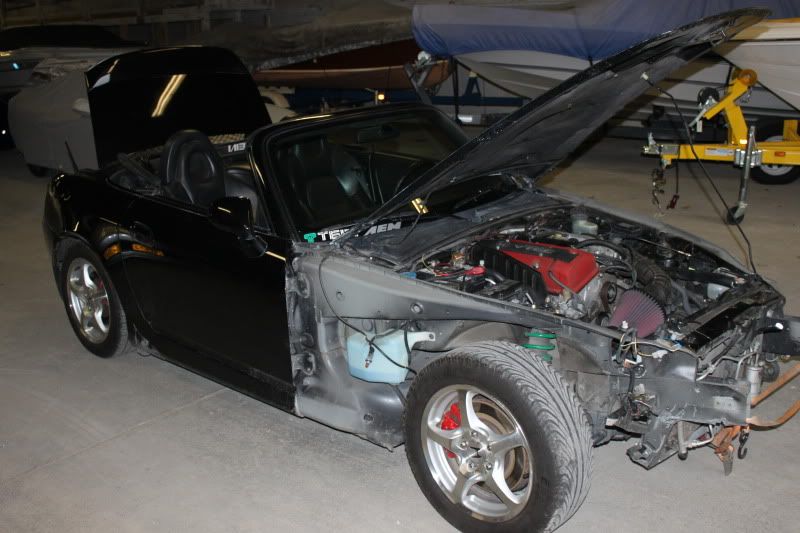
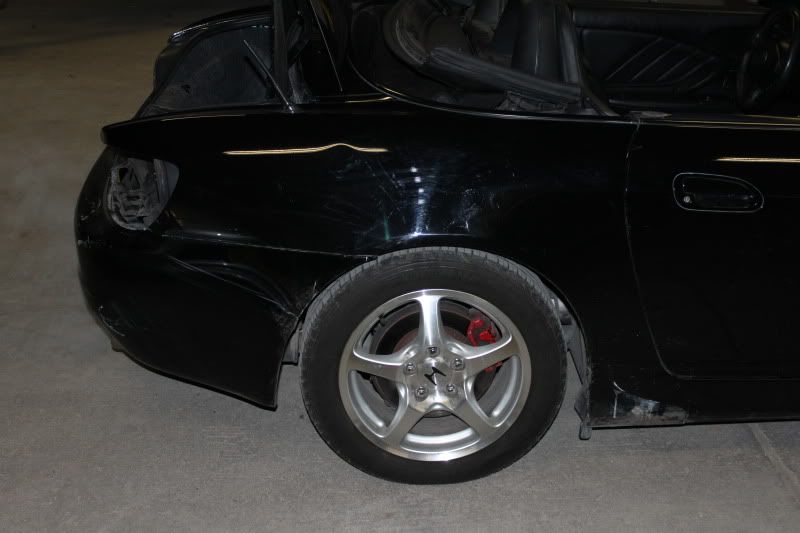
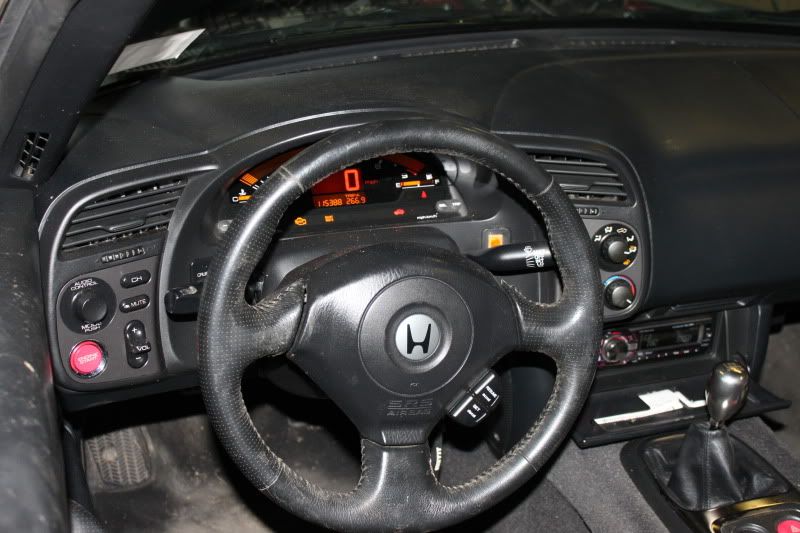
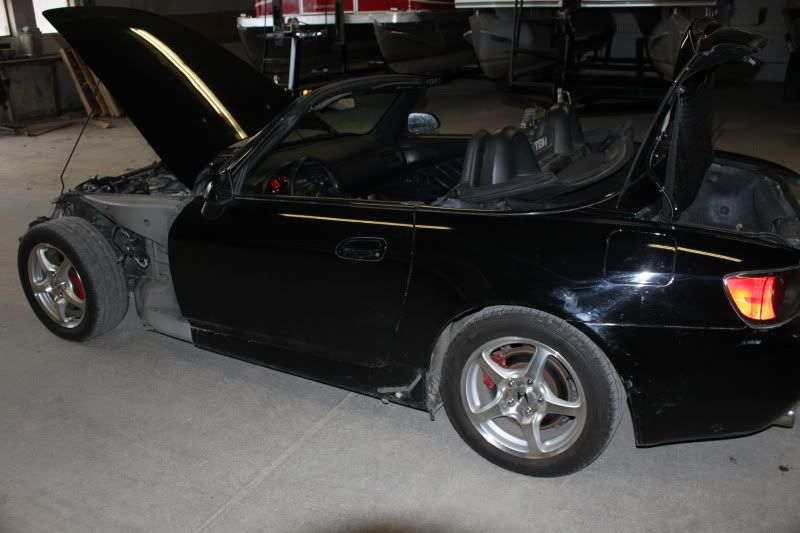
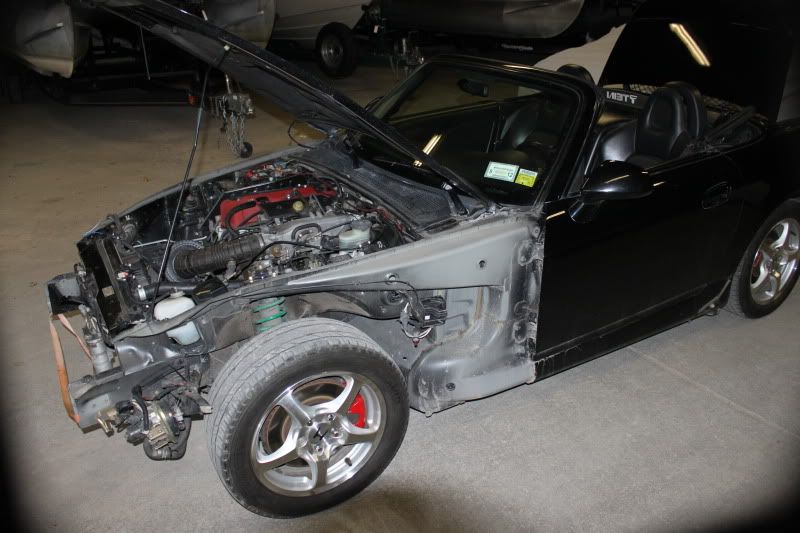
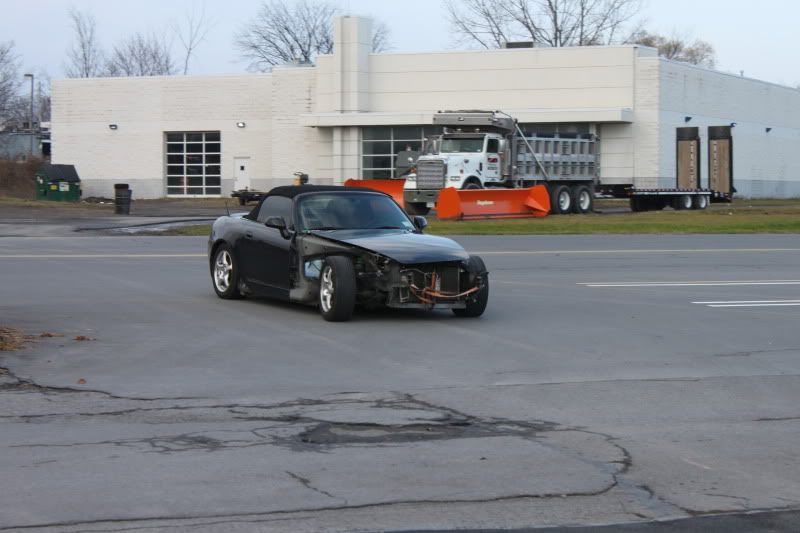
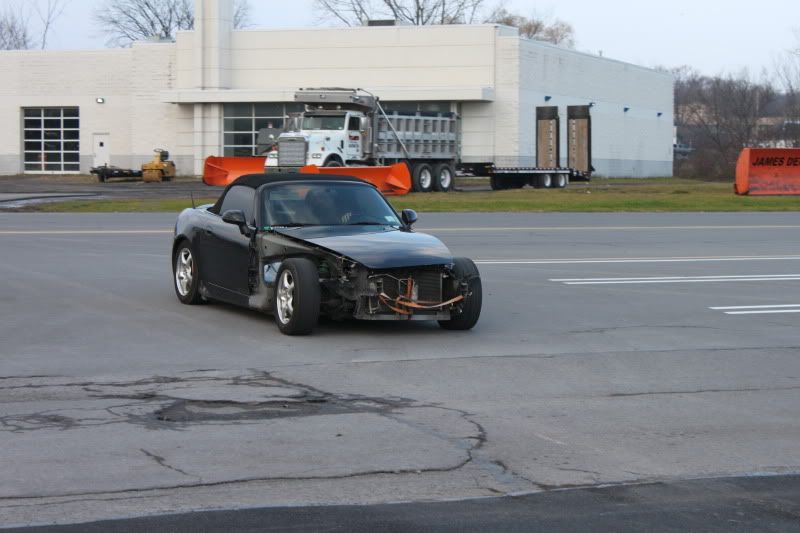
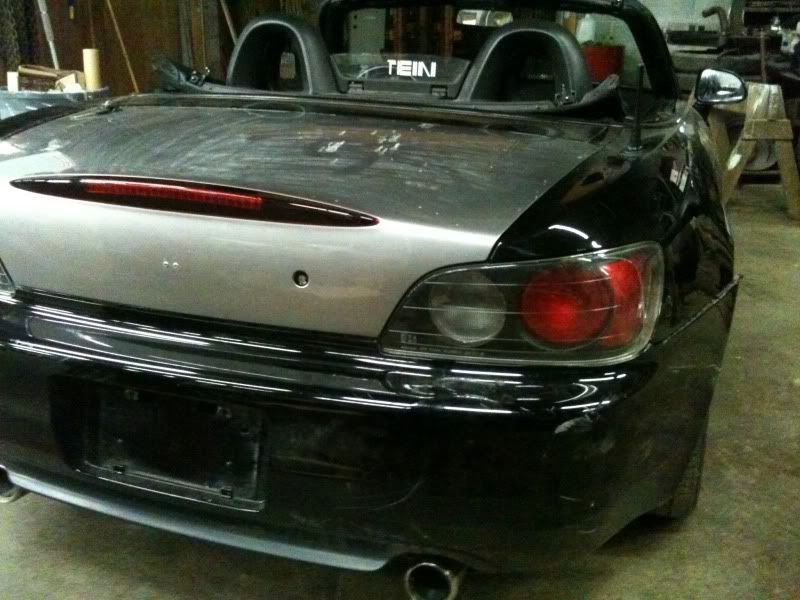
Picked this car up on 11/24/2010 for a guy in Utica. Runs and drives perfect, just needs the frame straightened some body work and paint. It also has the 04+ top with the rear glass conversion. Has 114kmi on the clock. Before i purchased this car i sent the pictures over to a body/collision shop that does a lot of frame straightening and i have heard good first hand reviews. They quoted me 200 to get it perfect, so after hearing that i jumped on this baby and picked it up. I will have it back from the shop (Harts collision in East Greenbush) the middle of this week.
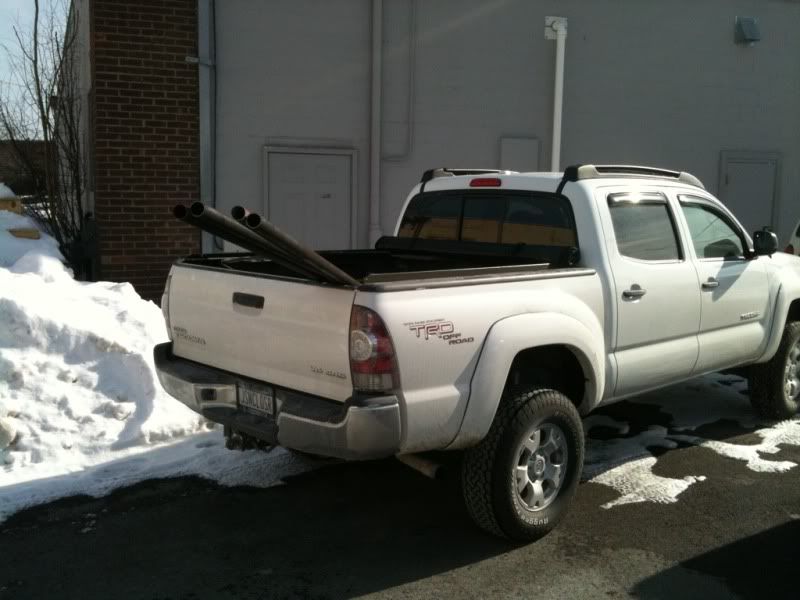
My goals with this car are simple. Make it nice and quick, it’s a great base to start from. This will be a summer car for a couple days a week only. I have a brand new Toyota Tacoma 4 door as my DD and also two bikes, a 06 R6S and a BMW F650GS Dakar. This will simple be the “fun car”. First plan is to get it back to stock oem condition (body wise), second phase is turbo. Probably going to cage it as well. I’ve always wanted to do soo much to my cars but my problem has always been that i daily drive them. This is simply a project car for me so it’s nice to know i can do whatever i want to it, and i don’t have to get it back together for the next day. I can take my time on this, and i will.
MODS
—Exterior—
Fresh berlina black paint
Naked AP1 headlights
CR fender turn signals
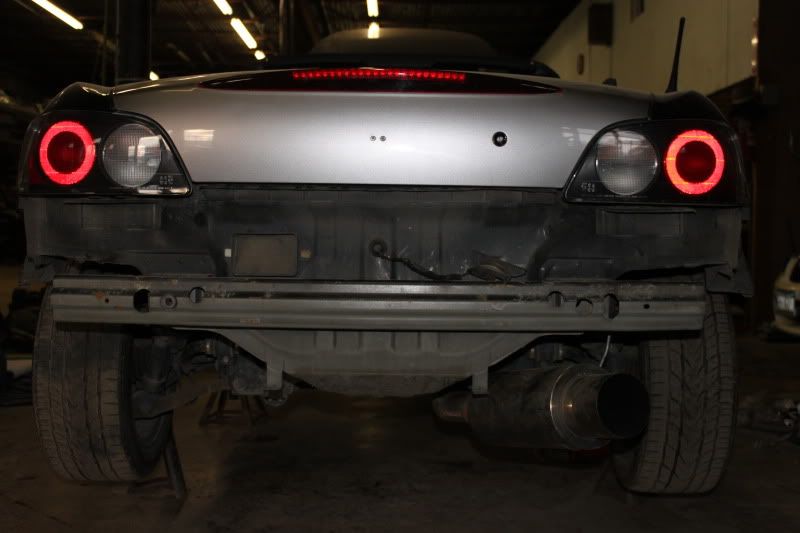
AP2 rear bumper
S2Carbonworks carbon fiber exhaust trim
Side emblems shaved
Rho-plate mount for front plate
HIOF1CER vanity plates
Perrin 4" shorty antenna
Newer soft top with glass rear window and hardtop latches
tinted windows
red painted calipers (soon to be repainted black with s2000 decals)
convex mirrors
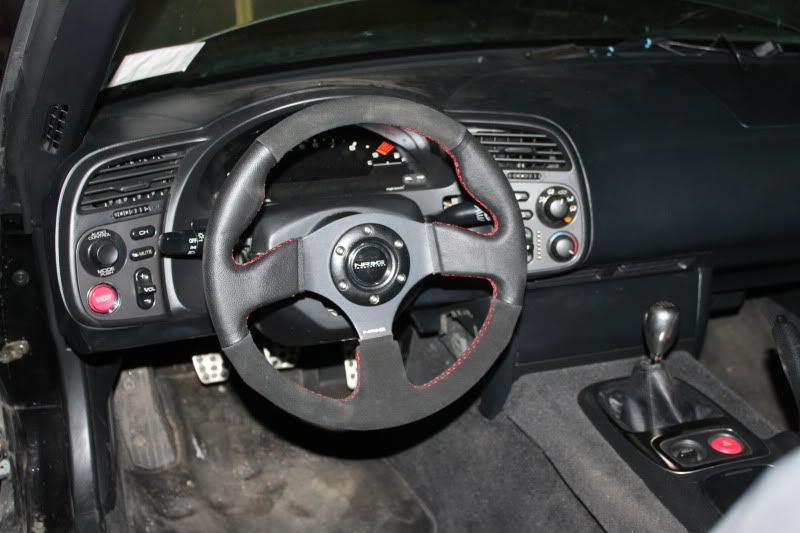
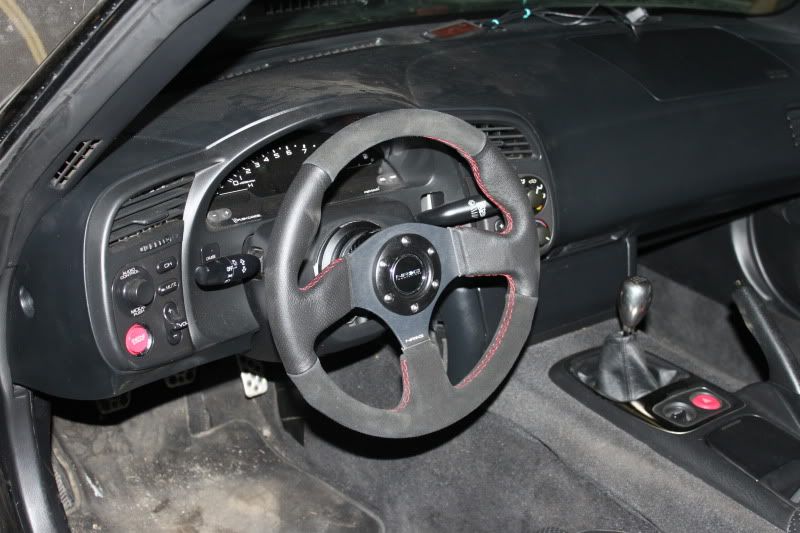
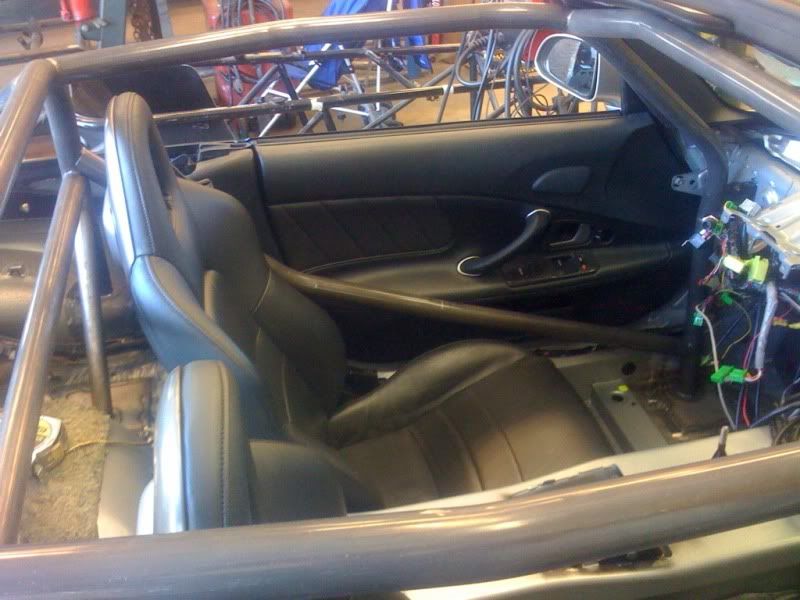
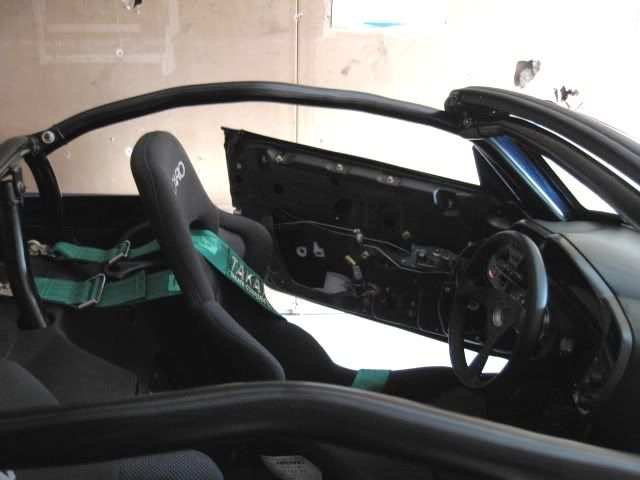
—Interior—
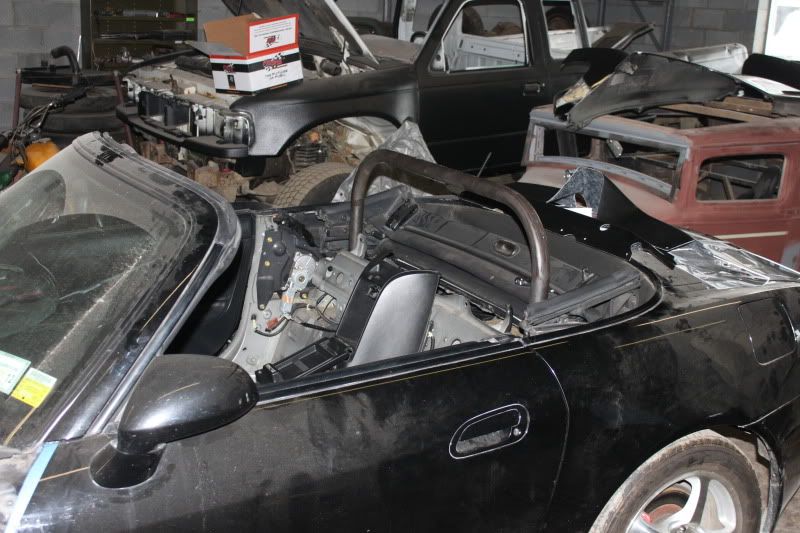
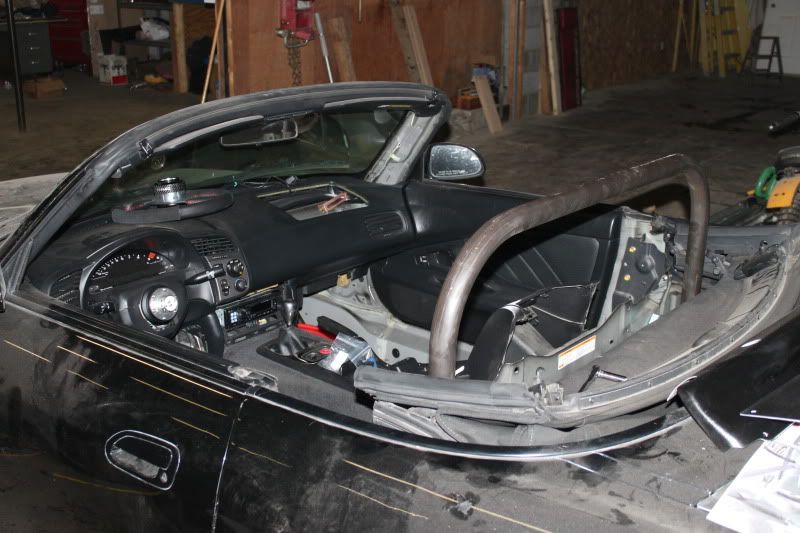
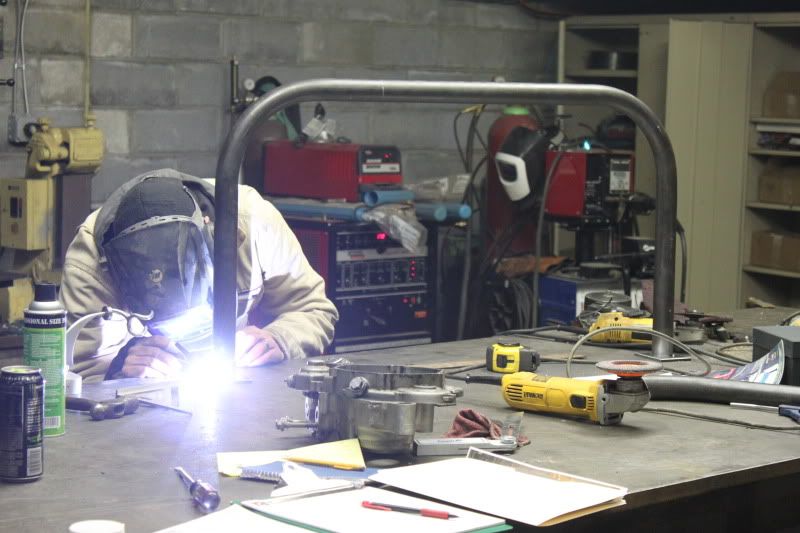
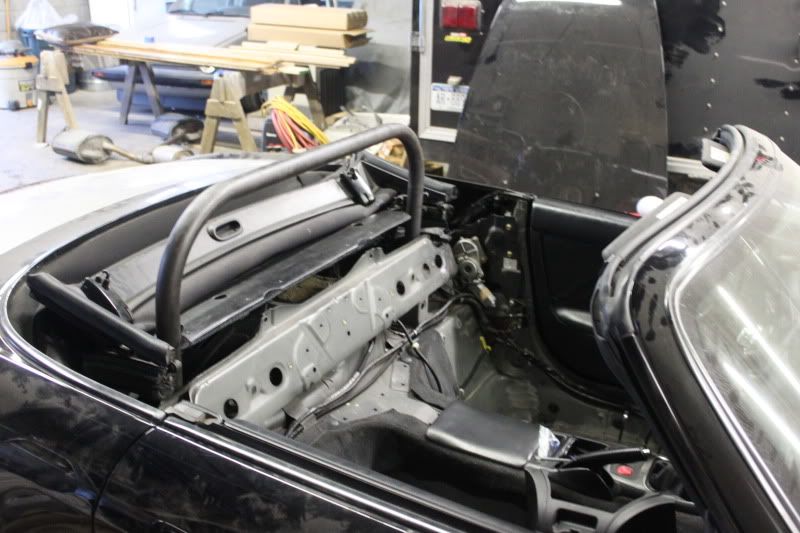
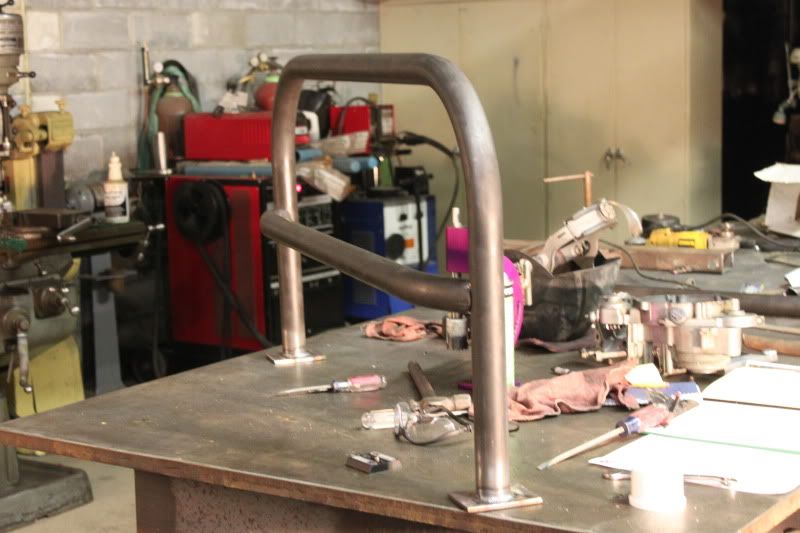
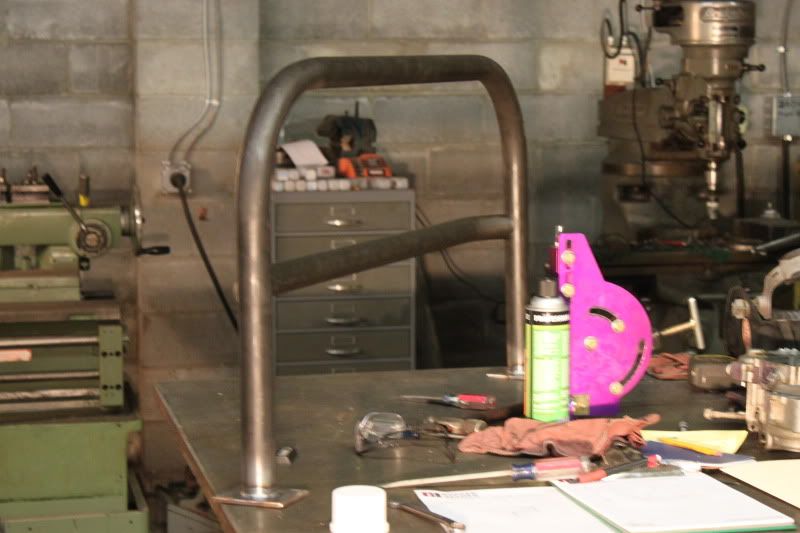
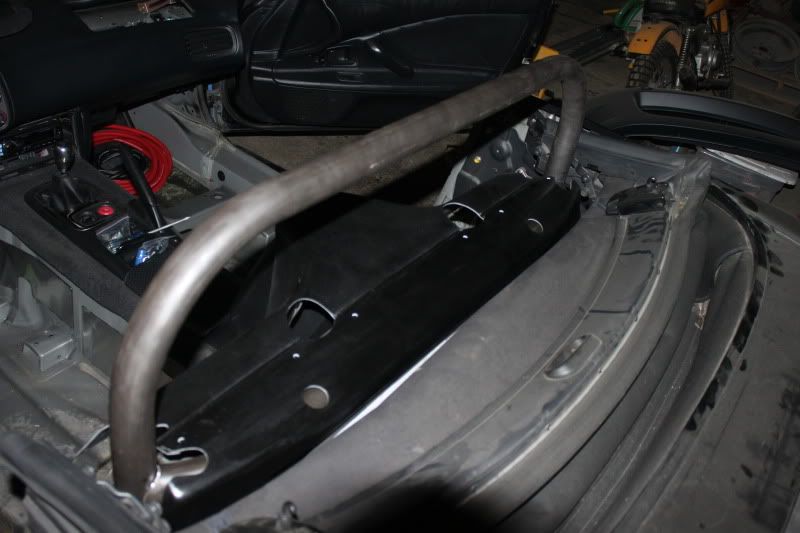
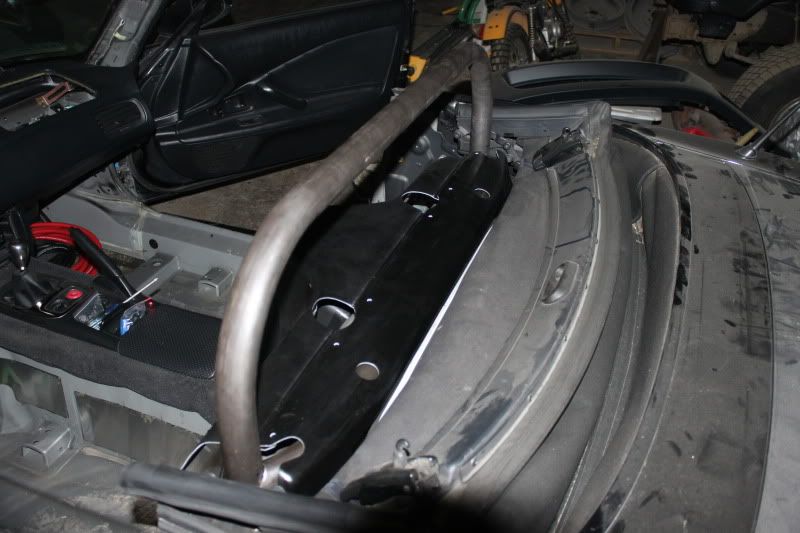
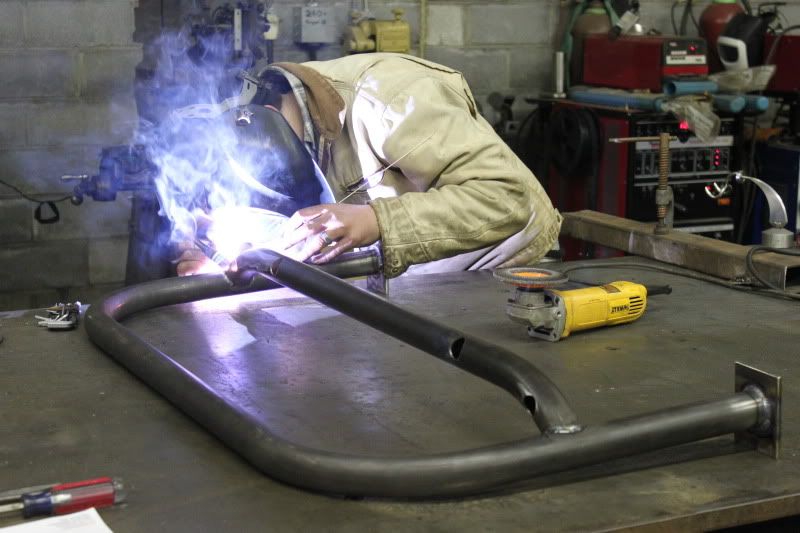
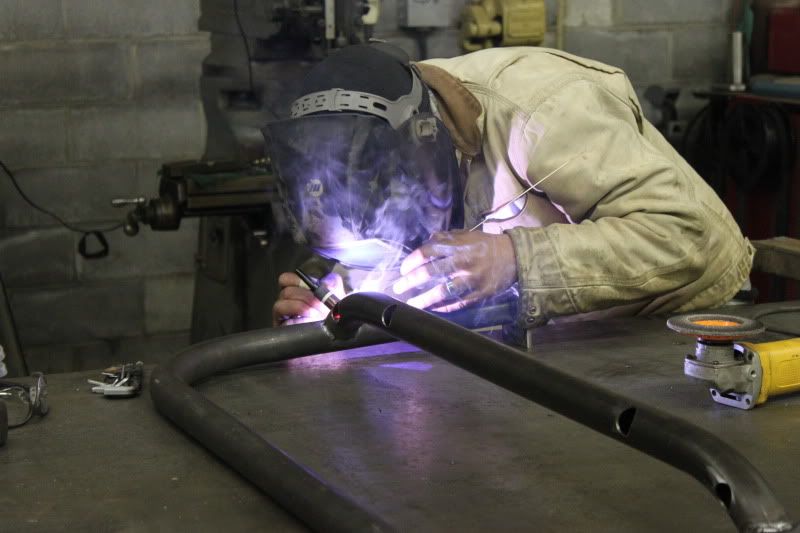
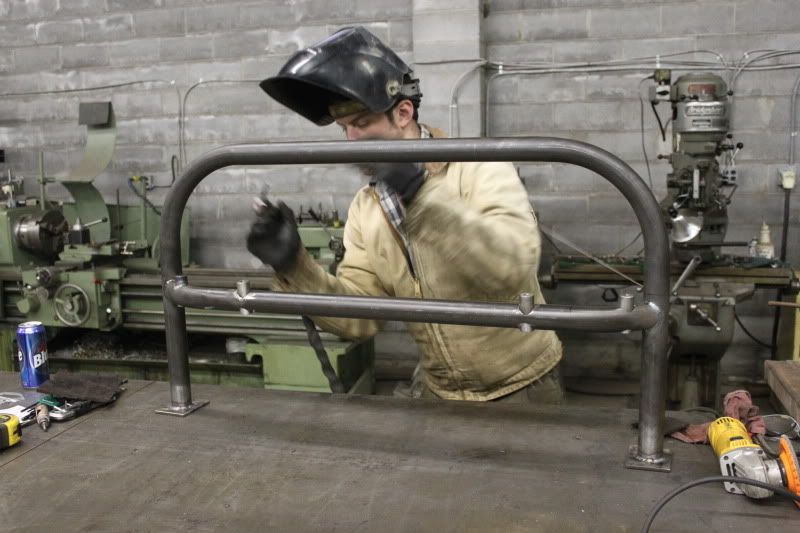
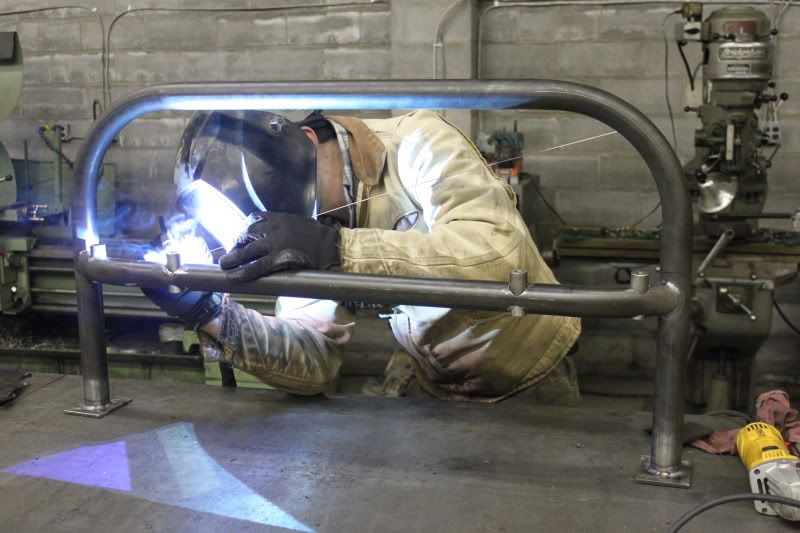
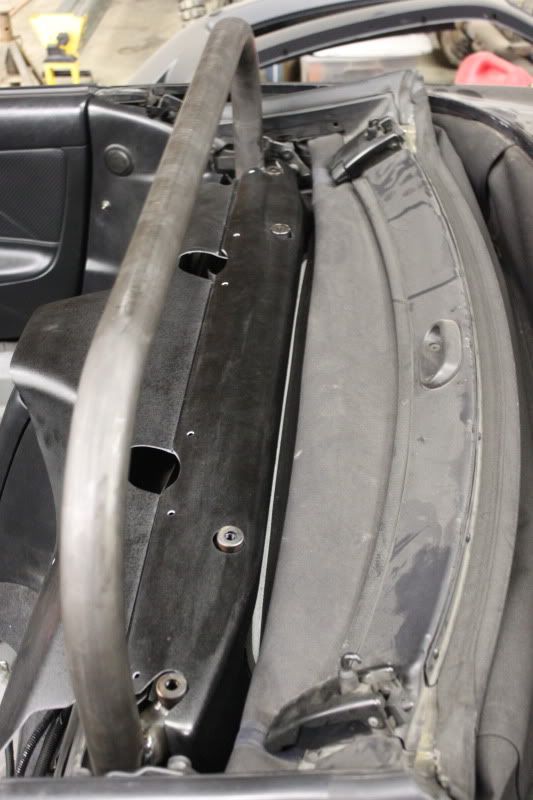
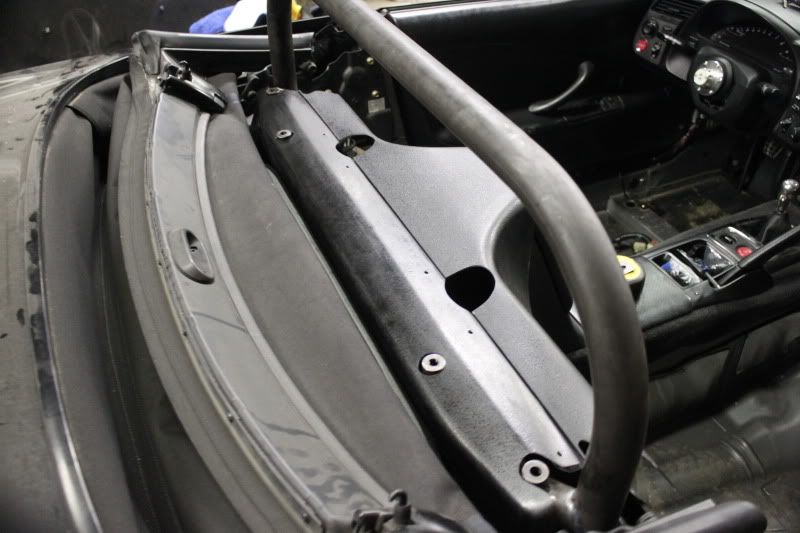
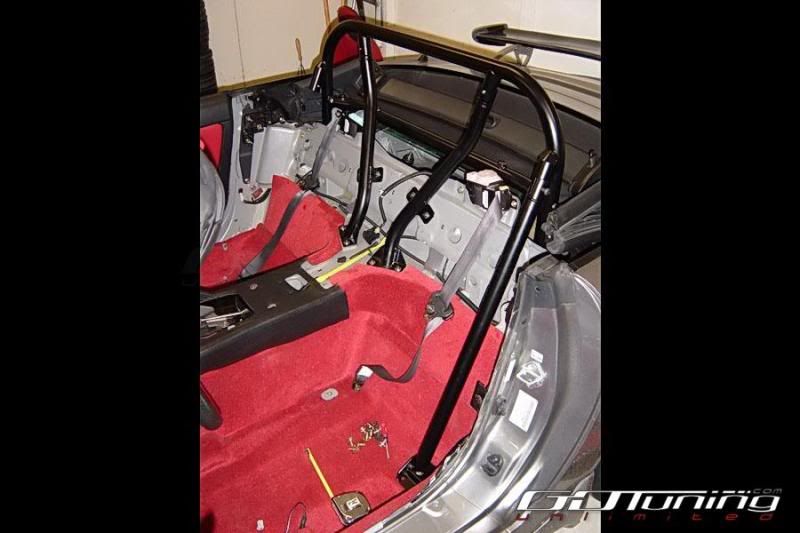
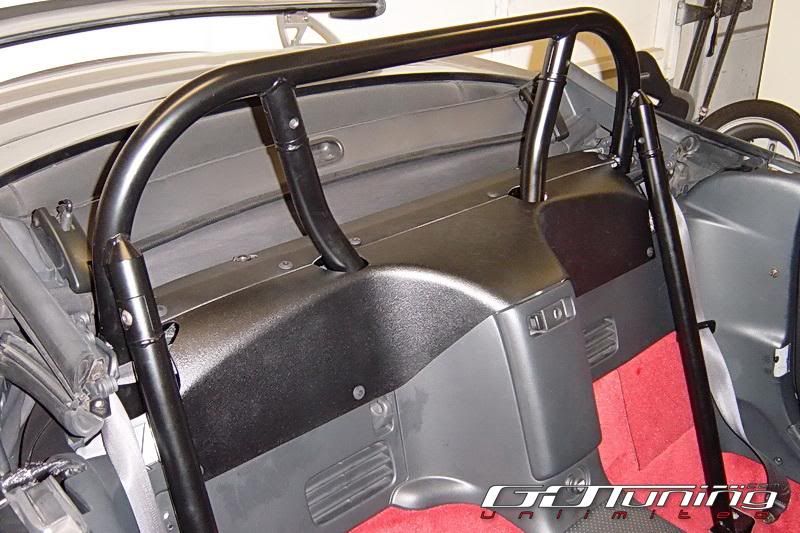
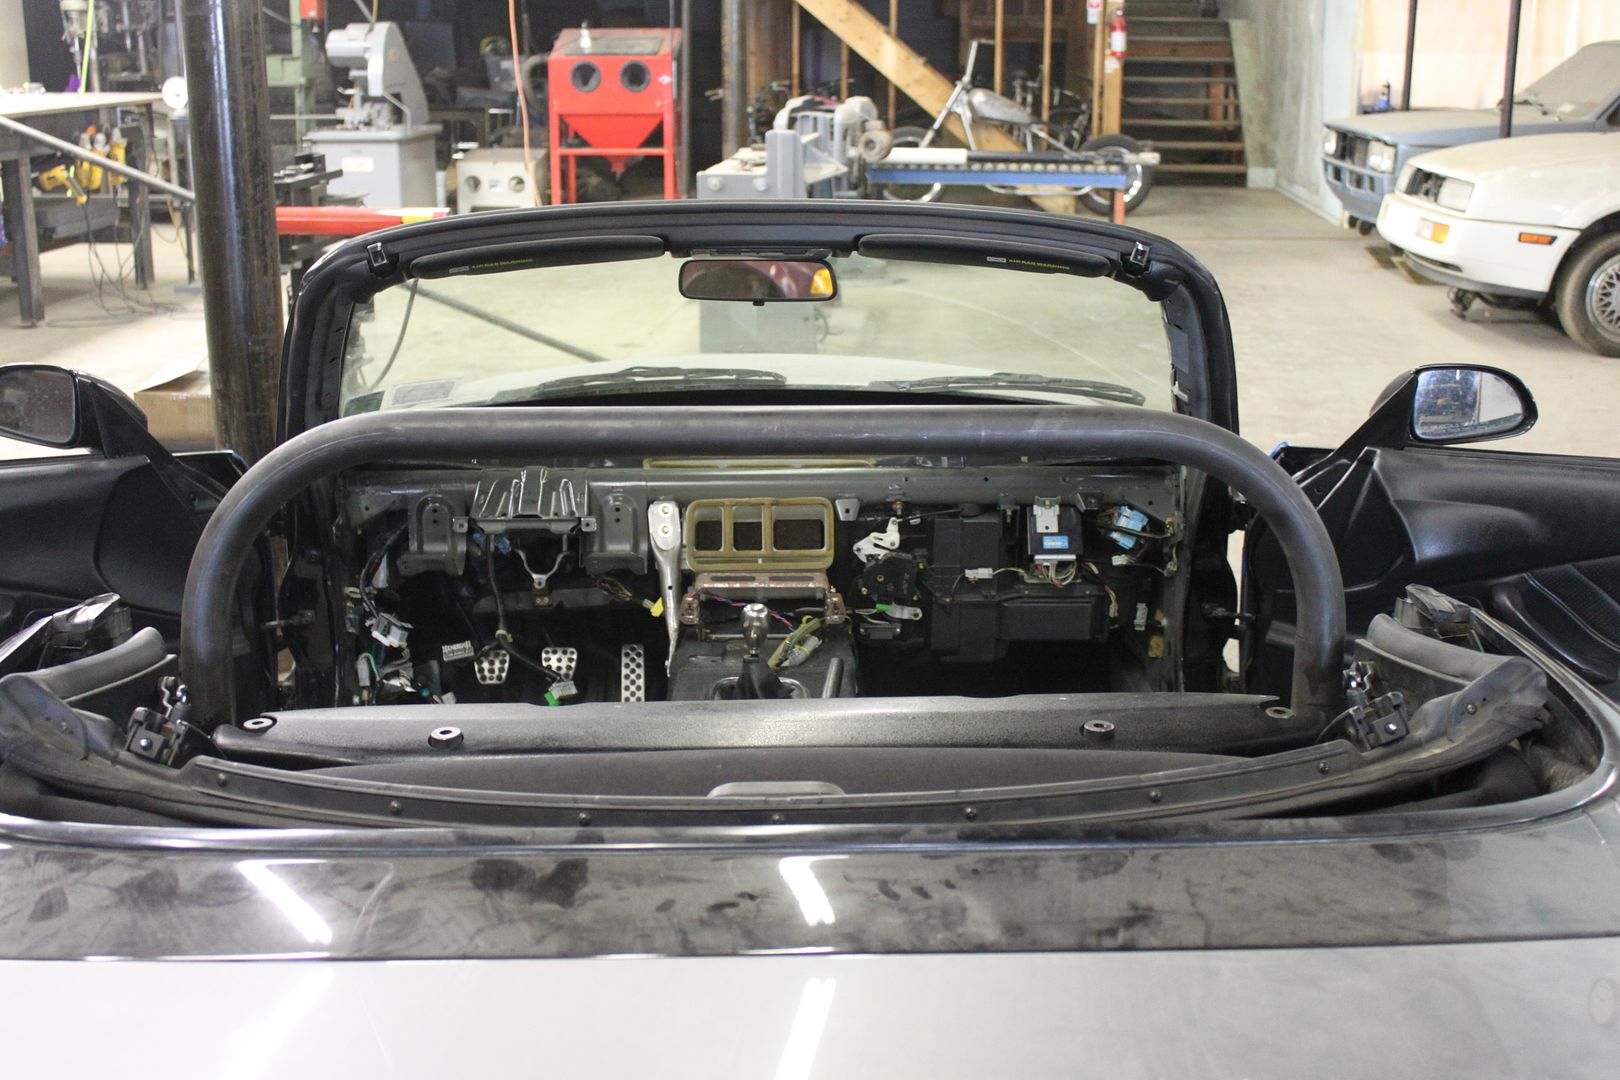
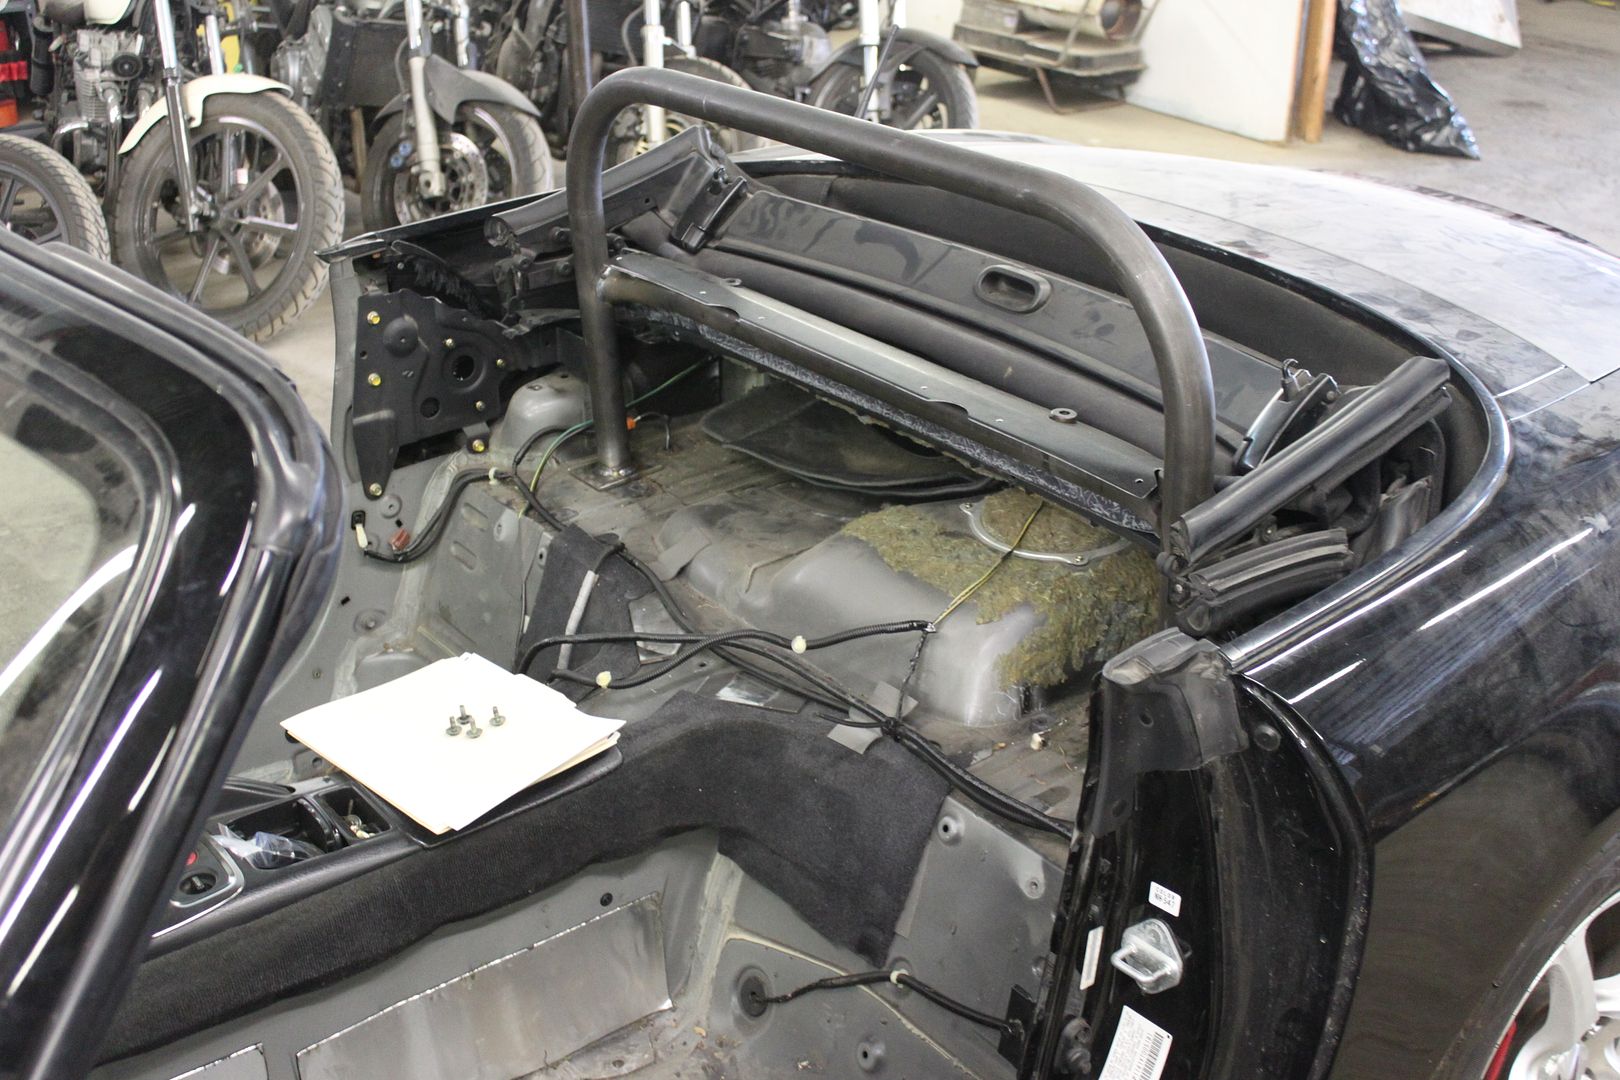
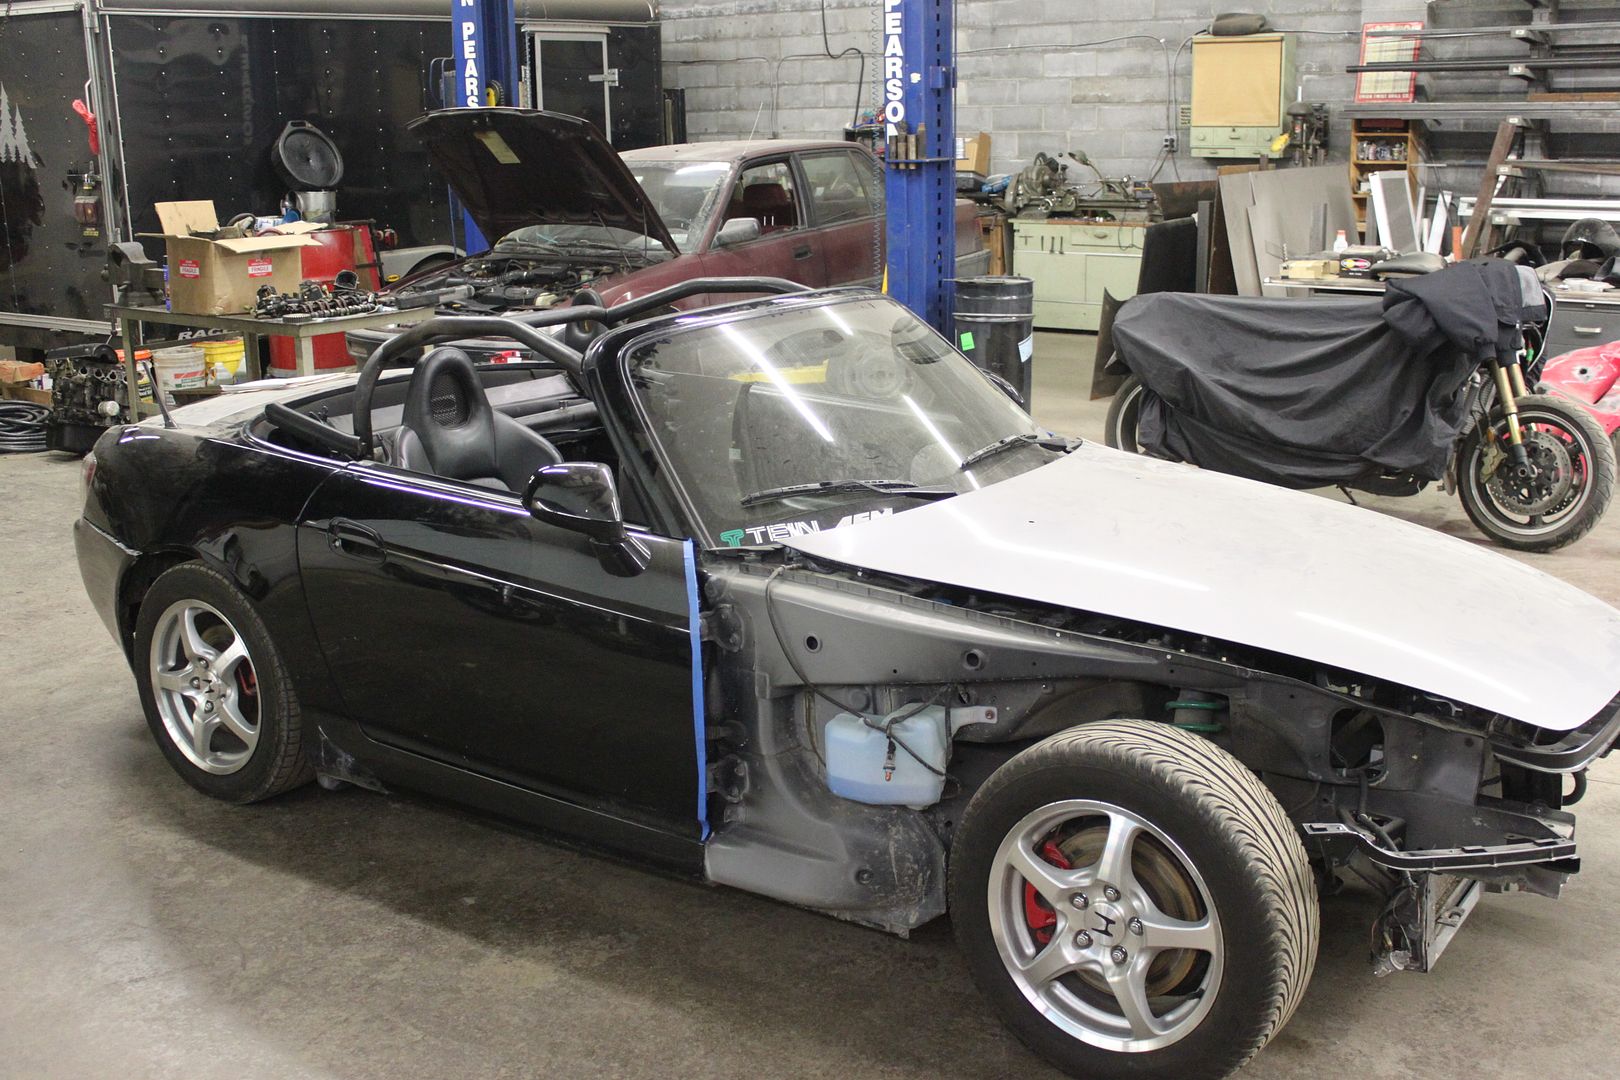
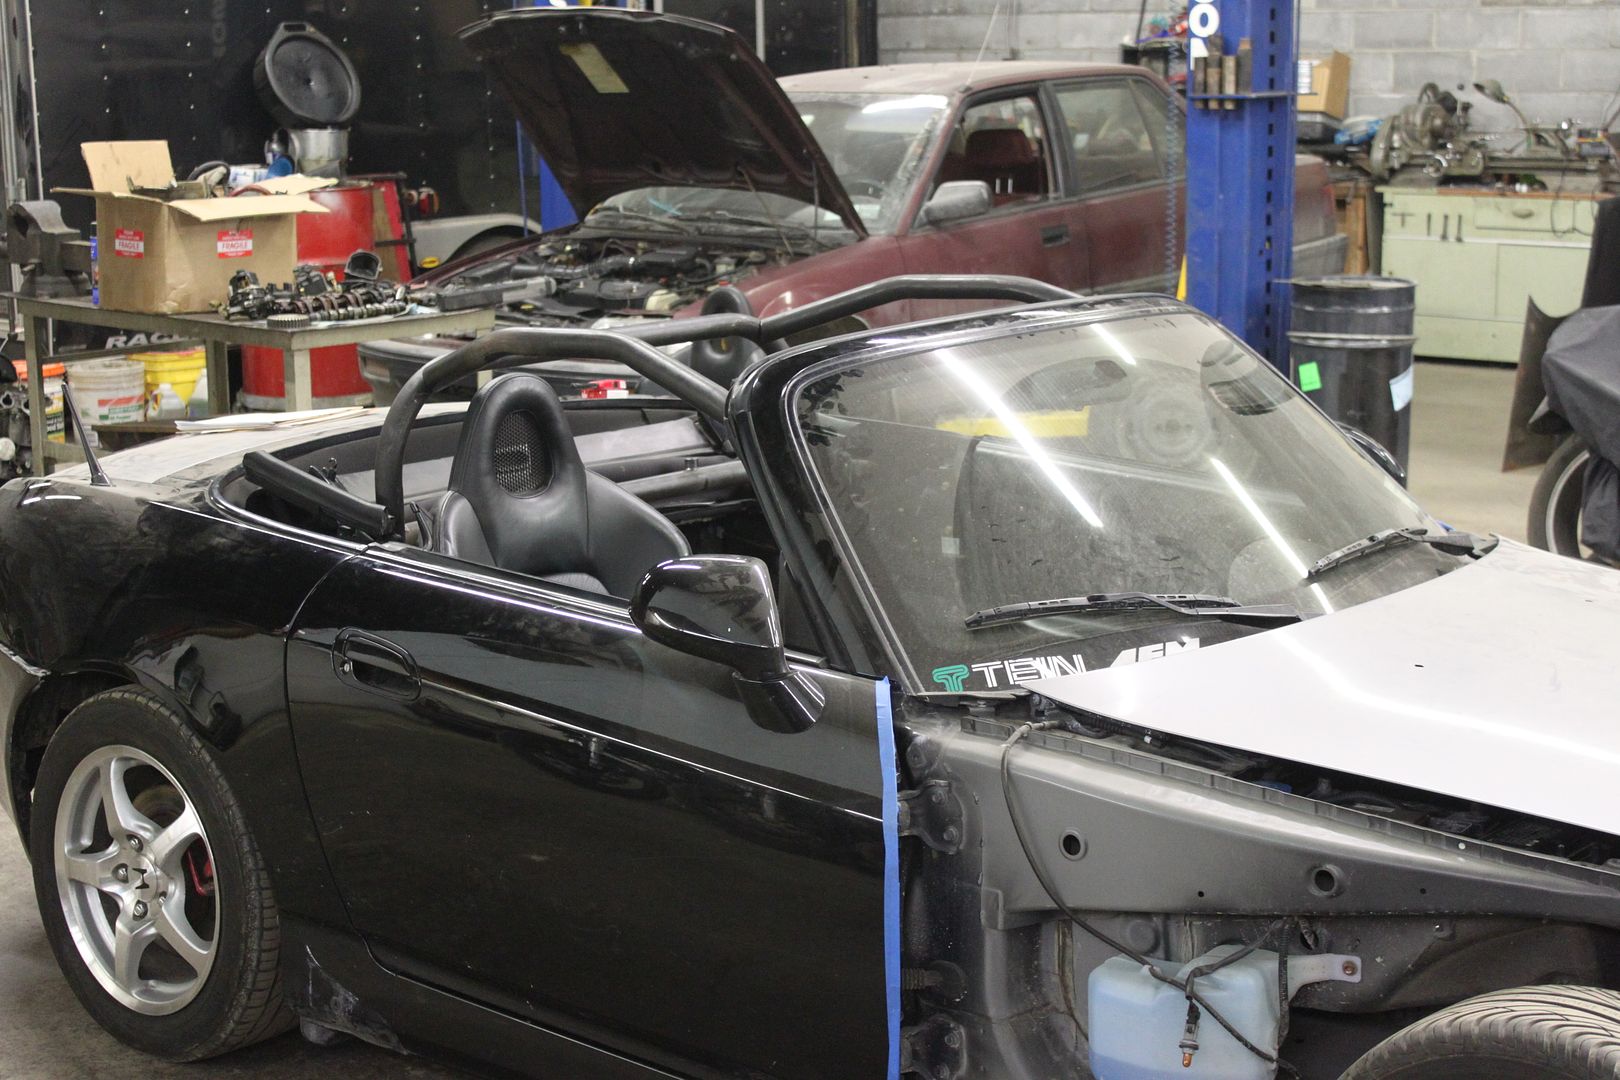
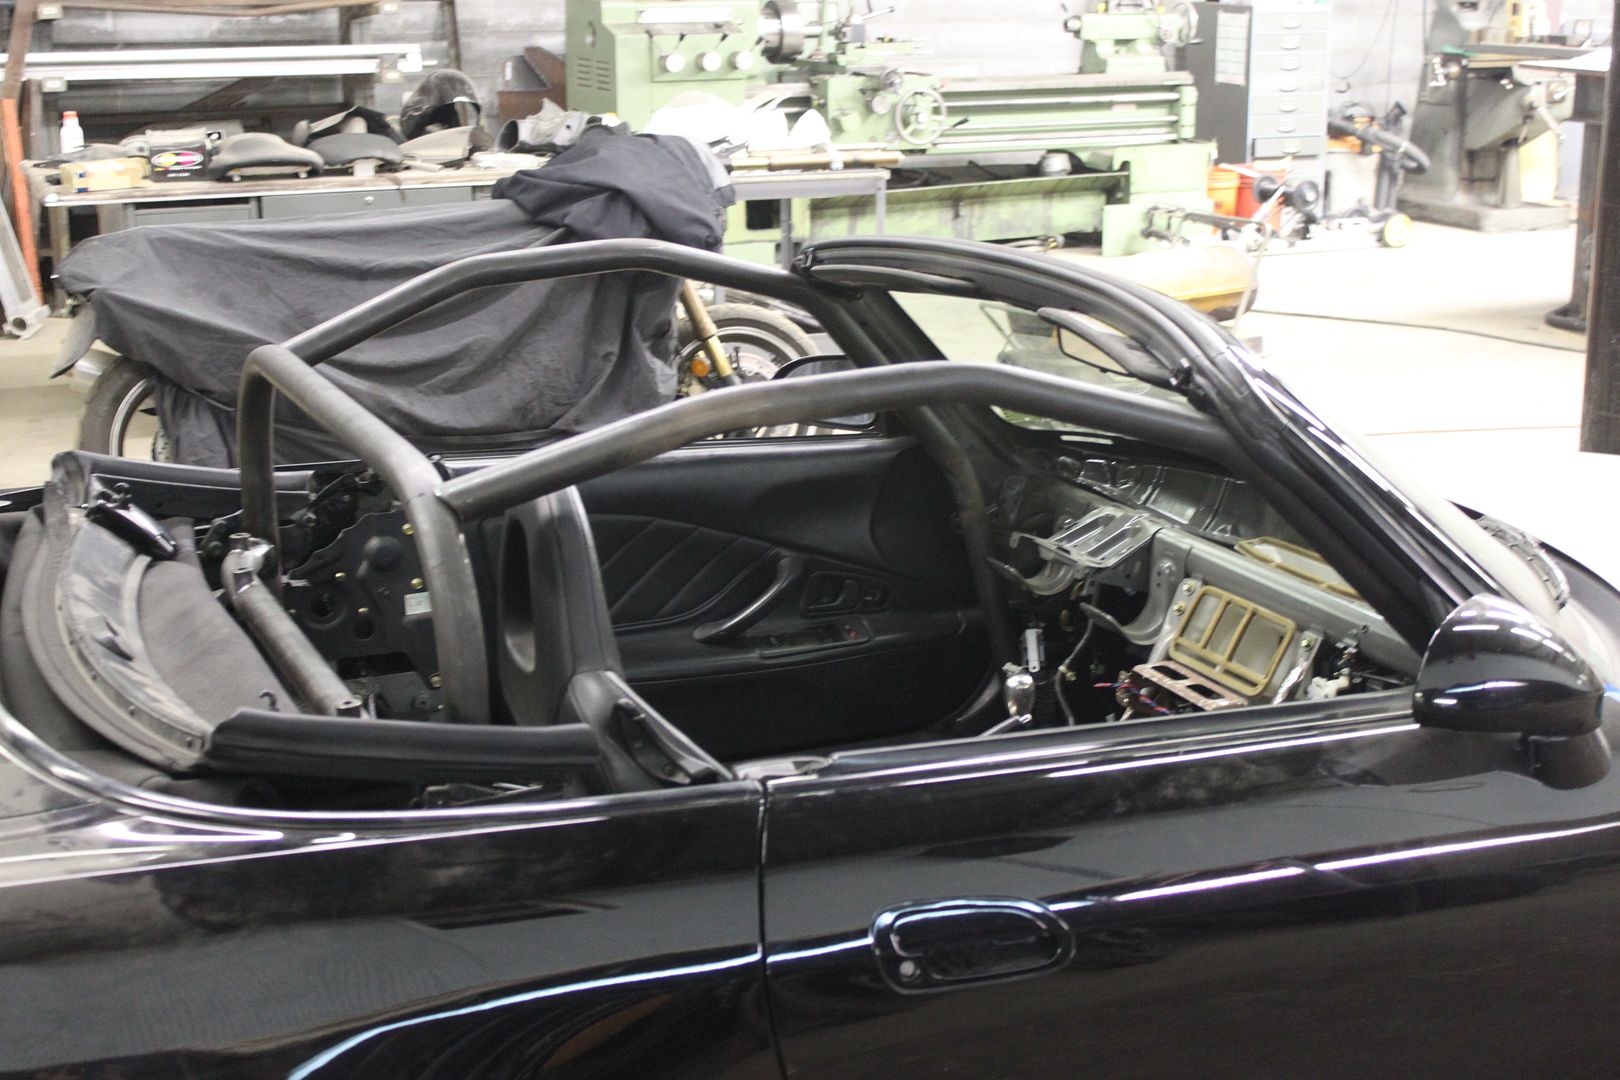
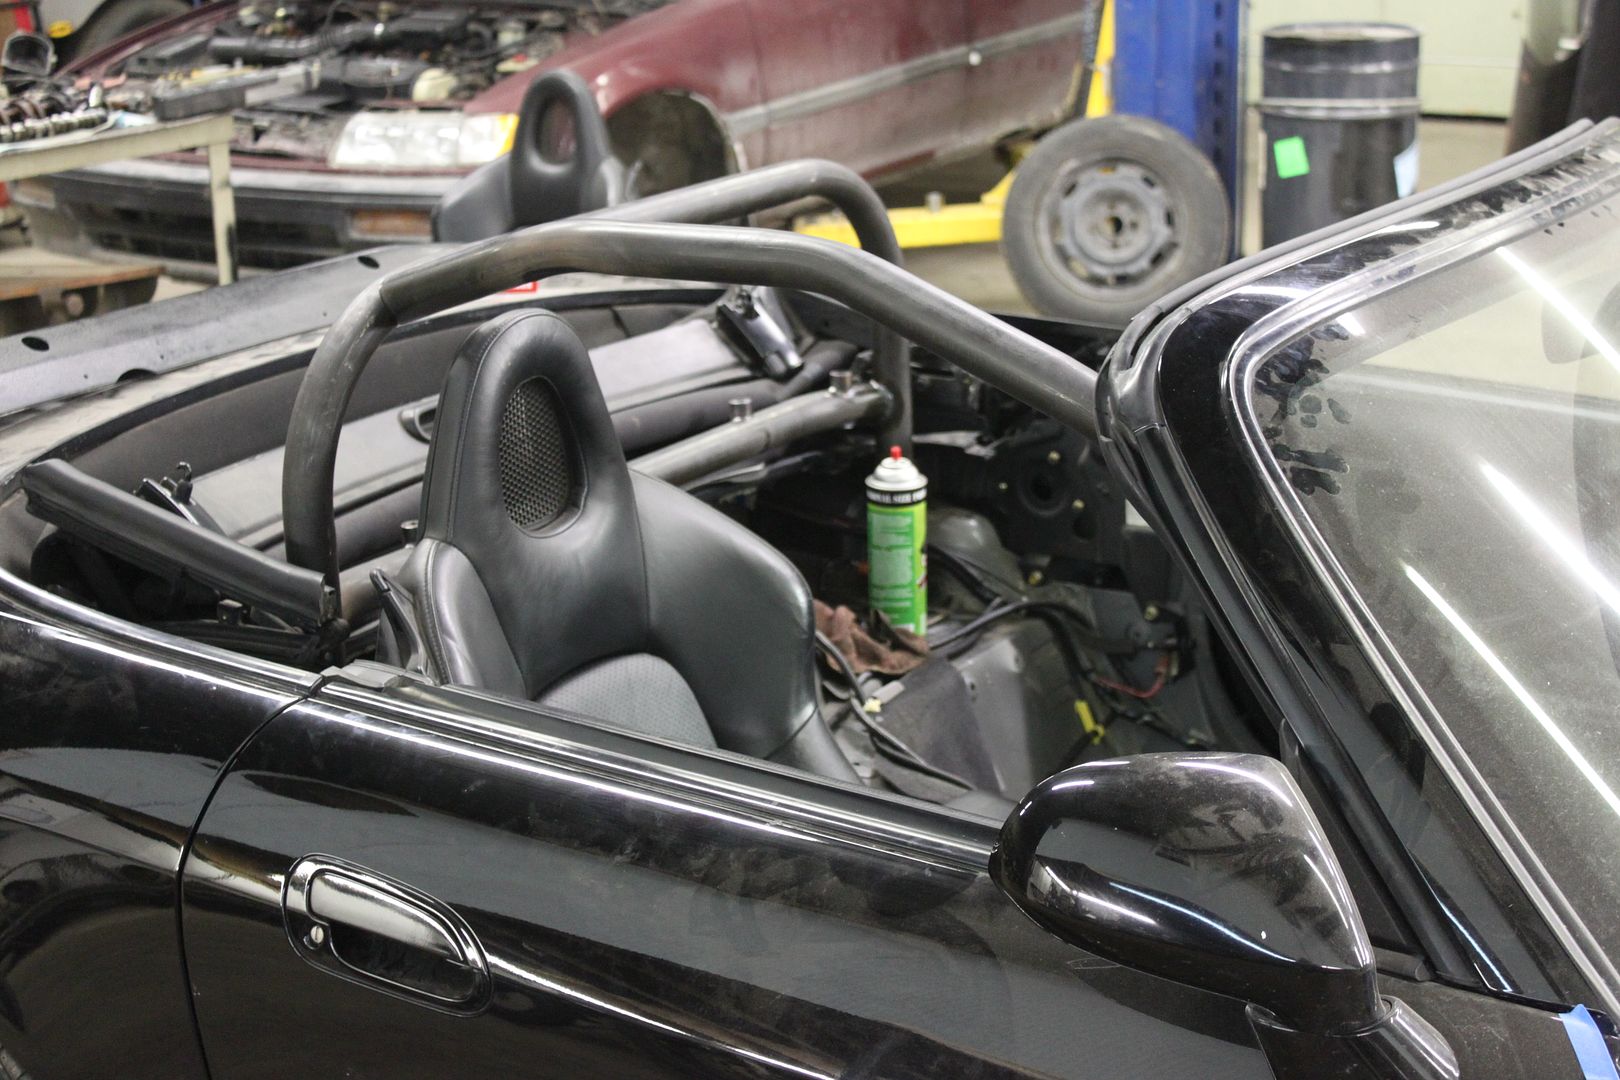
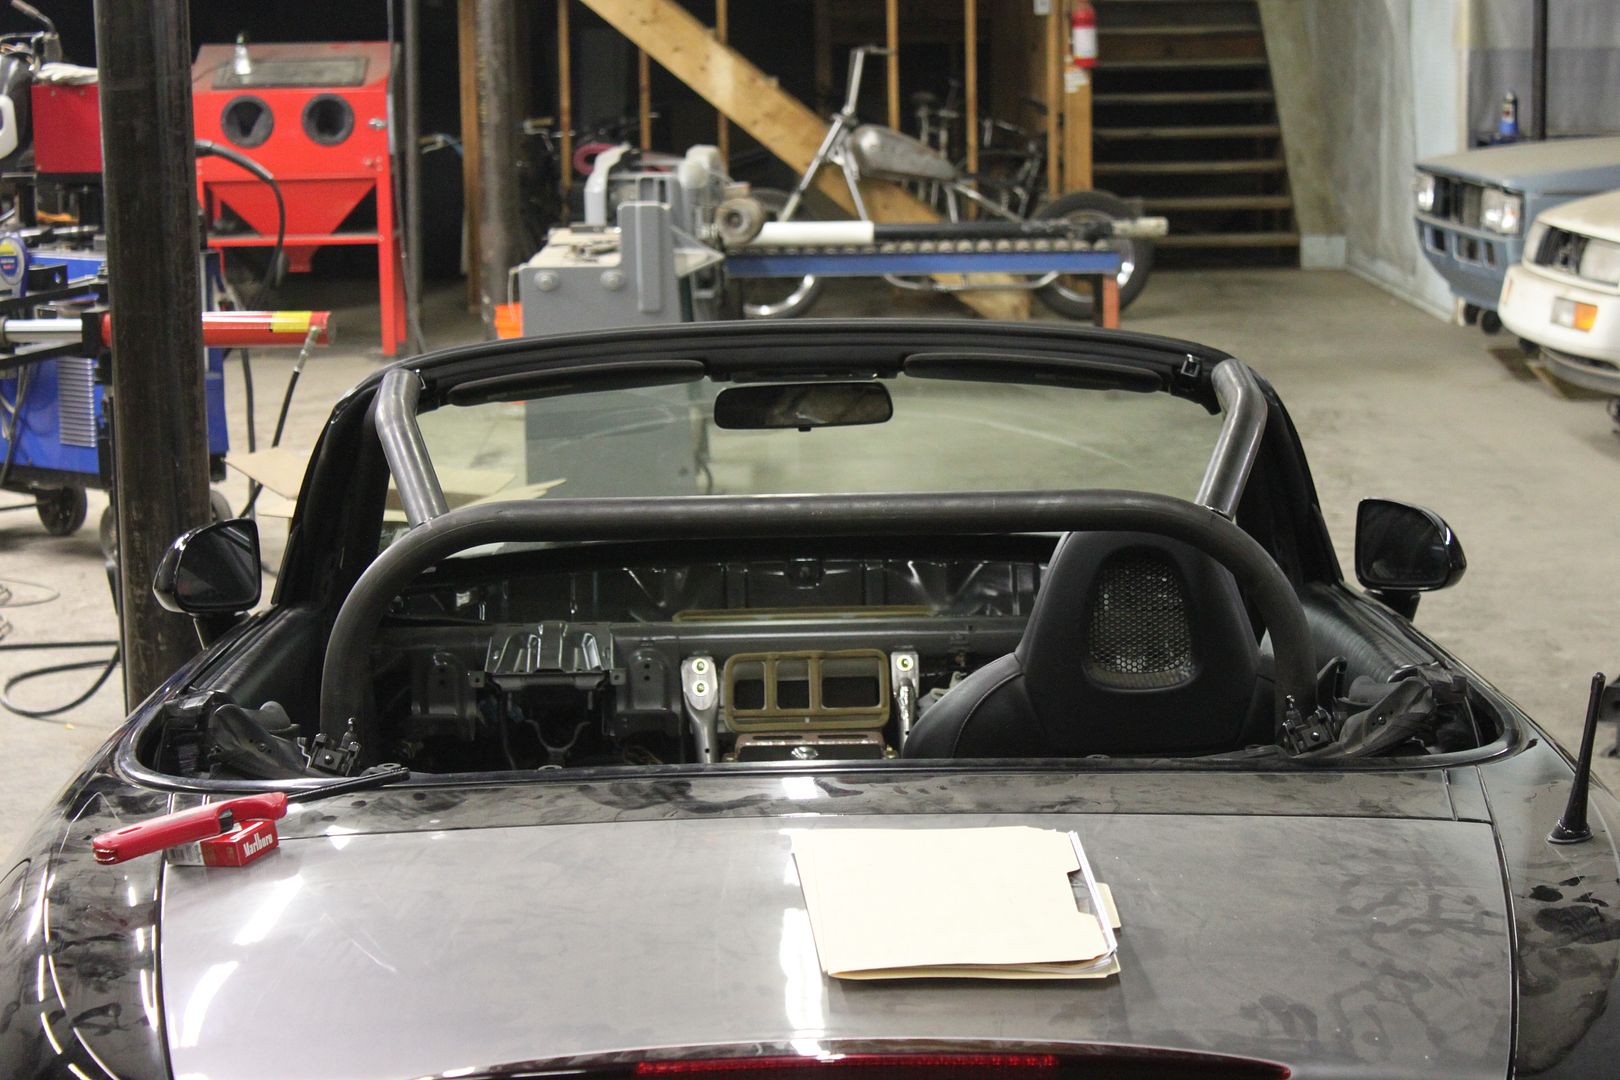
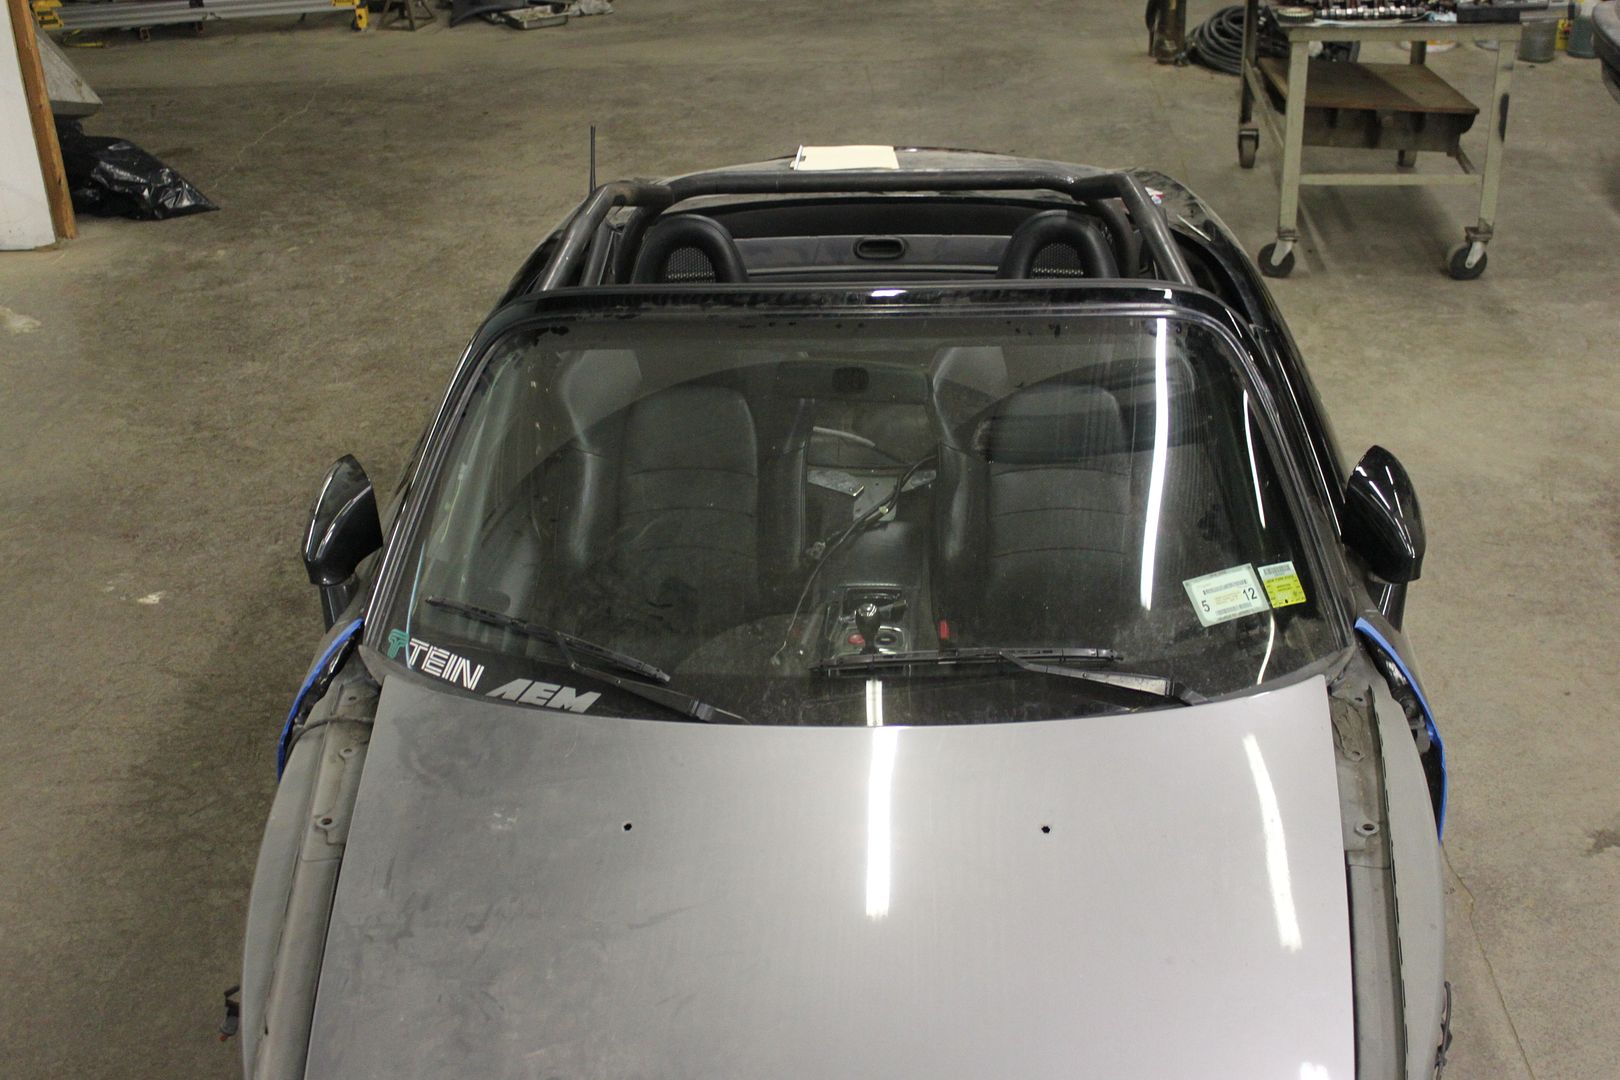
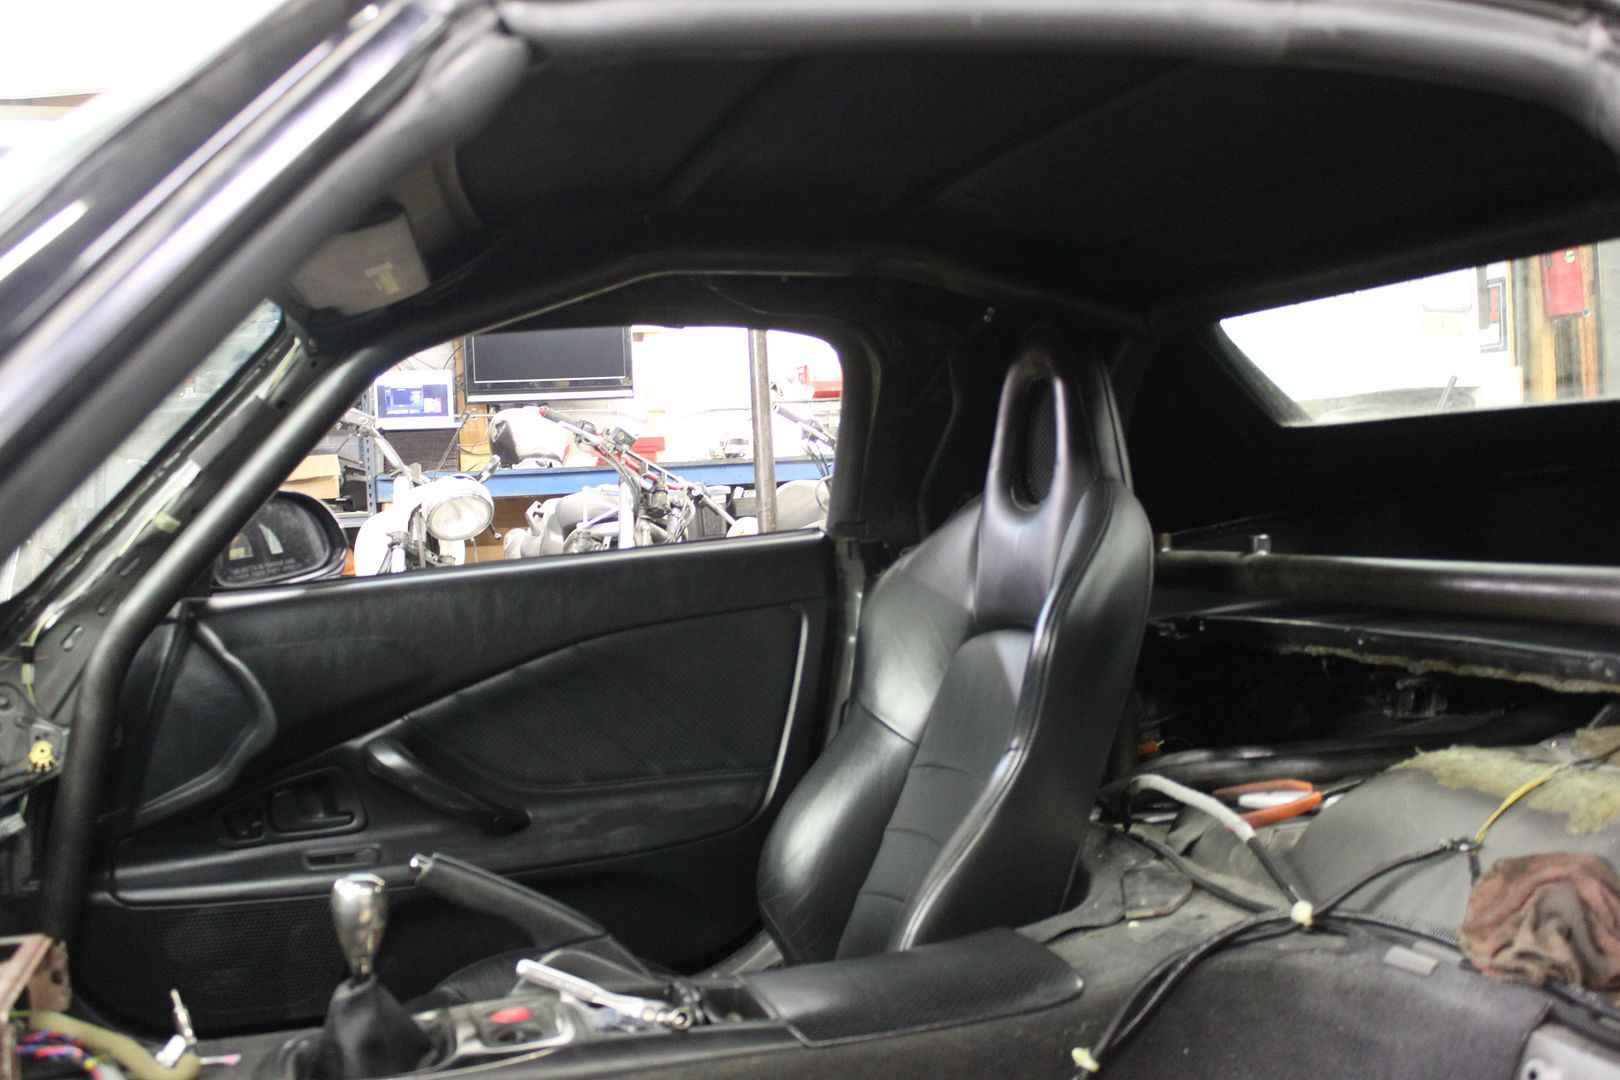
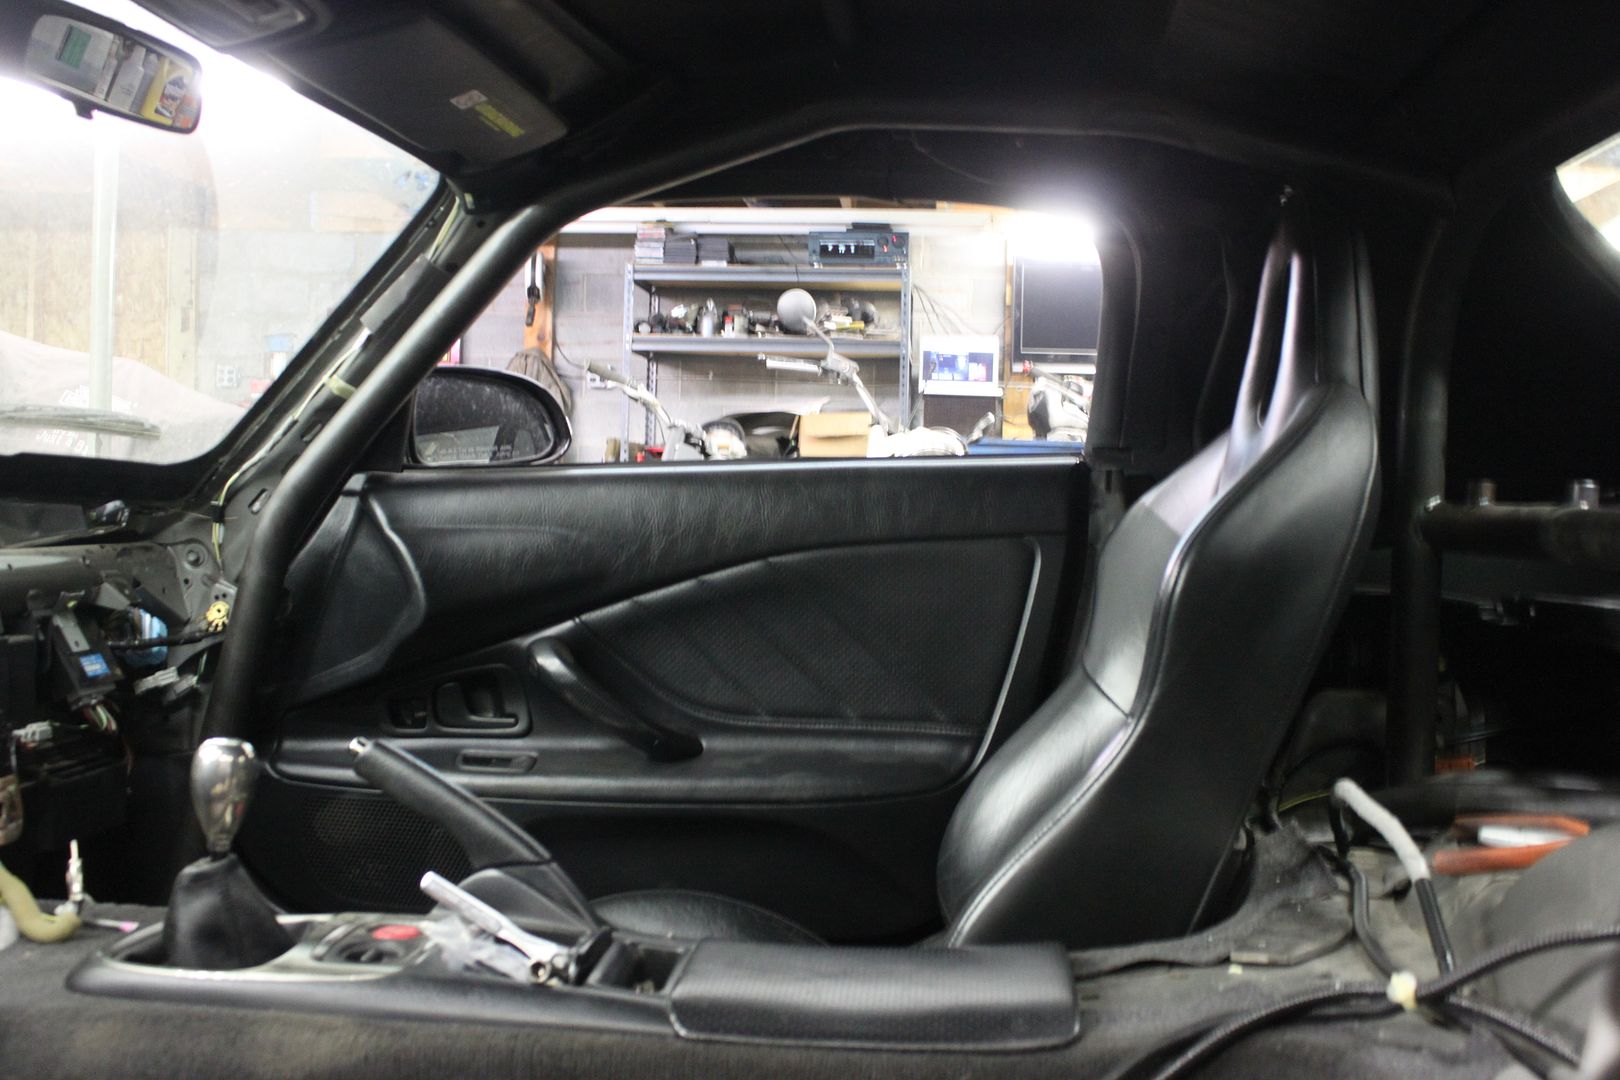
Full roll cage custom built by Variant Fab
Hard dog custom roll bad padding and leather wrap
Mugen roll cage trim for a clean look
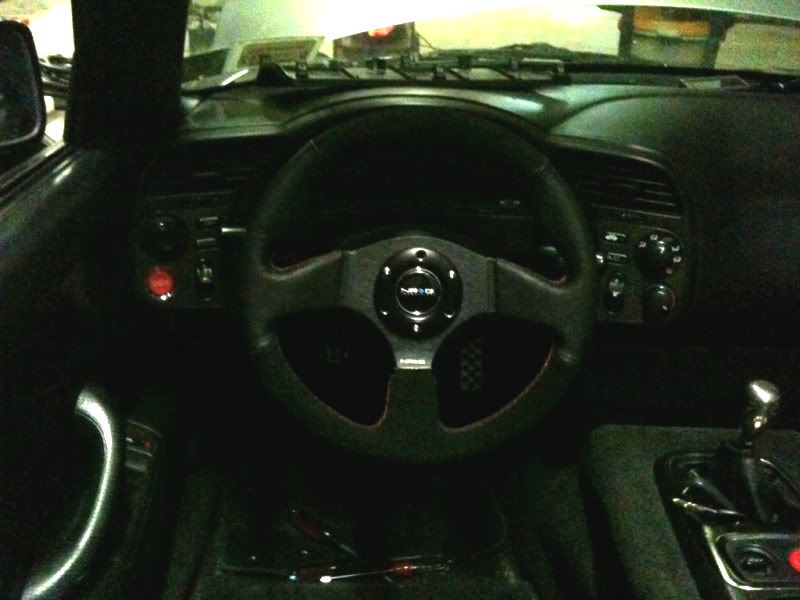
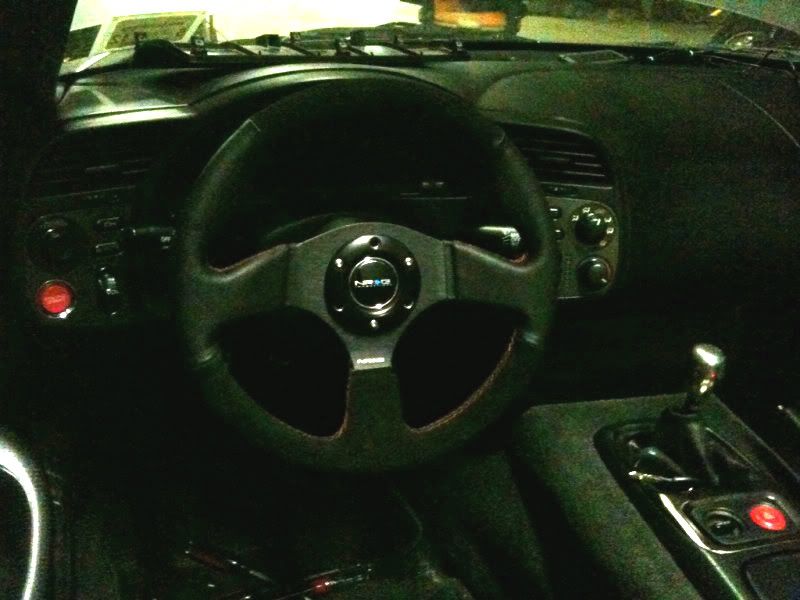
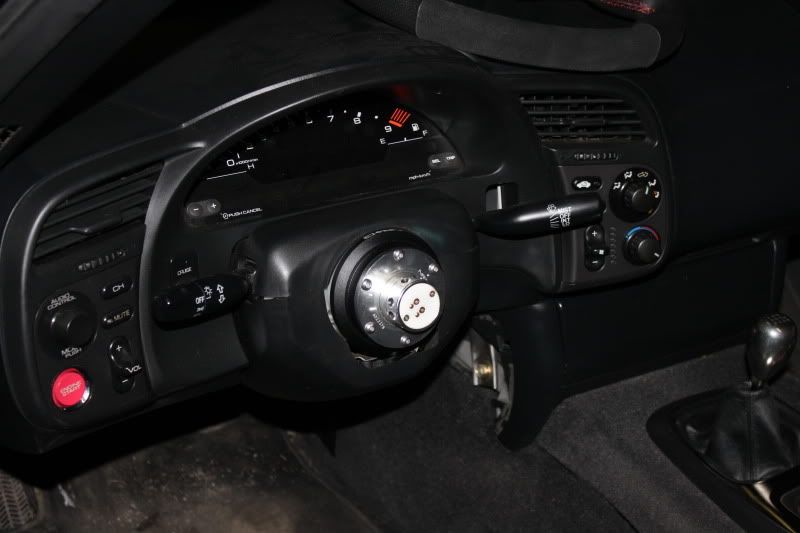
NRG hub, quick release and wheel
AP2 radio door
AP2 center console
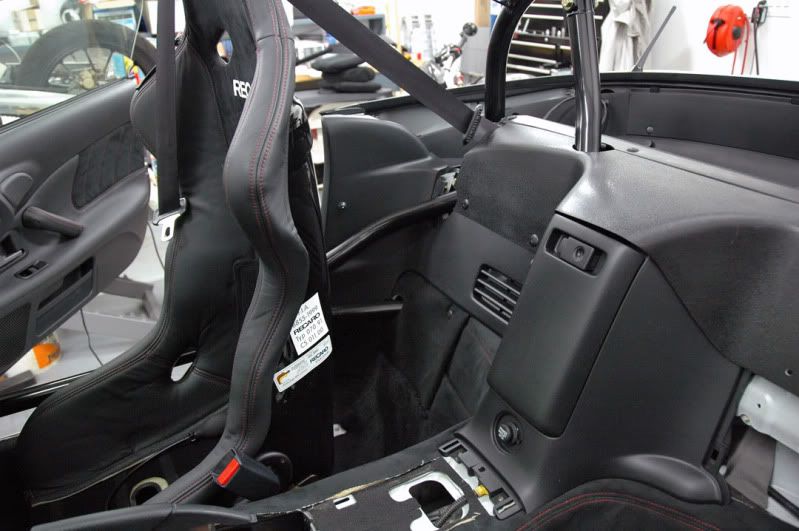
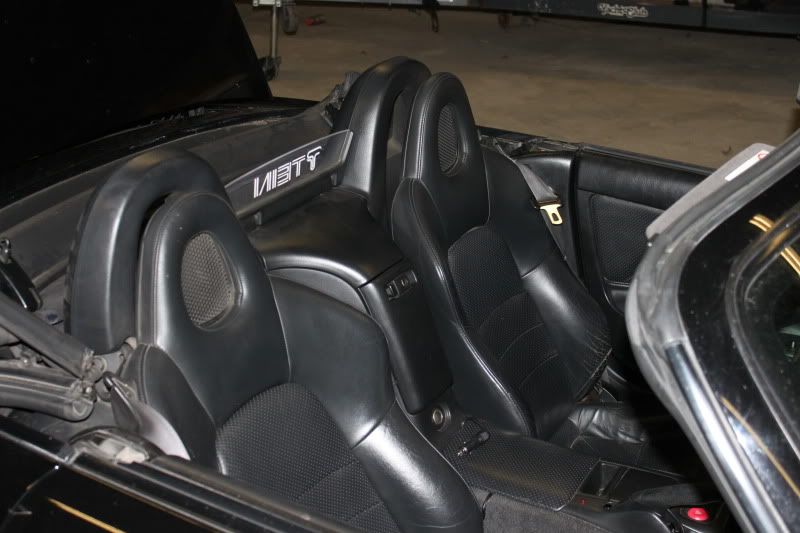
Sparco Evo seats
Buddyclub low rails
Takata short harnesses
Alpine radio with iPod hookup run through the ac vent above the radio door
modifry accessory bracket and iPhone mount
Valentine 1 security mount built by Variant Fab
Valentine 1 & V1 stealth display
Radio control interface shaved and cover in Carbon fiber wrap
Autometer 1 3/4" roll cage 2 1/16" gauge pod mount
AEM wideband air fuel gauge
finer liners carbon fiber transmission tunnel wrap
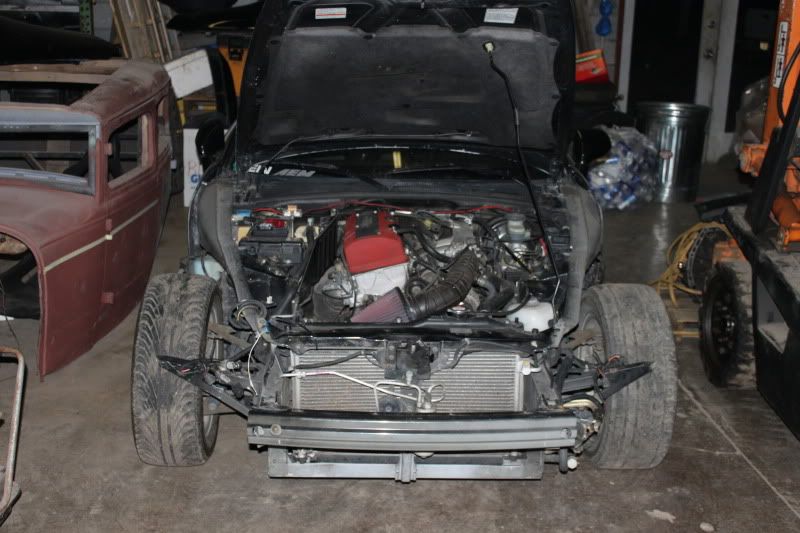
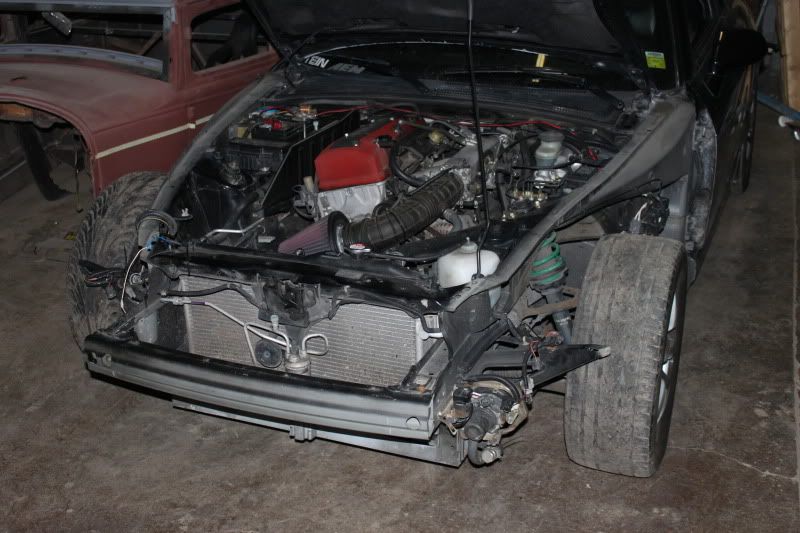
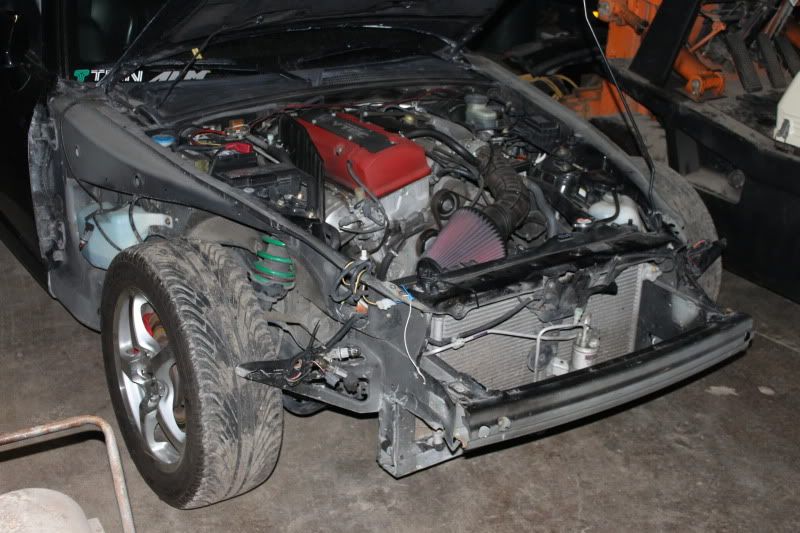
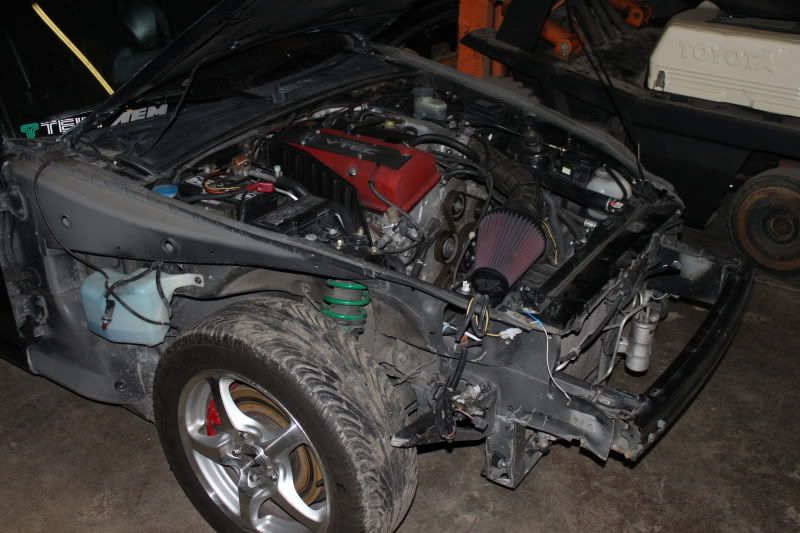
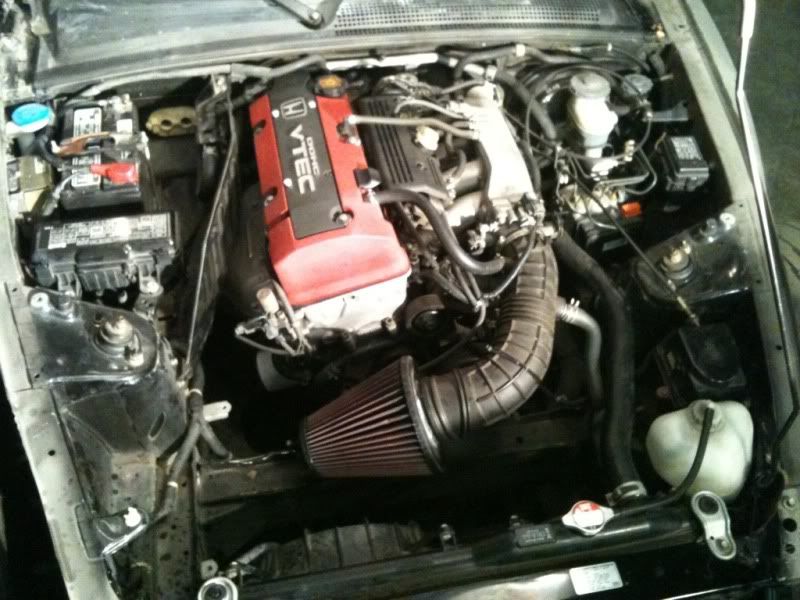
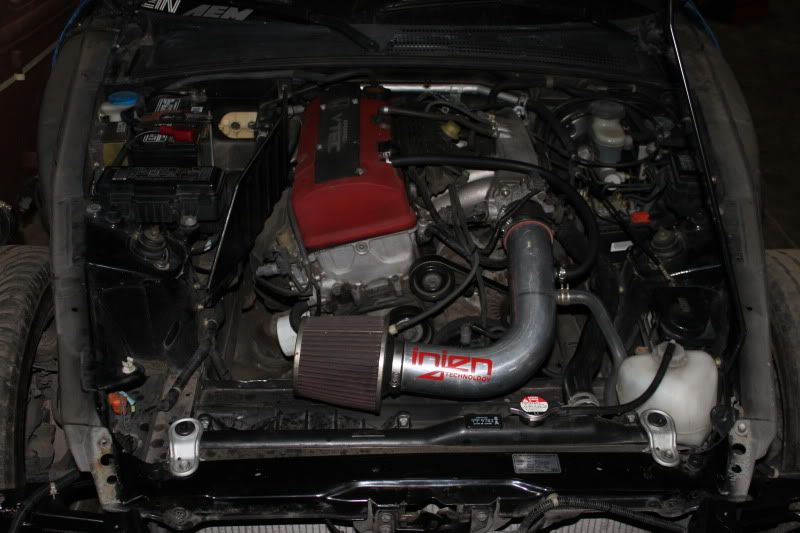
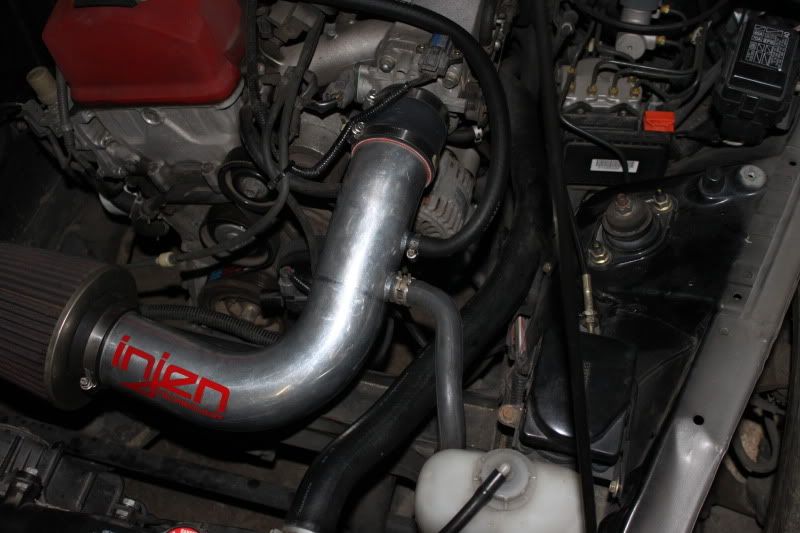
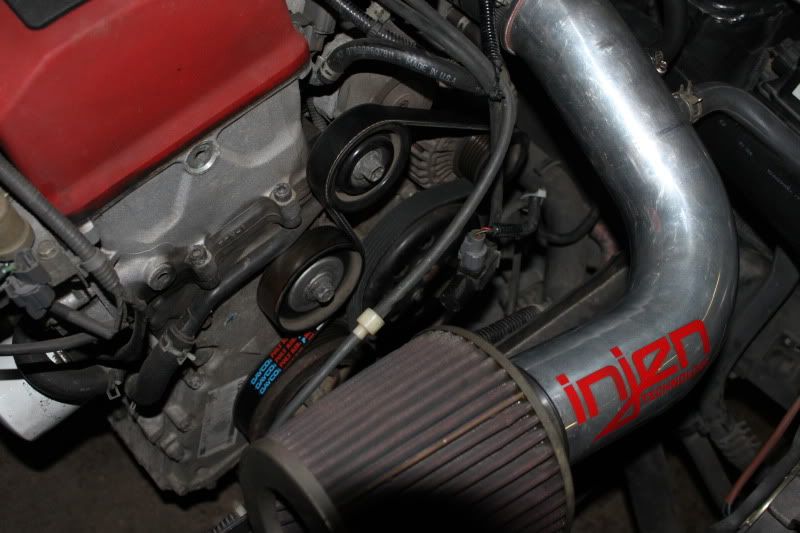
—Under The Hood / Performance / Etc—
Password JDM kevlar cooling plate
Password JDM black fender bolts
Password JDM black valve cover washers
Password JDM black Vtec cover
Password JDM black radiator stays
Spare AP1 valve cover soon to be powder coated gloss black
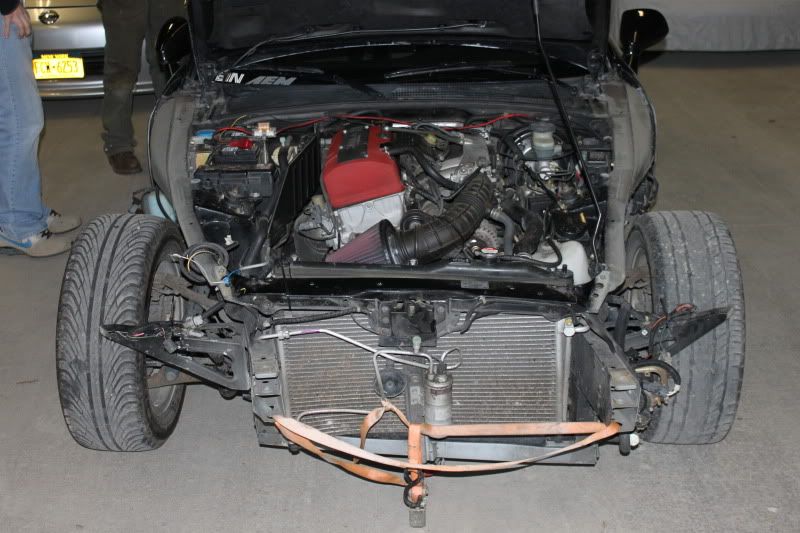
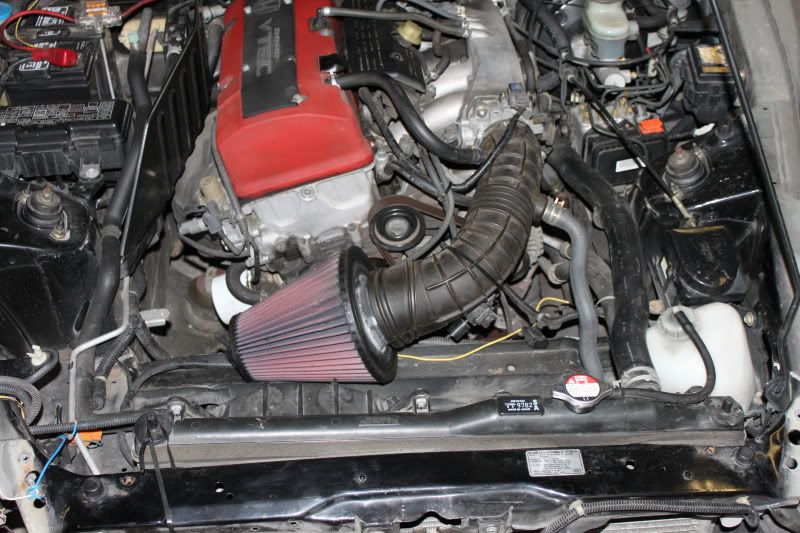
AEM V2 cold air intake
Invidia 70mm test pipe with bung welded in for AEM wideband
Invidia Q300 dual exhaust
T1R rear anti-bumpsteer kit
Exedium front anti-bumpsteer kit
S2carbonworks coolant overflow
AC delete
Braille battery and mount (need to be installed)
0/1 gauge wire for battery relocation (need to be installed)
Erie s2k Driveshaft spacers
walbro 255lph fuel pump (needs to be installed)
ACT Prolite flywheel
ACT HD pressure plate, OEM disk, OEM bearings
Parts For Sale (Pm for pics of anything, don’t want to clutter up here, all prices obo)
BB Trunk lid with a small dent in the passengers side corner $50-
BB rear bumper with a small (4-5" crack) in the lower passenger side, some scratches as well. $50-
Passenger airbag $200-
SRS wiring harness (main) $80-
SRS module $100-
A/C Pump $200- obo
All A/C lines $200- obo, will seperate
A/C Condenser (a little bent but works 100%) $75-
A/C Condenser Fan $75-
A/C Bottle $75-
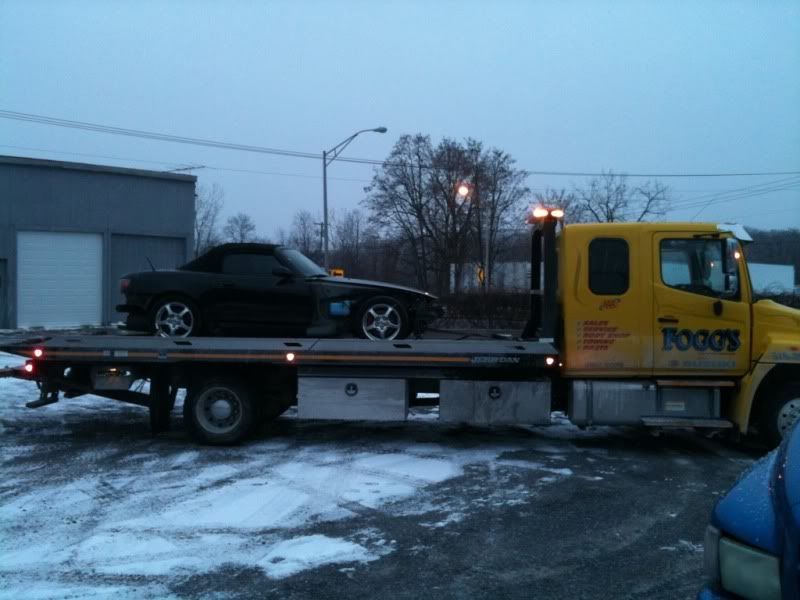
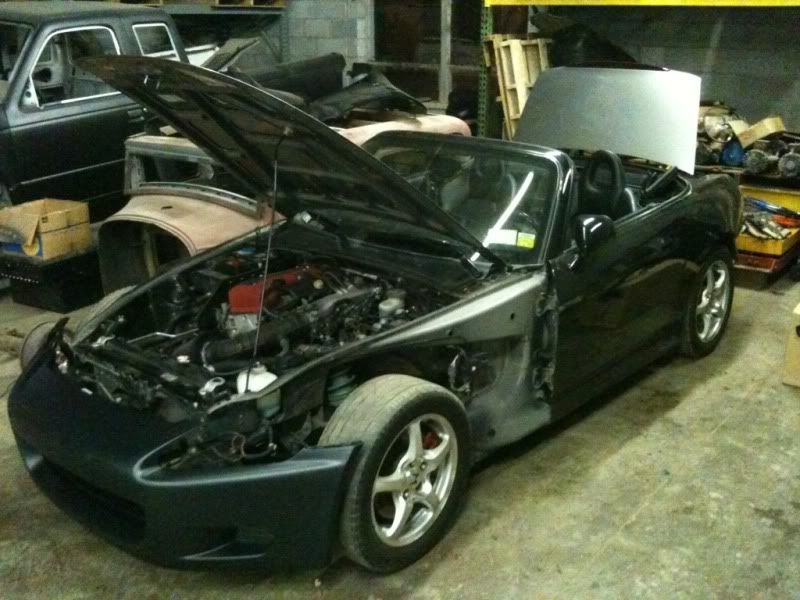
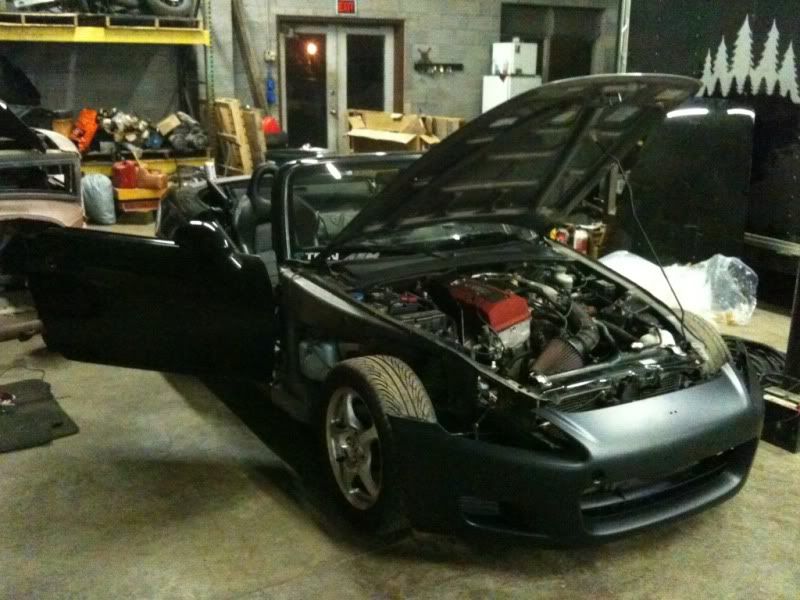
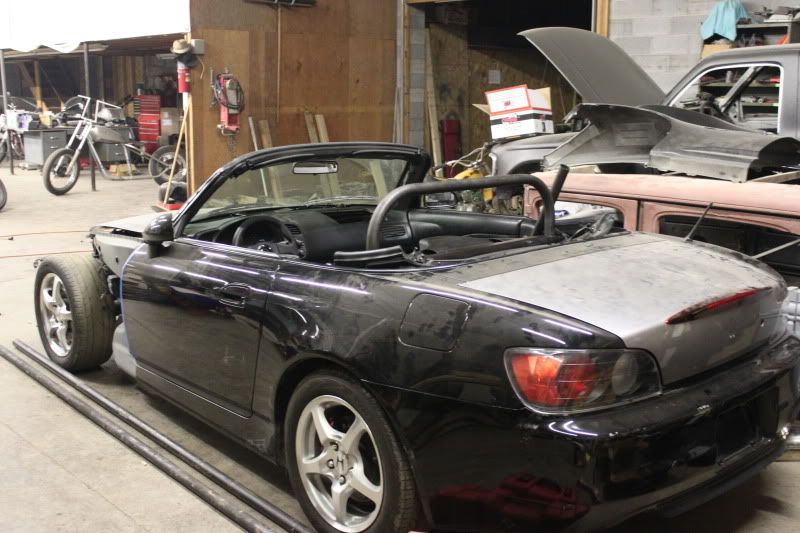
11/24/2010 -The day i purchased this car
11/27/2010
I drove out to Western Mass and picked up an oem trunk lid and two oem hoods. Figured i’m make one of the hoods vented as i’ve seen in a diy on here.
Then on the way home i went to poughkippsie to pick up taillights. Picked up taillights and also ended up picking up a carbon fiber hood at a great price they guy also happened to have laying around.
*I have one or possibly two oem silver hoods for sale in perfect condition if anyone is interested
11/28/2010
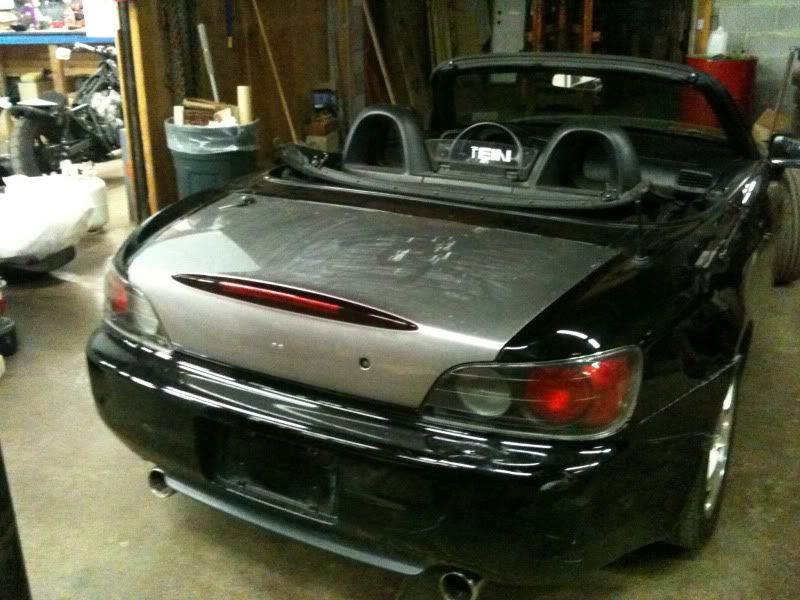
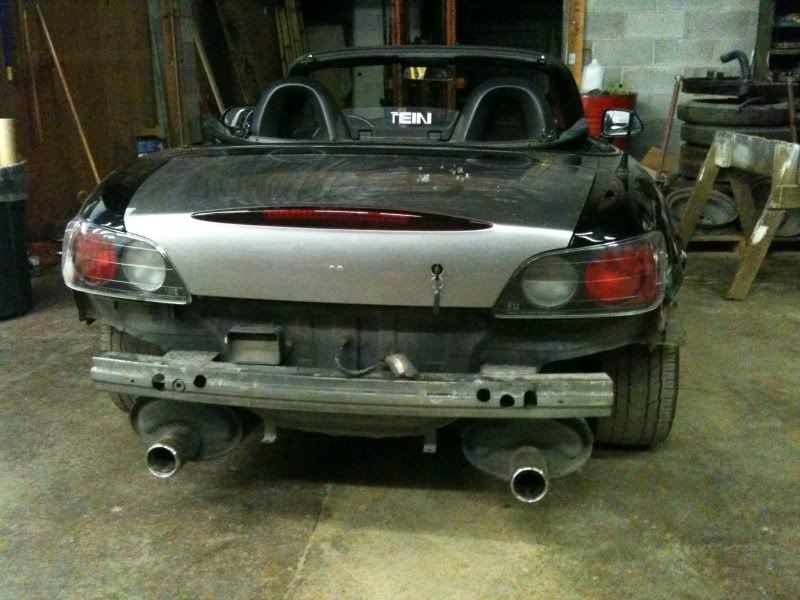
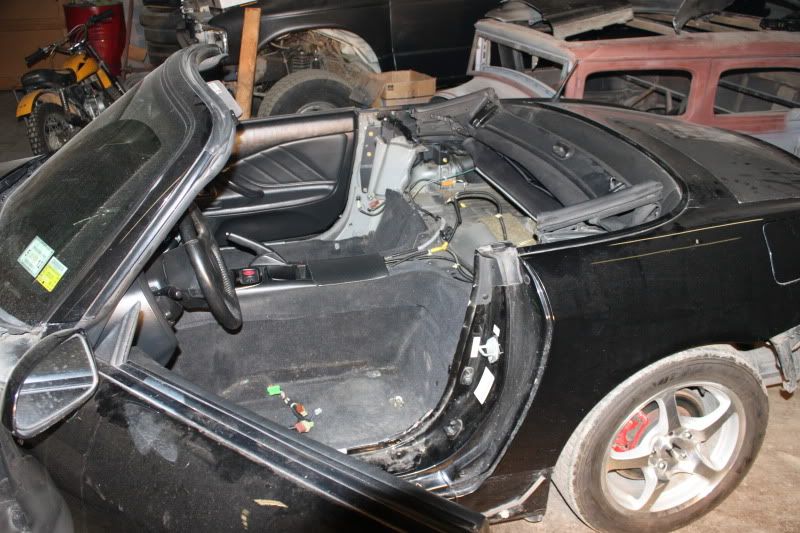
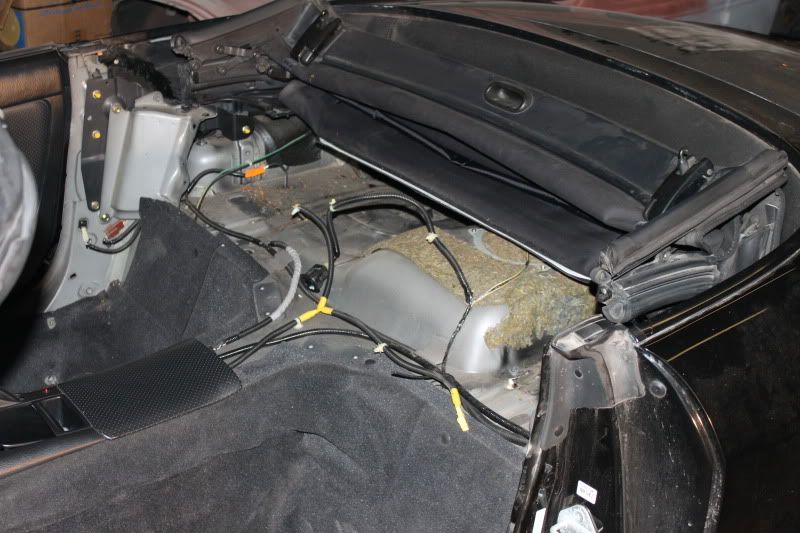
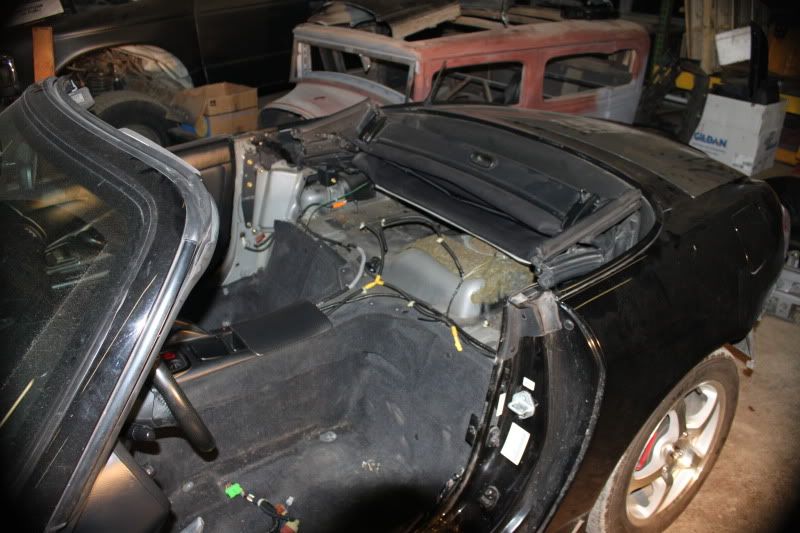
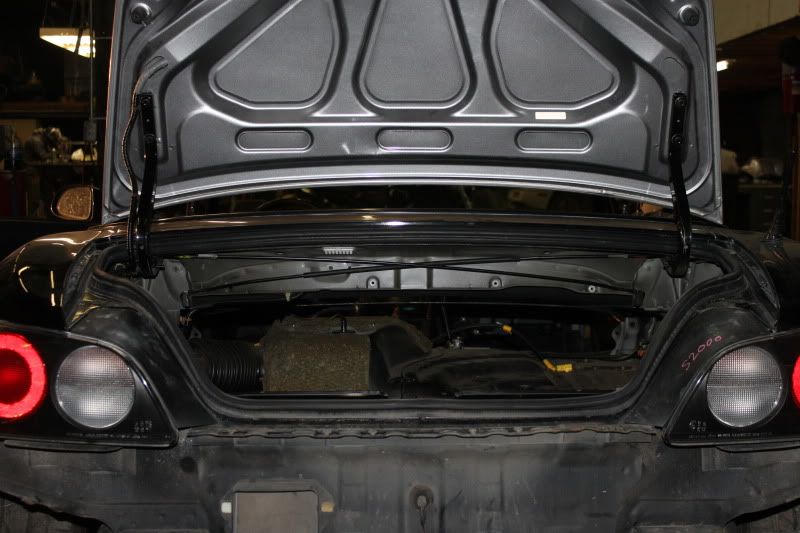
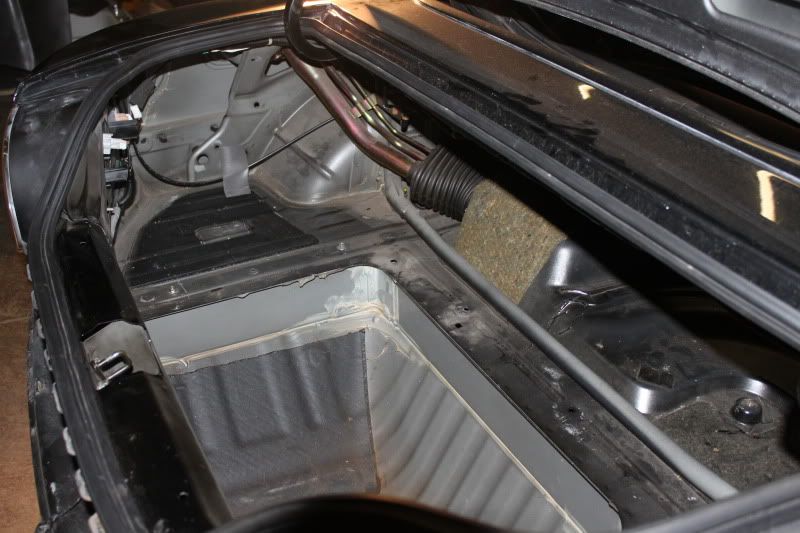
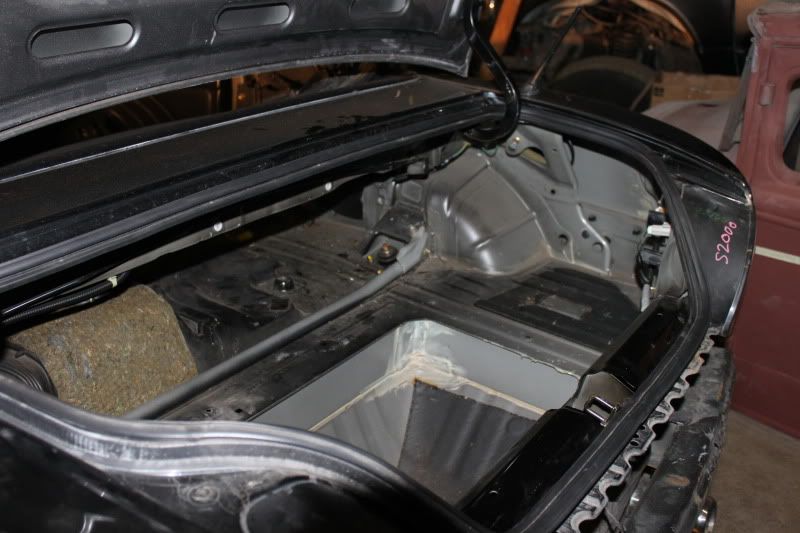
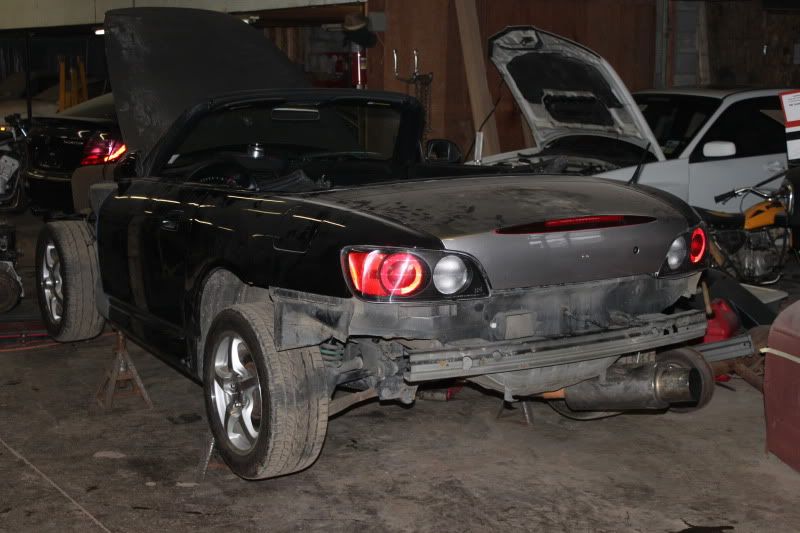
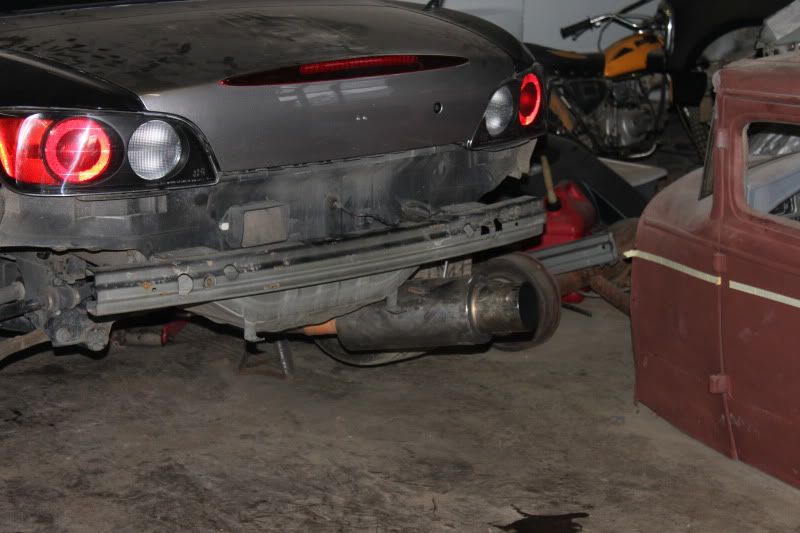
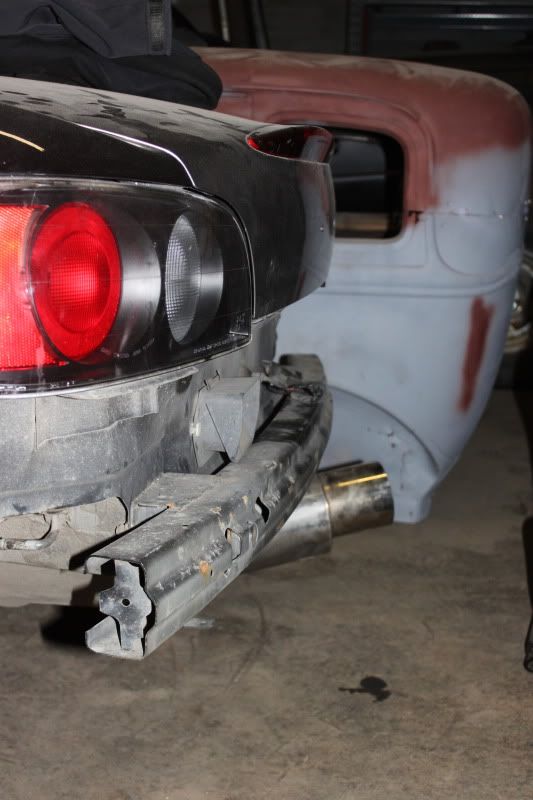
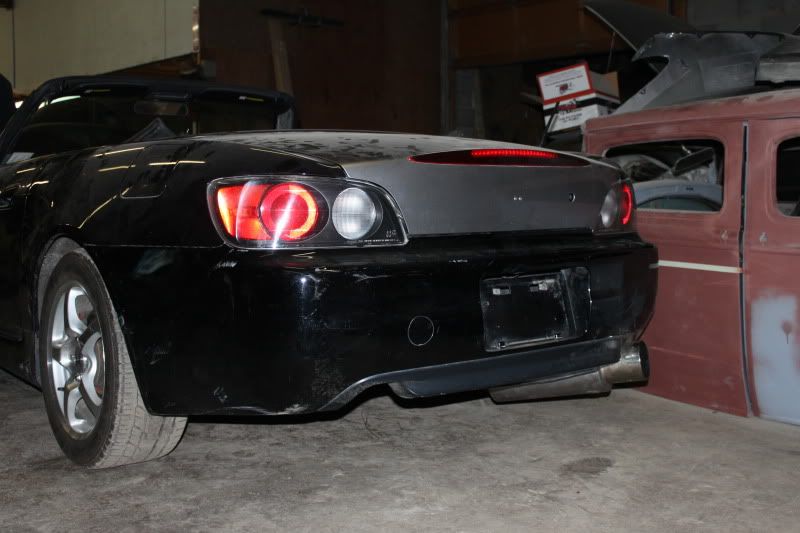
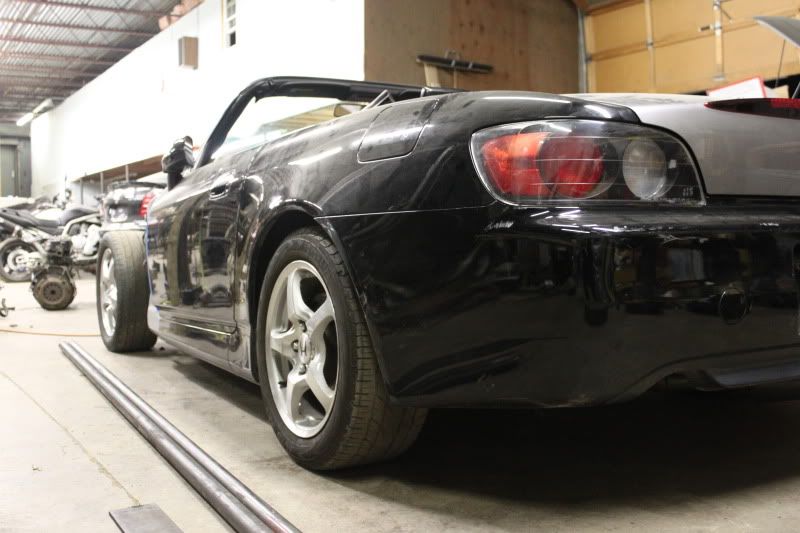
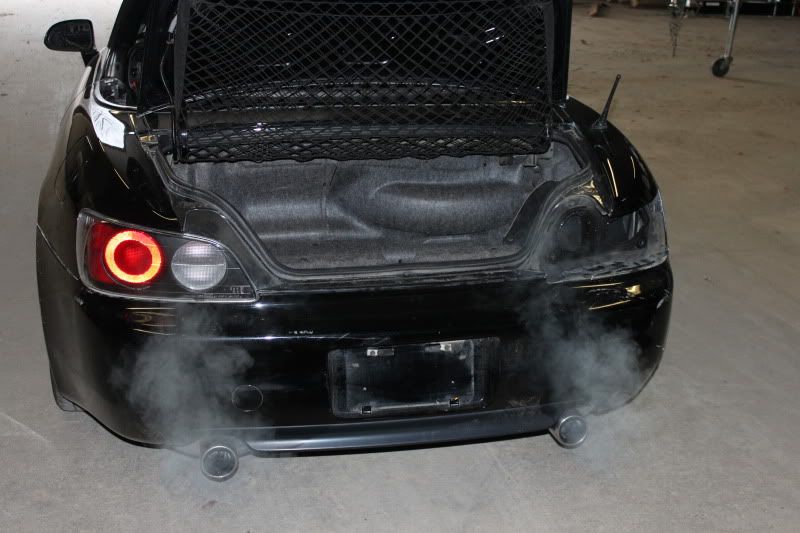
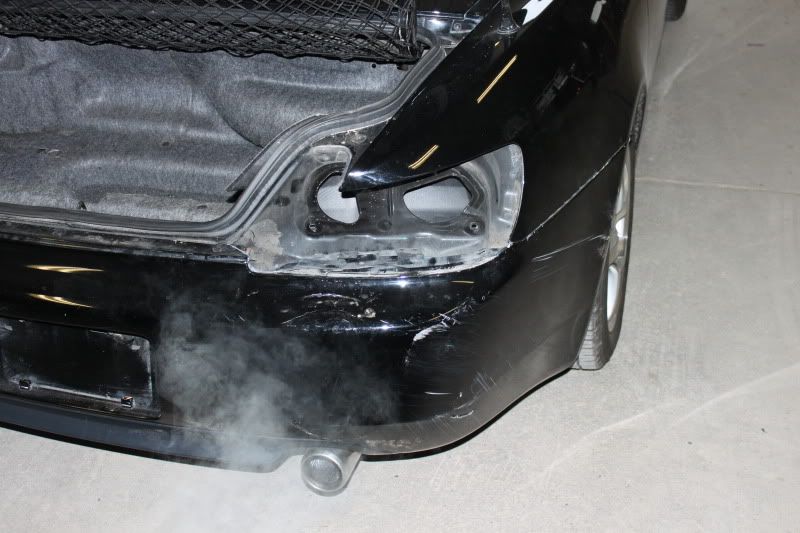
Got the new trunk on tonight, straighter out the rear end, and got the rear right taillight in. Also pulled the rear bumper off
12/3/2010
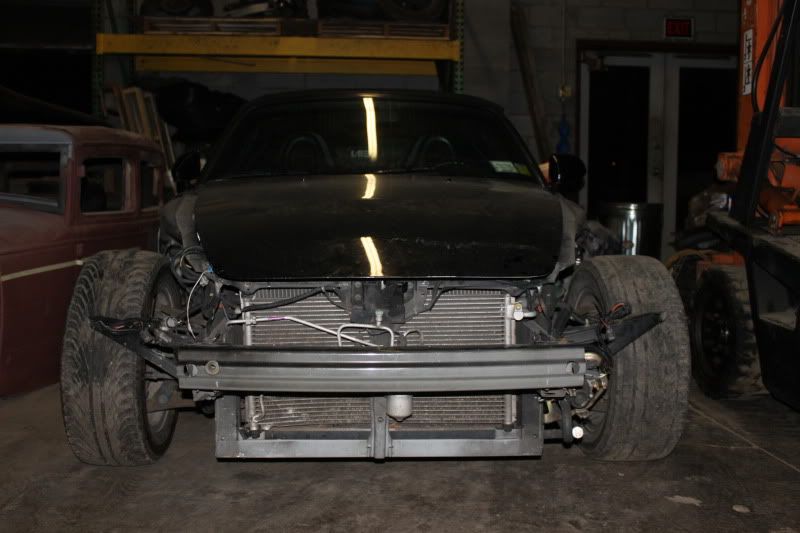
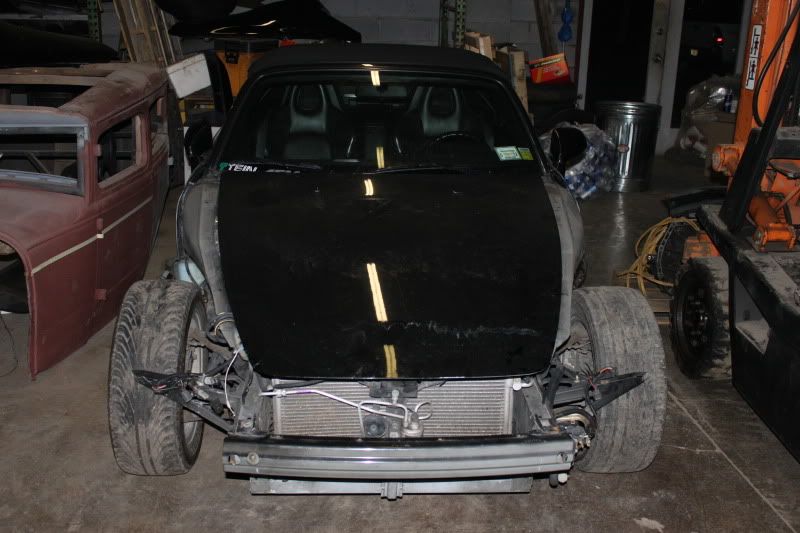
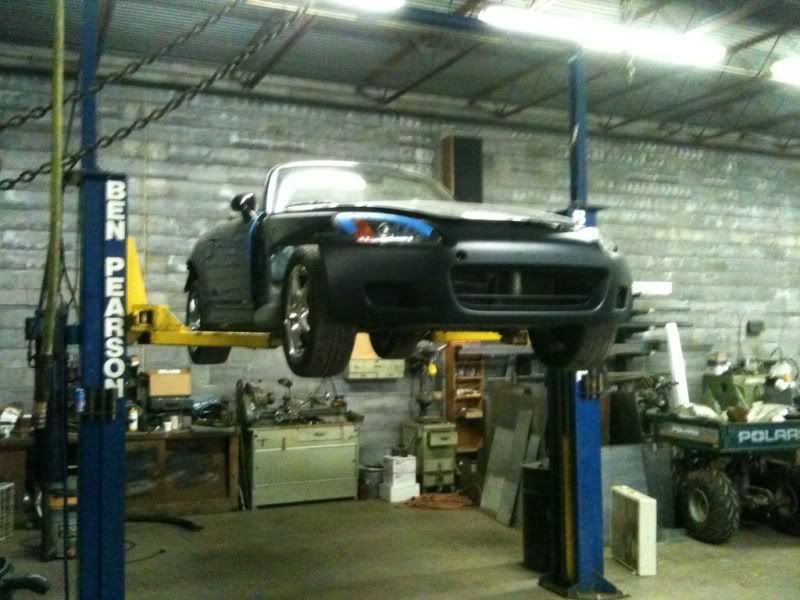
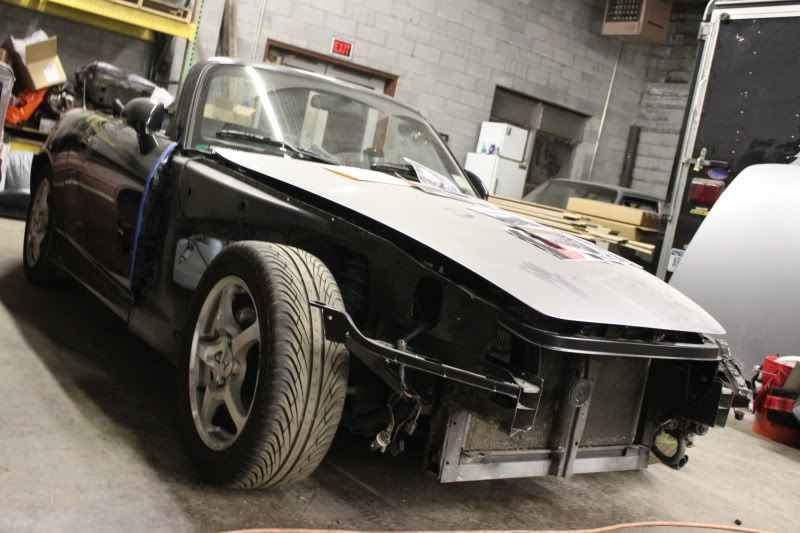
Dropped the car off at Harts Collision in East Greenbush to have the frame straightened. I should have it back midweek of 12/13
12/13/2010
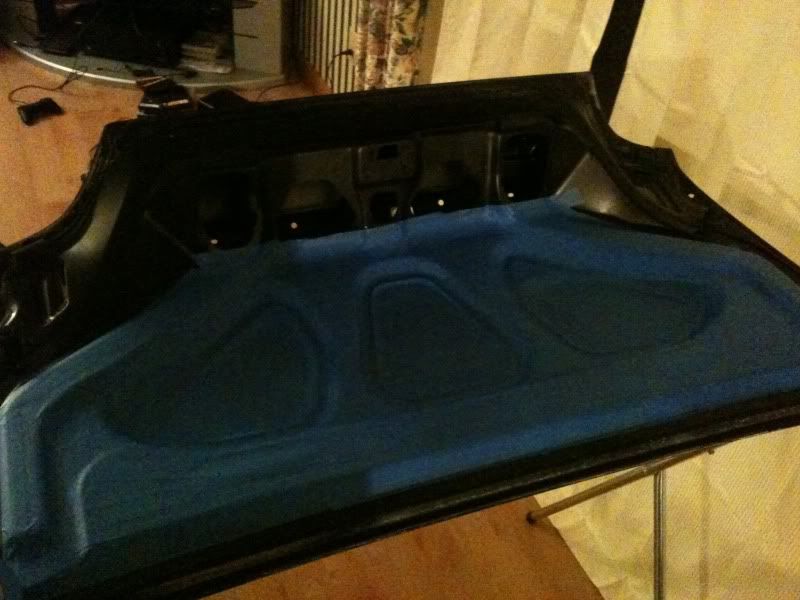
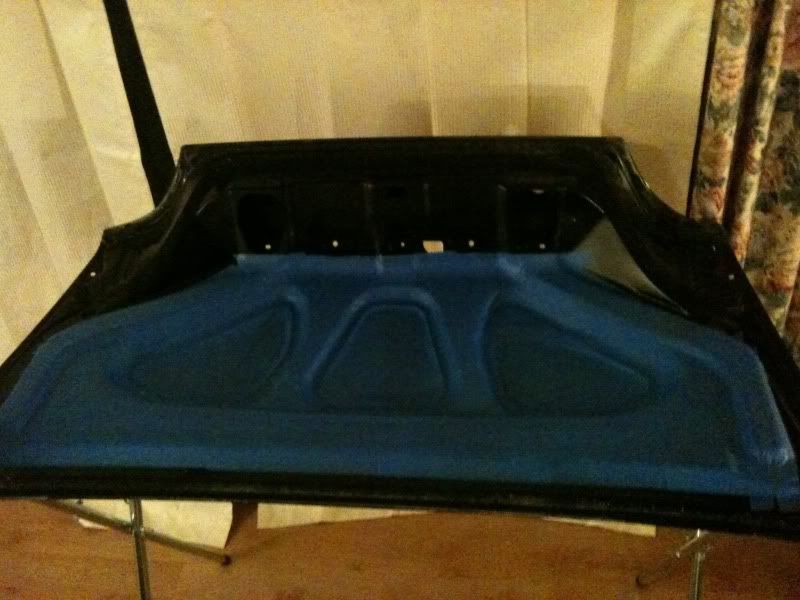
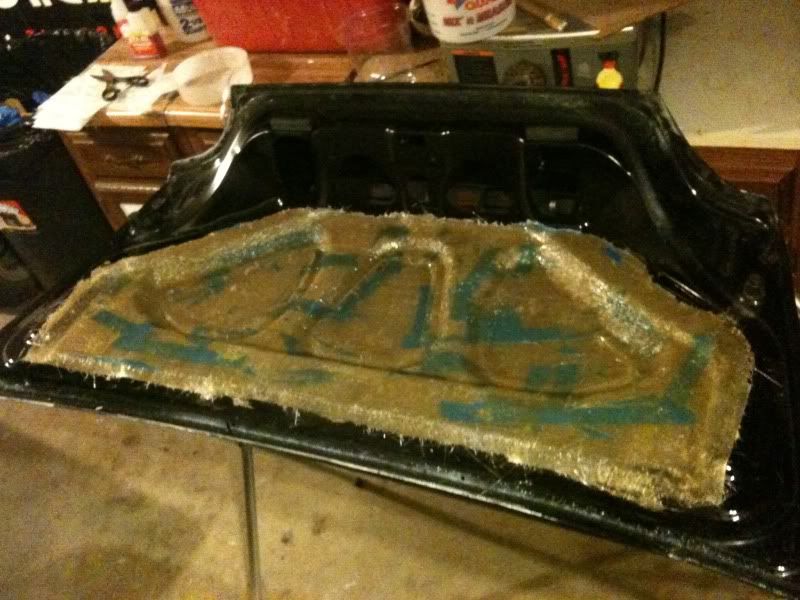
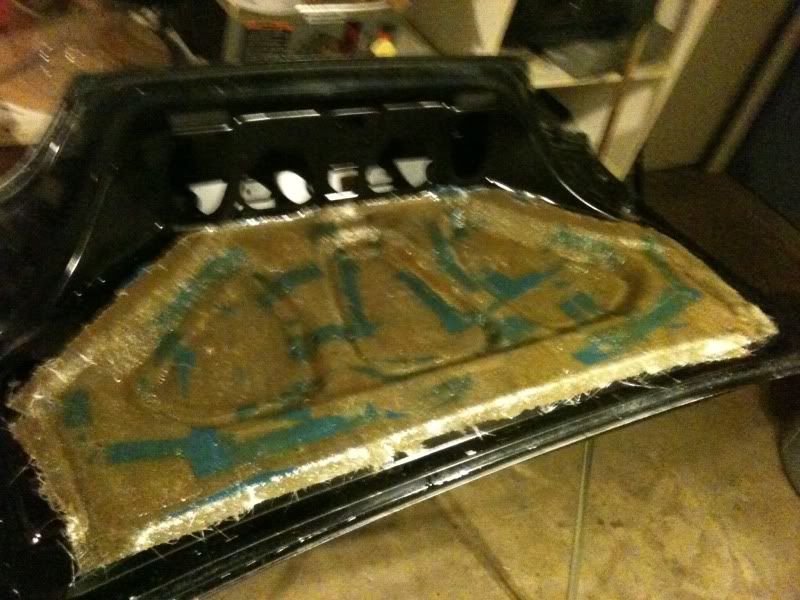
Well, with the s2k in the shop for the frame straightening I have been eager to get it back and continue working on it. I have the dented trunk lid still lying around so I figured I’d make a trunk lid under cover. I already had all the mat, tape and the fiberglass which was dated 1/2011 so i wanted to use it up before it expired. I think I’m just gonna mount some crossovers here and a jsenclosures.com logo lit up under smoked glass.
Taped it off and made the fiberglass mold tonight.
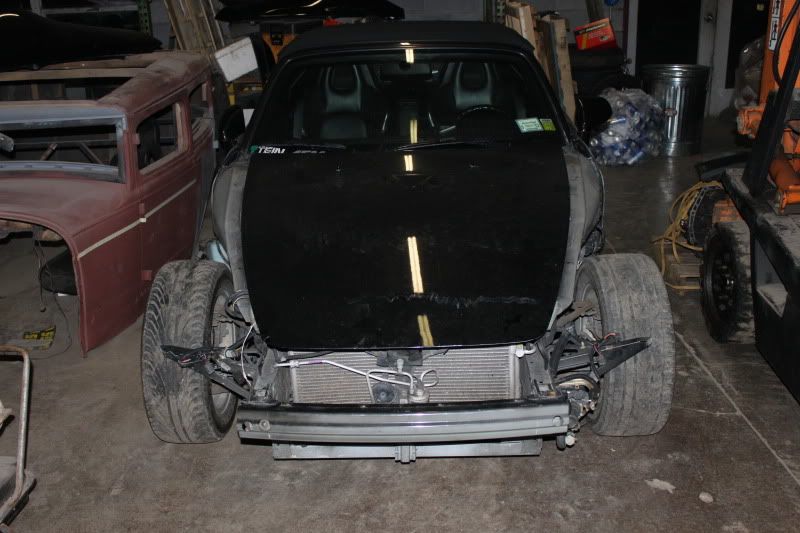
12/17/2010
Got the car back from frame straightening. Looks perfect and the alignment is great with the wheel again. Still need to take it in for a 4 wheel alignment after new tires though.