While it’s in this state, are you going to add some bracing or weld some of the seams to get the body more rigid and flex-resistant?
Maybe if i have the underbody soda-blasted, I will then, However, I think I am putting a 10 point+ cage in her for rigidity…
Mr. Newman. When you finished tacking in your patch panels to the floor do you have to run a bead all the way around before the seam sealer or will it hold up by itself from moisture?
Nice progress BTW.
you guys need to work on your reading skills. ![]()
Well dere ya go raht dere. 
![]() Ha! I meant
Ha! I meant
a) Tack + Seam Sealer = Good Enough
b) Tack + Weld Bead + Seam Sealer = Better
Who sayz i dunt reed goud?
yea, but i think he should seal the seams first.
i hate you guys.
<3
yesterday, tonight, and tomorrow all look like they will be spent grinding rust and welding. Not a lot to report on that front.
However…
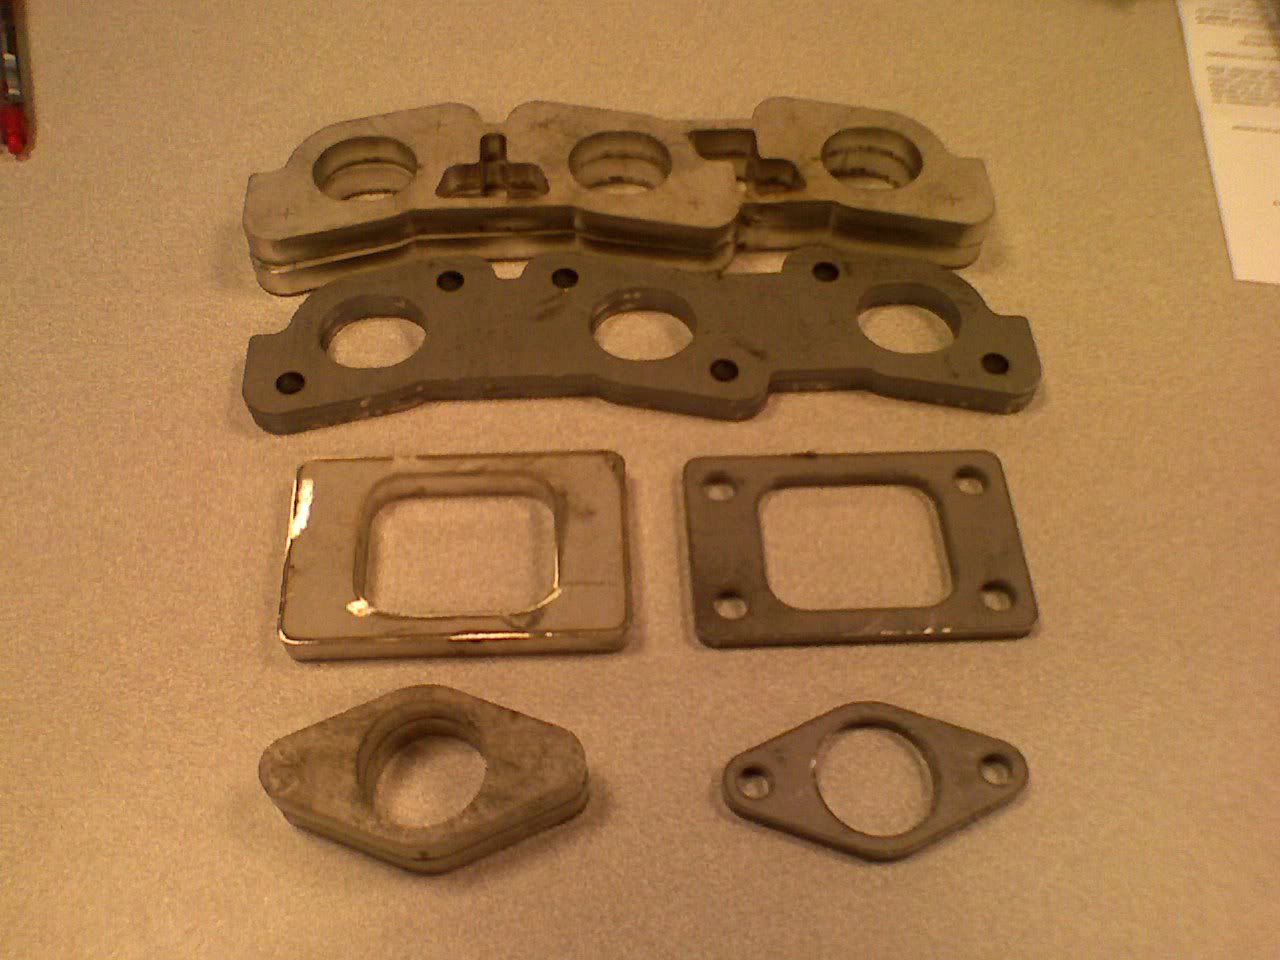
2 sets one for mockup/jig one for the final product.
1/4 Mild steel
1/2" 304SS
Compliments of Derrick Corporation. Holla.
why half inch SS?? that is one hell of a thick flange
by the time it’s welded, then machined, it will probably be around 3/8. It’s already bowed just from the laser. Note no holes in the SS, it’s too thick to get a good laser hole, so i had etch lines burned in where i need to drill the holes on the mill.
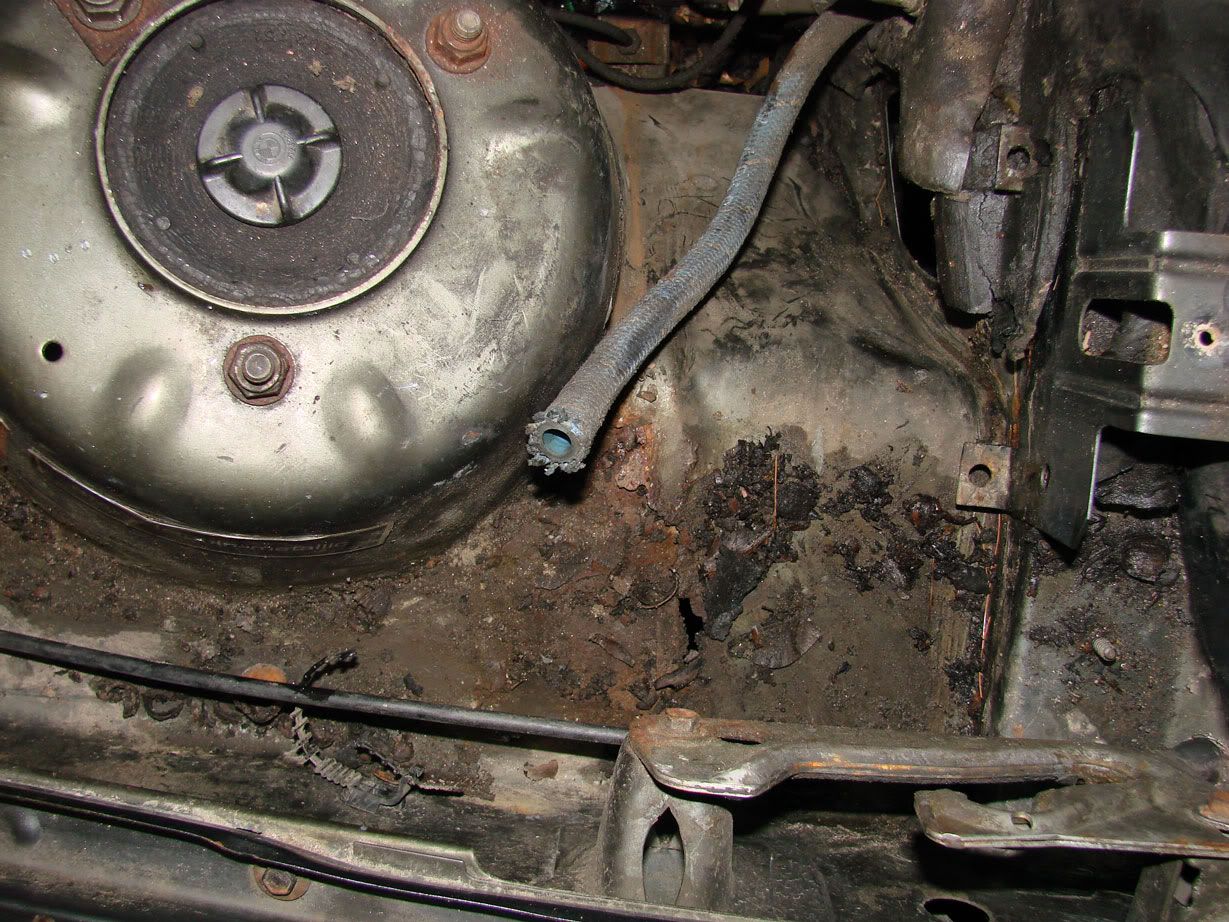
Ok, here’s some body shots…
Before:

After:
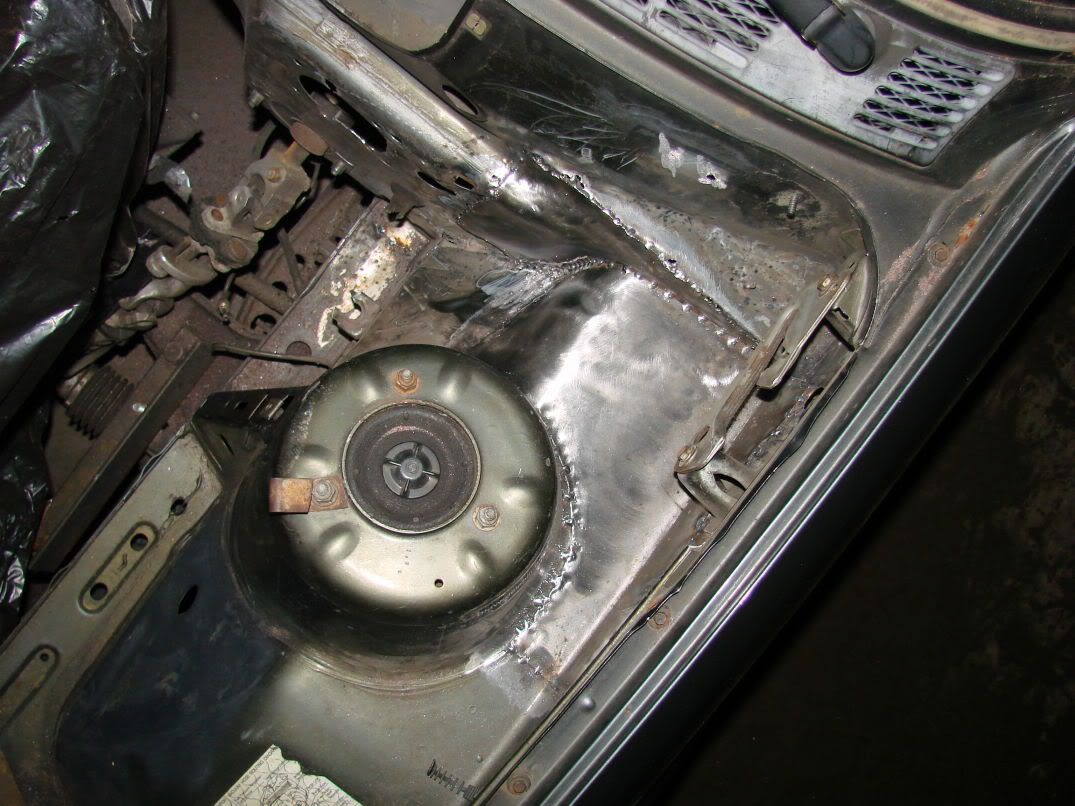
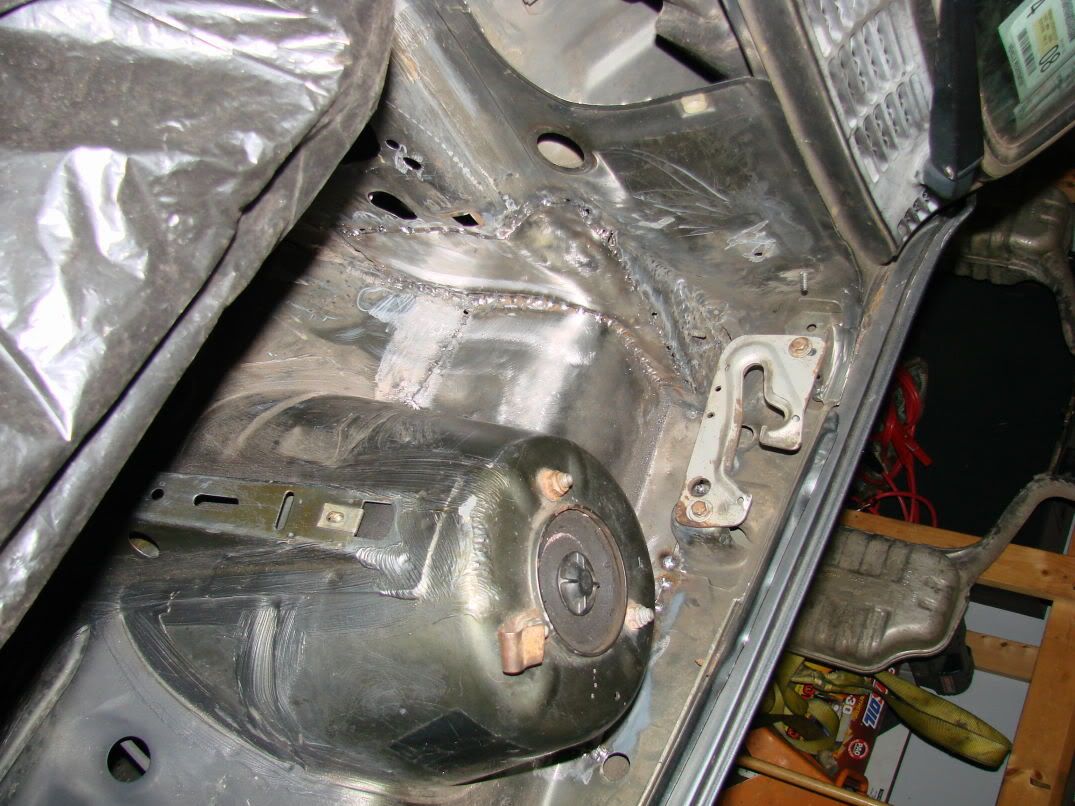

A few blow holes, nothing that won’t be taken care of with seam sealer, but all in all a good solid repair.
The last shot is a good comparison for everyone who thinks the shell is beat… See the rust at the bottom? That’s one day of surface rust on 100% new metal… The camera REALLY makes it apparent… It’s almost invisible to the naked eye… Same goes for a lot of the “rust” on the car…
that’s probably a good idea. have you considered rust inhibiting paint? :lol:
seriously, it is coming along great. i can’t wait to see it when it’s done.
trying to get it done for spring/carlisle/winged warriors… I’m busting my ass on it… we’ll see…