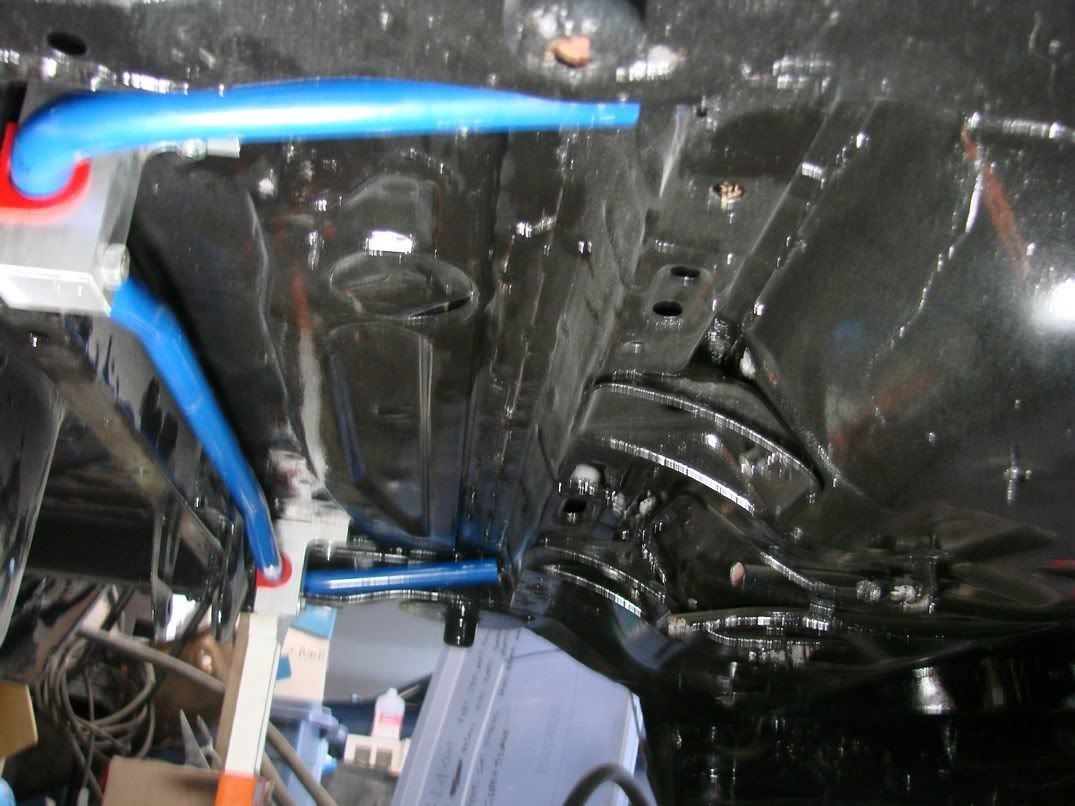
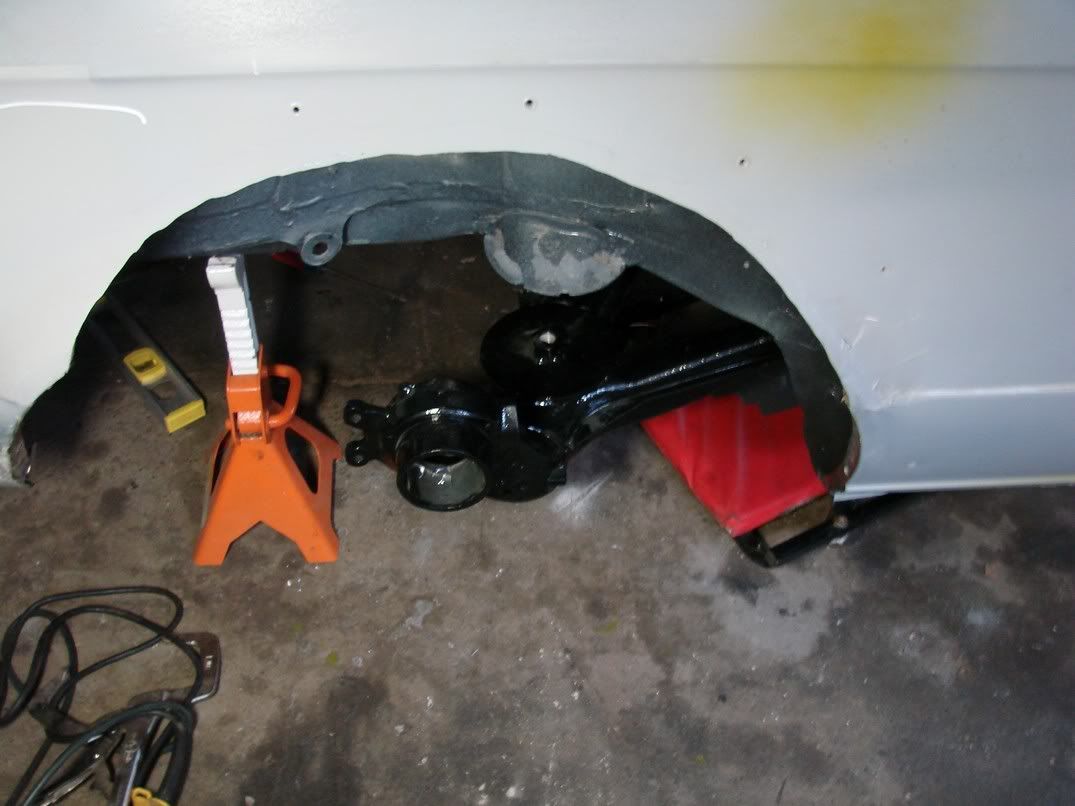
interesting colors, should look pretty good once finished.
I went to my local sears on a sunday and paid $30 after tax for them to press my bushings.
Yea just don’t goto my sears. I broke our press on a explorer hub. Try eastern hills or galleria.
I have a press at work, I’m going to use that for the big ass subframe bushings. I used a vice for the trailing arm bushings.
Looks very good newman, :tup:
I must ask though, what is with the rainbow of colored parts going in?
Project looks to be in high gear now. You find that 14x1.5 yet? I garuntee Northstate had it.
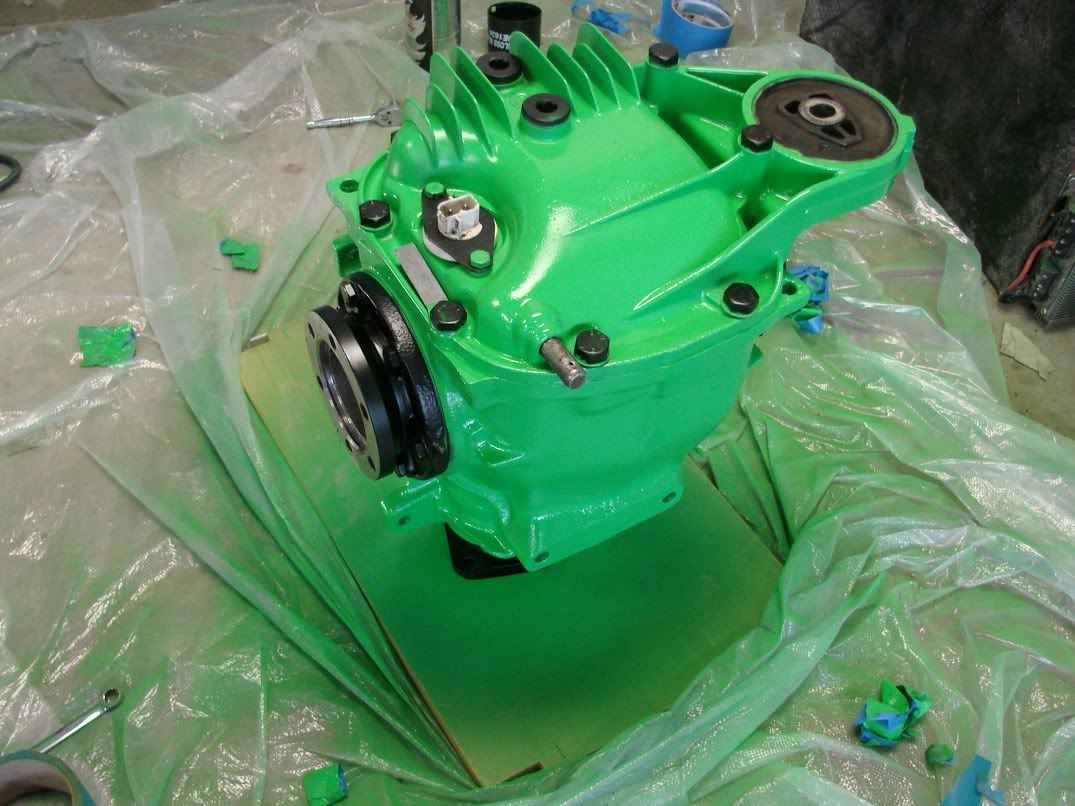
Rainbow of parts is just on the underside… Won’t be able to see it unless you look. Like a lil SURPRISE! Dif is gonna be lime green. 
Northstate had the nut! :tup:
I like that answer.:tup:
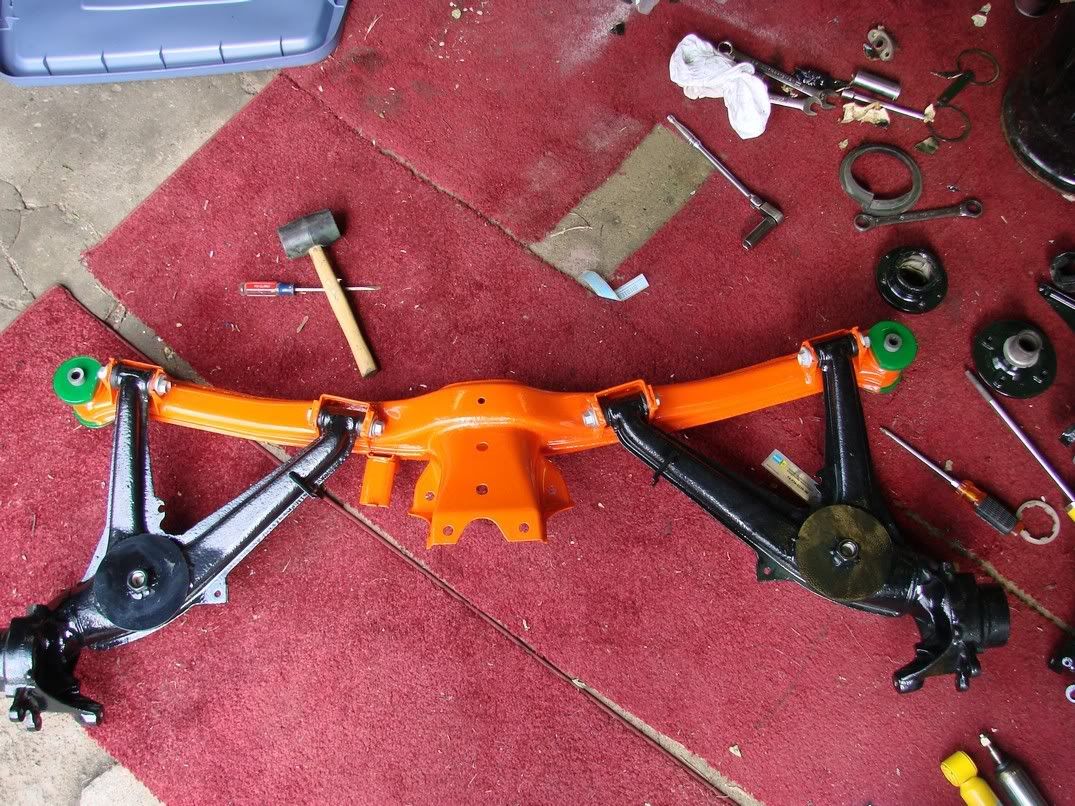
Assembled the rear subframe. Pressing in the new poly bushings wasn’t too difficult, all the parts were nicely powder coated…
That in itself created a little bit of a problem. A long time ago I had the rear subframe powdercoated. Then I remembered that I had purchased the Ireland Engineering camber kit.
This was a weld on kit with eccentric bolts that you rotate to change camber (inside bushing) and toe (outside bushing). Since I had to weld on the subframe and powdercoat again, I had to strip off all the old powdercoat. That was NOT easy. 3 trips through the automatic blaster, a belt sander, hand sanding and manual blasting later, I was able to weld and re-coat the part.
Welding the parts on was pretty easy, I had to do some extra fabricating, though, because the camber adjusters weren’t all that well designed.
Here is a shot of the subframe assembled:
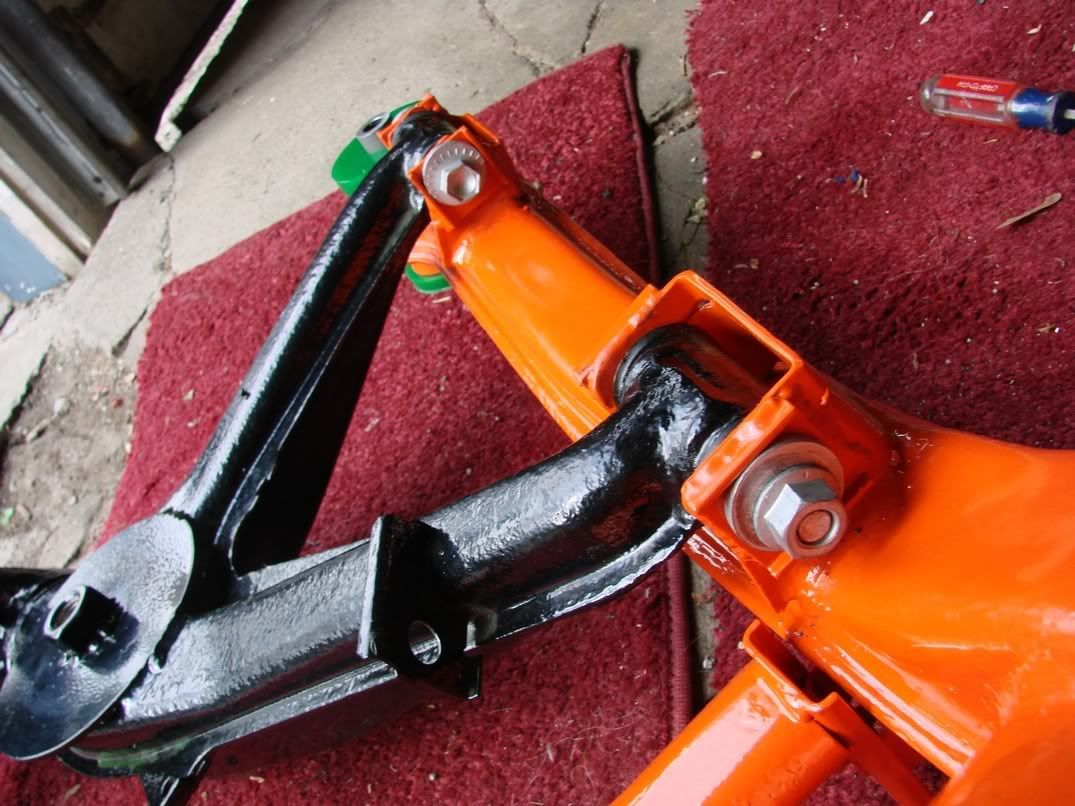
And a close-up of the camber adjusters. Basically the channel portion that the eccentric bolt rides in welds onto the subframe, then you slot the existing holes. Turning the bolt allows the bushing to ride up and down (foreground, camber) and forward and backward (background, toe)
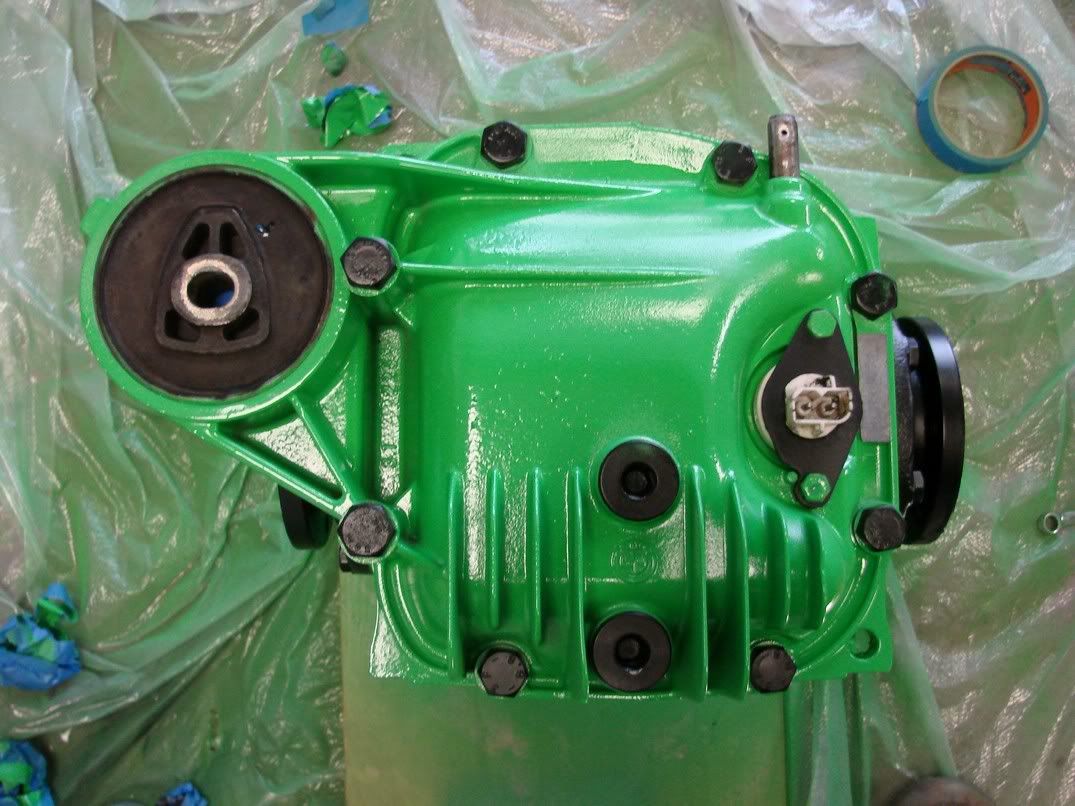
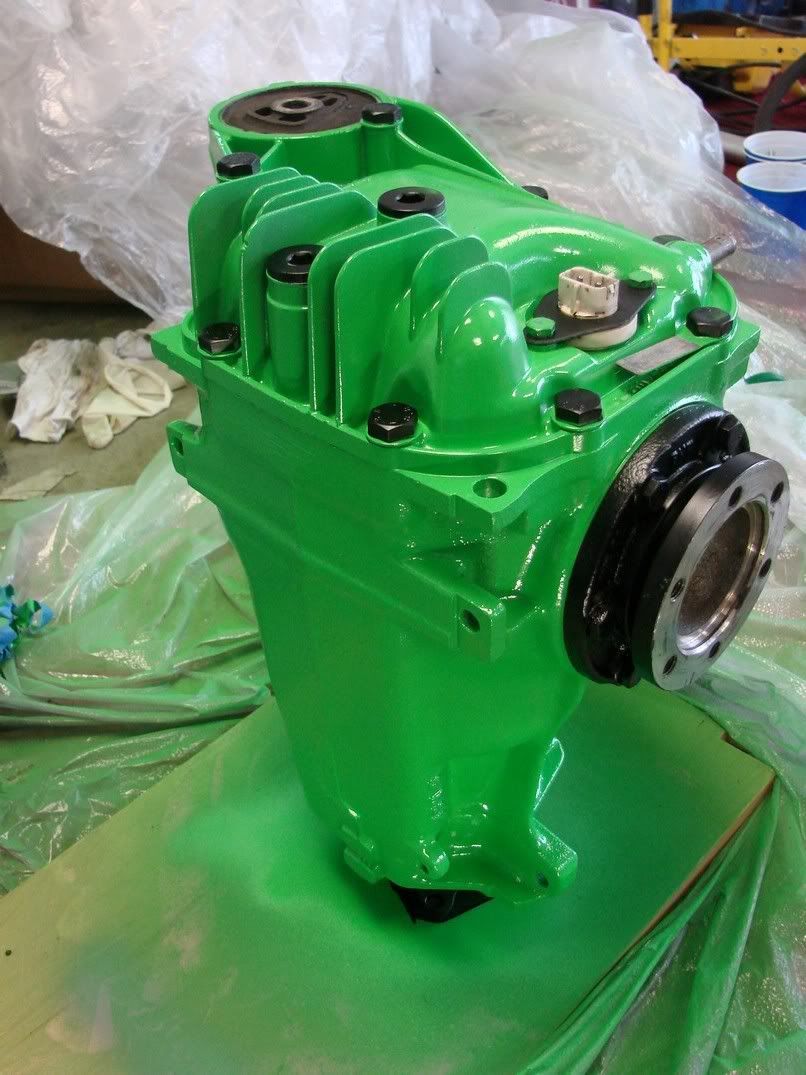
Then I painted the rear dif. It took so fucking long to clean it… Like 4 hours. Just adding to the rainbow of colors! I used duplicolor 500 degree engine block paint to the dif. I used the some very aggressive stripper/degreaser to clean it.
A few shots of that:
Next, I installed the Ireland Engineering rear swaybar. The factory swaybar uses only one bolt and a tab to hold it on. The Ireland mounts use that one bolt, and then require the drilling of 2 more holes into the trunk then a backing plate. Much much stronger.
I didn’t install the end links yet, because I’m not sure if they’re going to be in the way while installing the dif.
While the paint was drying I installed the subframe… alone. Kind of a pain in the ass to do alone, but it’s done.  I was worried that the subframe was going to be slightly warped from the automatic blaster, but it fit in fine. Finally something going right! I really need to re-spray the wheel wells.
Tomorrow I am probably going to rhinoliner the trunk and clean the transmission for installation…
Monday should be wheel bearings…
I need rubber spring seats and shock mounts before i can install the rear suspension, and strut bearings before I can install the front suspension…
Does anyone have a pair of item 15 or 16 that I can have?

looks good pumkin.
wow, very nice man. this is the fun part, you get some motivation. But it sucks you don’t want to use a old, wire clip, used spacer, whatever. The little shit get to you.
OH yeah. At least I have the advantage of a free sandblaster/powdercoater at my disposal. ![]()
love the detail going into this and the random colors under there :tup:
ya, I missed working at a machine building shop for the side projects. I like the details.
You had to take all the PG off? is that what somone that knows more says is better? I have that eastwood DIY PG kit. And I’ve just grind off a section to metal. That needed welded tabs on. Weld it, re gring and PG off that got heat damage. The prep just the bare metal like normal. With the ground on the bare metal part, when you spray the powder it only stuck fine to the bare metal like normal. And flowed out and hardend fine. It wasn’t a spot on a large flat area, so I dont know how it would blend for the surface finish. But it didnt peel or anything, in the blend of the 1st and 2nd PG spots.
I probably should have tried to spot coat it, but I damaged a LOT of the PC while screwing with it. Oh well, lesson learned.
Man, this thing is really starting to come together.
I was going to ask where you get the powder coating done.
<<< Jealous
Nice progress. Keep it up. :tup:
be there in a week… hope it’ll be done :-p
![]()
I started cleaning my transmission last night for installation.
The “anaerobic sealer” that I used never set up. It’s still gooey. I am probably going to have to pull the tail section off again and put something else on there. 
I guess with it being an “anaerobic sealer” it should only cure where the faces meet…
http://www.ellsworth.com/display/productdetail.html?productid=1004&Tab=Vendors
*  Name:
* LOCTITE® 515™ Gasket Eliminator® Flange Sealant 50 ml
* Part #:
* 51531
* Description:
* 515 Gasket Eliminator is a ready to use, one component, gel-like anaerobic flange sealant that cures at room temperature when it is isolated from air contact. 50 ml tube.
I never put the “activator” on the case flange. And this is why I was worried, but I guess you only need that to cut down the cure time, so I should be good. 
