The long standing debate of paint VS powdercoat I would like to put to rest. The short and sweet of it can be summed up with they both perform great, when used where their pros out weight their cons.
Paint pros:
- Unlimited choice of colors, effects, graphics, airbrushing, OEM color matching etc.
- Availability for materials. More places and people that can do it.
- Ease of repair if scratched, chipped or curbed.
- If you scratch paint, it only effects the localized area to damage and wont spread.
- Easy to remove if you want to do them again.
Paint cons:
- Paint is expensive. A simple primer, base, clear in a cheaper color and cheaper basecoat is about $230 for materials alone.
- Somewhat easier to damage. The thinner the over all paint the stronger it is against impact chips and scratches.
- somewhat low resistance to heat.
Powder pros:
- Cheaper materials cost. About $60 in powder will coat 4 wheels.
- Strong scratch resistance
- More heat resistant
Powder cons:
- Color choices and effects are very limited. A lot more choices are coming out recently, but still no where near paint. Solid colors and designs, or things that can be masked off only.
- limited places that can do it. The gun is anywhere from $50-150 for an entry level system. $350-600 for a decent “hobby system” and thousands for a pro level system. Need an oven to do it. an 18" will not fit in most home ovens (never cook in it again so get a junker).
- Powder doesn’t really bond to the base, it coats it like a shell. So when you chip it, you have problems. Water and junk can get behind it and make it worse.
Cant really be touched up for repairs. - Removing it to try again either requires a HEAVYDUTY media blaster or specialized chemical strippers to remove it
Thats a quick run down. I honestly say its 50/50. If you want a show car/wheel you want paint for the color choices and easy of touching up, repairs, or changing wheels but keeping the same color. If your not racing road courses always getting your brakes red hot, paint will be fine. Keep in mind most OEM wheels are painted from the factory. When I say heat i am talking 400+ deg surface temps on the paint. While the red hot brake is next to it, there is air movement keeping the wheel surface much cooler. Unless your rally racing and drifting in sand or stones, getting a rock chip on the SIDE of the wheel is very hard to do, so the minor difference in chip resistance is not a big deal. If you need heat resistance, a stronger finish, as in a race car… powder is for you. Color choices aren’t a big deal and re-coating a wheel to “change things up” doesn’t happen. Money is there and you buy new.
So lets get to the process.
I started out this project with some 18" BBS RC wheels. BBS’s are powdercoated from the factory, so blasting them was a pain in the butt. In my blaster I can sweep the gun with some Black Beauty media around 100psi and it wipes paint off like it’s nothing. At 130psi I could hardly remove the coating. I brought it to a professional sand blaster to do it. $160 to have them blasted. Usually I have them shoot painted wheels for $15 apiece, so you see the process takes even the pros a lot longer to remove powder coating. Also here is a hint with media blasting. Don’t use paint stripper on the wheels first, thinking you will save time and remove 70% of the coating and then just blast the rest. It actually works against you when you go to blast them. Media blasting works off impact, as you slam the surface with media it more or less chips the surface off. The paint stripper softens the coating, and takes away the force that makes media blasting actually work. It slows the process down a TON. Its like blasting a greasy motor part VS a rusty normal part.
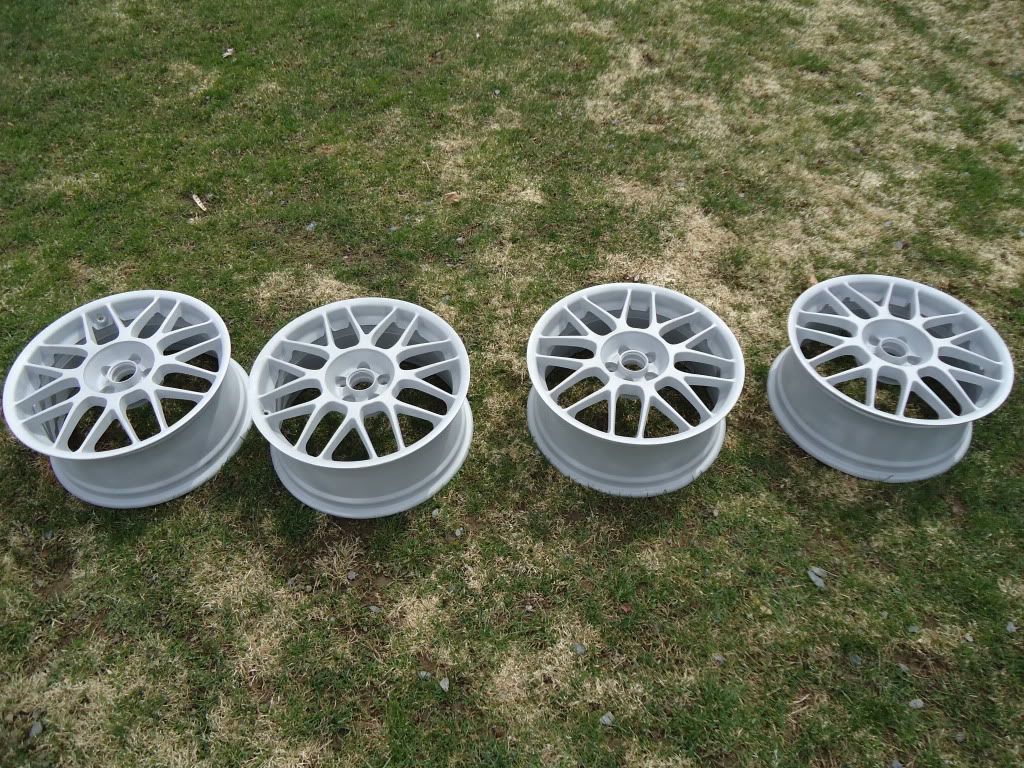
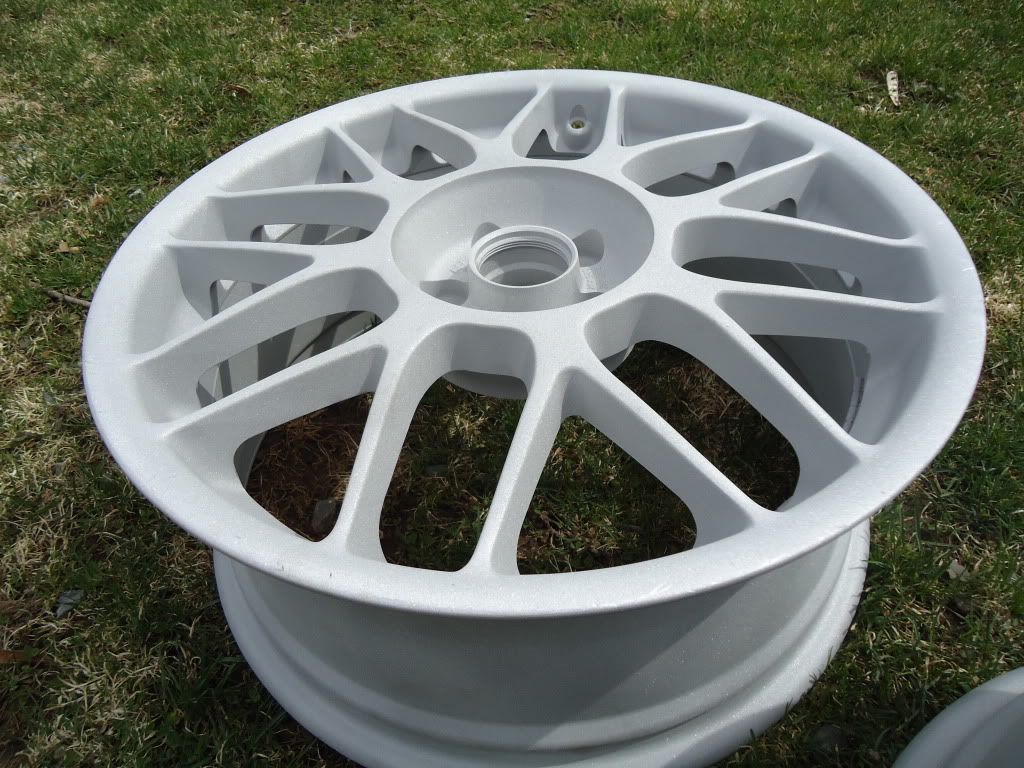
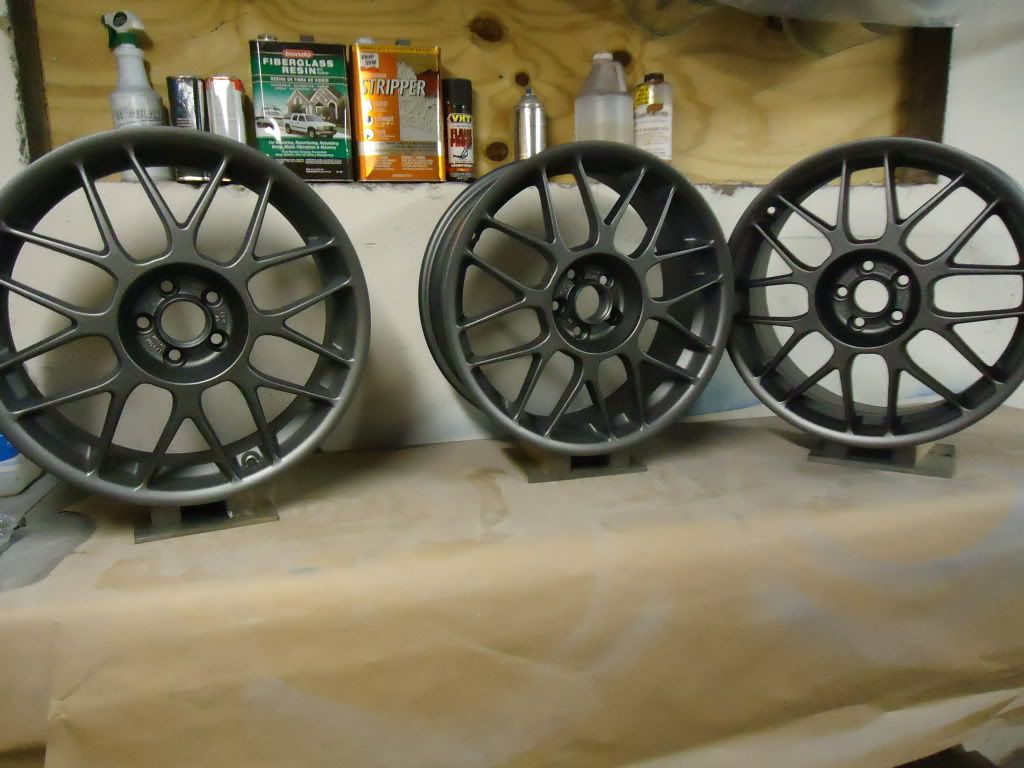
So here are the 4 wheels completely stripped.
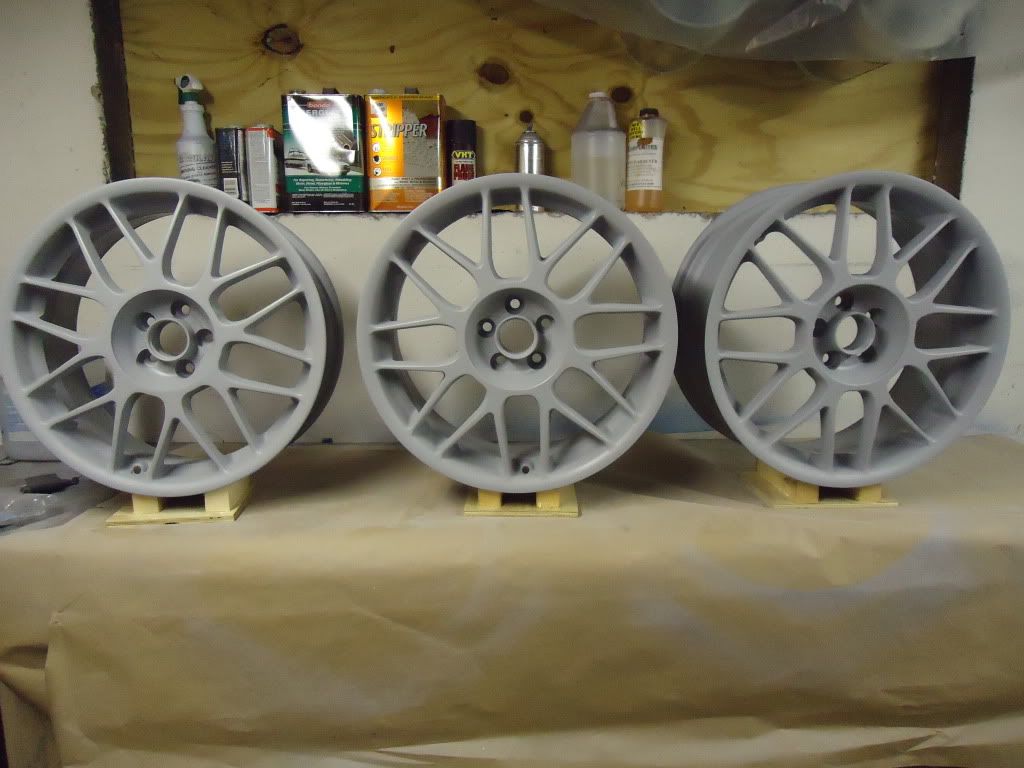
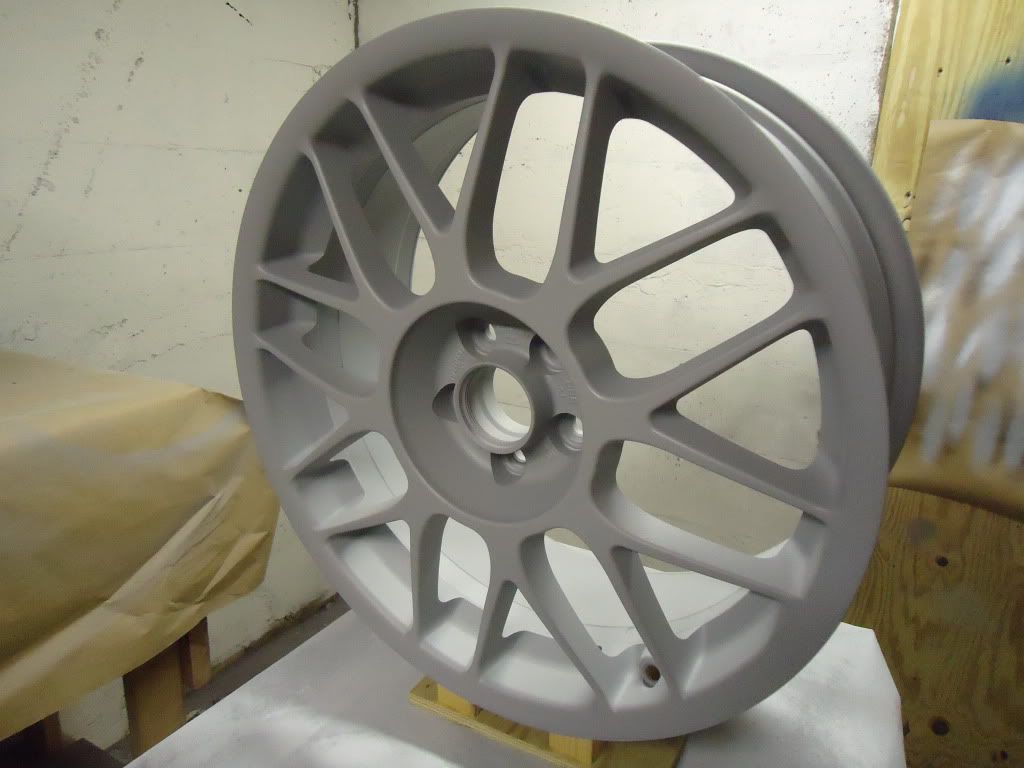
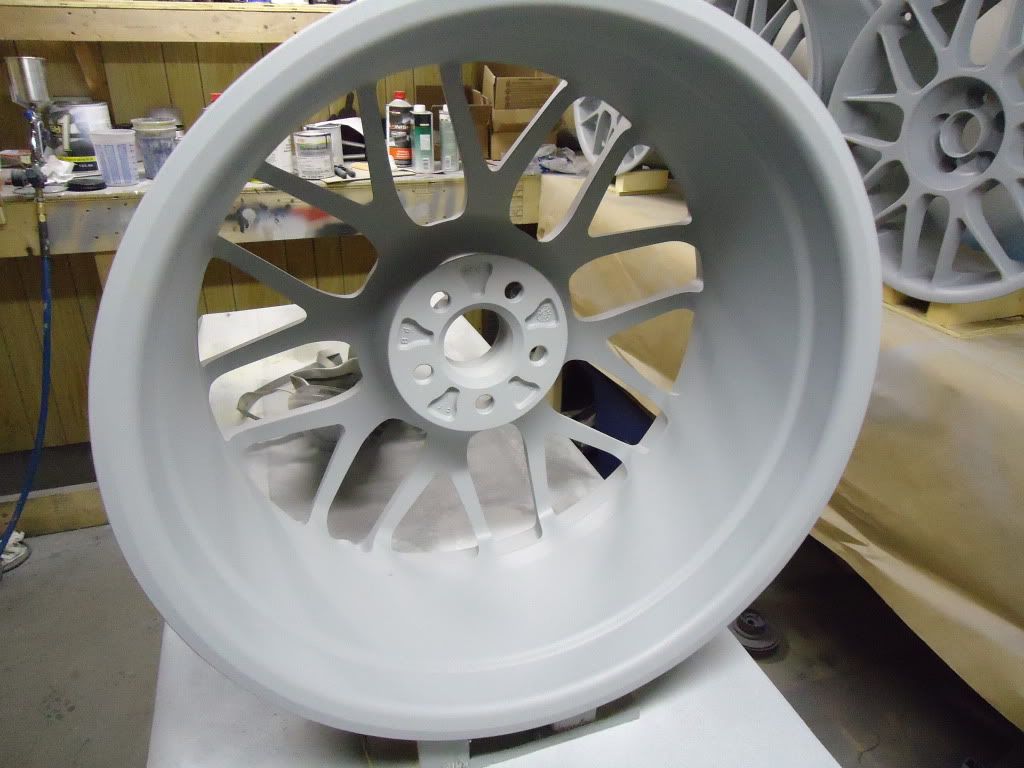
Now the surface is somewhat clean and rough, about 100-120 grit or there about. Wipe the wheels down with good autobody surface cleaner. I will have a materials list at the bottom with all the products I use. These cleaners are applied to the surface, damp cloth or a spray bottle, then they work at the wax, grease and dirt and lift them from the surface. You then wipe them away with a clean cloth. The cleaner flash’s dry in less than a few minutes, leaving nothing behind. DO NOT LET IT DRY prior to wiping the junk away, or you just accomplished nothing and may actually bond some of the junk into the base material. Once they are clean, like any autobody work DO NOT TOUCH the wheels with your fingers. Wear powder free un scented latex gloves! Change them a lot too. That will keep everything very clean. Once you are sanitary and the wheels are clean it’s time for primer. I shot a high build 2K primer designed to fill in deep scratches. It is intended to bond to clean metal too. When I say high build I mean it. I shoot this stuff when I do body work too, bondo repairs I hit with 80 grit to shape them then 120 to remove the deep scratches, clean then shoot this primer over the 120 grit! It fills it in almost perfectly. Then go back over the dried primer with 220 and its perfectly flat zero scratches, the another light coat of primer to fill in the 220 and its base coat ready. For the wheels I would be there for moths sanding the spokes, so I shot them with 2 good coats of the high build primer and that was it.
The primer dries in about an hour to the point where you could sand it if need be. I waited about an hour and a half to make sure, I am in no rush.
PAINTERS TIP. Never rush your coats. These paints dry and harden from chemical reactions and slight evaporation, more so the reaction. If you shoot a coat over something that hasn’t properly flashed (dried) you can trap the solvents inside the layers. Then as they try to dry they actually pop. Causing a little crater in the painted surface. That’s called “solvent pop”.
After the primer fully cured I tack clothed the wheels to remove any dust or loose particles. And mixed up my base coat. The base I used for this is a Martin Senour TecSystems paint. Its mixed by NAPA in the Latham distribution center and its top notch stuff. They offer 2 levels of basecoat; TecSystem and Crossfire (value). TecSystem stuff is much better and can be blended with OEM paint very well. Coverage is great and I have never had any issues shooting it. The crossfire stuff is about 1/3 the price. It’s a bit thinner and coverage isn’t as good, so you need more coats to cover completely and blending wouldn’t be a good idea. Its meant for OEM overall jobs, like shooting an entire car in an OEM color. If you shot a hood with it between to OEM fenders you would tell the difference. The TecSystem stuff I find is just about dead on with OEM and never notice any color differences.
The base I used is a OEM VW color, Platinum Grey TecSystem paint. Mixed it with the proper reducer and went to town. Made 4 light coats and then dusted the last coat to evenly drop the metal flake. I also added a little something to the base. About 2 tbsp of gold flake to the 1 qt sprayable basecoat! That’s a lot of flake!
Once the base flashed properly I mixed up the mid coat. For this I used Dupont Hot Hues Candy Golden Honey concentrate. Its mixed into a carrier, like adhesion promoter/intercoat or a clear coat and sprayed. When they say it’s a concentrate they mean it. ½ tbsp. in about 12oz of carrier is A LOT. Really makes you sick when you spent $200 a pint on the stuff only to use a tiny bit! I mixed up some spot/panel clear with a fast reducer and added the candy concentrate to it. The stuff looked like rootbeer or cream soda in the gun! Candy is the hardest stuff to shoot. On a normal panel it’s a 80% overlap pattern to avoid “tiger stripes”. On a wheel its harder, because you have to shoot the side of the spokes, and the lips, and the faces of the spokes… so the gun angle changes a million times each wheel. So MANY LIGHT coats was key. I made about 8 light coats per wheel to evenly coat it in candy without getting dark spots from too much and to avoid drips.
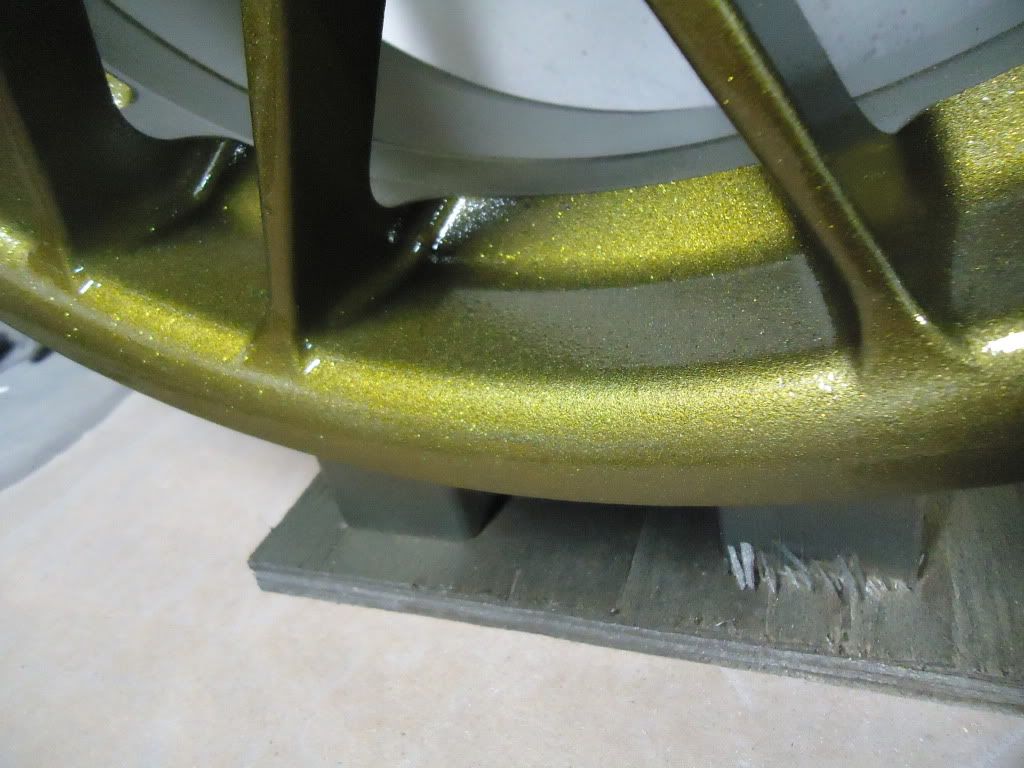
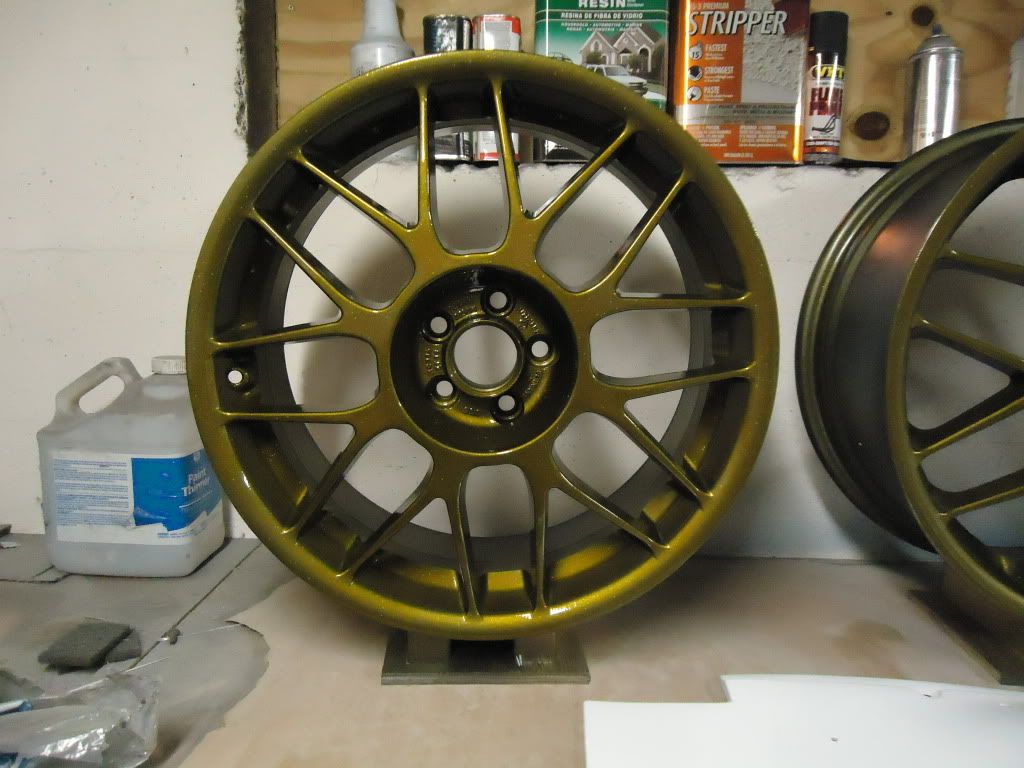
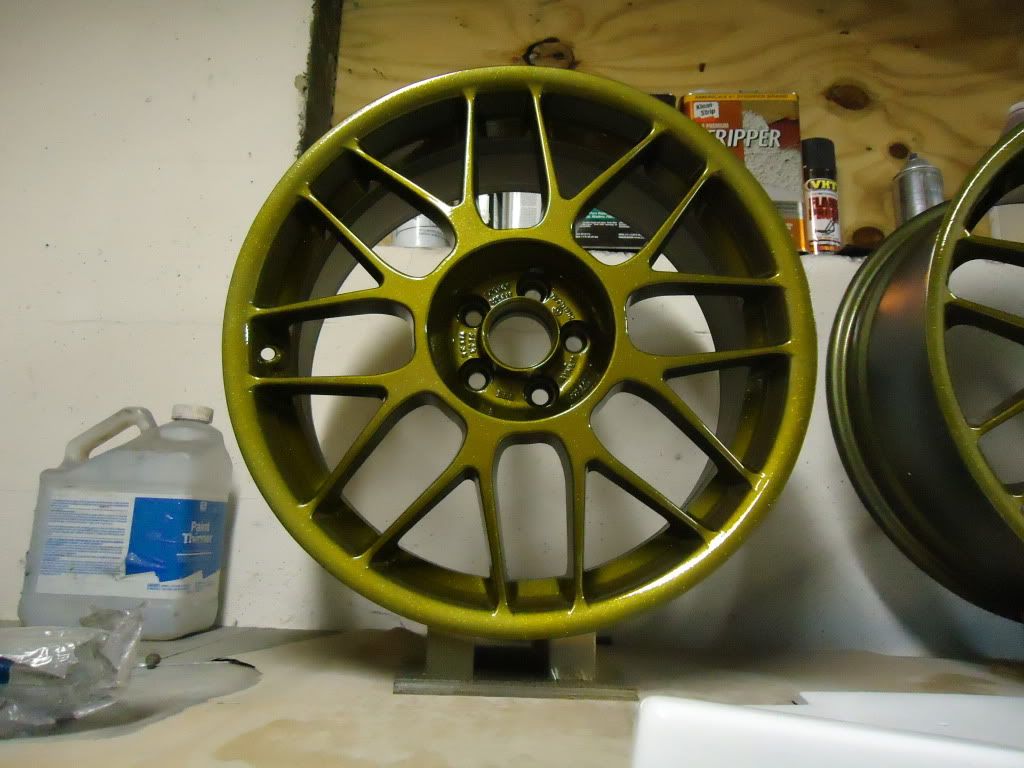
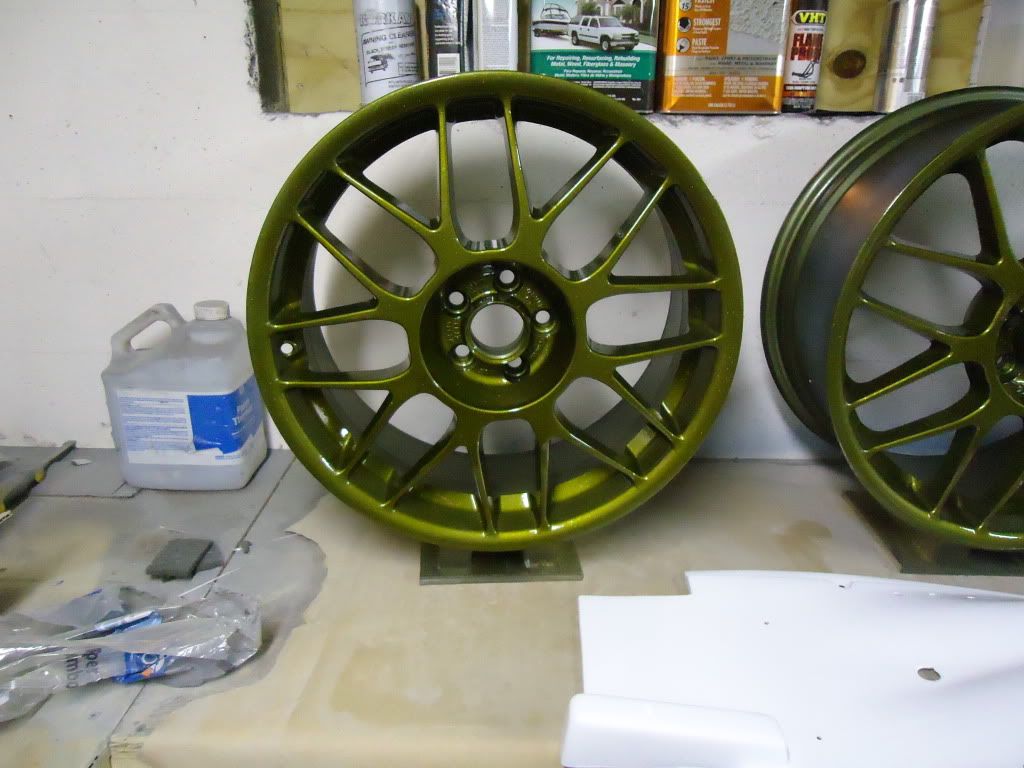
I tried on a test panel a light silver metal flake and the candy, and it was BRIGHT GOLD. Like looking into the sun gold! I figured I would tone it down and use the gray as a base and bring the color down. It did, but also made it an odd color. Like a greenish color almost. It’s hard to explain, but it’s a damn cool looking color. I wanted over the top WTF looking paint and I got it. Lol Its bright gold when the sun hits it straight on and has a bit of a green/gold tint, like a pearl almost to it off angle. And the Gold flake I added really pops through the candy. Some will love it others will hate it. That’s what I was after.
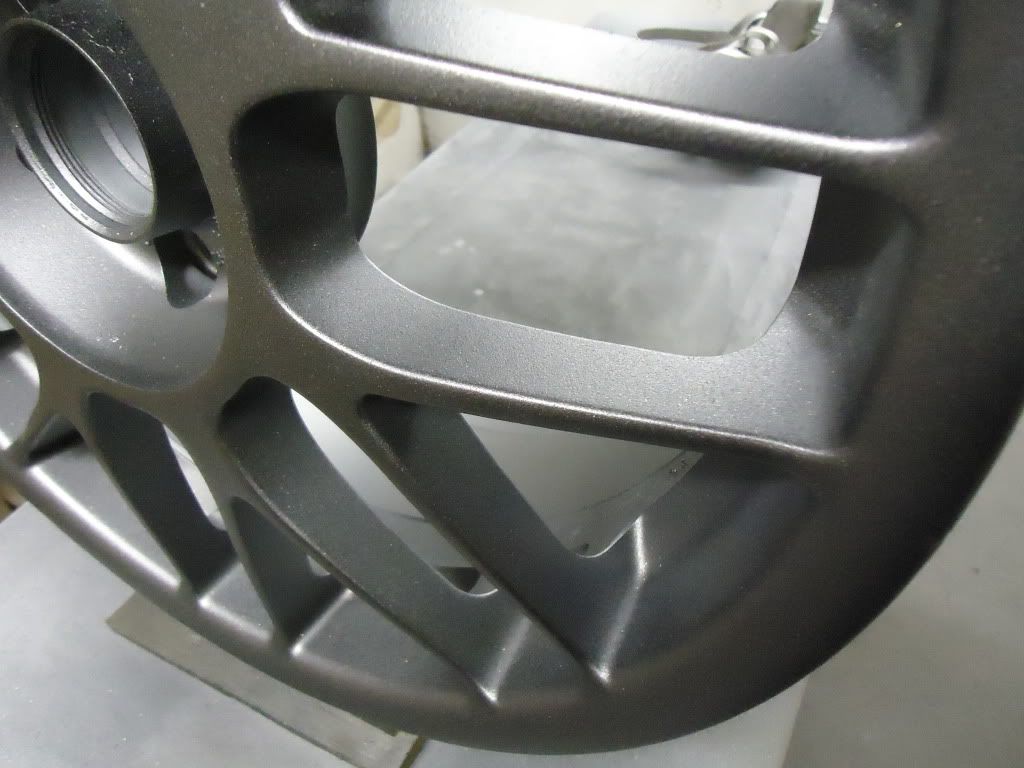
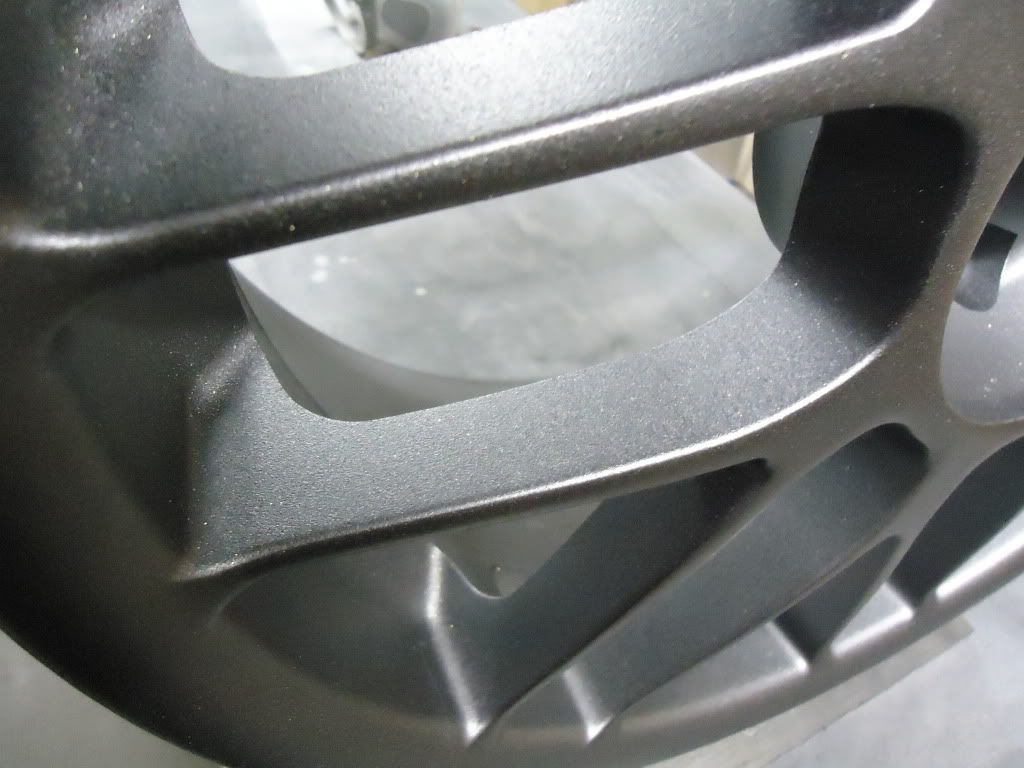
Tried to get some of the gold flake pop.
After the candy mid coat flashed just past tacky its time for clear coat. This time I shot a medium reducer and an overall clear.
PAINTERS TIP: Clearcoat is hard to shoot right. It’s like walking a tight rope. You MUST keep the panel completely wet between coat, so not going back to the first section you shot and missing something then just shooting a little more… that will leave you with a rough line where the thinly atomized particles at the edges of the spray fan dry almost instantly and sit on the drier cleat coat… think over spray! Keeping it wet enough to cover 100%, letting it sit long enough to flow out and level out to glass so it doesn’t look like “orange peel” yet not so much that it runs, drips or sags. Spot/panel clear with the same temperature/speed hardener as over all clear will dry faster. That’s why I shot the candy with a spot clear and fast hardener… I didn’t care about keeping it all wet, and didn’t want dust in it. I knew I would need many light coats so it worked perfectly. Then for the final finish I shot over all and a medium reducer a medium cover coat and then a full wet when it tacked up, allowing me to keep it fully wet. That gave it plenty of body to flow out smooth and not run.
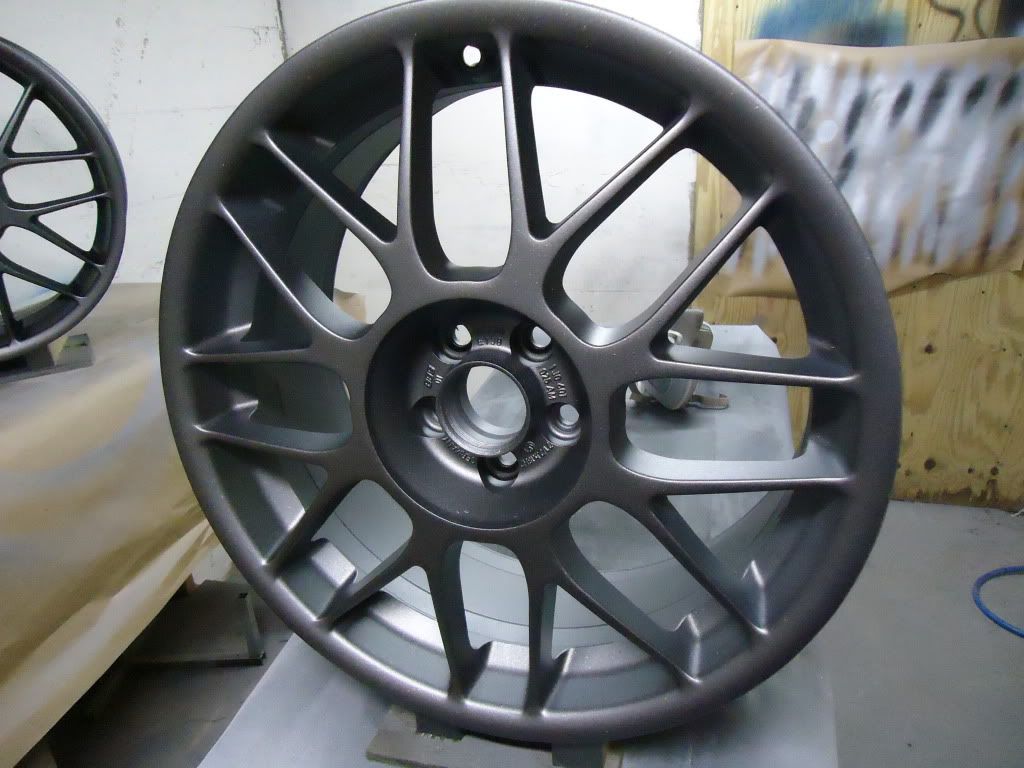
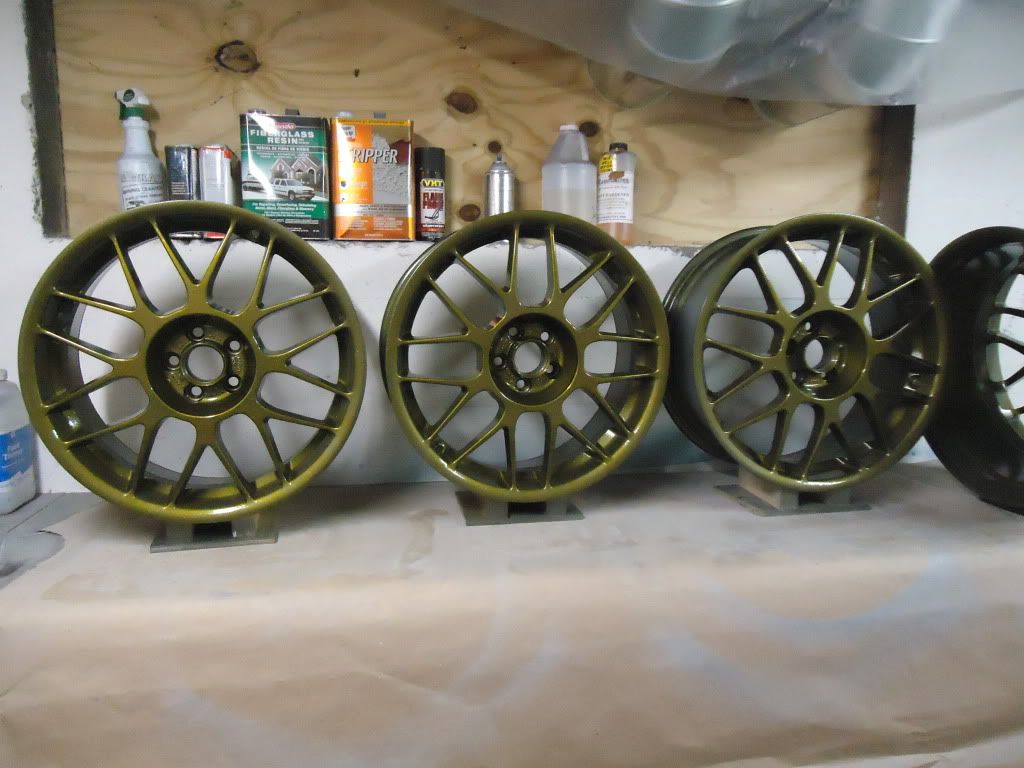
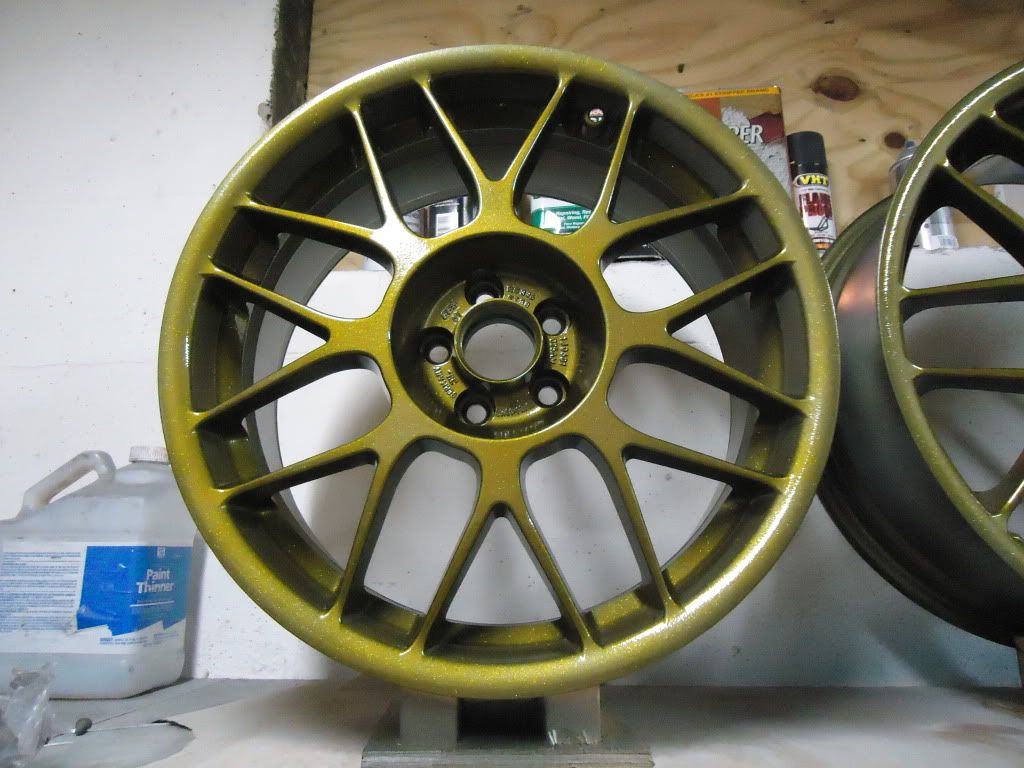
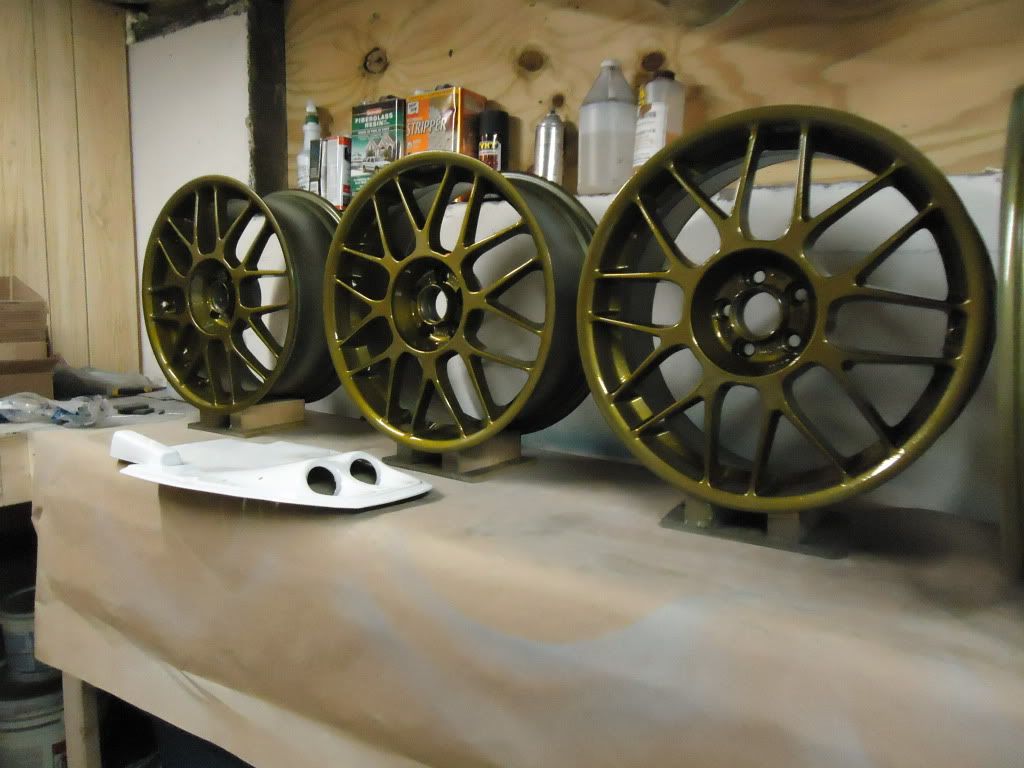
Here they are fully cleared and fully dried. When it stops raining I will take them out in the sun and blow your minds!
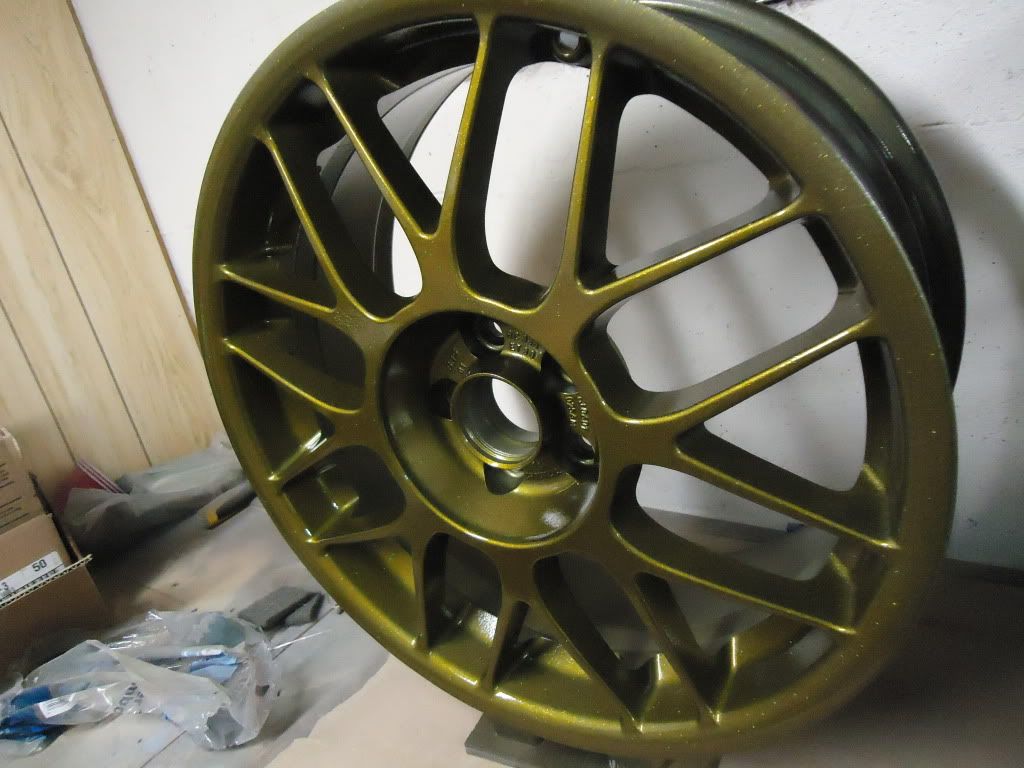
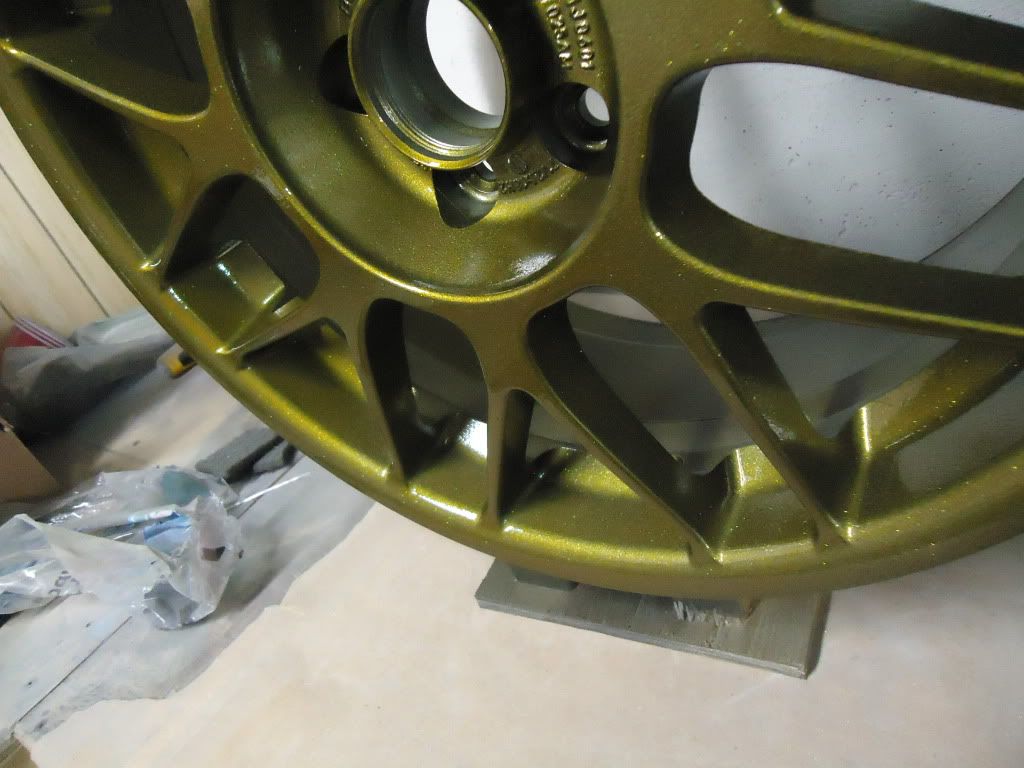
Looking straight on they look like bright brass or a golden/copper color.
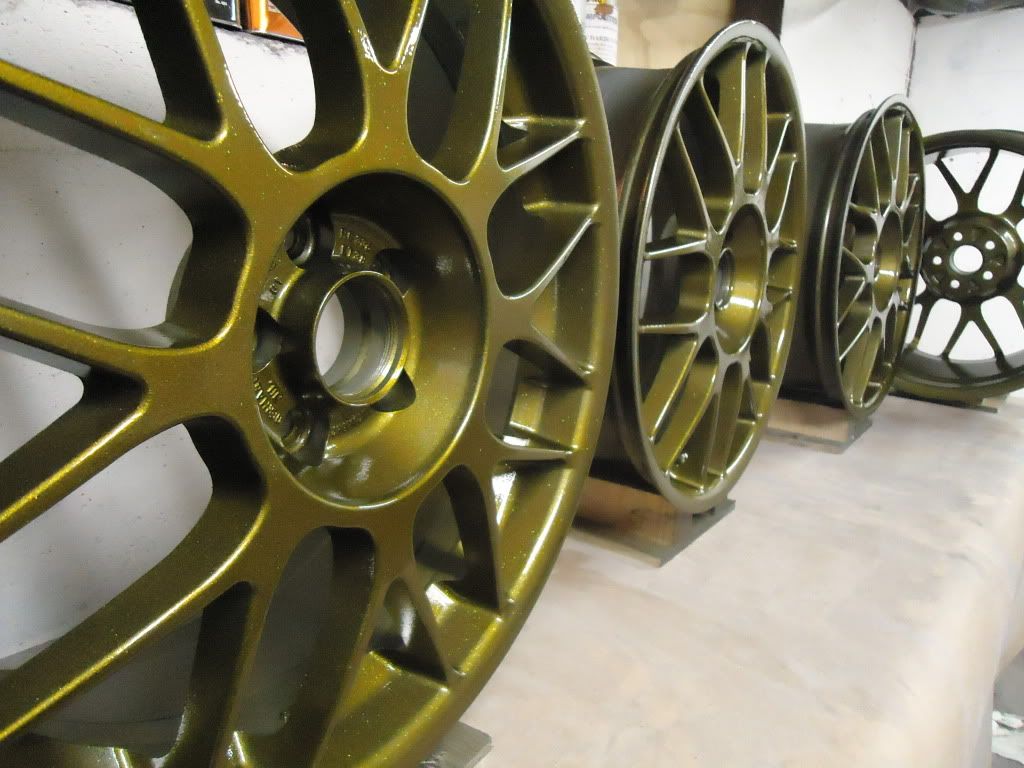
Looking up at them it looks a bit brighter and a little different.
Looking down on them the greenish color jumps out.
Over all it was a fun project. Got to experiment with the candy more and come up with a wild color. I am happy with it and it will get some attention that’s for sure.
I will add the materials list later tonight when I get home and get all the numbers from the cans. A quick est on cost beginning to end (wheels not included) is about $450 in materials and $160 in blasting. Candy being the biggest hit, because I have a ton left over from this project. (in reality this was all left over materials I had on the shelf, candy coming from another past project) Labor I have at least 10 hours work in these. A normal wheel (not mesh spoke style and not a pain in the ass tri coat color) I can bang out in half the time. So this example is really the tip top of the price/difficulty scale for repainting a wheel.
