looking good!
ok, so im kinda pissed off and gave up for the night. I have NEVER broken a piston ring during installation till now.:mad:mad:mad:mad
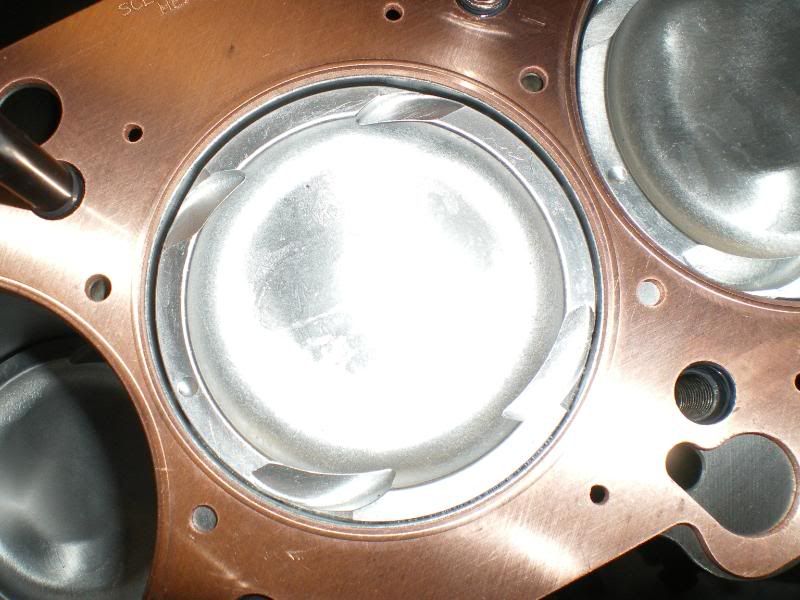
With the orings in the block im having difficulty seating my ring installation tool flush enough to the block to install the pistons. I also managed to put a decent scratch in my fresh hone. I can barely feel it with my thumb nail and will probably be fine but im just annoyed at such a simple task giving me shit. Ill just buff it with some scotch brite.
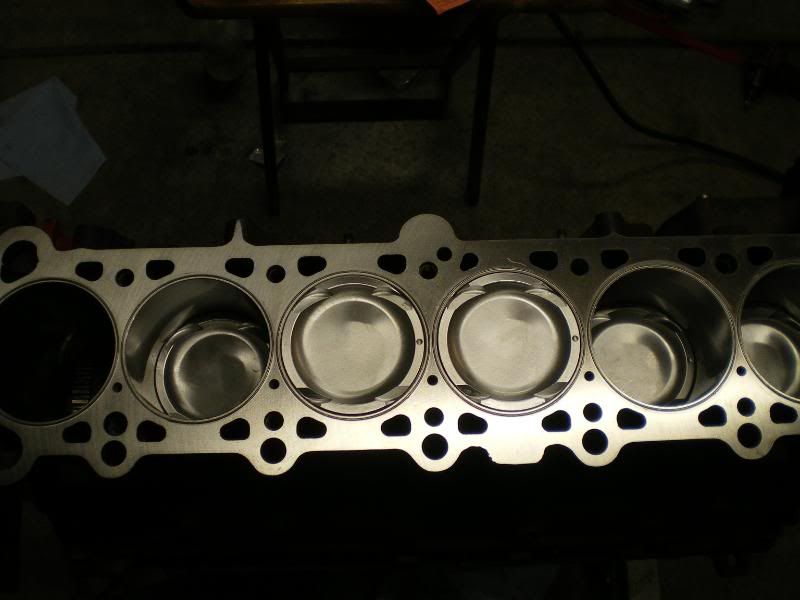
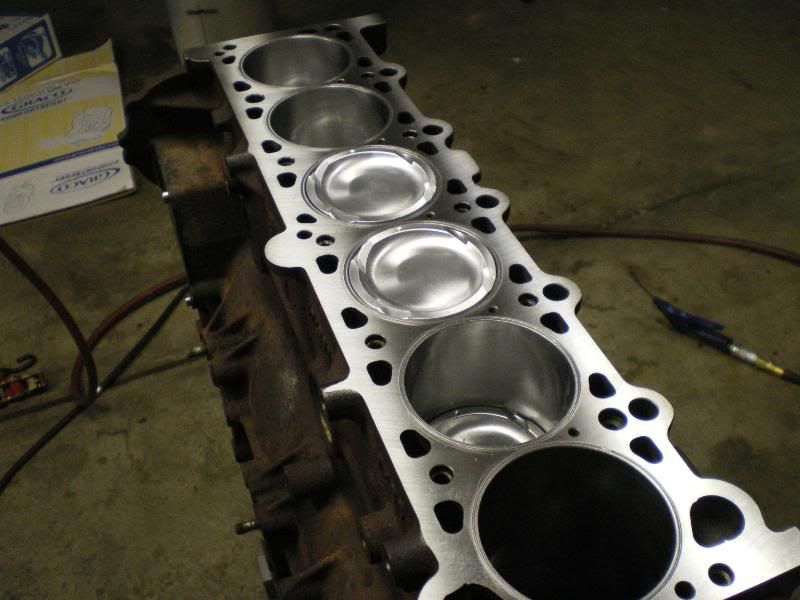
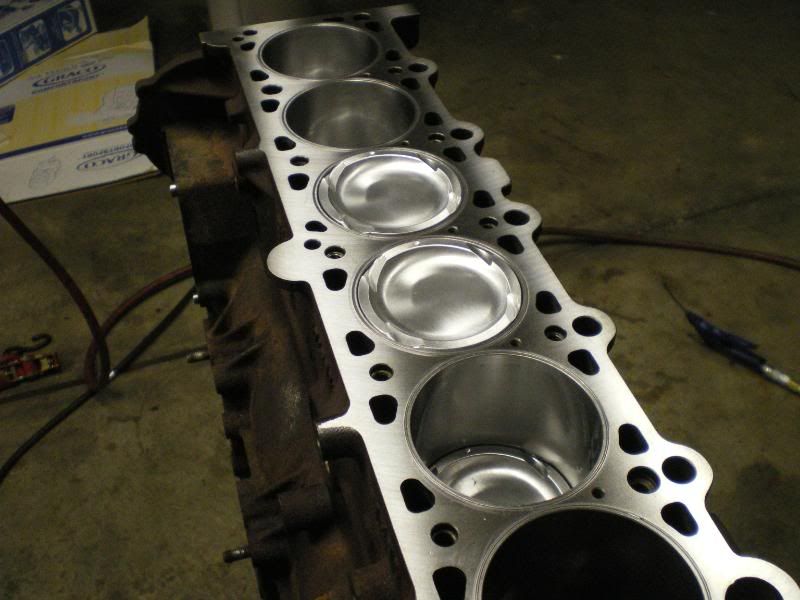
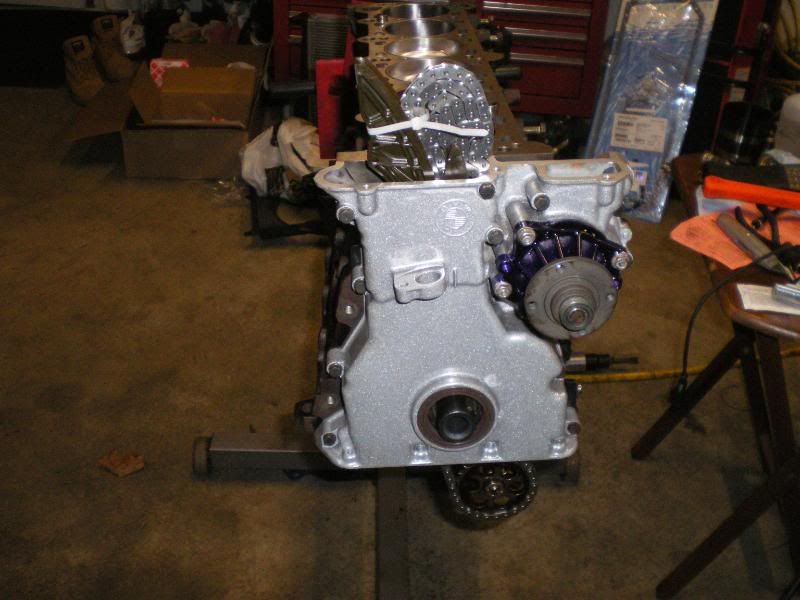
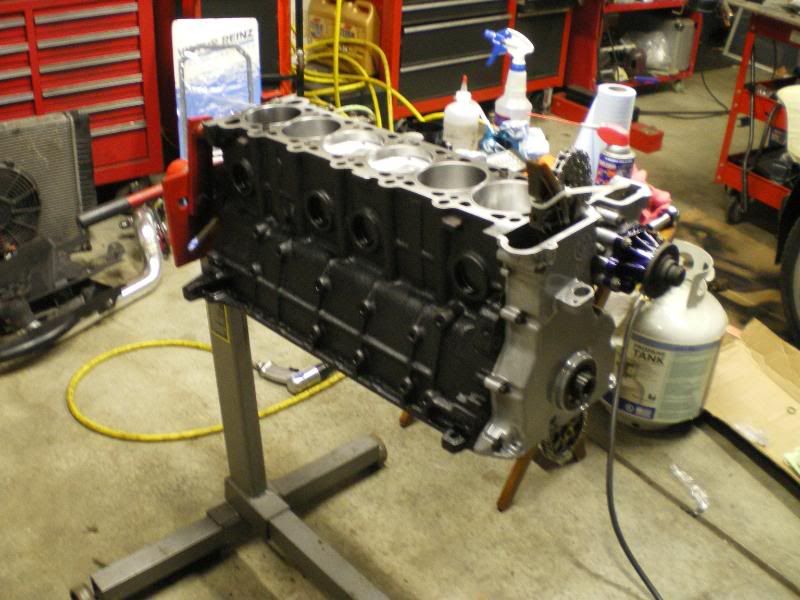
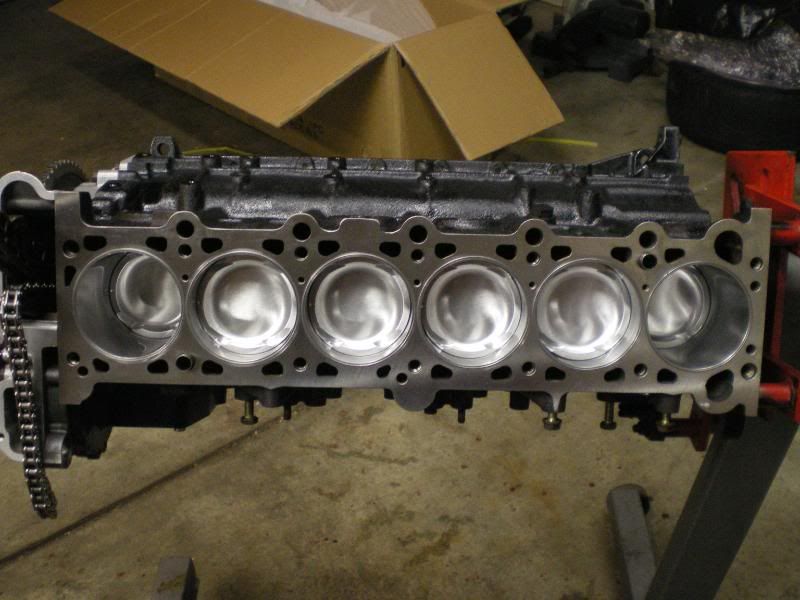
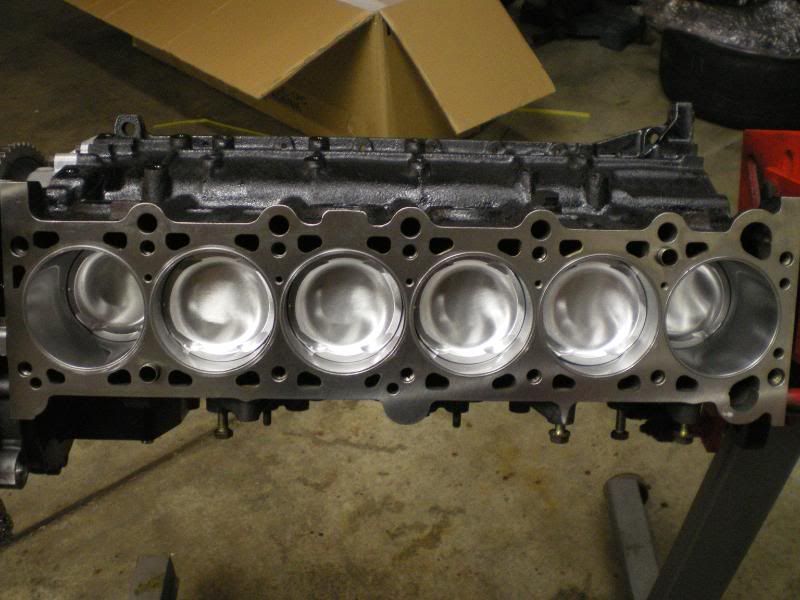
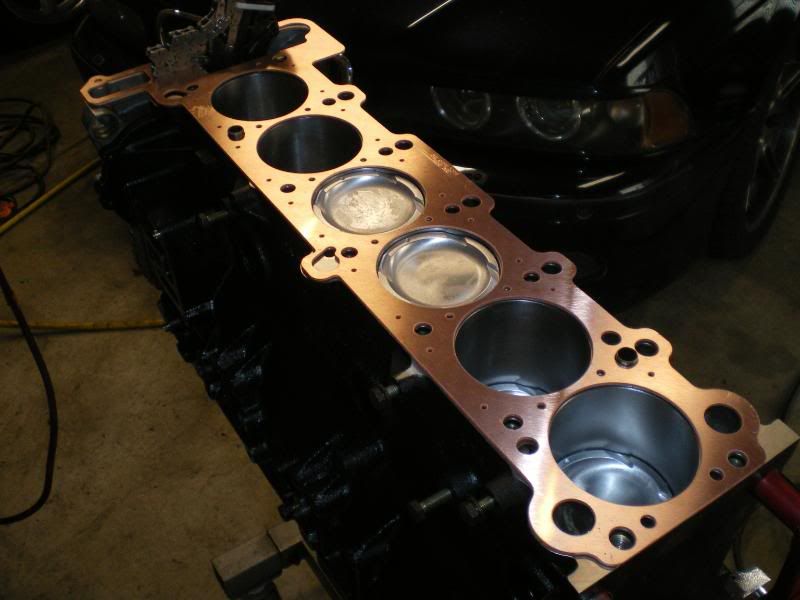
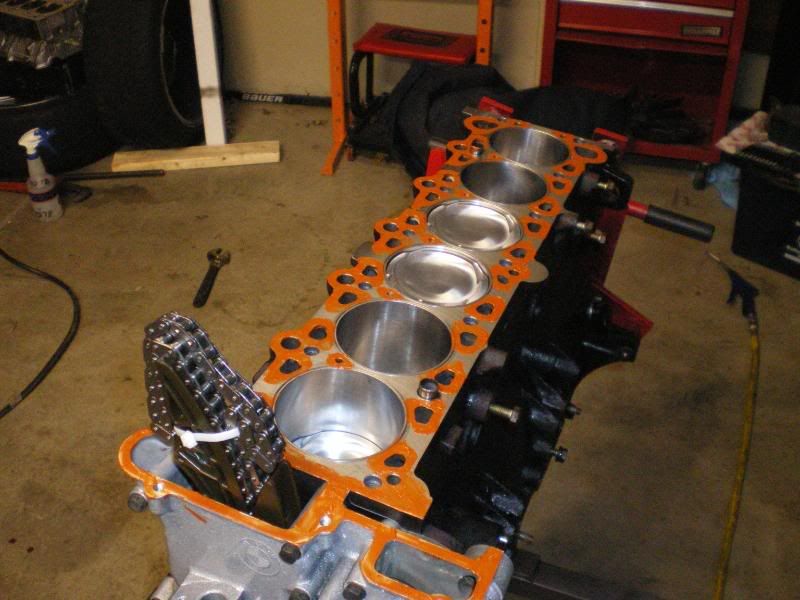
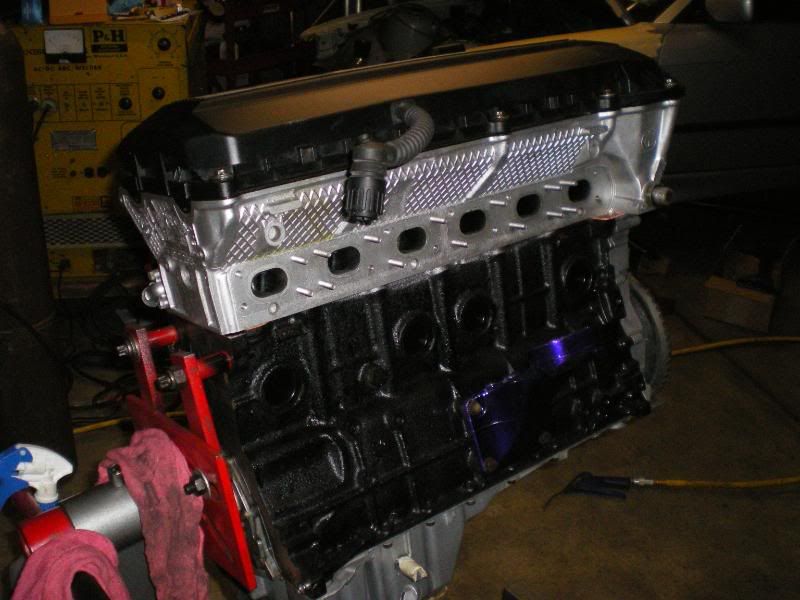
anyway here she is with 5 in the hole and 1 awaiting new 84.5 oil rings.
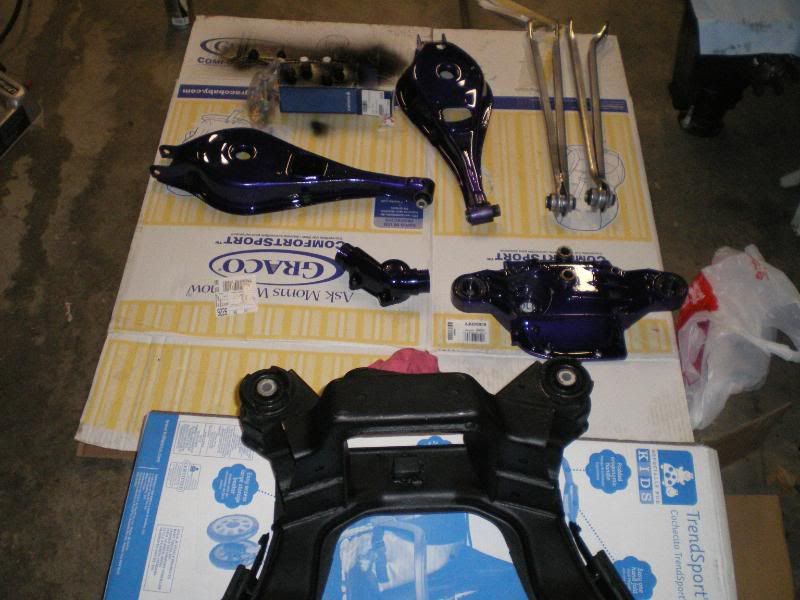
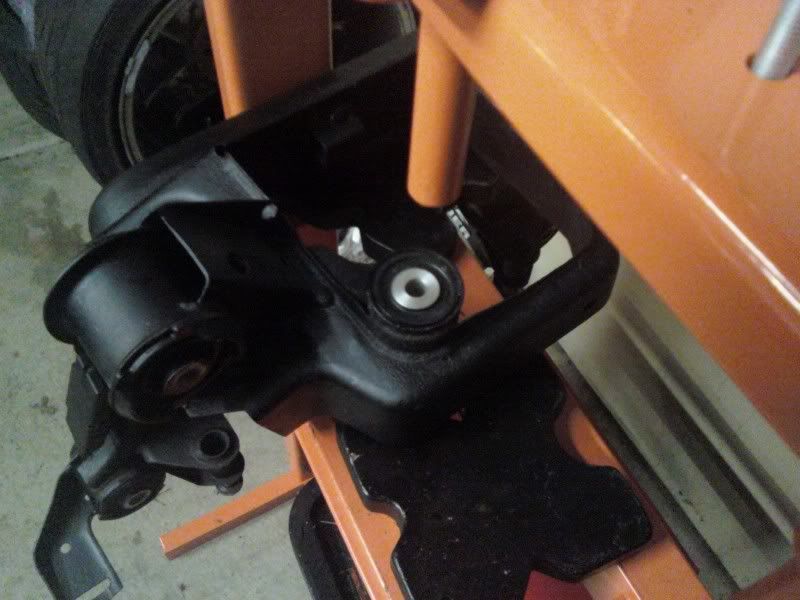
fresh bushings all pressed in to the subframe and lower/upper control arms.
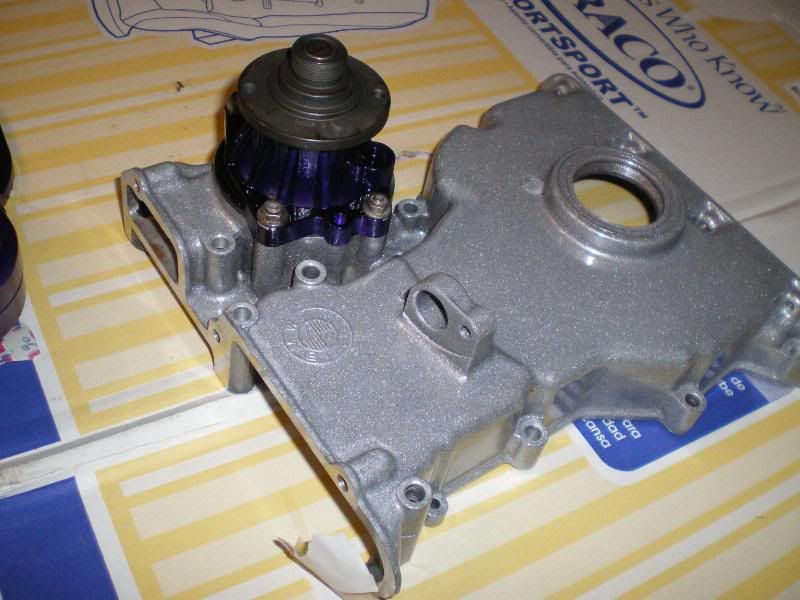
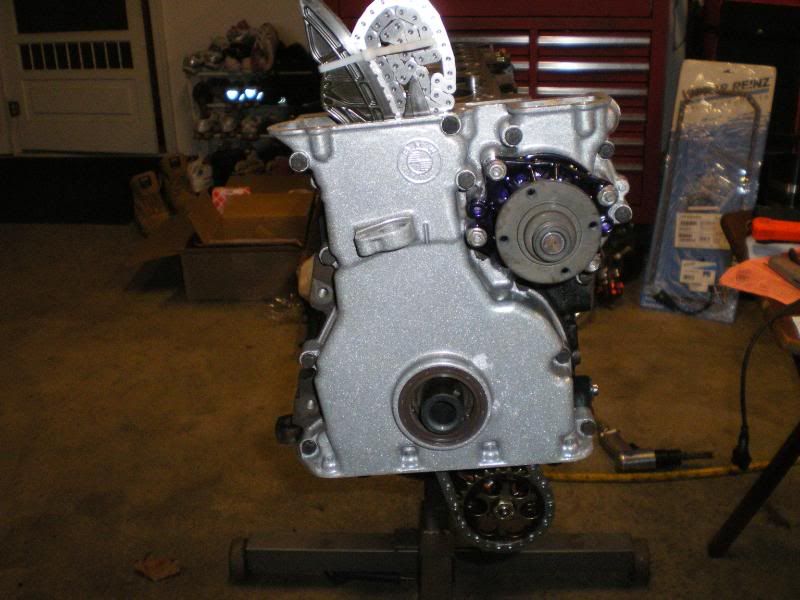
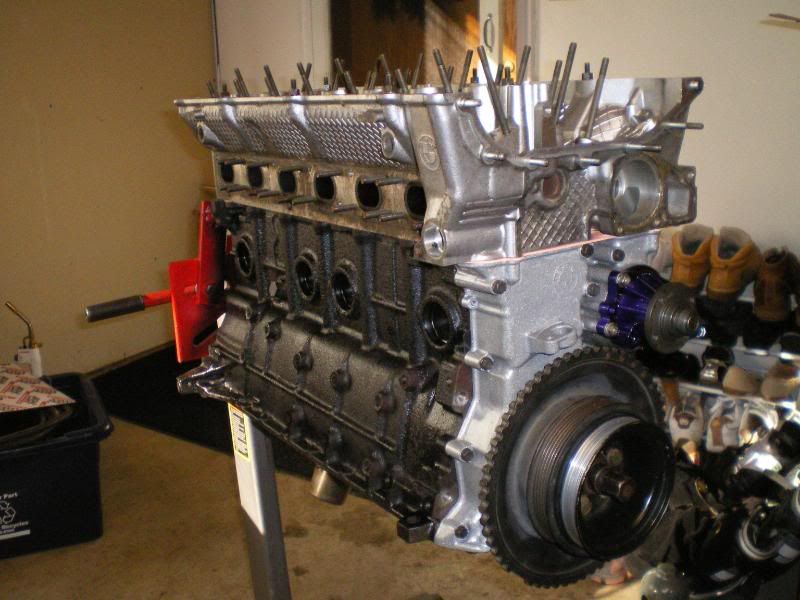
front cover back on with fresh silver sparkle powder coat.
and i sprayed the engine block black.
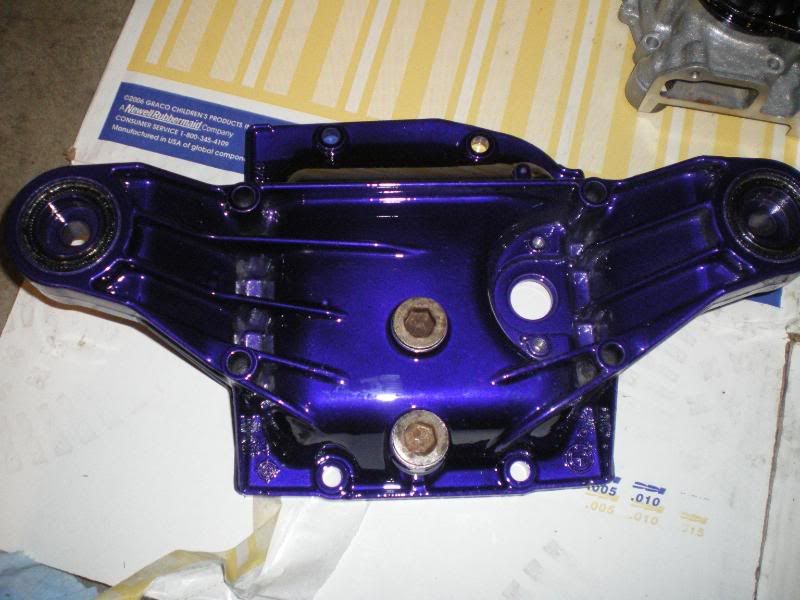
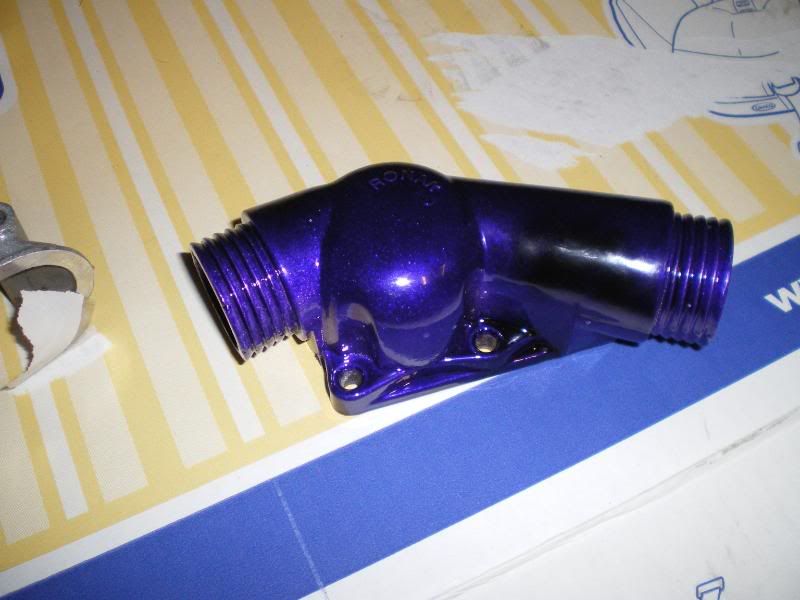
now i just wait for my headgasket. also waiting for my oil pan and oil filter housing to get cleaned from the machine shop. then ill PC and paint them up.
Hey fggt,
what headgasket are you running with the o-rings? A stock one, or one of those fancy copper composite ones? I too was going to oring, but after talking to a few high power/high boost Audi guys (inline 5cyl guys, not 1.8t fags with a siiiiiiq chiptune and a “big turbo”), they say a good finish on the block and head (like you have), combined with a mls gasket is good for 40 or so psi. Good news for me, the copper composite gasket I’d need is like $250. MLS is $50.
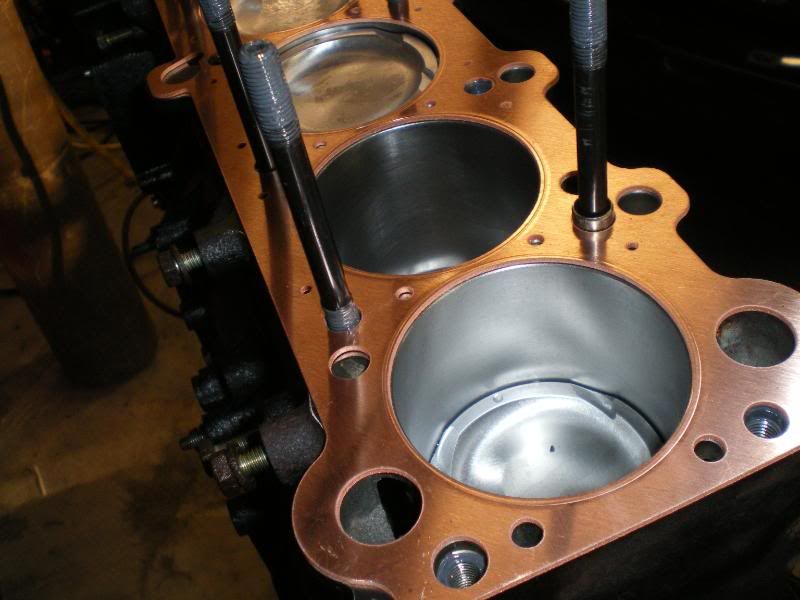
hey fggt, im using a sce copper gasket. If your have a realy low RA like sub 20 on your deck and head then a mls multi layer is good for 30-40psi max. I ran my mls up to 30psi with no problem on a .140 thickness gasket. bmw engines are known for sealing issues though do to the wall thickness being thin and combustion design. you will probably more then likely be fine. just lemme know when you wanna get your machine work done and ill get you in touch with the guy i used.
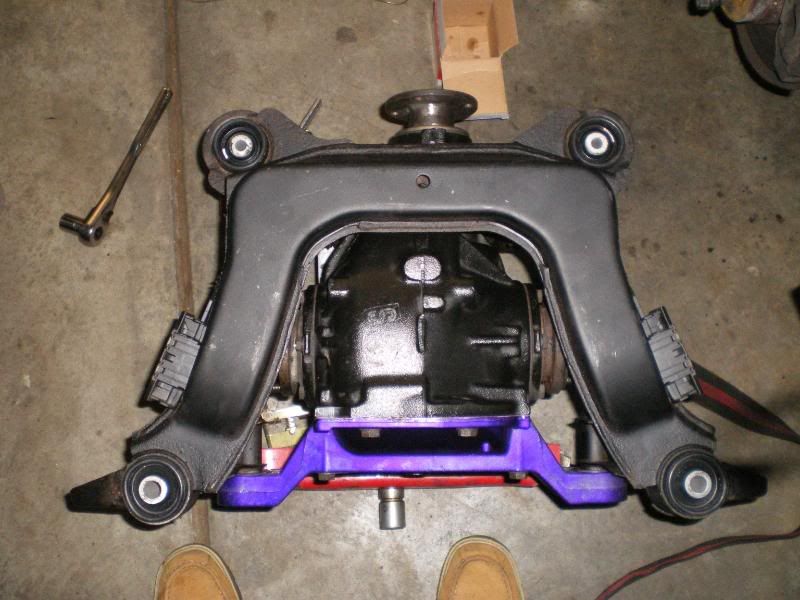
finished installing the bushings into the rear subframe
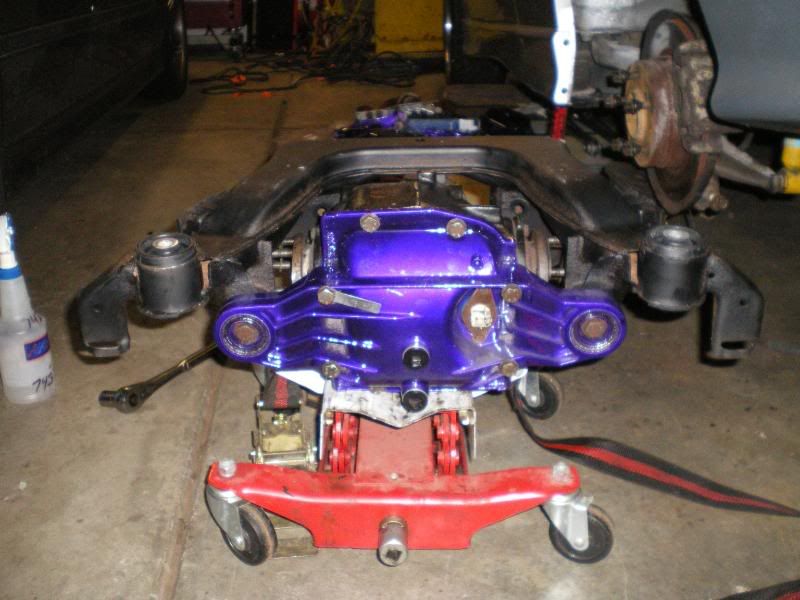
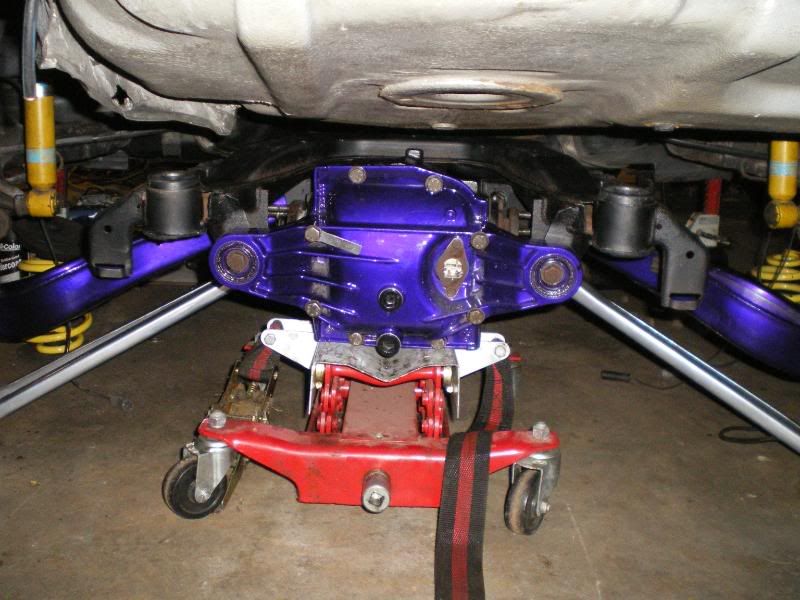
back in the rear of the car
and then i realized that to get the control arms in the diff needed to be removed for the bolts to fit in.lol
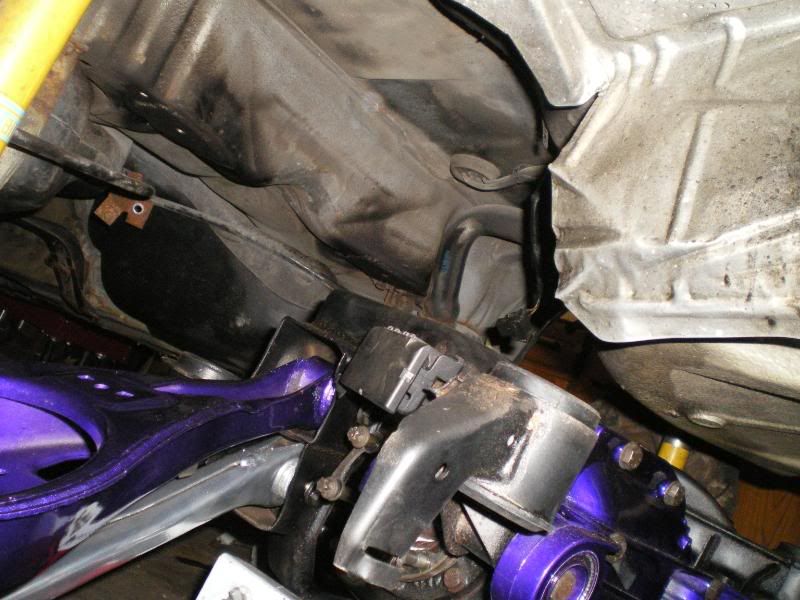
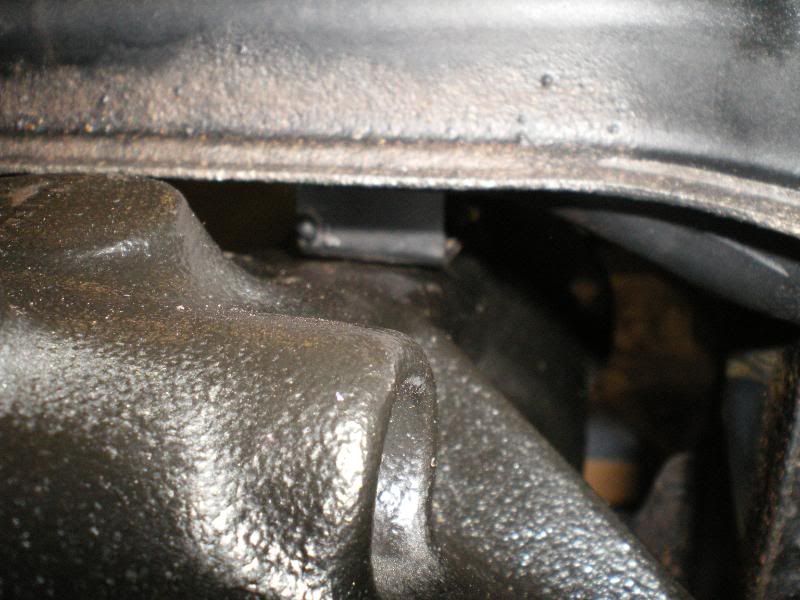
here is a pic of a piece of square tube i welded to the subframe inbetween the diff and the subframe toi prevent my diff from moving too much on harsh launches keeping the diff nice and straight and my ujoint outta my floor/tunnel. The term is a snubber i believe.
ok, now we are getting somewhere. Gasket finally arrived today after waiting over a month.
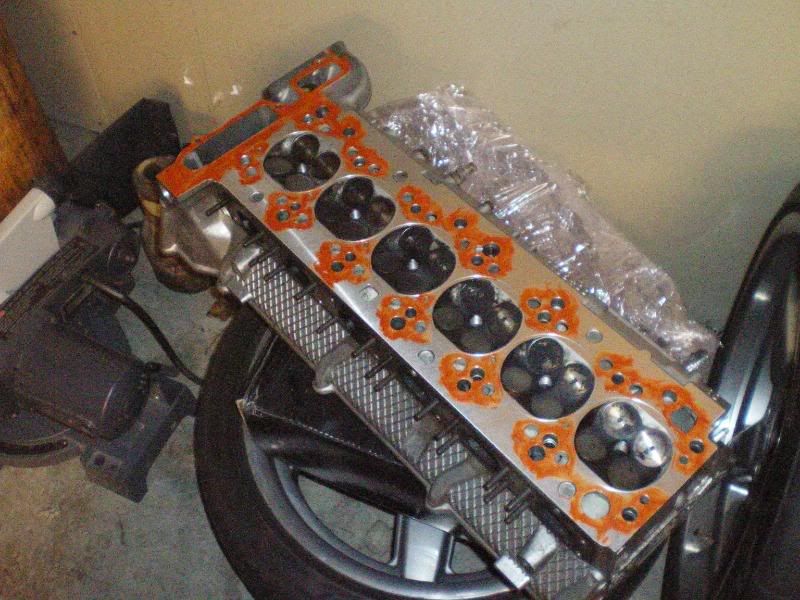
I cleaned all surfaces with alcohol before temperarily installing the head. This was done to see how the gasket would crush and to make sure my machinest earned his paycheck.
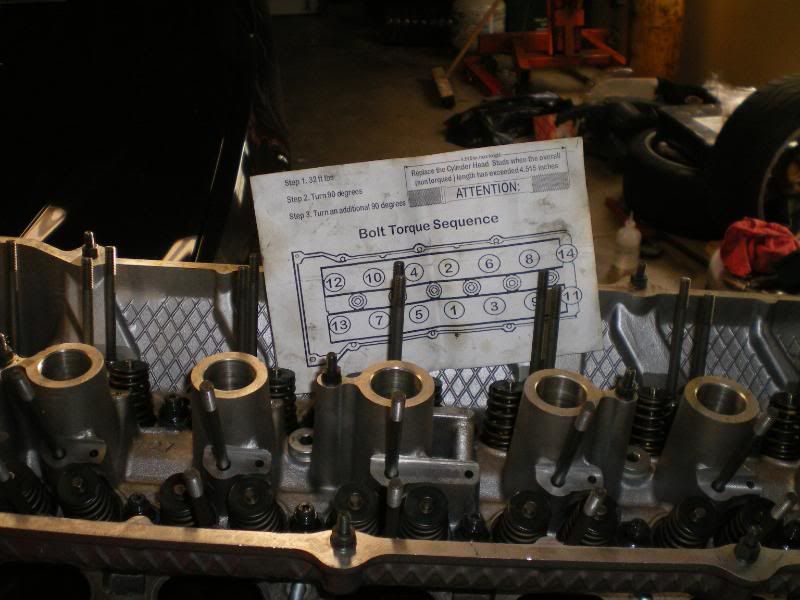
i decided since this isnt the final install i didnt wanna risk stretching the studs more then necessary so i only went 80ft lbs.
head removed and all looks good so far.
Now i cleaned up the gasket and coated it with some copper spray on each side then dragged it inside the house and hung it in the basement. Its currently like 20deg or some shit so i wanna make sure that the copper spray cures good. I still need to run out and get more propane for the garage heater then ill be back to work later tonight and hopefully have an somewhat assembled motor.
My wife told my 11month old that she could have daddy’s m5 when she is 16. :rofl we will just have to wait and see what happens. only good little girls get to drive around in daddy’s bimmers.lol
well, i opted to go with high temp copper rtv gasket maker since i had great success with it on the MLS gaskets and the temp rating is like 675deg or something like that.
mmmmmmm, copper sandwich. it looks like theres a ton of rtv on there but there isnt. I applied a thin/light coat with my finger tip around the coolant/oil holes. Dont wanna go too heavy with this stuff cause i dont wanna be picking it outta my oil pump pick up screen later. Loctite was applied to the studs in the block and arp lube on the top thread,wachers,nuts. Its like 15deg outside and i managed to break a sweat torquing these bitches down.
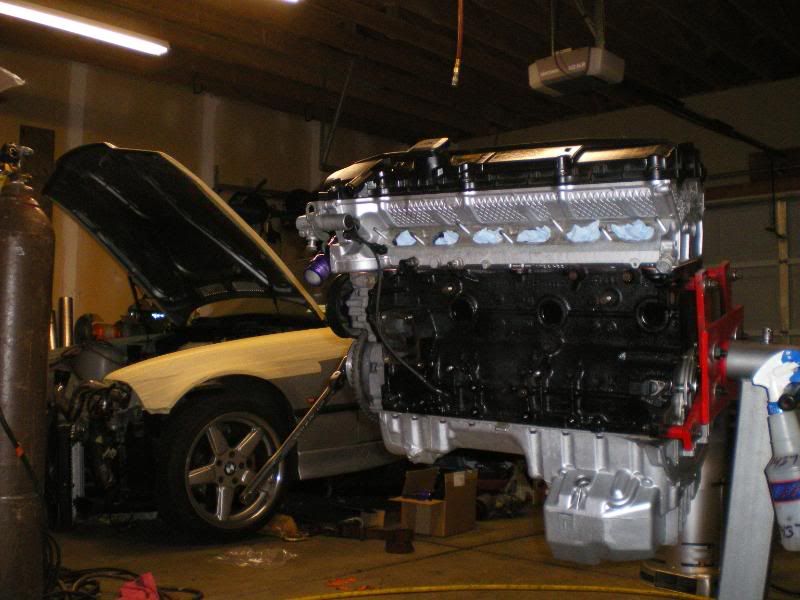
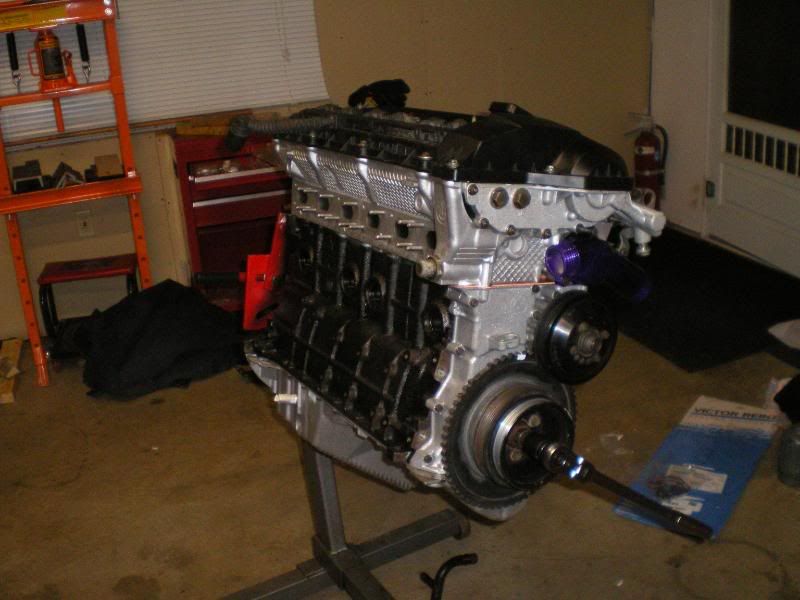
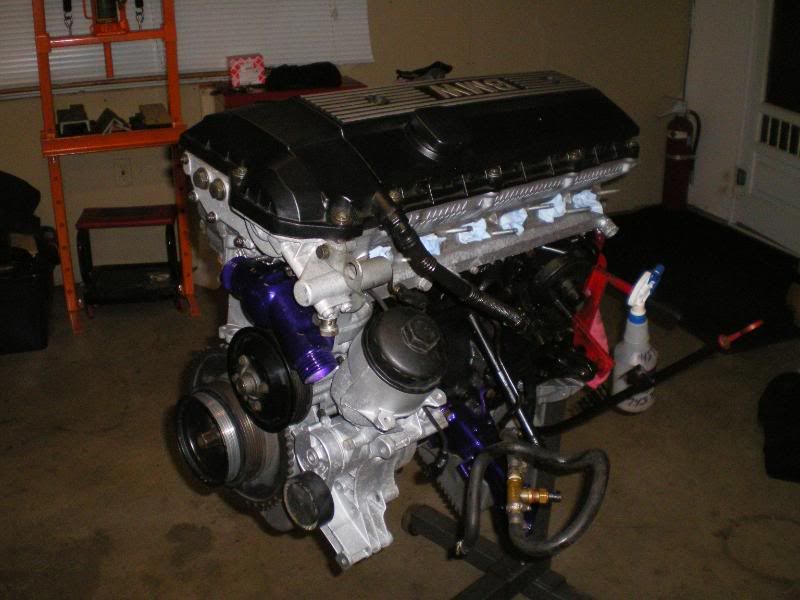
anyhow, got the easy part done. all together. now comes the hard part of remembering where the hell all the accessories go. I spent like 10min stairing at my water pump pipe on the back of the block and then i gave up.lol Its extremely cold though and ive got a head cold thing goin on.
well, its pretty much together now besides some small touches i need to add. As soon as the new 3button disc gets here i can button her up and throw her in and start fabing up a new manifold.
i never had a bracket for my dip stick so i will probabl make something up for that and i need to install some new exhaust studs.
Why RTV on a head gasket sealing surface? That’s odd.
looking good!
Looks awesome man! Can you not use your last turbo set up on this for some reason?
i cant tell if you are joking around or not. to prevent small leaks around fluid passages. like the viton coating on a cometic. like the copper HG spray that many use with MLS gaskets. like the plasticky coating on other HG’s etc.
that red RTV is tough. ive used it on turbo components (wastegate flanges etc) and between manifolds/heads had it survive just fine. friends of mine use it on their dirt track cars instead of header gaskets. the water jacket in the heads keep the temps down a little though compared to something near a turbo.
that snubber you put back there, is it just a metal to metal connection from the steel to the housing? any worries of breaking the housing? rattles?
nice build. ![]() youll be breaking rear end components in no time.
youll be breaking rear end components in no time. ![]()
Brian
copper gaskets are natorious for weeping and leakage so everyone runs a beed of silicone around the oil/water jacket holes as well as putting rtv around the timing chain area up front which is known for leaking. When i say everyone i meant everyone from small block chevy all the way up to bmw’s.![]()
the snubber has actually been on there for a couple years now with zero issues. One of the reasons stuff doesnt break like it used to at the track.
last turbo setup was sold with manifold. then i made another manifold and sold it. I will be attempting an equal length twin scroll for some big t4 hotness next.
:tup: looking good as always
I want a motor that looks that clean. :meh:
Great work man.
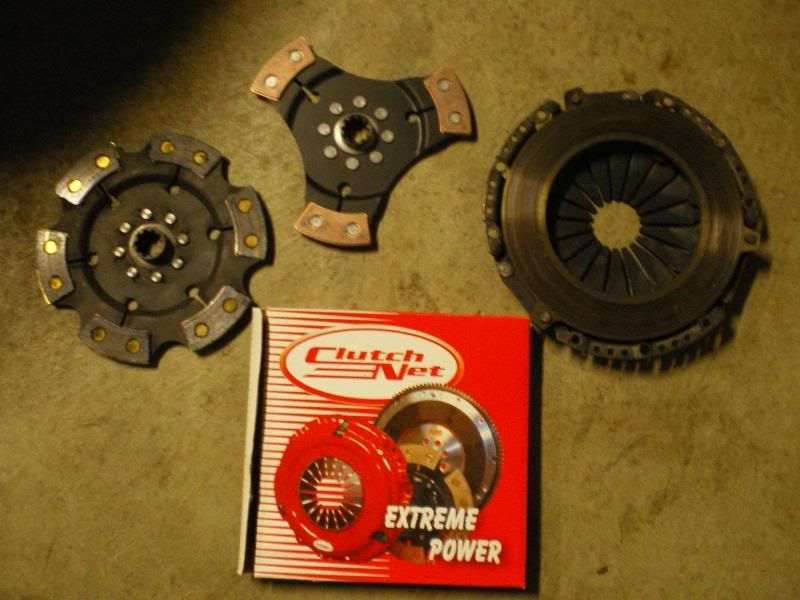
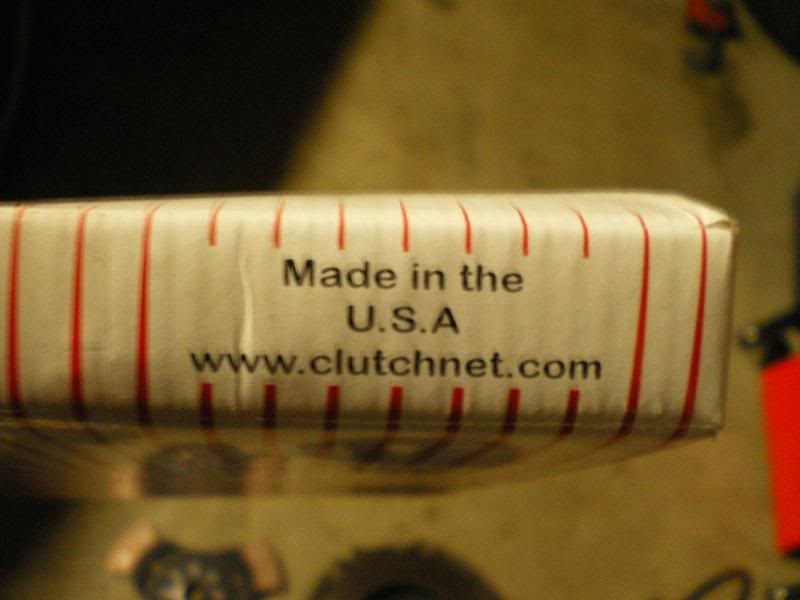
ok, my clutch disc is finaly here so i can throw the tranny back on and put the motor back into the car to start fabricating my new t4 exhaust manifold.
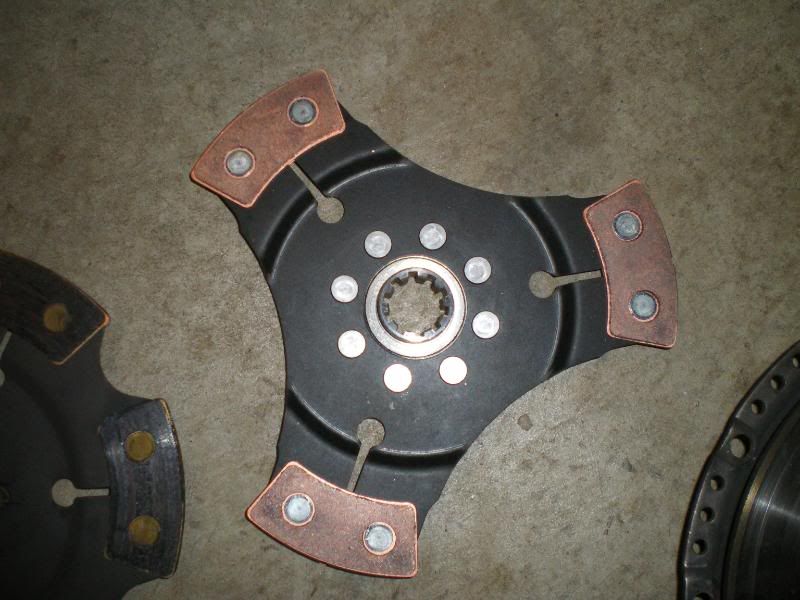
new 3puc next to old 6puc
its amazing that this tiny 9.25" disc is gunna hold 700+ft lbs or atleast i hope.lol
and now for the best part that you dont see enough of these days.
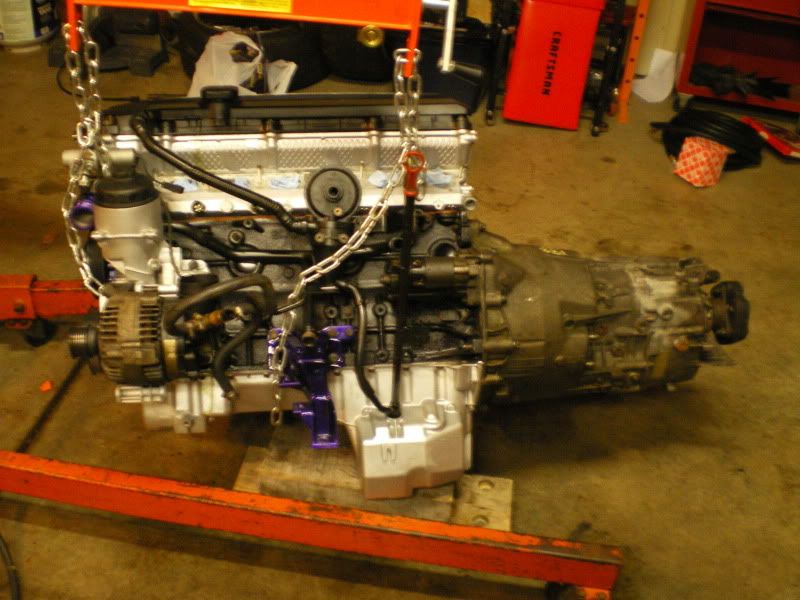
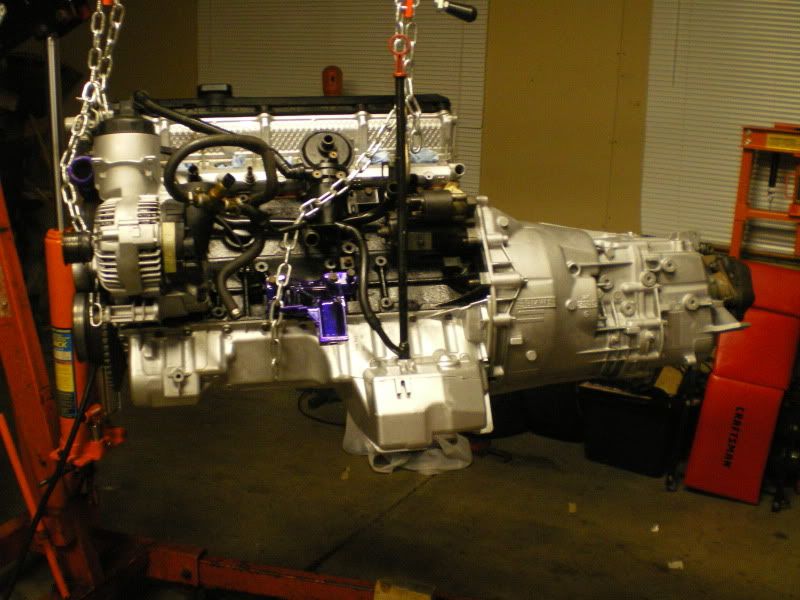
and we are ready to go in. My alternator and tranny are all shitty as you can see, but its like 5deg outside and way too cold for me to care right now.
gj mansechser!
nice.
good build.
well i couldnt take it anymore so i decided to clean up the trans and alternator and spray em real quick. Trans probably wont last long but atleast it looks clean.lol
next step is into the car.
Looking good man :tup:
