good god this is awesome.
just a thought it wouldn’t be a bad idea to get your injectors sent out to get flow checked and cleaned
If you were running lean on the 3rd cylinder there would be no way to know even with a wideband as it picks up all the cylinders
very good man (Y)
Thanks guys.
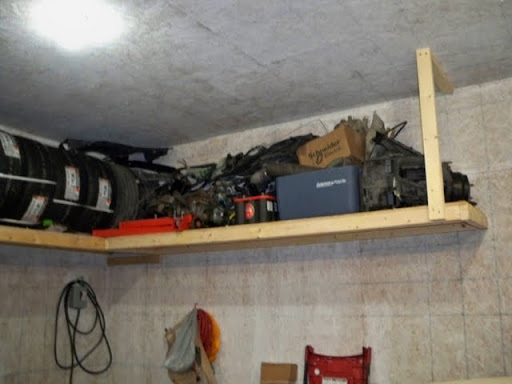
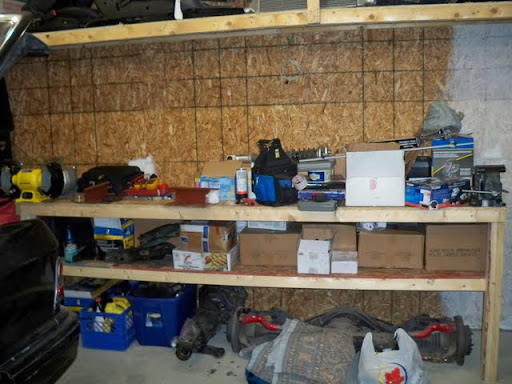
Not really an update on the 240 progress, but after a long time away over Christmas, I got a few hours last week to build some shelves and get the trailer full of 240 parts moved into the garage. I can’t imagine how much room I’ll have in the garage once I get all this back into the car.
I did get one day of wrenching in, but it wasn’t on the 240, it was stripping supercharger parts from one of the Maxi’s as the kit got sold this week. I came across a video of the Max at an AutoX from 2008 today, and I remembered how fun it actually was to drive before I parted everything out.
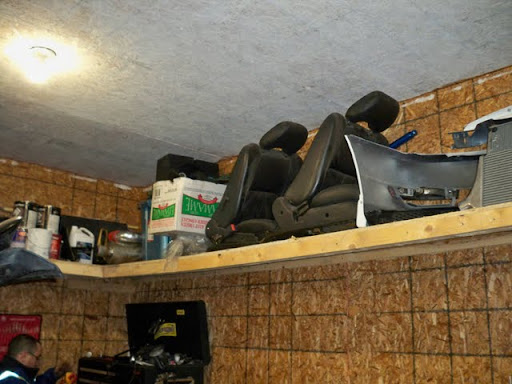
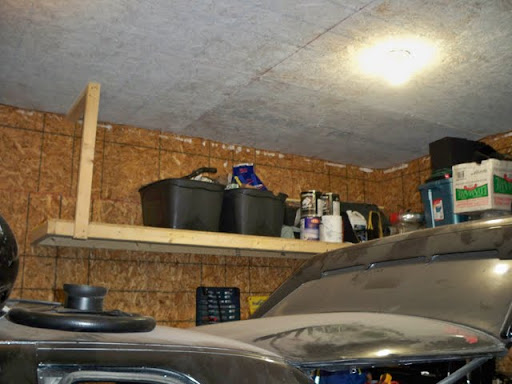
Some storage shelving. I did get things put away better than this, but it was a good first shot at it. Now that it looks like a garage, I can finally get back to wrenching.
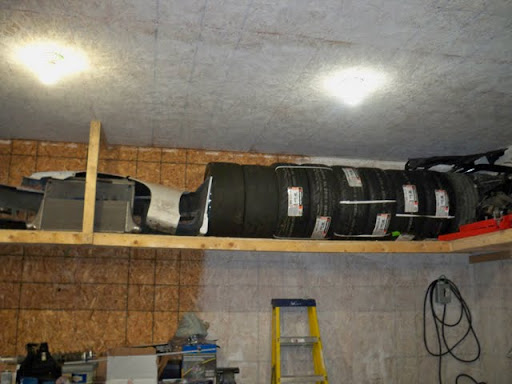
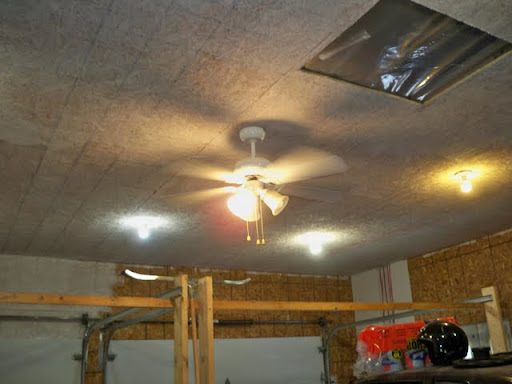
Ceiling fan to keep the heat closer to ground level, instead of at the ceiling.
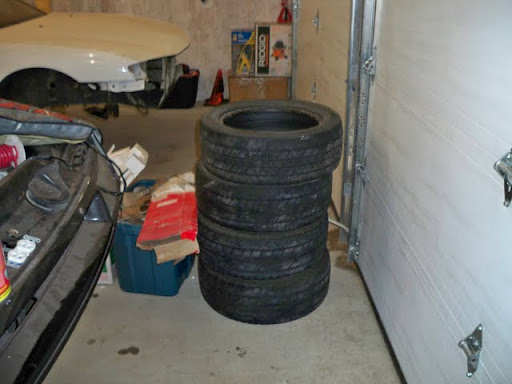
Some Maxima tires.
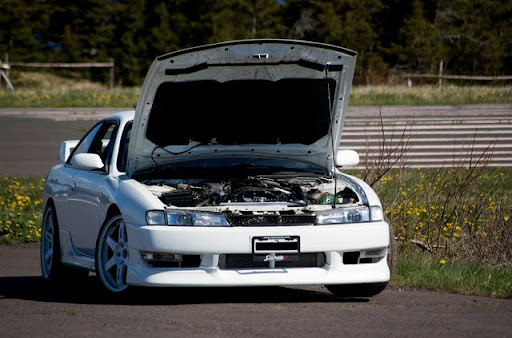
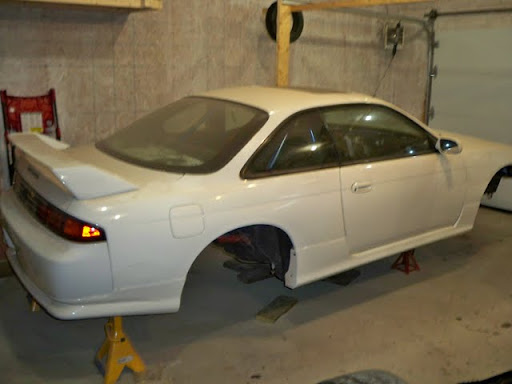
Found this picture of the 240 from this summer. Small comparison shot, then and now.
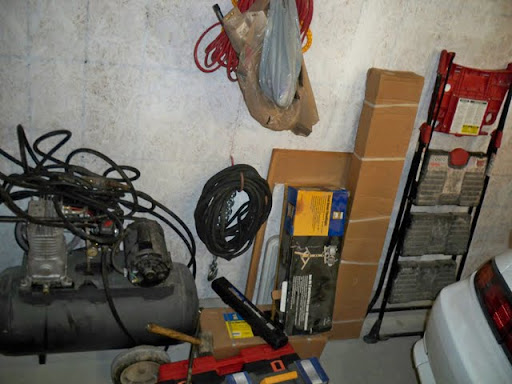
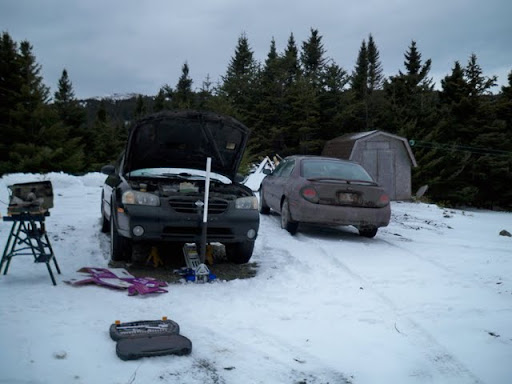
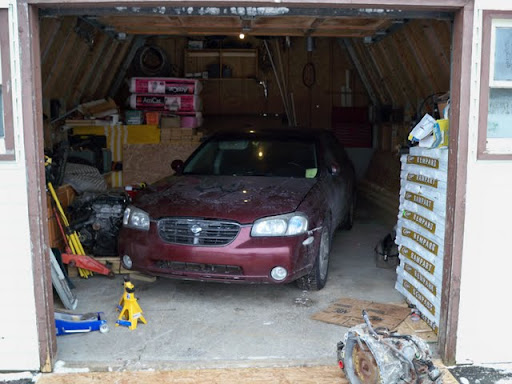
After I spent all this money on a garage, I’m still wrenching outside in the snow…lol
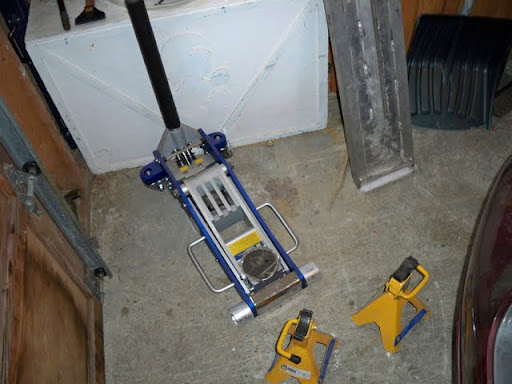
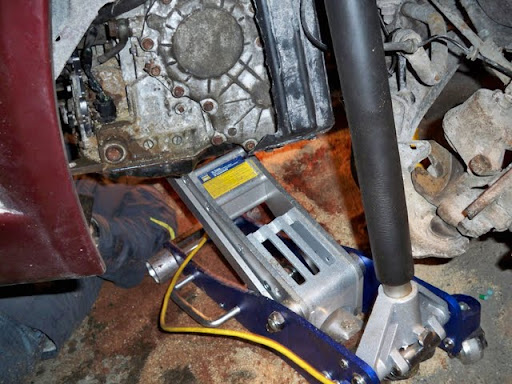
My new jack.
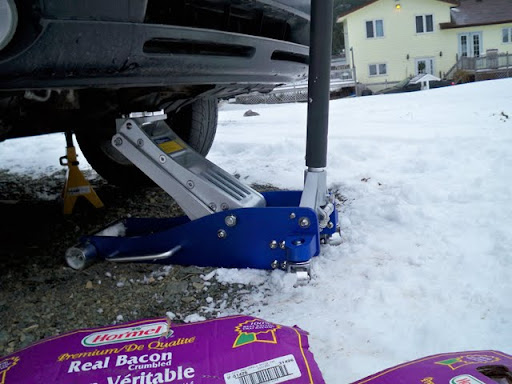
The remnants of a supercharger kit.

Finally…some motivation to get back at the 240 sometime soon!
princess auto jack!
oh eyahhhhh!
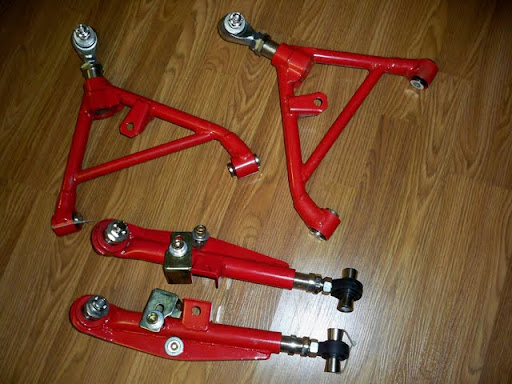
what control arms are those
They’re just Godspeed arms, I’m going to replace the bearings & rod ends with QA-1 stuff and use a bolt + spacers to make them adjustable.
have you sourced out all the bearings and rod ends
For the front yeah, except QA-1 won’t ship to Canada unless the order exceeds $1000.00 USD. I found out that Mopac is a supplier for QA-1, so I just placed an order with them this week.
The rears I haven’t figured out. There’s a write-up on the nissan road racing forums for the front, and I’m kind of hoping that the guy gets around to doing the rears sometime soon.
can u post that link
On the Blackberry right now, I’ll try to post it tonight.
Its a good size because 24x24 is the biggest you can go before you have to put a frostwall underneath it, which is a lot more expensive than a slab.
That is the code in nova scotia atleast.
Had this all typed while having a few beers, then accidentally hit the “x”…
So here’s the “after 6 beers” version.
It’s been a while since the last update on the fleet of Nissan’s that is my life, so here goes.
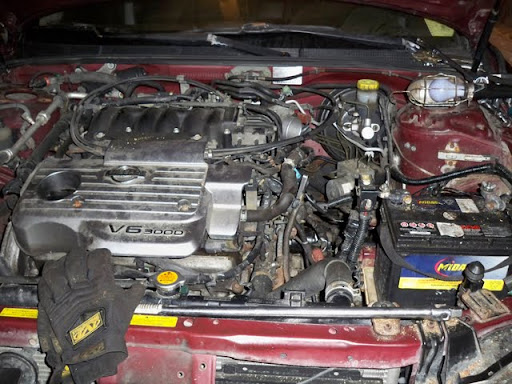
Last time I was pillaging parts from the Black Max to cash in on some much needed supercharger sale money. Luckily I was able to sell the kit, but I was left with a mostly disassembled engine bay, and a non working Maxima, with no exhaust.
The 240 was obviously up on jack stands, this time I decided to cut into it…quite literally. More on that later.
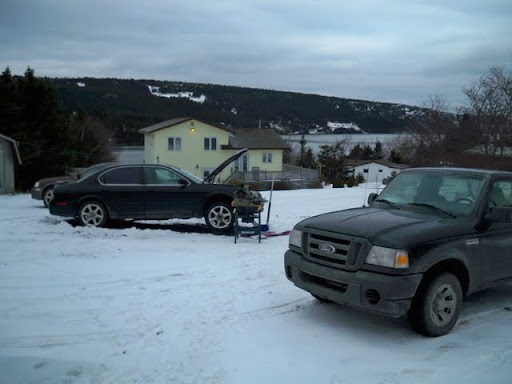
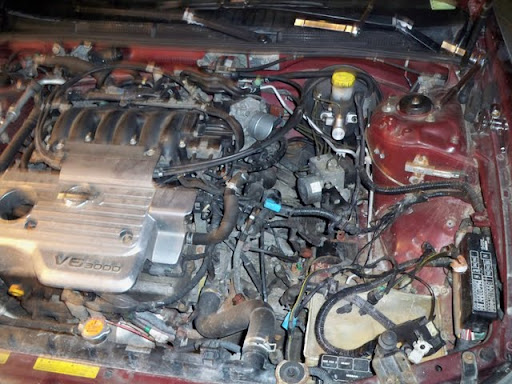
The last standing Nissan in the fleet, the original Burgundy Max, decided today that it was jealous of all the running around it’s been doing to pick up 240 parts, and decided to grenade its transmission in -15deg weather, just after I had picked up my SG-Motorsports shipment.
Tonight, after a 210km trip, 70km tow to the old man’s house with a borrowed dolly, and a 4 man push up hill into his garage, the Max is safely stored in the garage. Tomorrow I’ll dig out the spare trans, find some warm clothes, and attempt a transmission swap in what is supposed to be -16deg temperatures. If I can manage that, I may go ahead and do the oil change and rear strut replacement that I’ve been putting off due to not wanting to wrench outside anymore.
Now, on to the good stuff.
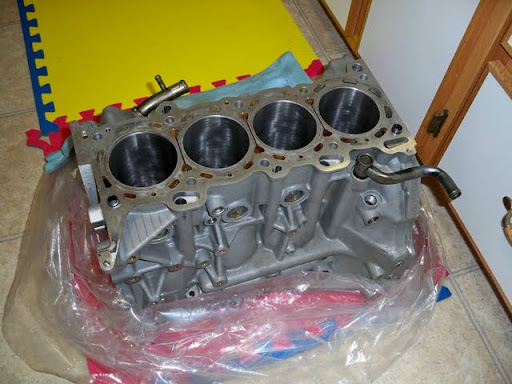
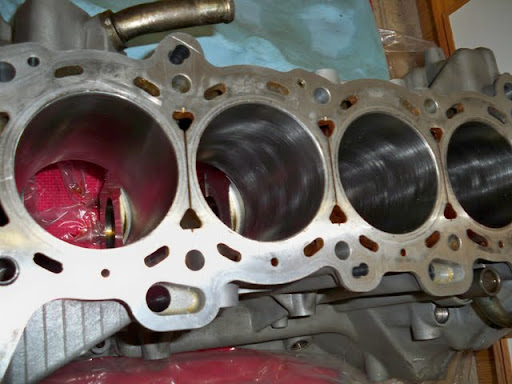
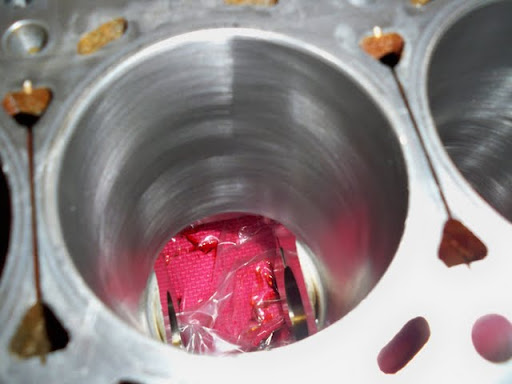
I picked up my other engine from the machine shop this week, it’s been bored another 0.020" to fit my 87mm CP pistons:
The old pistons:
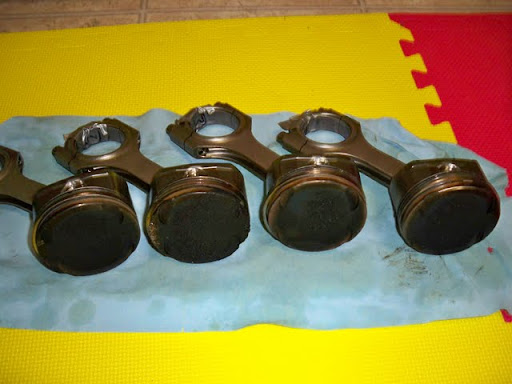
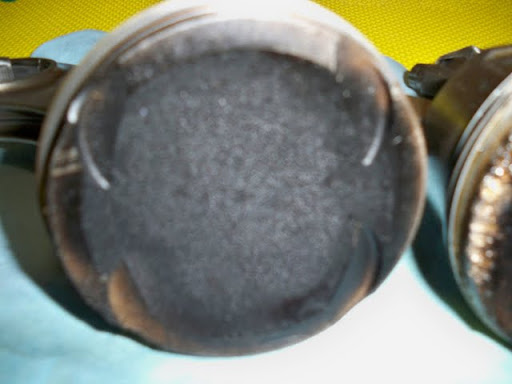
The safe’ish:
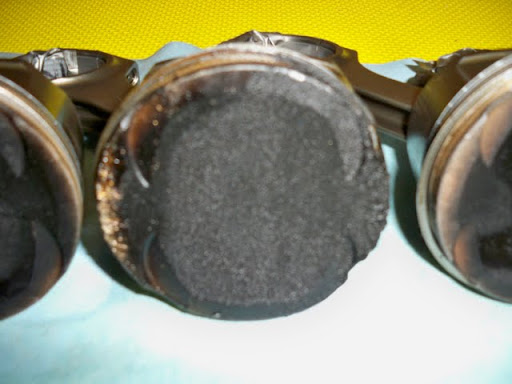
And the not-so-safe’ish…lol:
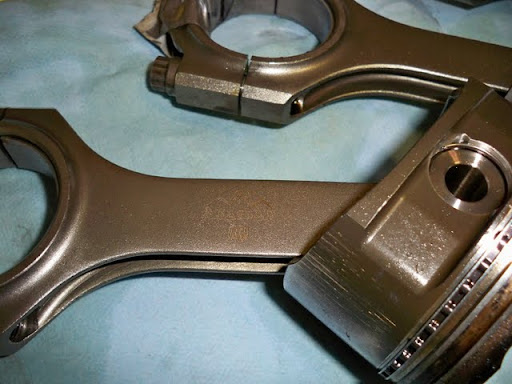
Eagle rods…to be reused:
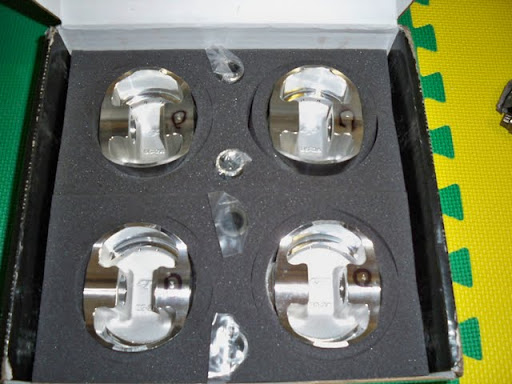
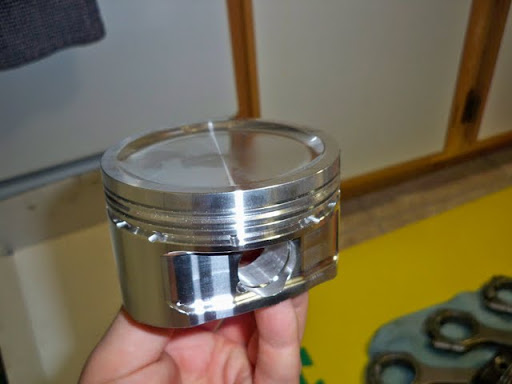
New pistons:
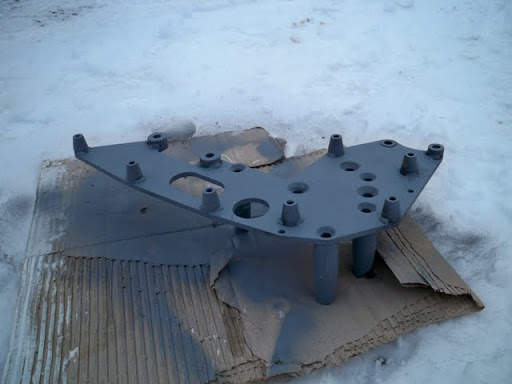
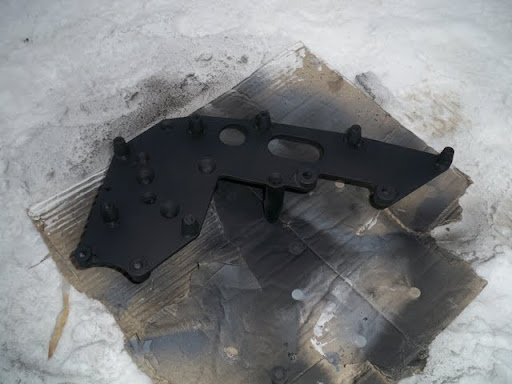
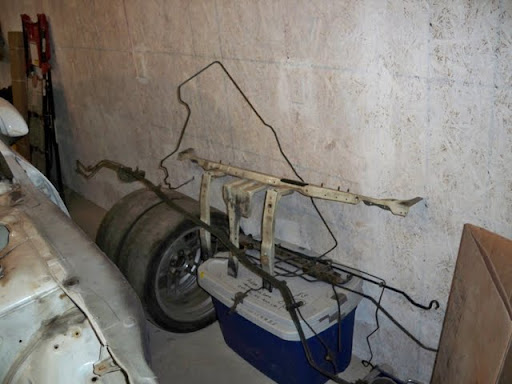
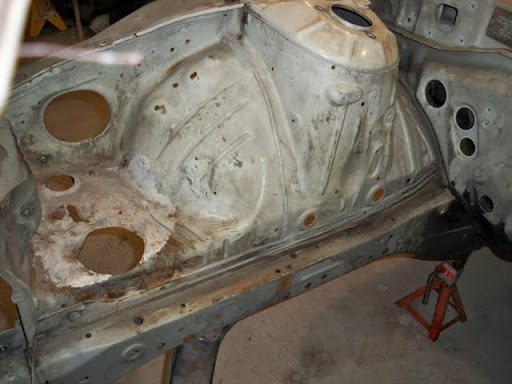
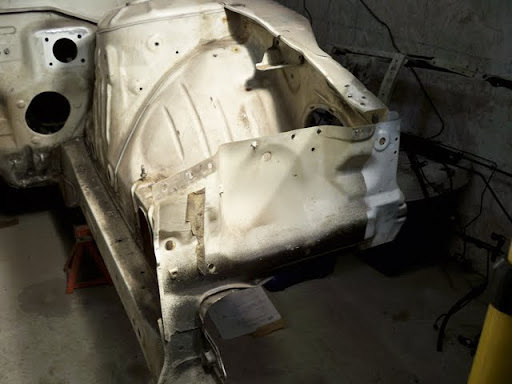
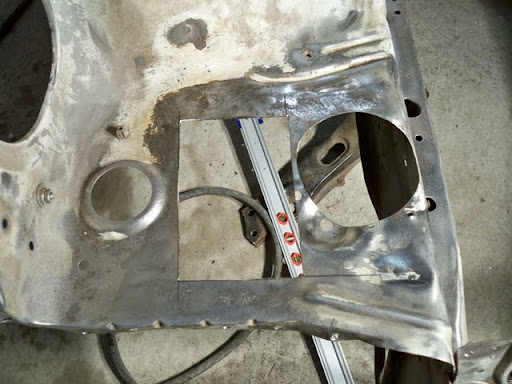
Last weekend while wrenching on the 240, and after crawling into/out of the engine bay numerous times, I decided that I wanted a removable front section for the engine bay. I didn’t want to do the JDM/Drifter thing and use a reciprocating saw to cut out the section that holds the hood prop/latch/etc. then use a sketchy bracket to hold it, so I drilled out all the spot welds, all the way to the inner fenders, and popped the whole section off. Now I’ll use bolts in most of the spot weld holes to re-attach it as a clean/removable front section.
I also removed all the fuel and brake lines running to the rear. I think I’m going to get rid of the tank breather line that runs all the way to the engine bay and ends in the carbon canister, and use a one way valve/breather in the rear to deal with the vapor’s. Have any of you guys removed your stock canister and used a similar rear mount technique to replace it?
The damage:

Passenger side wheel well…pretty mint besides the minor tire rub spots.
Driver side…quite good as well.
Obvious IC pipe cutout…lol
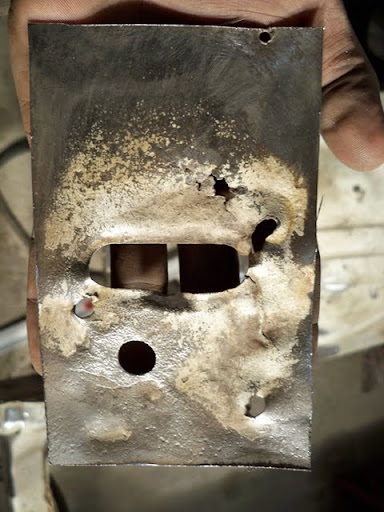
Sketchy battery tray area that was “covered up” with terribly sketchy white paint at some point. I’ll probably cut this section out and replace it with some new metal.
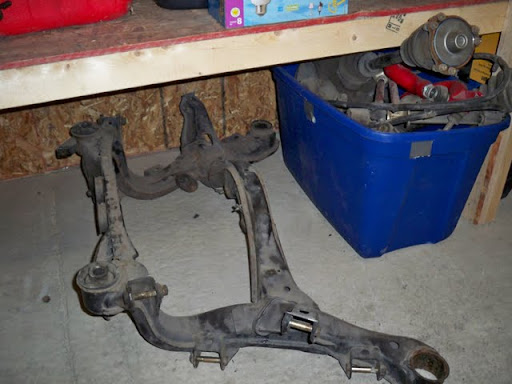
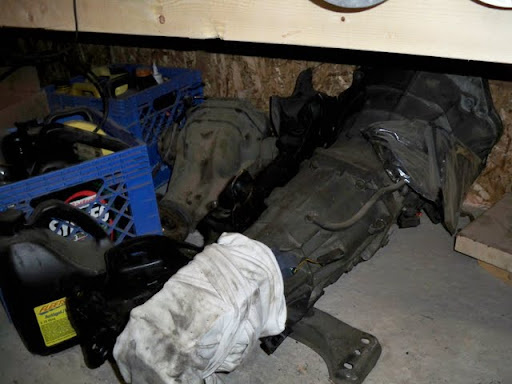
Disassembled rear subframe with 1 bushing removed and random rear subframe bits in a box
Front subframe, transmission, and S14 VLSD which will be replaced with an S15 HLSD this year.
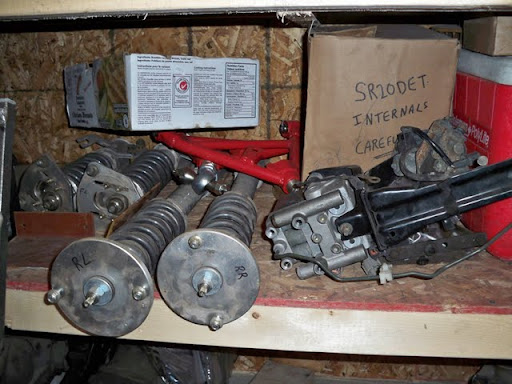
Coilovers, Godspeed rear arms, ABS components (going), premium chicken breast, and SR20 internals with an obvious disclaimer for when the GF/brother were tossing the boxes around…lol
Disassembled front subframe bits…of which only the rack and knuckles/hubs will be reused. Plus baller decorative plugs in the garage 
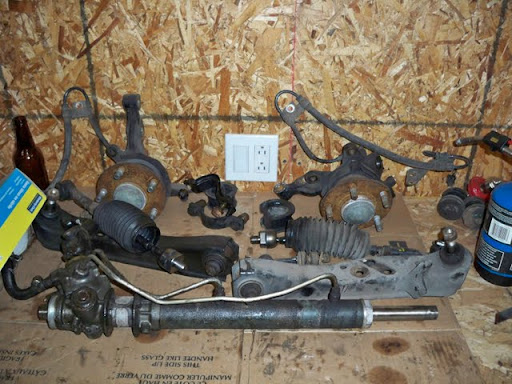
Godspeed front arms, rear Z32 rotors, random bushings, saw for the subframe, etc.
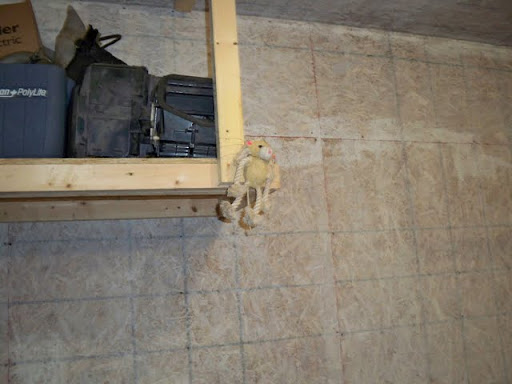
And finally the 240 mascot, dreaded monkey dude, hanging out for some inspiration.
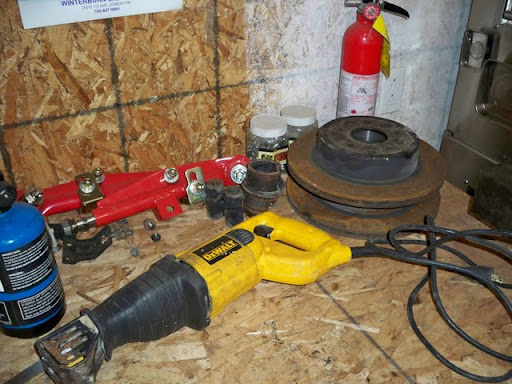
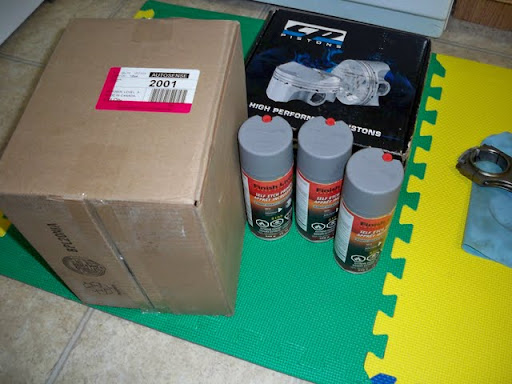
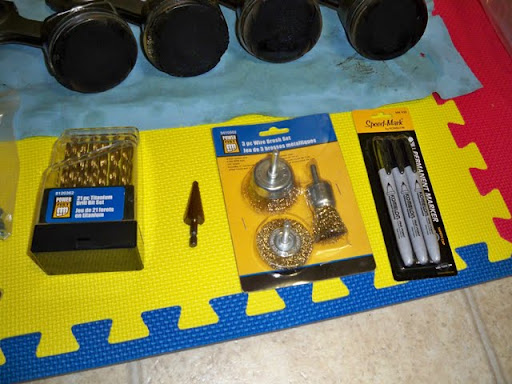
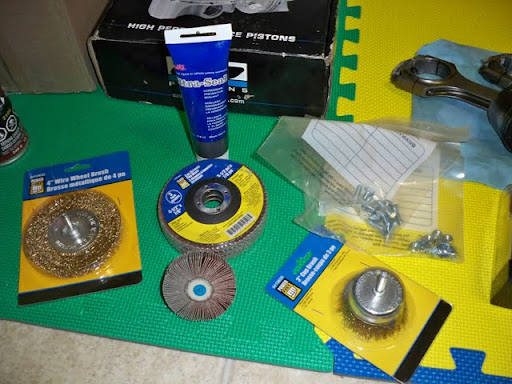
This week I also picked up some things to aid in the destruction/build.
Self etching primer & a case of brake cleaner. You can never have too much brake cleaner.
Cheap bits for breaking, some wire wheels, much needed markers, and a stepped drill bit for drilling out my knuckles.
More wire wheels, a flapper wheel, some soft grinding discs, dielectric grease, and some random bolts for reattachment of the front hood latch section.
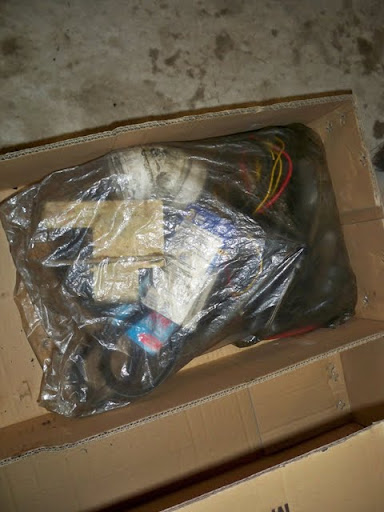
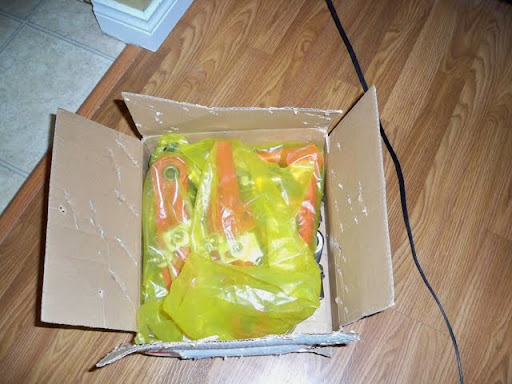
Fast forward to today, when I picked up my SG shipment in a Redline box, with baller SG-motorsports packing tape…lol

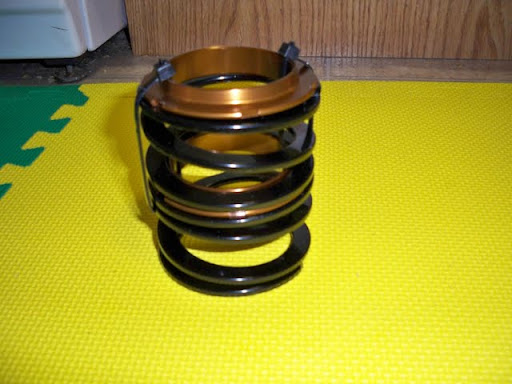
Stance tender springs…hopeful for some droop.
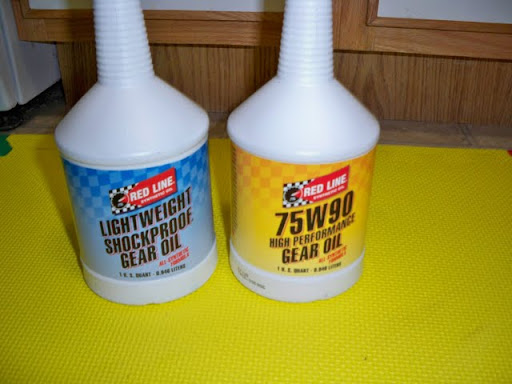
Diff fluids.
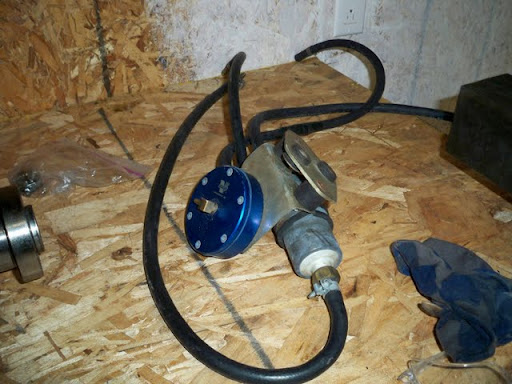
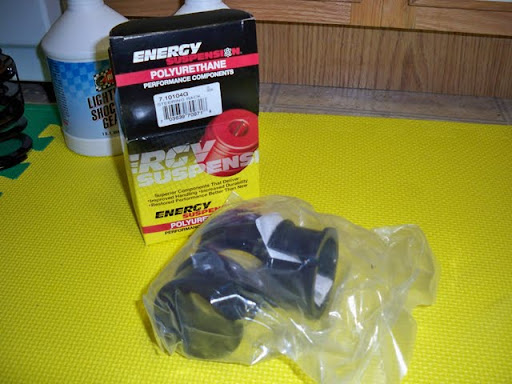
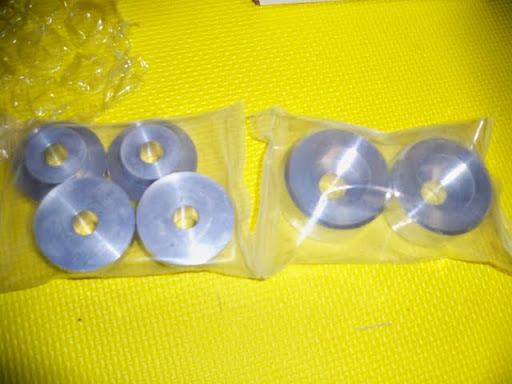
Energy Suspension steering rack bushings.
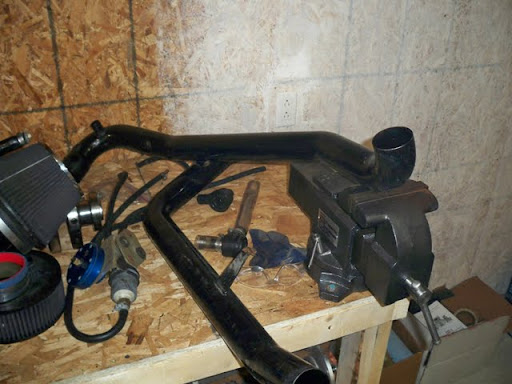
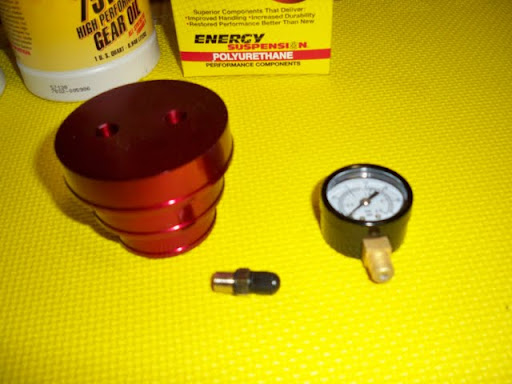
SG Boost leak tester.
Some turbo/manifold locking tabs.
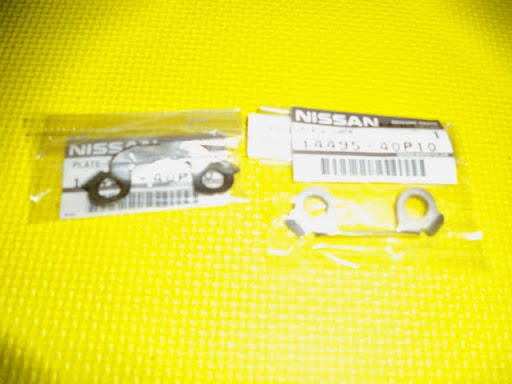
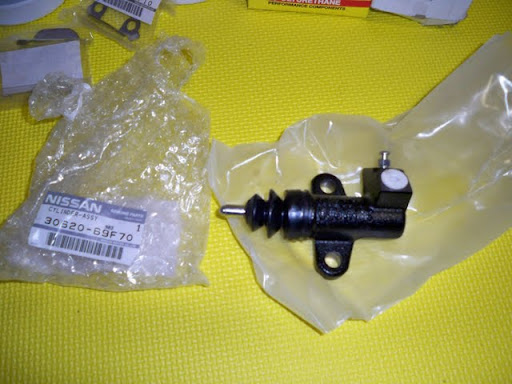
Nissan slave cylinder.
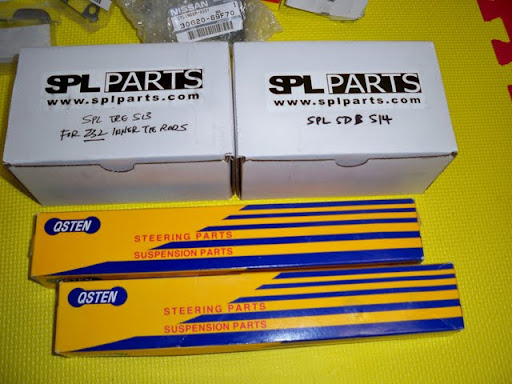
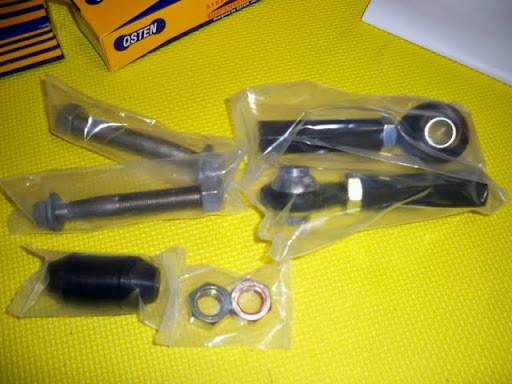
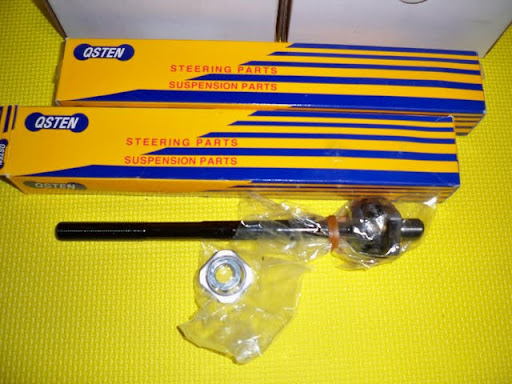
Baller SPL/Z32 steering components…finally proper adjustment.
And finally, SPL differential bushings.
That’s it for now I guess.
Hopefully next time I’ll have one (if not 2) working Maxima’s, the engine bay will be prepped for paint, and I’ll be ready to start putting this thing back together.
Still waiting on a QA-1 order and an McMaster-Carr order, after which, I’ll be building my front LCA’s, and maybe soon my rear LCA’s.
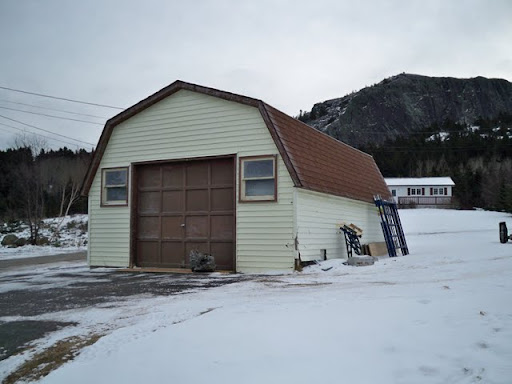
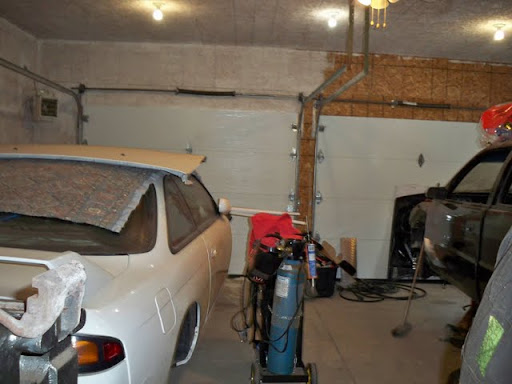
Funny that after spending all fall building a huge garage, I’m still wrenching out of the old man’s spot.
I guess it could be worse, as it is where both Max’s were originally built up, so it was kind of fitting that I’d be replacing the transmission here.
The spot:
The Plan:
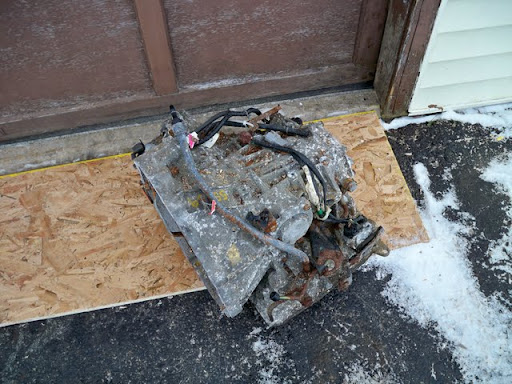
The Subject:
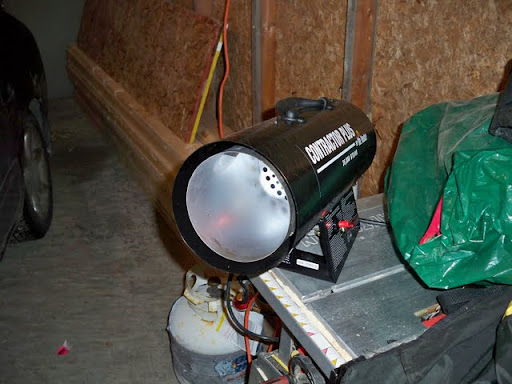
Sketchy/unreliable heat source:
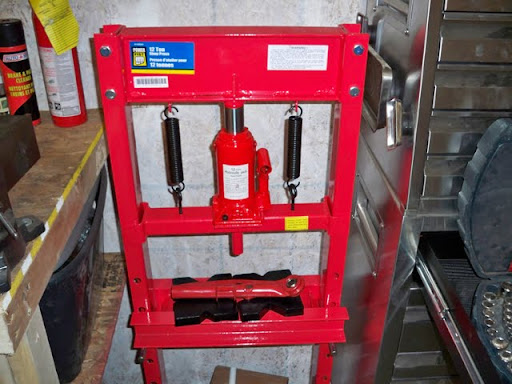
And we have another project brought to you by cheap tools at Princess Auto.
Step 1: Deep breath
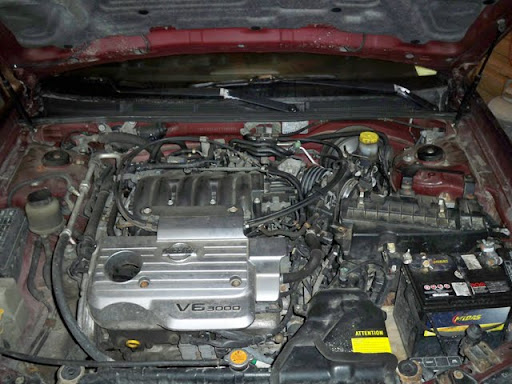
Step 2: Remove engine bay clutter
Step 3: Ughh…winter driving
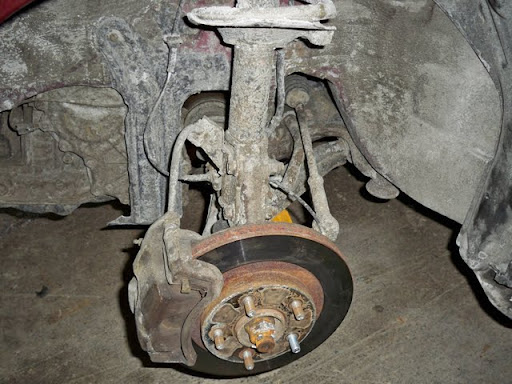
Step 4: Pull axles/suspension

Step 5: Remove old transmission
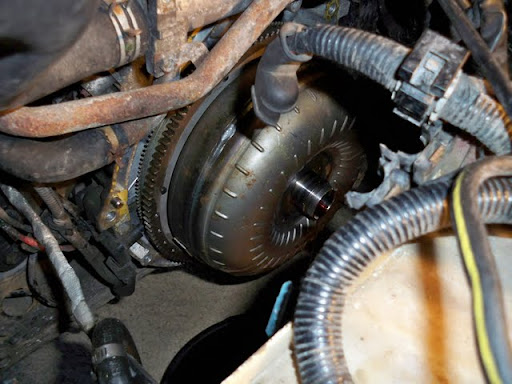
Step 6: Remove torque converter
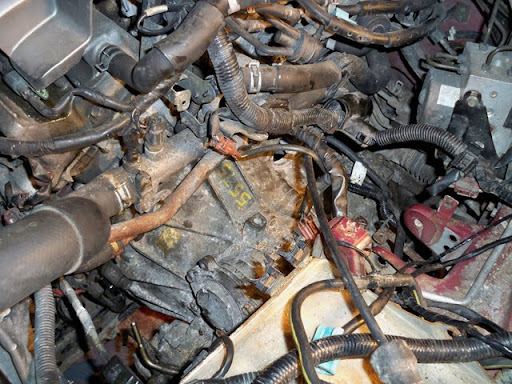
Should have dropped cross member and removed torque converter from pressure plate/removed with transmission, but decided to muscle it out instead.
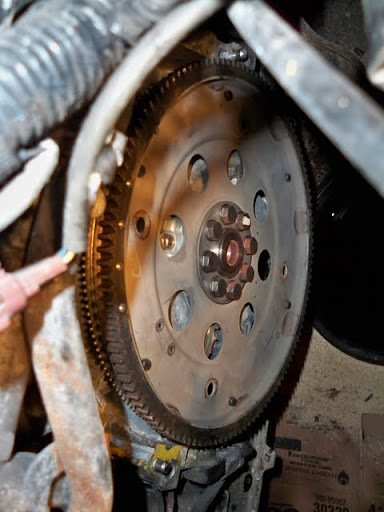
The mess created by step 5-6:

Step 7: Opt to remove cross member
Step 8: New subject
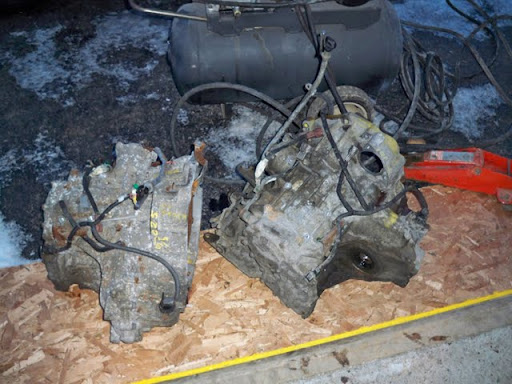
Step 9: Install new subject
Step 10: Bolt up & go
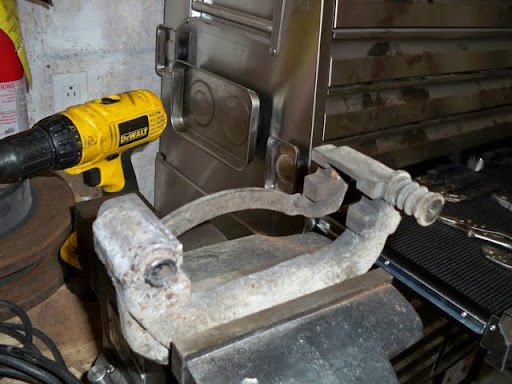
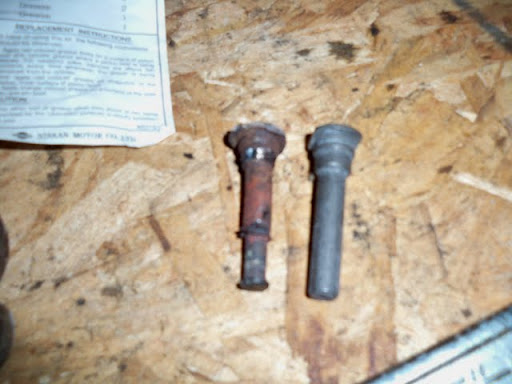
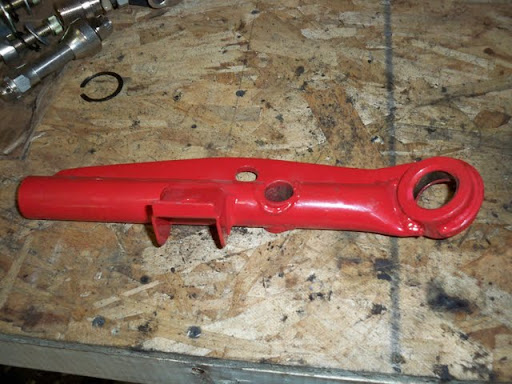
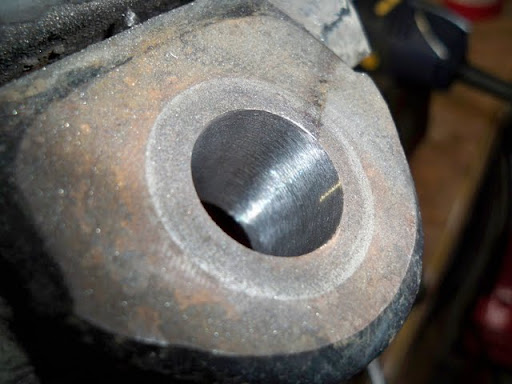
In the midst of all that, I did a few other small things, one of which was rebuilding the passenger side torque member (caliper bracket). One of the sliders was jammed the last time I replaced the brakes, so I’ve been using the old pad/rotor on that one corner, basically just due to lazyness.
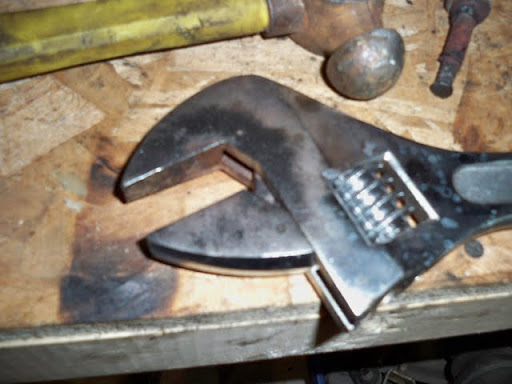
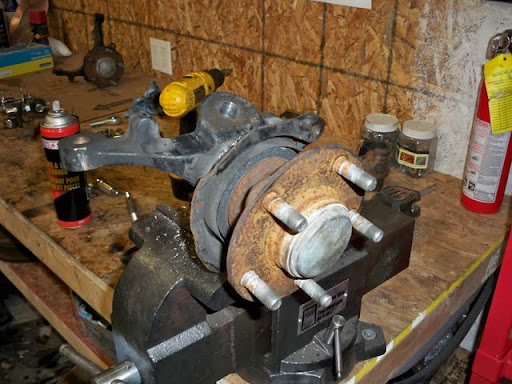
Anyway I figured I’d go ahead an rebuild it this time. First I tried hammering, then heat, finally a LOT of heat and a big wrench did it for me. I finally got the jammed slider to move, and some vapor (compressed air/grease I guess) came out, filled with rust. You could actually see the red particles come out for a split second, then I heard a “bang”.
This was the bracket in the vise.
And this was the projectile path that the jammed slider took, as it flew past the 240 and hit the garage door…lol
“Exhaust” gases on the wrench.
Old (with missing material) vs new.
So I got the Max back together and back on the road…then it was on to the 240 wrenching.
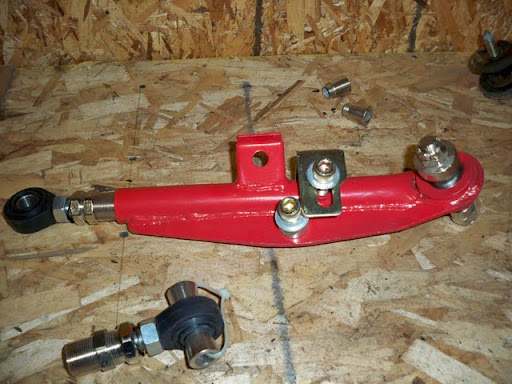
Godspeed Arms:
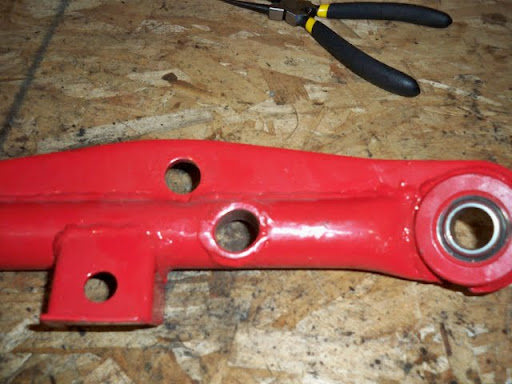
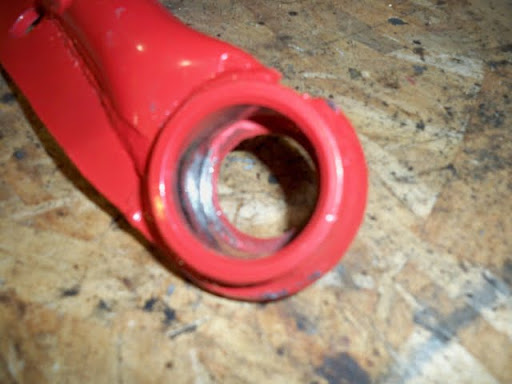
Disassembled arm.
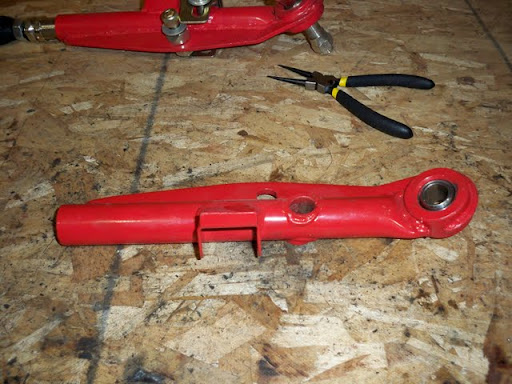
Note the out-of-round hole for the tension rod.
Then I put it in my Princess Auto “Made in China” press…and realized China must only carry one color of red paint…lol
I narrowly avoided another projectile when I pressed the bearings out of these arms…lol
The first arm took quite a bot of load, then a large impact set me back, as the bearing unseated, but didn’t come out of the arm. An easy press removed the bearing. The second arm didn’t seem to take much load at all, then the bearing shot out of the arm and bounced off the floor.
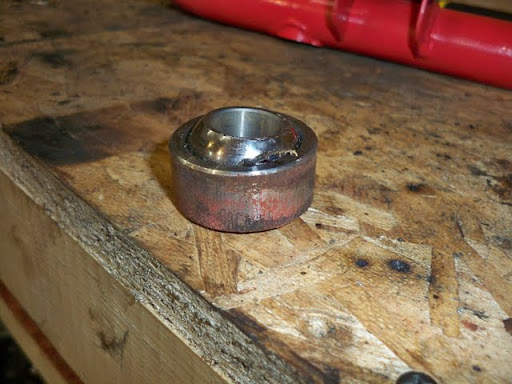
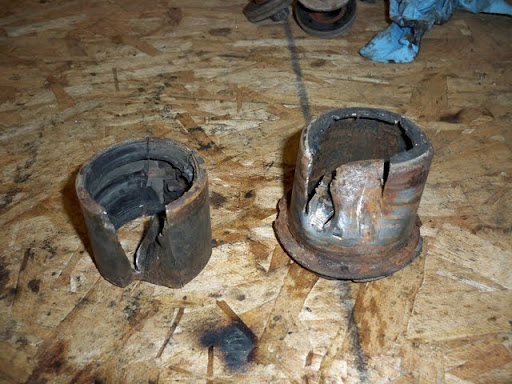
State of the 2nd bearing after flying out:
Notice the innerds hanging out.
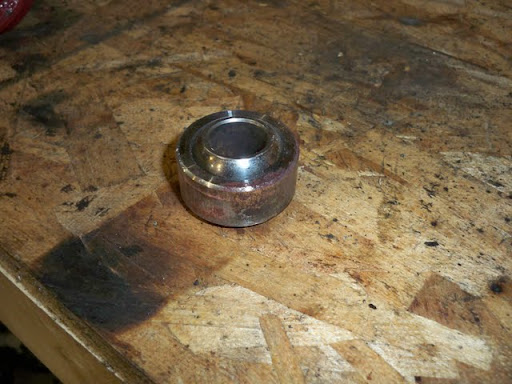
First bearing…rusty while “brand new”, but still in reasonably good condition.
Bare arm.
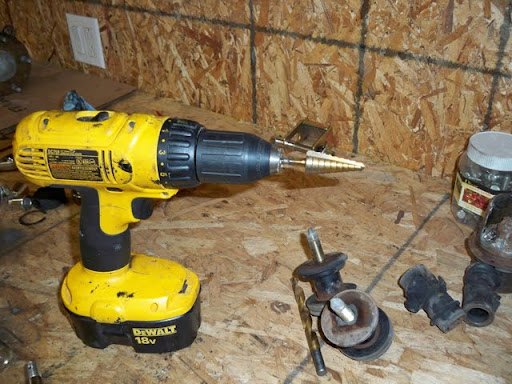
Then, since I didn’t have the new bearings, I decided to move on to drilling out my knuckles.
First I had to…cough…struggle…cough…to get the abs sensors out…and complying with abs sensor etiquette, they got fully destroyed.
Then onto drilling out the knuckles to accept a 3/4" bolt.
Knuckle.
Stepped Drill
Rough hole
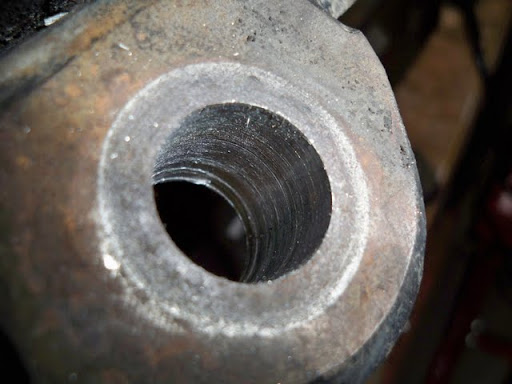
Hole after a quick rotary tool touch up

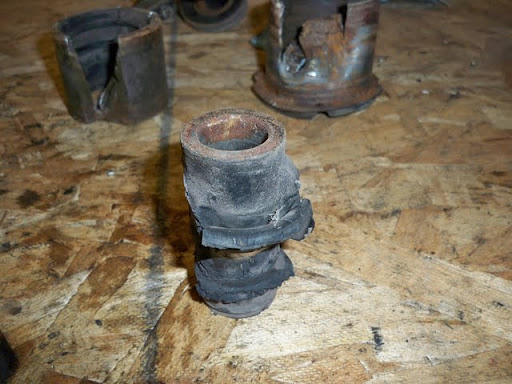
Then quickly cut out another subframe bushing.

Inner sleeve
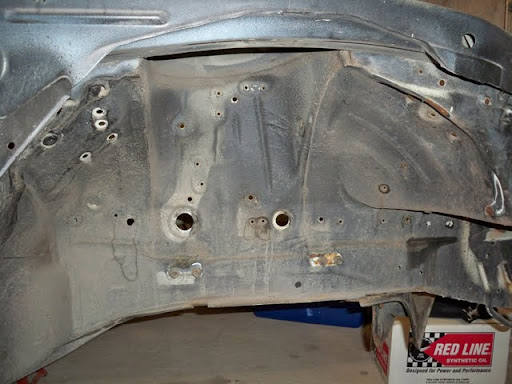
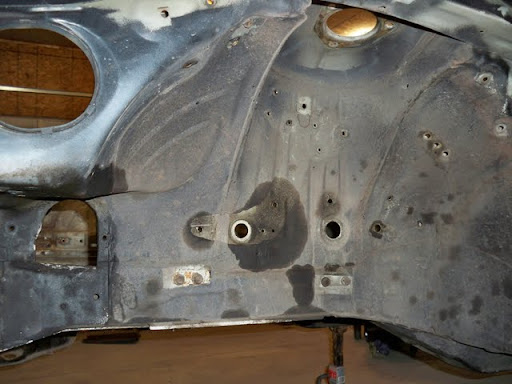
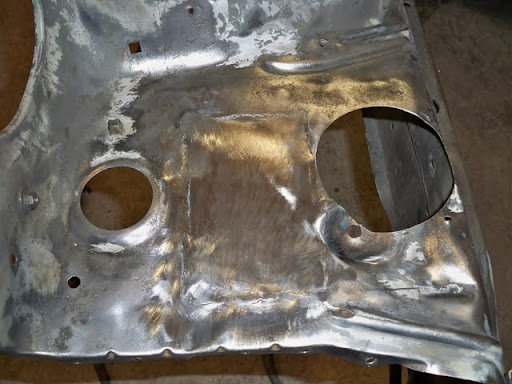
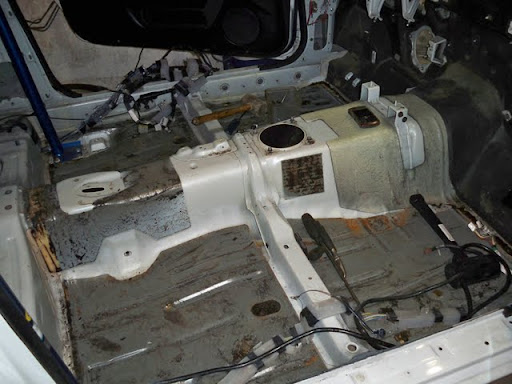
Today, I got to work cleaning up the 240 engine bay.
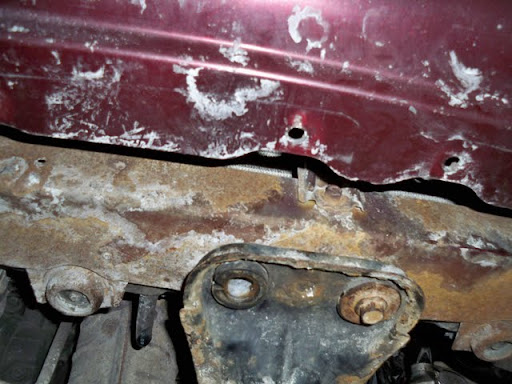
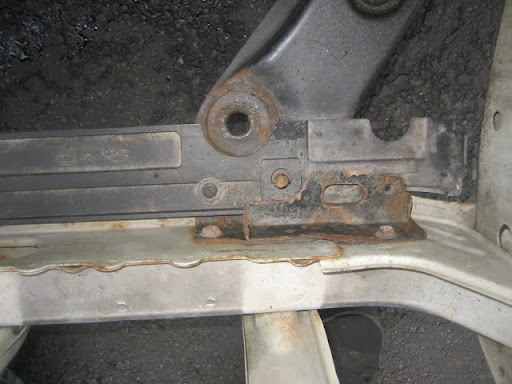
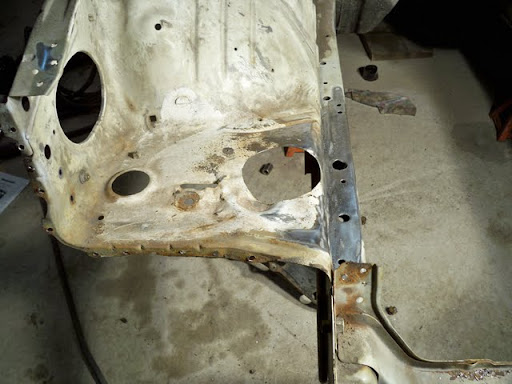
Sketchy frame rail rust:
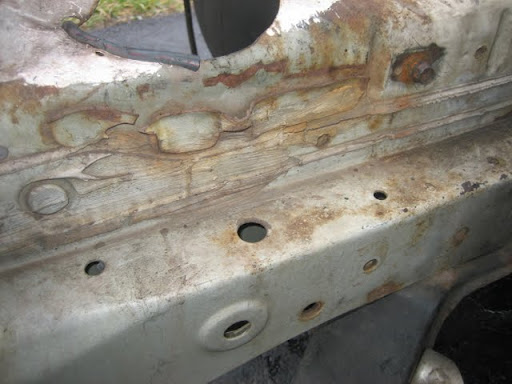
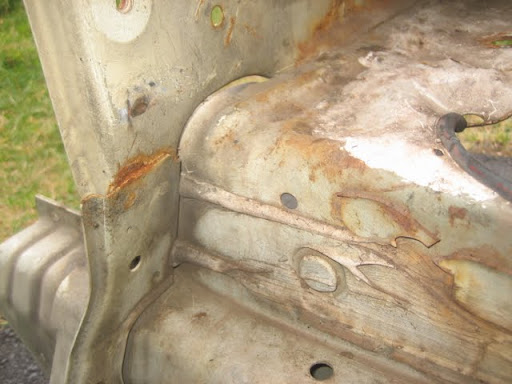
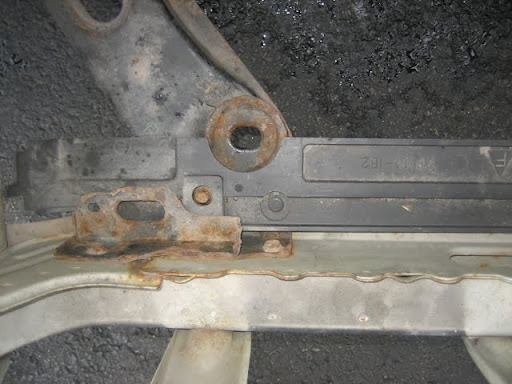
Sketchy rad support rust
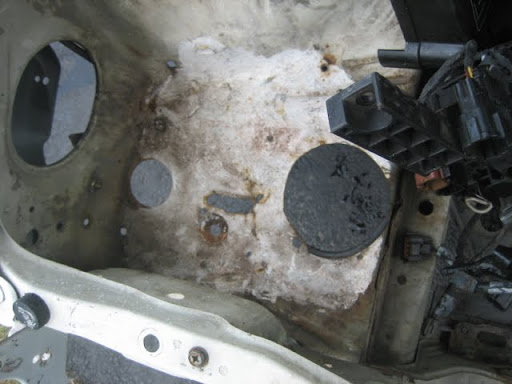
Sketchy battery tray rust with sketchy “touch up paint”:
Step 1: Remove this (on other side)
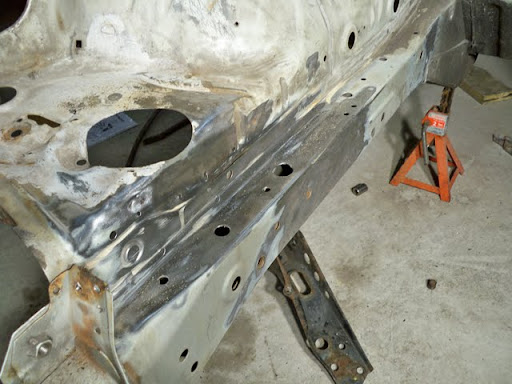
Step 2: Fix frame rail
Step 3: Fix/cut out battery tray
Finally…attend to all other rust spots in the engine bay.
You can probably also see the additional hole I drilled to get the tension rod/rad support brace with unremovable bolt out, and actually see the brace there on the floor.
That’s it for tonight…maybe some more tomorrow.
Lovin this build! Great detail.
I’m glad this car went to another great enthusiast!
Keep up the great work.
Good stuff man, this car is going to be so awesome when it’s done!
Thanks guys.
Quick update on the progress.
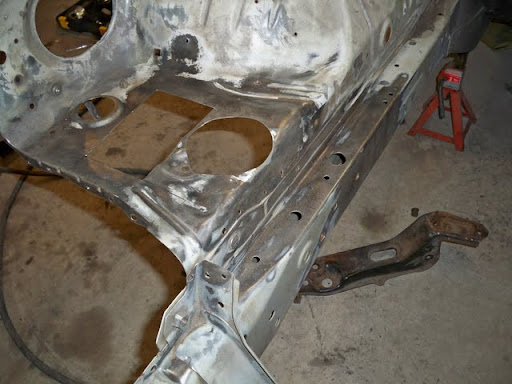
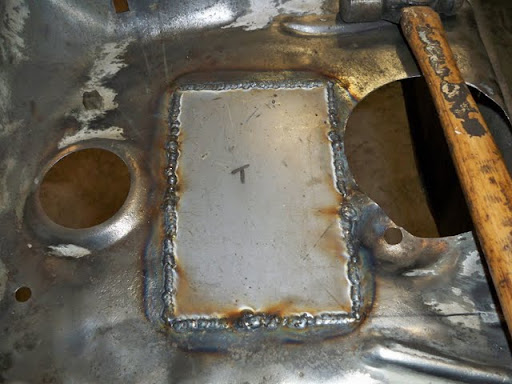
I cut out a plate this morning and got Roaster to tack it in.
I cleaned it up a little afterwards.
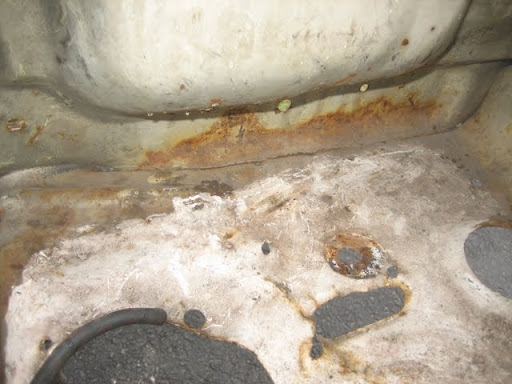
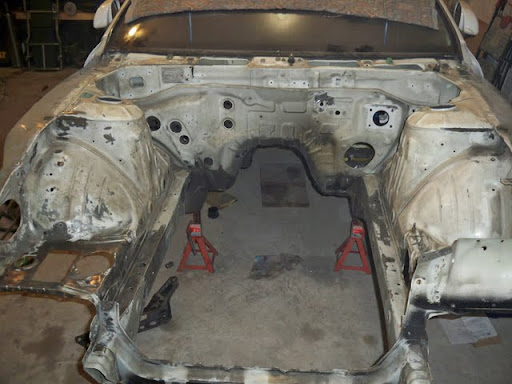
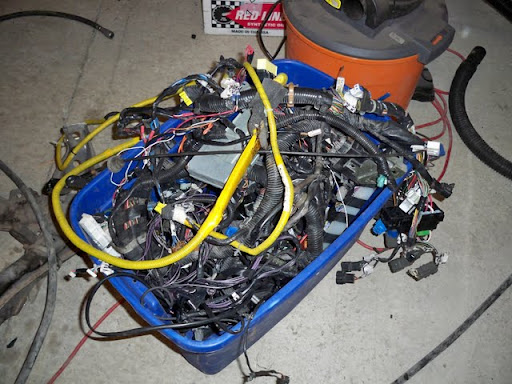
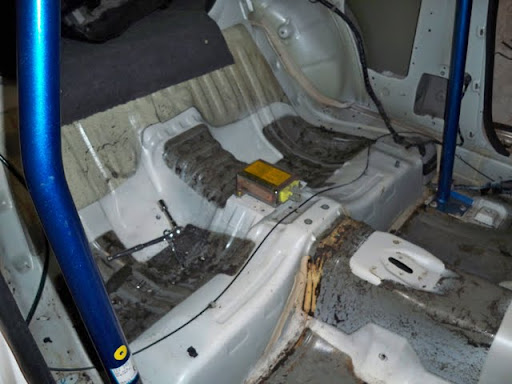
Then I pulled the harness, and after pulling the carpet, realized it had gotten damp under the seat area a little bit, I guess since the car had been sitting outside for a few months with an open’ish transmission tunnel, it was to be expected.
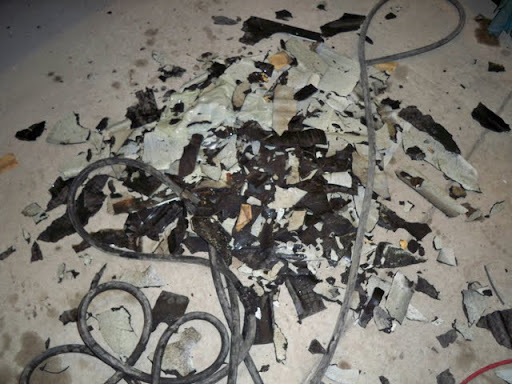
Anyway, the sound deadening in that area was ready to pop out…and even though I didn’t plan on removing the deadening, I went ahead and pulled it all out anyway.
Wow, amazing! Great job on the weld, can barely tell it’s even there!
Cheers!
amazing work you do a lot of stuff. Jumping between projects and such.
Just curious what did you supercharger kit cost for you maxima? Ive been dreaming of one for mine just never really looked into it that hard. What kind of numbers does it put down ect.