Kits usually go for $2k-$2.5K now.
A few years ago, they were more like $3k-$3.5k.
I never had the Max on a dyno, but it was super fun with the kit, especially the 5 speed Max compared to the Auto Max.
Guys with similar setups reported being in the 325-350hp range, up from the 225ish stock, with the smaller diameter pulley.
Thanks man, I’ve still got to clean it up a little bit and maybe fill it in a little.
I was reasonably impressed/happy with it though, as it’s the first time I’ve done any body work…lol
You’re such a Newfie lol…Completely DIY to the bone, with a four wheeler-I imagine there is a sled somewhere-as well. That’s a Newfie if I ever saw one.
To the guy that wanted that view: for the price of a home here you can have that view and live like a king there. Houses cost absolutely nothing there compared to here. That view will cost you no less than 500,000-1,000,000 here minimum. In NL that will get you your dream home, garage, a Ferrari, and cash in your pocket left over.
Haha, you’re on the right track, but def caught up in the stereotypes a little too much. I don’t actually own a 4-wheeler nor a ski-doo (although it describes the old man pretty well, + a boat :p).
If you want this view:
…It’s definitely not dirt cheap, and def doesn’t constitute a Ferrari…lol
Don’t get me wrong, houses are much more affordable here than in some of the bigger cities, but you’ll be way out of the main cities to find them cheap.
A 20 year old Bungalo in St. John’s right now is probably $250K. Our house really near the city with a comparable view would possibly fetch 400-500K at the right time. We’re about an hour outside of the city, and out of the “main market”, so the property would probably go for $200K with this view.
St. John’s took the “recession” pretty well, with all of the offshore oil projects & such. A lot of people in that field suffered, but as a whole, didn’t really feel a hard impact, and housing continues to skyrocket.
But enough about that, yeah I HATE huge cities like Toronto, and to a lesser extent Edmonton. I’m quite ok with living here and enjoying all this for less than I’d pay somewhere with (no offense) people who are mostly cocks, and would do absolutely nothing for you. It’s refreshing to run into a random person anywhere here and know that they’ll probably help you out if you’re stuck/struggling/etc. Not that everyone is like that, but after spending time in Alberta, some time in Ontario & BC and living here, it’s what I’ve experienced.
Exit NL talk, insert wrenching. Don’t take me the wrong way Feint, just a discussion point.
During the transmission swap on the Max last week, the engine had to be supported by a jack on the base pan (as per Nissan FSM believe it or not, I checked when looking for the instructions on how to get at the pressure plate window).
This put a small crack in the base pan, which I dropped & welded (pretty ugly actually, as the rusted area just kept dropping through…had to tack/fill and it wasn’t a pretty job). Anyway, being in a rush, I didn’t give enough time for the gasket maker to fully set upon installation, and I ended up with a leak through another hole + a spot in the gasket.
Last night I decided to tackle the issue, and dropped/welded the pan again, and let the gasket set overnight.
Quick/limited work space:
Close quarters:
Trying to conserve heat…lol
Base pan Dropped:
Fixed:
Then it was onto the 240.
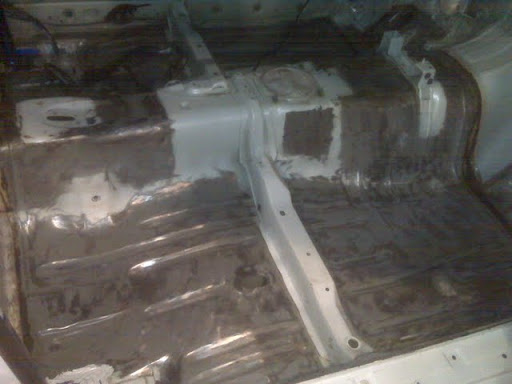
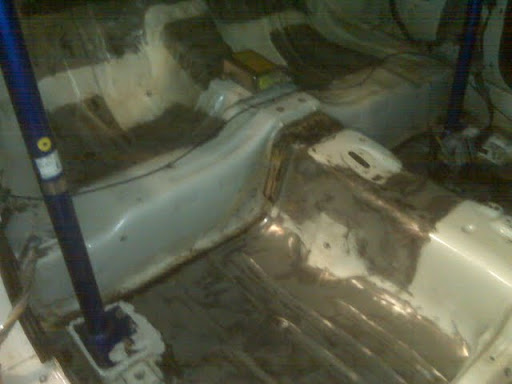
As I mentioned last time, the carpet had gotten wet while the 240 was sitting outside, which prompted me to remove the wet sound deadening. This time I decided to remove the cushion/foam stuff underneath, as one section of that (same section) had gotten wet, you can see in the pic.
Redneck carpet drying…lol
The old stuff:
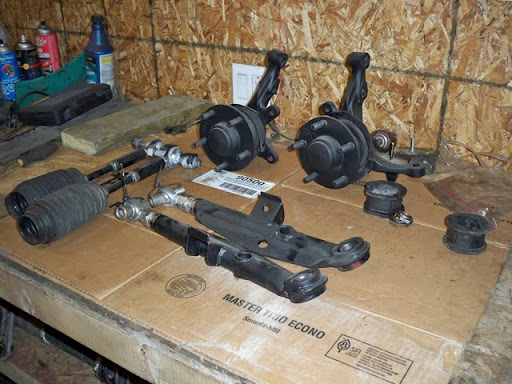
Then it was on to building the LCA’s.
A shot of the Godspeed rod ends vs the QA-1 rod ends (right)
Drilling out the spacers:
Widening the bearing seats to spec (It was the rotary tool with a bunch of bits, and not the wirewheel use for widening it out.)
Final product, with the snap ring grooves widened/components installed.
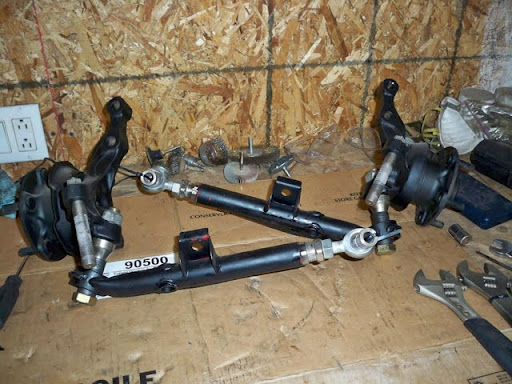
LCA mocked up with proper spacing:
Z32/SPL setup mocked up:
And finally, both sides completed.
Not bad for a Monday night.
Next up is finishing the inside floors, the engine bay, and making/modifying my subframe bushings & possibly differential bushings. After that, I can get the engine ready and start the long process of wiring/reassembling & fitting the interior bits, then start putting the car back together.
My dad is a Newfie, he always talks about the home land, the outdoors, etc. He has property down there, but it’s near Stephensville, so there’s no work to enjoy it. It’s like seeing a wild animal in captivity, it’s pretty heart breaking. Your thread reminded me of some of the things he talked about. I’m gonna definitely show him the build thread next time I am around, he’d be more than happy to see something like that.
More on topic: It’s sick to see a full build, an owner’s build as I have seen it referred to. No stone seems to be left unturned, and that’s wicked. I don’t have much else to say ATM, it’s like watching an Option video as far as build extent goes. I’d like to see what you do for the wiring (relocations, management, gauges, etc). Cool stuff for sure.
Yeah the wiring is going to be a big hurdle…but I need to do it.
I go to school with a bunch of people from Stephenville, given the size of that place, you’re probably related…lol
Forgot the camera this weekend, so crappy Blackberry pics will have to do, lol
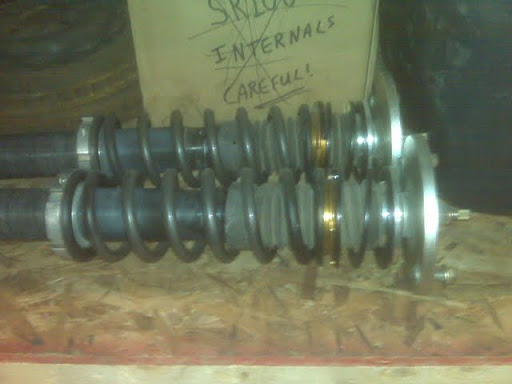
First I took apart the F/R coilovers, ruca’s, rear toe rods, rear traction rods, tension rods & the new flca’s and tie rods to clean up, lubricate, and re-assemble. Installed the new rear tenders, and adjusted for original ride height, + set all suspension arms to proper lengths.
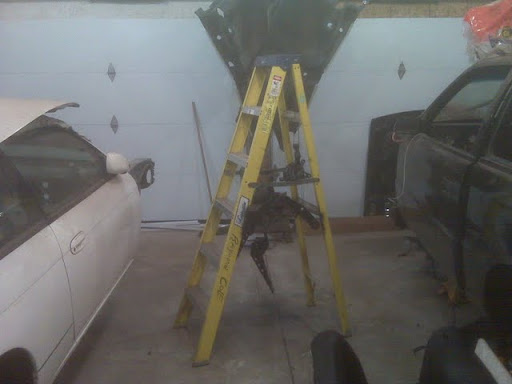
Then, after wire wheeling, scrubbing, etch primer’ing, etc. a pile of parts, it was on to the “paint rack” lol
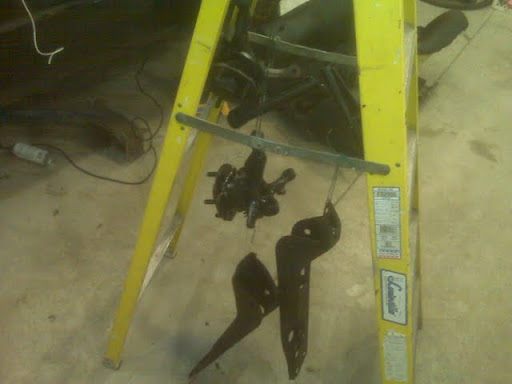
Knuckles, FLCA’s & tension rod braces:
Front Subframe:
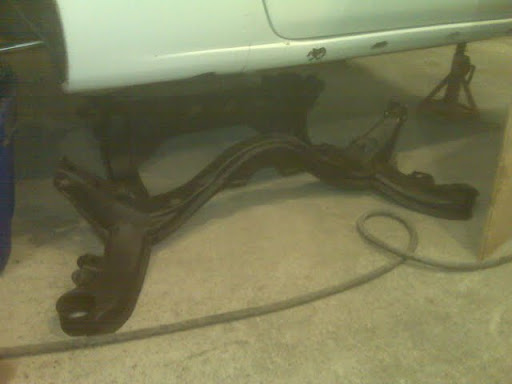
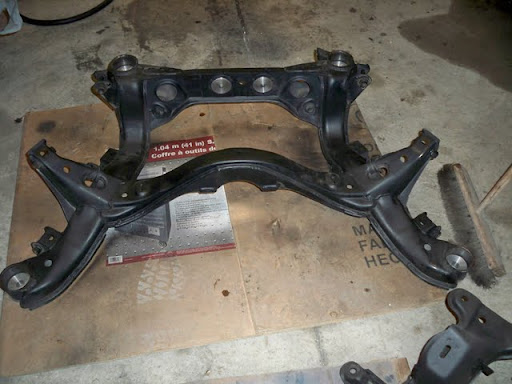
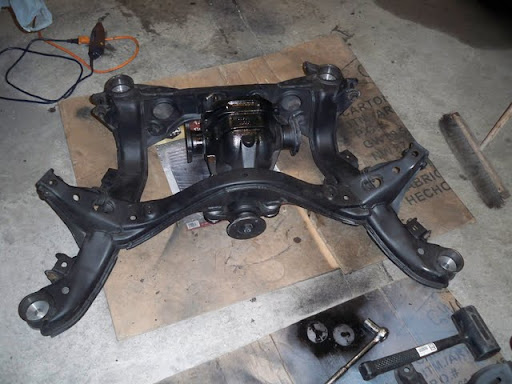
Rear Subframe:
Had a few garage beers Friday night with a buddy, and finished removing all the subframe bushings and differential bushings from the subframe + paint.
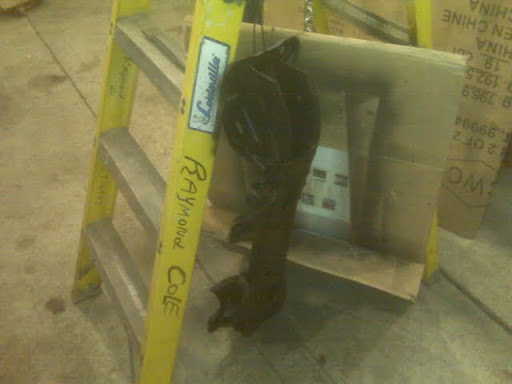
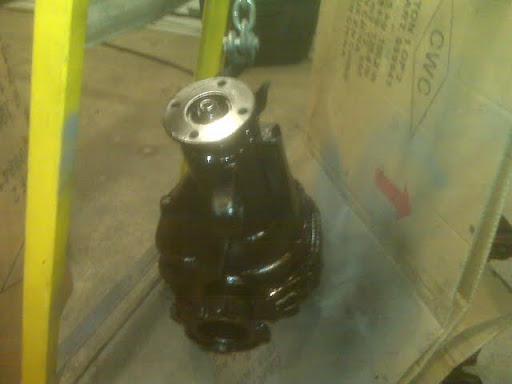
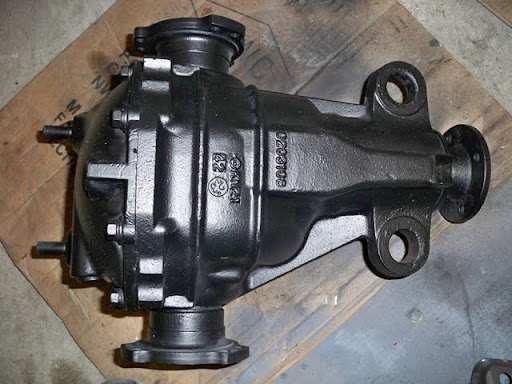
And finally, the diff.
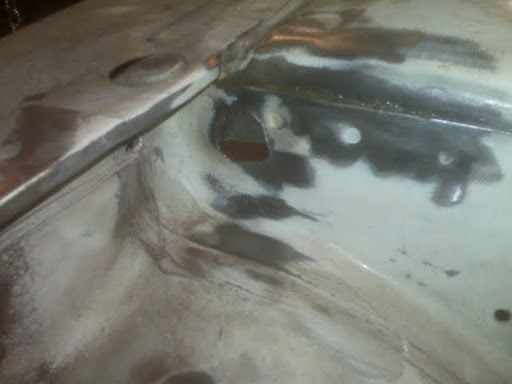
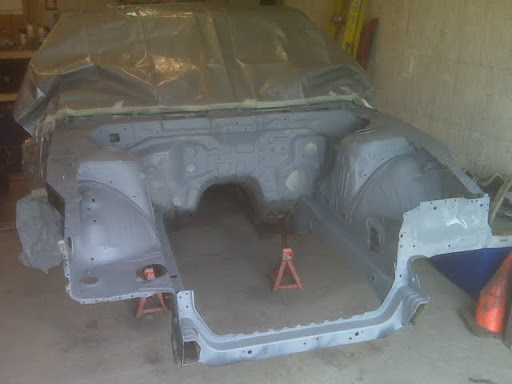
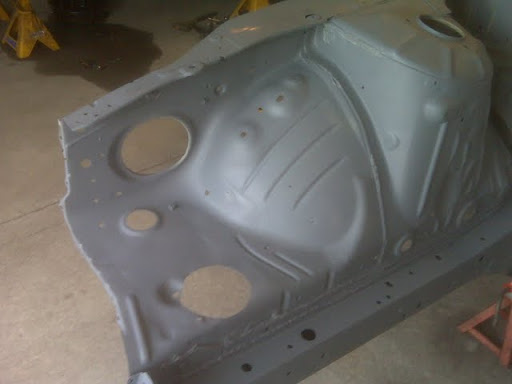
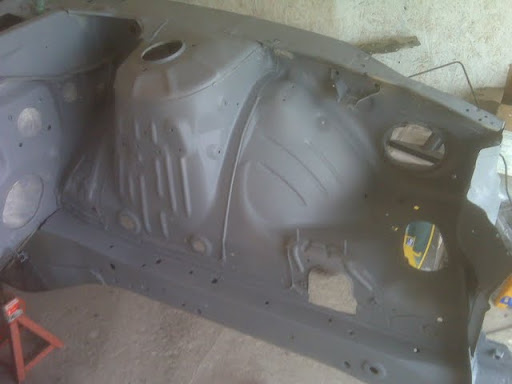
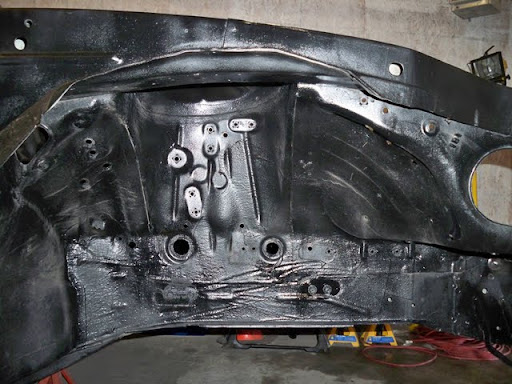
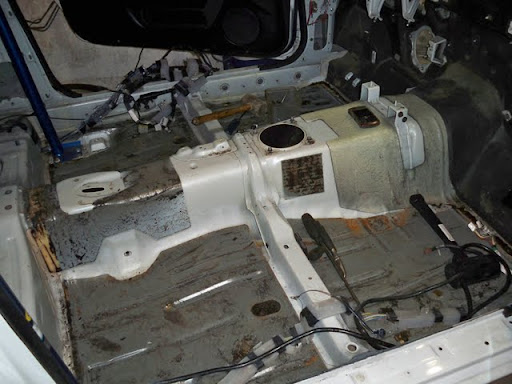
I finally got around to cleaning up the last bits of rust from the engine bay.
There were a few spots on the shock towers that needed attention, so I removed the unwanted material, you can actually see one small hole that was made after removing this.
After finishing these bits, it will be time to prep and paint the bay, then finish the interior and finally be done with body work. Kind of glad I got around to prepping some of the suspension bits, as now I’ll be able to assemble them and get the car back on the ground without issue once I get to that stage.
Thanks Sasha.
No pics again today, but properly cleaned and primered the engine bay, then mostly prepped the interior for paint.
Anyone have any suggestions on paint options for the bay/interior?
I don’t mean “HKS Purple”, I mean types of paint that may offer things like durability, rust protection, etc.
A few friends have mentioned things like a tremclad spray/rust paint, an epoxy or urethane? type paint, and even bedliner for maximum durability…lol
I want something that won’t be hard to keep decently clean looking (not stock white color), something that can take a beating from engine installs & other random wrenching, and probably an anti-rust paint. I’ve never done it before, but I was thinking either a tremclad rust style flat black, or possibly something more durable.
i dont think flat paint + oil will go well together. I’d stick to a hard thick white… you’ll be able to see whats what and where and you will be able to still power wash it… just my opinion
I don’t typically make a habit of powerwashing my engine bay, but I get what you mean.
I like black, because it doesn’t show things as easily, not a fan of the white at all.
A friend of mine painted his white AE86 engine bay with a “thick” white paint…I think it was some type of urethane, but then he cut it up and covered it up…and opted for another shell…so I never got a chance to see how it held up.
Maybe flat black is a little too touchy, but if I clear over it, it will be a regular black, and probably be more durable. I’d like to try one of those “thick” paints, no matter the color, it should hold up to some abuse. My car is also not a show car, I race it every weekend and DD it during the summer, so I’m not overly concerned with the look as opposed to the function.
I used tremclad black on my S14 and it held up incredibly well for a spray can paint. It actually applied very evenly and had impressive gloss as well.
The best color to go with in my opinion is a dark silver or almost gunmetal color. Looks awesome and shows fluids better than black.
Quick update.
Brought the damn camera today, and it was dead…so BB pics again…lol
After a final cleaning, I seam sealed everything, taped it up and hit it with self etch primer.
Then I finished wire wheeling the interior, got a vacuum in there, and cleaned it up pretty good with brake cleaner/shop towels. After the exterior paint, this is good to go for paint.
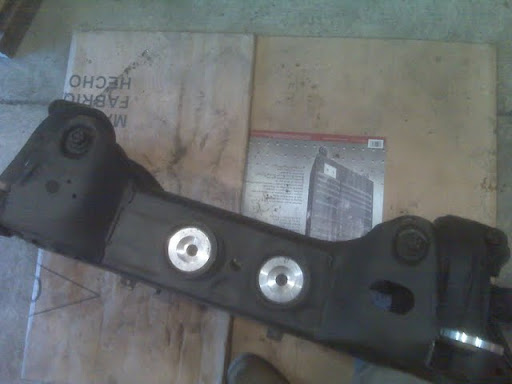
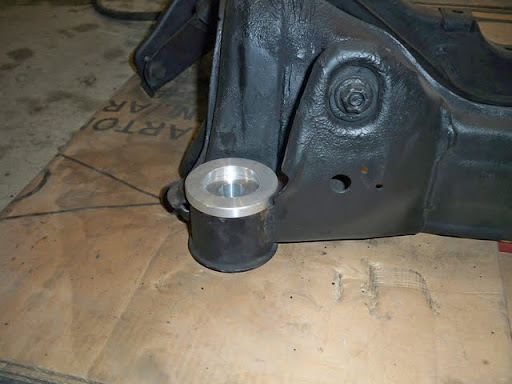
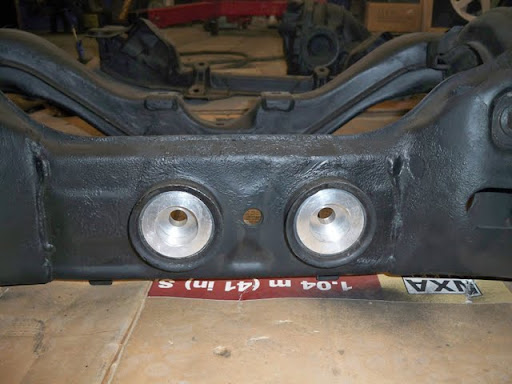
Finally, installed the Aluminum subframe bushings + SPL Diff bushings.
My brother sent me the link to this thread and I am amazed at all the work you’ve done to the car not to mention build a damn garage! It makes me happy to know that the car is in better hands than mine considering everything you have cleaned up and found wrong with it. I can’t believe the subframe was loose though, i had never touched a bolt on it, the endlinks I did install though but apparently with not enough torque.
When this car is put back together hit me up because I’d love to run something in the magazine on everyting youve done and how it will look all complete.
haha, yeah I’ve been kicking myself about leaving the camera every time, I’ll try to keep up on that from now on.
Pete, I appreciate the comments. There weren’t any terrible problems, but I’m thinking the process of refreshing everything will give me a much more enjoyable season this year. I’ll shoot you a message later this spring once it’s all back together, and we can talk about that, sure. I’m sure some of the hardcore readers would like to see an update on the car as well, it’s been a pleasure thus far.
I finally got around to posting an update this weekend, and the site was down…lol
Nevertheless, here it is, and the site looks great Bing & company.
March 7
Haven’t posted an update in nearly 2 weeks, and for good reason, I’ve only gotten one day to work on the car. However, it was a good day, so here goes.
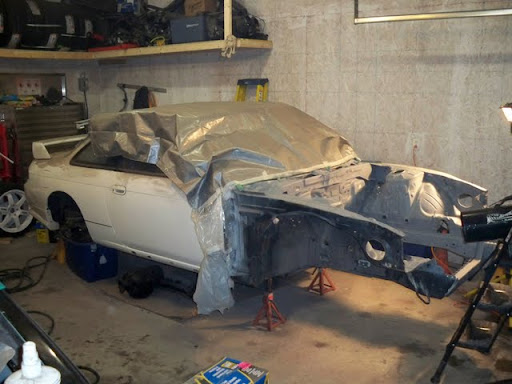
I finally scuffed the front clip, and got the chance to paint it.
The first step was to get some heat into the metal, hence the propane heater set up in front of the car here.
We almost died actually, as the old man hadn’t tightened the propane fittings, and the gas was leaking out for a little while before we smelled/heard it…
Got some paint on there, and took some pics after the air cleared a little.
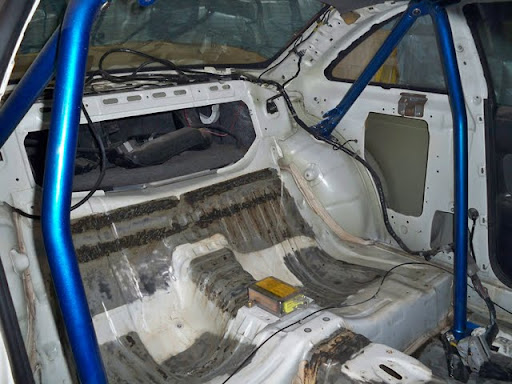
I think the last time I posted a good pic of the interior, it was after the sound deadening removal.
Here’s a comparison pic from after I hit it with the wire/hard compound wheel.
I really hate that I have to go and paint it now…lol
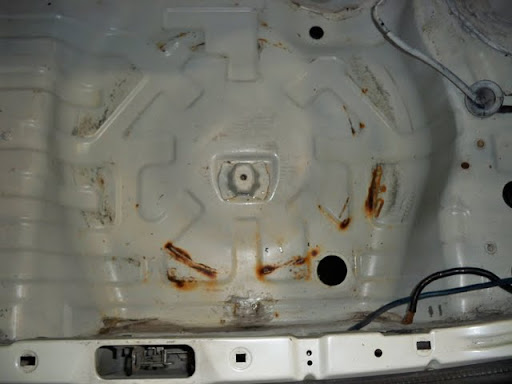
Then I pulled the trunk liners & such, and found about 3" of water in the spare tire well. The contact patch of the bottom of the spare had produced a surface rust ring, so I’ll have to clean that up now and hit it with some paint.
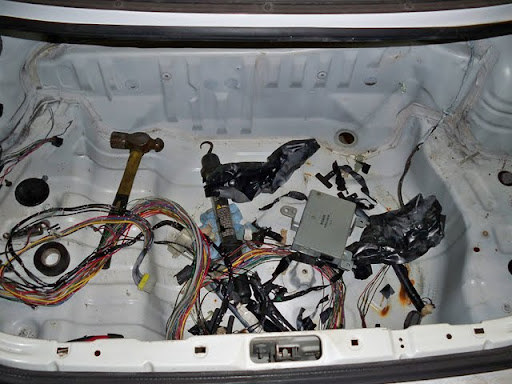
After that, I found the ABS computer in the rear, and the previous ABS speed sensor wiring off the diff. I pulled and cut that out, and now will be cutting more from the front harnesses…won’t be needing it any more.
After I got tired of chasing wiring, I decided to go ahead and actually assemble some things.
First up was pressing the SPL bushings into the diff.
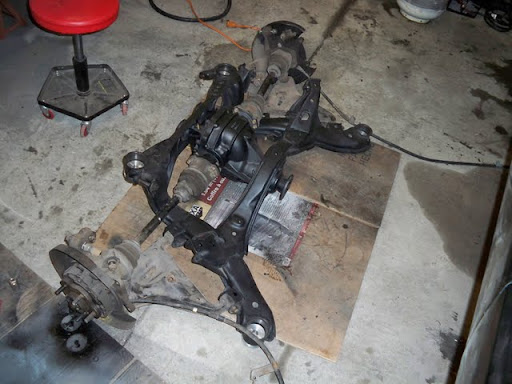
Took some non-blackberry pics of the rear subframe and its associated bushings.
Installed the diff.
Rear axles/uprights/lca’s
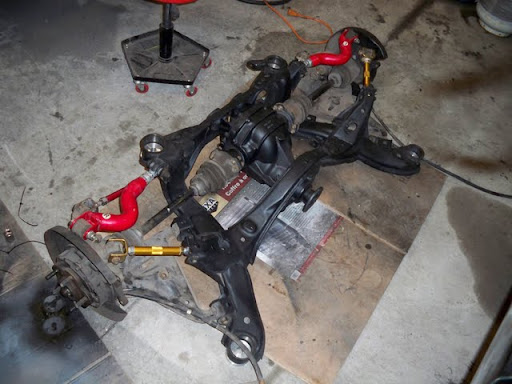
Then the rear multi-link.
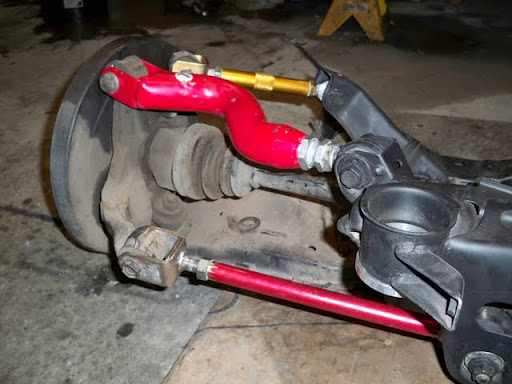
Kazama ruca’s & toe links, along with Bings traction rods.
Then it was on to the front subframe.
Pulled out the flca’s, tie rods and knuckles.
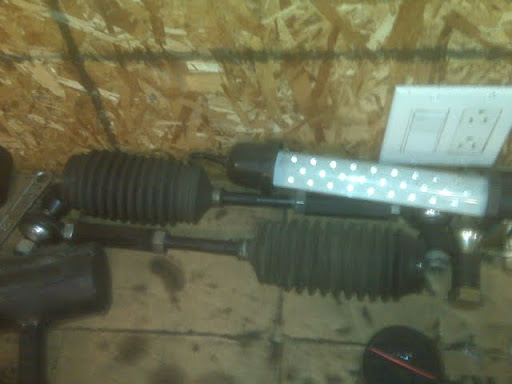
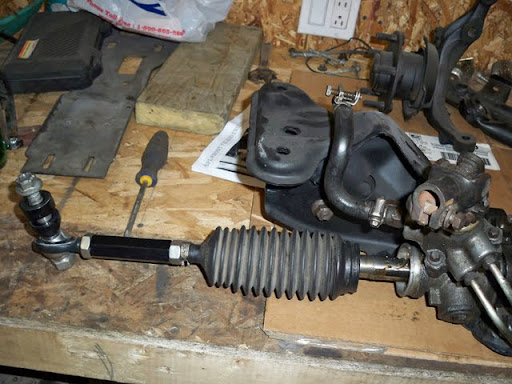
Installed the steering rack, along with Energy suspension bushings.
SPL outer tie rods, with Z32 inners.
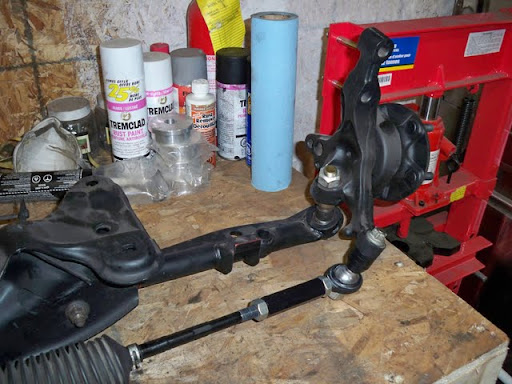
Assembled the flca’s to the knuckles, and installed/torqued the SPL tie rod end studs into place.
All assembloed.
After I run my new brake and fuel lines, I’ll be able to get these installed and get the 240 back on the ground!!
Hopefully in the next few weeks, I’ll be back to a rolling chassis, and I’ll be able to focus on the engine and wiring.
March 10
Update from today.
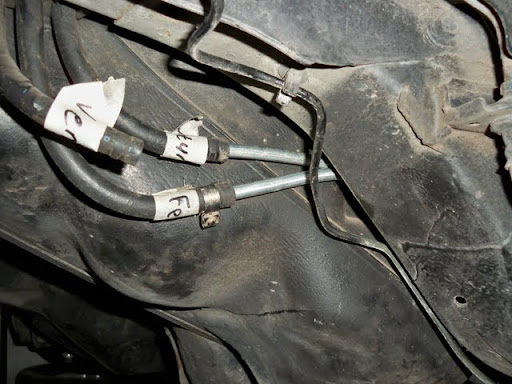
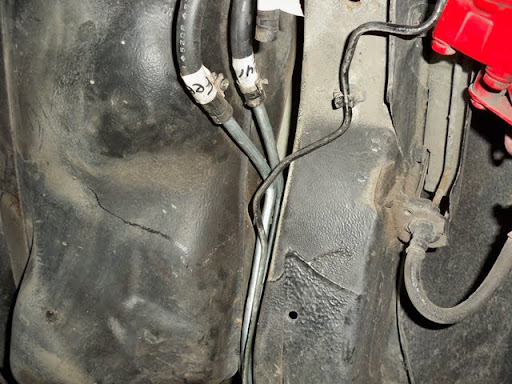
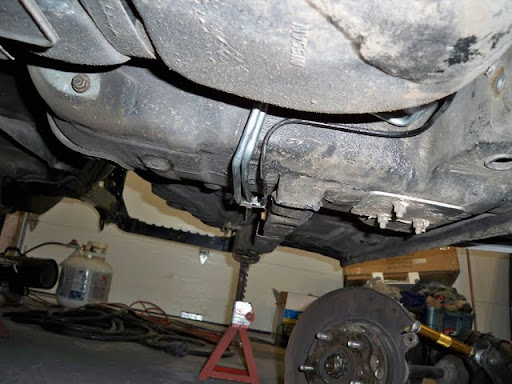
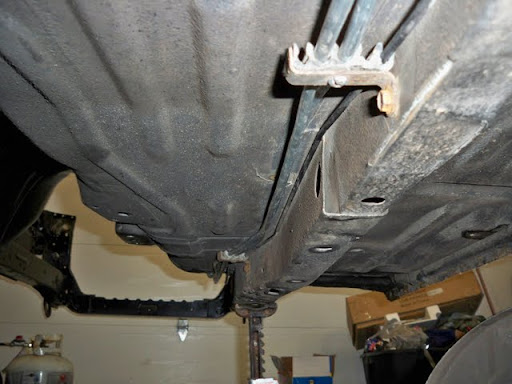
Made and ran some new fuel lines.
Opted to reuse the rear brake line, as it was in decent shape, and I didn’t want to go through the hassle of making another one…lol
I still have to run a check valve for the tank breather back there somewhere.
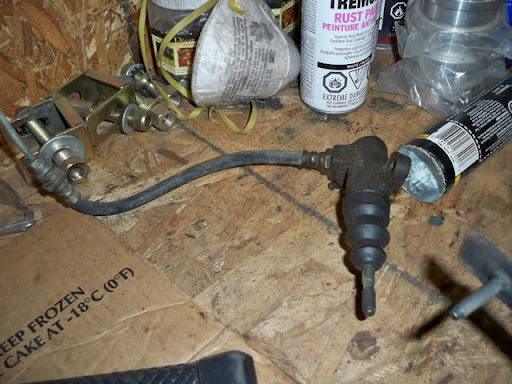
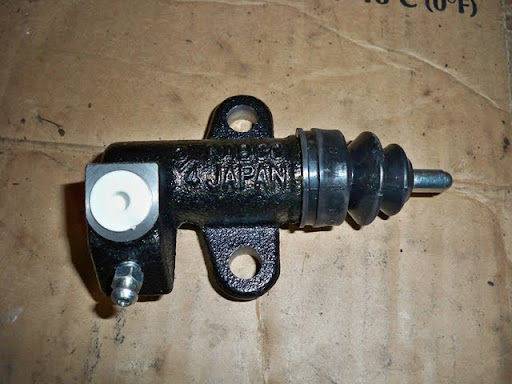
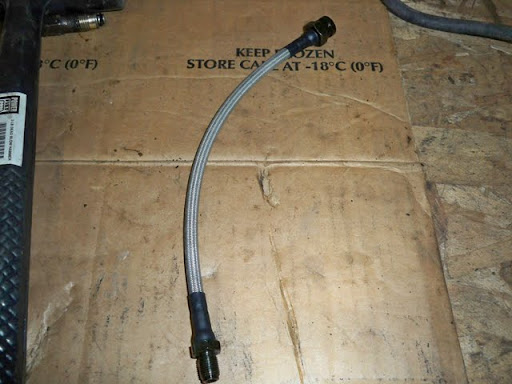
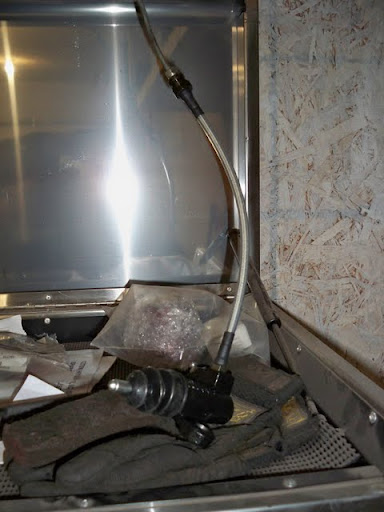
Then I replaced the original clutch slave and rubber line with a new Nissan slave and braided clutch line.