tiny pic!! without an account…
FB works well too… but i dont now if theres a bandwidth limit…
Apparently the 9K lift is the same price as the 7K lift with this “blowout sale” which ends today. Just type -d after the a and before the .htm on the details page, and it gives you blowout pricing…lol
Does your buddy have a phone number or e-mail/msn address?
I might have to get myself a lift now…lol
My number/e-mail/msn is
709-687-1413
thatguycole@hotmail.com
If you could pass him the message.
So, I guess i’ll give a little lift update.
I tried to order 2 lifts from those guys…lol
Myself and my buddy were going to order one each and split the shipping.
The blowout price (good until last Monday) was $1295.
Shipping+Customs+GST, etc. for one lift was $800, but $550 each for the 2 lifts.
$1850 USD for a 9000lb lift was a DEAL, so after a couple of conversations with those guys, we called up ready to order.
Apparently the guy thought that NL was actually NS, and had been quoting us the wrong prices. Due to the ferry apparently, it was going to cost us an extra $1300 in freight on top of the quoted prices to get the lifts.
So it didn’t happen…
However, Update Time!
Since Photobucket has been maxed out, I haven’t provided any updates I guess.
I got a Picsa Google account now, and will be re-linking all of the garage pictures in the thread.
I’ll provide an update here, and see how this account treats me over the next little while.
Here goes:
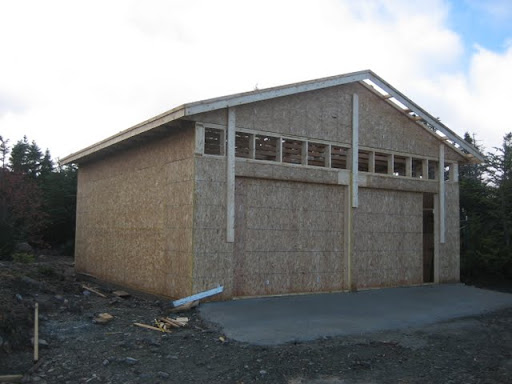
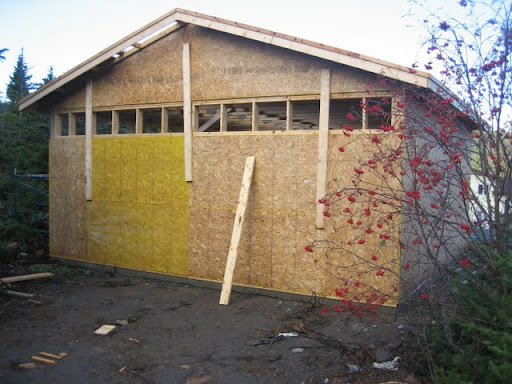
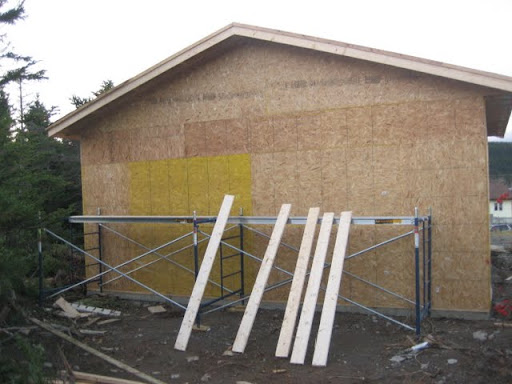
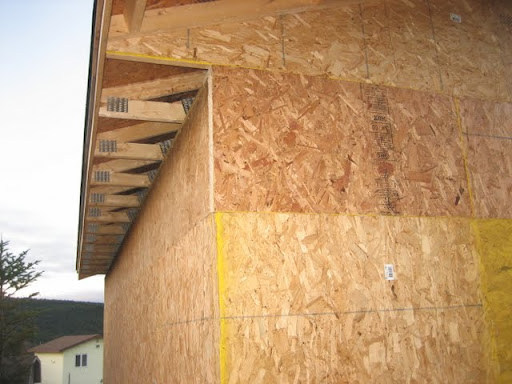
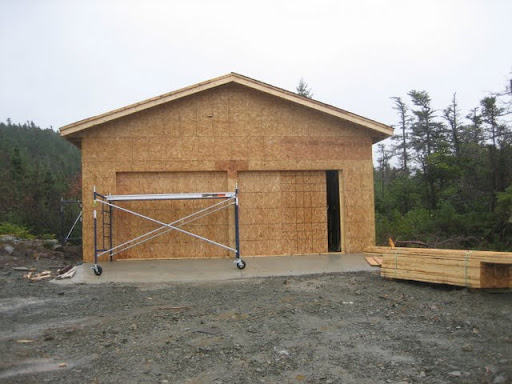
Sheeting in the “extension” sections, front, back, & sides.
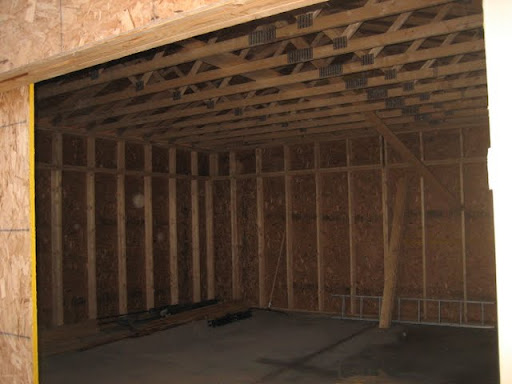
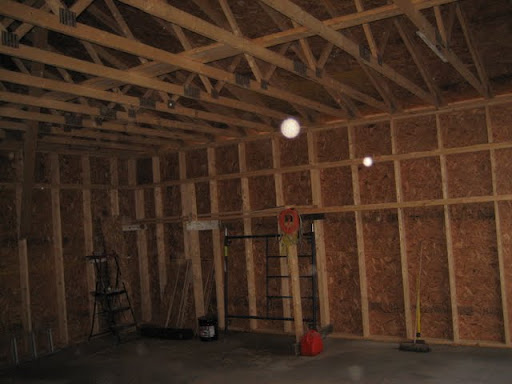
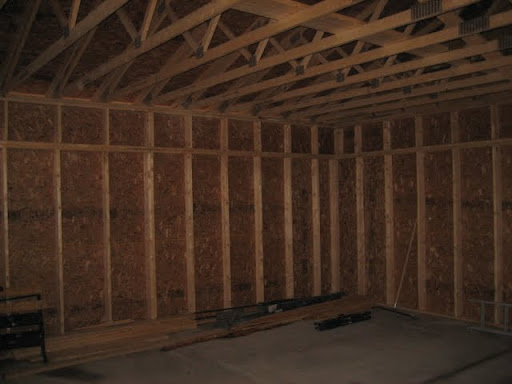
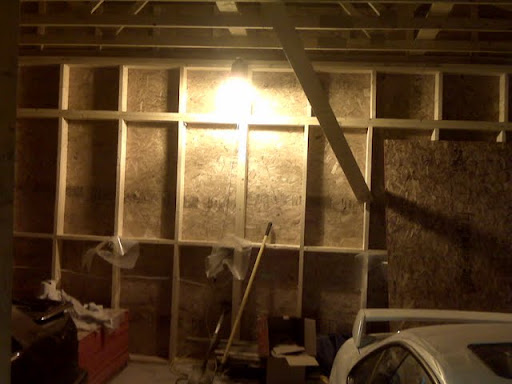
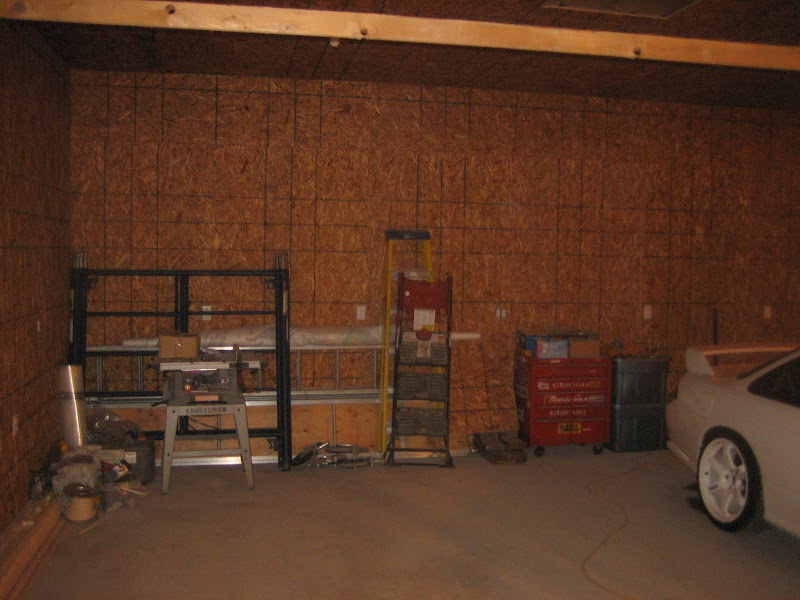
Some inside sheeted shots.
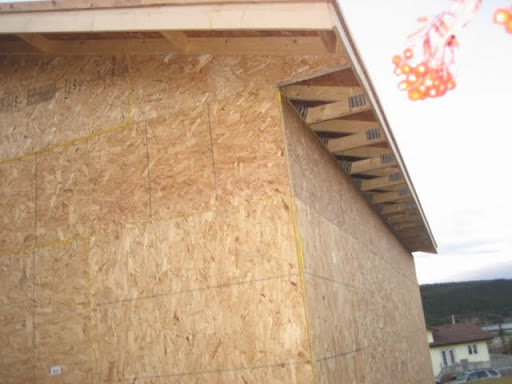
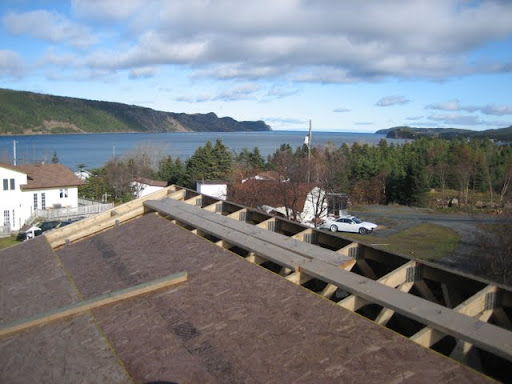
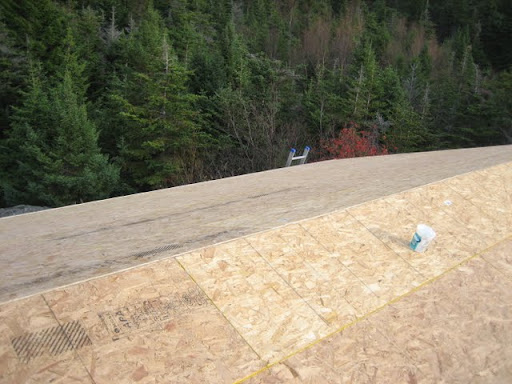
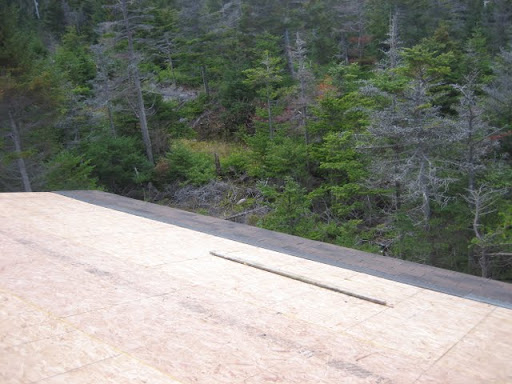
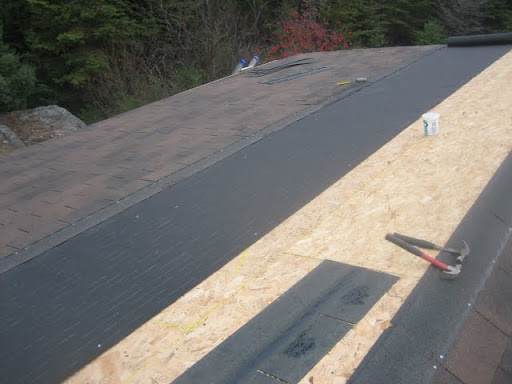
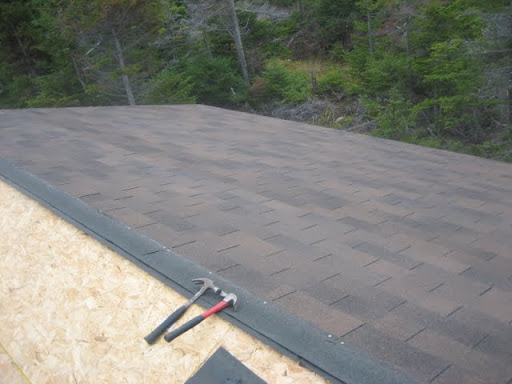
Finishing sheeting in the roof.

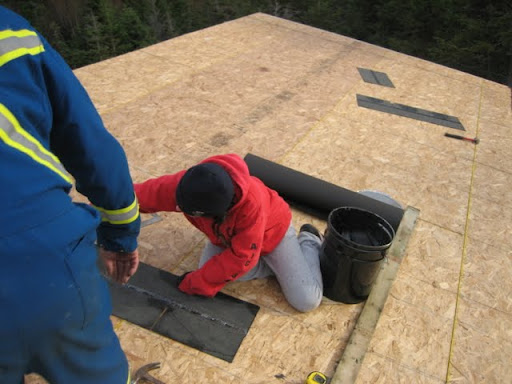
Getting some rows of shingles on.
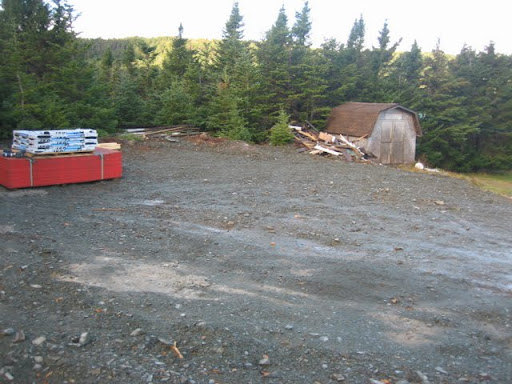
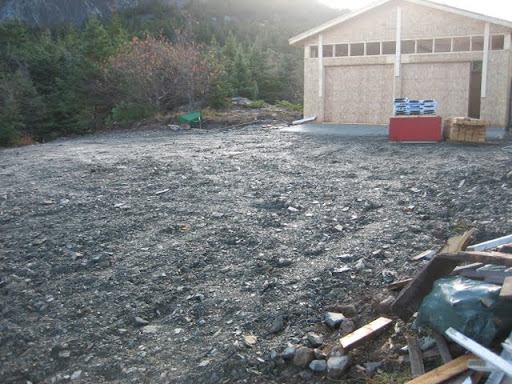
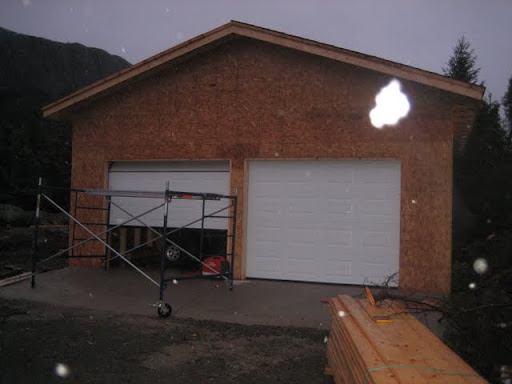
And a few shots of the frontage area.

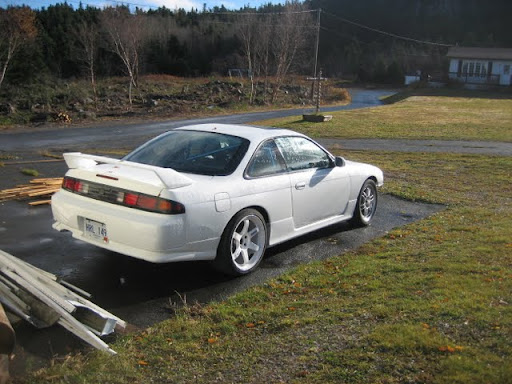
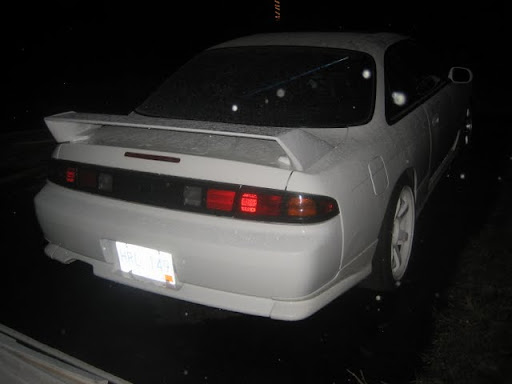
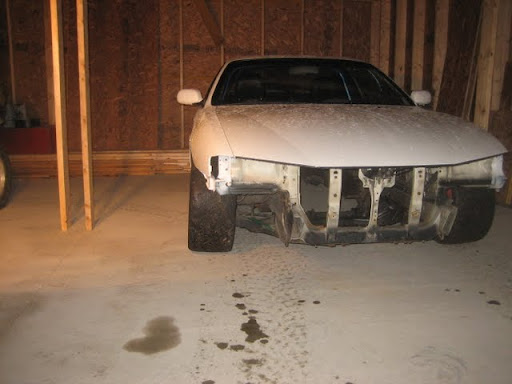
The 240, hanging out behind the other garage.
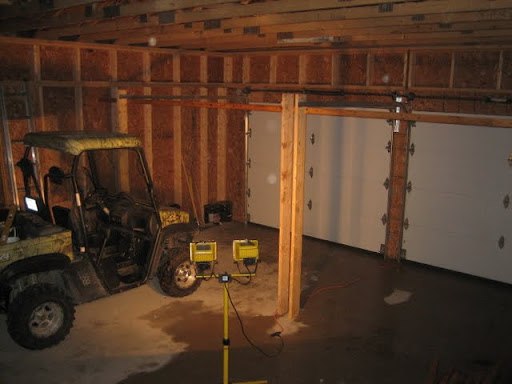
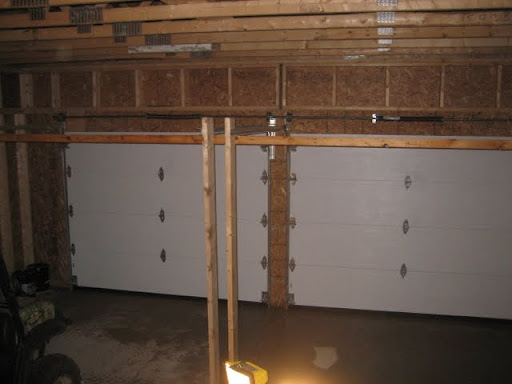
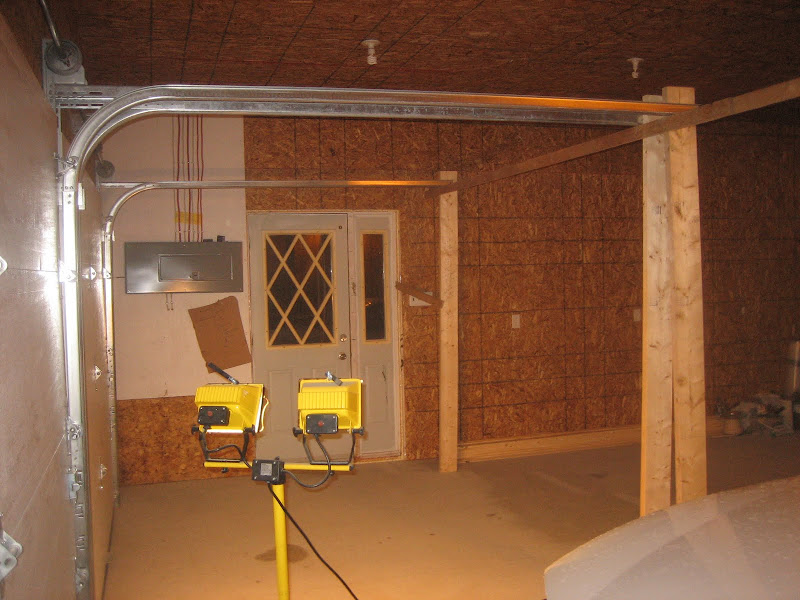
Putting in the garage doors, and taking down the temporary sheeting from the door area.
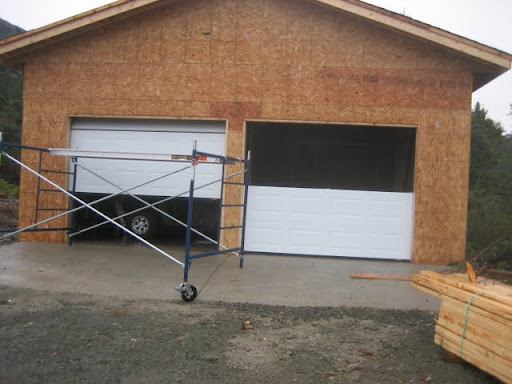
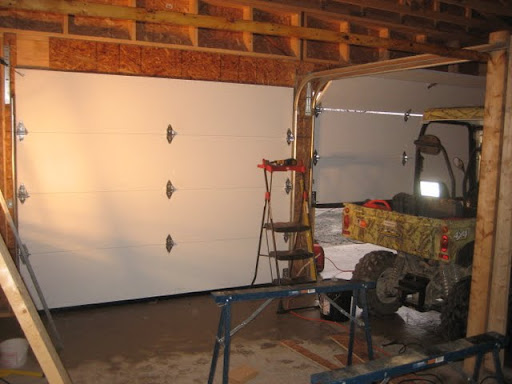
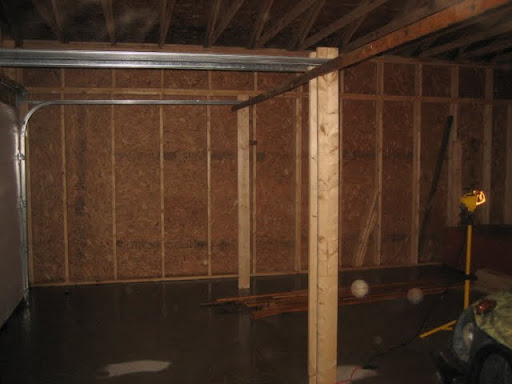
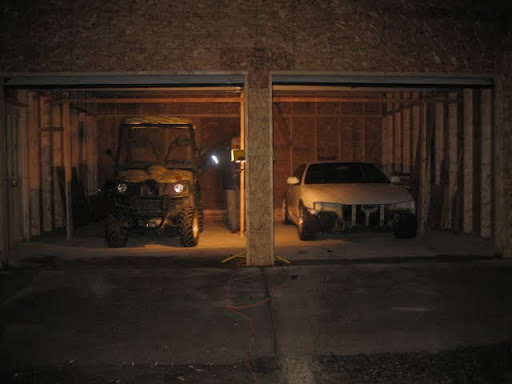
Some inside shots, after the doors went on.
Note the temporary 2x6 supports for the door tracks, they don’t include any hardware for the tracks, so I have to buy that. They also don’t include any door locks, but they’re only ~$10 each, so it’s not bad.
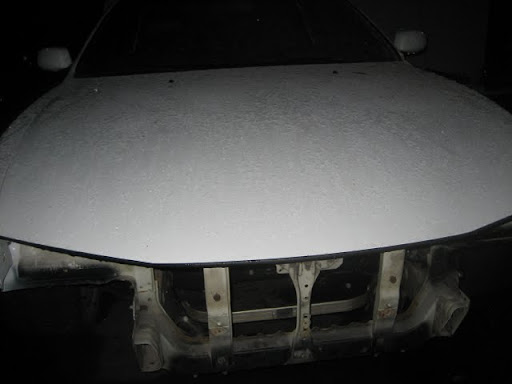
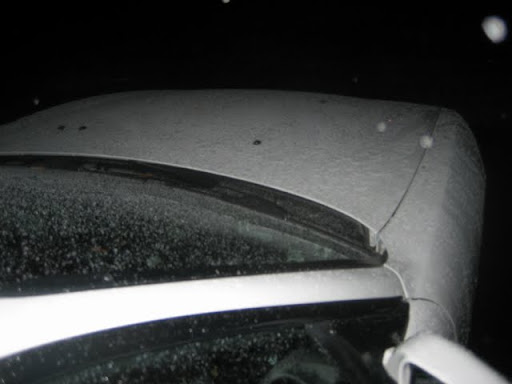
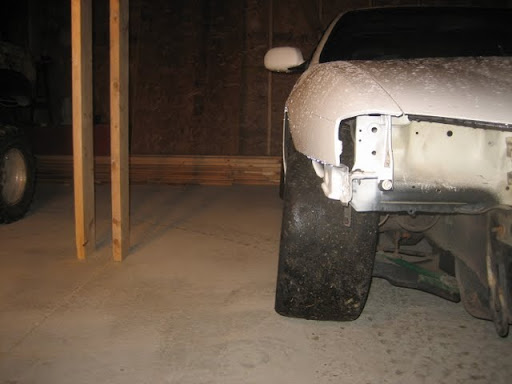
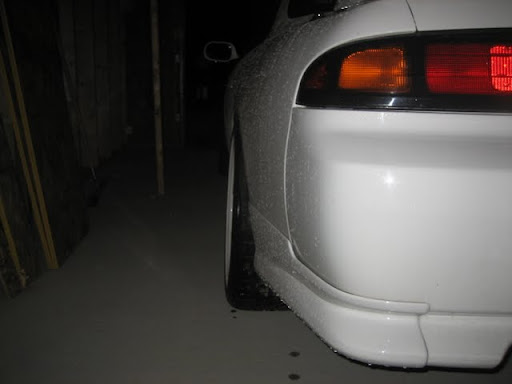
The poor 240 sitting out in the frost, I snapped a few shots of the ice that had built up Saturday evening. Man, I’m a crappy photographer, lol


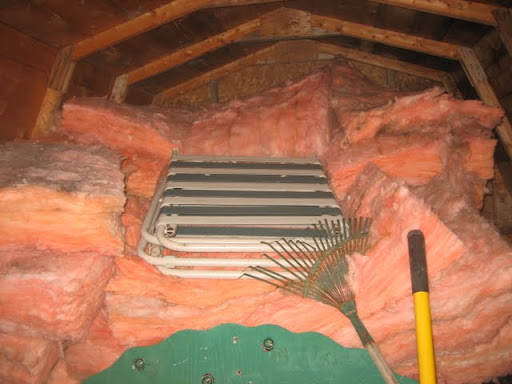
My storage shed, full of insulation.
Finishing the roof.
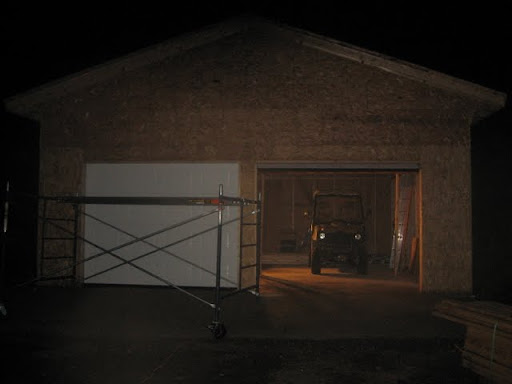
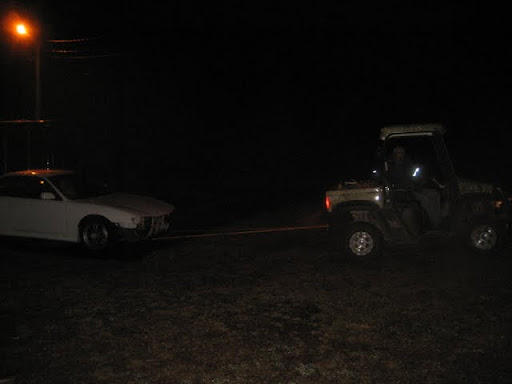
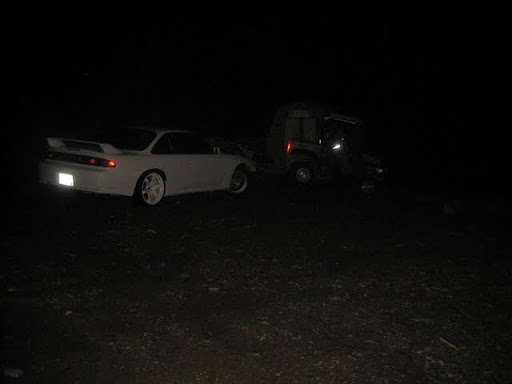
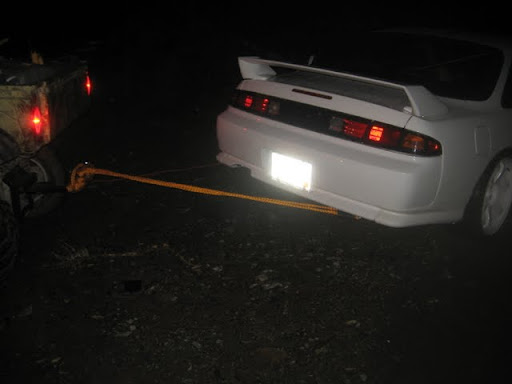
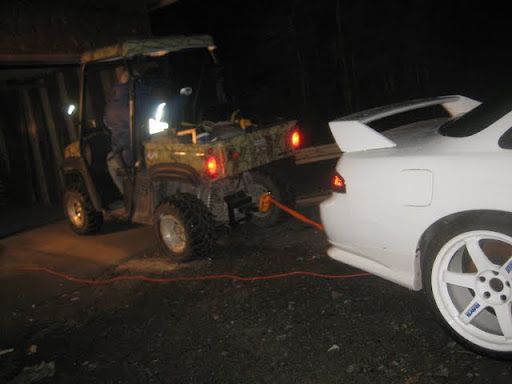
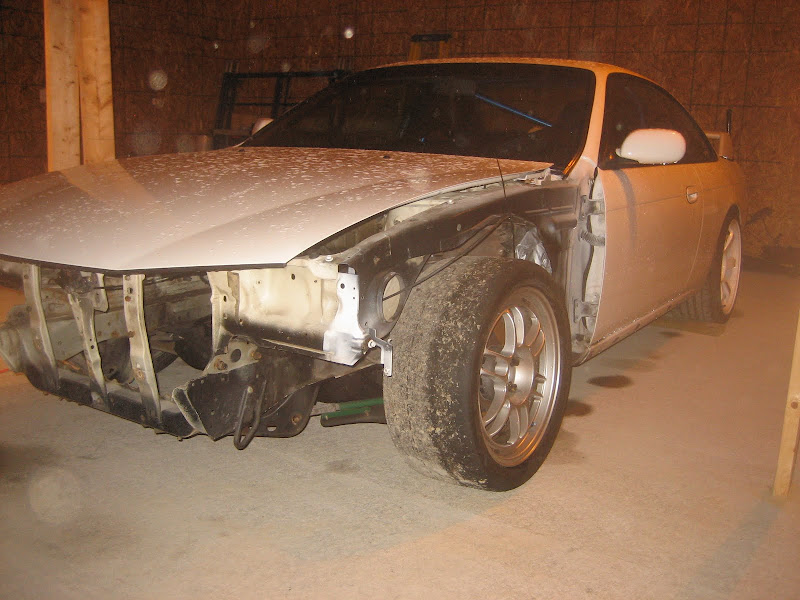
Towing the 240 into the garage, and a few shots.

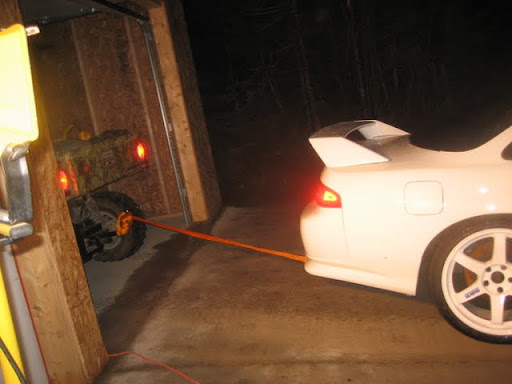

Silly Camber.
That’s it.
I also installed a man-door but didn’t get any pics.
I’m hoping to get it wired within the next week or so, then I get to insulate and finish the inside.
Plus…I gotta get wrenching real soon.

Thats a sick garage.
so let me get this correct,
you have a super clean 240, with a new sr20 that you get to completely rebuild
AND you own a new garage with the ocean on one side and the mountains on the other?
are you the bazaaroo me, where you have everything that I want?
You can have all of this, by following these two simple steps:
- Move to NL
- DO WORK.
lol, hard work + not being shady + having a sweet line of credit for school + lots of wrenching = 
NewfoundlandDude Great Job. This is something i want to do in my backyard. Build a next garage for my self, but only 1 problem is my rent’s won’t agree with me Lol but it’s a dream i can still do in the future
So I forgot the camera for the 2nd time in a row tonight when I went to the garage. This time I whipped out the Blackberry and took a few shots, why not.
Last time we put the man door in, wrapped the garage with Tyvec, cleaned out the trees on one side of the garage, and put my buddies built V6 Duster in the garage.
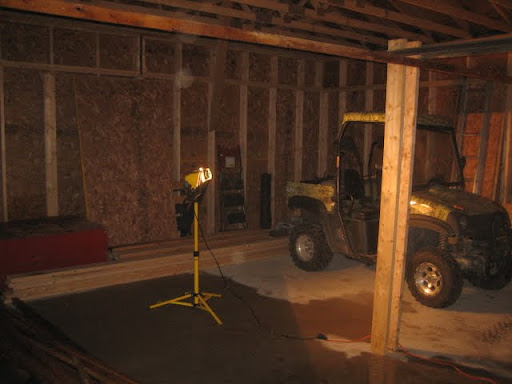
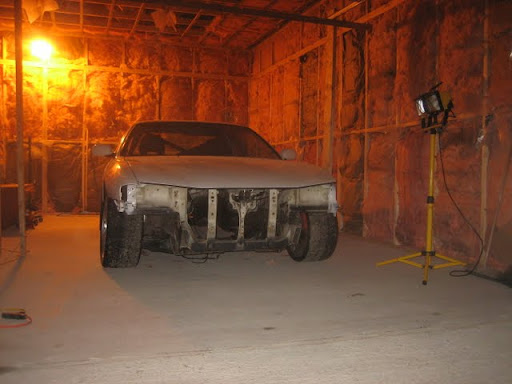
This time, we ran some wiring for the garage, removed the pedals, master cylinders, and some lines, wiper motor, braces, etc. We also installed an outside “pole light” inside the garage, hooked up to a regular extension cord so that we could have some light for wiring the garage. Once that everything is wired up, this will move outside obviously.
I downloaded the cell phone pics that I took, and there were a few other randoms there with them. Figured I’d post them up to get some filler in the thread…
The indoor pole lamp.
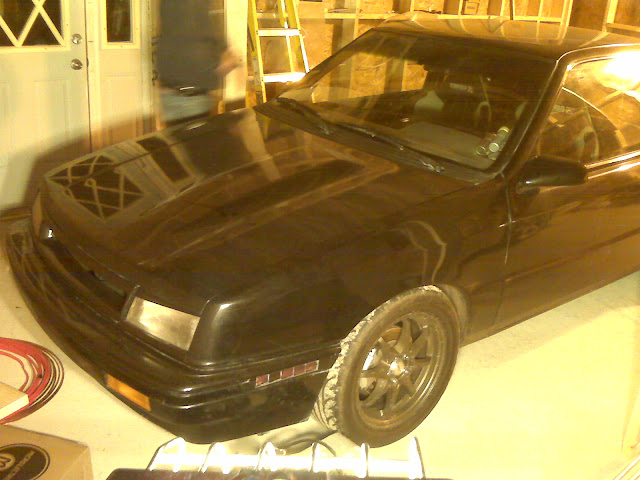
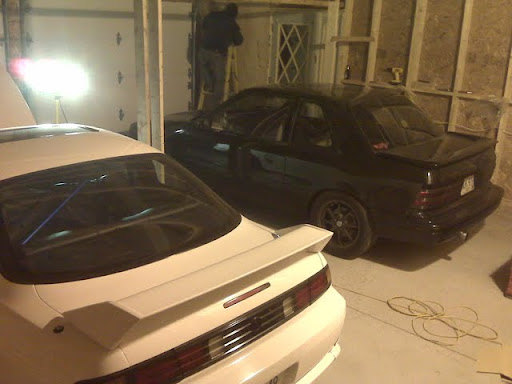
My buddies Duster.


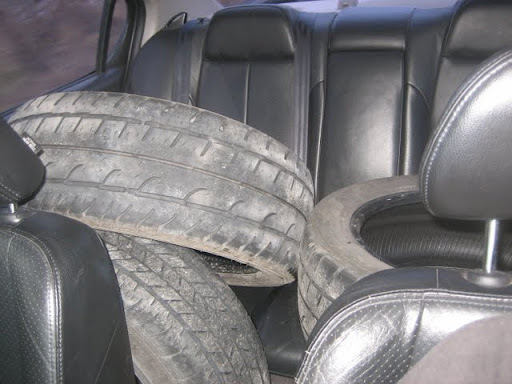
A shot of the rears.
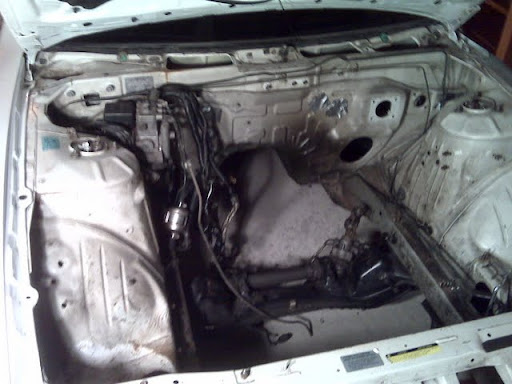
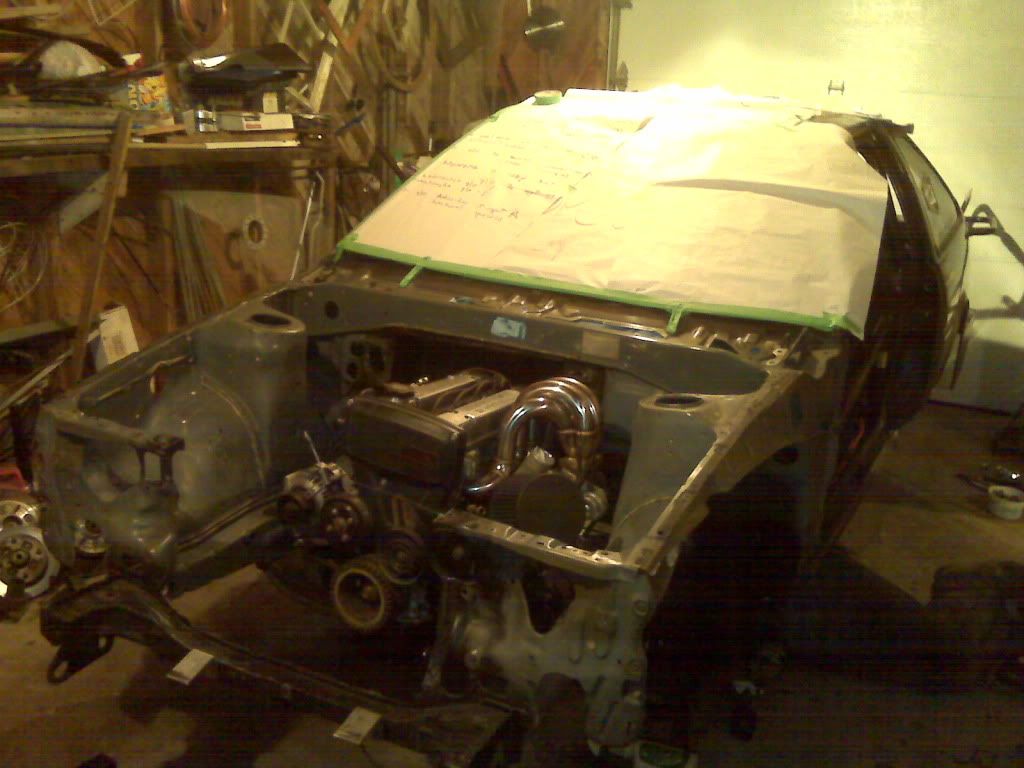
Engine bay, starting to look empty.
Steering angle at lock.
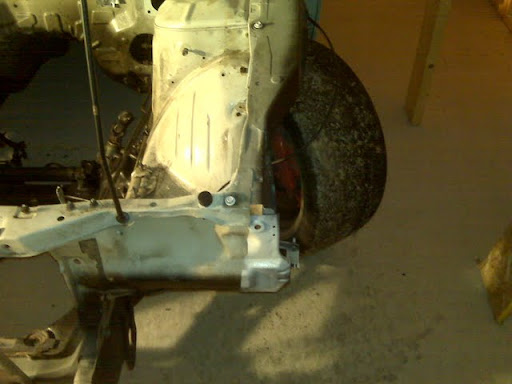
Which gives this in action:

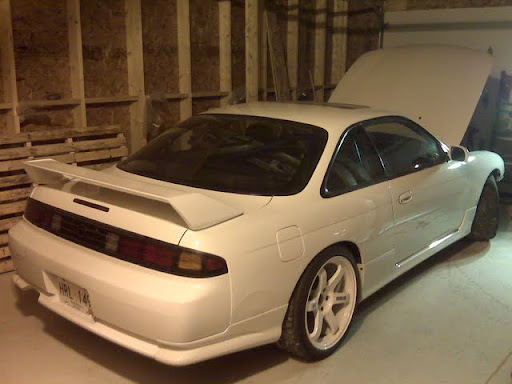
240 Side shot.
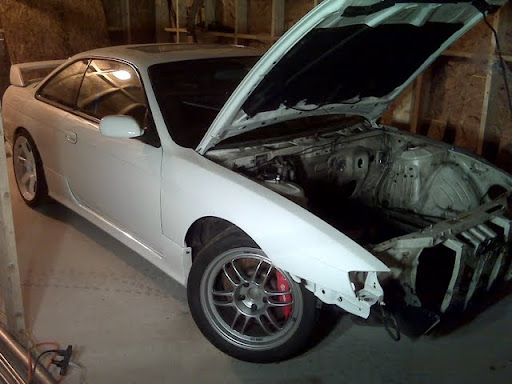
240 Current front shot.
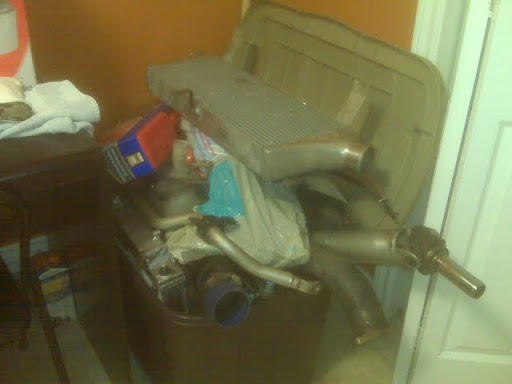
Box of goodies.
My brother getting kicked in the nuts at a show on Monday night…haha

Crazy evening sky from last week sometime.

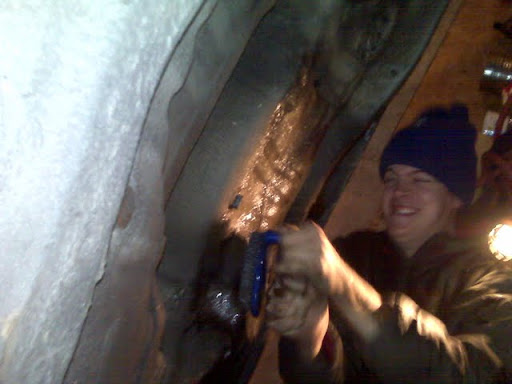
My buddy putting in WORK on the underside of his AE86

That’s all for now, hoping to get the garage fully wired by next week, and start putting in some real work on the 240.
So, should I ask for this whole thread to get moved to the build section, and continue this winter with the same thread?
http://www.son240sx.org/forums/forumdisplay.php?f=83
I guess technically it started as a teardown thread, then got into a garage build thread, and soon to become a real build thread.
Did some wrenching last night, but it was on my buddies AE86.
I think I posted some pics earlier in the thread, but here are 2 from when he bought the chassis last month.
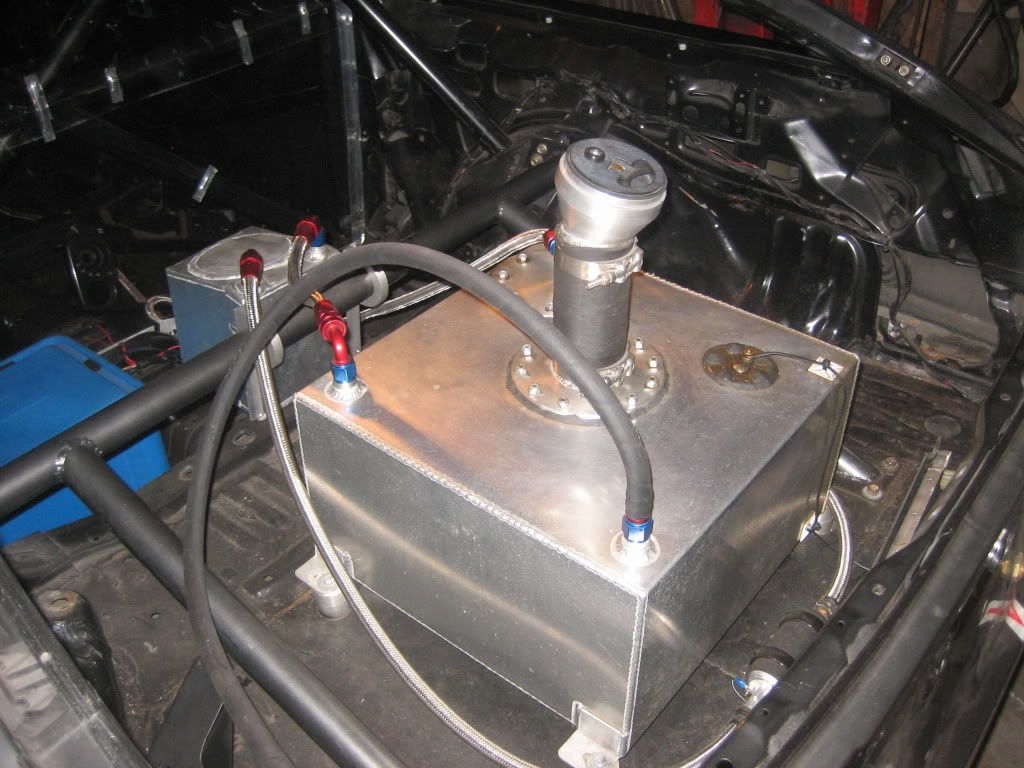
Fuel cell
Last night I dropped by for a few mins to test fit his engine, and make some measurements for his custom transmission crossmember.
He’s got a fully built 4A-gte? Toyota engine that used to be in his FWD AE92, and is now being converted to RWD for his AE86. The RWD AE86 transmission will be swapped out for a W58 Supra transmission, hence the crossmember.
Same guy that just fitted a custom fab Ford 8.8 rear end from a Crown Vic into the chassis.

Here are the shots from last night.
There wasn’t enough room to maneuver the engine hoist, so we were lifting the engine partially out of the engine bay, disconnecting the transmission, and passing the transmissions back & forth over the side fenders with our hands…lol
Test fit.
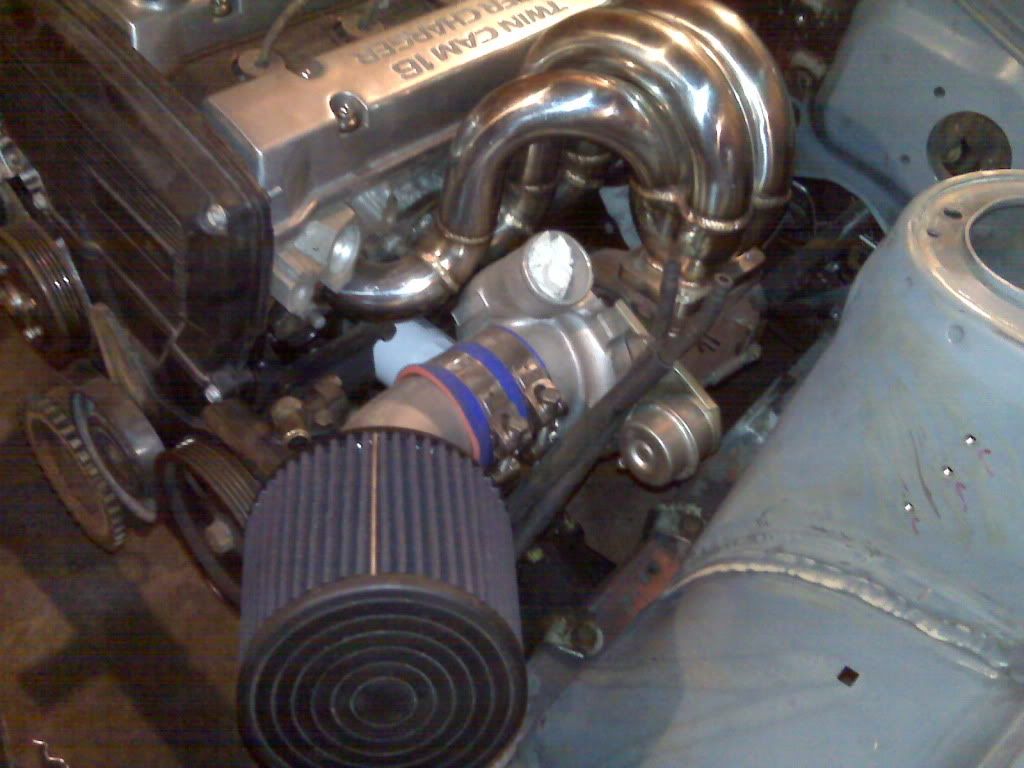
GT28RS
Didn’t take a whole lot of pics today, but I do have an interesting story.
On the list for today:
- Plug hole in tire on Maxima.
- Oil change on Maxima.
- Strap ceiling of garage.
- Wire plugs, lights, other circuits.
After plugging the tire…It’s my winter beater, and I’m still rocking Hankook Ventus summer tires. I was using these as “drift wheels” at an AutoX event in August to mess around with, and picked up a nail. It barely leaked, so I left it in there, but it went flat this weekend…so I ghetto plugged it.
Anyway…after plugging the tire, I jacked the car up to do an oil change.
I looked out through the garage door, and saw a fucking moose trotting across my yard.
Moose: (not my pic)

The moose made its way across my yard, and up toward my uncles house.
My dad and uncle came out of the garage to see the moose walk on by, and this is when my uncle made a “moose call”…which actually worked…hahaha
The moose turned around and looked at us for about a minute before making its way up into the woods. We turn around to go back into the garage, kind of laughing about it…and there’s another moose standing in the path next to the garage.
When it saw us walking back, it turned and ran/walked up the path away from us. We then heard a loud “Bang”…and my dad thought that the moose ran into the side of the garage. It was actually the door slamming shut with the wind, but funny all the same. haha, it was pretty funny to have a few moose trotting around the garage today.
Here are a few pics from the weekend.
My 17" all seasons that may get used for some drifting and messing around next year. We don’t actually have any actual drift events at all, but messing around at AutoX events & such is fun.
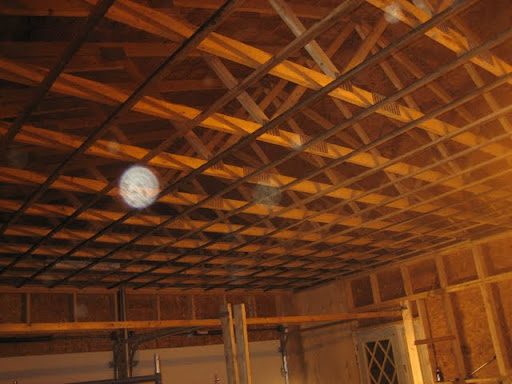
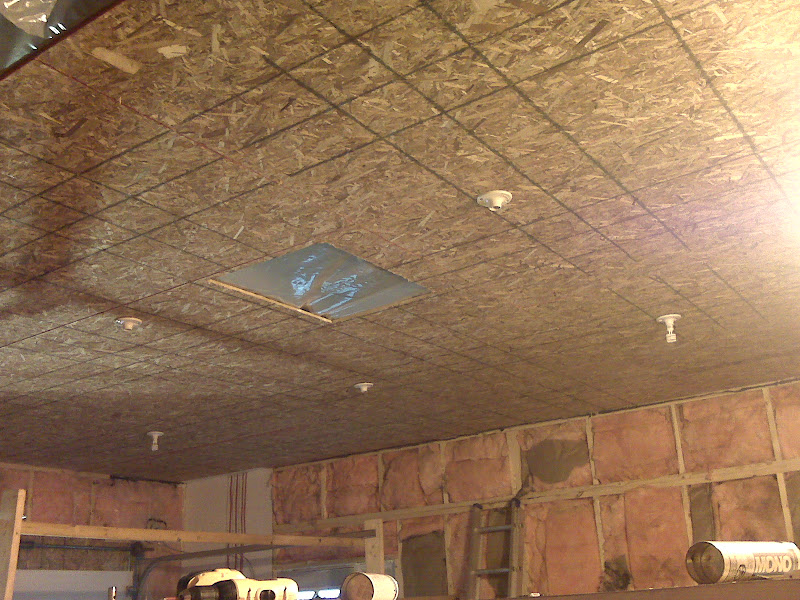
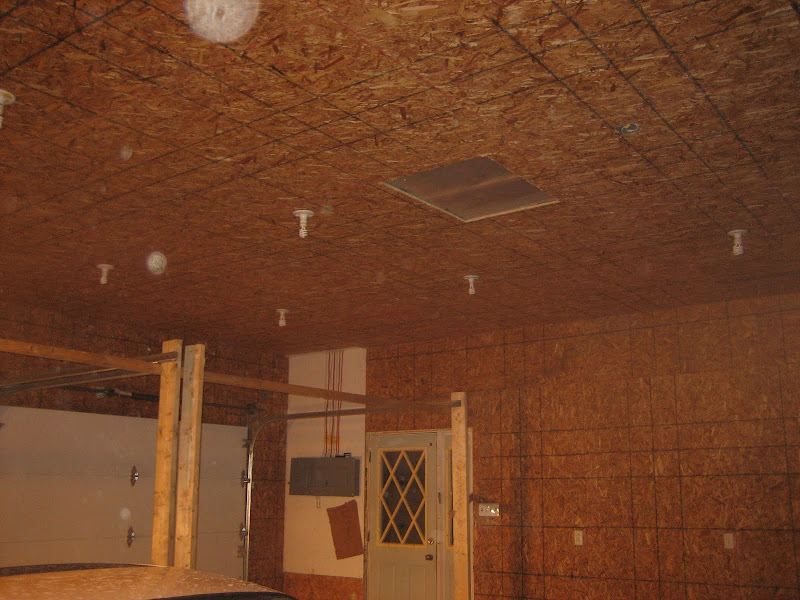
Here is the ceiling, 1/4 strapped.
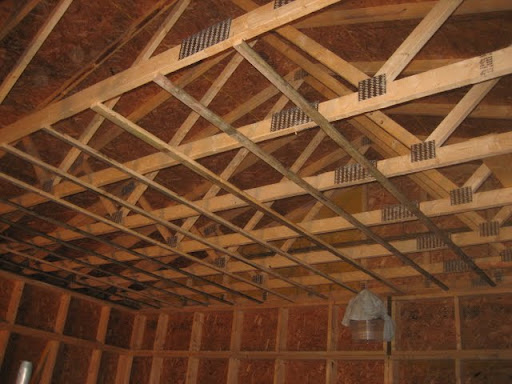
And fully strapped.
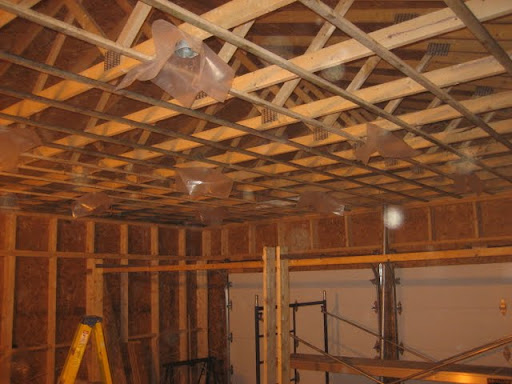
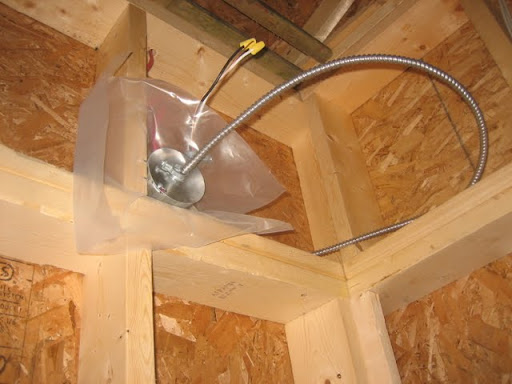
Lights installed, before wiring.
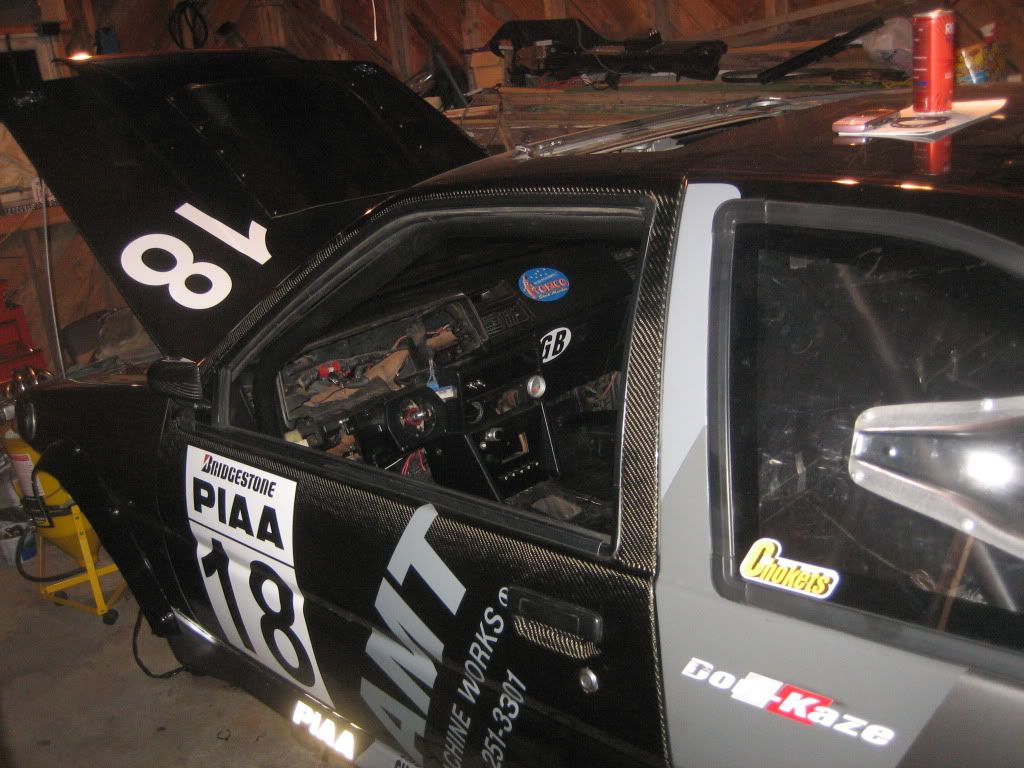
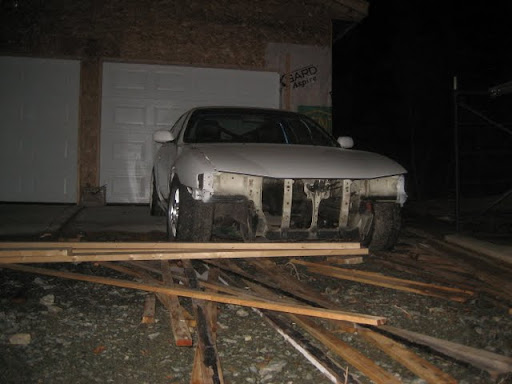
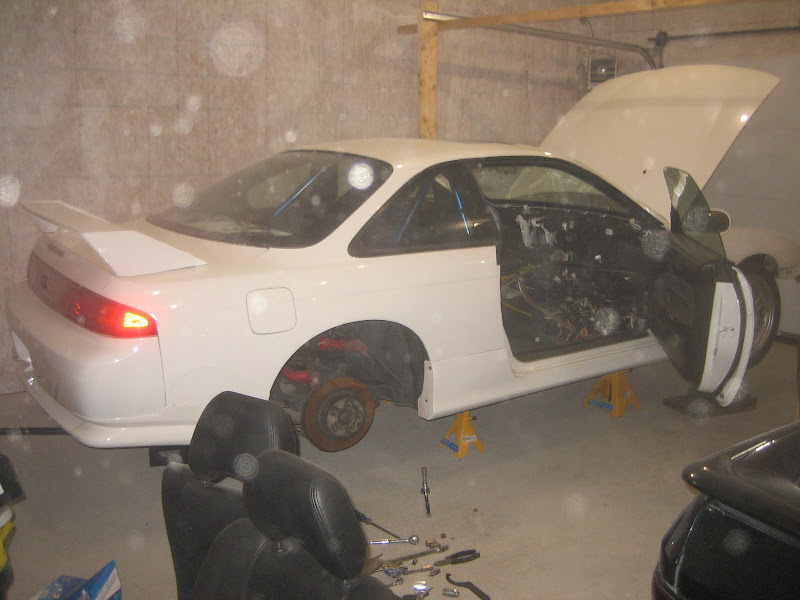
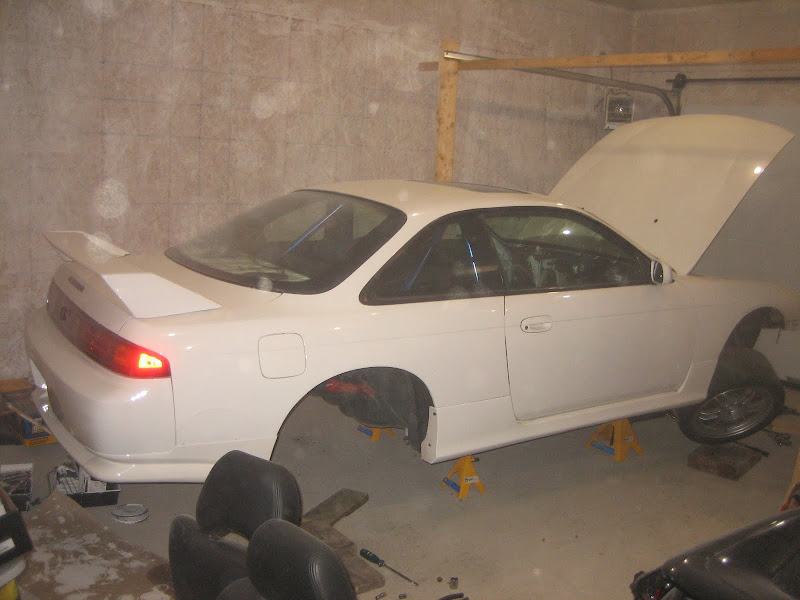
Pic of the 240, as this is a “build thread”…lol
By the time that I left tonight, we had 15 inside plugs wired, 2 outside GFI plugs wired, 9 inside ceiling lights wired, an outside “security light” box wired in, an outside door light box wired in, 2 30A circuits ran for my 4800W heaters, 2 20A circuits ran for welders and such, and a 20A 240V circuit ran for a compressor.
The garage now has 5 plugs along the back/bench wall, 5 along the far (non door) wall, 3 on the door wall, and 2 on the front (garage door) wall. The 9 ceiling lights can be converted into 6 - 4’ fluorescent lights if I want, and the extra light that I need will be wired into the shelving above my bench on the back wall. For now, I’m done wiring (besides the service/panel/etc.) until after the inspection.
I’m hoping to have power in the garage by next weekend, then after I insulate and sheet in the walls and ceiling, I’ll essentially be done. Man it’ll feel good to finally get the wrench on cars and not on the garage.
Now onto a 240 oriented discussion.
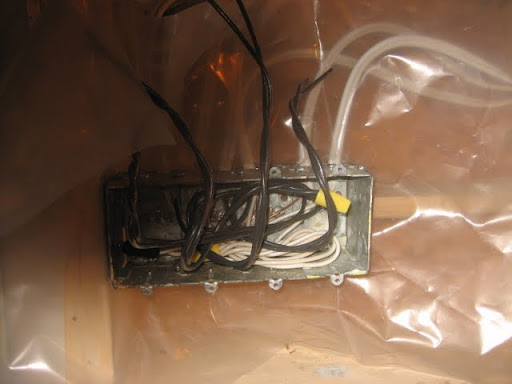
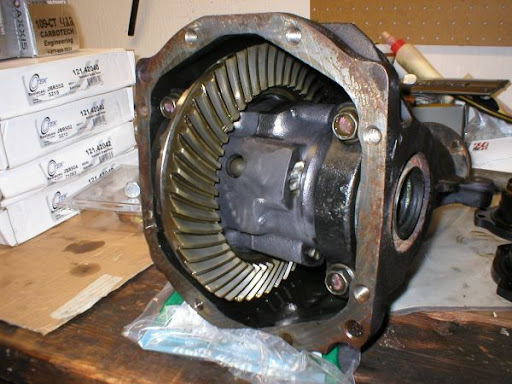
I have a Z32 BMC, and last year I was trying to figure a way to get less front bias without using a proportioning valve on the front brakes, as it’s not recommended by any of the suppliers. You know, if the valve fails, you only have rear brakes, and since the fronts are what matter, you’re basically screwed…lol
Take a look at this pic.

The BMC has 3 outlets…one of which is plugged.
Right now I have a “F” and a “R” going to my distribution block, then it’s split to FR, FL and R.
Does anyone know why the Z32 system has 2 outlets for “F”?
I assume that if I used the other (plugged) “F” to run 2 “F”'s to the distribution block, I’d have even more front bias, which is not what I want…plus I’d be running the FL and FR from 2 different lines, so I’m sure my side to side would be extremely screwed up.
Can you actually re-valve or restrict right in the block on the passenger side?
I’m trying to go through a few scenario’s so that I can mess with the bias using the outlets on the BMC and the distribution block itself.
Any comments?
that little 86 looks like itll be a blast to fuck around in.
Put in work last night.
The garage got its electrical inspection yesterday morning and passed, so it should have power by the weekend.
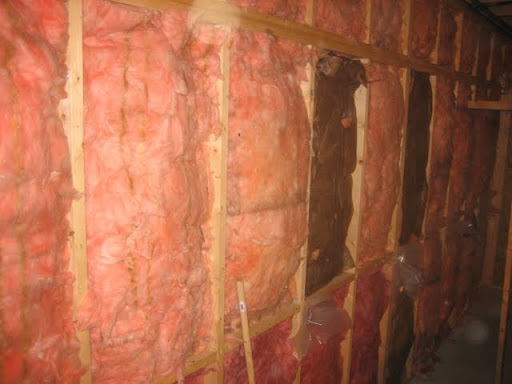
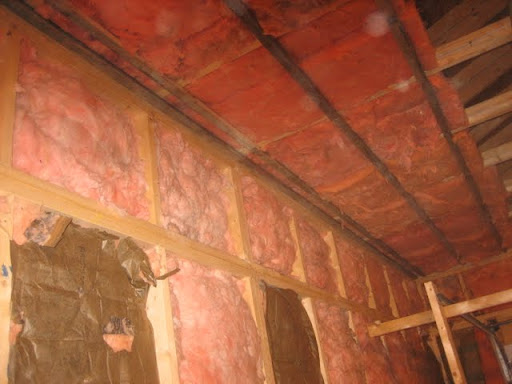
I went out there last night, and insulated whatever I could with the insulation that I had.
I had enough R20 to do half of the walls, then I stacked R12 doubled (for R24) in the rest. The R20 was so easy going, we had half of the garage done in about 40 mins or less…lol
Then the R12 stuff required cutting and fitting, plus ladders & such for the top sections and ceiling…total time was probably 4 hours.
I have the blown-in insulation for the ceiling, which will get done once it’s sheeted in…which should be soon.
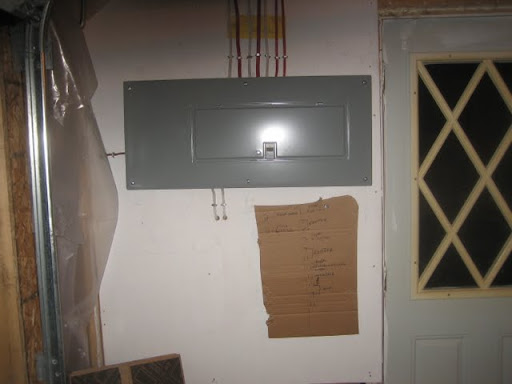
Panel
Light switch box
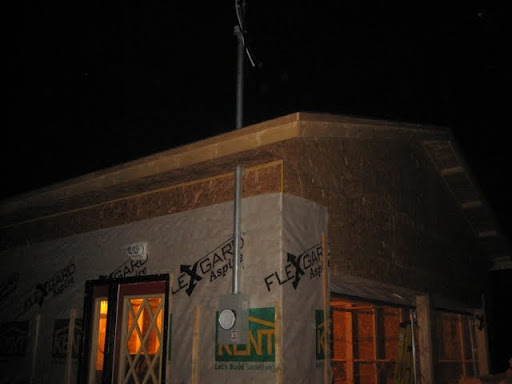
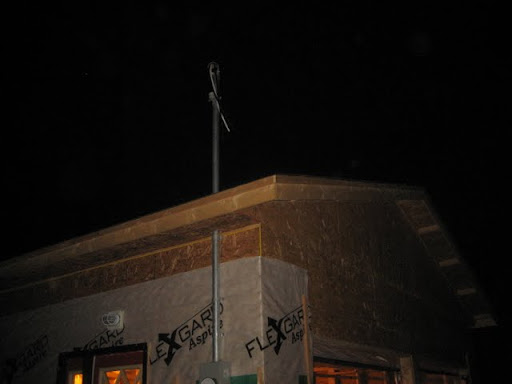
Meter/mast
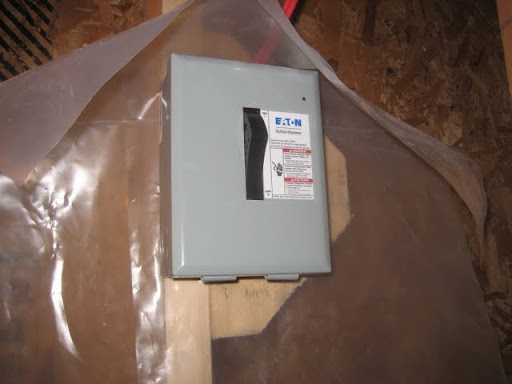
Independent lock out box, or whatever it’s called for compressor.
30A service for the forced air heaters
Some insulation shots…it’s cozy in there now.

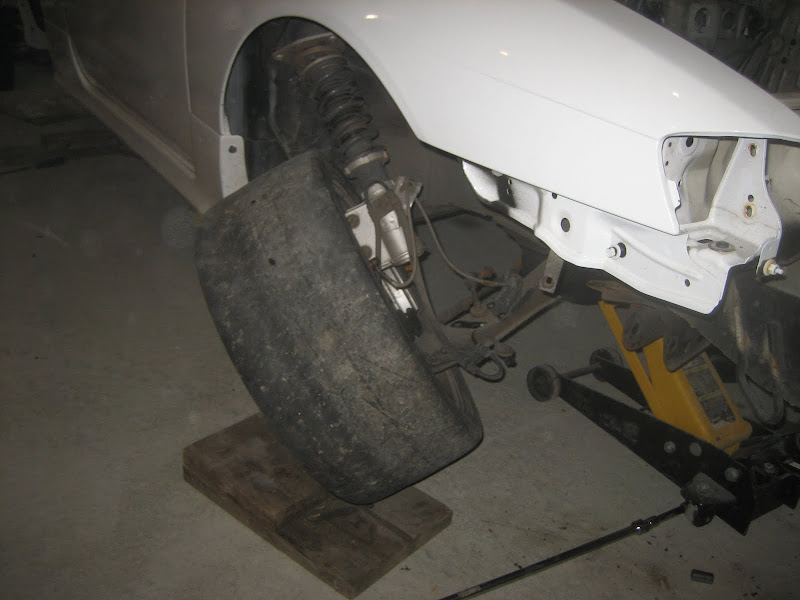
I lol’d at this shot when it uploaded. Check out the dirt on the tires, more noticeably on the drivers side…the contact patch on the tires is just over half of the inside…I lol at the camber sometimes
yea camber is crazy shit
its like hmm
run big tire more camber or smaller tire and less camber
evens out in the end i guess?
It def helps once weight is transferred to one side, and is night and day in AutoX…but if you’re rolling straight or slowly through the streets, it’s pretty useless.
Another blackberry camera phone sponsored update I guess.
I really have to get a camera that’s not dead all the time.
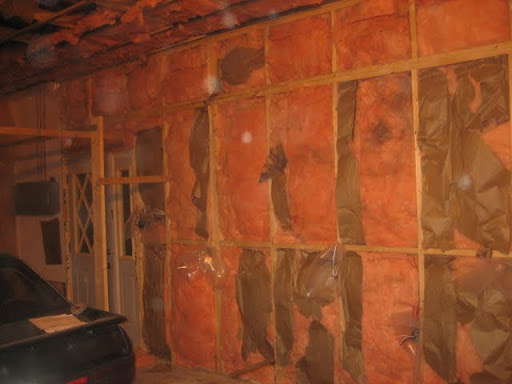
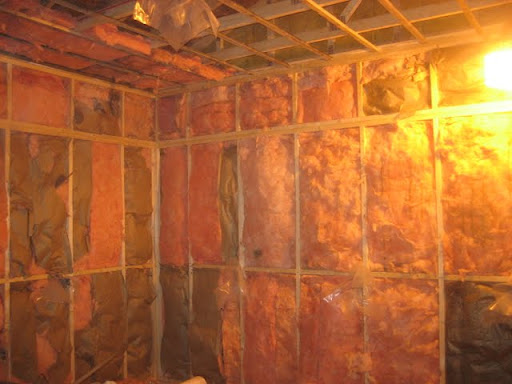
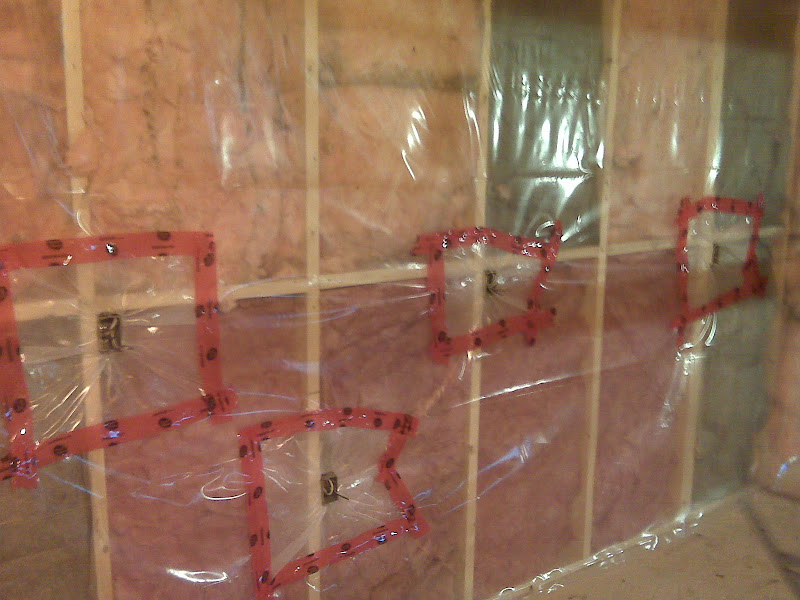
After insulating the garage on Wednesday, I figured that I might as well do the vapour barrier, sheet in the walls & ceilings, and install the plugs and light fixtures for the power hookup…which hopefully will be happening today.
Friday night we worked from 8:00 - 1:30, Saturday we worked from 8:00am - 12:00am…yeah, 16 hours lol…then Sunday night from 9:00-1:00.
We used the black acoustic sealant on the tops and bottoms of the walls, along the corners, around the fixture plastics, etc. That stuff is terribly ghey to work with, and it gets everywhere…we ended up doing the plug plastics with Tyvek tape.
Friday night we installed the vapour barrier in the ceiling, and sheeted about half of it over. Saturday we finished the ceiling, vapour barrier on 2 of the walls, sheeting on those walls, plugs + light fixtures, then vapour barrier’d the rest of the garage. Sunday night we finished the sheeting and installed the rest of the plugs, fixtures, and lights.
The garage is basically finished for the winter now. All that I’m going to do is finish the Tyvek on the outside walls, install my garage door weatherstripping and finish moldings, and hang the garage door tracks properly from the ceiling. After that I’ll be building my bench and shelves, insulating the ceiling (blown-in), making and installing my hatch, etc. I guess there is still quite a lot of work to be done, but at least the garage is basically properly shelled in at this point.
There won’t be much more work done now until the new year, since it’s Christmastime & all. I’ll be celebrating Christmas in 3 provinces this year starting on the 15th, plus my (and the gf’s) birthday, finishing work for the term, projects/reports, etc.
Hopefully I can get a night or two to finish the garage shit though, so that it’s finished and 2010 = S14 Build Time!
I’ve got crappy phone pics form Saturday evening…all of the finished pics are on the camera, and unfortunately the work computer doesn’t have an SD card reader. But here goes.
Ceiling about 3/4 completed, with access hatch and some lamp holders.
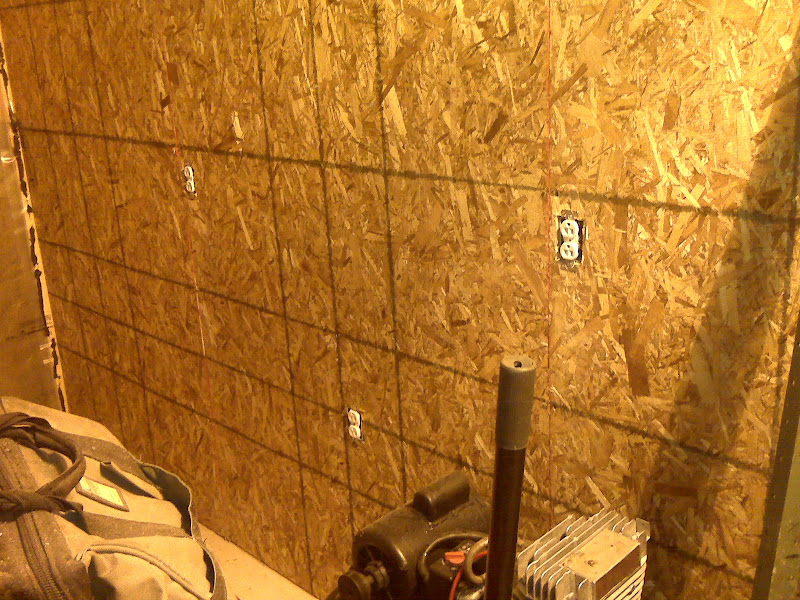
Tyvek tape around the plug plastics.
One wall finished, with bare plugs, no covers yet.
The 5 high plugs per wall are regular 15A service, while the low plug is 20A for a welder or similar hookup.
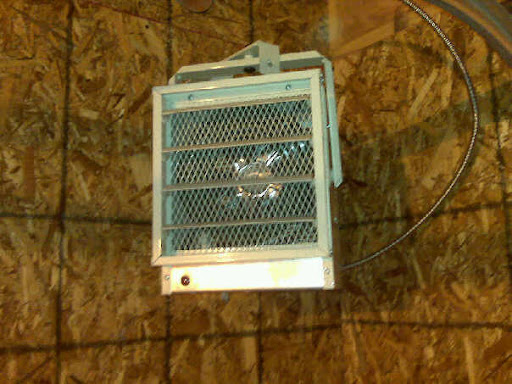
One of the heaters that I have hanging from the corners.
It’s a 4800W heater, and according to the few electricians that I’ve spoken with, it’s one of the better ones you can buy. I got a stupid good deal on this, it retails for ~$229.
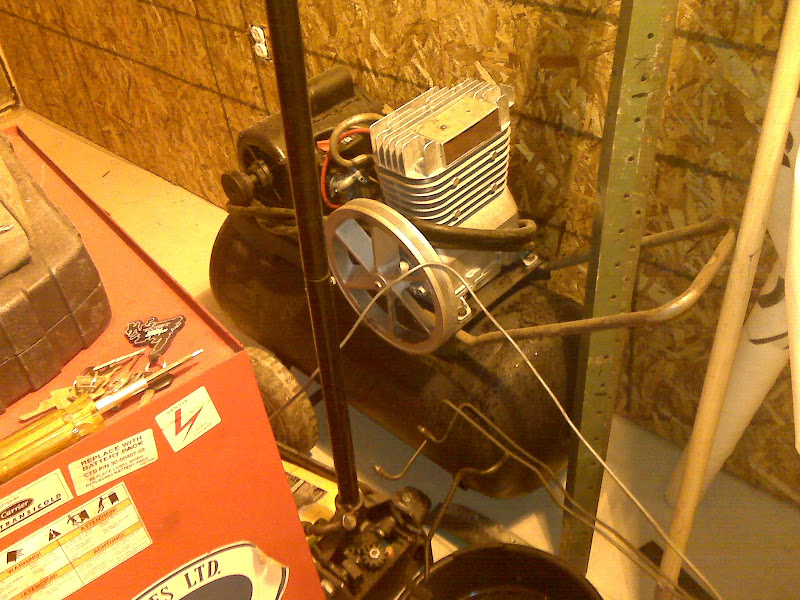
Free compressor that a friend of mine got. He’ll be hooking it up this winter, as he’s using the other side of the garage…air tools FTW.

Some finished shots:
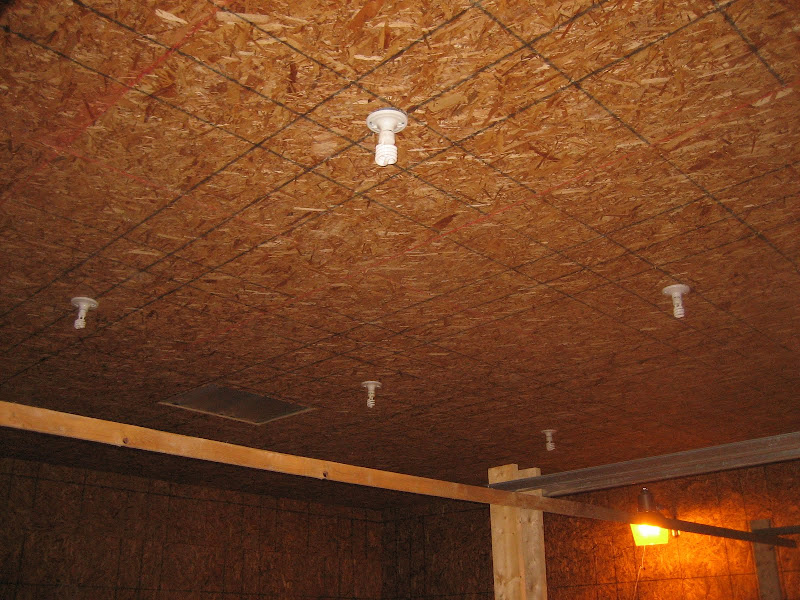
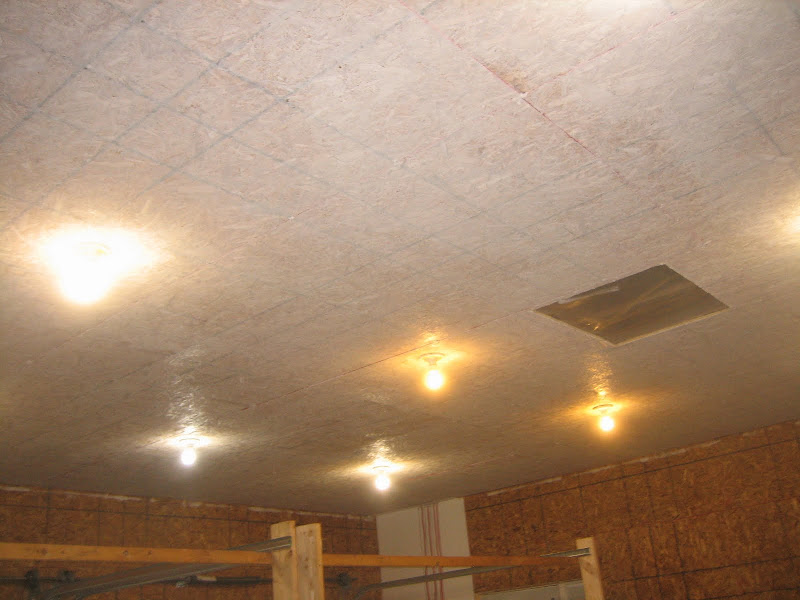
Finished ceiling + energy green lighting…lol.
The pole light is temporary, and ran from an extension cord.
Back wall.
Side wall.

Panel/door wall.
The rear tire looks extra beefy in that pic.
Another finished shot.
And a baller upgrade. Should be on its way tomorrow.
Pic is kind of shitty, iphone, but who can guess what it is.
I’ll throw a more clear pic in at the end from them internets to help.


Also on order:
- Bings Traction Arms
- Aluminum subframe bushings (bings.ca)
- All intercooler t-bolt clamps (bings.ca)
- Braided clutch line (RTM Racing)
- Black manifold wrap (RTM Racing)
- Replacement IC coupler (RTM Racing)
Does anyone know of any good “performance shops” in the Edmonton area?
I’m going to be there over Christmas, and wouldn’t mind checking some places out.
Also…anyone from the Oshawa area?
I’m going to be in Ontario for a week in December, wrong season so there’s probably not much going on, but wouldn’t mind shooting the shit over a beer or something one night. Talk build threads…lol
I hope Bing & Ziggy won’t mind me posting some of their products up to help with the visual appeal.


Update time.
Last week the GF decided that she wanted to paint the inside of the garage to “brighten the place up”.
I wasn’t about to do it, so I told her she was welcome to it.
I picked up a case of beer, got her some paint, and headed out to Colliers to put her to work.
Don’t have a finished pic really at all, but here’s one of the roof.
The wood really sucked up the paint…:lol:
Going to need more paint once the cars are out in this spring.
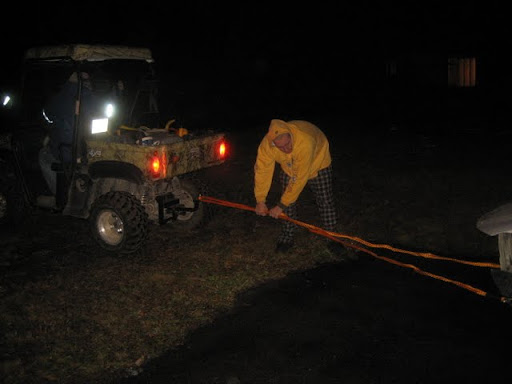
I hadn’t gotten the opportunity to wrench in quite some time, so we went in Tuesday night to get some things for the trip, and I planned on a little light wrenching.
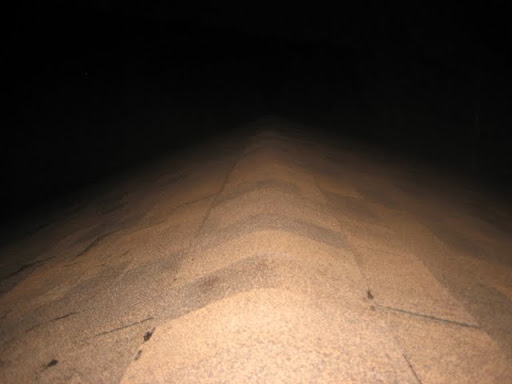
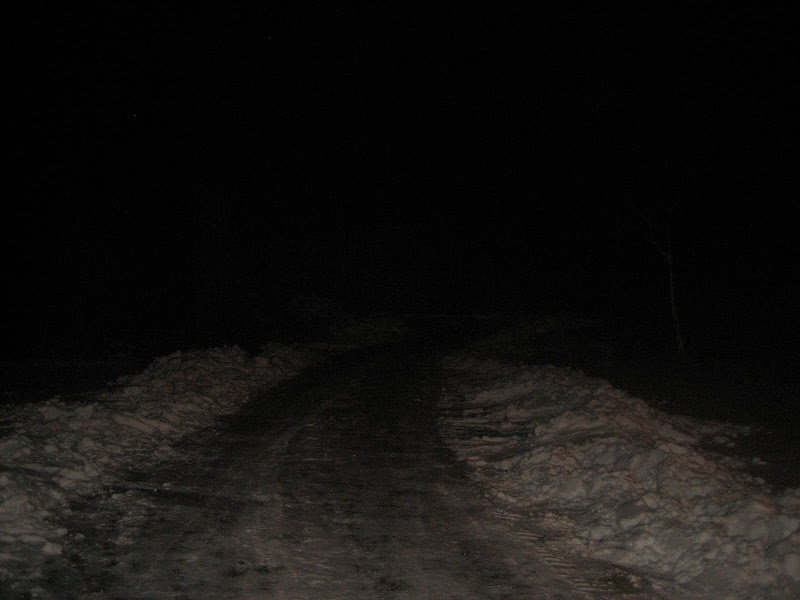
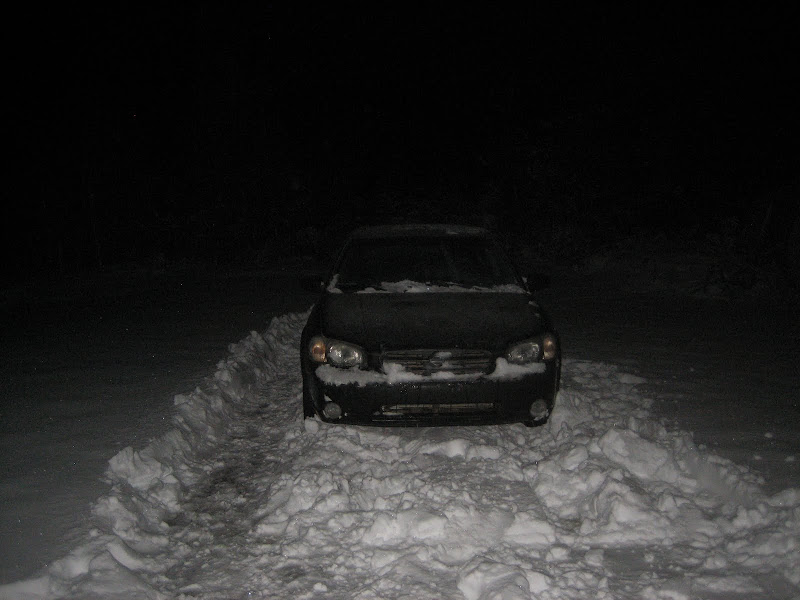
Wasn’t gonna happen without doing some shoveling first…
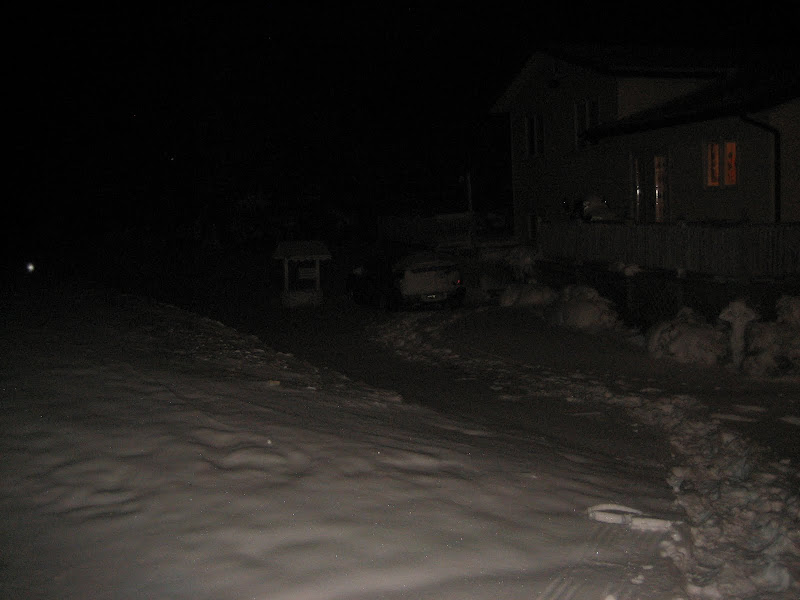
I ended up doing the whole driveway to the garage by hand…couple hundred feet later…:lol:
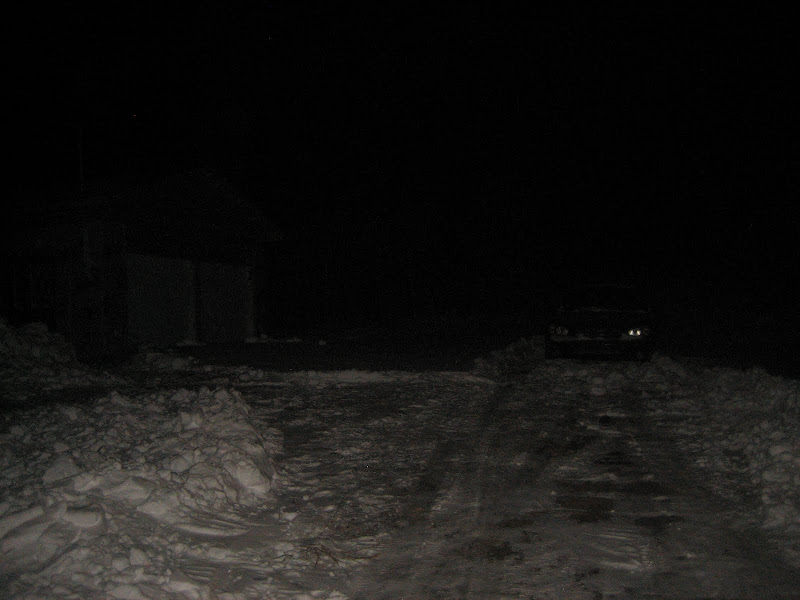
And parked one of the Maxi’s, as I only have one set of winters and they’re on the other one…lol
After this, I didn’t get any wrenching done on Tuesday.
So we headed in last night around 8, and I got to work.
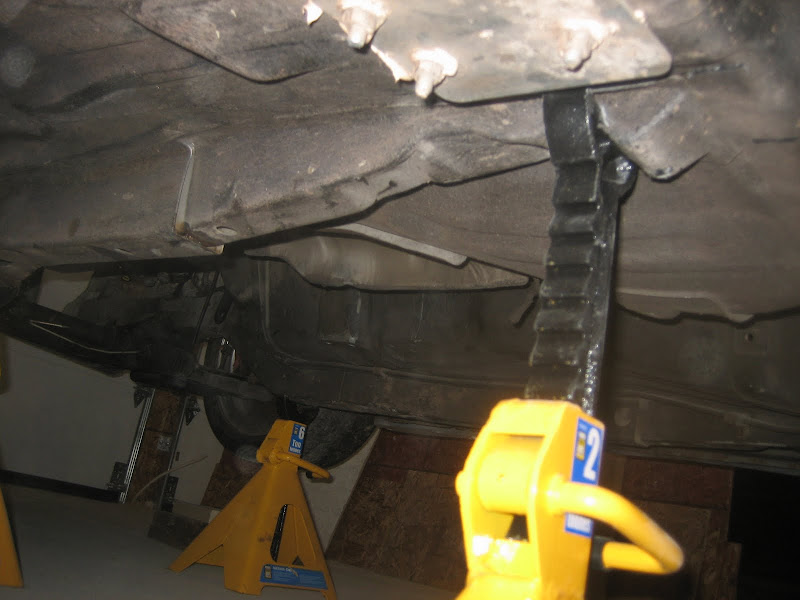
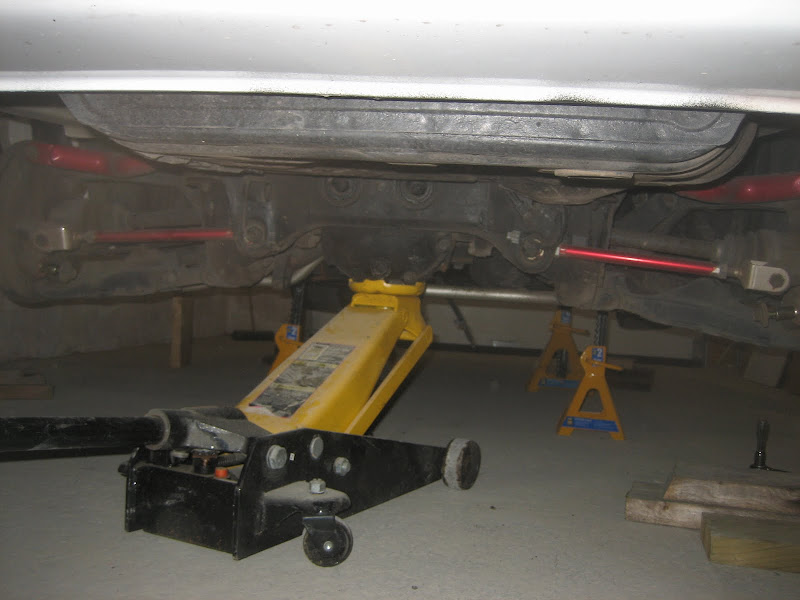
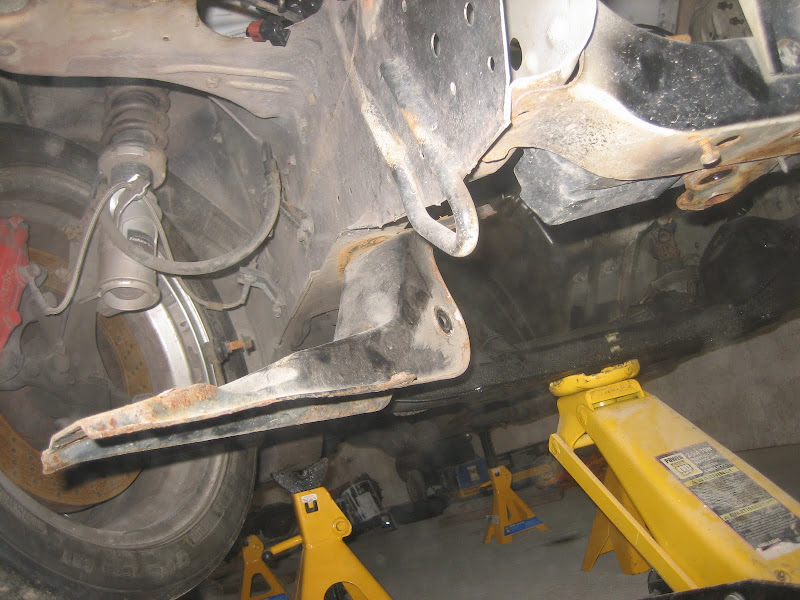
But first…note places not to put jack stands on an S-chassis.
Stitch weld in the future to avoid further rail separation, and possible rail strengthening material?..maybe
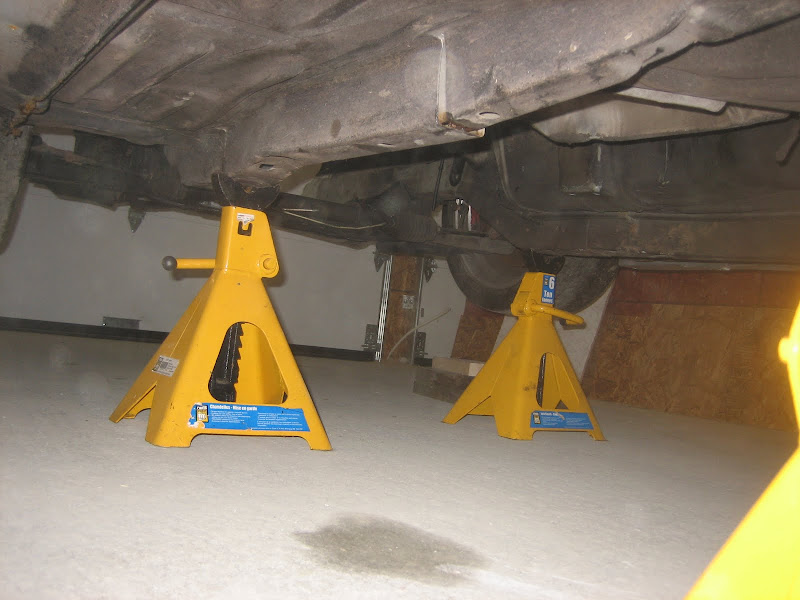
Proper 6 ton stands…much better.
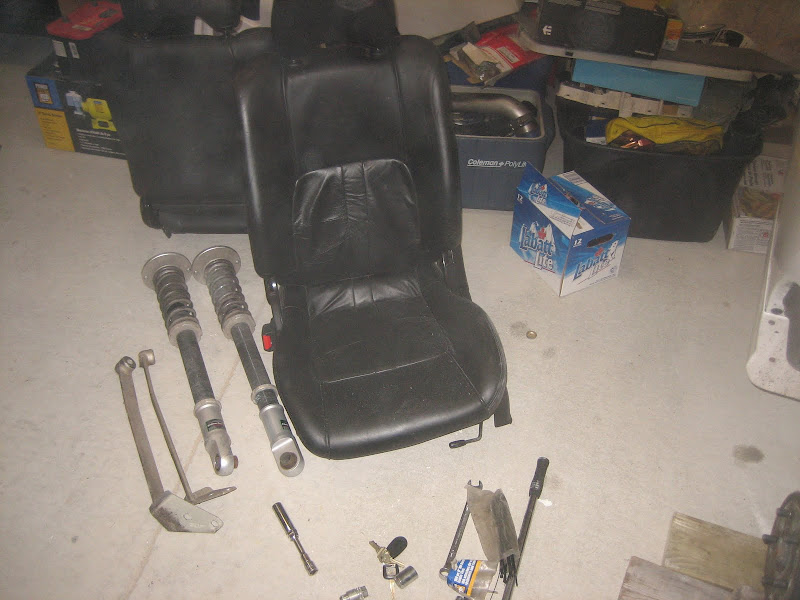
Dropped some seats & coilovers, chassis bracing, etc.
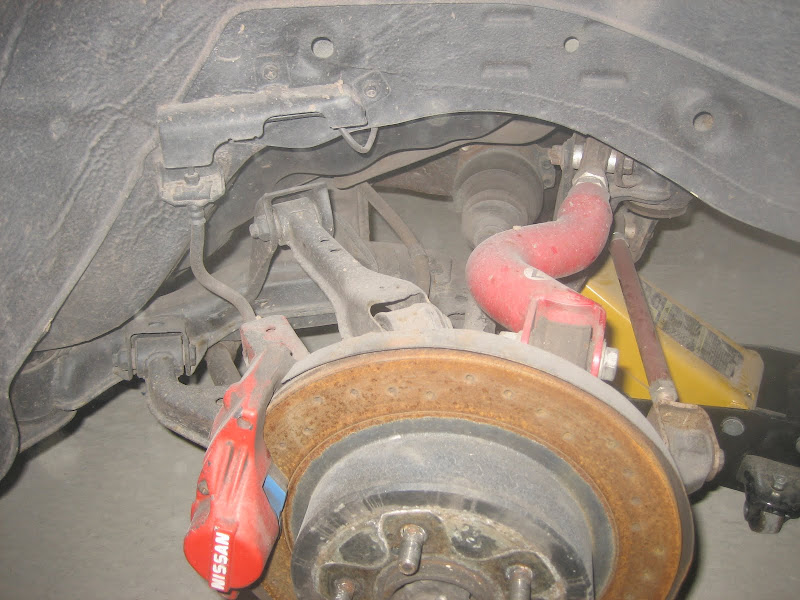
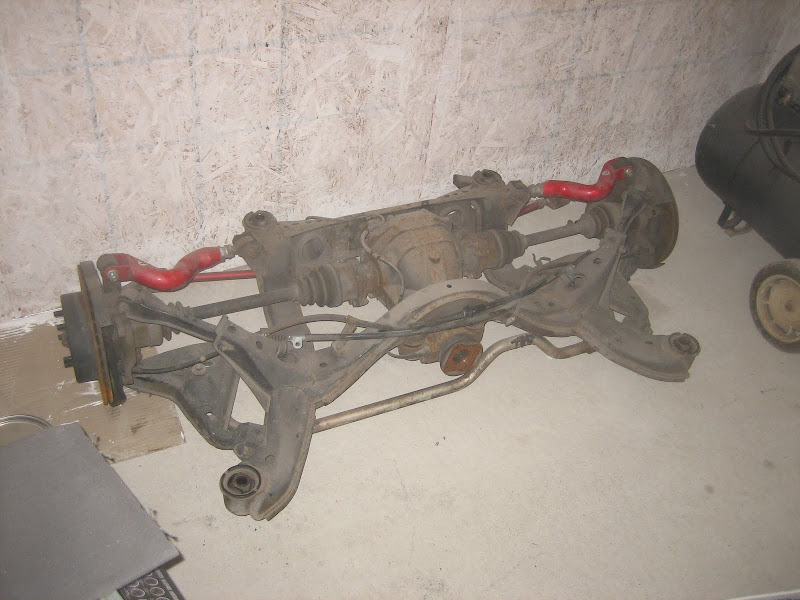
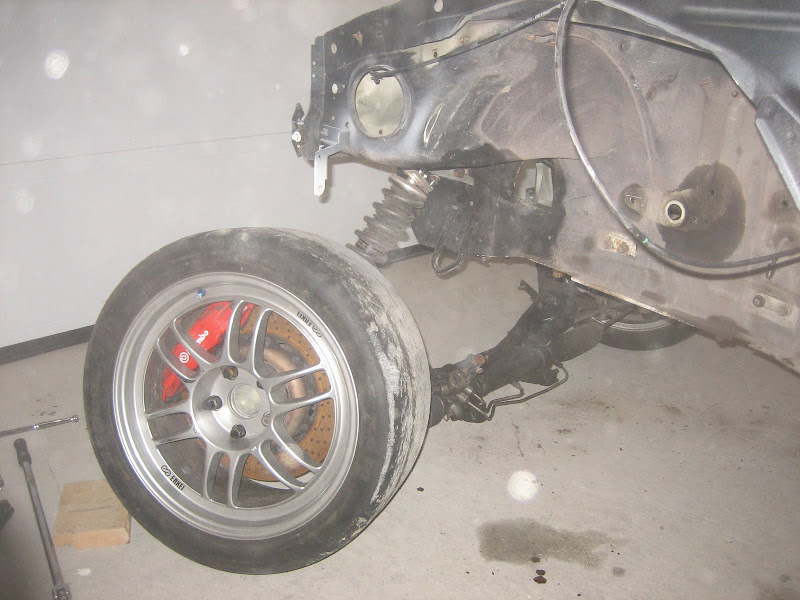
And took a pic of the car up on stands + the rear suspension bits & brakes before getting to work.
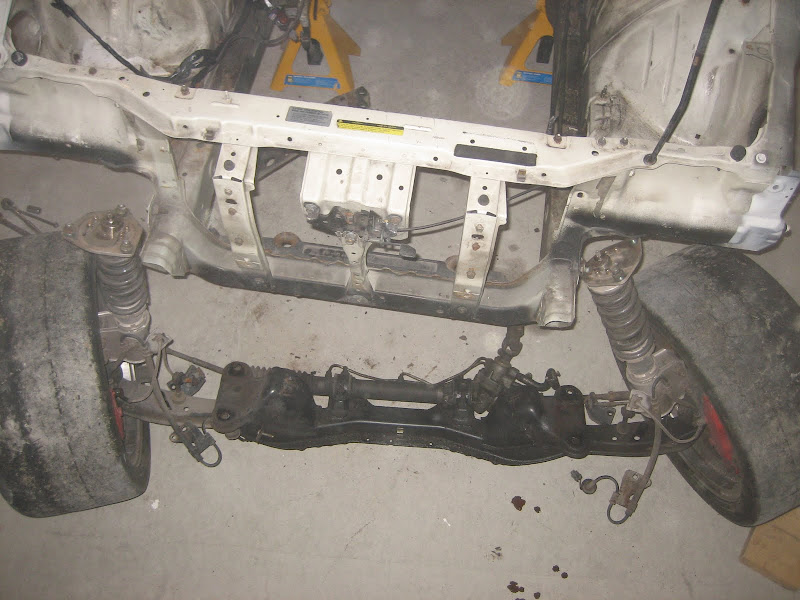
Sub frame in.
Sub frame out.

When I bought the car, I spoke with the previous owner a few nights before the car was shipped out. He said that after getting the car tuned that day, there was a weird clunking sound coming from the rear on the test drive. After messing with it for an hour or so, they figured that it was just a sound from the “hot vlsd diff”. Apparently this had happened to his brothers car on the track a few times, so nothing to worry about.
When I dropped the rear sub frame, I found out what the sound really was…
Sustec chassis braces were installed on the car, which tie the forward rear subframe mounts to the chassis. From what I found, the chassis braces weren’t even tightened onto the frame, in fact, the bolts were only threaded on a few turns.
Thats not the worst part. The subframe mounts weren’t even tightened down. There was about 1/4" of play or more between the subframe and the chassis, and there were visible marks from where the top of the subframe was “clunking” on the chassis.
This is pretty dangerous, and I’m sure it didn’t help my handling all summer. Man I’m glad I decided to drop the subframe and rebuild it with baller shit this winter. Now that I think about it, I posted up on one of the Nissan forums about my strange toe changes during cornering a while back wondering what it could be. I know that toe changes as the suspension is compressed/rebounded…but I’m sure a sloppy/untorqued subframe would have played its part in the matter as well.
Here is a video that captures my rear wheels during a run. If you watch the rear wheels, you can see the changes in toe as the car goes around each turn. One of the guys asked me if I had Hicas from looking at the video, and as no S14 has hicas, we discussed other potential causes a bit.
Video:
Anyway, after this winter the 240 will be much improved. I’ve got some ideas in mind that may involve aluminum uprights, all spherical bearings, all aftermarket control arms, custom made adjustable lca’s, tender springs, etc. All to compliment the S15 diff…so next season should be a blast.
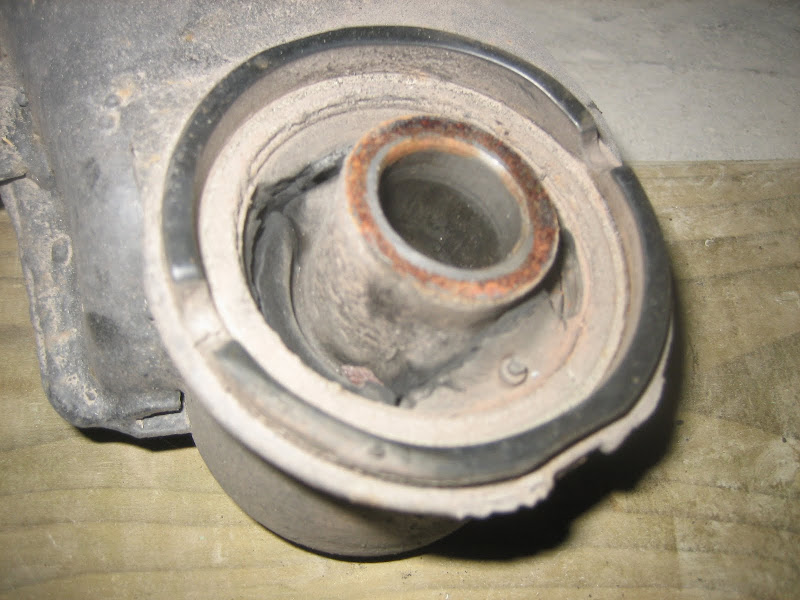
Here is a picture of the bushing. It got torn up quite a bit from all the movement, and I could almost push the inner sleeve right out without any effort due to the tearing.
After the rear subframe was out, I moved on to the front.
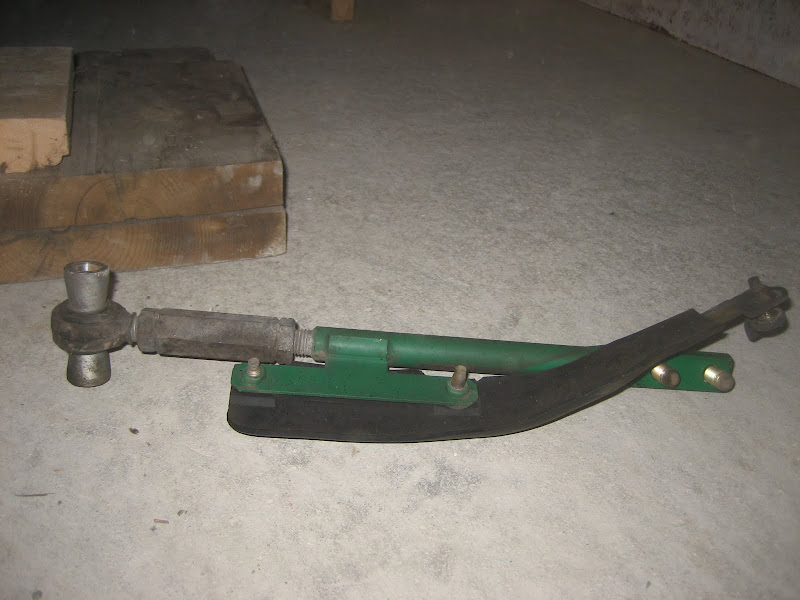
The first step was to remove the Tein tc rods, and take the front braces off. I’m thinking about tying the front braces together with a piece of tubing, similar to the Nismo power braces if I get time this winter. It would certainly stiffen things up a bit, but I’m not even sure if it’s needed.
After getting 9 of the 10 bolts out of the braces, the inner welded nut that is actually contained IN the frame rail from what I can tell (those square threaded stationary nuts that are welded to the car) decided to break when the bolt was 3/4 of the way out. Now I have a brace hanging from the car with a loose bolt attached to a square nut inside the frame rail. There’s no access to it, so I assume I’m going to have to cut the bolt head off to get the brace off the car, then push the nut/part of the bolt into the frame rail, and deal with it rattling around forever…haven’t really sized it up, so I might have to get creative come January about how I’m going to get that off of there.
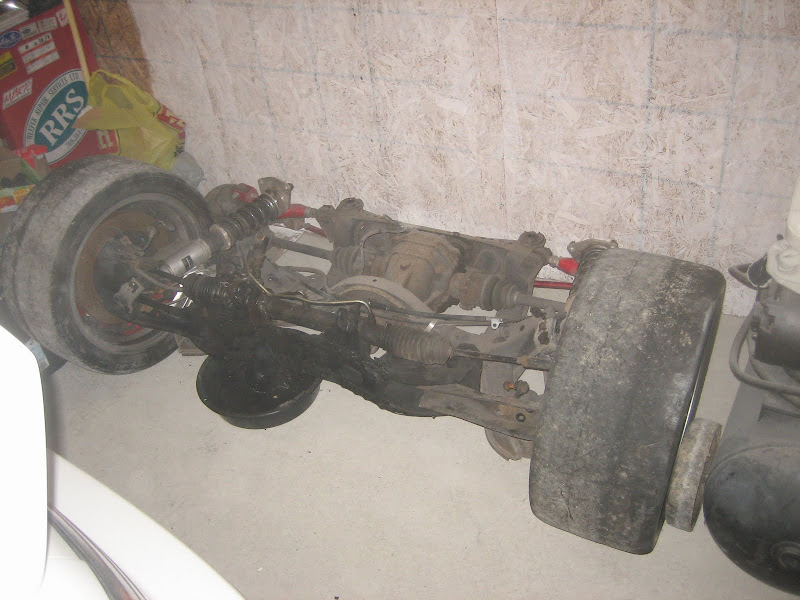
Shot of the rest of the suspension hanging out in the front of the car.
I’ve got some big/custom plans for the front this winter as well. I guess it will all depend on how the time looks, and how much more I want to load up the credit line. Apparently a new engine, a garage, Christmas travel, and a load of parts, etc. aren’t enough on it already, haha.

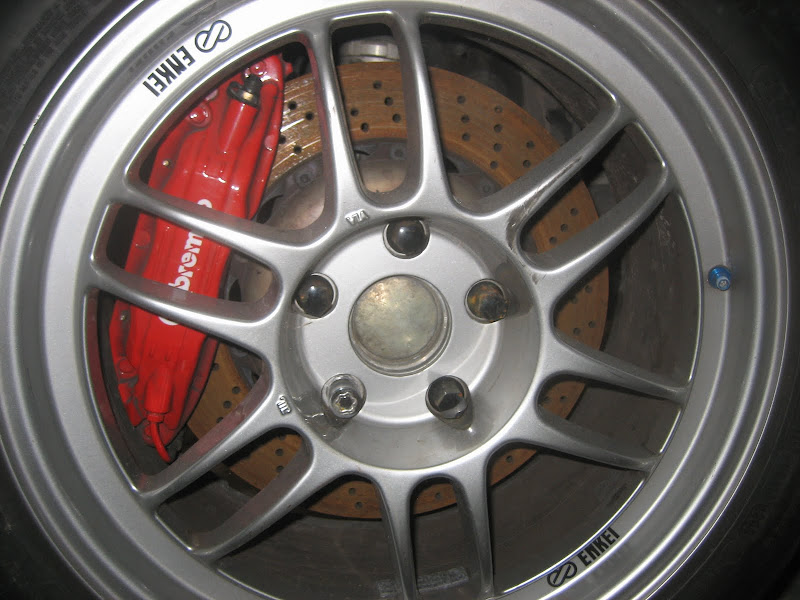
The tight fit of the Brembo’s under the Enkei’s.
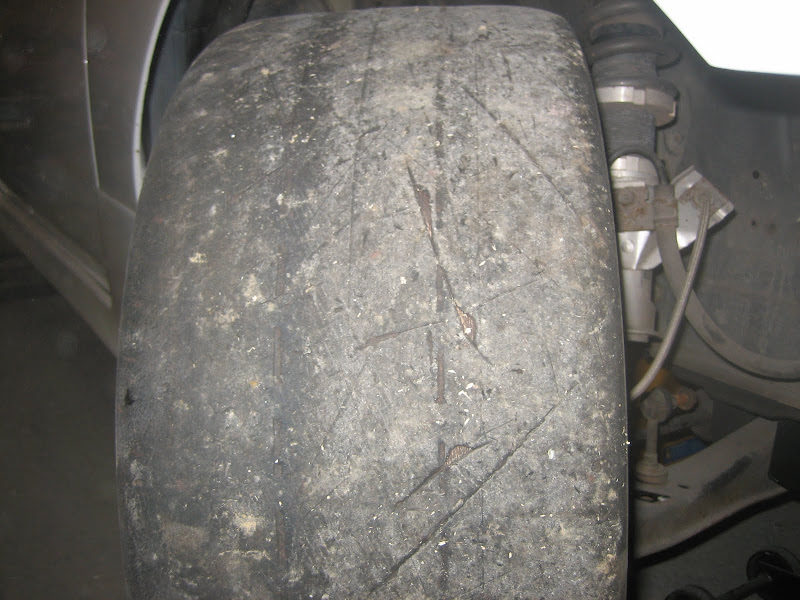
The state of my r-comps after the last event of the season (for the 240)…Argentia airbase, NL.
Stepped back for a minute to drink a beer.
Then got to work.
And neatly stacked in the back of the garage, along with the rear subframe.
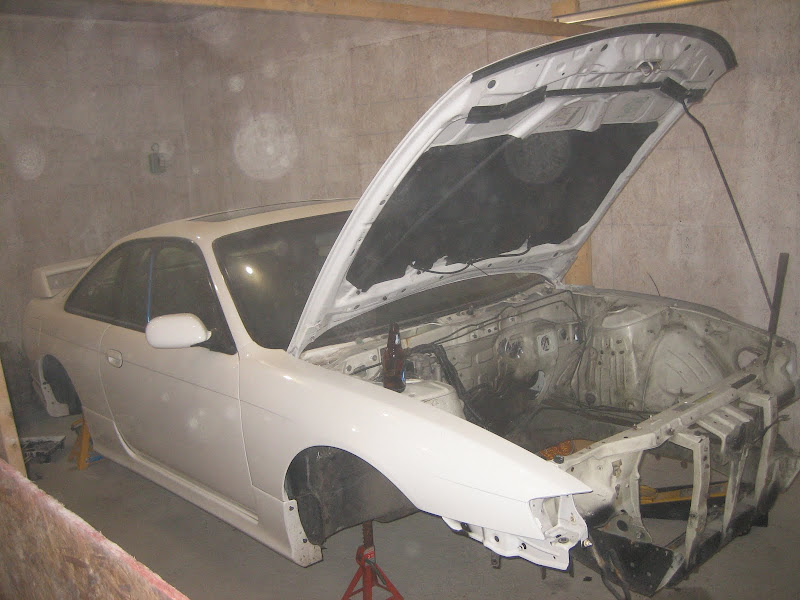
Then came my favorite part. Finally, after years of wrenching in the driveway or on the street at the apartment, I got the chance to finish up for the night in my own garage by just dropping everything and walking away from it. It was 2am, and I didn’t really feel like cleaning up all my tools and parts, and stacking them all somewhere, getting ready for next use. Instead, I just finished my beer, took a final picture for the night and went inside. Man it’s sweet to have a spot to wrench. The 240 does look awful bare now though. At least you can see the paint job on the walls a bit in the pic…lol
im completely mind boggled…great job boddy…