I ordered some UK Badge hotness for the EVO and decided to slap it on today, even though it was very chilly.
What you’ll need to remove a badge and install another:
Heat gun / Hair dryer
Dental floss / fishing line
Painter’s tape (low tack)
Ruler/yardstick
Sharpie
Removal:
- Heat the desired area until the adhesive behind your badge is soft.
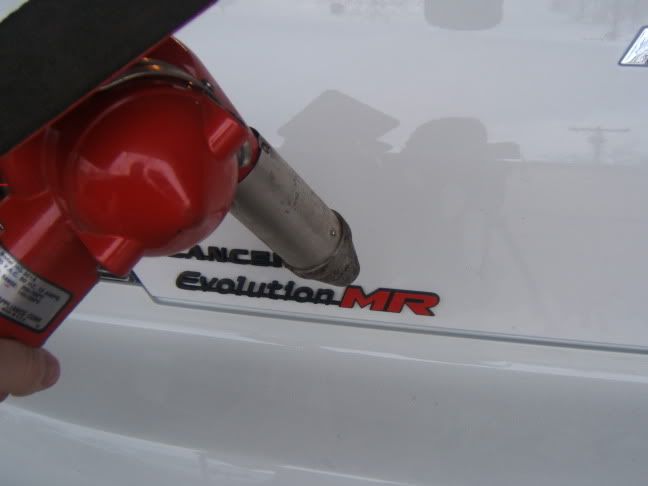
- Use dental floss or fishing line to separate the badge from the adhesive. NOT to separate the adhesive from the paint. You may be able to simply pull of the badge at this point, but floss works pretty well.
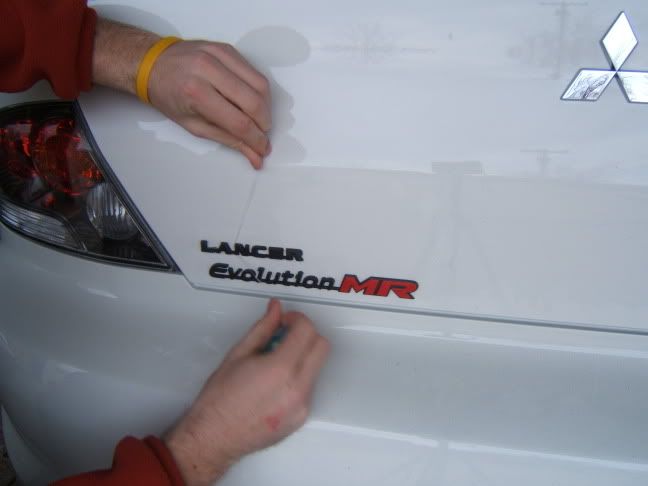
- Peel off the adhesive. Some people use chemicals at this point like bug/tar remover. I find that a fingernail works just as well. If necessary, polish the area with some compound or wax afterwards. This was unnecessary in my process because the adhesive came off extremely easily. Good. Now you’re de-badged. Some people will stop here, and I agree, the de-badged does look clean and attractive, but I liked the UK badge even better.
Application:
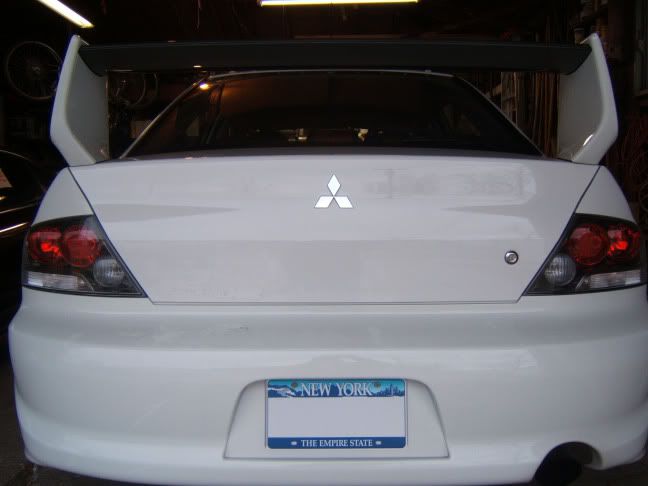
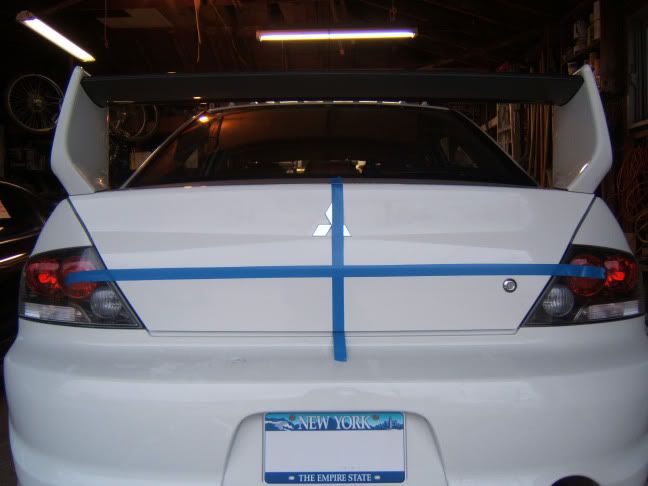
- Measure, measure measure. Find the vertical centerline of the trunk. Easily enough, this was the center of the mistu logo.
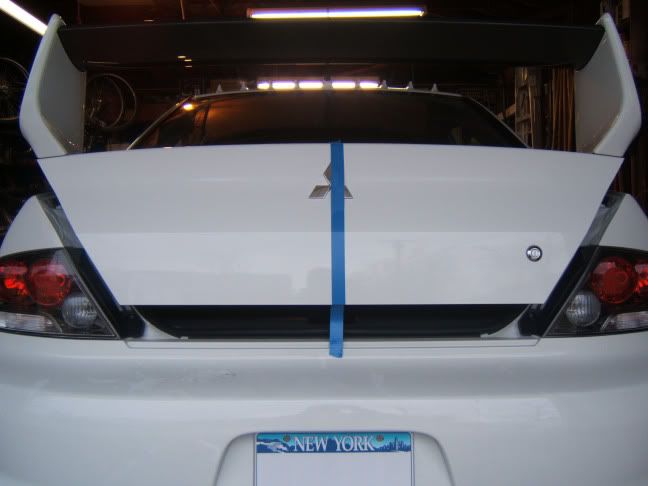
- Find the horizontal line you want to use. I put mine 1/2" above the trunk crease, measuring the applied tape every few inches to ensure that it was level. This pic doesn’t look level, because, well, it isn’t. I had to re-apply the tape a few times to get it right.
-
Measure the length of the new badge, divide by 2 = bingo! The centerline of the badge should line up with the centerline of the trunk. Shocking. Measure this a few times to ensure accuracy.
-
Remove the paper backing of your trunk badge, while keeping the front tape in tact, so the spacing remains correct. My badge has individual letters, which spells disaster if you take it off the clear front tape. Lightly place the badge where you want it, your measurements should be right on with the tape, so this part is easy.
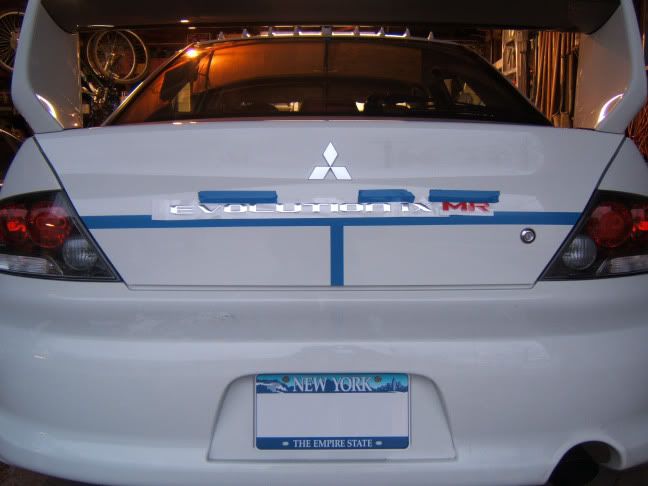
- Step back. Look. Walk away. Look. Get a second opinion. Look. Everything looks level and even? Good. Measure some more. Check the level at different points to once again ensure correct placement. Once you’re satisfied, press this down. It was pretty cold, so I applied some more heat to ensure that the glue did its job.
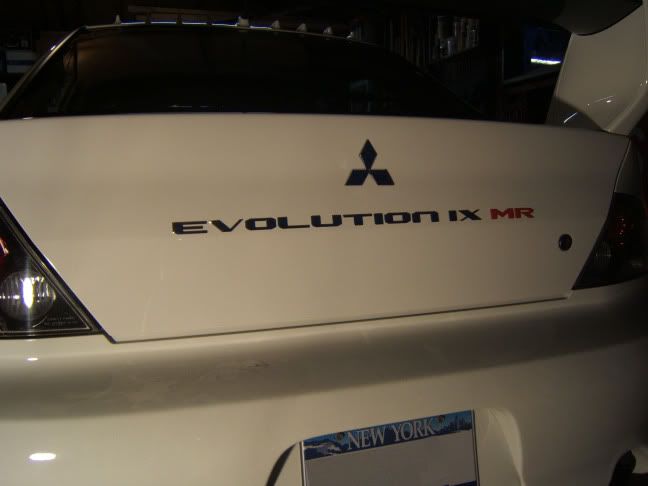
And the badge is on, and I can rest easy knowing it’s exactly where it should be.
:tup: