Oh cool. What did you see? Did it look good? I dropped off about $6000 in parts there a couple of weeks ago (Dear God!!!) and haven’t seen the progress since I am here in Edmonton.
As far as I know they haven’t actually “built” anything for me other than regular machining on the head and block and some welding to the transmission case that the previous owner hacked up. Are you maybe thinking of the flywheel?
I did ask Cam to see about making me a new cam pulley (mine is f#&k3ed up) but I didn’t think that was done yet.
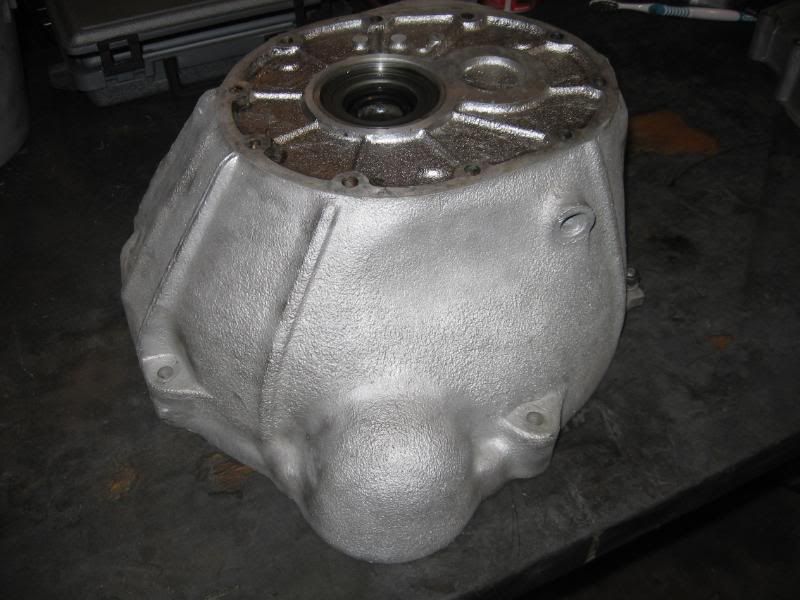
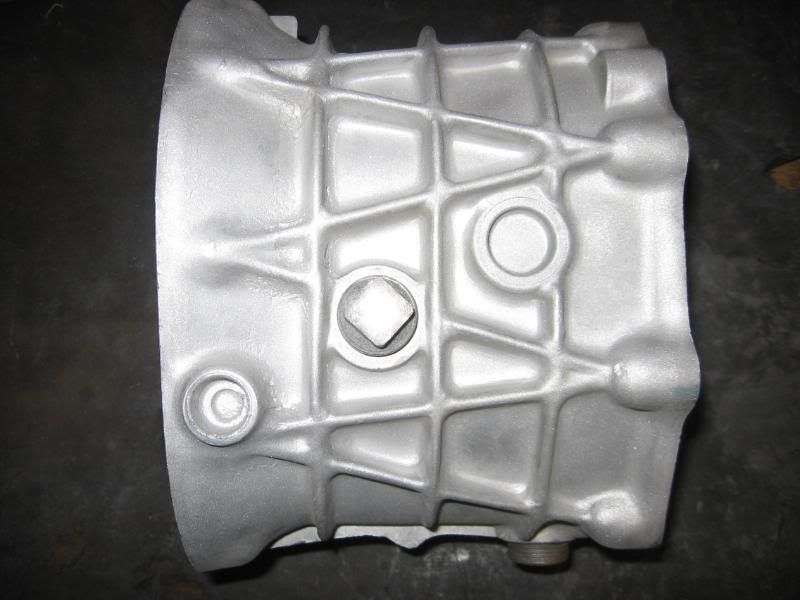
We got together at his shop today to do some bead blasting. The transmission cases really got cleaned up nicely (three pieces in total - did two today).
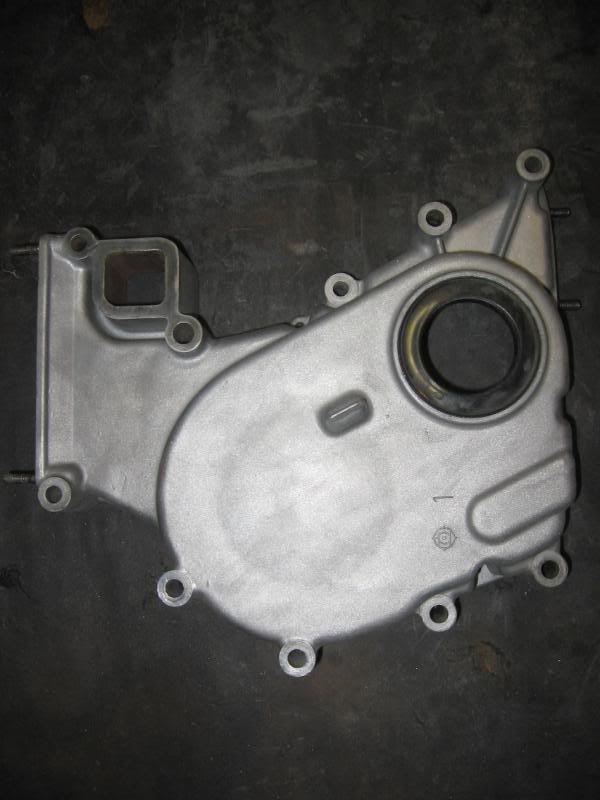
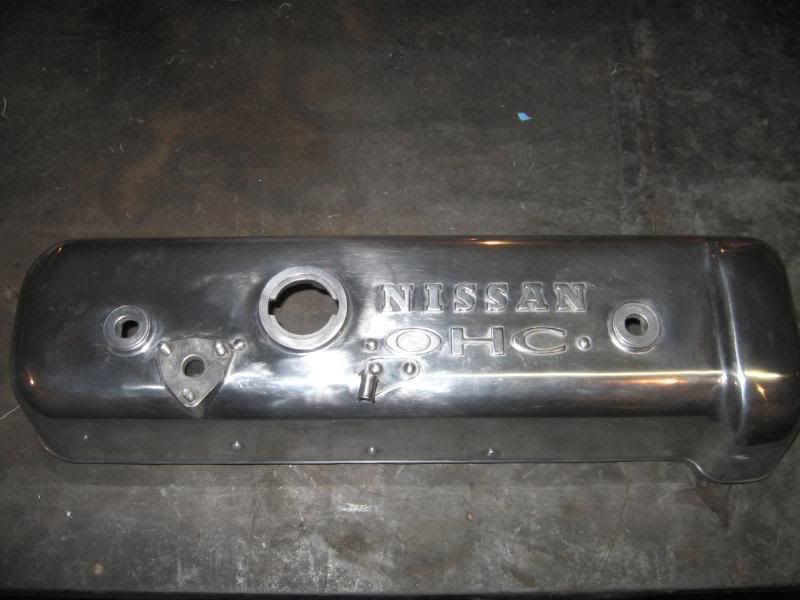
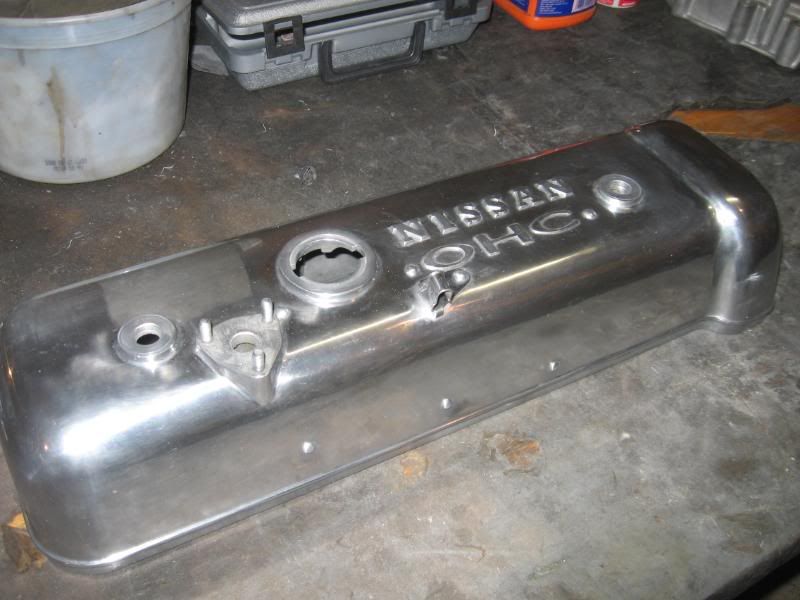
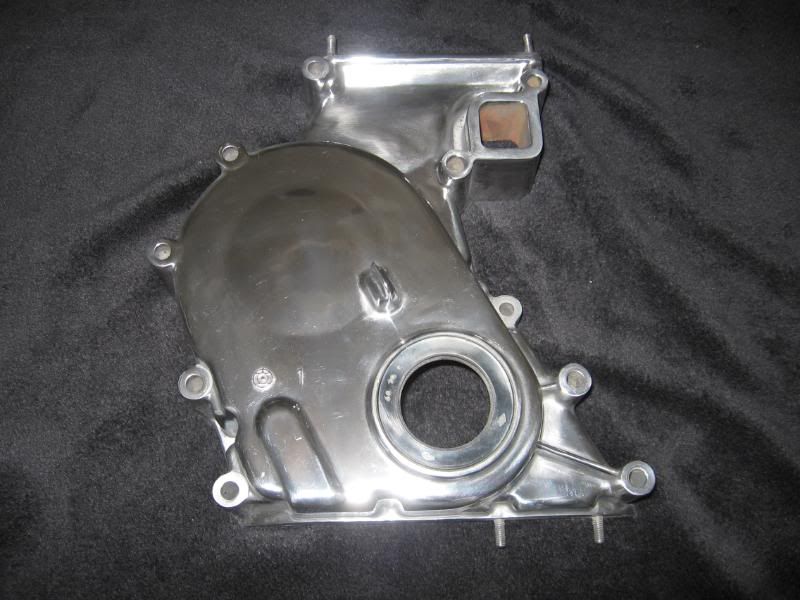
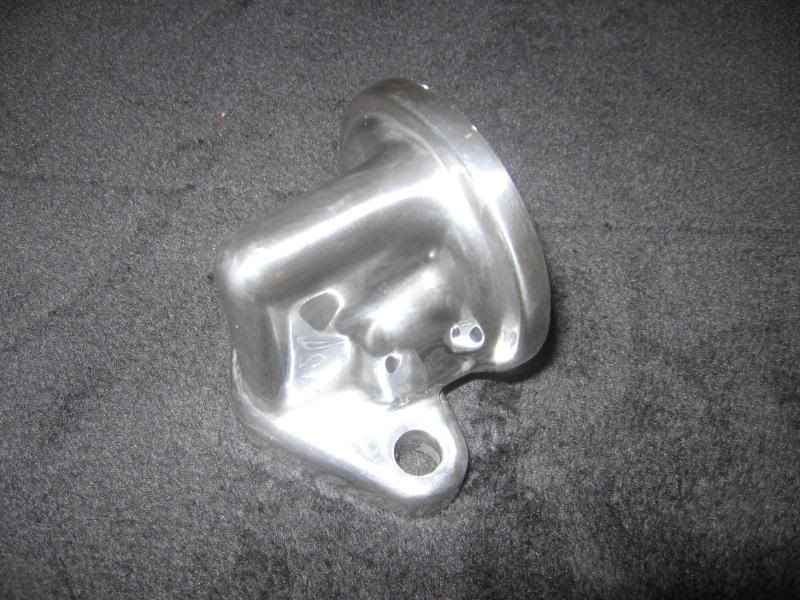
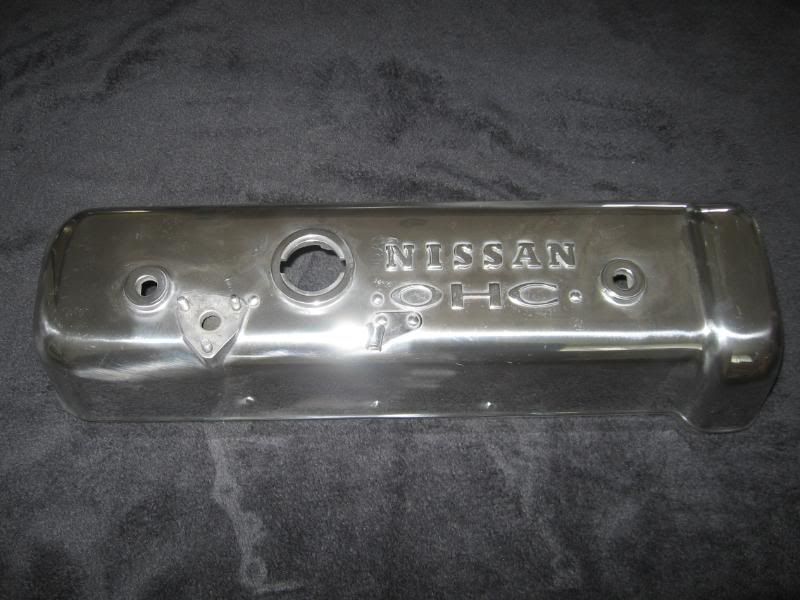
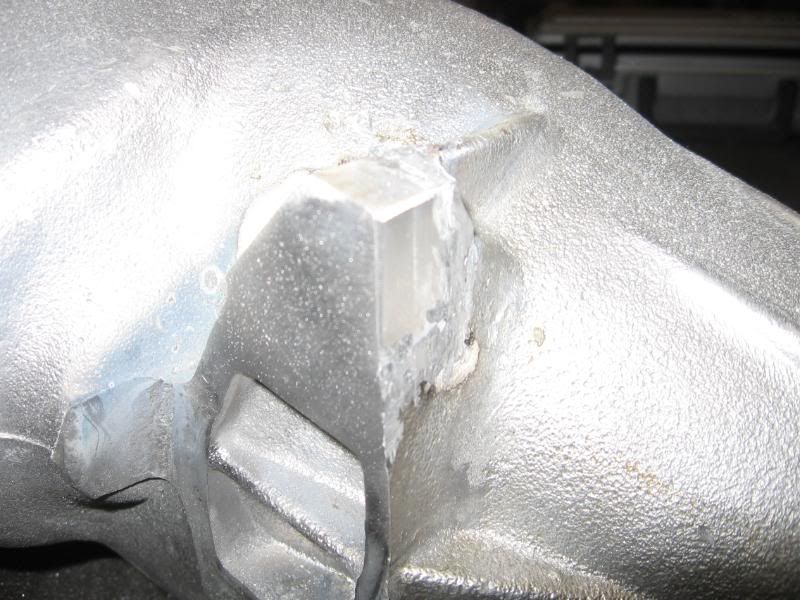
I am not sure I like the front cover matte finished or if I should polish it. Below is the valve cover for comparison.
The stock valve cover finish is supposed to be matte but I have polished it. What do you think? The pics below are about 80% of the way to complete. Should I polish the front cover too?
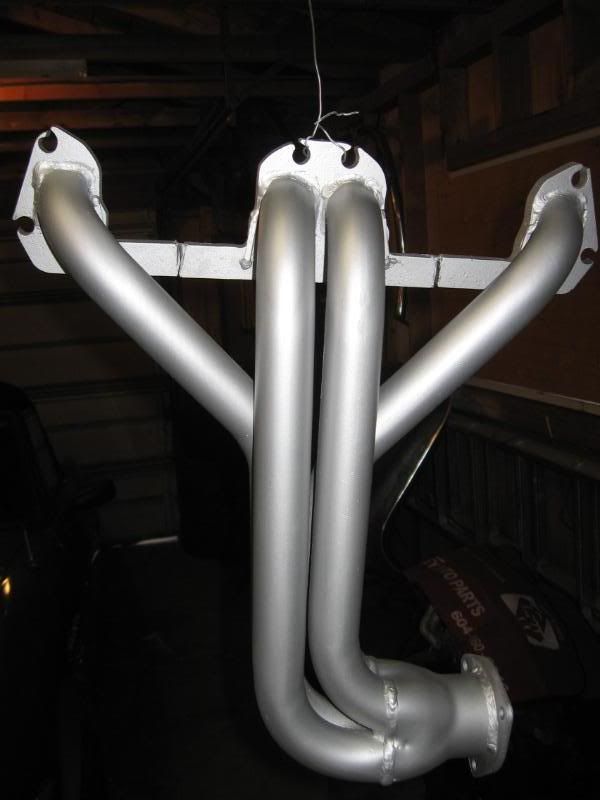
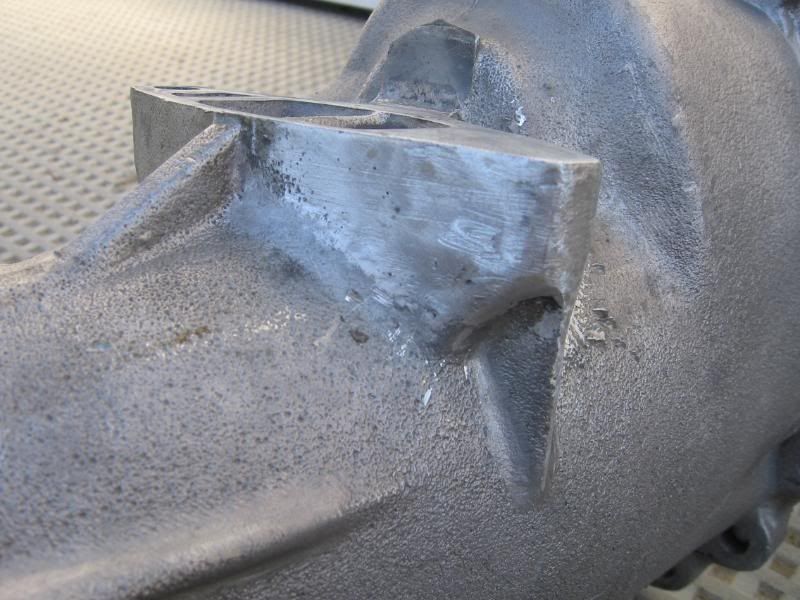
I also took a wire bush to the header, got it nice and clean and applied some header paint. Turned out pretty good but long term I think I’d like to have a 4-2-1. Check out the “cuts” in the flange (someone decided a plasma cutter was better than a bandsaw or…)
Sasha, (350zT), I am likely to take you up on that customer SS header.
Polish the front cover as well.
I cant recall what I saw at Lightspeed I was in the middle of something when cam was talking about it. He was pretty proud of how it turned out though.
Your welcome Dave! any time. Yeah its going to be hard to polish that grain out of the front cover, especially in those corners by the bolts. We can also do 2 tone … polish the very front … then mask that off and then reblast just the sides all way around and make it look so cool
Back on page 3 I showed you the screwed up pulley and fan spacer.
I had received a ballpark estimate of $150 to make a new one. Well…today I am looking at about $400! I figured $150 was a great deal and was prepared for higher but, yikes, $400!?
Anyone have any connections or leads on getting some CNC work done, i.e., billet aluminum magically turned into a pulley?
I can machine you one after hours if you get a hold of some material. If its a one off piece, CNC would take longer to program the machine than it would be just to spin one up in the lathe
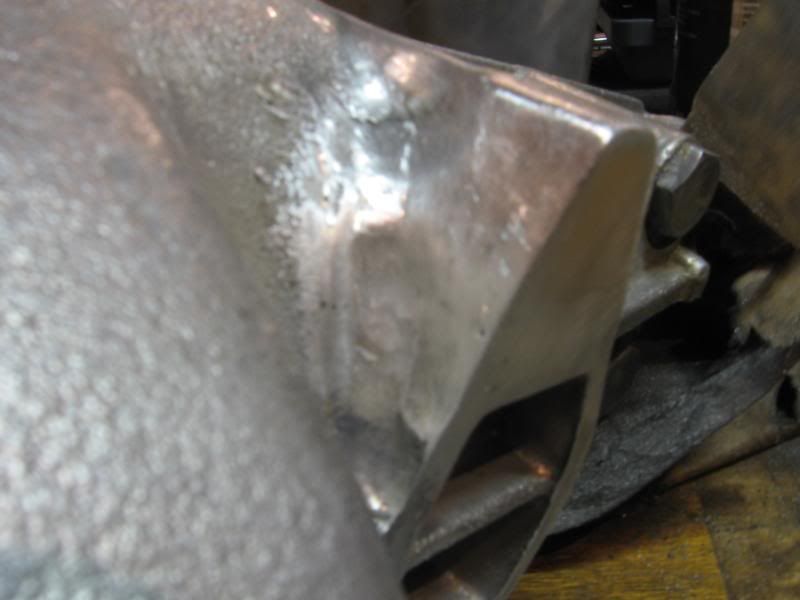
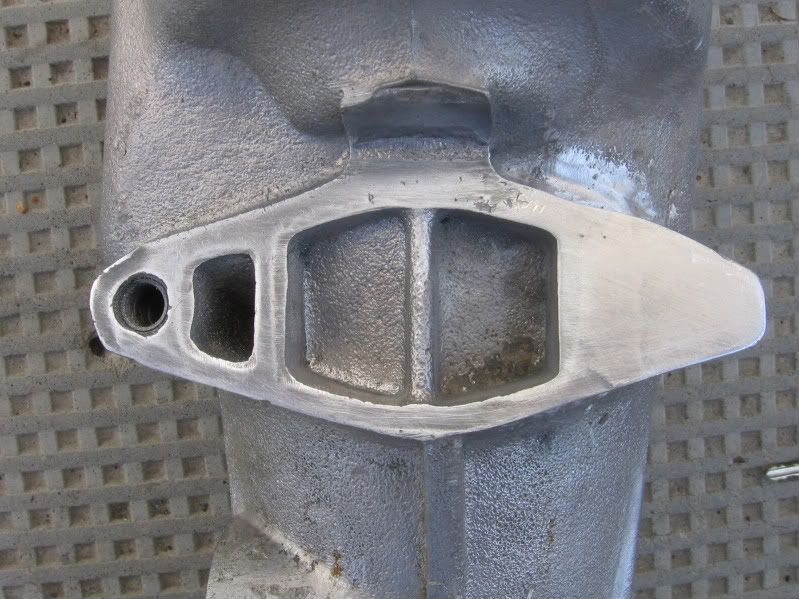
So I thought more about the whole polish versus matte finish and I decided to leave the transmission bead blasted and polish everything else.
Here is the front cover. Check it out compared to the matte finish in the next two photos. (Bernie, my apologies! I know we just bead blasted it, which definitely was needed to get it clean, but I really like the polished look.) I still have more to do to get it really looking right but I think it is just about there!
This morning I spent some time working on the last piece of the transmission case. Bernie, we’ll need to do some more bead blasting.
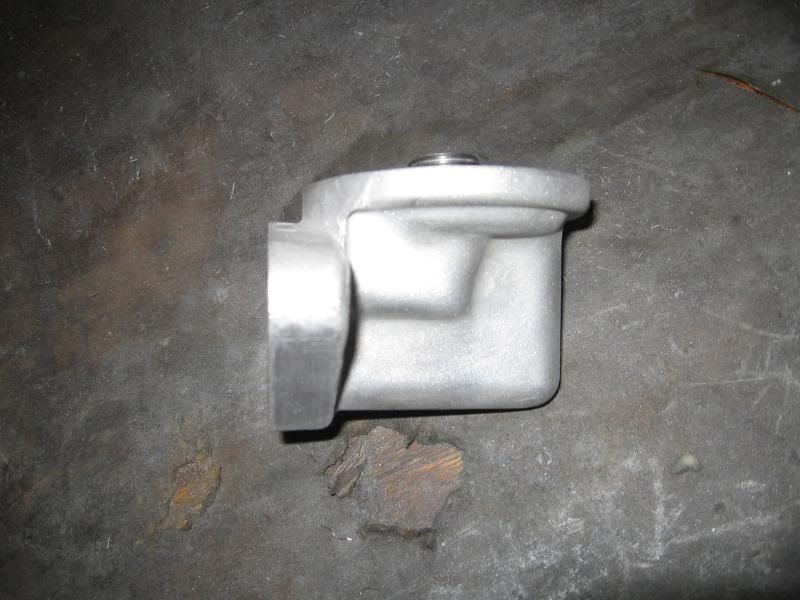
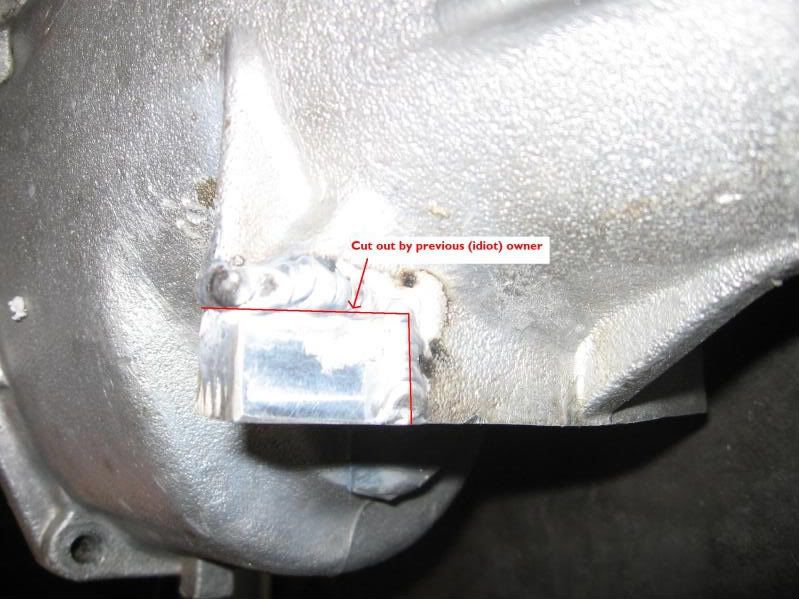
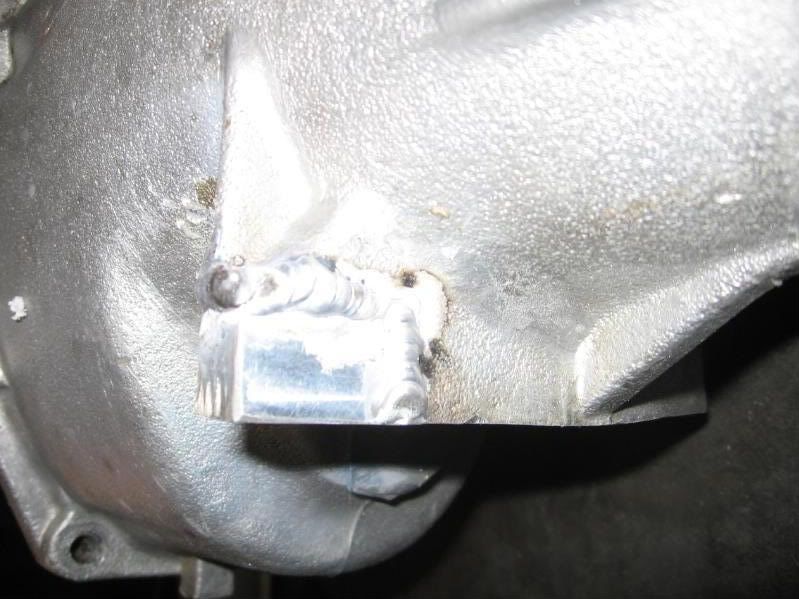
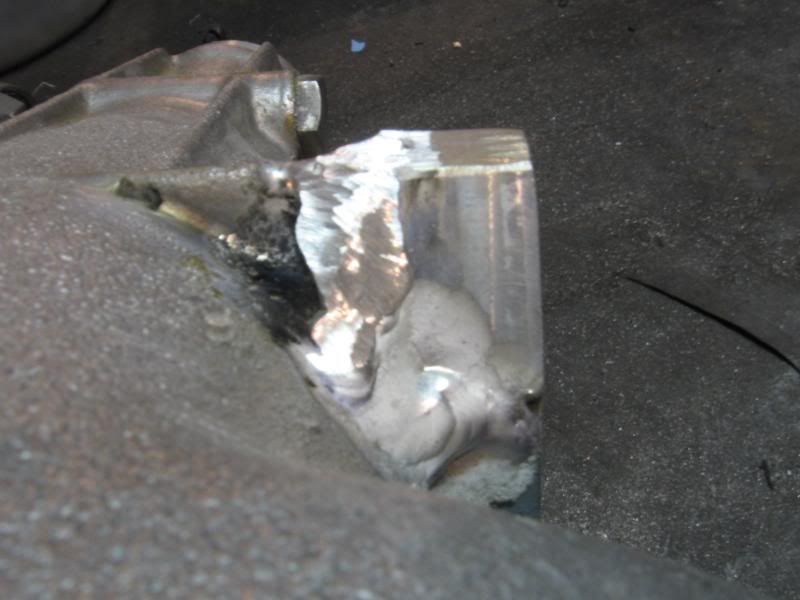
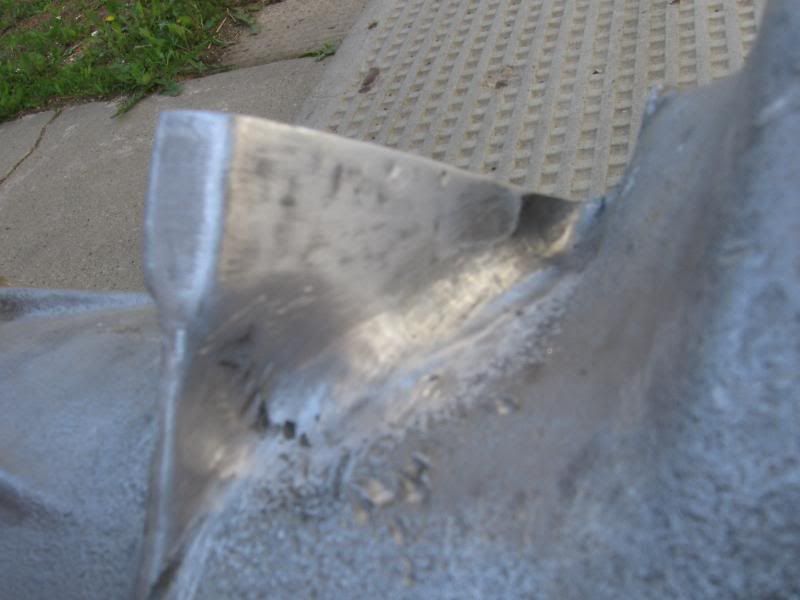
The previous owner of this car was (and likely still is) a complete TOOL! There are cases (no pun intended) where guys will make a transmission case brace to keep the pieces together rather than risk the case cracking. Last time I checked, this car doesn’t have ANY risk of cracking its transmission case so I got rid of the crappy brace that was in place and started repairing the case.
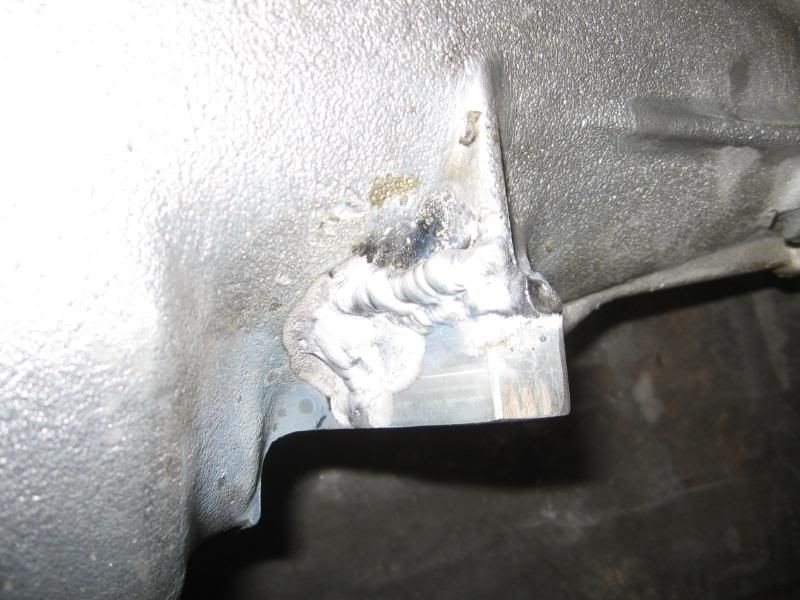
Instead of building a brace to match the contours of the case, the previous owner just hacked part of it off! A bit of billet aluminum and some welding and we have a new “ear” back in place.
Nicely done! Just ring me up Dave and we’ll blast some more! … that front case looks incredible! … Im glad it polished up nicely … and your right, it needed cleaning any way
Meanwhile, I got a few of the final goodies on Friday.
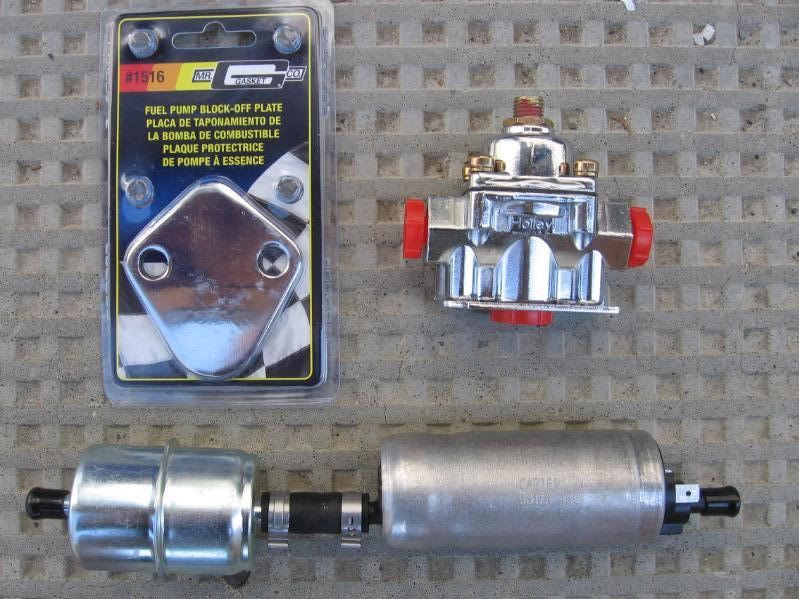
With the new carbs I wanted to upgrade the fuel delivery a bit. The car, even with these carbs, had a mechanical fuel pump. There is nothing wrong wiith it, but it runs on a lobe of the jackshaft and I’d prefer removing this opportunity for wear on a very hard to replace internal engine part.
So, I am deleting the mechanical pump and going with a simple Carter inline electric pump and a Holley pressure regulator. Lots of guys run this exact set up on their 510s.
Below is the pump / filter combination as well as the regulator and the mechanical pump block off plate, which actually is the same size as a big block Chevy (finally a part that is off the shelf and cheap).
In the link below, you can see the plumbing from the regulator (look up on the cowl in front of the “passenger”) to the Mukuni carbs in the engine bay of this 510 race machine (f#&king beautiful by the way). http://rides.webshots.com/photo/2473182800102280644iFCKCq