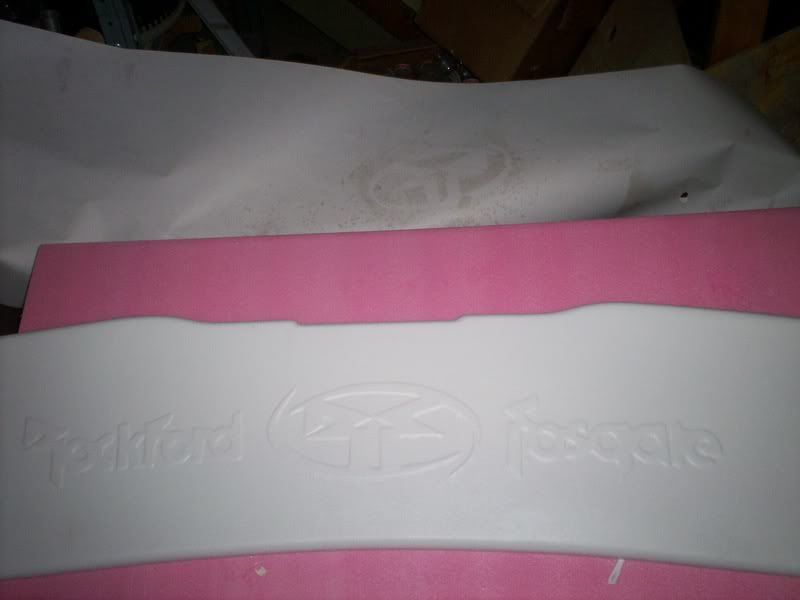
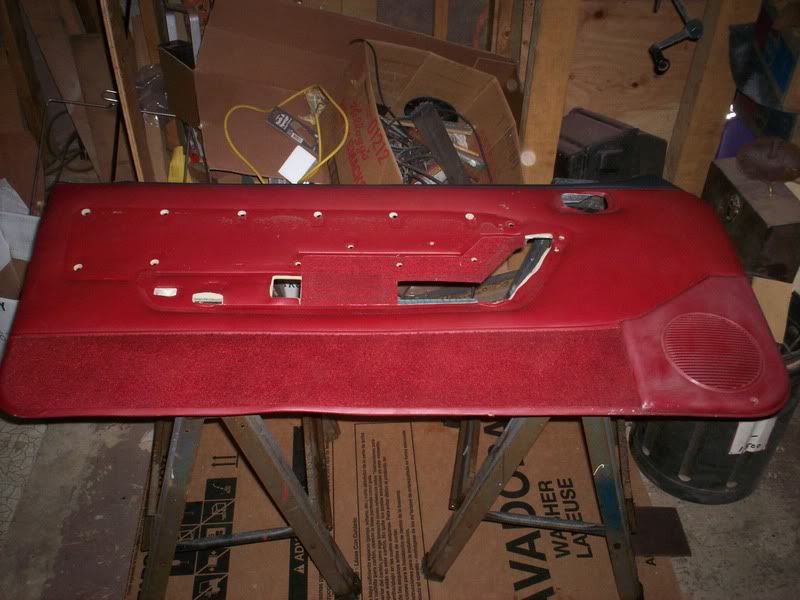
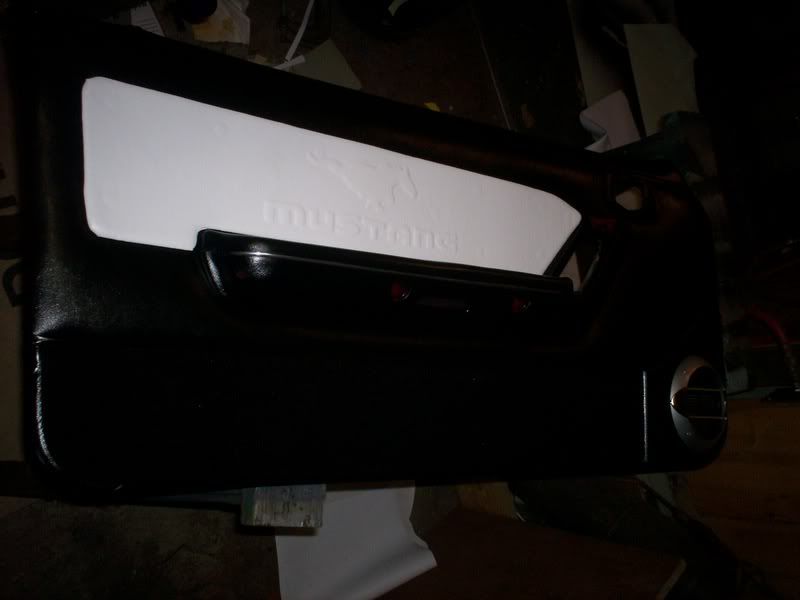
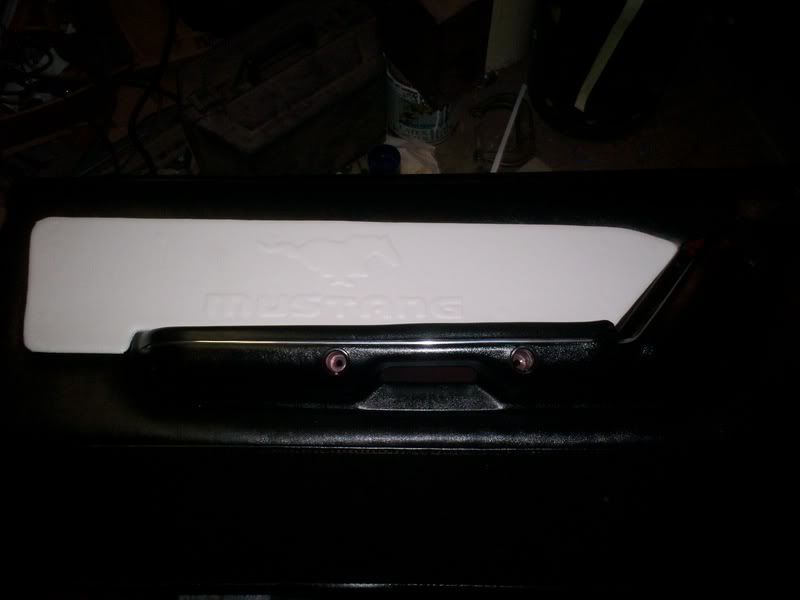
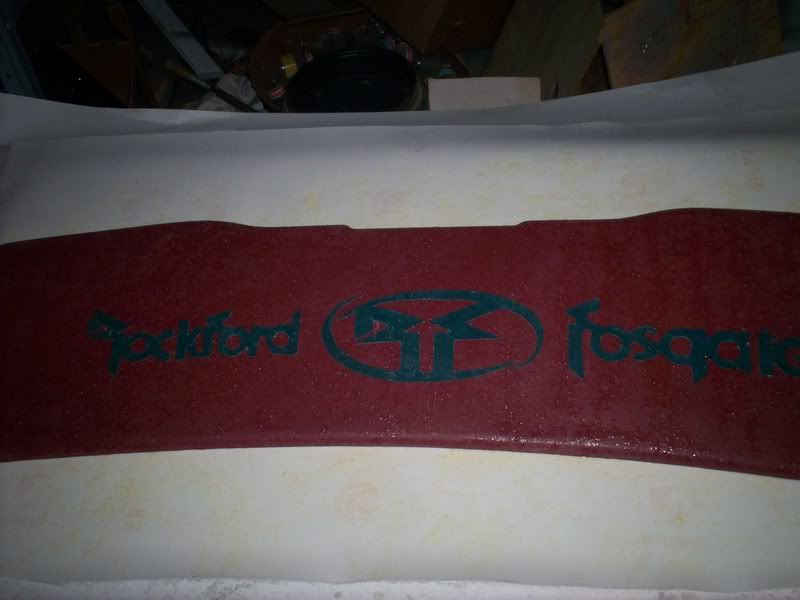
Ok, this is one of many DIY threads ill be making over winter. i have a 87 5.0 Mustang im redoing the whole interior and system on so as i progress ill make DIY threads. this one is a quickie on how to do raised lettring in vinyl. theres a bunch of pics missing and whatever but im doing door panels tonight and ill make sure to coever everything in depth and make a better video of it. in this application i put the Rockford Fosgate logo on a beauty panel that goes on the hatch beneath the glass.
materials
spray adhesive (helmeprene is the chemical you want you can use 3m super 77 or headliner spray)
Vinyl (something with a good stretch)
A hook pick tool
Scissors
Razor blade or Exacto knife
3m scotchbrite scuff pad
Wax and grease remover
Heat gun or hair dryer
Step 1:
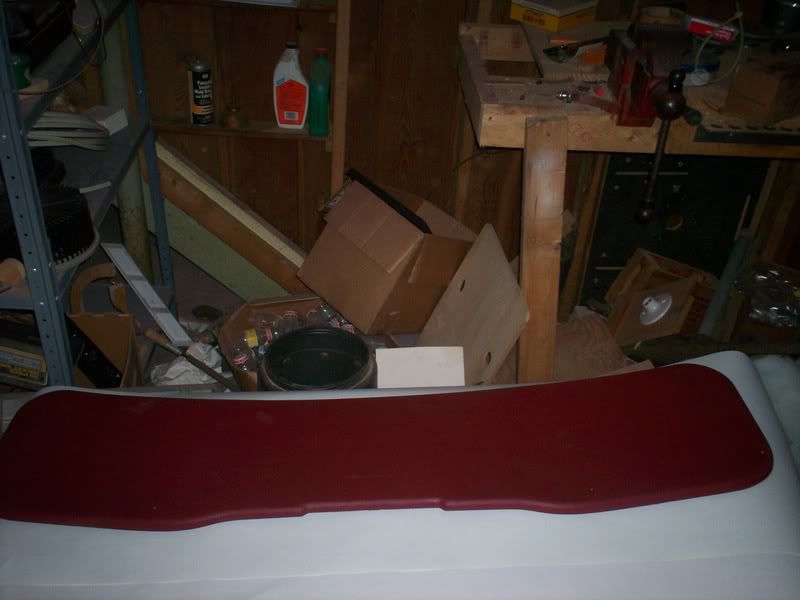
Take the scotchbrite and scuff the whole panel down after its all scuffed wipe it down wuth the W&G remover and set the panel aside.
Step 2:
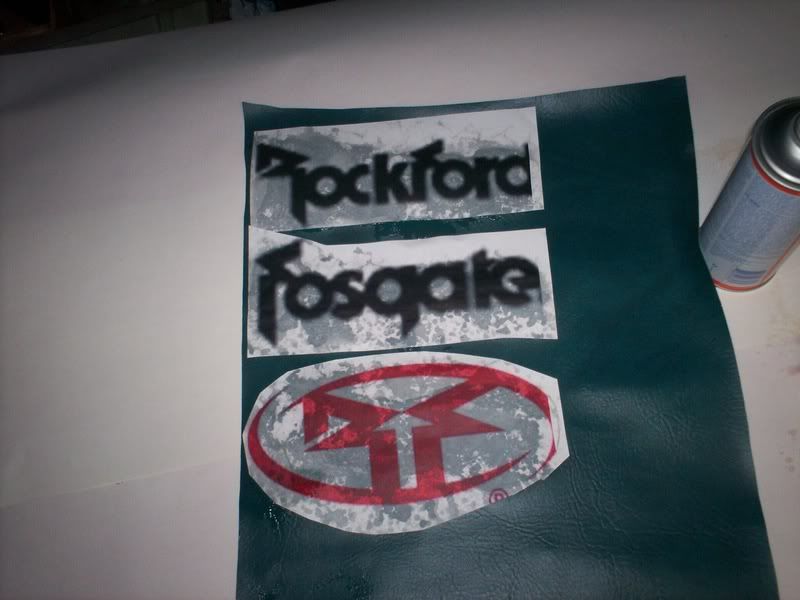
Print up whatever image or text you want to emboss and the spray its backside with the adhesive. Next spray a piece of vinyl with the adhesive. make sure to do a couple thin coats and not let it get runny or blotchy. In this instance you want to apply the paper to the vinyl while the adhesive is still wet. Give it a few seconds to tack up and then move on to the next step.
Step 3:
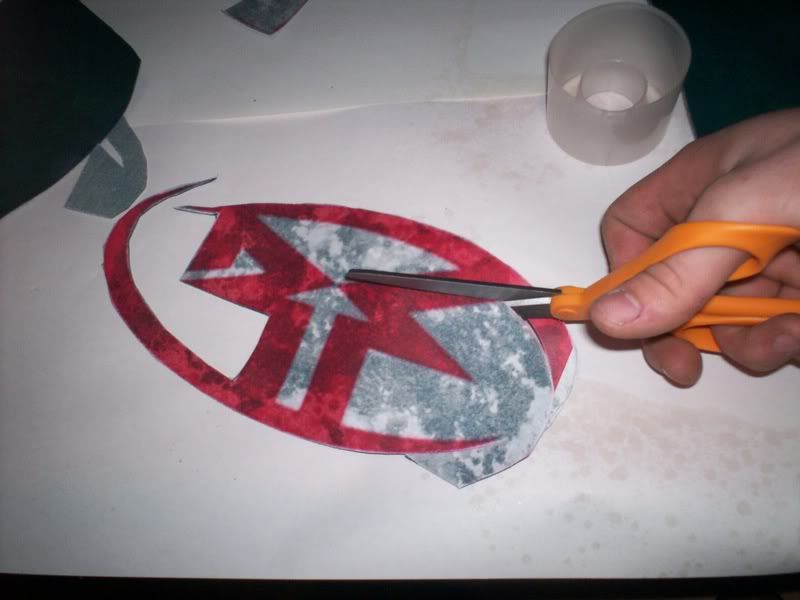
Cut out the image with a pair of scissors. If there are sharp corners or inner circles you need to cut (I.E. the inside of an “A”) use your exacto or razor to do this.
Step 4/5:
Arange the image on the panel the way you want it to look when its finished. Mark it with a sharpie in corners or whatever suits you so youll know where to put it after you spray its with the adhesive. Spray the panel with light even coats of the adhesive and then spray the backs of your vinyl image. WAIT FOR IT TO FEEL AS IF ITS ALMOST DRY!!! This is very important otherwise it may not adhere correctly. Now place the images in the desired location and rub them to ensure proper adhesion.
Step 6:
Cut a piece of vinyl big enopugh to cover the panel and hang off about 3 inchs all the way around. Spray the back of the vinyl and the whole panel with the adhesive. Wait for it to almost dry again and place it on the panel. If the panel is large have a frieind help you get it perfectly aligned because once it touches that shit is not coming off pretty.
Step 7: Take your heat gun or hair dryer and apply some heat to the area where the lettering or image is. Dont get it too hot or it will mess up the vinyl. Just get it warm enough so that it is pliable. Its probably a good idea to practice on some scraps till you feel like you know how much heat to use.

Step 8: After its all nice and warm, starting from the center and working to the edges, rub the image with your fingers to get most of the image to appear.
Step 9: Take your pick tool and use the round edge to work in the edged of the image to give it more definition. You can use some heat here too if needed.
Step 10: Flip the panel upside down and bring the excess over the edge and stick it to the inside/backside of the panel and trim as neccasary with your razor.
Step 11: Flip it over wipe it down with some vinyl cleaner and have a beer or whatever because youre done.