VW Cabriolet Project for the wifey

Took a good look over everything last night and decided it was close enough to pull the motor. There is still a few things to do but they will be easier with the motor out than in.

And after a short 60 mins it was bare again

I stared at the turbo water ports for a bit and got frustrated trying to fig out exactly how to run them so I decided to tackle the charge pipe and compressor elbow instead. I was a little nervous about welding to the compressor housing but it went fairly well.

Next is the turbo oil drain and water lines.

Dan
89,760

Damn that looks good. I don’t know how you have the patience for this. I would just want to get the thing together and running of sorts at this point.

X…

That was me once too. But Im tired of redoing things so Im trying to do this one right, once. Its def a lot of hours logged, but I love doing it so…

Dan

Remarkable…

Engine/trans ready to get rebuilt? Loving the updates on this.

Not just yet. Mainly b/c I dont have the money right now. haha.

However, before they go out they need a lot of work anyway. Im going to do a bit of shaving on the block and trans cases first. Mostly just mold lines and what not. There are a few on the trans especially that could cut you so bad youd wish they didnt cut you so bad.

EDIT: Also Im thinking its going to a big chunk of time / money to get the body finished.

Dan

Stainless turbo water hardlines are done. Took a few hours but I managed to do them without a rev 2. Which is good because I literally had just enough tubing left.

Im not super in love with the 180 for the return but a banjo would sit too high I feel like.

Its hard to get in pics how they really look so I took a quick vid.

[video]https://youtu.be/bXrAjS4l0Nc[/video]

Dan

I like that 180 hard line because it matches the height of the braided one. you could always paint / powerdercoat / wrap it black if you want to make it disappear.

Yea, I dont mind that part of it, i just wish it didnt stick out the back so far. Funny, I had this bend and flare already done that I was trying to use for the fuel rail… i wonder if i COULD have cut it back more at the flare. You can really only do so much as the tube nut has to obviously be on before you flare and still leave room for the flare tool clamp. Ive trimmed tube nuts before to get them on further but meh

Since I swapped transmission I no longer needed the clutch cable hole in the firewall, so it had to go.

I also wanted to flatten the RHD column feature so Id have more room for a heat shield.

Both meant having to cut into the already primed firewall, but it had to be done.

Grind it out and make a template.

Bend up a piece and weld it in.

Same for the RHD column

Nice and flat compared to the LHD column bump you can see in the distance

Filled and sanded.

Finally primed.

And with that the engine bay is more or less ready for a final sand and paint. Im sure there are a few spots that might need a little going over but its prob 97% there.

I spent most of the rest of the weekend stripping the body back to just the shell, sorting and organizing parts, trying to fig out what needs what coating, and finding places to put everything.

Also started setting the “booth” back up so I can get cracking on the door jambs and quarter panels.

Dan

Small update.

I hated the white spring retainer on the hood latch so I turned a black one from ABS. Much better.

Sat am I dropped off a pile of parts to the powder coater. All these will be wrinkle black.

I was a little leery about them masking and blasting the fuel rail correctly so I decided to VHT wrinkle paint it instead. Was my first time working with it and it turned out great and should hold up.

Then I expoxy and 2k primed a few parts. Charge pipe, radiator trim panel and the pass fender.

Starting to look a little like a car.

Dan

I may have missed it along the way, but do you have a choice for exterior color selected yet?

I am so pumped to see the final product of this and it looks like it might be soon! I want to be left to the exterior styling choices :wink:

Porsche Slate Grey.

Engine bay is going to be Audi Silver

Motor / trans and some other parts the Slate Grey.

This is really impressive and awesome work. I’d love to see this in person some day when it is all complete. Keep it up and good luck with the rest!

Second color in the bay for contrast to matching motor/trans parts? I have been seeing a lot of that lately, or just some goofy color which really makes no sense to me.

It’s funny because I was thinking how awesome a charcoal/dark grey would look on something like this. Especially if you polished the metal bits like the valve cover, catch can, etc.

Maybe soon I can just get my own MK1 to have all this fun with, who knows.

Nothing will be polished. Ever.

Hey, different strokes.

I feel the same way about black wheels.

Decided I didnt like the oil drain for a number of reasons, so I decided to make a new one. I wanted to try and do it all stainless without any rubber tube.

Started scouring the internet and discovered a flexible stainless oil drain tube for cummins diesels. Picked one up for $40 figuring I could mod it to my needs.

I didnt get a pic of it, but it started off life like sorta like this

First the turbo flange was too large, so I welded up a new one out of two pieces of 3/16 ss plate. I only used two pieces as I had it and didnt want to attempt to bore ss for the tube connection.

After cutting the flange off of the flex tube I brazed it on with silver solder. This was a challenge as I had to preheat the flange since it was so much thicker than the tube (tube was like 0.010" wall), then set the tube in place and then continue to heat and add the silver. In the end it turned out great. Obv I smoothed out the edges of the flange at this point also.

Flux cleaned off and wire brushed. I was very pleased at how well this turned out.

Flange sanded flat

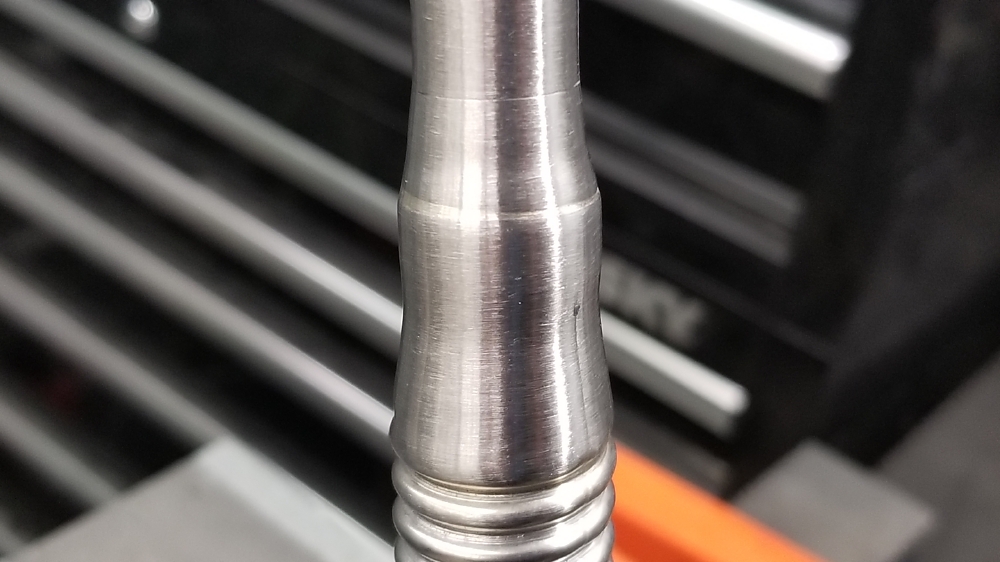
Then, since the hose was too short (on purpose) I needed to add a straight section to it. For this I used a section of 5/8" 0.030" wall stainless that I swedged the end of to fit in the end of the flex section. This was then also brazed together. This was much easier with the materials a more similar size.

Cleaned up.

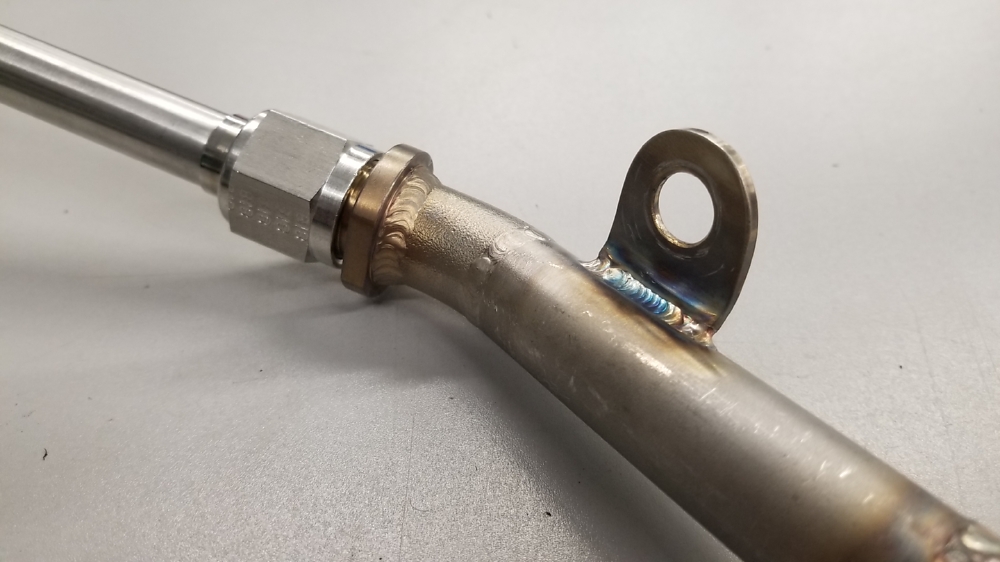
Skipping a few steps here, but I welded up a few 1/2" schedule 10 bends to attach to the pan and extend up over the axle and added a mounting tab for the block.

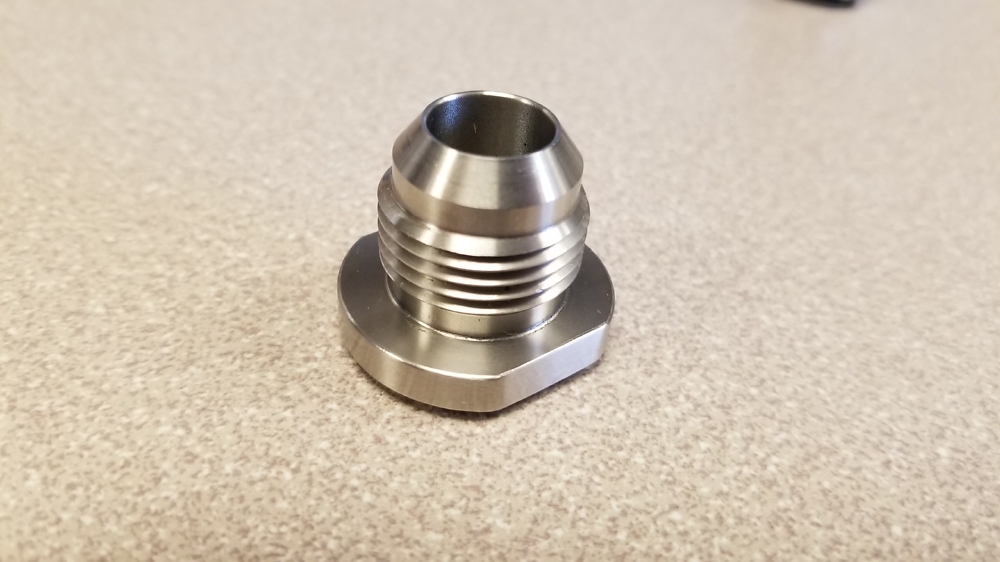
Machined wrench flats to the male bung

Close up ish of the tube assy, the end will weld to the pan.

The straight section attaches to the pan section with a tube nut / sleeve -10 connection.

Finally, the whole assy in place.

About all thats left is to weld the S bend to the oil pan once i pull it off and get it cleaned up.

http://www.clubhousecustoms.com/gallery2/d/18203-1/20180320_205052_resized.jpg

Dan

      • Updated - - -

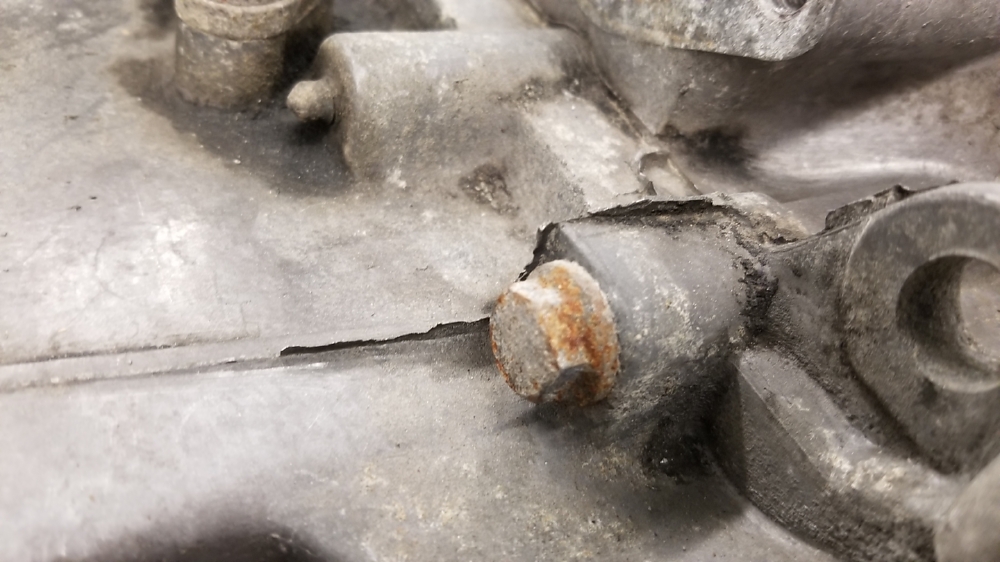
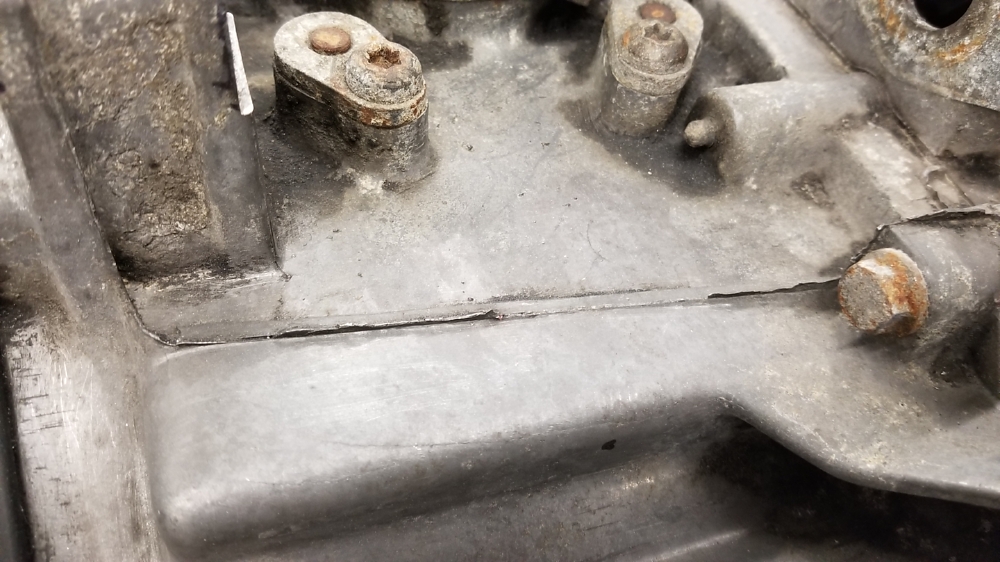
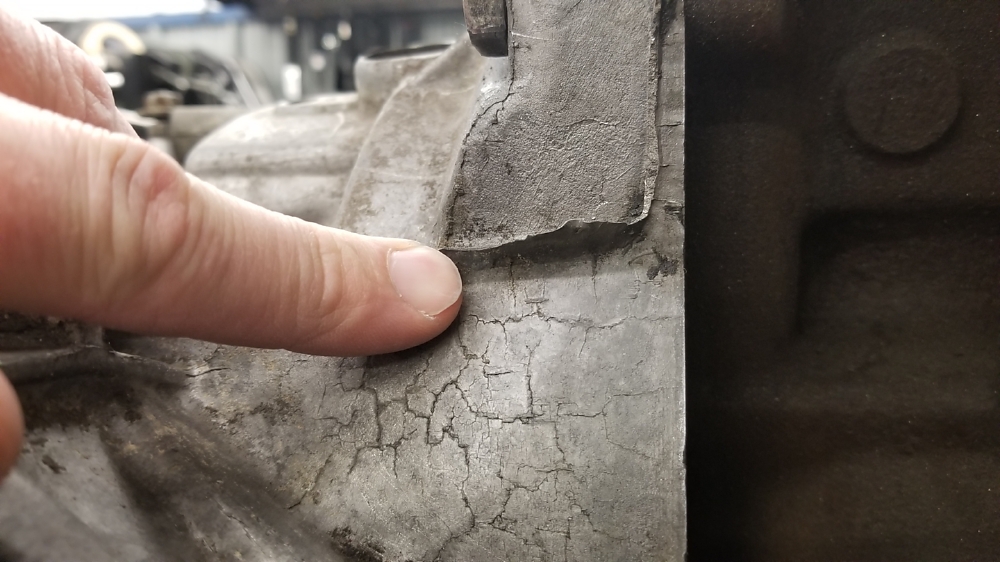
Started smoothing mold lines on the trans. Some of them were just stupid bad…like they could cut you so bad youd wish they didnt cut you so bad.

Still a bit left to do, but its a huge improvement for just two hours of work so far.

http://www.clubhousecustoms.com/gallery2/d/18209-1/20180320_215204_resized.jpg

Dan

love ittttttttttttttttt

Thanks! I was a bit behind on updates. This gets me caught up.

Hopefully Ill get back to progress next week now that the Allroad is gone