VW Cabriolet Project for the wifey

So Ive been making lots of progress, but my old gallery is no longer supported by my host so I havent uploaded anything new in months.

I just setup piwigo which my host supports. Im going to start uploading months of pics and should have some updates soon-ish.

Dan

2 Likes

Got the inner doors all blocked out, primed,blocked again, and painted.

Then I had a bunch of parts nickel plated

Door switches pulled apart prior

Luckily the nylon window slider bits are ok in the nickel tanks

Then I painted the doors and fenders and bad things happened. We think that somehow the paint went bad, still not positive but the color was

WAY off. a month later I tried everything I could to get back to the original color (pressure, flow , wet / dry) and nothing worked. So I had

to buy some new paint and it matches perfect. More on that to come.

And the resulting disaster. Notice the color of the quarter which was painted months before

So had to wet sand them down.

That gets us caught up through august and early september.

Dan

Next up I spent about 50 hours stripping and repairing the plastics.

Everything had multiple layers of paint, it totally sucked to strip bare.

Eventually after about 40 sheets of DA paper and lots of careful work with a blue belt on the dynabrade I had them all stripped.

I ended up just scuffing this area

Next it was time to fill what was left of the cutouts from the tow hook. If you’re playing along at home I removed the cetner “flap” of the

rear bumper to allow a better look at the underside of the car, and I want to make a small diffuser someday.

Started with this

The edge of the area was chamfered and a piece of the flap I removed was cut as a filler piece.

Another piece was used as a backup and to ensure the edge of the bumper was a consistent thickness.

Hot wire staples were used to mechanically secure the filler pieces

And on the other end

And then everything was panel bonded in place

Not bad for a first pass blocked out and obvious the edges trimmed up to match the curve of bumpers edge and tapered into the vertical section

This end was a bit wavy so I did a larger layer over the whole area to block out

The backside pieces were bonded in and smoothed out as well

Finally a thin coat of glaze was added to tidy up some scratches and the areas filled in.

Fully stripped and ready for primer

I also had a small tear in one of the flares (no before pic)

And with all that sorted I applied a coat of adhesion promoter and 2k primer.

What cutouts

And then sanded

Which brings us to late october.

Dan

That’s wild. I have a can of paint for my Z that’s probably 10+ years old and I open it from time to time to touch up small areas. It’s always looked the same to me. But maybe it’s missing some sort of additive.

Yea. I was storing it with a spring top pour spout, like theyd have on the giant mixing system. So maybe because it wasnt sealed tight, and its two years old?

My buddy used to be a rep for this paint line and wasnt really sure what it could be exactly. He thought maybe just one of the toners went bad, or one was absorbed by another.

:man_shrugging:

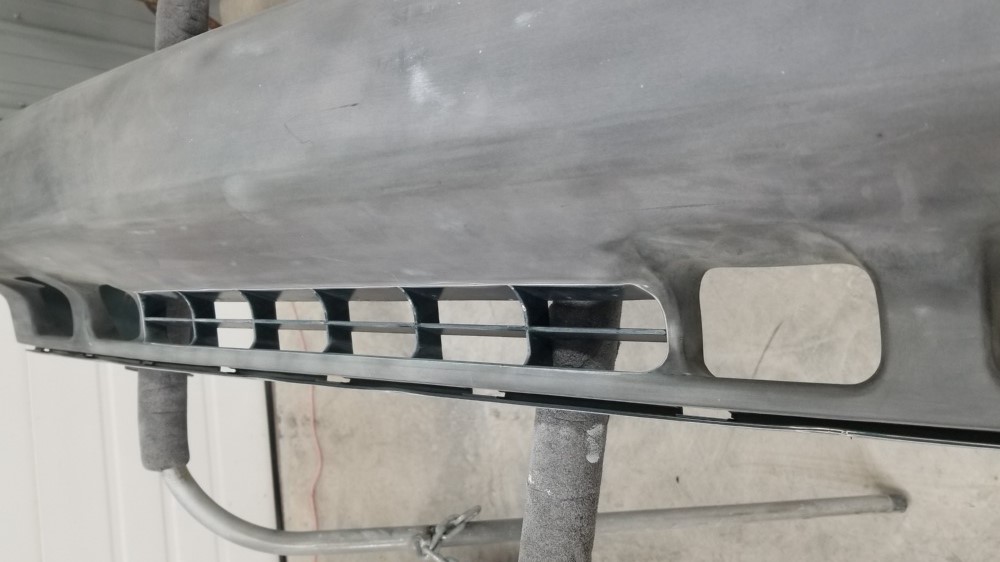
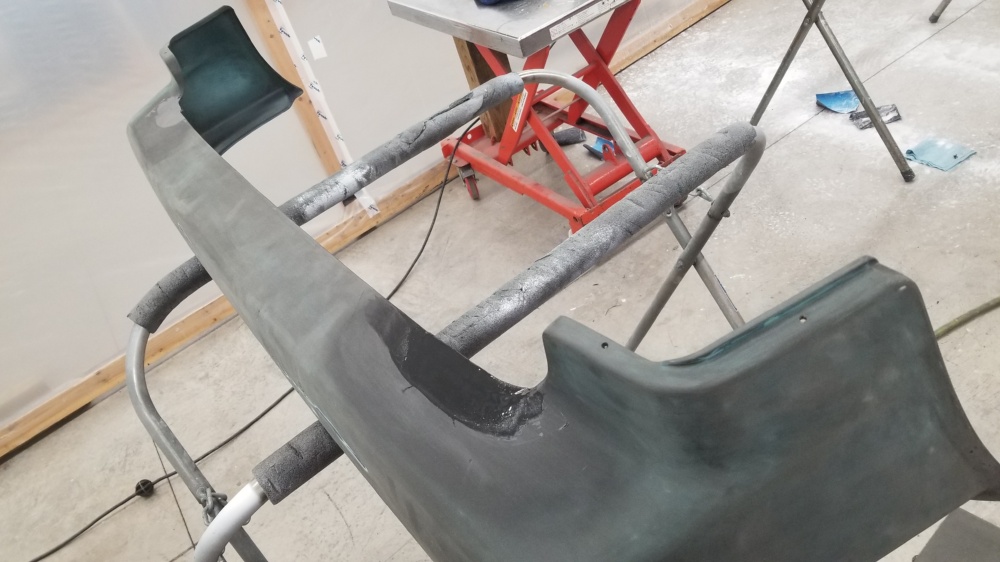
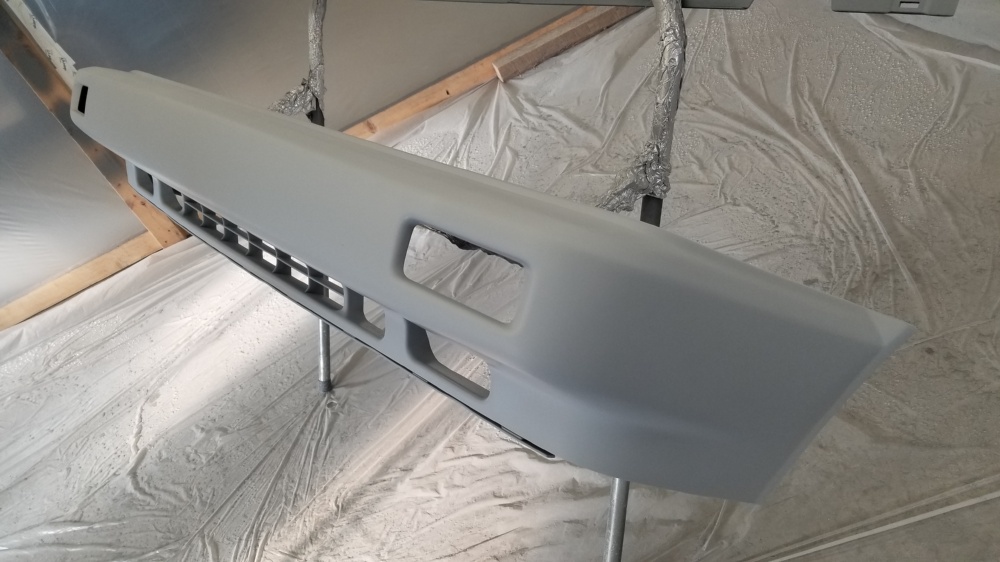
Up next was modifying the Reiger lip I bought forever ago and skinning it with carbon fiber.

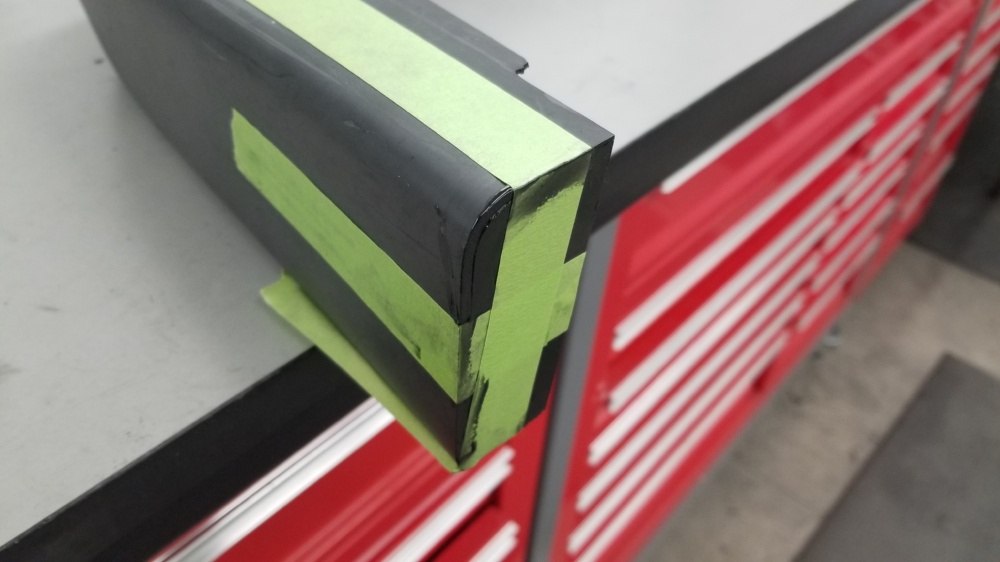
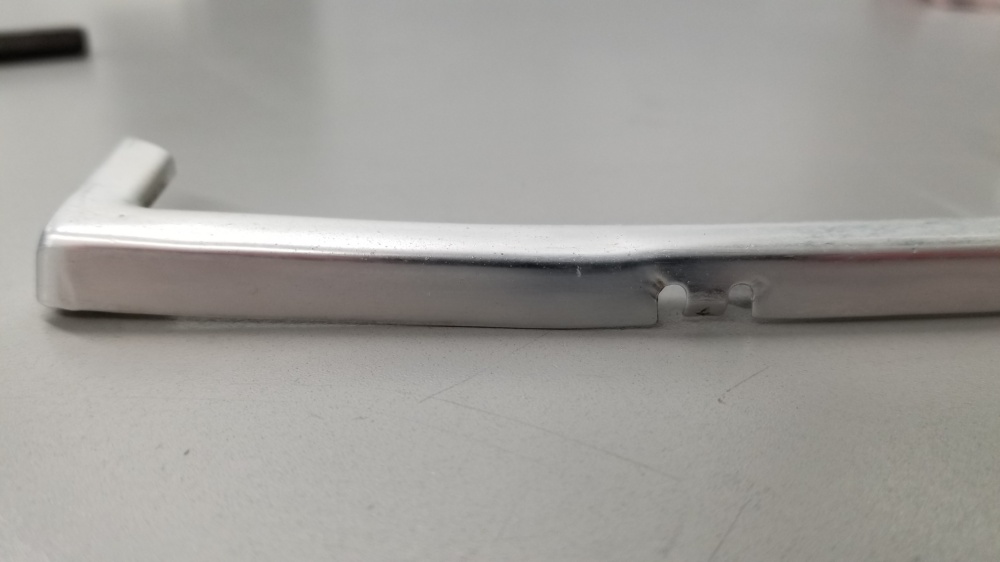
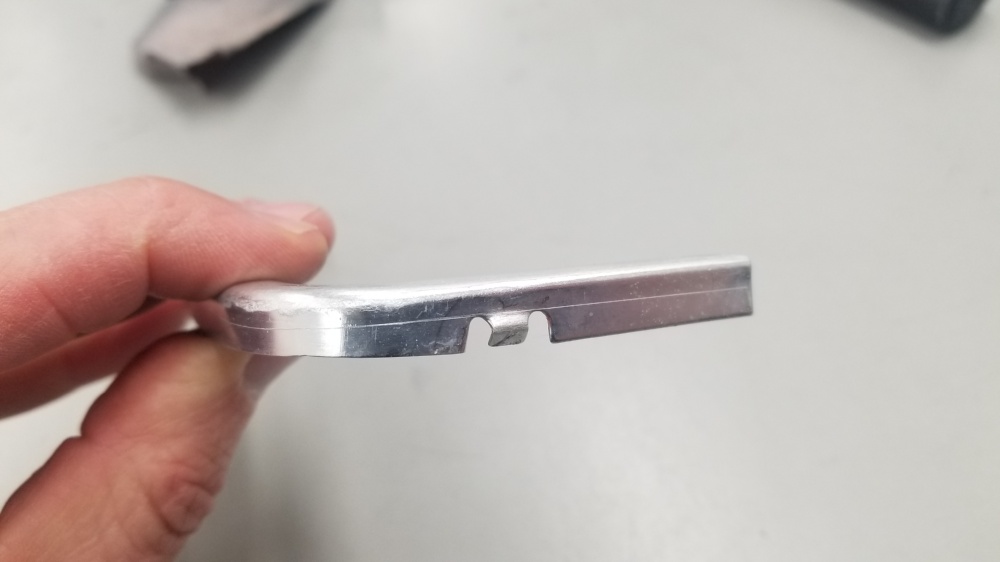
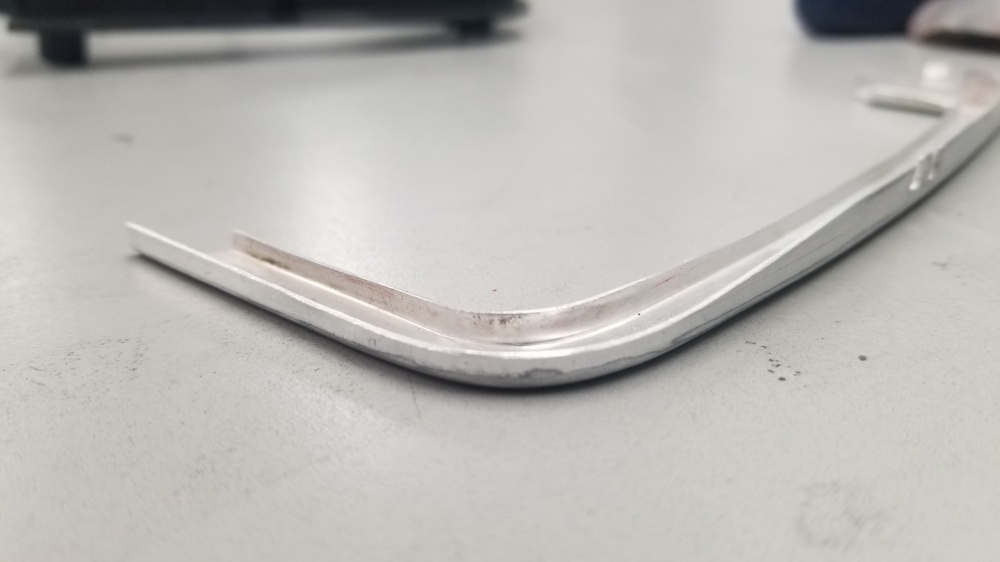
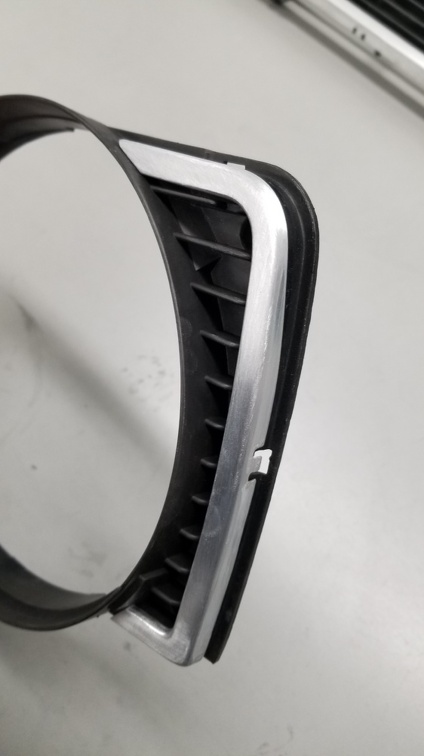
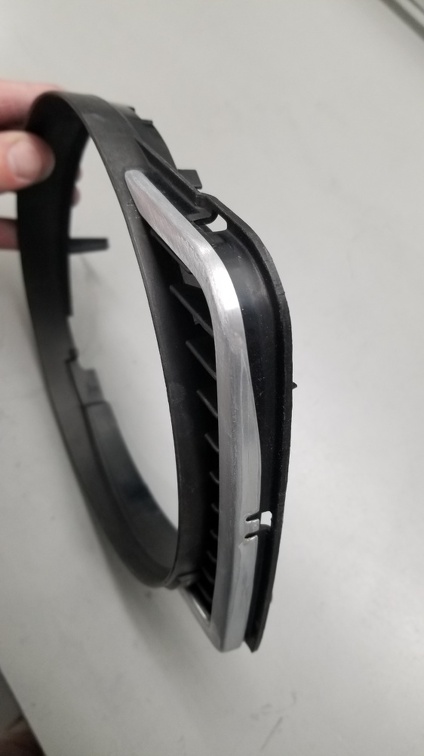
First step was to cap the ends because its how it should have been. I had to trim the excess at the ends to match the inner arc of the wheel

opening on the bumper (not shown).

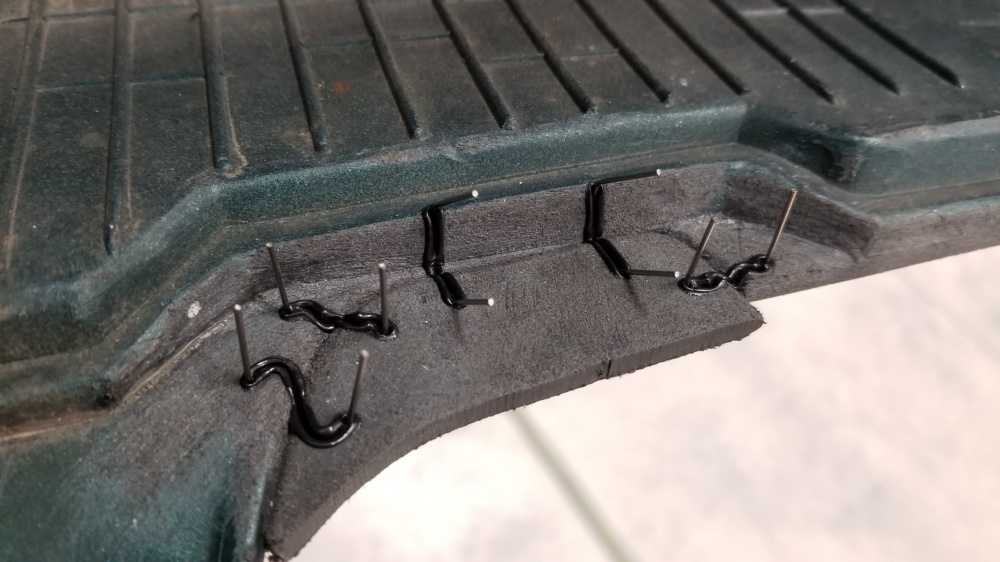
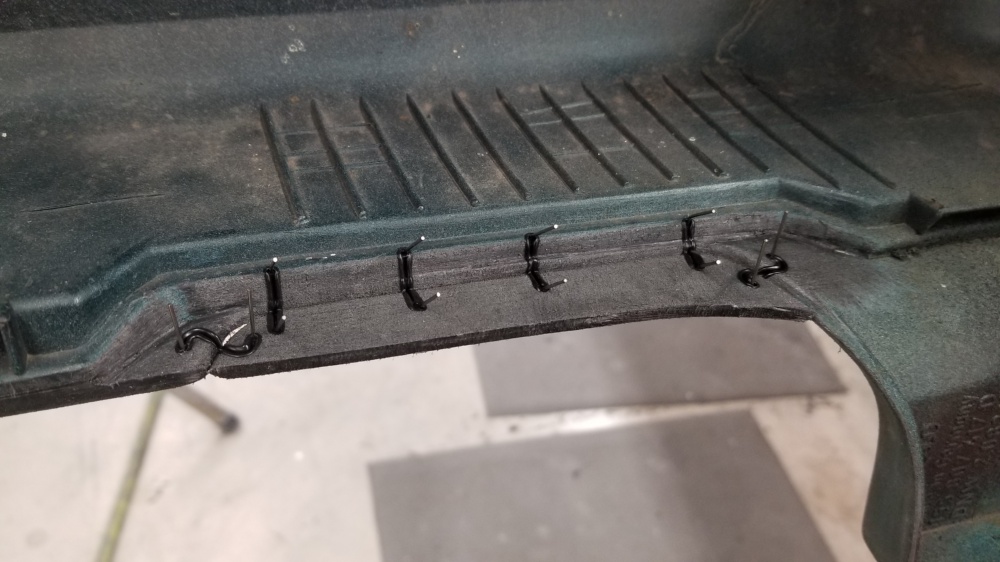
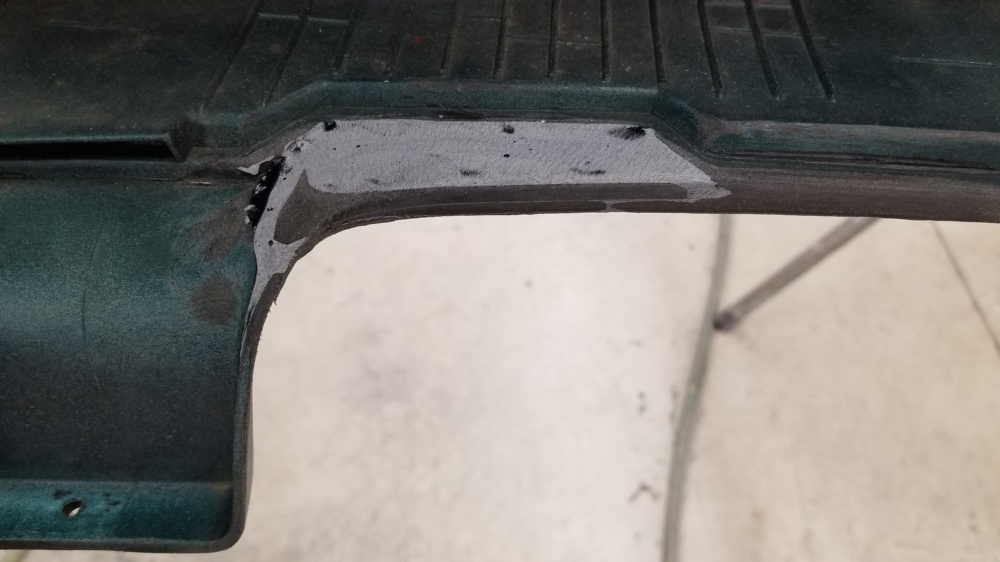
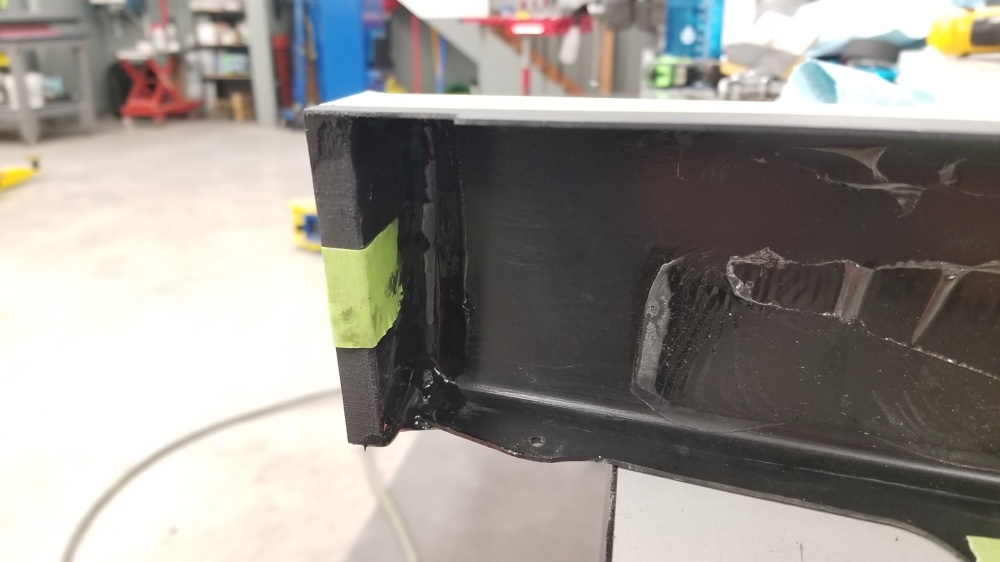
Then I cut out some 3/8" thick ABS panels to cap the ends.

And bonded them in place

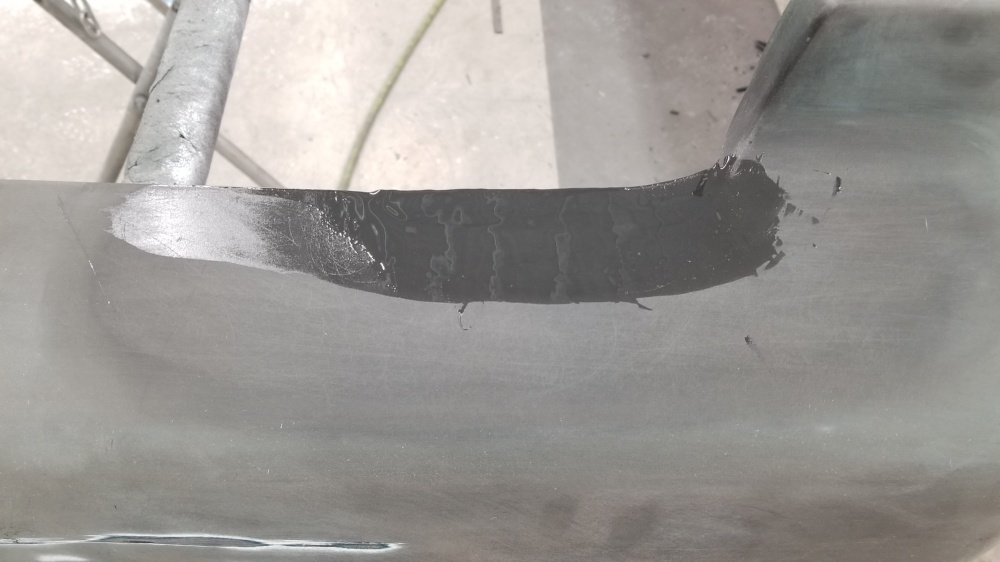
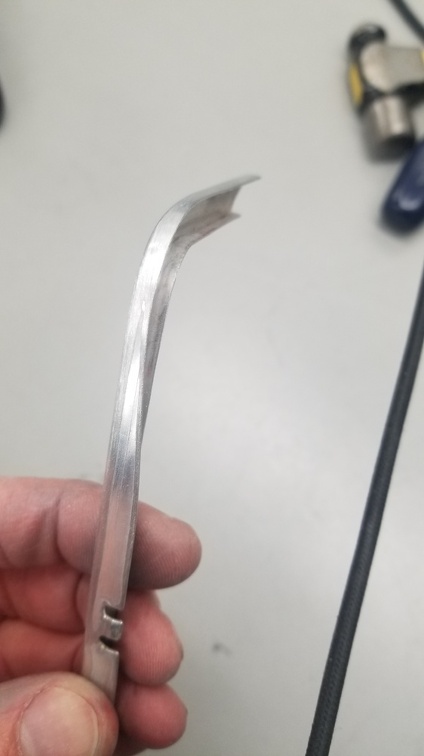
Once dry I sanded them with a nice bevel all around.

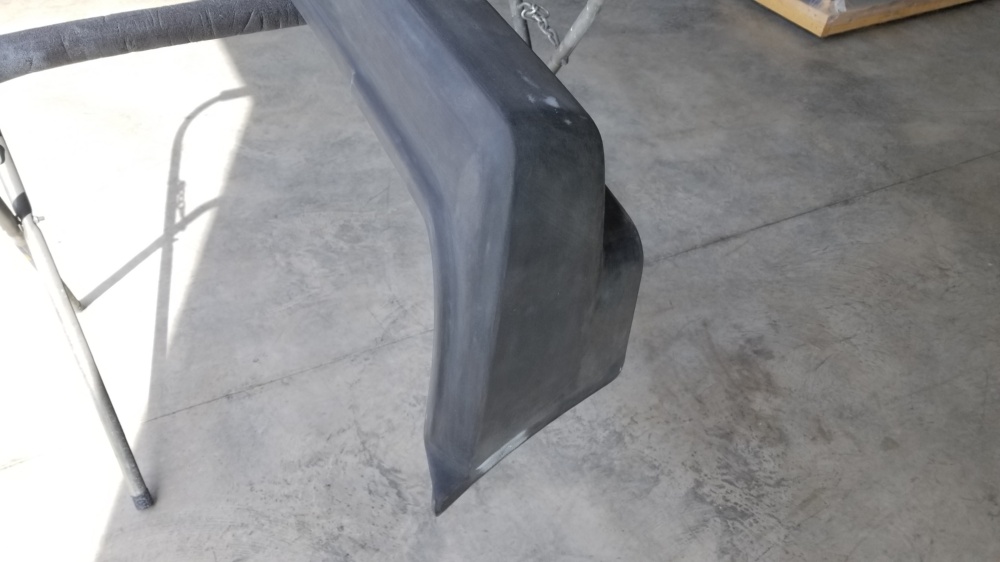
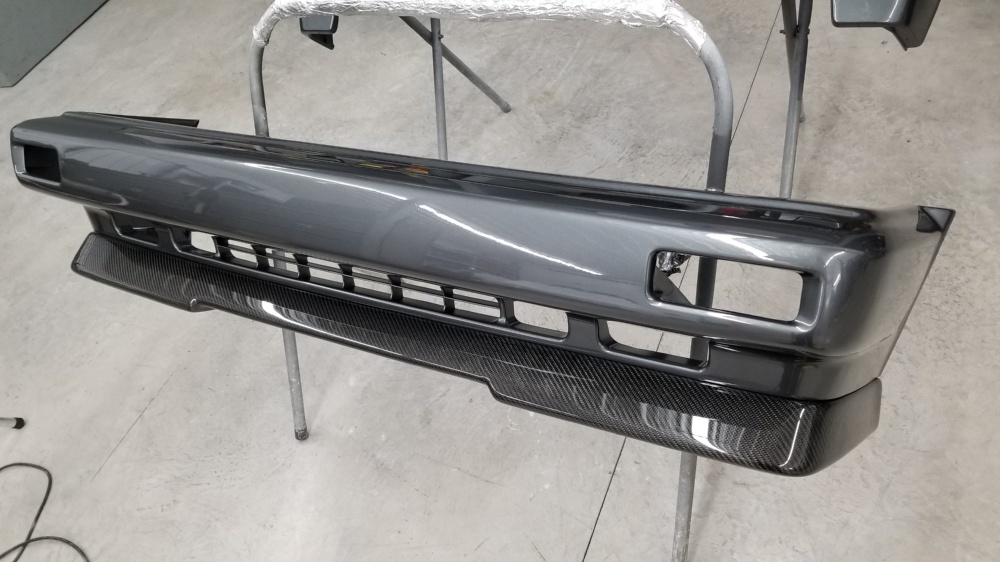
With that sorted and trimmed up nicer than Reiger could bother it was time for the carbon skinning.

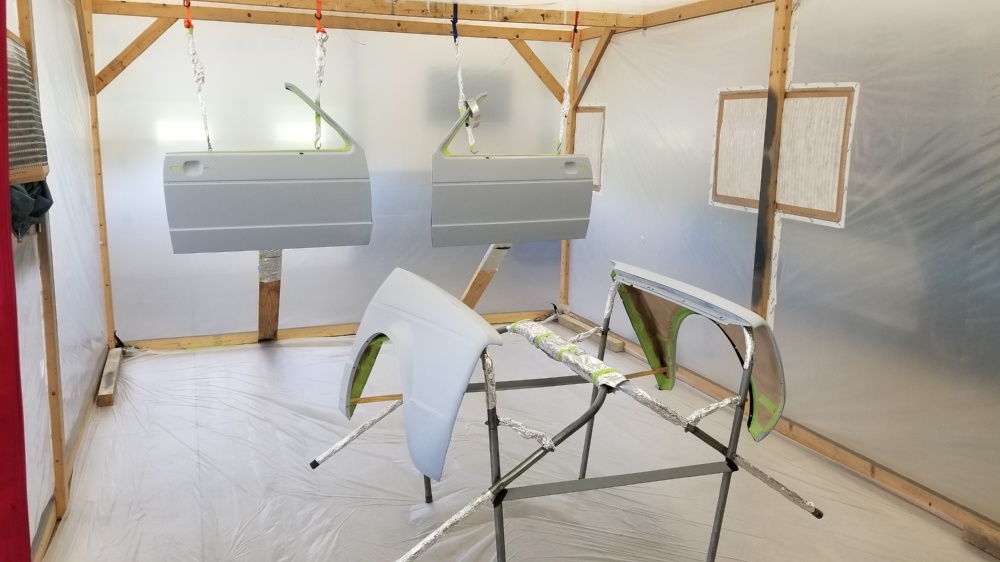
First I needed to make a warm box for it to cure in as I only keep the shop 56 in the winter, and the resin needs 80 degrees to cure

correctly.

I grabbed a few sheets of 1/2" foil foam and a small 1500W $25 electric heater from lowes.

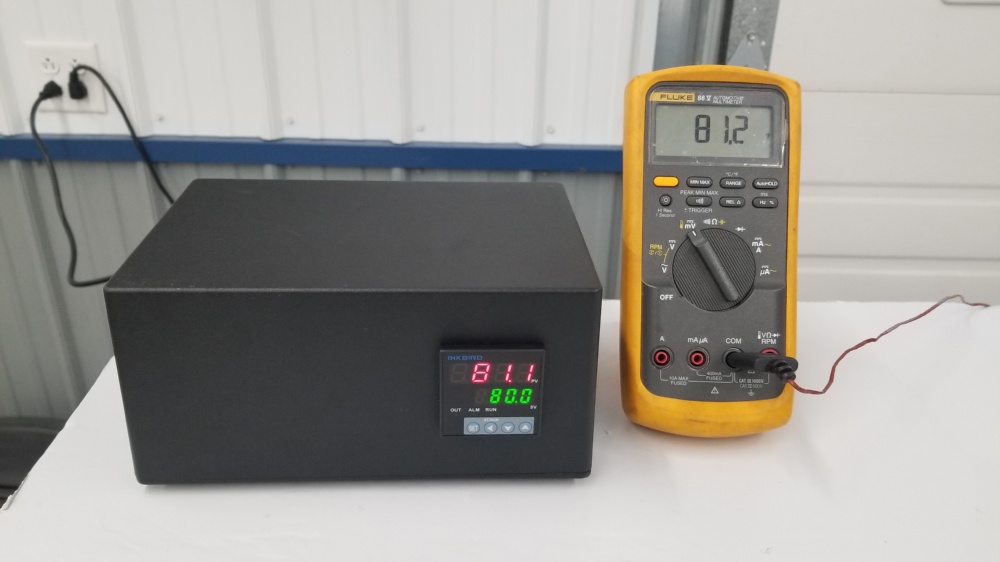
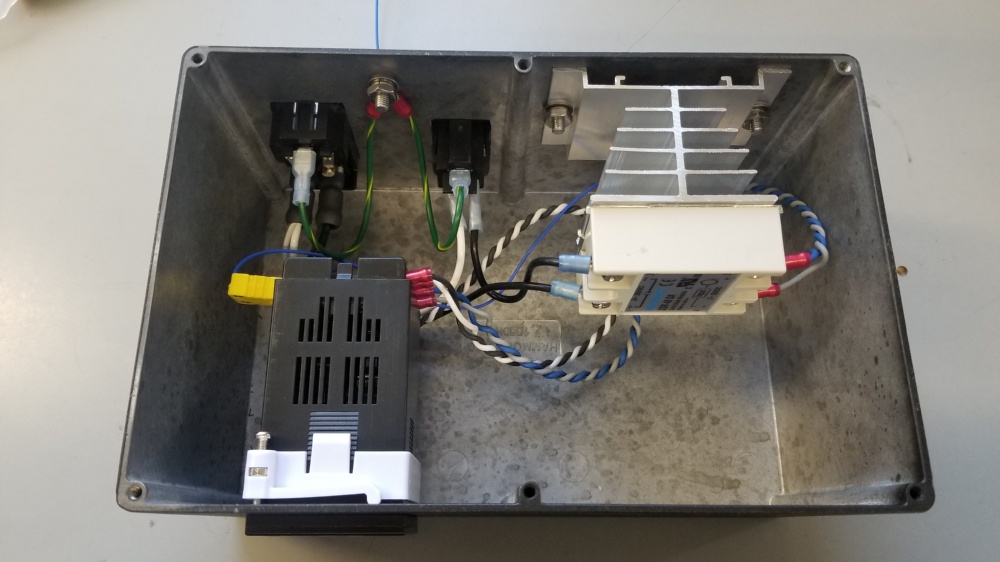
To keep the temperature in check I built this little PID control box with a 40A SSR.

Here is the taped up box wit the heater and PID box. Also made a little 2x4 rack to hold the lip during the skinning process.

Now for the acutal skinning.

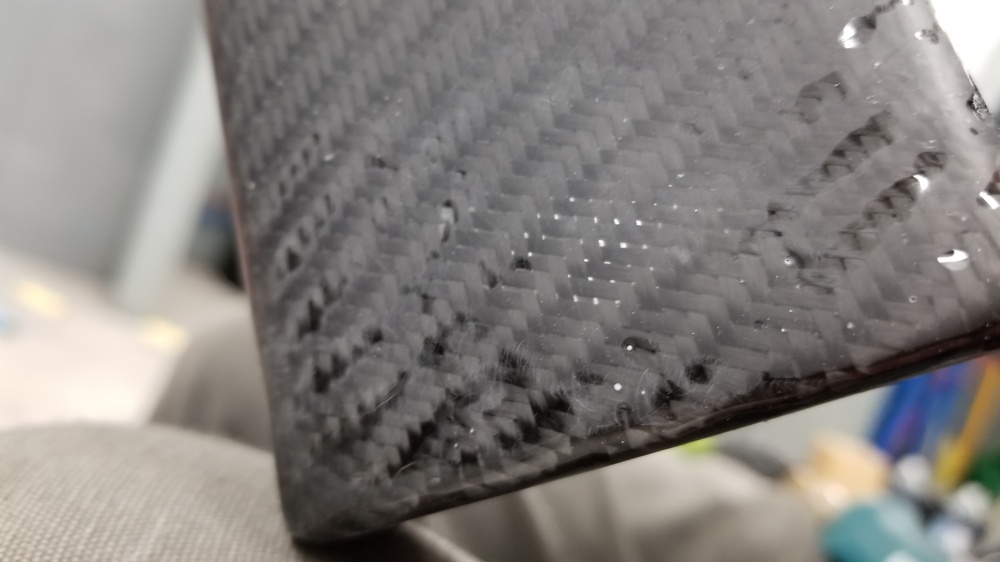
First a layer of resin is applied and at just the right tackyness the CF fabric is stuck in place.

Then several coats of resin are applied on top.

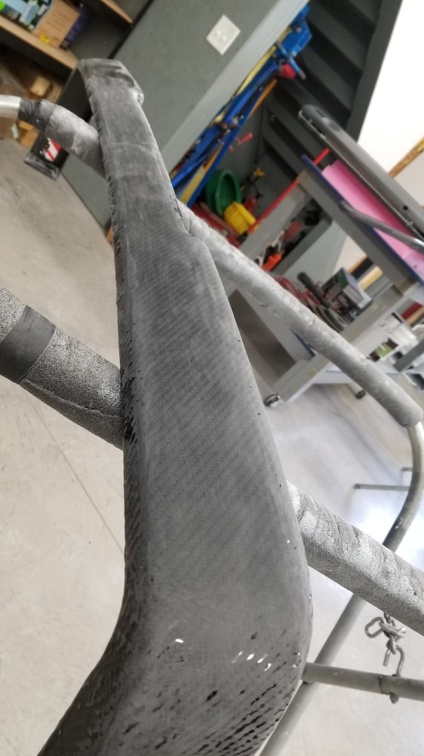
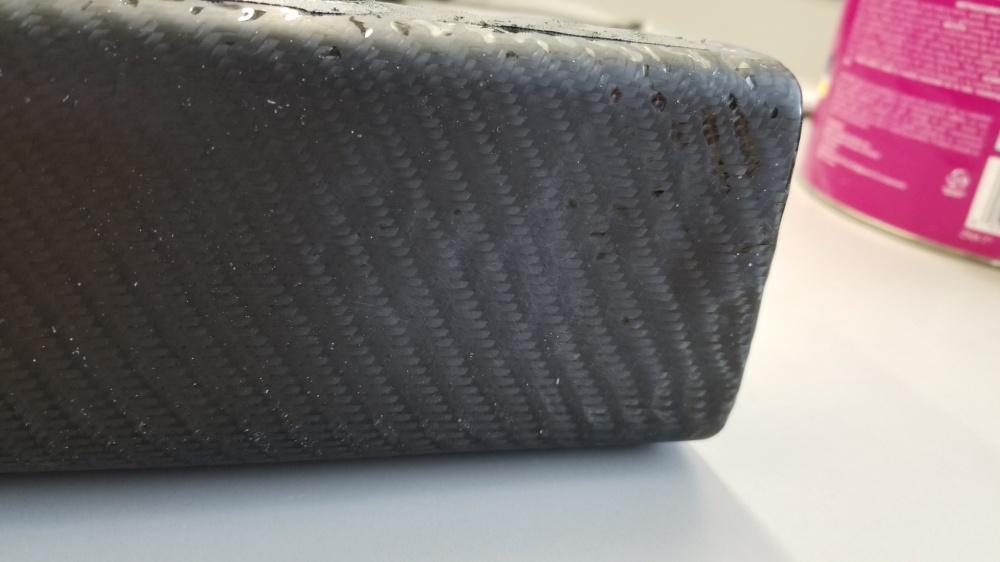
Here we are a few coats later, and the back edges trimmed up.

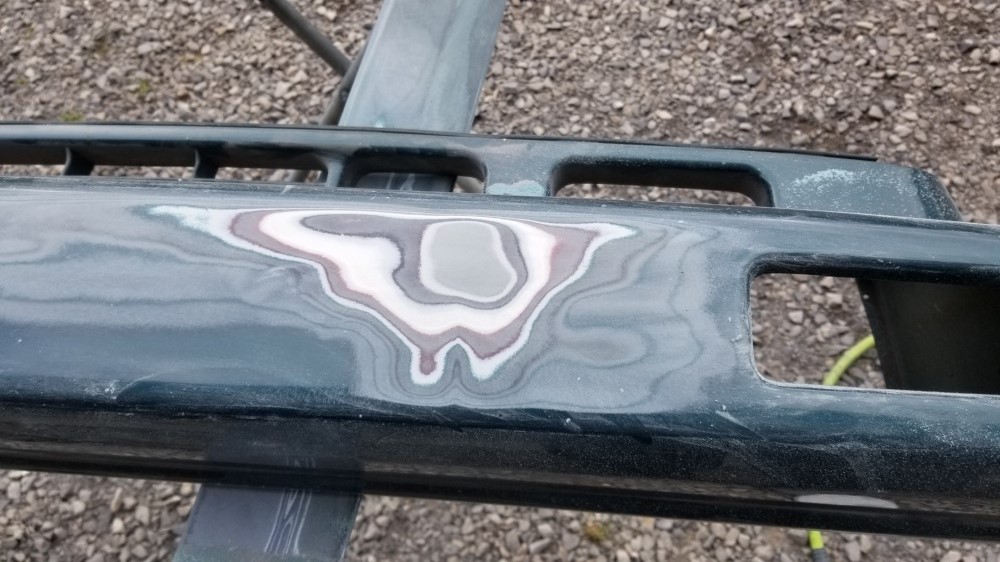
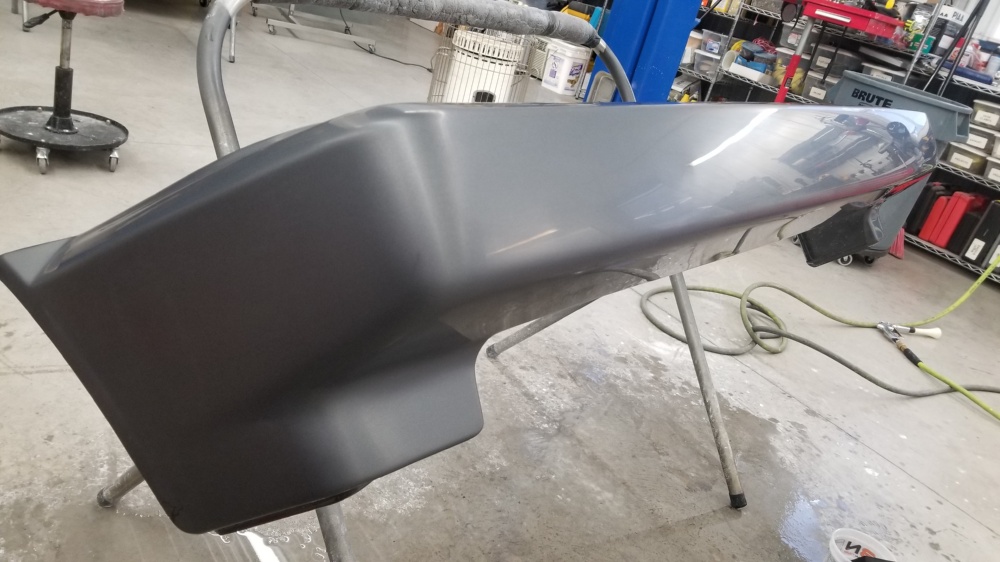
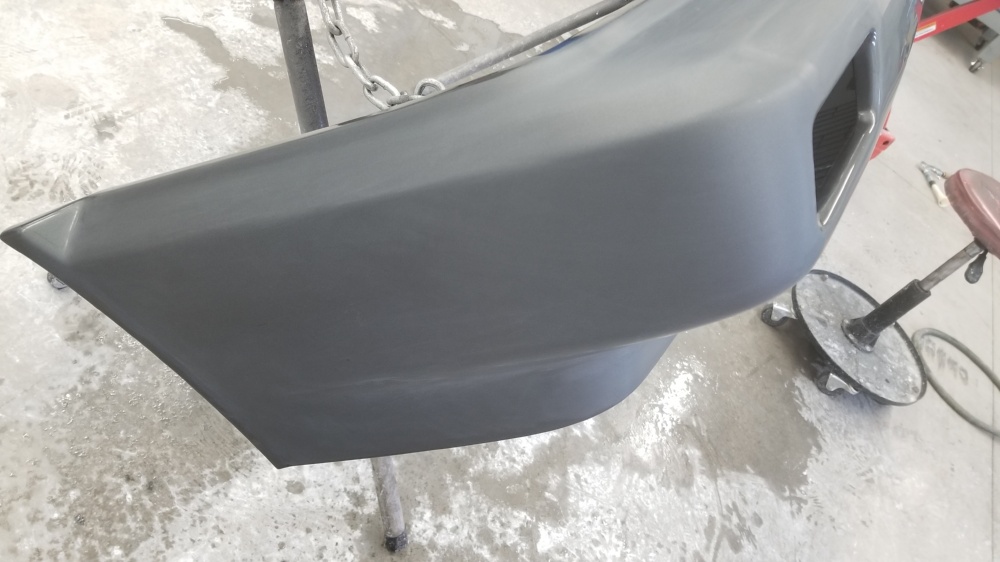
And then sanded the first 3 coats of resin flat.

Here we are mid process

And sanded out

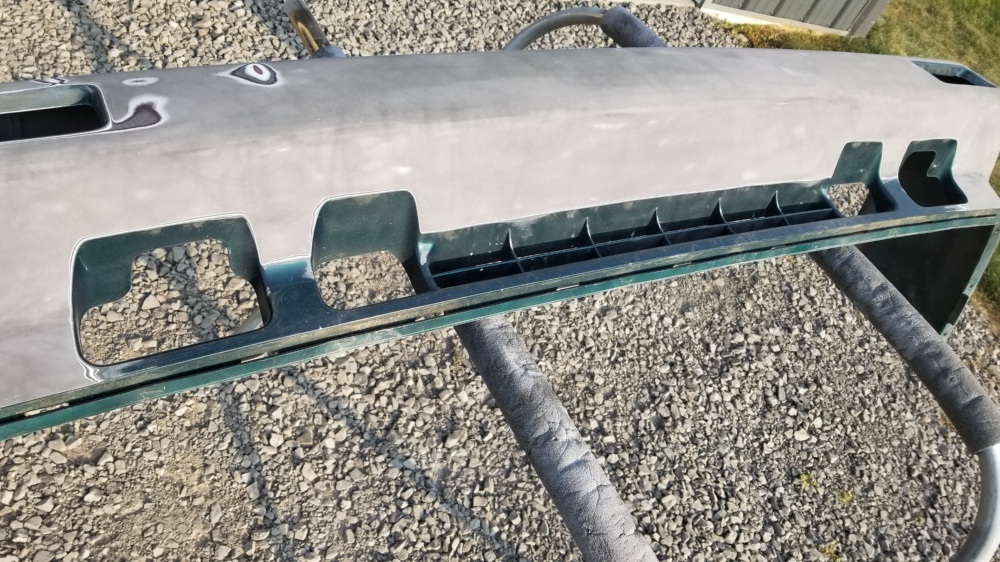
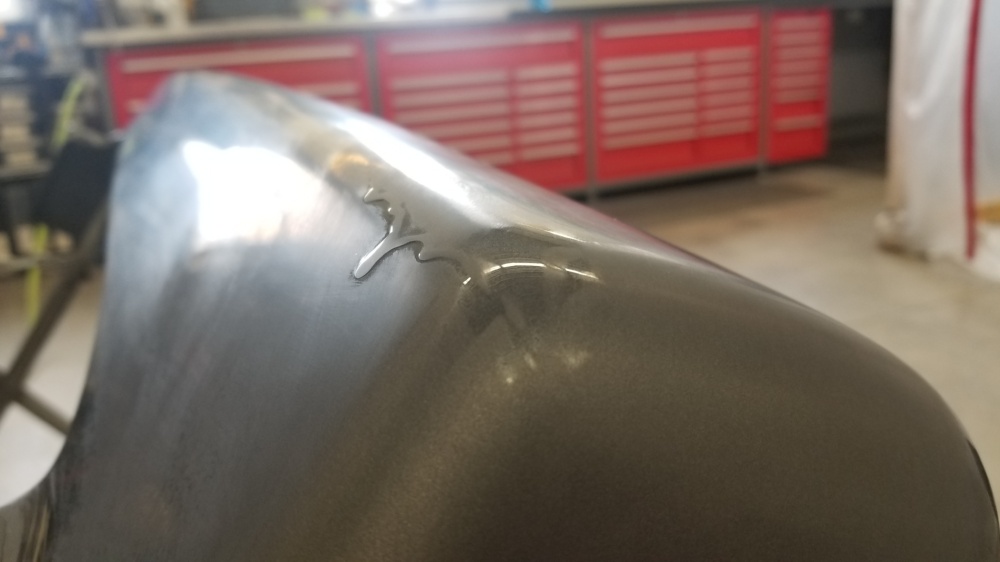
During this process i noted there was a pocket where the CF didnt stick to the abs.In order to fill this I ground out the back side and poured in some black tinted resin.

It worked perfectly.

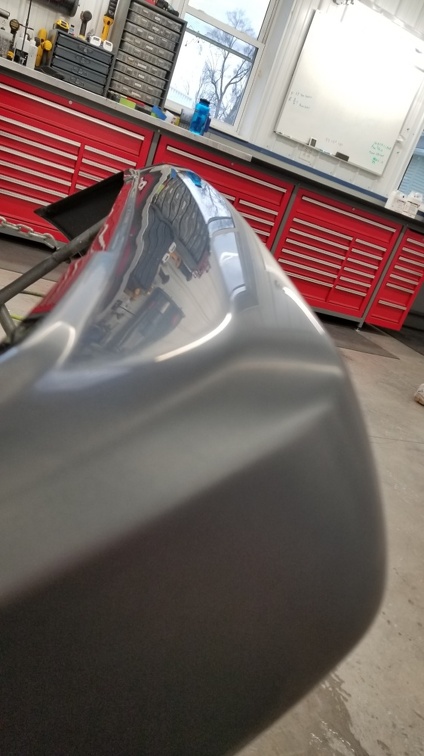
With that sorted I applied a final coat of resin.

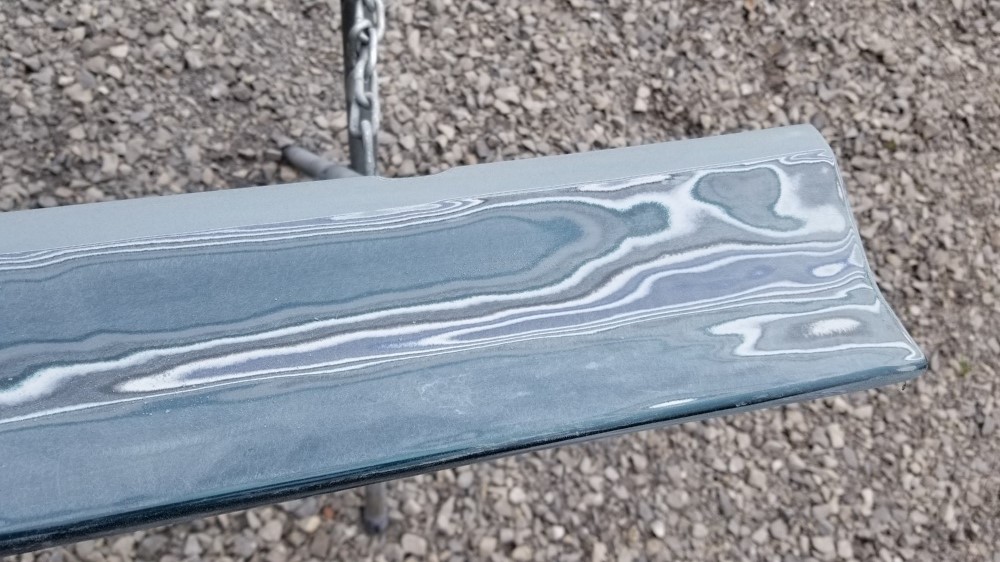
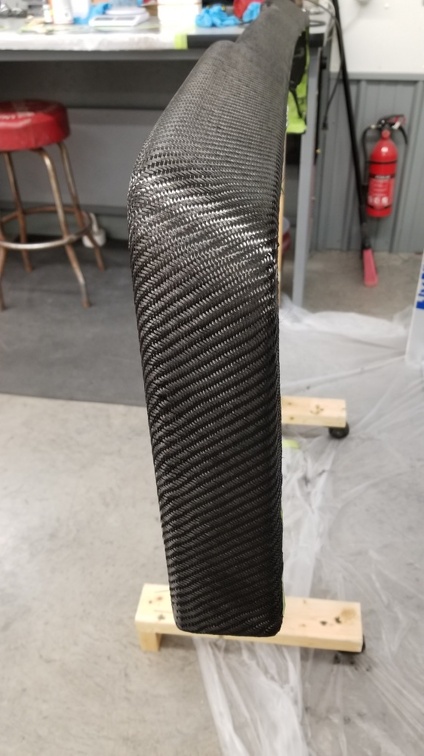
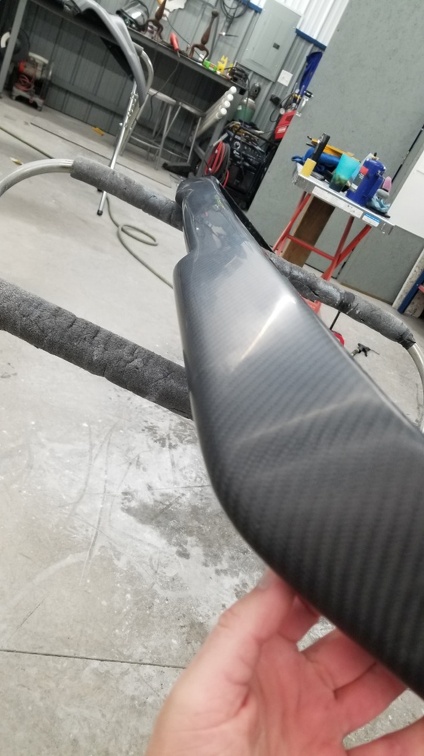
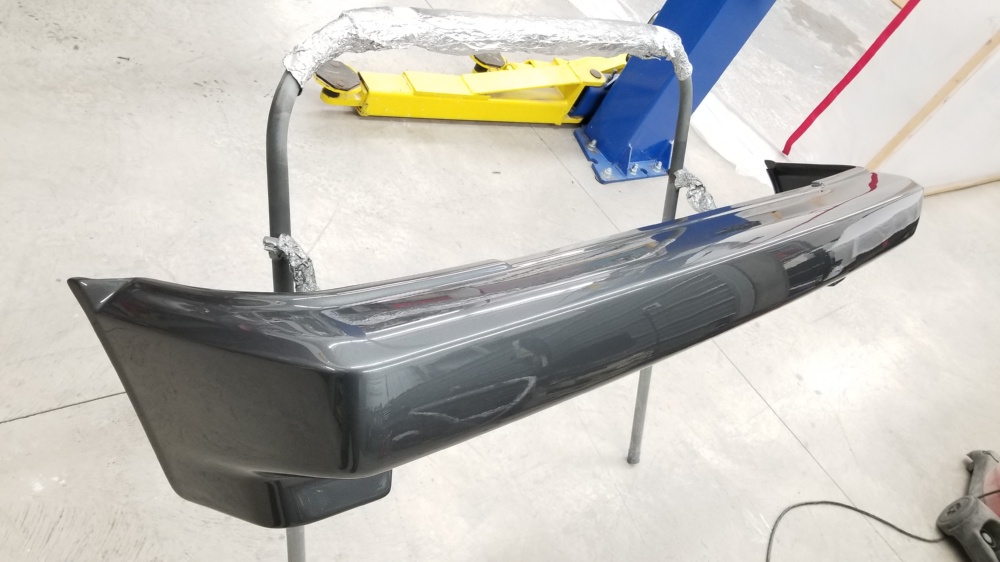
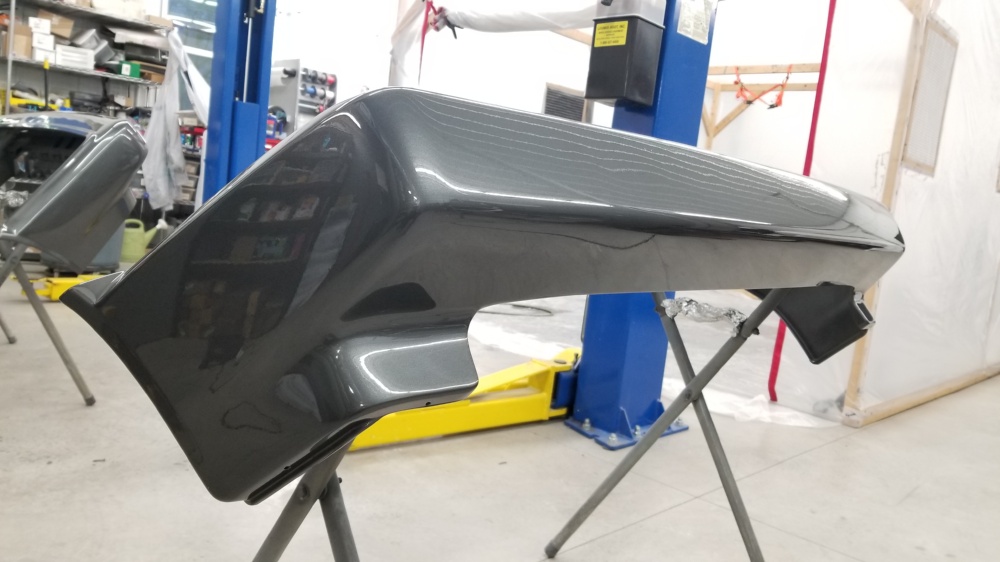
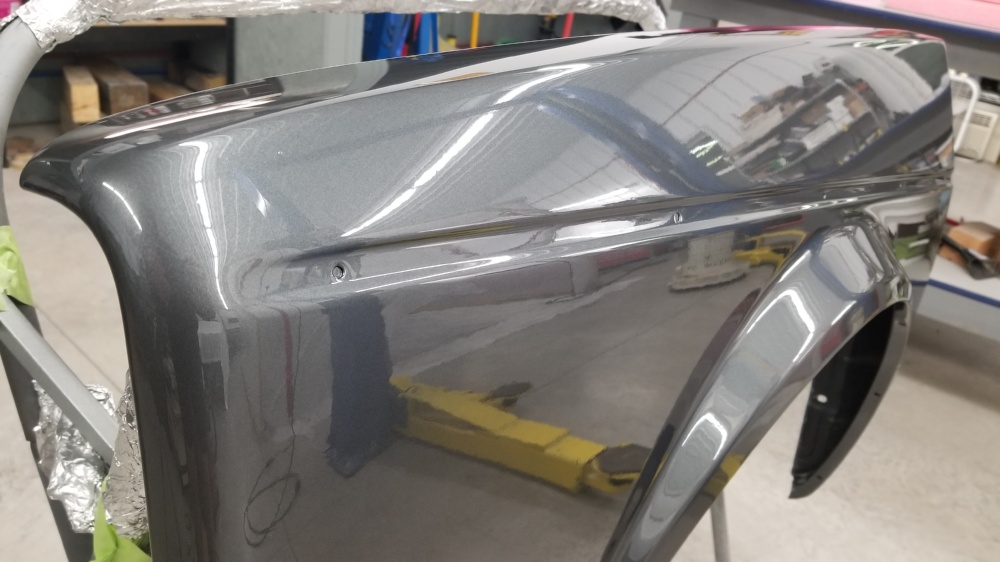
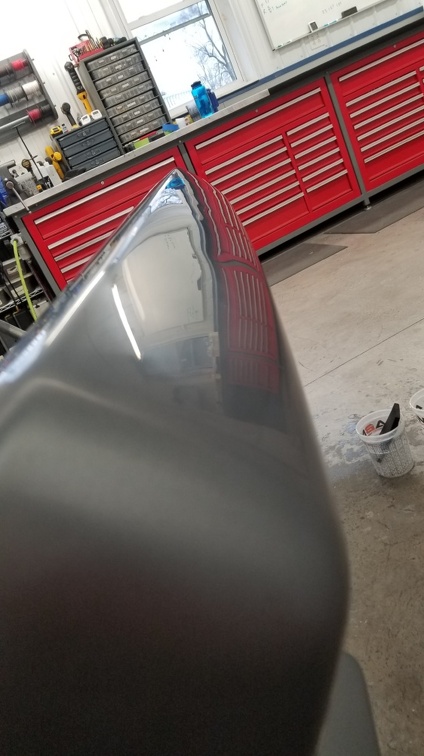
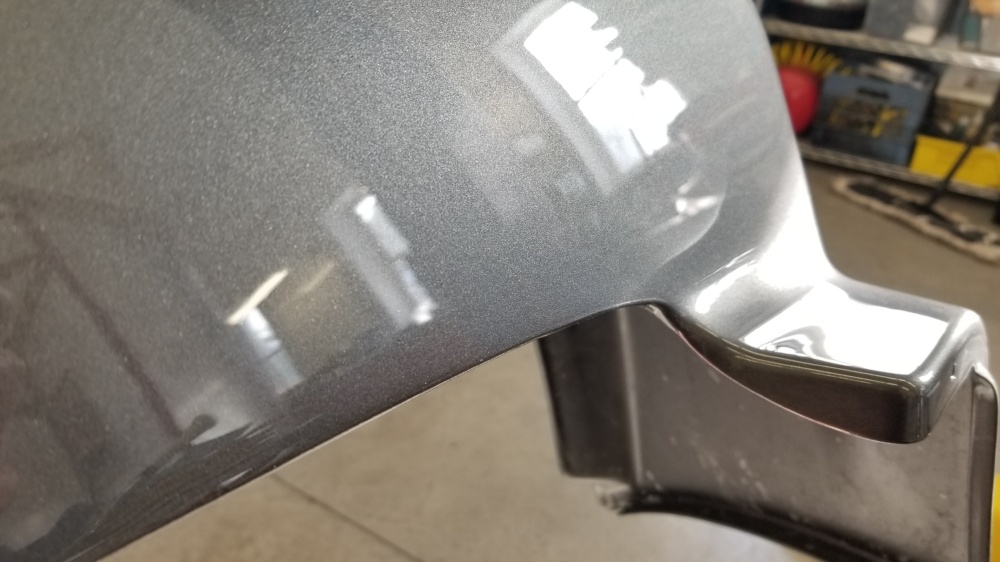
Then this was sanded flat to 800 grit, and then the clear coated the same as the car
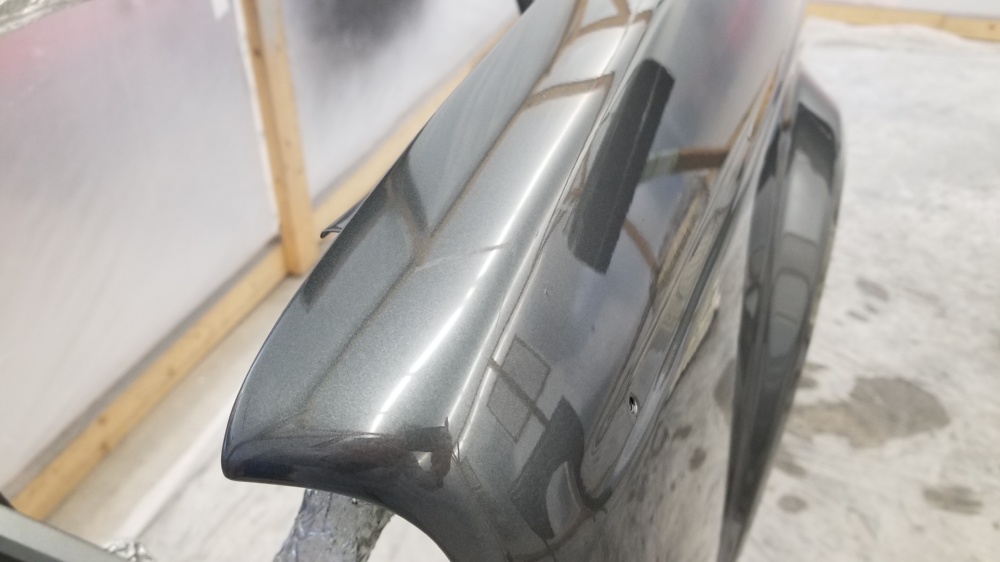
Right off the gun

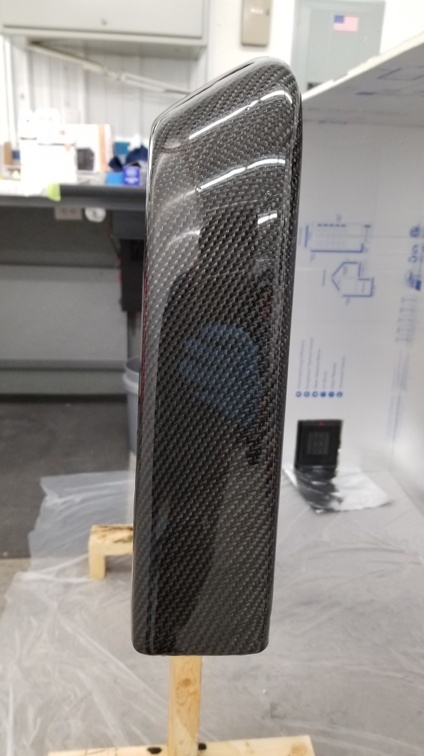
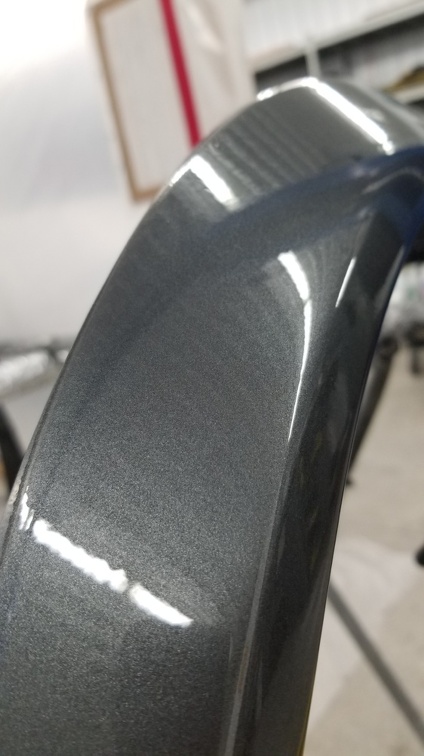
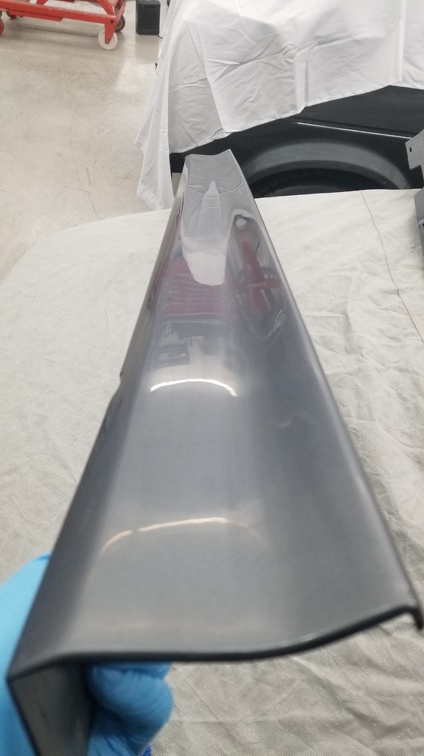
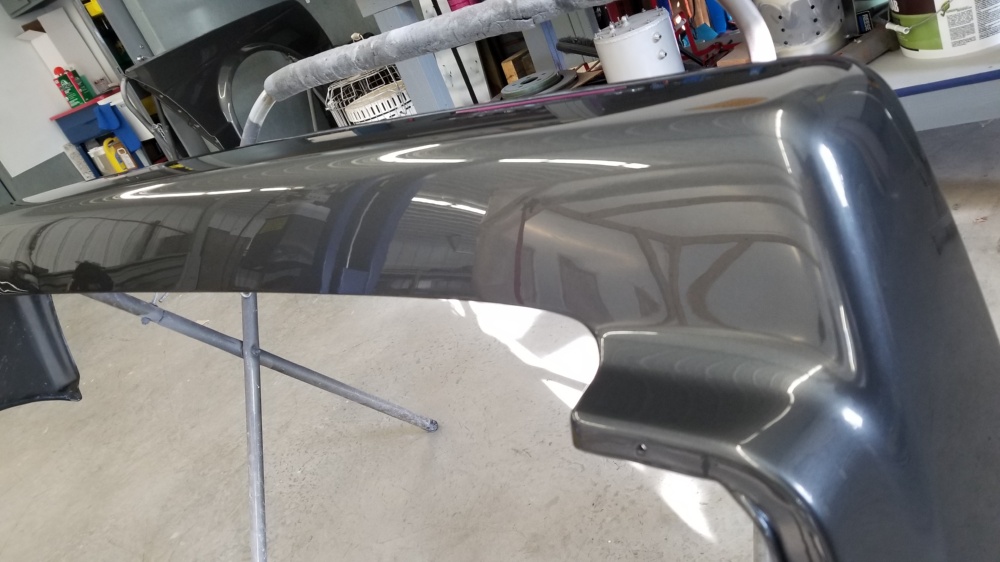
And then this was again sanded flat to 2000 grit and buffed. For this I used my 3" Rupes with a microfiber pad with Meguiars 105 and polished with a white foam pad and Megs 205
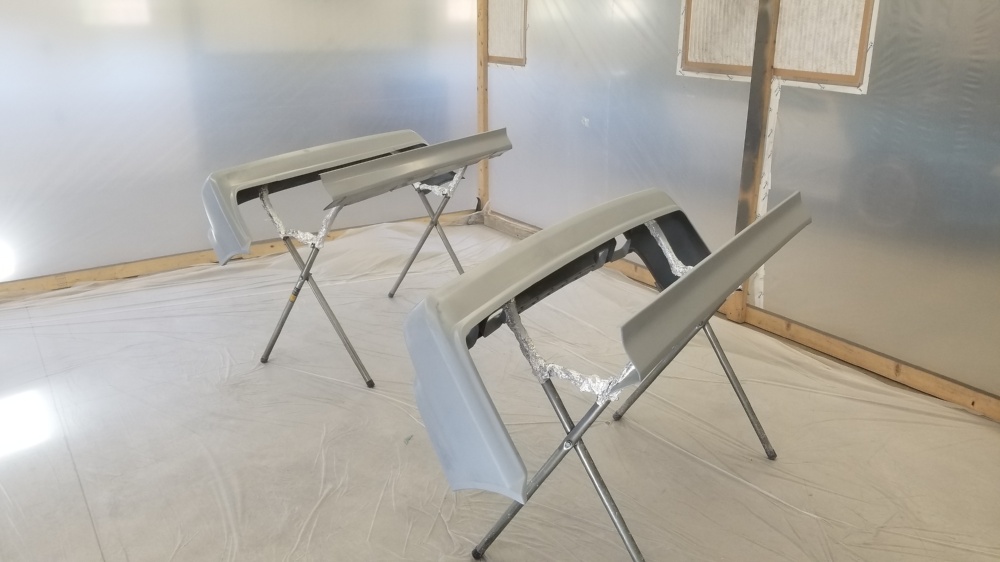
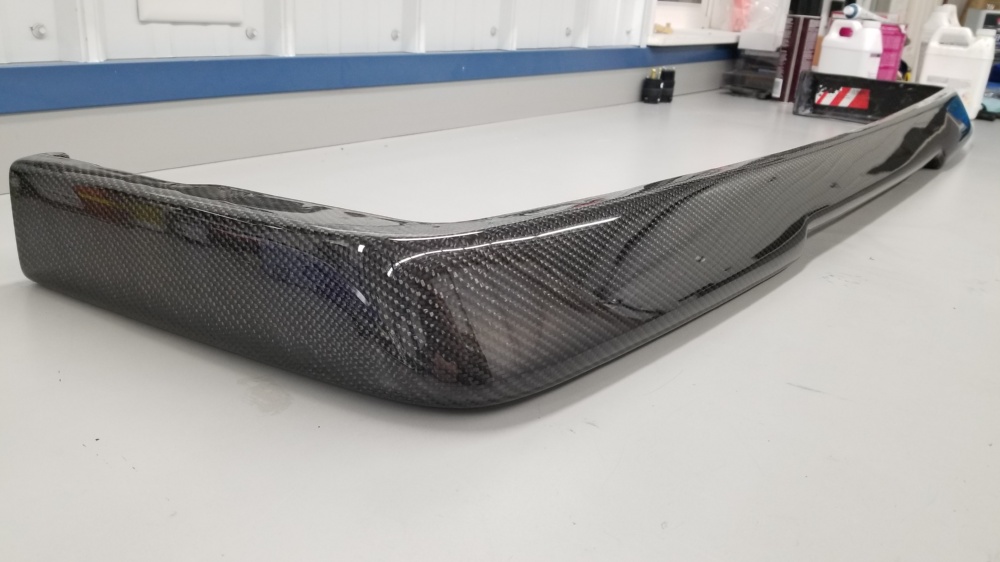
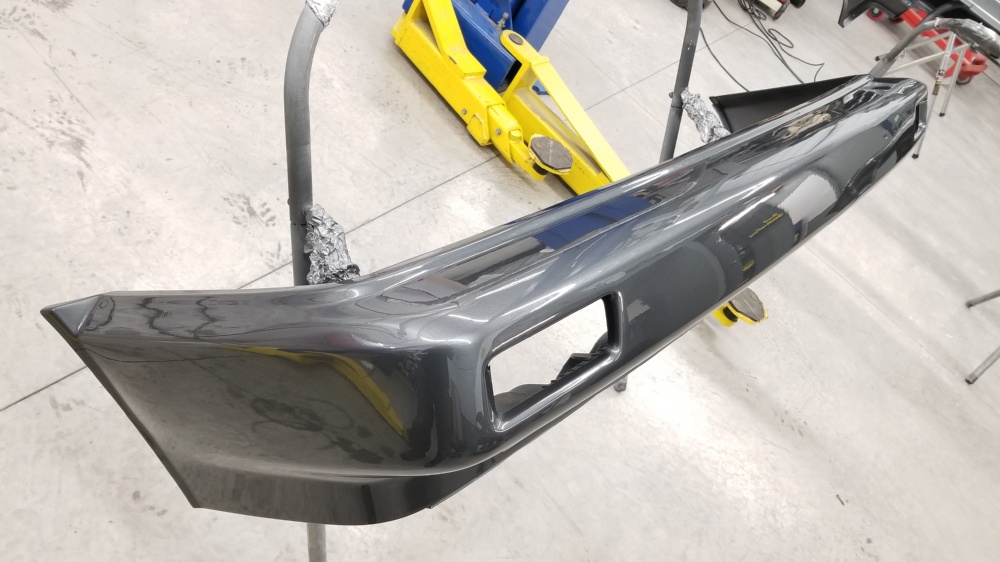
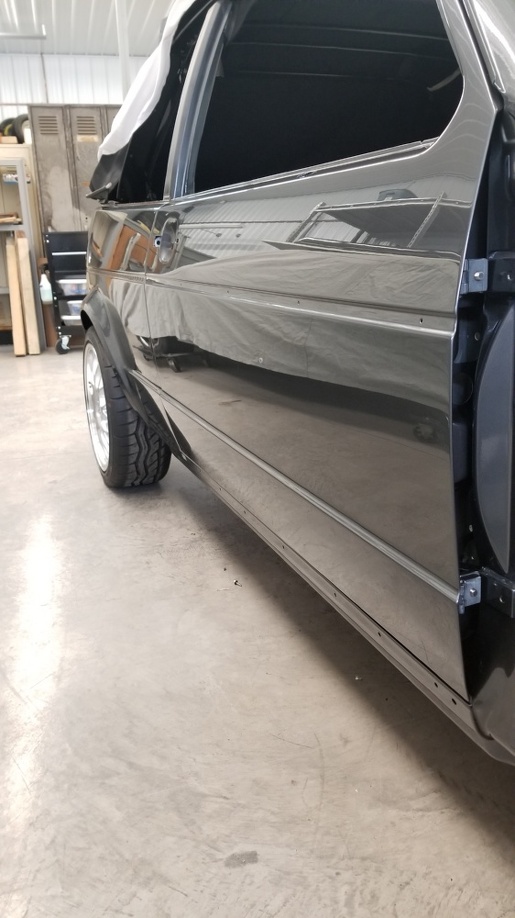
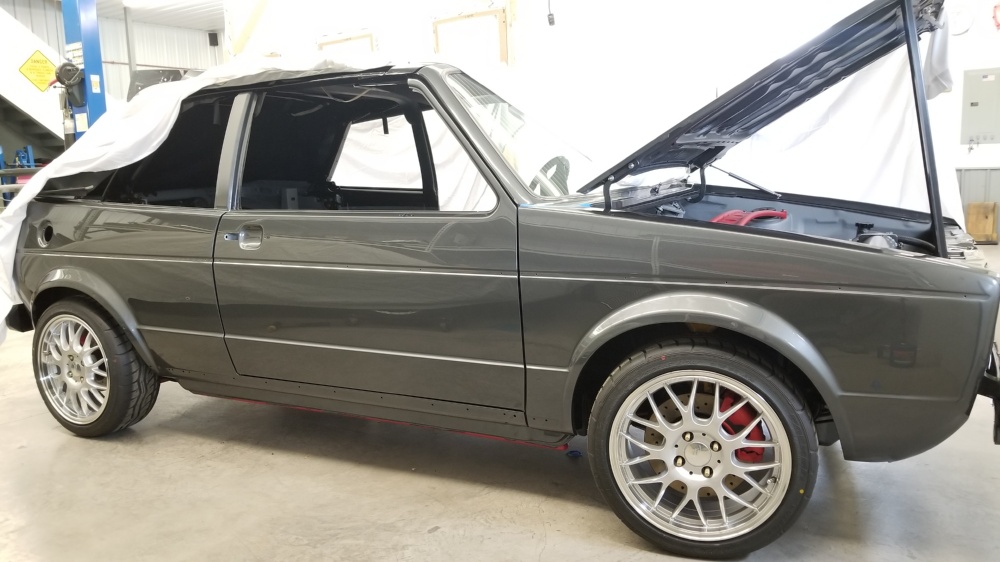
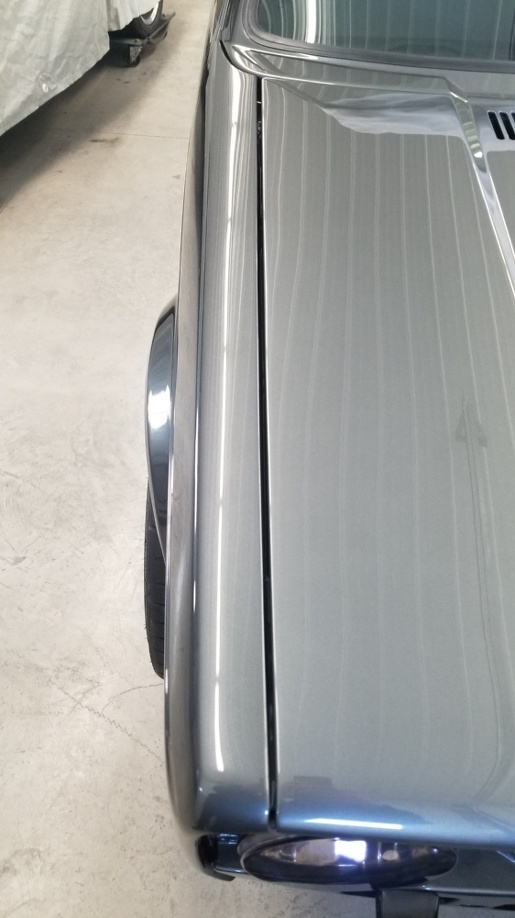
Final result.

And that ends November.

Dan

2 Likes

And now back to painting. I had to buy a new quart of paint, luckily it matched and all can move ahead.

First I painted the wheel arches and side skirts.

And then painted the front and rear bumpers.

Sealer

Color

It looks so good flat even.

And done, again this is all right off the gun. Will still need to sand and buff everything.

And with the lip in place. Im super stoked at how this looks together.

And that literally catches up all the work that I have done to date.

Dan

4 Likes

Great work!

1 Like

This is some amazing work! Love it!

1 Like

Next up was repainting the doors and fenders.

With that done I started wet sanding the plastics.

Had a good run in the rear bumper

Sorted

I finally picked up some 3M trazact wet pads as Ive heard they work amazing, and its true.

to get here i hard blocked with 1500 to flatten and then 3000 trizact. It took around 1.5 hours to flatten it and 45 mins to get it to 3000.

I recently picked up some 5000 grit trazact. again im so amazed at how easy it polished out the 3000 scratches. Note the area with the tape is 5k, and either side is 3k. Should make polishing a breeze

and one side panel sanded to 3k.

Dan

2 Likes

Up next I switched to the grille for a change of pace.

I scored a near perfect single round grille. There was plenty of dings in the trim, but none of the plastic was broken.

First step was to remove the trim and give everything a good scrubbing.

Up next was tackling the dents and dings in the trim and giving them a good hard blocking.

This side had a pretty large bend along the outer edge.

I must have tapped this thing a thousand times to straighten out all the flaws. it worked very well.

Dan

2 Likes

With the trim sorted I did a test paint and decided that I hated the fact that you can see the top clip, especially on red.

This is what I hate.

For a test I taped up the edge. Much better

And then for the trimming.

First score.

Cut and filed

With that they were fit to be primed, sanded with 400 and then painted.

Dan

2 Likes

So im WAY WAY behind on updates. Im going to attempt to get up to date on the last 6mo progress in a few posts.

With the grille trim straight I got it painted. No its not the correct color, but a color that matches my powder coated pieces I had mixed special.

Crazy how differnt lighting effects the color so much.

With that done i turned my attention to the grille itself. Mostly I wanted to try and sand out any big stone chips then remove all the mold lines, which always drive me insane.

Did this area as it sticks above the front of the upper radiator panel

And then sanded out the mold lines between each slat (I still have yet to paint this, but its nearly ready)

Up next was more wet sanding and buffing of the plastics.

Pretty happy with how the fill in of the tow hook cutouts turned out.

Front mid process

That gets us to the end of Jan.

Dan

1 Like

Next I had to do some mods to the hood latch as originally I had planned on using a badgeless grille and thus my original modified cable latch wouldnt work.

Needed to move the right to where the silver mark is.

Magic happens and its moved over enough and welded / sanded smooth.

Added a little clearance notch

And then I spent a bunch of time wet sanding and polishing the rest of the plastics, the doors, fenders etc. I wont bore you with those details , just see above posts for the process. Turned out something like this:

Next it was time to finally install some body panels.

For whatever reason the pass door took a bunch of shimming to get just right. In the end it lines up good enough for an 80s econobox. Gaps are quite even for not having done any special welding or filler work on them

Nickel plated latches, inside handle brackets, pull rods, and hardware.

Nickel plated switch with ss screw and restored boot.

And of course ARP

And then the fender. This lined up quite good.

Need to go back and paint the ARP red still on some of these, but I can swap them out later.

And thats all i managed to get done in Feb.

Dan

1 Like

Like always great work! I bet your wife is really excited to finally drive this! :stuck_out_tongue:

1 Like

She gets her updates on IG like everyone else. lol

2 Likes

I love seeing updates to this thread. Did you ever mention what you expect the car to put down power wise? I don’t think you were looking for anything crazy but jw.

1 Like

I think it should do 300 without much trouble.

Dan

1 Like

“Need to”’ lol.

Obviously