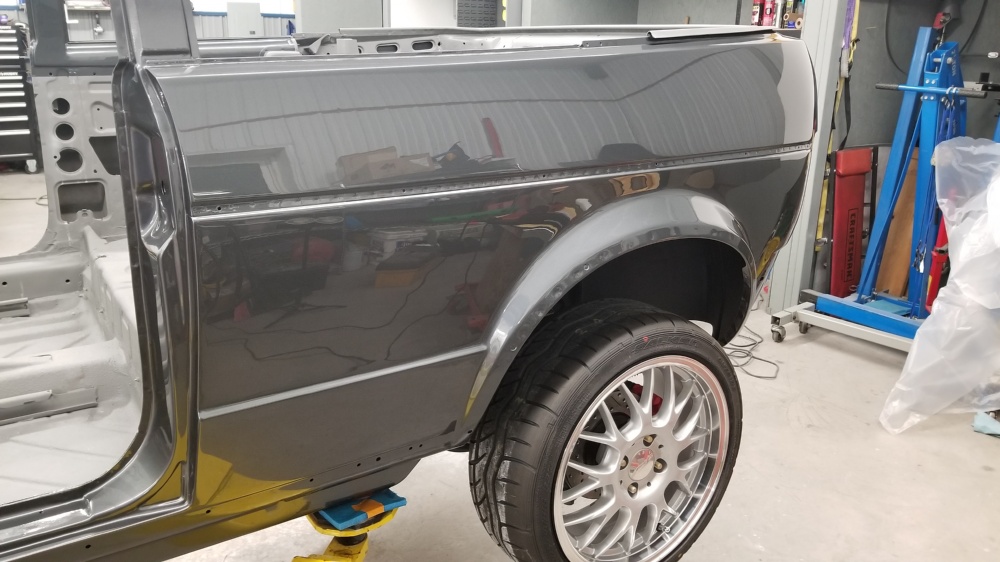
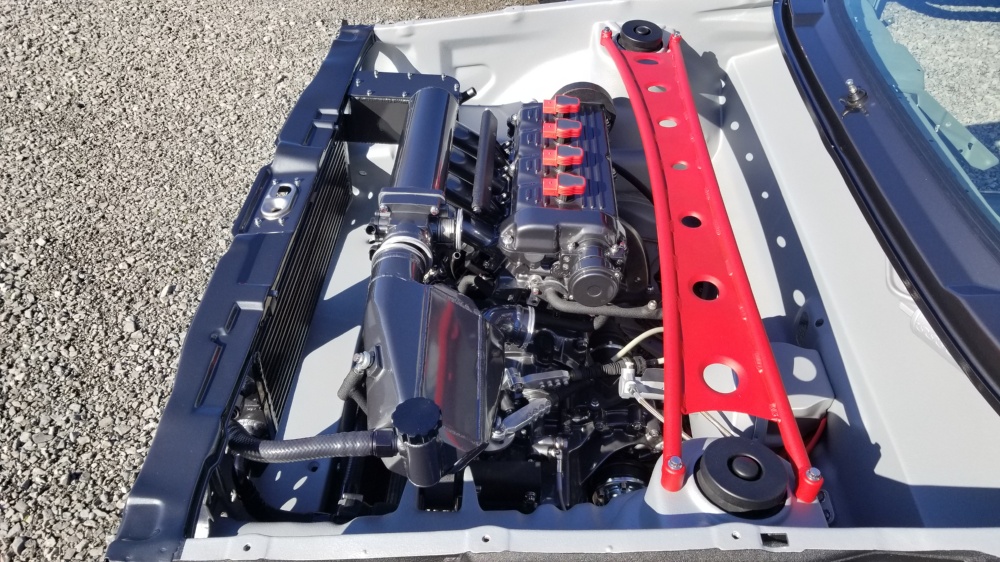
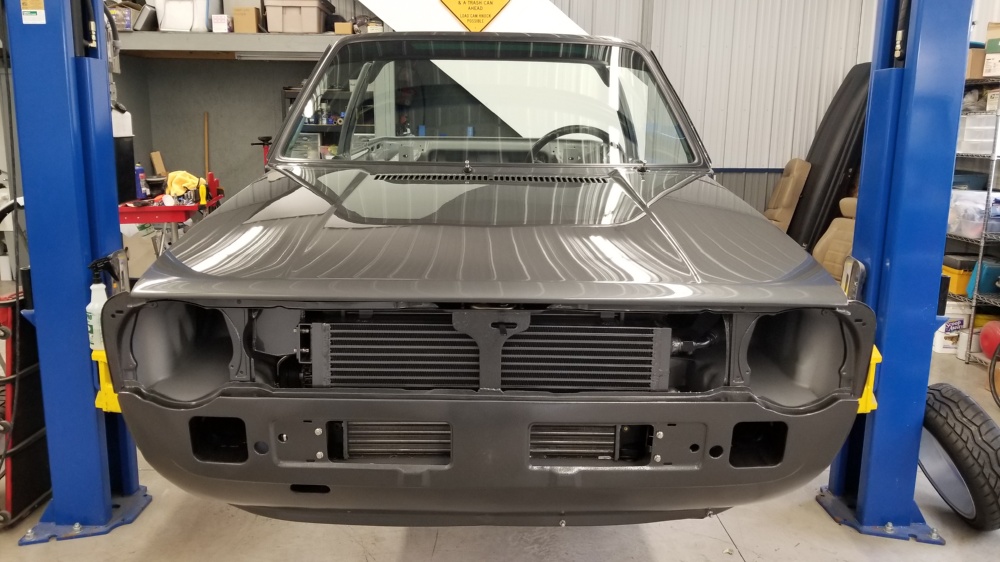
And with that its finally on the ground and Im up to date on progress.
Its currently sitting very high since its not much more than a roller still, but its a pretty big milestone.
Pretty stoked.

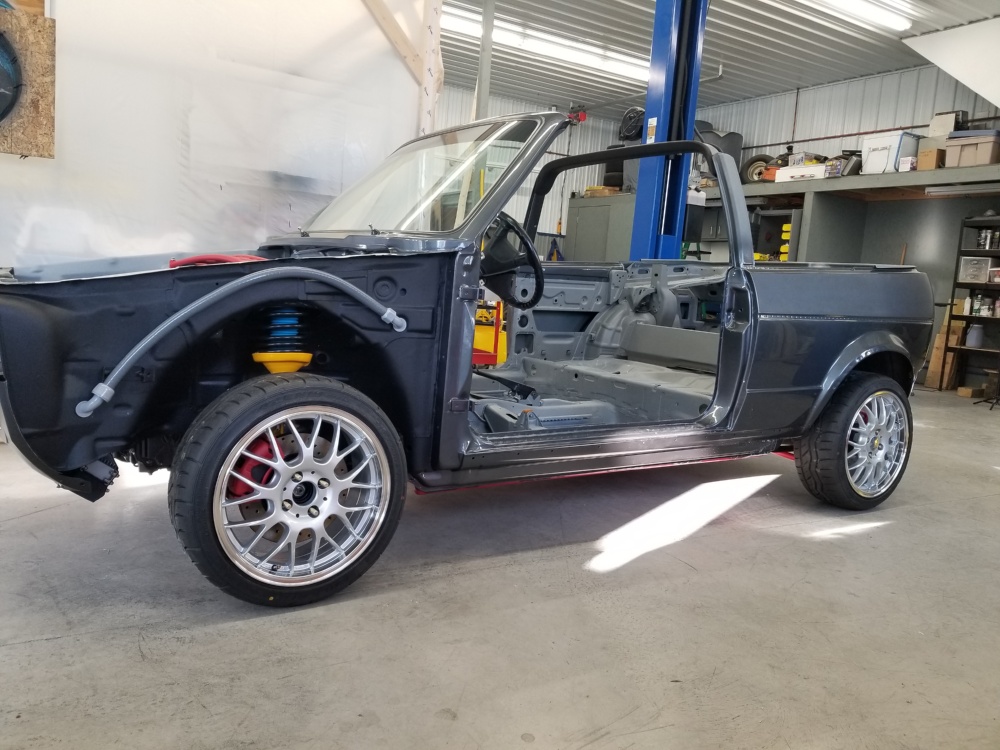

Now its time to get back to body work and paiting
Dan
And with that its finally on the ground and Im up to date on progress.
Its currently sitting very high since its not much more than a roller still, but its a pretty big milestone.
Pretty stoked.
Now its time to get back to body work and paiting
Dan
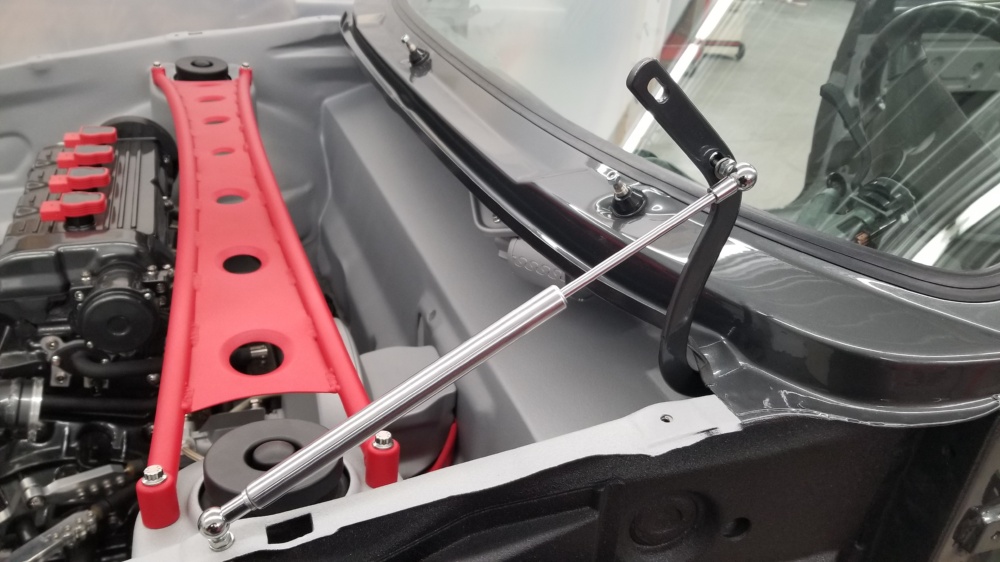
Spent last thrusday cleaning the shop but had a little time to work on the hood lift shocks.
The ones I got as a “kit” were a bit too long. They would have caused the hinges to press hard into the wiper cowl which is unacceptable. I figured the easy solution was to trim and rethread them (to 13.25" center to center).
Bingo
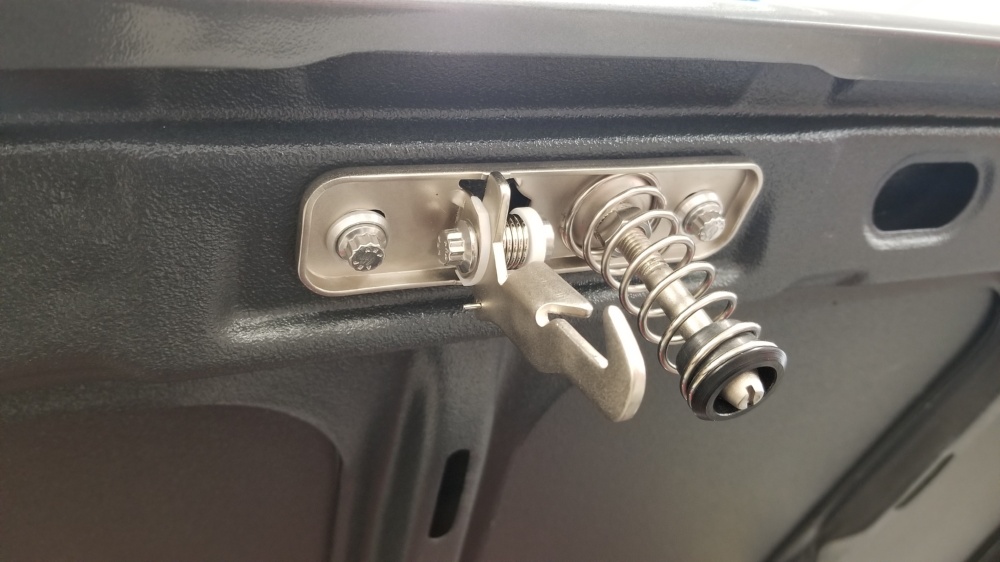
Over the weekend I worked on the trunk.
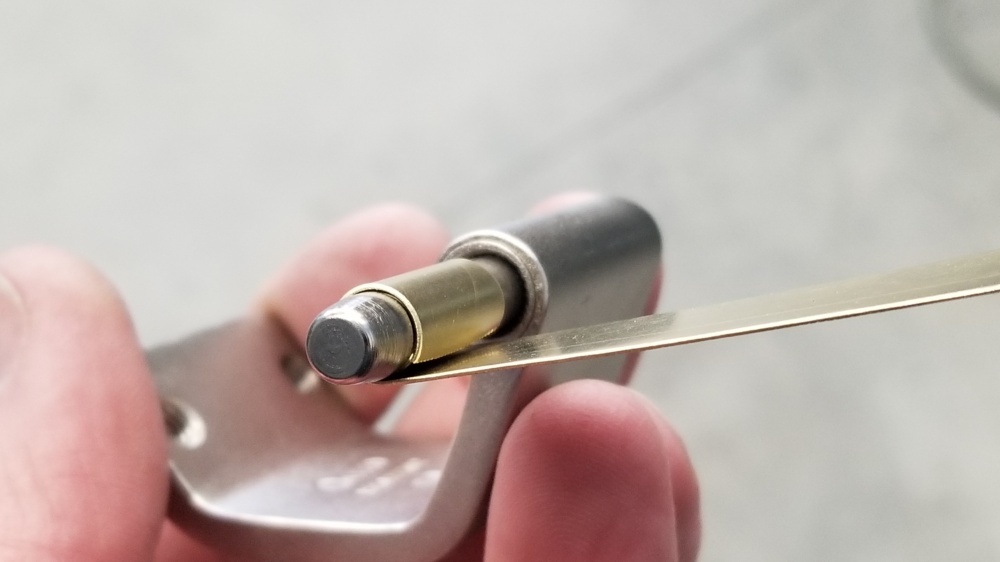
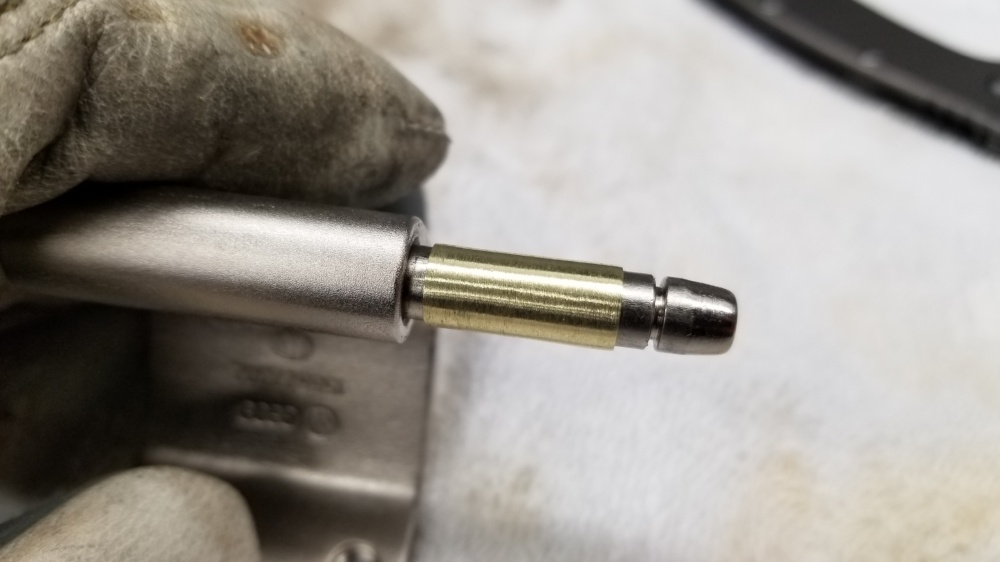
The factory plastic impregnated copper bushings for the rear hinges were shot, so I came up with my own using some brass sheet stock and some plastic washers.
Wrap stock around hinge pin and trim to lenght.
It was a bit thicker than I needed so I sanded it down with the dynabrade by letting it slowly spin on a drill bit. it took a bit checking as I went but it went fairly quickly.
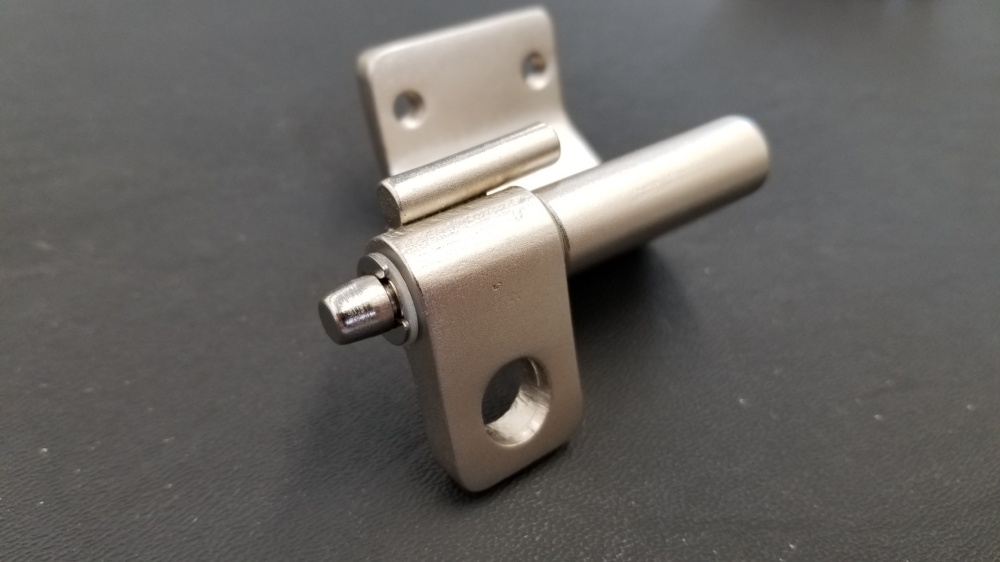
And assembled with new SS E clips. These are done in electroless nickel.
Mounted over some tape until I have the final adjustments complete.
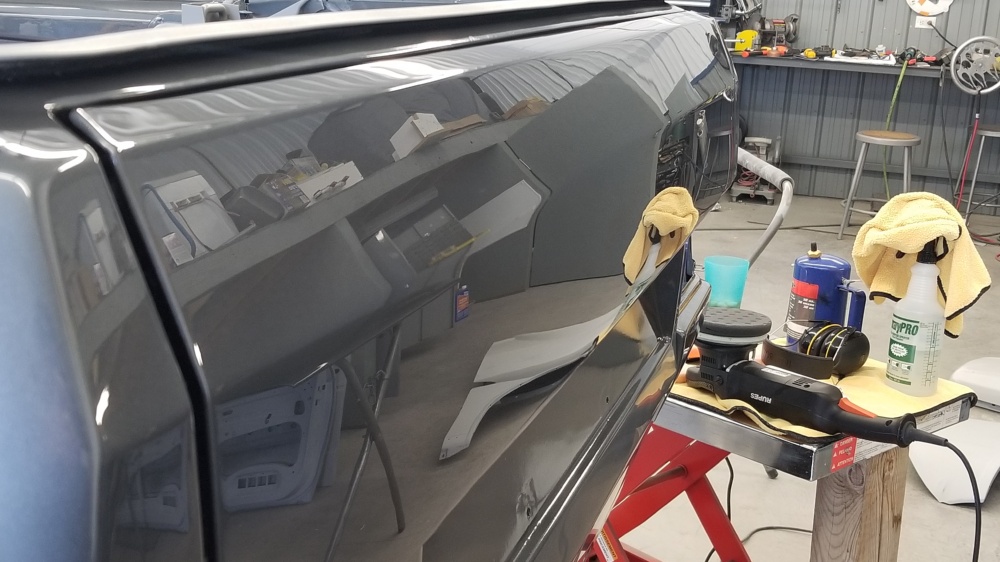
With that mounted I did the final buff on the trunk lid, which was much easier mounted.
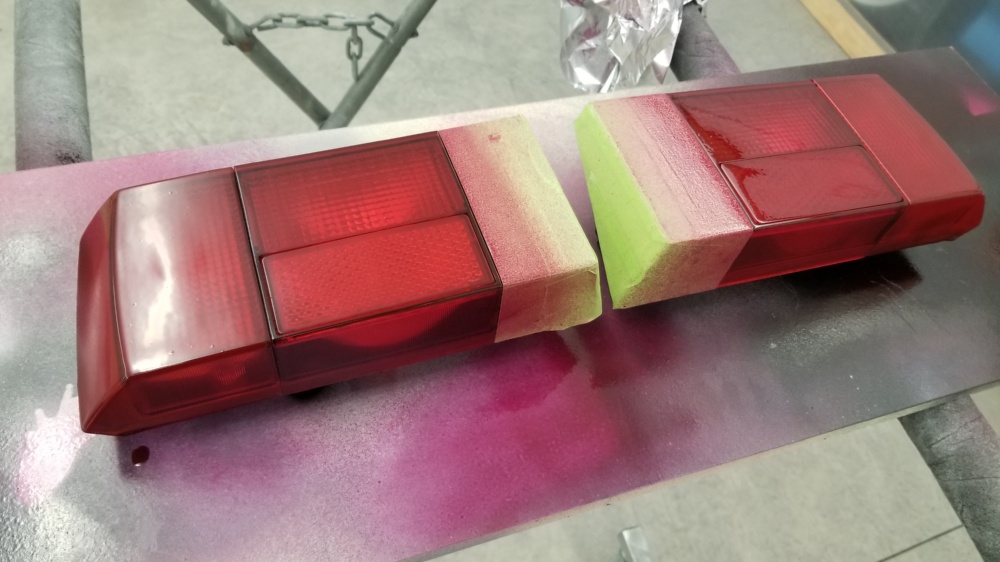
Then it was time to tackle the awful amber turn signals
I read years back that some testors candy grape over the amber is a perfect match to the red.
Did not disappoint.
Once I did a few coats on the amber, i unmasked the red and did one coat over to ensure a consistent color and finish.
And no more red. I will prob give them a quick wetsand and then clear them next time I have some in the gun.
SO. MUCH. Better.
Dan
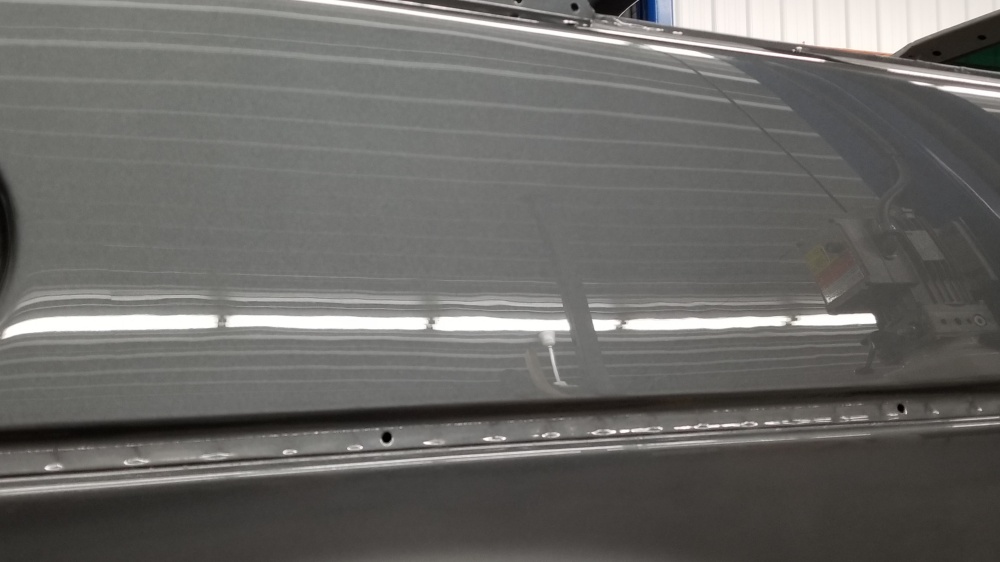
Finsihed wetsanding and buffing the top of the drivers quarter last night.
I switched to a microfiber pad for the inital cut, and man was it so much faster and nicer than trying to do it with orange foam.
I did the polish with white foam instead of black. I think it was much improved as well.
I have some other new foam pads coming this week, so Ill do a little experimenting on the hood maybe as Id like to try and finish up the pass side tomorrow night.
Wetsanded with 2k grit.
And done
And because a video is way better.
Dan
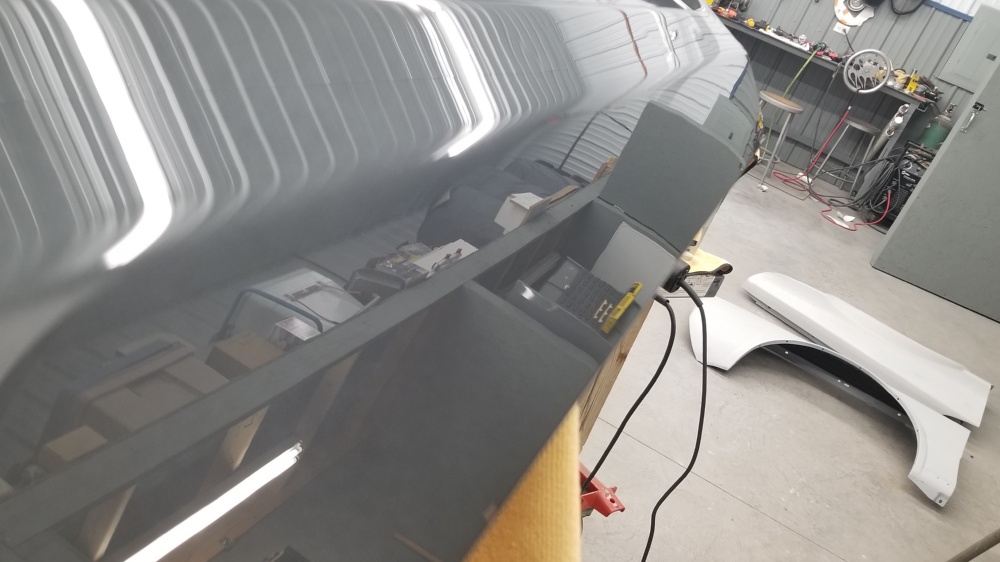
Finished sanding and buffing the passenger side quarter. No sand through or horrible tiger stripe this time.
I ran the hell out of the clear on this side. I THOUGHT I had it blocked down pretty good, but once I put a quick polish to it
you could clearly see not to much.
I used the glaze technique to get it pretty flat. This is mid process.
And after.
It could be better but it looks good outside and I need to finish this project some year
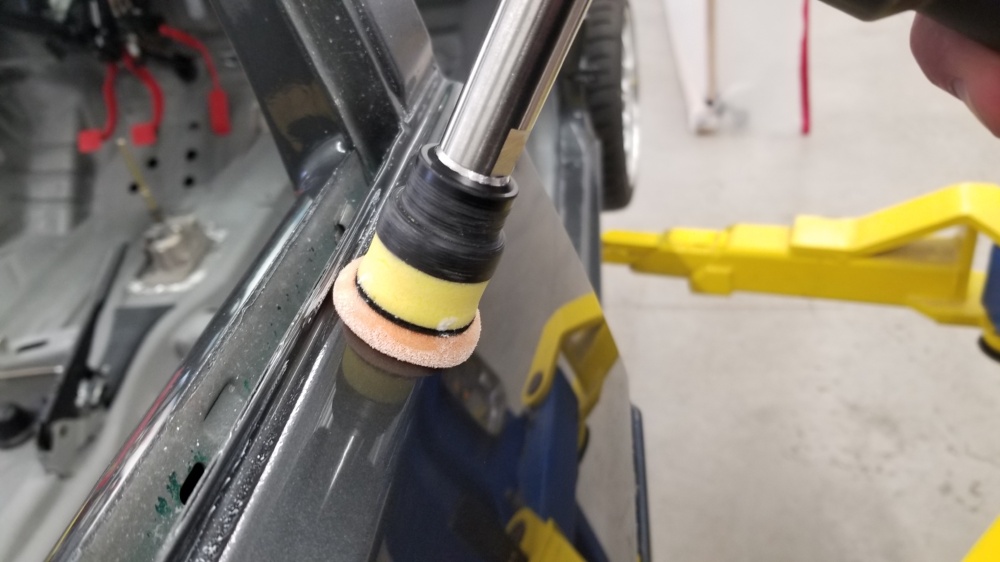
With that sorted I finished sanding and buffing the lower parts.
And then tackled the giant run on the top edge here. This time I just carefully blocked it with a hard block and buffed using my
Flex roatary and 1" pads.
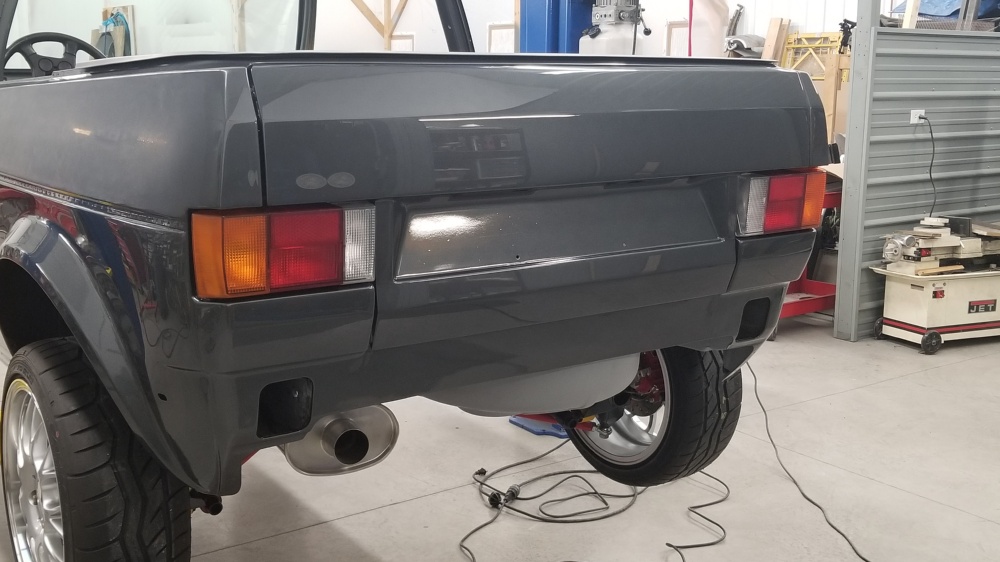
Then NY gave us a sunny day for a change so I took the opportunity to roll it out and see everything in the sun.
Amazing how much differece the sun makes.
Took the opportunity with it outside to sweep and mop the shop. And then back to its usual position
Next set the intake in place so I could adjust the rod ends on the IC mounts to get everything aligned. Vibrant HD clamps in
place.
And then I had a little time so I started wetsanding the hood.
And again, because a video is way better. Yes the quality is crap, oh well.
Dan
Working video link:
Thanks. I just copy and paste this to a few places. I sometimes forget there are different rules for different forums.
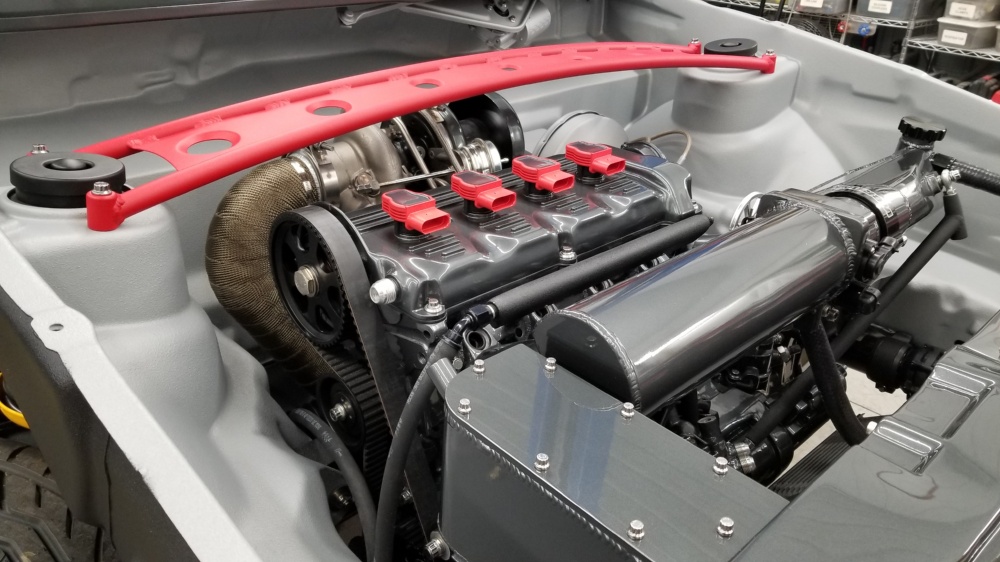
Picked up the header and downpipe from Cerakote.
Wrapped the downpipe with DEI Titanium wrap.
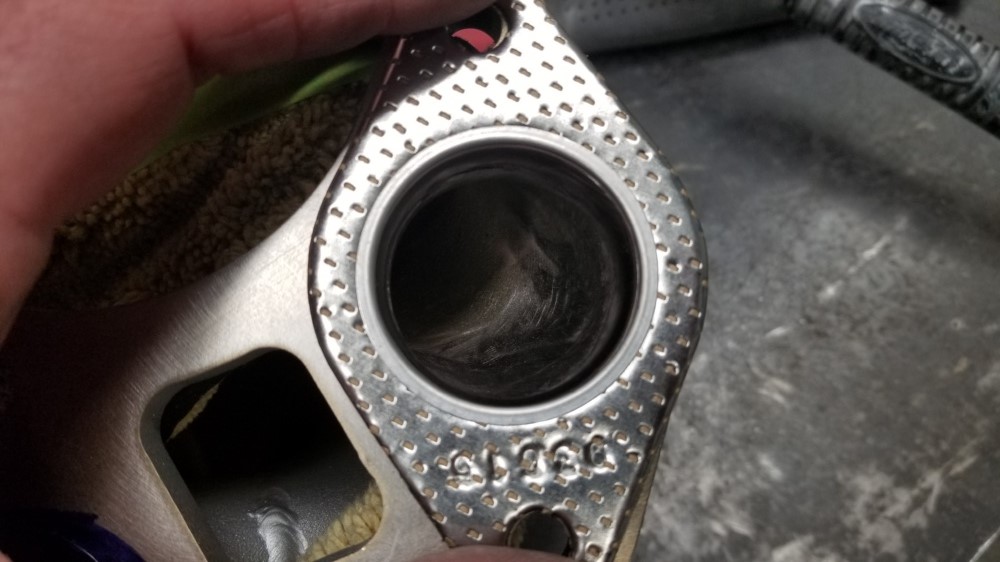
Forgot I had to slightly port the header, so I did that quick.
And installed with stainless studs and copper lock nuts.
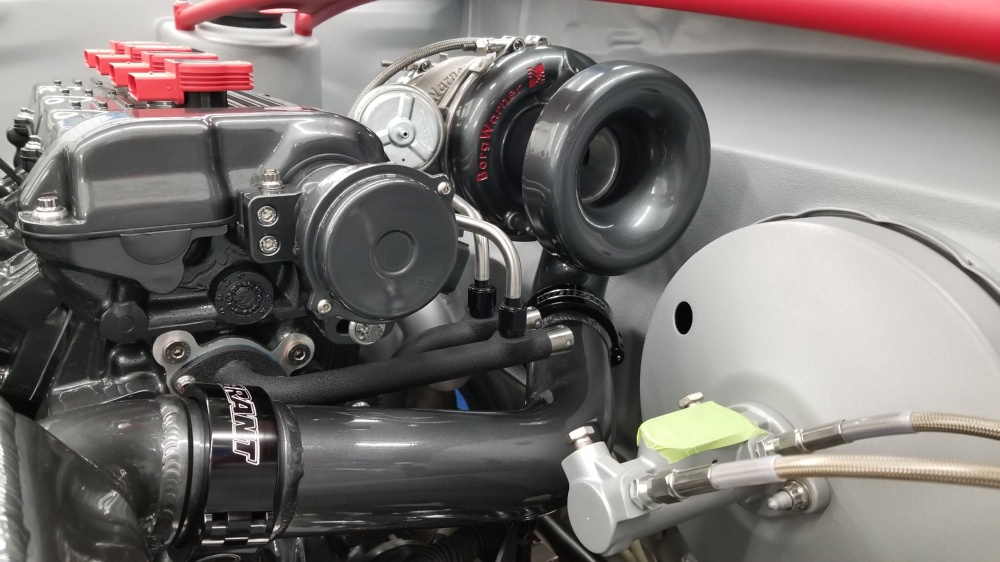
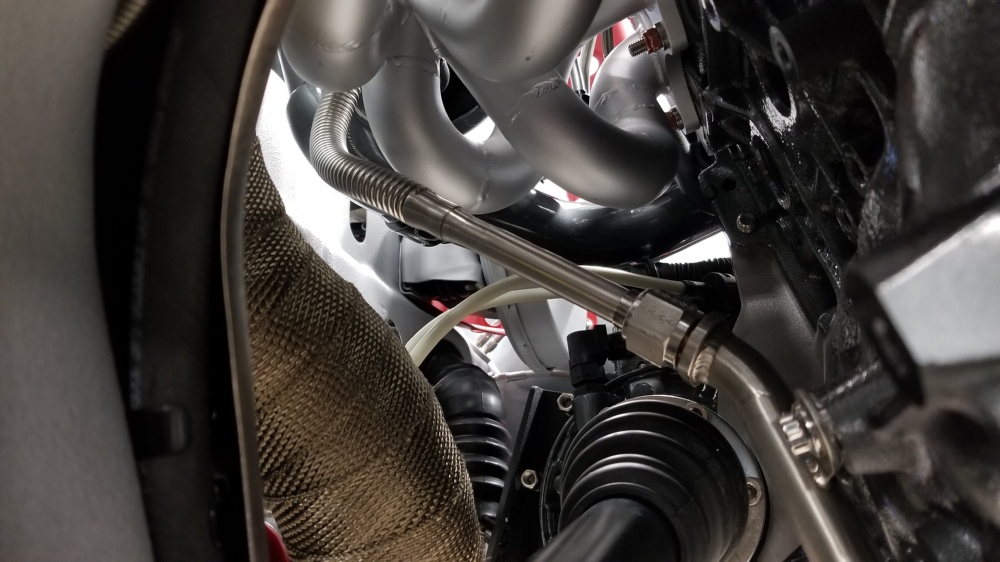
And then installed the turbo. Im still unsure what, if anything, Im going to do about filtering, so for now I just have the
velocity stack as a placeholder.
Water hard lines and stainless braided oil feed. These were fun to make.
Dan
Love it all!!! Beautiful build!
I expect more updates here as we all now have more time on our hands, or at least most of us do. lol
I’ve actually been decently busy working from home. But progress continues. It’s just as slow as ever
Been cranking away on the car, as usual havent had time to do an update. So here we go.
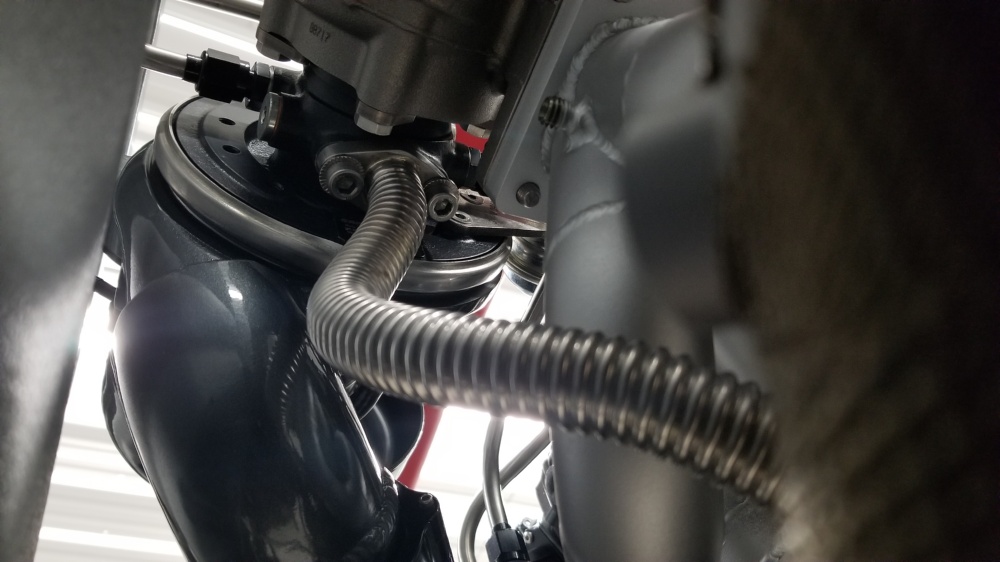
Next was the oil drain. I made this a few months ago. The turbo flange is made from two separate pieces of stainless plate welded together in
the middle and smoothed out. The flexible drain flange was removed and silver brazed to the stainless flange. The bottom end was also brazed
to a length of straight tube.
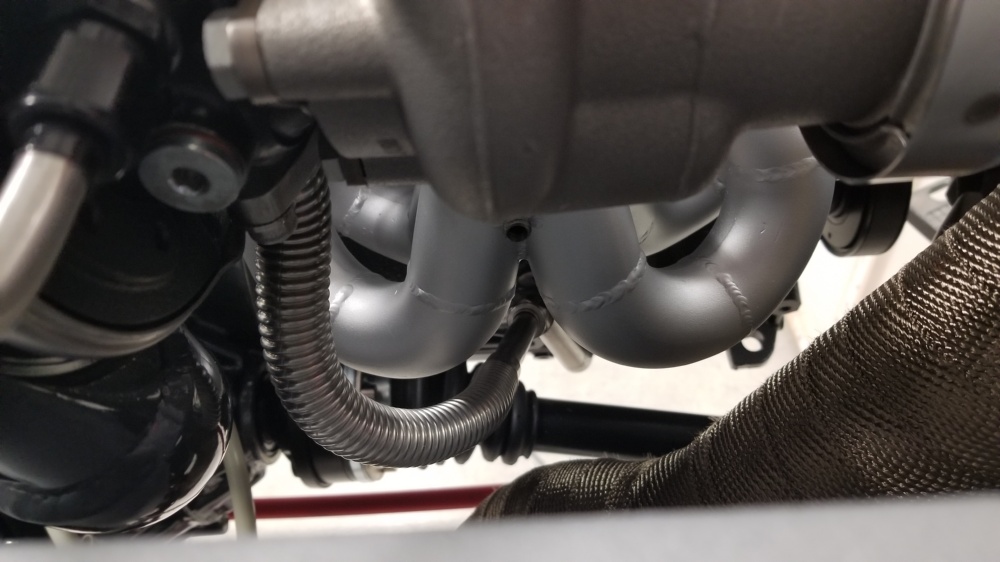
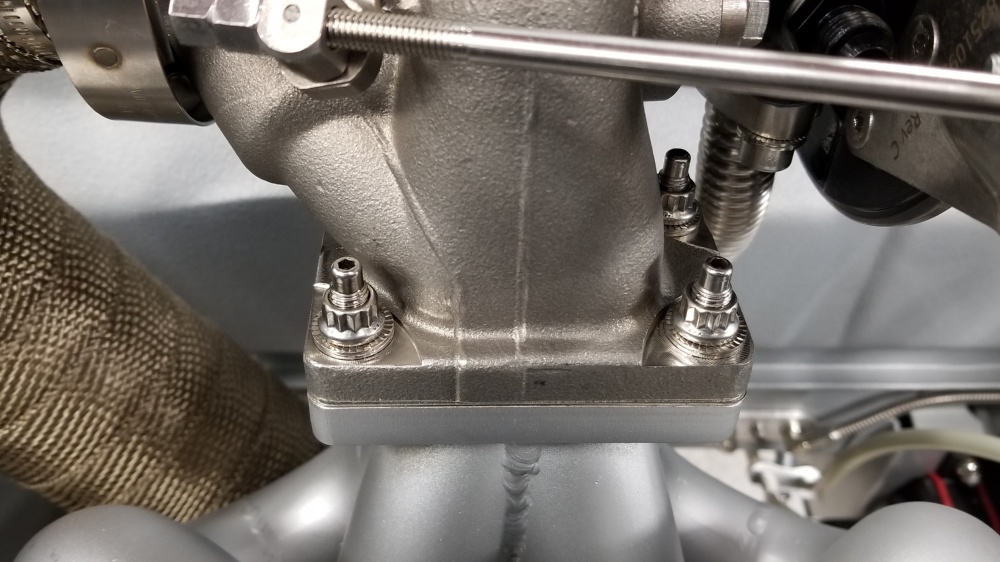
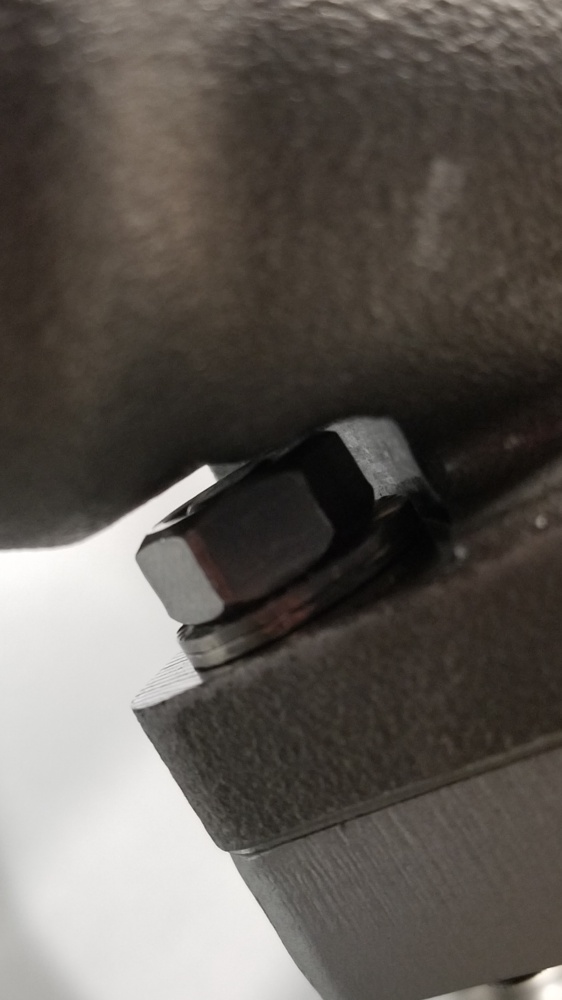
I had to remove the turbo to get the midpipe in (which I forgot to take a pic of). Decided I didnt like the copper coated lock nuts, so I
swapped to ARP with ss nordlocks, much nicer.
This nut is a hoot to install.
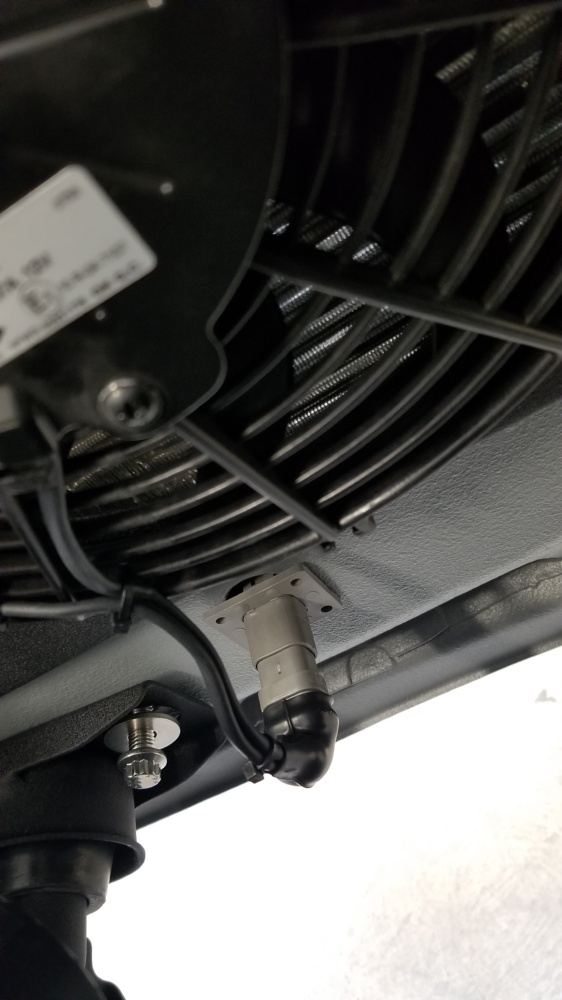
Next up was getting the fans wired as I got some of the harness supplies in.
Using Deutsh DT connector with a Raychem right angle shrink boot.
Need to mount the bulkhead next time the car is in the air, i keep forgetting
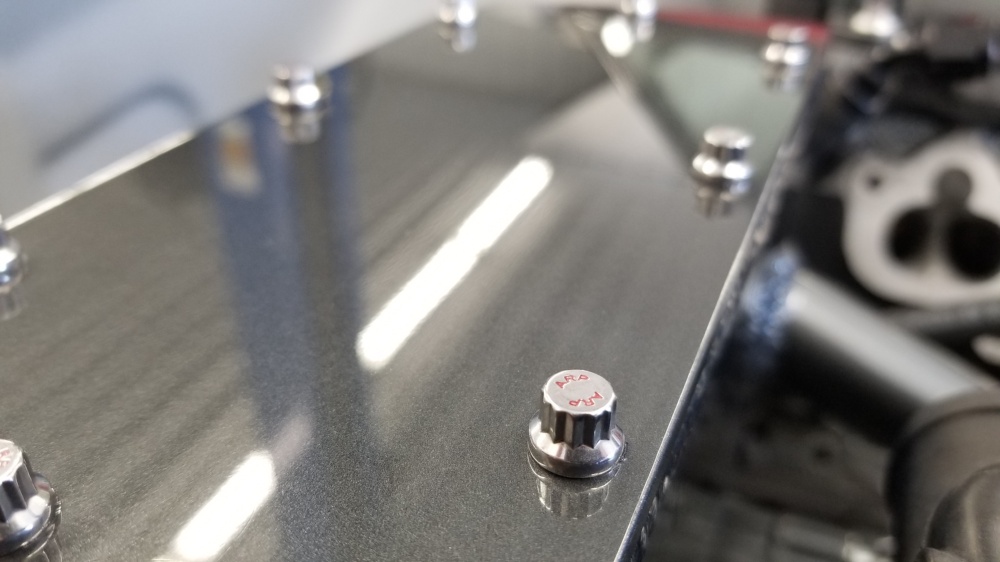
Then I realized there was a bunch of ARP hardware that I didnt paint. So I went back and did them.
Installed the brake resivoir.
Dan
still catching up
still catching up
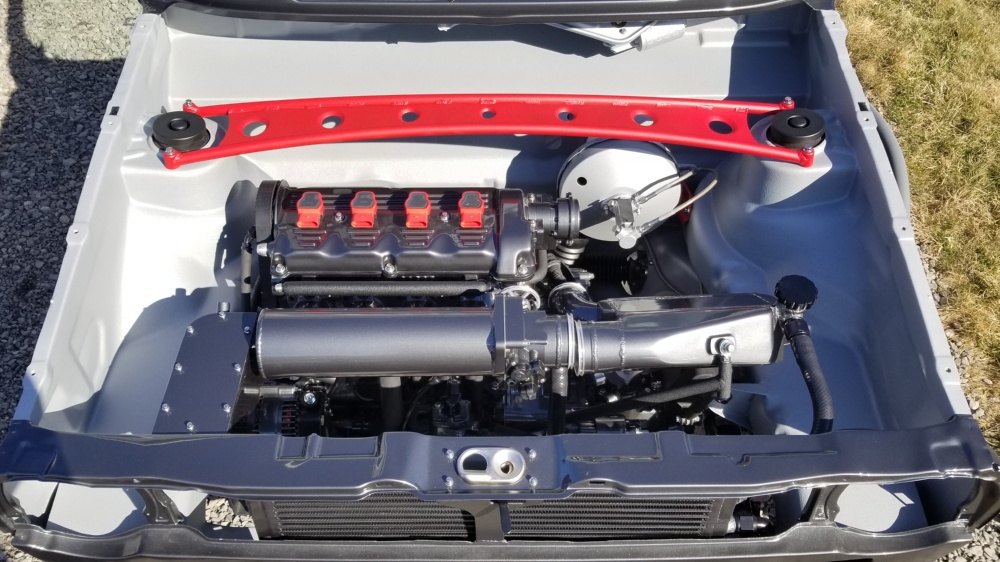
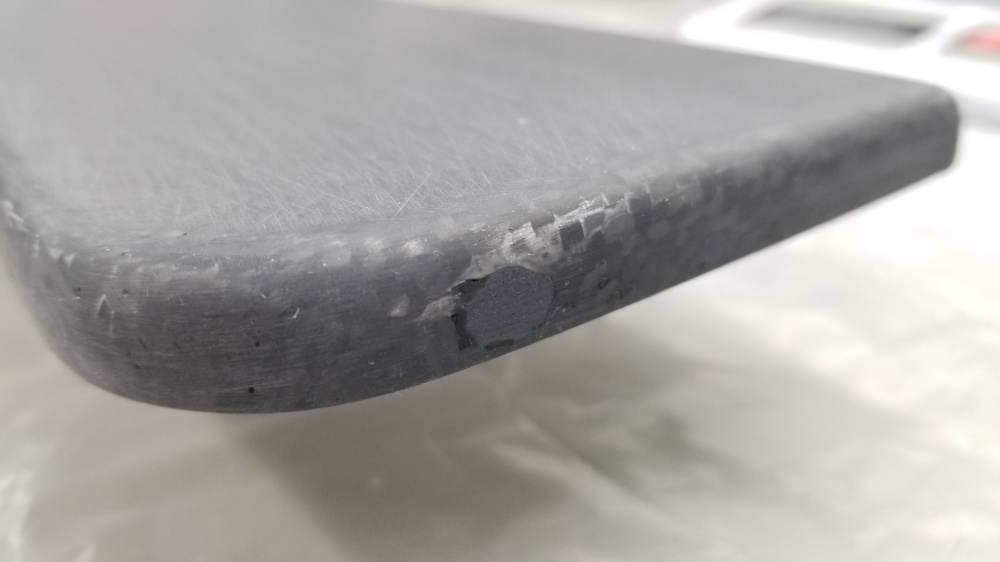
I decided that the engine bay needed a different finish to break things up. Welcome carbon fiber.
Picked up some supplies from Composite Envisions to try my hands at CF wrapping, as long term I wanted to do the front splitter anyway.
Grabbed a few yards, of this, plus the necessary resin and black pigment to tint the base layer.
First layer of tinted resin on, fabric cut to size.
This was definitely the worst part. The resin is very thin and didnt stay on the sides well, so the fabric didnt stick as well as I liked and I ended up attempting to tape it to the backside while things set up. one spot was also too thick and bled through. For future projects Ill need to figure out how to deal with this. Id think a little thicker resin would help.
Laid / taped in place.
Bleed through.
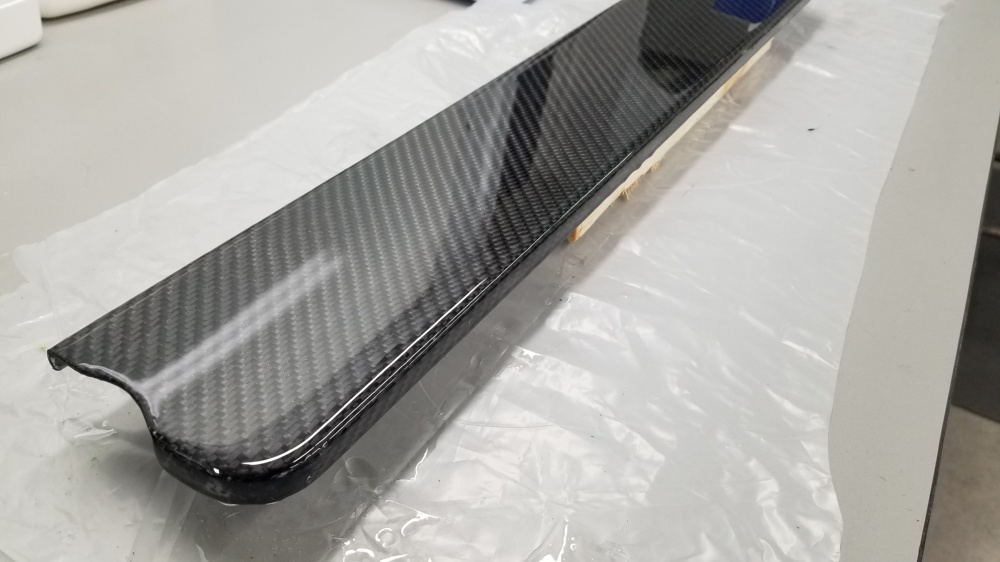
First coat of clear top resin.
A few more coats later.
After that I blocked it flat and ended up with a few voids, likely from the first layer not sticking well to the sides.
I didnt want to scrap the piece so I decided to patch them as they were on the side anyway.
Mixed up a little filler and tinted it with the resin tint black.
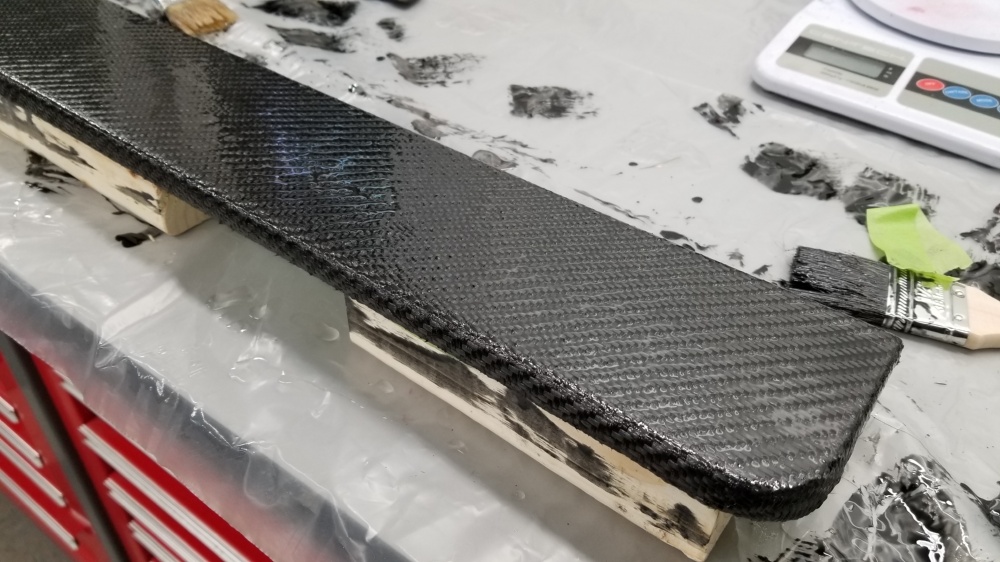
And then a final coat of resin.
And then wetsanded and buffed it out.
The edges still had some spots you could see the base under, from sanding through etc, so I back taped the top and dusted some trim black paint on the edges. It did the trick even though its still not perfect, Im pretty happy for a first attempt.
Installed
Dan
Up next tackled sanding and buffing the hood.
And mounted. It may still need some final alignment once the wings are on but its close. Hood shocks work great and have no interference.
And tossed the headlighs in quick for fun.
Dan
Then switched back to the trunk area
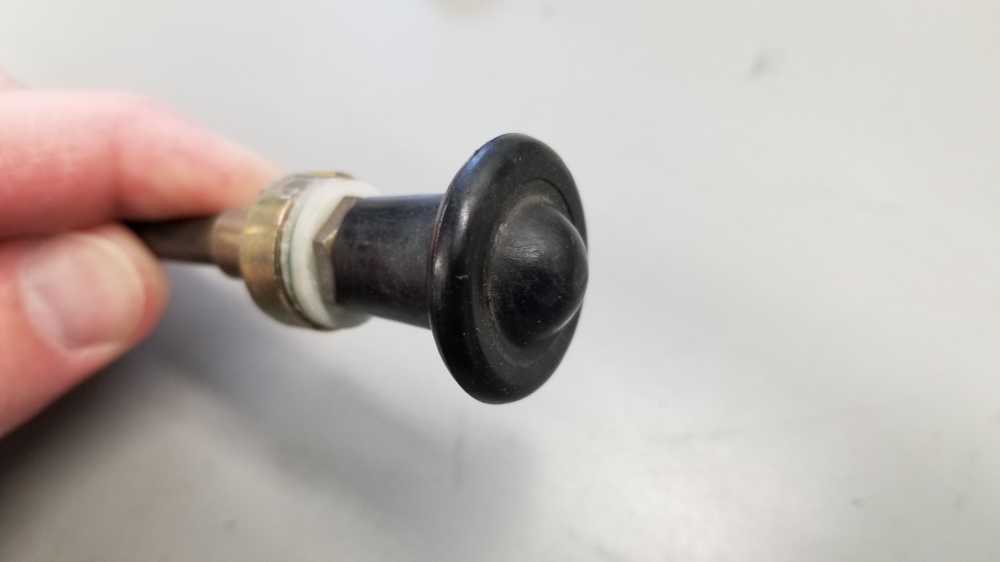
The rear seat release knob was not going to be sufficient.
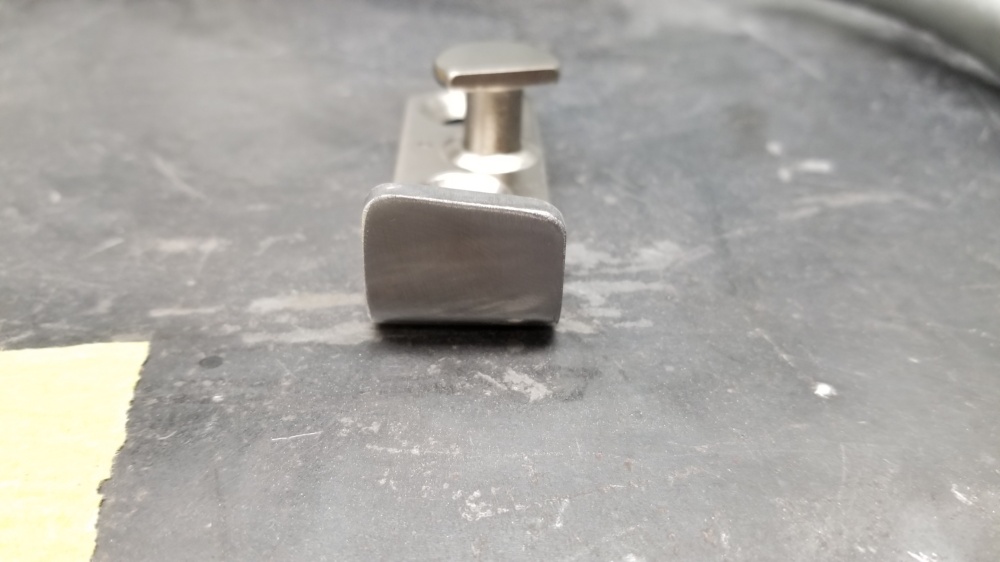
I sourced a stainless knob from McMaster 62265K512 with the correct M5 thread. Much better, but then the jamb nut would also not do.
The nut is M10x1 but an ARP M10 nut is huge. I had spare M8 nuts so I drilled ont out, tapped it for M10x1 and trimmed the drive area down by
more than half.
MUCH better
I sanded the brush finsh from the face of the knob and will give the whole thing a nice bead blast finish next time Im able to access the
blaster.
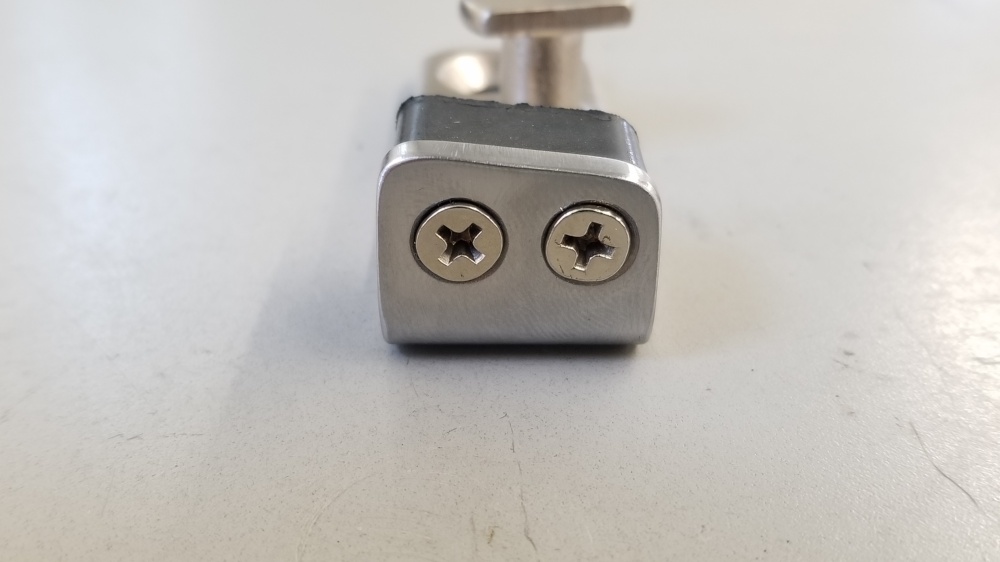
Also installed new plate light housings I had to source from Germany.
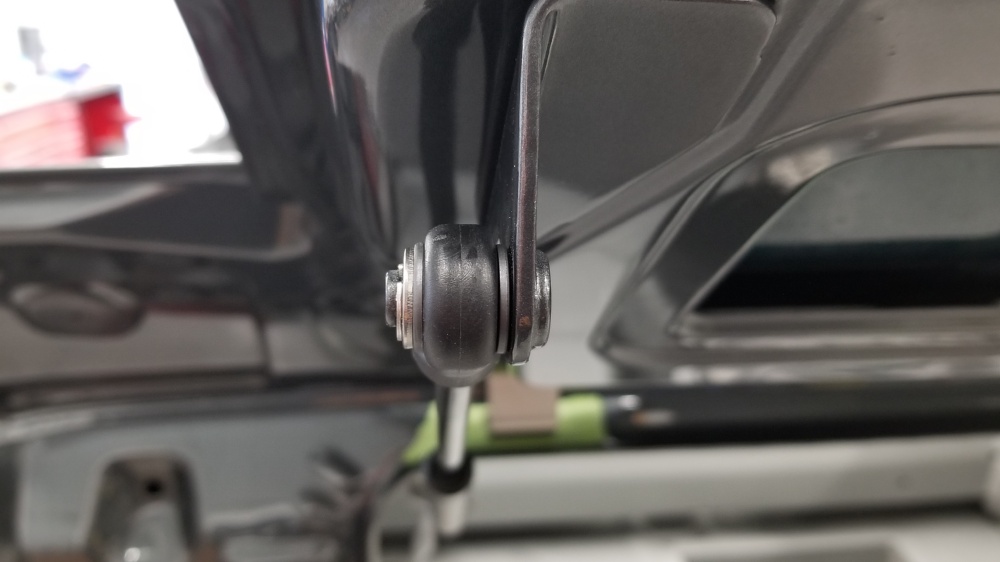
Repainted the trunk strut body and replaced the body end bushing (not shown)
And sourced new stainless E clips McMaster 98317A220 some black nylon spacers McMaster 98317A220.
Finally sourced a new striker wedge bumper thing from a Type 2 Bus pn 211829177
It doesnt exactly line up with the cabby striker plate holes but it works perfectly. Im simply going to weld up the one hole and drill a new
one to make it work. Of course Ill need to have the plate nickle plated again, but its like $2.
And thats all the updates.
I have a ton of spring cleaning and maintenance to do on the GTI and Atlas, so the cabby will sit in quarantine for a while. (sound familiar?).
Dan
Unreal. What is your day job again? I envision you being extremely successful if you did something like Steph Papadakis. Fav thread on the internet right now.
I play electrical engineer by day.
Nice updates!
Been picking away, although super slowly, on this again lately.
Reworked the striker plate to accept the old bus bumper.
Orig , cross eyed.
welded up
bingo.
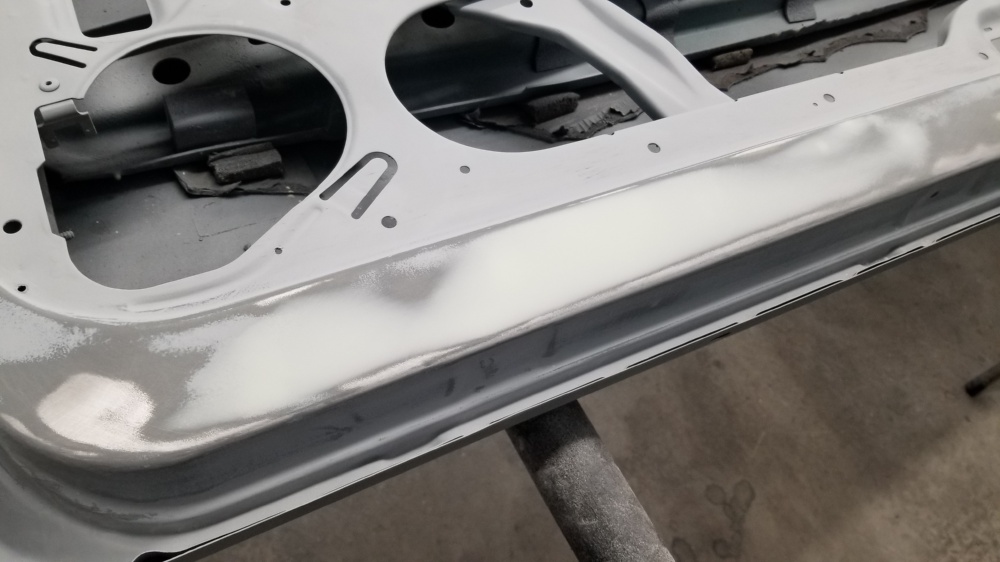
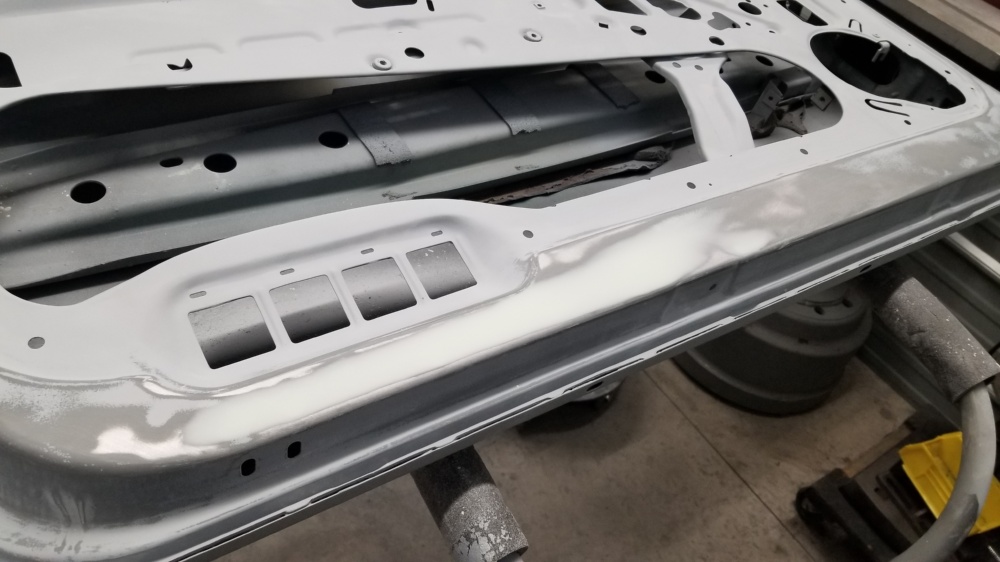
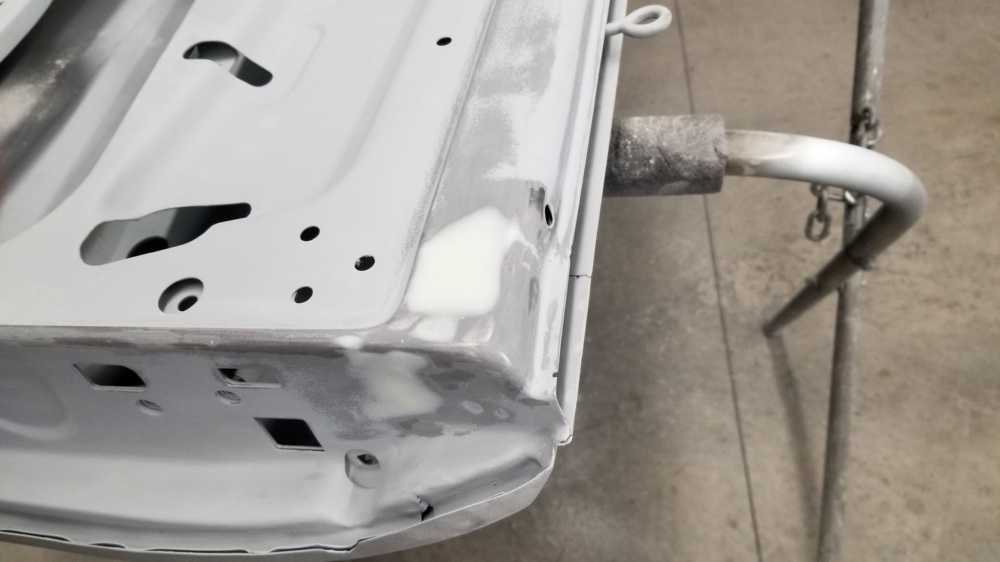
Then I turned my attention to the doors. Ive had them in poly for months now but they needed to be blocked out. So I did that inside and out.
The inside required a little filler from people kicking the damn bottoms of the doors getting in / out. sigh.
But now they are ready for the last coat of primer and the final 400grit soft block. Hoping like hell to prime this week.
And the top where I had welded up the seams and holes for the window tracks. They will be painted on top like the early doors.
And blocked the poly on the outside.
Dan
Hows this been coming? I know you drove the cavy, is this one together?
hahahahahahahahah
This is ALMOST up to date.
Two weekends ago i painted the inside of the doors.
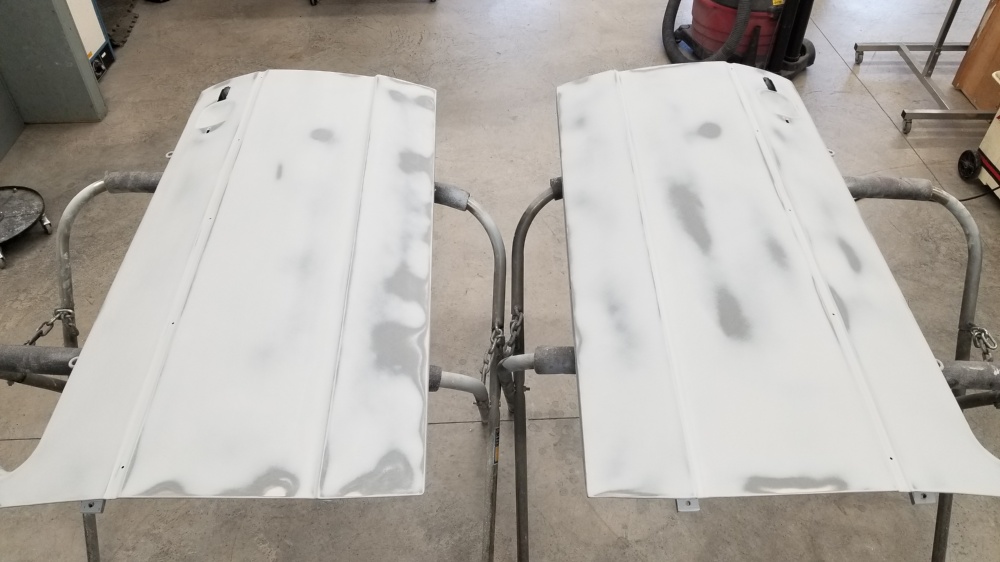
This past weekend I got the last coat of primer on the fenders and sanded that out yesterday.
IF all goes well i hope to paint them both friday am.
Else there is no more progress on this one than in this thread unfortunately.
While the doors and fenders are curing im hoping to get the top on. Ive also started stripping the plastics (bumpers etc). Thats prob a 40+ hour job to get them stripped, repaired, primed and painted.
Dan