I saw the Coors comerical about restoring the Chris-Craft and thought of this.
My great grandfather had a nice Chris-Craft that I wish would have made its way through the family tree.
What program did you use to generate those renderings?
Some seriously quality work in this thread, subscribed! :tup:
Thanks for the compliments fellas:)
LOL…when you enjoy your work, it’s easy to keep motivated:)
I’m thinking mid July for it’s maiden voyage…however at this point the interior will be literally nothing. Have two separate week long vacations in June…so that doesn’t leave me much time until July!
Actually…this epoxy has zero odor to it:)
Alias Sketchbook Pro…drawn by hand on a Wacom 21" Cintique monitor.
---------- Post added at 06:15 PM ---------- Previous post was at 06:14 PM ----------
So here’s how we went about the cloth layout. In the corners I cut the cloth here and there to avoid any awkward bunching or unnatural movement of the cloth.
Draped nicely…
Epoxied.
Knocked down with 80 grit.
Next step was the 3M Bubbles mixed in with the epoxy to create a skimcoat that will later be blocked. I slowly added bubbles to reach a smooth consistency. This stuff is made up of millions of fine grain hollow glass beads that extend the resin. When it went on it was somewhat thick…but as it settled it began to smooth out nicely.
Rolled on with 9" foam rollers (much better rollers than used earlier). These pics were taken a few minutes after application.
And about 10 minutes later…it dries clear
very nicely done, makes it look easy 
Do you do this on the inside of the boat as well?
This thread gets me hot. Makes me wanna water ski.
Lookin’ good my man. 
FINISH THIS <3
just read the whole project. awesome stuff. gives me a new appreciated for old boats. almost makes me want one!
MONTHLY BUMP… whats the deal with this boat??? maiden voyage in florida?
Summer fun been keeping me away from it…too much going on to keep me in the garage. That, and I’ve been putting an IRS into my Mustang so that’s kindof getting in the way. I realize this contradicts the previous comment about being in the garage…but it’s also why the Mustang isn’t done either:(
awesome project. i think a deep red color would look awesome on this boat for the hull.
when i was younger my dad and i restored a '67 chrysler. that boat was fiberglass but still was quite the project. id love to do a wooden boat someday.
Mustang is done! Let’s roll on this!
Hey man, just wasted a lot of my employer’s time reading this thread. Your documentary of all the progress is awesome! Lots of useful info up in this biotch! Keep up the great work!
This makes me think back to the whole process I went through making my canoe. It was literally identical to what you did, only on a smaller scale. I can definitely appreciate the labor and time put into this.
wow
very nice
GLWF
Oh Hi…me again after a little hiatus from this project. Last summer turned into winter and I just didn’t have the urge to be out in the garage working on this. Now, back at it:)
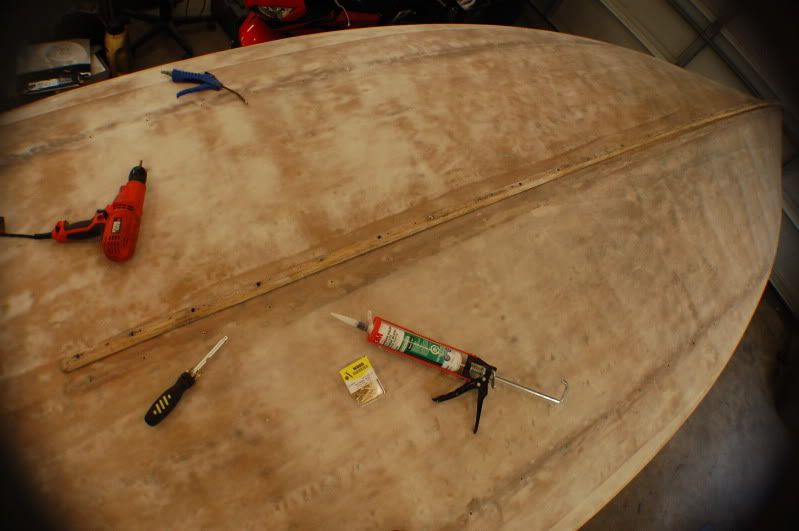
Picking up from the last time I posted, a few more layers of epoxy went down, along with fine sandpaper in between coats. Eventually got to a point where the surface was pretty smooth and the rails could all get secured. 3M sealant provided the water barrier between the rails and the hull. Also picked up all new brass hardware.
Sanding block to remove the excess sealant…and the marine grade bondo to fill over the screw heads.
Then…primer.
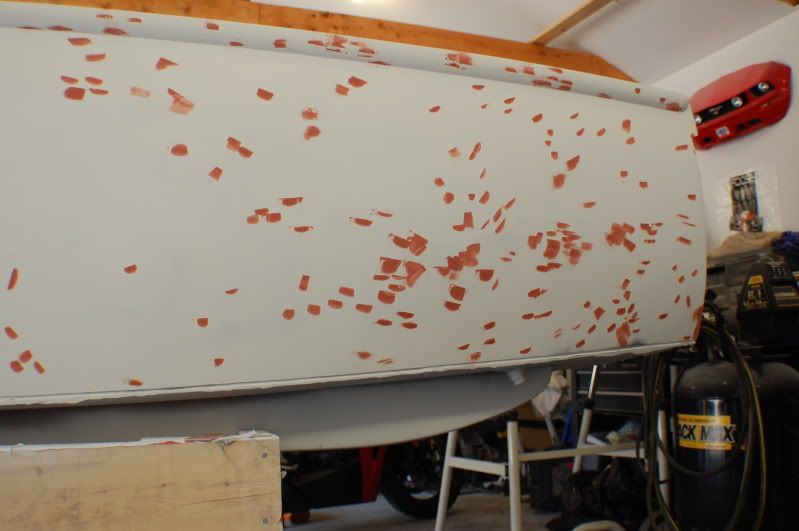
Then…sanding and glazing putty to fill gaps and other small imperfections.
---------- Post added at 09:20 AM ---------- Previous post was at 09:11 AM ----------
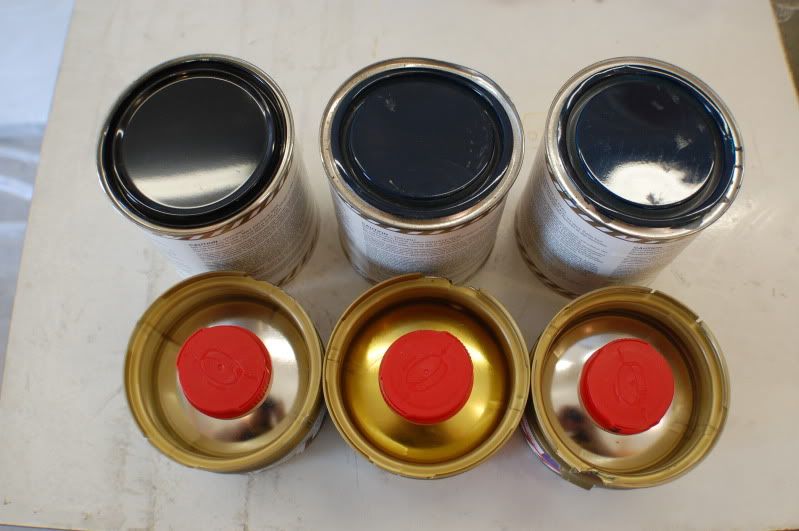
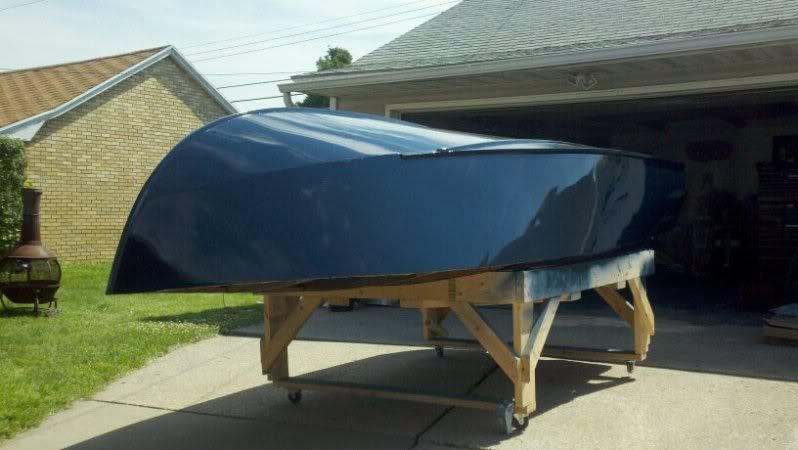
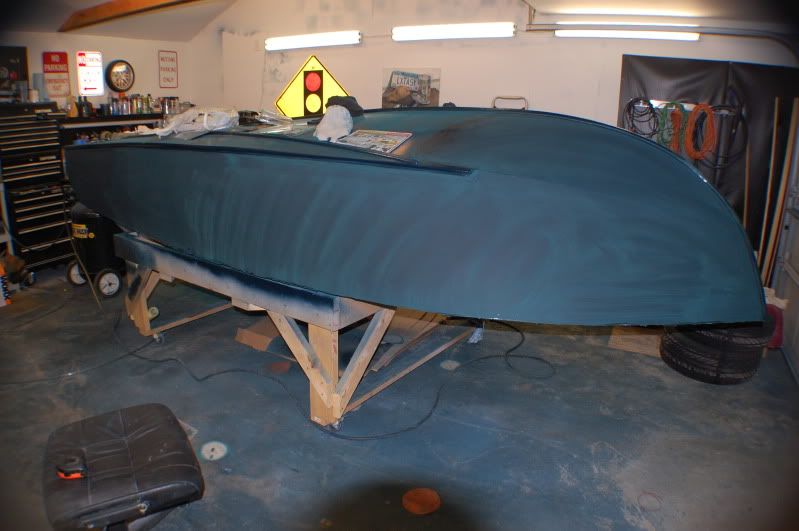
Another layer of primer went down after the chickn pox above were smoothed over. Then…final color! The paint is a two-part epoxy paint. The blue wasn’t dark enough, so I went with 2 cans of blue and 1 black.
Paulo has really long arms, absolutely no body fat, and a handsome smile. I gave him the pleasure of conveniently reaching the areas I couldn’t do as easily. Throughout this entire build, the area he painted was by far the most successful:tup:
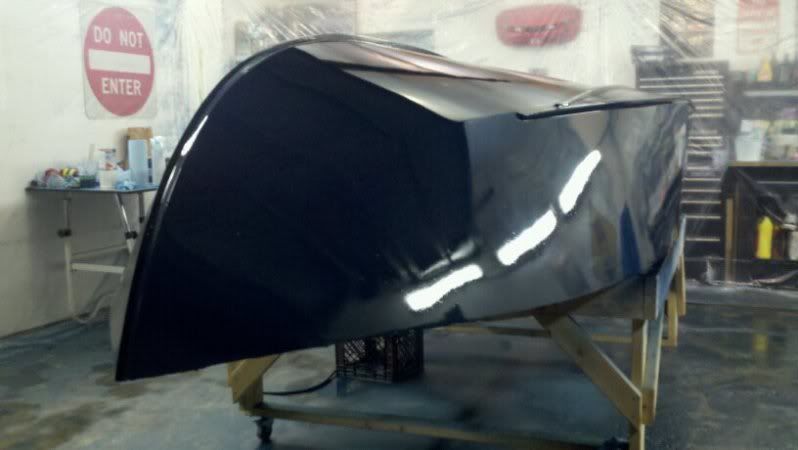
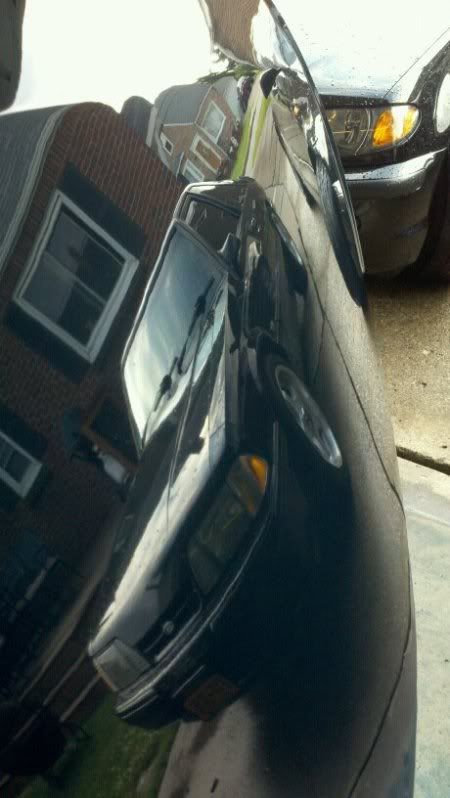
Painted!!! I love the color…and even better is the changing hull surface from front to back goes from shadow to highlight, so there’s a great transition of the colors.
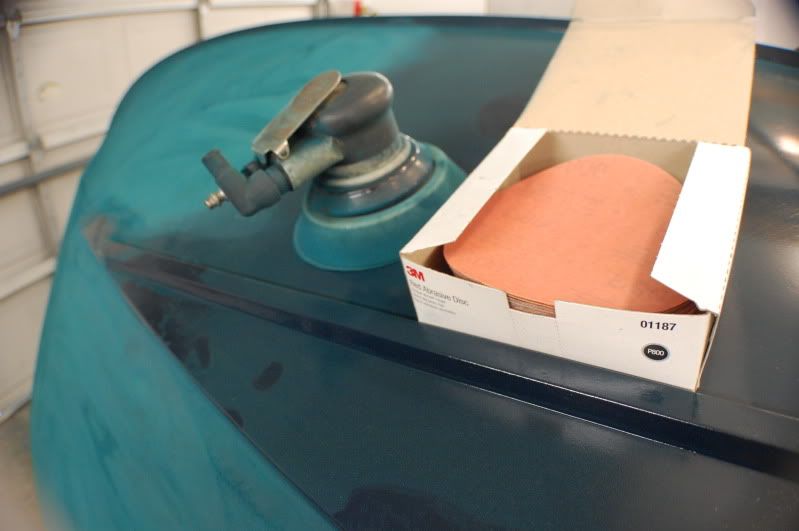
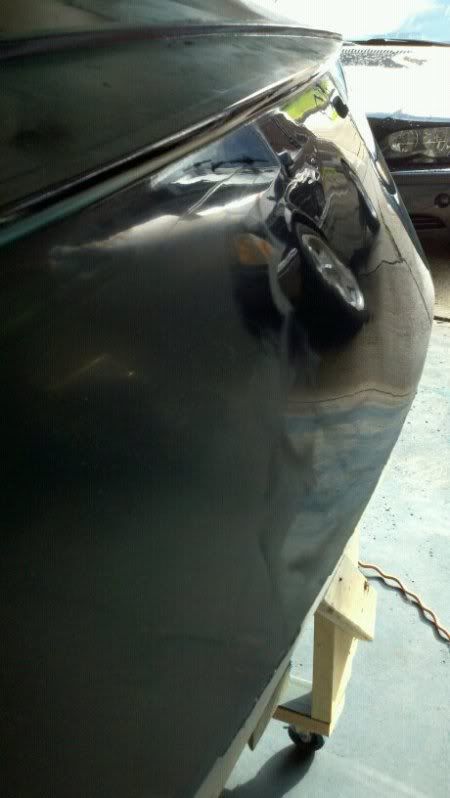
Then…had to get rid of the orange peel. Went aggressive here with 800 grit and a DA sander. In hindsight I would have started higher on the grit, or invested time/money into a better spray booth that was my garage, as it became a bitch to buff out and some of these scratches are still visible if you have a good eye.
For some reason, the dust of the paint was turquoise…
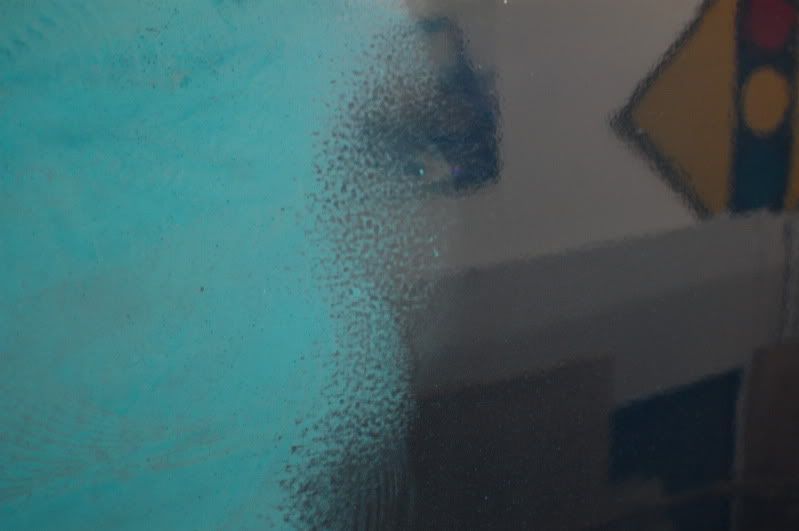
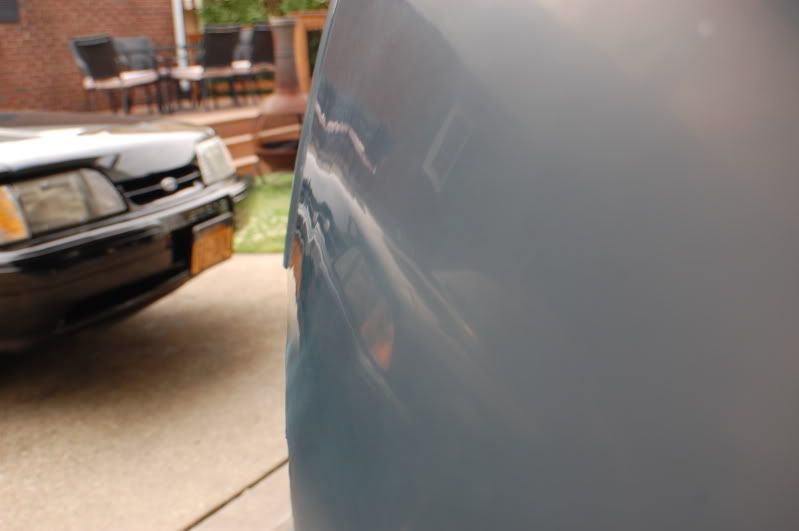
Note the level of orange peel
---------- Post added at 09:29 AM ---------- Previous post was at 09:20 AM ----------
After the dry 800, went wet 800, wet 1500, and wet 3000. Here’s the 1500 in action…
After the 3000 there is a slight gloss visible through the dullness…
What felt like a million hours of buffing were needed to bring out the shine. Also took a full quart of heavy cut compound to get it done.
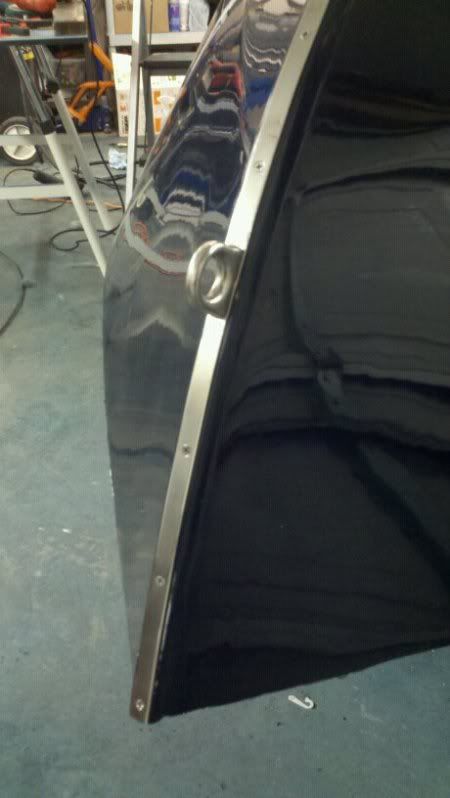
After a few more stages of buffing, was time to polish up the metal hull trim and secure it down with new #6 stainless hardware:)
Then the eyelet went back in…getting closer to flipping this thing back over so wood working on the top side can begin!
holy fuck I love it so much
I just had so many flashbacks to the restored 68 Boston Whaler I had 
Awesome Mike. I love that color.
:tup:
Wow… looking great. :tup:
Great work :tup:

