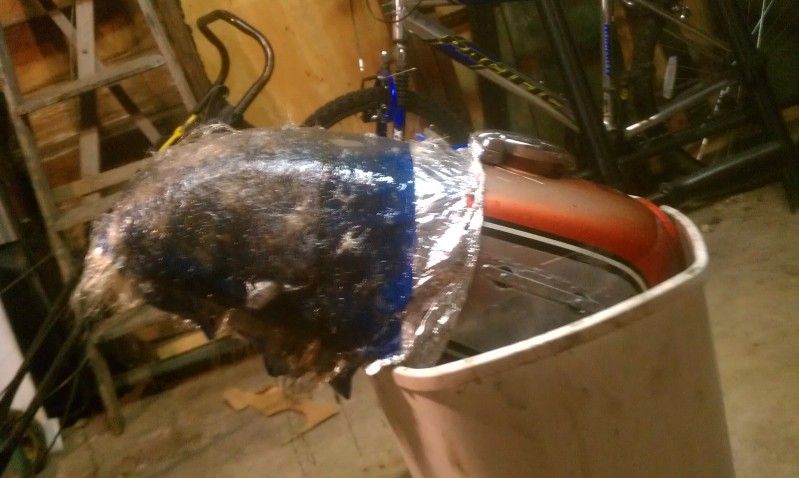
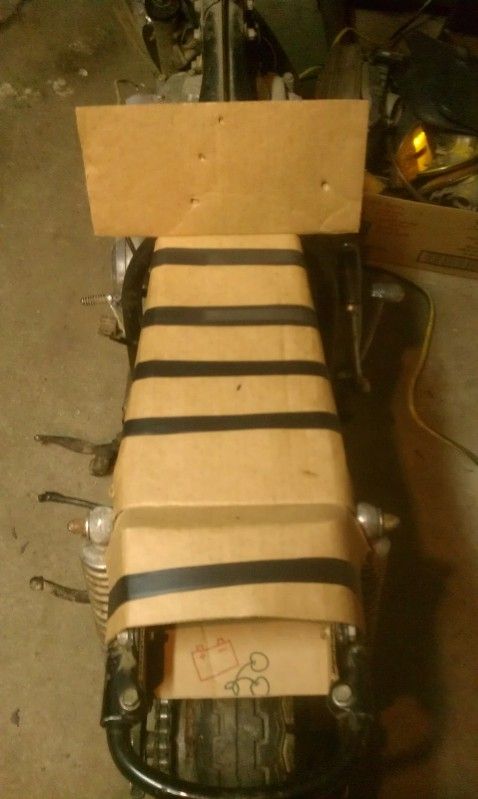
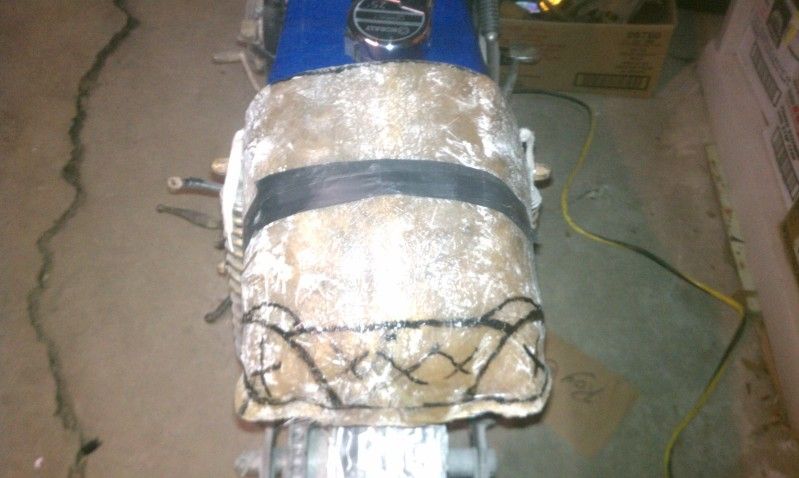
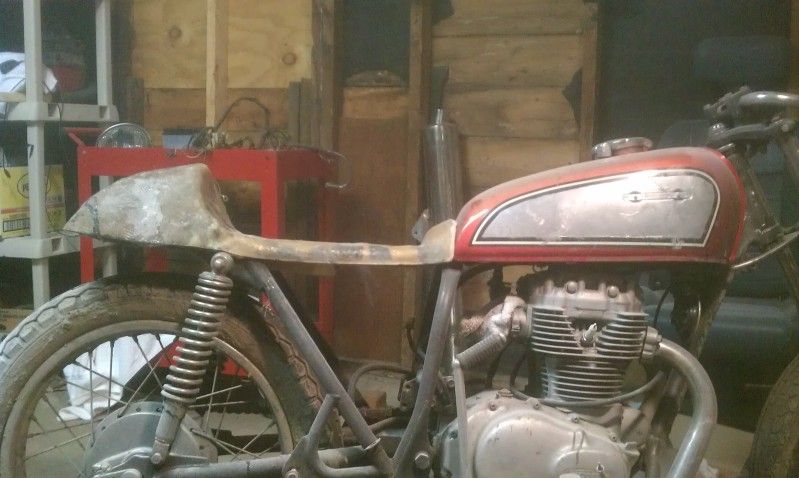
Still have to trim the back to fit the same curve as the hoop on the frame. I’m also waiting for my tail light to come in, as it will be flush mounted. It’s a 2" round light.
That’s it as of last night. Going to be laying fiberglass on the seat pan today. I also have a set of adjustable shocks on order. I will be lowering the whole bike roughly 1/2"-1" front and rear.
As for the rest of the bike for now:
clip ons
rear sets
pod filters, re-jet/rebuild carb
2-1 exhaust, making a sport bike shaped muffler
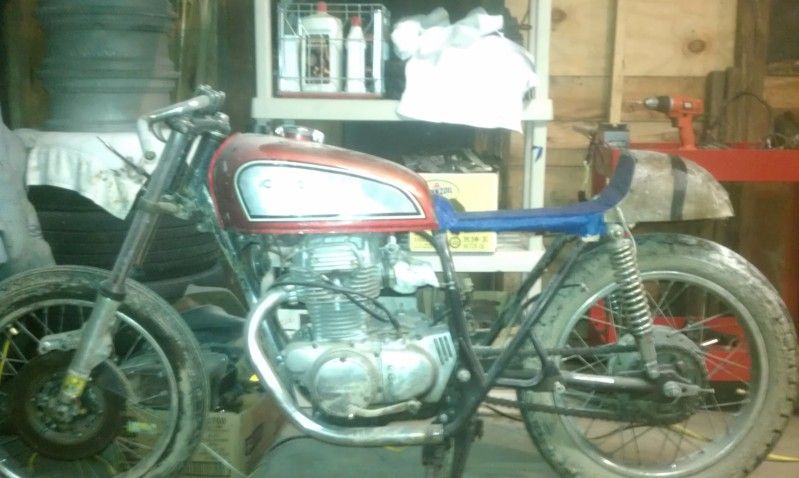
no rear fender (bikes missing a front right now as well)
new brake/clutch levers
grips
speedo only, no tach or neutral/high beam light
small turn signals
dual sport tires
paint (2 color scheme ideas 1.black/charcoal grey or 2. black/beige/bright red-orange)
tune up/brakes etc obviously
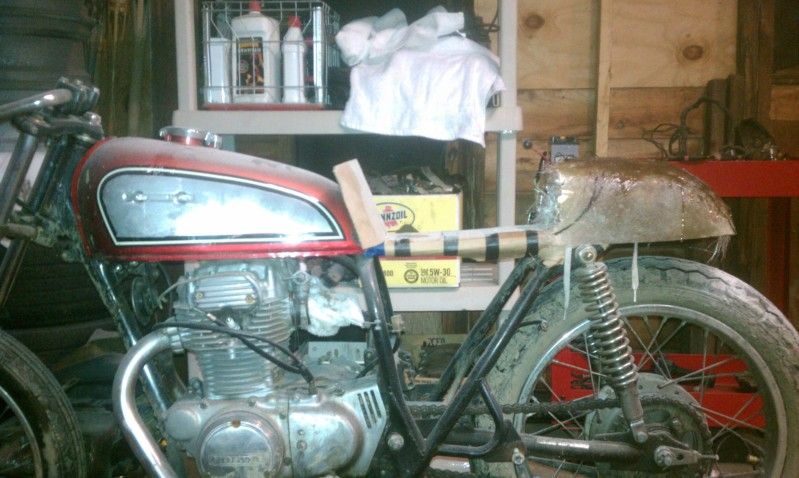
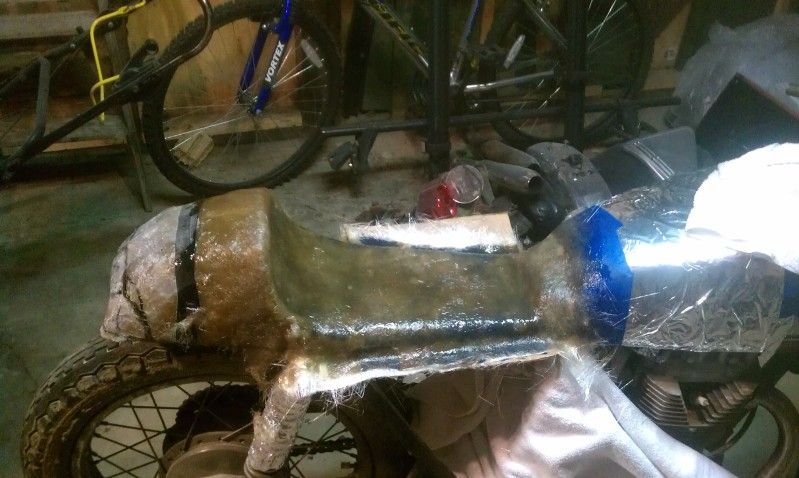
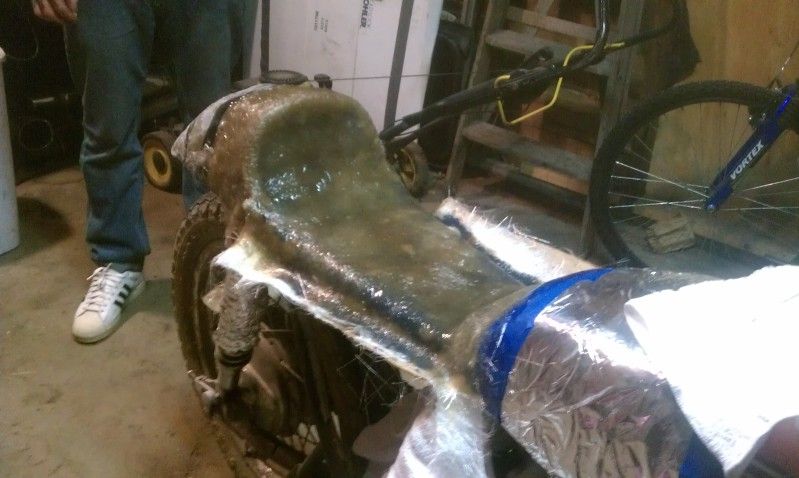
Once my tail light comes in, we can mount it in the tail section and make it fit the hoop on the back of the frame. Then its body work/primer time!
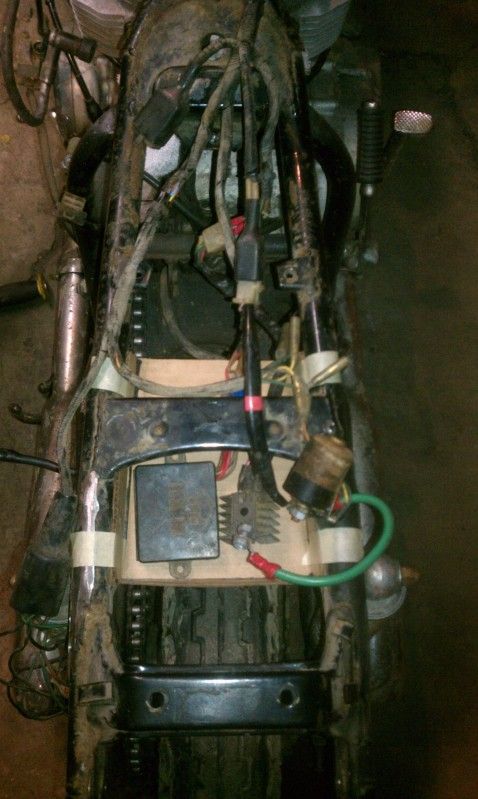
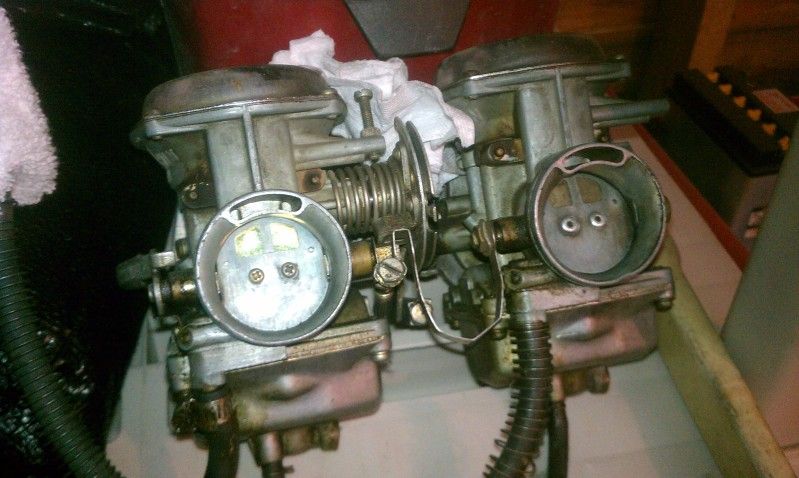
On another note, one of the flappers in the carb is rivited in place, vs being screwed. It wobbles around a bit. I’m going to have to drill out the rivits and tap the holes and put new screws in.
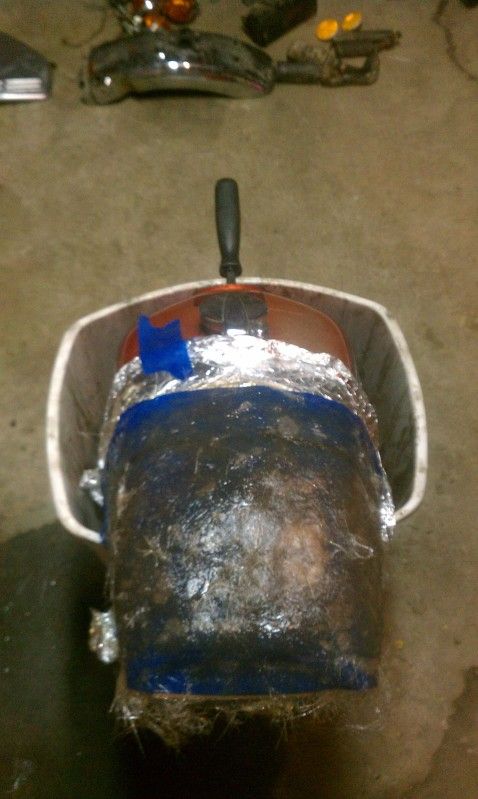
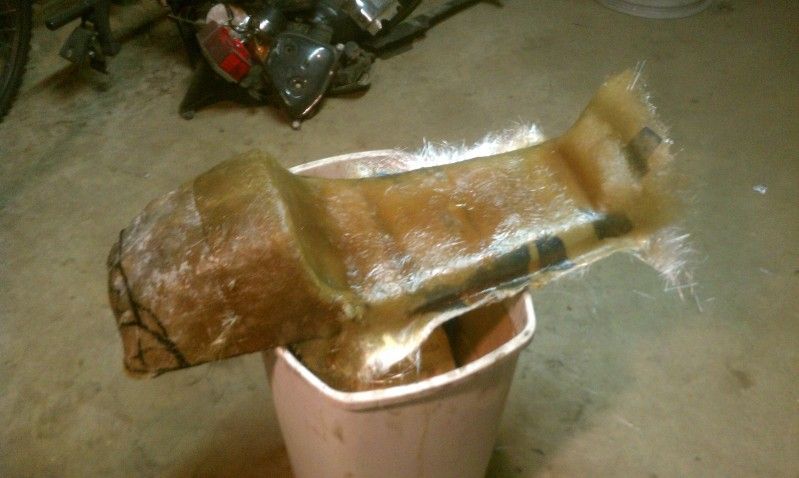
what you see is merely two seperate days, about 2-3hrs work each day. all that’s left is smooth it out and paint/uphostry. has maybe $150 in materials into it which includes silly things like golves, tin foil, cheapie paint brushes for applying resin, a gallon of resin, couple packs of fiberglass matt, painters tape, and mcgueirs quick-wax spray.
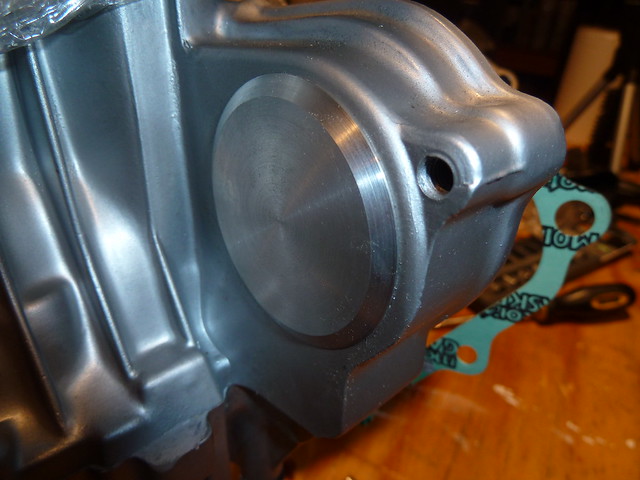
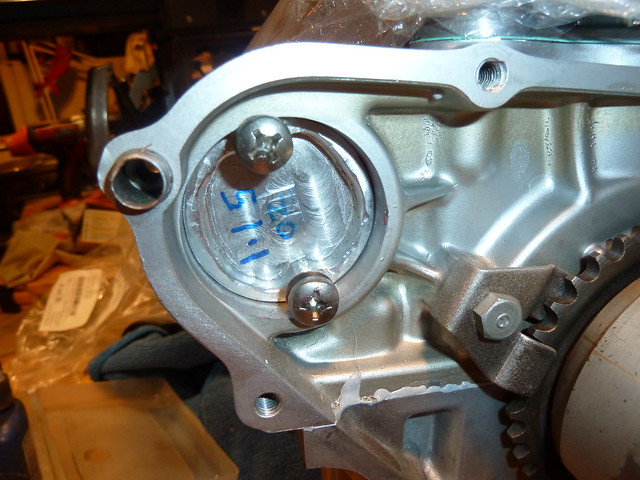
I think all I need is the inner and outer diameters. 1/4-20 is more than fine for what you are doing and if we can keep it at .5" total thickness I can make it out of plate.
Alternatively, one bolt in the middle might be ‘better’. Then you would need a small piece to span the opening, which the double bolt plug should have too, actually. You could even get away without any bolts if the size is right for a press fit and/or it gets bonded in.