DIY: Smoked Headlights

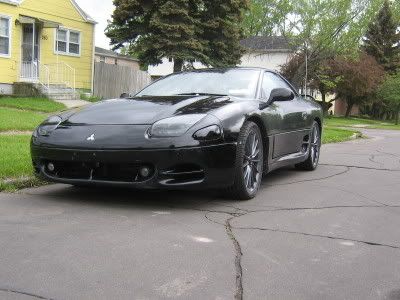
i had a totally random idea today to smoke my corner lights. while i did the corner lights, the same process applys to headlights, marker lights, tail lights or basically any transparent plastic surface on the vehicle.

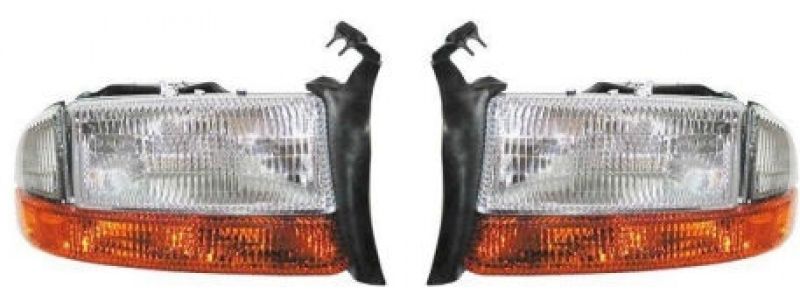
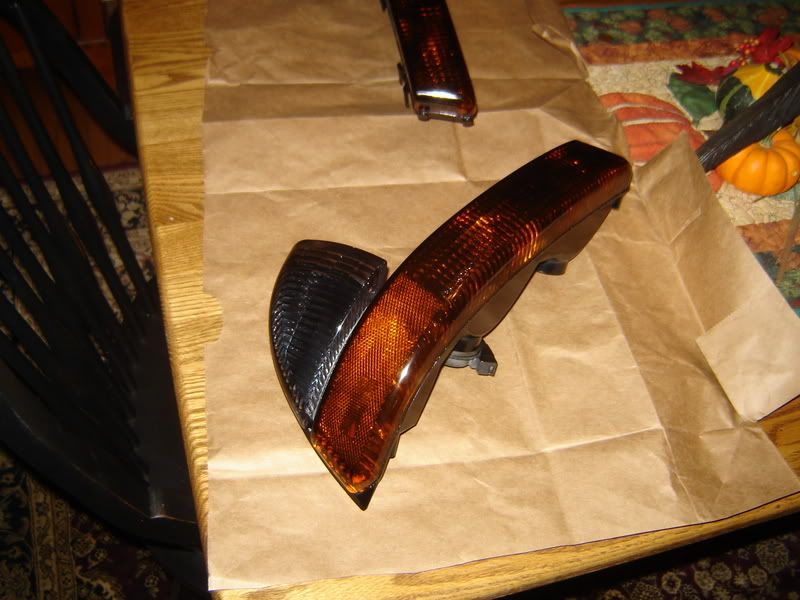
i didnt think to take before and after pics untill i was all done, but heres essentially what they looked like before:

Materials:
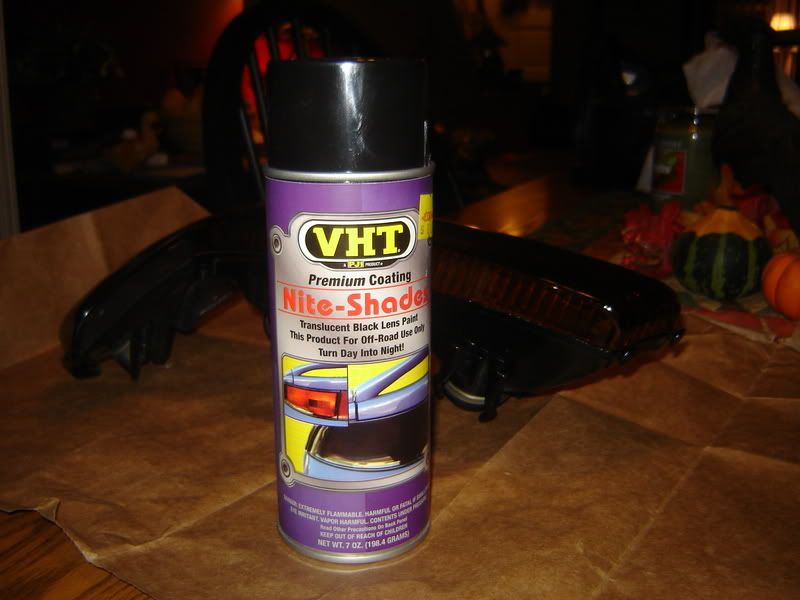
-1 can of VHT “Night Shade” tinting spray (available at K-S Auto Stores)
-glass cleaner
-microfiber towel
-safe place to spray paint

Step 1:
Remove headlights/tail lights/side markers or whatever from the vehicle. take all bulbs, mounting screws, etc off of the light assembly. basically, the goal here is to get the lights as striped down to just the bare lenses as possible.

Step 2:
Tape off any surfaces that you don’t want to get this stuff on. I didnt tape anything off, because the light shroud on my corner lights is black, and you dont see the back of them anyway when they are on the truck.

Step 3:
Clean the surface that you’re going to be spraying weel with a good glass cleaner. I like to use Invisible Glass brand and a microfiber towel.

Step 4:
Shake contents of can as directed, and start spraying. I found that its actually better to spray a little more than the reccomended 12" away, and its better to more or less ‘mist’ the air around the light with the spray and let it find its way to the surface.

IMPORTANT NOTE:
This stuff runs VERY VERY easlily. if it does run, take a clean cloth dampened with acetone, and the tinting material will wipre right off. make sure you do the whole light, NOT just where it ran, so that the darkness of the tint stays consistant. repeat steps 3 and 4. I had to do one light over because the spray ran.
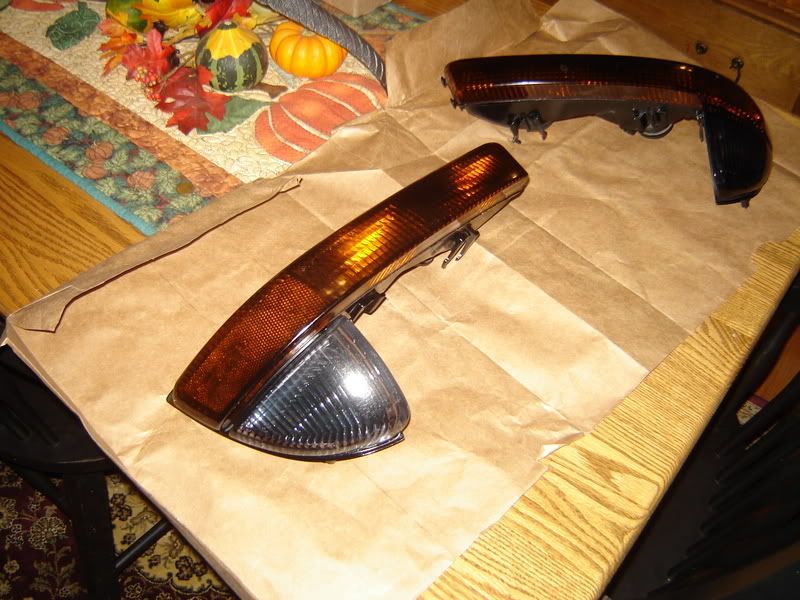
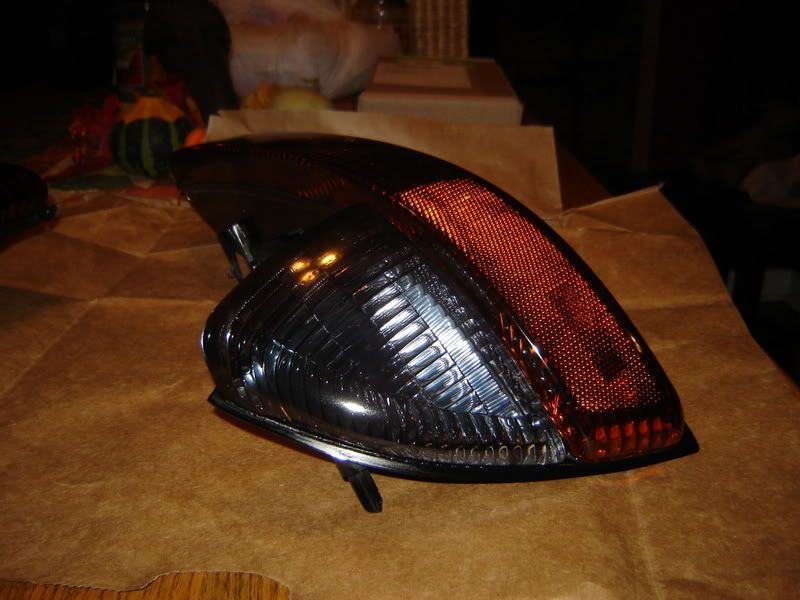
Step 5:
The directions say that anything more than 3 coats will make it so that NO light will be able to pass though. This stuff darkens VERY quickly, so make sure you start off with a very light coat. What you see here is the results of 2 VERY light coats. It’s actually a little darker than what i had wanted, but it’s also important to note that in person, they are not as dark as the pictures make them out to be.

Step 6:
When finished, let dry. The directions say to let dry for 6 hours before handling. I ended up spraying these outside, so in about an hour, i moved them inside, but i was very careful to NOT touch the lense.


overall, i was quite satisfied with the results. I absolutely SUCK at spray painting things, and these came out very well and were easy to do. seen as how i did them and they came out good, ANYONE should be able to do them. I am getting clear headlights with HIDs over the winter, and am obviously going to do them as well so the whole thing doesnt look stupid. I would also like to note that the directions on the can advise AGAINST clear-coating. it says that it can leave a ‘cloudy haze’ on the lense. any other questions, feel free to ask.

well if you were really crafty you, could take some clear coat and mix it with a tint of black, put it in a spray gun and do it that way , then clear it looks way better and much smoother. I used the night shades on my neon tails and i didnt like it at all

exactly what i did :lol:

I can see the corners and tails, but headlights? Oh well, if any of you want to try it you can try again when you plow into that deer you couldn’t see because you reduced your headlight’s output.

wait a minute?, you cleared your headlights?

yeah thats really smart.

nite shades = good stuff
Did this a few years ago
http://i6.photobucket.com/albums/y202/ckilger12/HPIM0128.jpg

No, he just did his markers, but he said you could do it for headlights too.

ahh ok

im going to do the headlights. i recieved my HID headlight conversion today (8000K) and i am going to be ordering the 8000K kit for my foglights too. im not really too worried about it. someone on the Dakota Forums has his healights smoked, and has the same HID kit as i, and he does not have any issues, and the headlights are still bright as day.

Why would you get 8000k? your light output will suck, sure they are bright but the distance won’t be as far as say 4300k

im looking into different option. the 8000K is all thats available for my truck right now (that doesnt cost $300+) but the fog light kit is available in the 4300K so maybe i will get that for the foglights (seen as how i drive with both on at night usually)and then aim them up just a little.

Where are you buying them that 8000K is the only option? I’m just curious since you are probably buying a universal kit for this truck and there should be plenty of options for whatever size lights you have in there.

there was a gorup buy on the Dakota Forum that i got in on. it had the whole kit ready to be installed for $190, normal price was something like $300, but we got them discounted pretty good cuz like 150 people got in on the buy.

Who makes them? Cuz if is another e-bay brand you paid about $100 too much

http://www.mmimotorsports.com/hidkits.html

thats where we got them from. if they suck, o well its my fault for taking a chance on a no-name brand set of them.

Yeah that kit is basically the same thing you get all over e-bay… oh well you live and learn

8000k is like blacklight. Your light output is going to be worse than oem.

4300k or 5000k is the hotness for hid, in a proper hid projector.

You’re planning on putting HID’s into a stock lense? Thanks for blinding everyone…

if they were relfected lenses would not be that bad, its the fact that its a difused lense that makes me want to spoon out my eyes with a wooden fork

u might wanna just get a can of spray can clear cuz that nightshade stuff washes off after time, i did the corners on my 3000gt and it came out decnet with some wetsanding
http://img.photobucket.com/albums/v296/Willybeen/3kgt005.jpg