lookout ben I have a motor down savani’s right now : ) Come clean all my hideously dirty parts lol
Ok, when I get back in town I’ll stop by and see what I can sonic clean.
Hey Ben everything looks really good did you get the picture cleared like I said to? You gotta link me to them stem seals too.
Oh btw, I got your next mod all lined up…

I see slicks but I am assuming you mean driver mod? :love:
No I meant the car itself.
I took a little road trip to visit my girlfriend at her school. While I was there I meet up with one of mydsm friends, known . He converted his non-turbo to turbo. We hit the streets for some West Virginia car scene fun and ended up attracting a caravan of DSMs before the night was done.

My Talon made the trip without any big issues and spending a 6 hour round trip on the road with ECM link up and logging helped me get my LTFT-lo and LTFT-mid both to 0.0%, which is incredible.
The wheels and tires felt great.
The morning of getting the tires mounted and balanced I drove to 3 different “performance shops” not one of them had these in stock; even the ones that were into drag racing told me to head to an off-road shop that was an hour away. I couldn’t do that because I was on a tight schedule, and needed these ASAP because I was leaving the state in my DSM. I ended up actually finding these at the least performance place I could think of, an advance auto store. The girl that worked there knew the NHRA rules and kept some in stock for people like me. They were only about $10. So actually they are not hard to find you just have to know where to look and I didn’t.
All I could think to do about the wheels was use some good automotive touch up gloss black I had here to paint the lead wheel weights. Like anything else, paint it black and make it disappear.
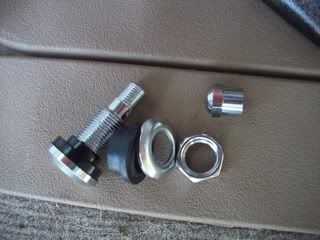
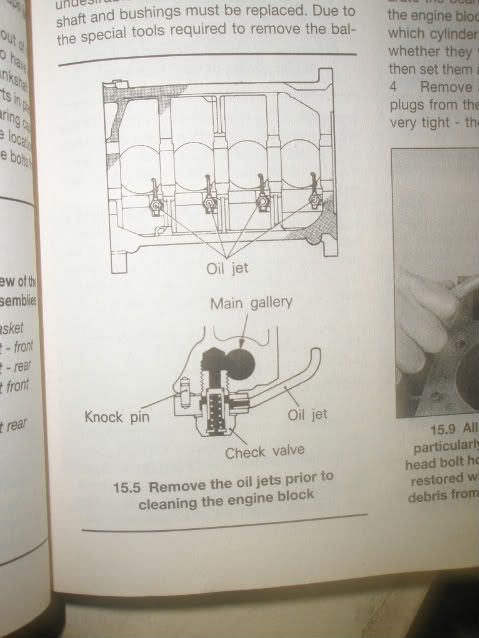
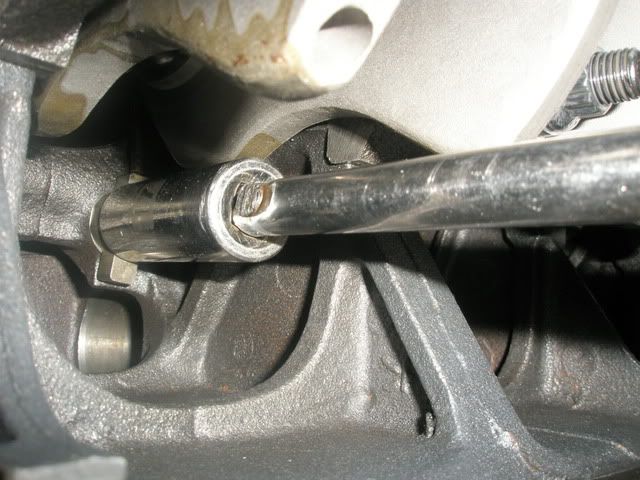
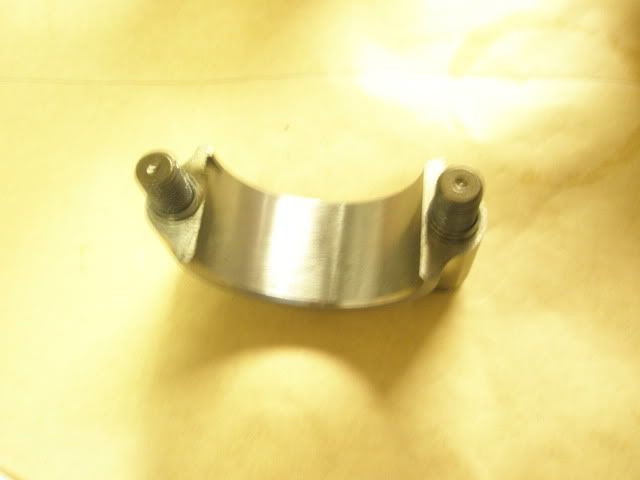
These should have actually been done before the crank was installed but no worries I can reach past the crank and install these anyhow. These were cleaned with my sonic cleaner to avoid from buying new ones since these were very fresh, but if I didn’t have these I would had bought new check valves [Oil Jet Bolts].
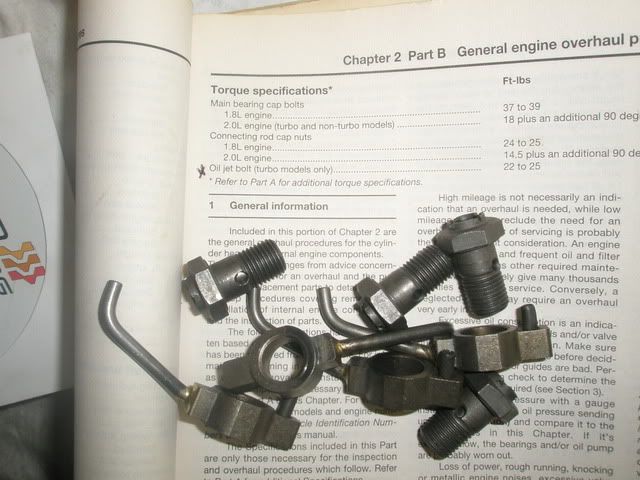
Saw the removal for these in my Haynes, but didn’t see instructions for the installation. The torque specs were listed 22-25ft/lbs and really all that is needed because these are pretty simple.
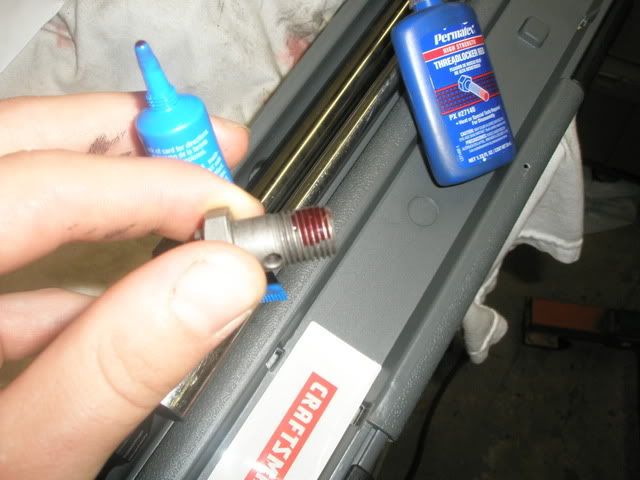
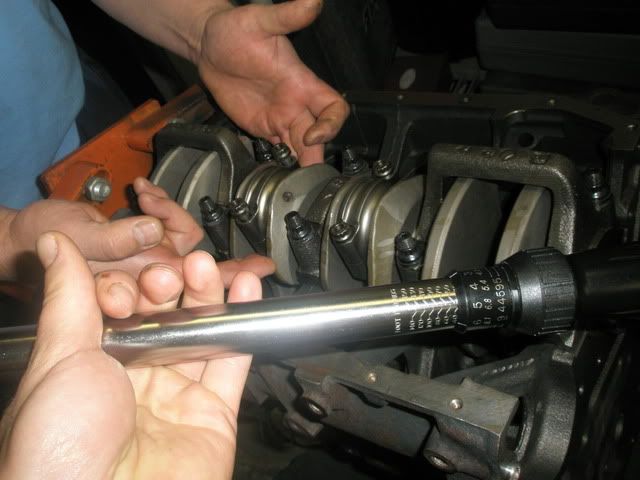
Got my torque wrench, red thread-locker, an extension and a 17mm socket and got to work.
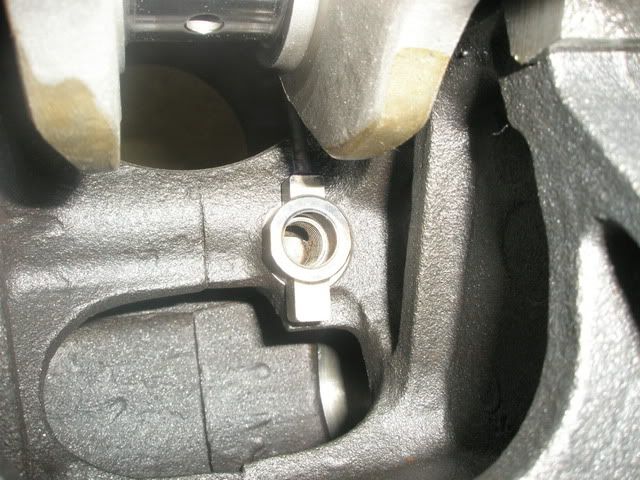
I used a magnet to help get things in place and then hand tightened things down with fingers and feel before getting the torque wrench.
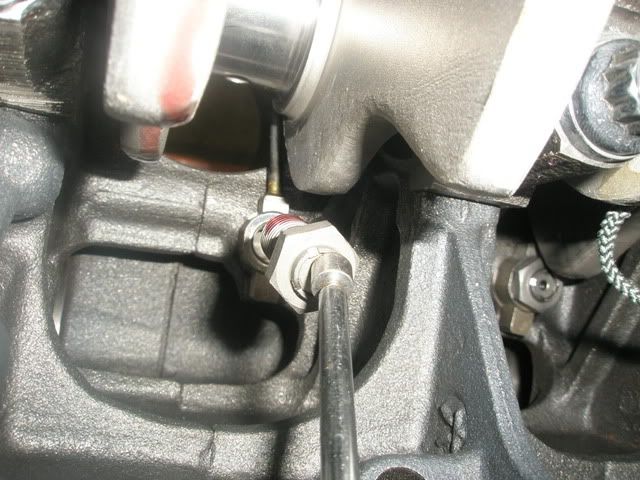
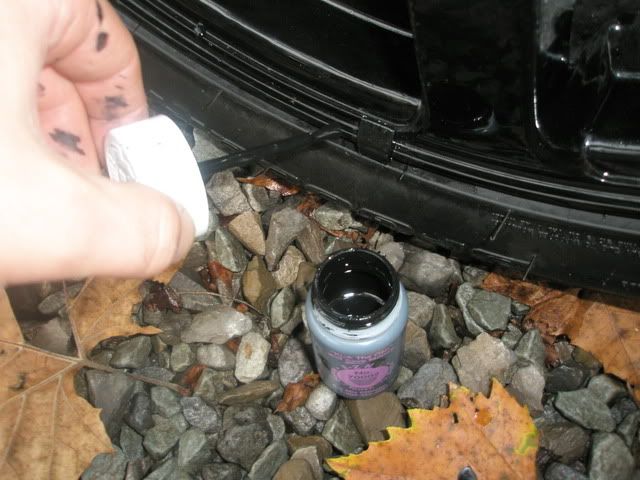
All bolts got a healthy coat of RED thread-locker [loc-tite] and torqued to 25ft/lbs.
As you can see there wasn’t much room for my socket to fit past the crank, so do yourself a favor and install these before the crank ;]
This went really quick;
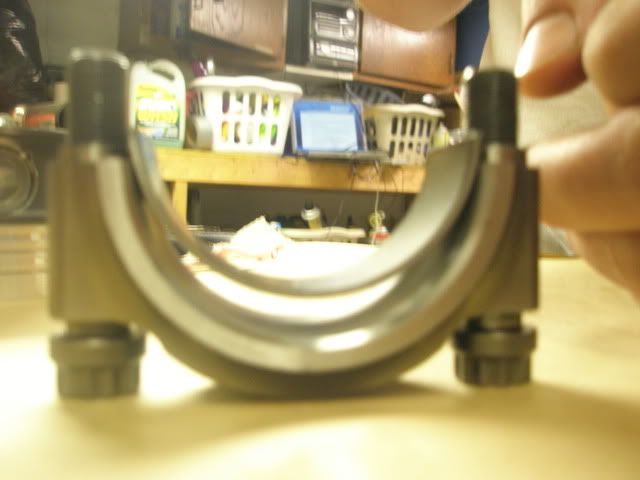
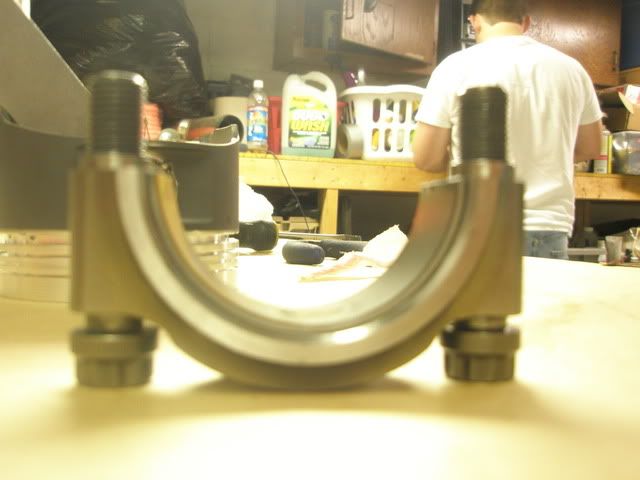
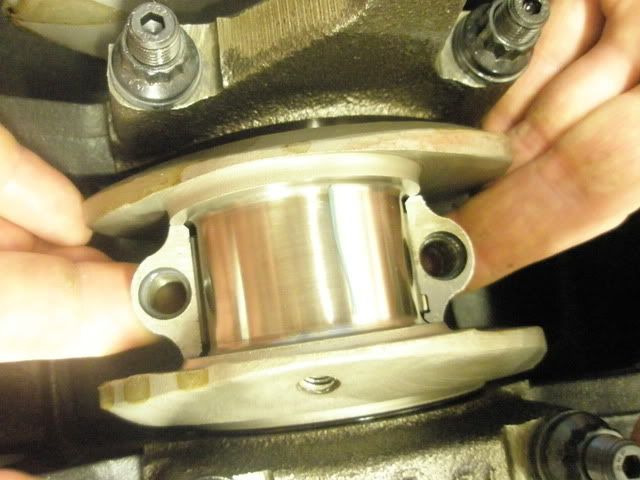
Next will be the B/S eliminator bearings getting installed.
Last time I eliminated balance shafts it was while the engine was almost fully intact and upright on a picker,
so this time should be much easier being that it is on a rotating stand.
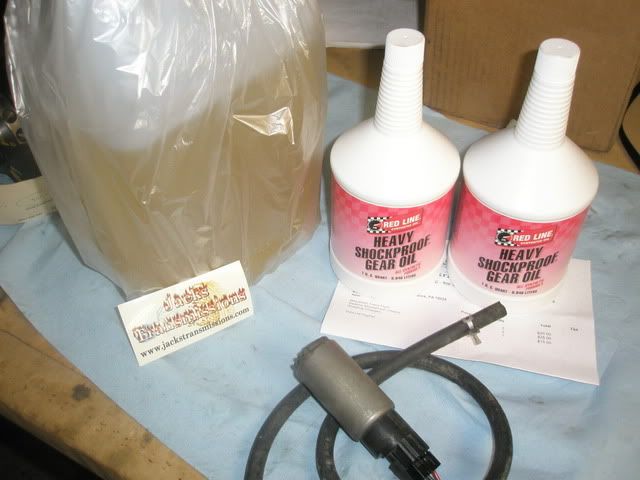
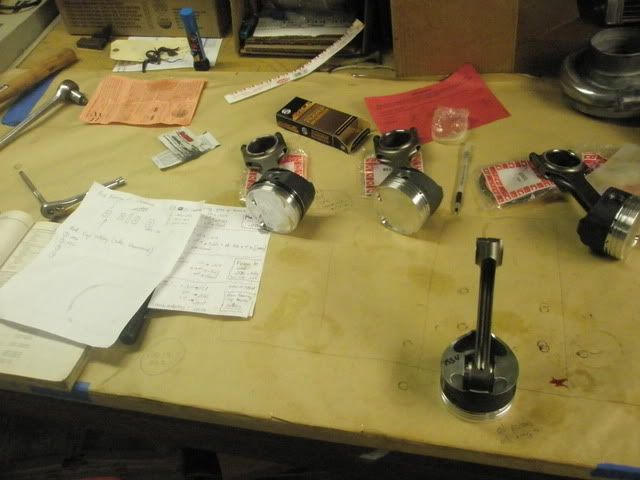
Got my order in from Jacks tranmissions, the people who built kurts (T70_tsi’s) 9 second dsm tranmission. My stock '97 transmission still shifts perfect. I want to try to keep it flawless for as long as possible so it is important I keep on top of the fluid changes. I got the Mitsubishi Diaqueen transmission fluid for only $10 a quart!! And the redline ShockProof gear oil was sold to me for less than what summit wanted.
Also Pictured is a NT fuel pump and hose, I’m going to try and rig up a way to pump the shock proof fluid into the t-case and rear diff.
i’m not trying to criticize, because a lot of what you’re doing looks great. however, just some food for thought for you about the locktite, especially on the oil jets. the healthy dose of red loctite you put on the bolts can actually follow it’s way down the threads before it dries where it will dry and could flake off and into the main oil galleys. being it forms a hard plastic that isn’t really oil soluable, it could cause bearing damage should it make it’s way through them. like i said though, alot what you’re doing looks great, just something that would make me nervous doing.
and for pumping the fluid into the diff and transfer case, advance has the fluid pumps that screw onto the bottle for like 5 bux if you can’t get the fuel pump to work.
I put a heavy dose of blue on my bolts, i hope i didint fubar it up. Im scared they’d fall out though lol
then again i didint put a TON on…i think
you torque them to spec they aren’t going to fall out
you do not have the luck I do haha
u have luck ?
I’ve had a number of bolts torqued to spec that have vibrated out due to heat expansion and running solid mounts. I also had bolts with lock washers do the same. My 10mm transmission bolts with factory lock washers torqued to spec also vibrated out using these mounts.
I’ll loctite anything these days.
i’m all for loctite, just not on something that is inside an oil galley. every bolt on our s15 had to be loctited in place or the car would have fallen apart going down the track.
I talked to a couple others who also loc-tite their oil jets, nobody in the dsm community seems to have had an issue with it, but thanks for the heads up.
I forgot to add that during the crank install I checked the trust bearing clearance, or the crank end play which ended up being .0025-.003, nice and tight.
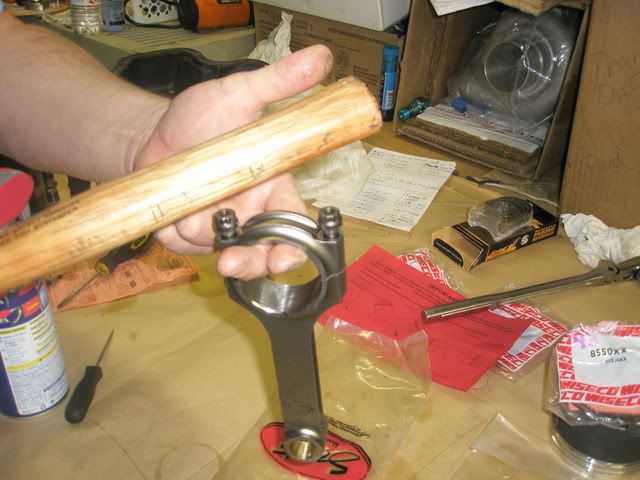
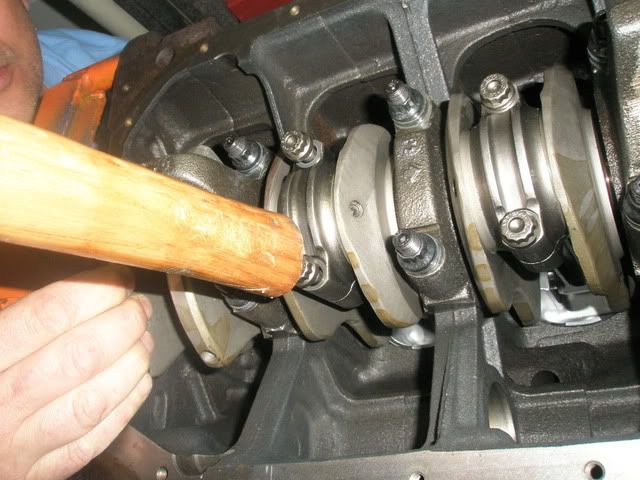
1st the rod caps need separated from the rod. Arp’s were tight from the factory, using a wooden vise or blocks of wood to hold them while I broke the bolts free with a 7/16 12 point.
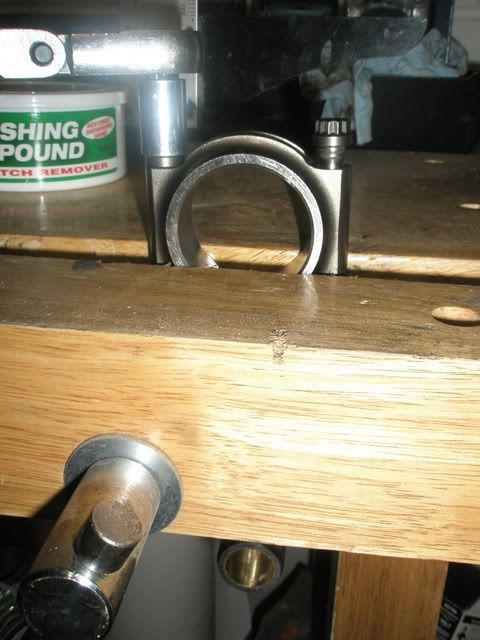
Can tug the caps apart or lightly and evenly tap on the ARPs with the wooden handle of a hammer while holding the rod cap.
Or
When they come apart you can see that there is molly lube on there already from scat when they did the initial torque at their factory.
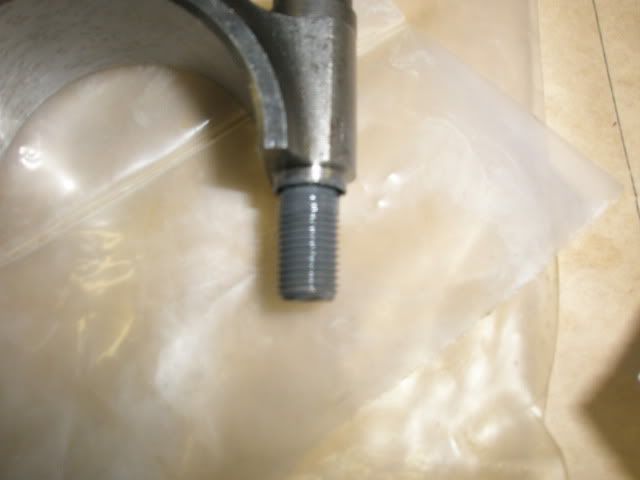
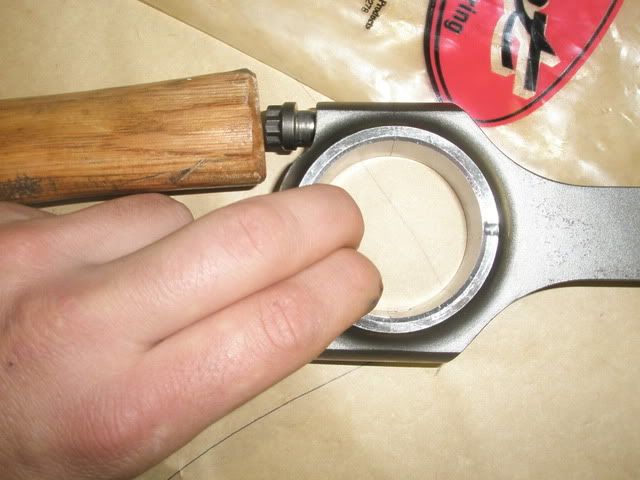
It is IMPORTANT to put the caps back exactly the way they came off of the rods. With Scat it is simple to ensure this because the serial number or part number is all on one side and spans all the way across the rod to the cap. You can see one side has writing and the other side doesn’t.
The picture is no good but you might be able to see what I’m talking about.

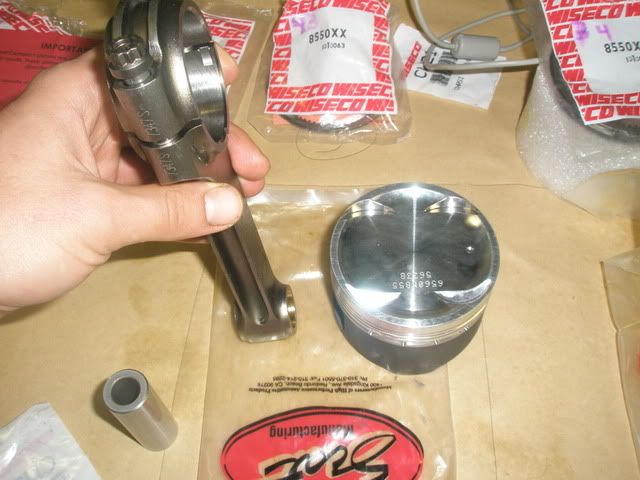
With that cap part loose but not totally separated you can go ahead and attach the piston to the rod via the wrist pin. You’ll notice that the weisco pistons have a nice big wrist pin, from what I hear it is thicker than the wrist pin that comes with Ross pistons.
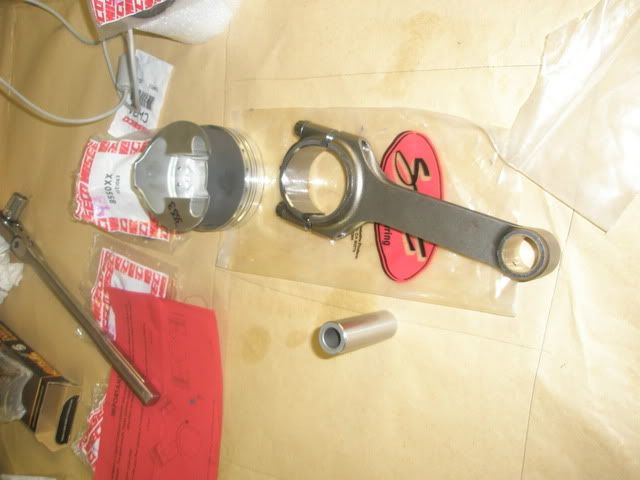
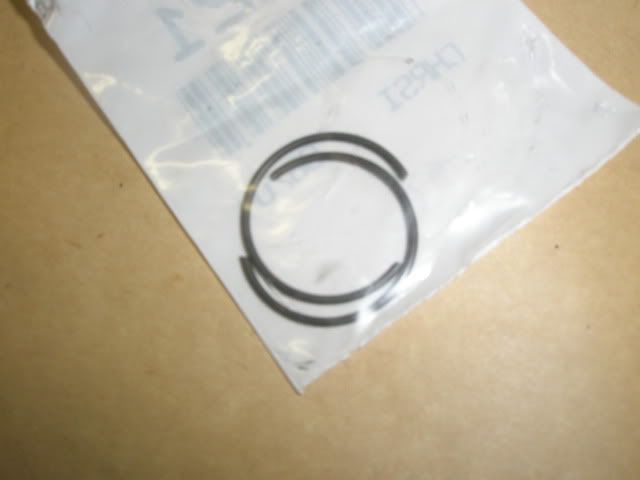
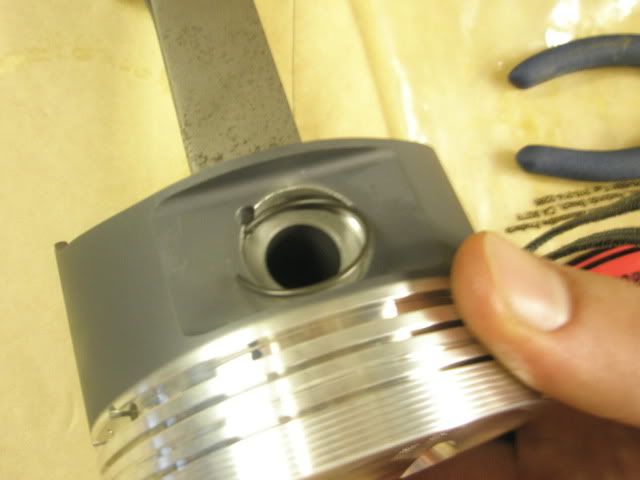
The wisecos have little clips that hold the wrist pin in.
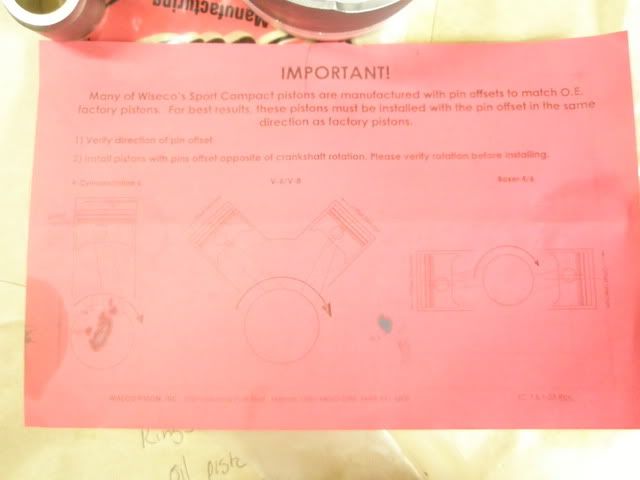
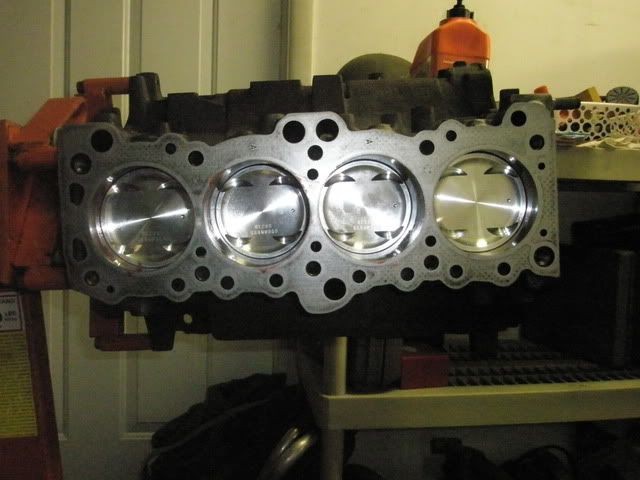
The Dot on the piston goes toward the timing side. Although it doesn’t matter, the numbers on the rod and cap are going to face the back of the block as I just decided to keep it even.
The Clips on both sides of wristpin, I made a video but I don’t think I need it, using the needle nose to get it in place is pretty simple, I just had to be sure not to scratch the molly coating on the sides of the piston.
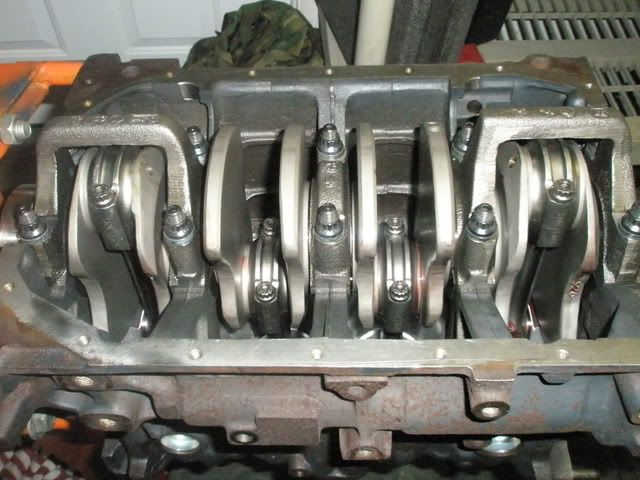
Put dry bearings on rod and slid into place in the bore. Unlike main bearings these rod bearing don’t have a top and bottom. I used ACL race bearings.
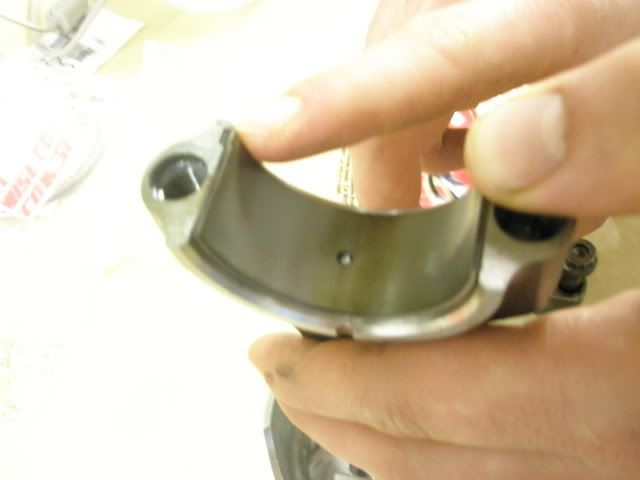
The bearings when pushed into place, they don’t drop in, will need to be flush with the flat spot on the cap/rod.
I then slid the rods and pistons [without rings] into the cylinder bore with dry bearings because I’m checking the oil clearances and nothing else at this point. When you do this If you are using oem rods you’ll want to put something over the rod bolts like a piece of rubber hose or something so that the rod bolt doesn’t scratch the crank journal. ARP2000s don’t use the same stock type stud style rod bolts so I didn’t have to worry about it.
+++Make sure the DOT on the piston is facing the timing side+++
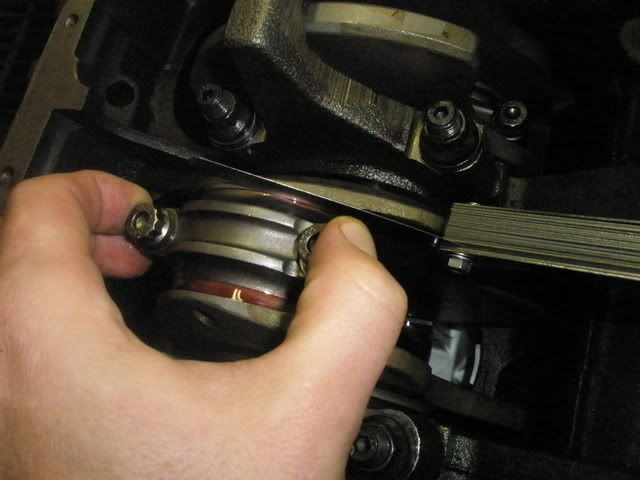
Before the cap goes back on and while the rod is on the crank, set the plasti-gauge on the crank journal off center though at least so that the oil hole in the rod bearing doesn’t mess up the plasti-gauge reading. You can make sure the crank is in the right position before even sliding up the piston and rod.
It is impossible to see but the plasti-gauge is resting on the crank rod journal.
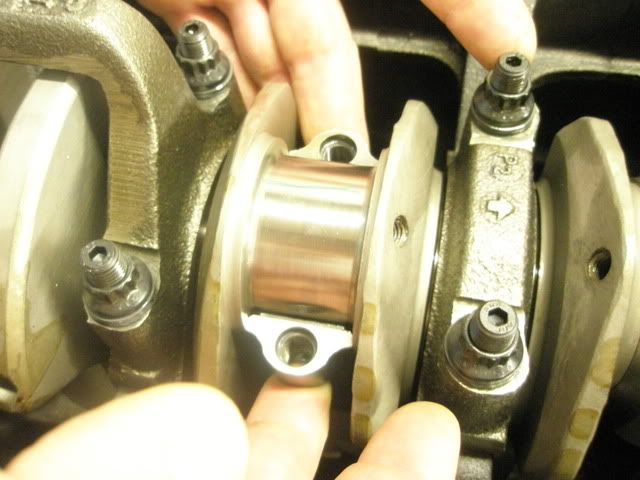
There is no lube on the bearings as of right now don’t turn the crank.
Scat only had the ft/lbs torque listed on their site for the 3/8ths ARP2000.85, when I do the final assembly I will use the proper stretch after emailing or calling scat or ARP and use a rod bolt stretch gauge.
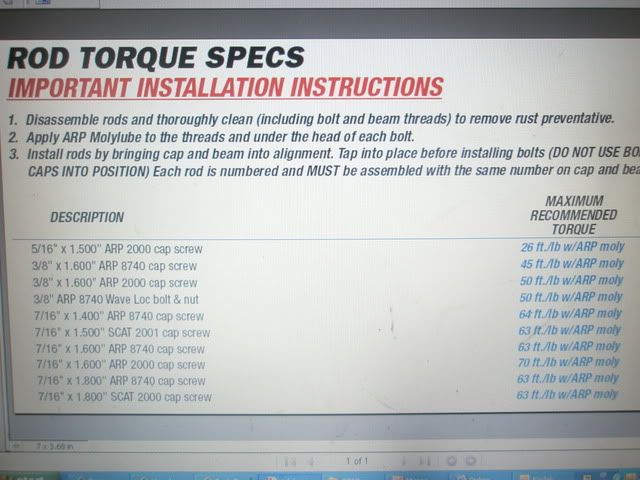
Torque in steps, same as anything else, I chose 20-30-45 for checking the oil clearance and did so only for this step all others will be to 50 and the streach, you can go the full 50 if you want on this step.
Pulled the cap off, this is the part I don’t like because you have to tap on the head of the backed off nut to get the rod cap apart, but I don’t know of any other way to get them apart and checked the oil clearance.
If you have another way I would love to hear about it.
The rod clearances ended up being between .0015-.002 when the plasti-gauge was checked the same way we checked the plasti-gauge on the mains.
What will have to happen now is, I will need to repeat this on all four cylinders to check the oil clearance dry before I can lube the bearings with assembly lube or motor oil. After checking the clearances on each rod I’ll be following behind and lubing the bearings in preparation of spinning the entire assembly to make sure that it doesn’t bind or “feel wrong”. This must all be done before getting the rings on. I’ll update when I get more done/more time to post.
Thanks again rusty, I’m always looking for others to chime-in on how they do things, or let me know if there better way.
Back to the engine,
Now that all the rod bearing clearances have been plasti-gauged and all were uniform coming in at .0015-.002 its time for the next step, which starts with putting some oil on the bearings, wrist pins and cylinder walls. I used permatex assembly lube.
I don’t know if others do this, but it is one of the steps that has been taught to me, it’s a way to find problems before the rings are installed by turning the crank.
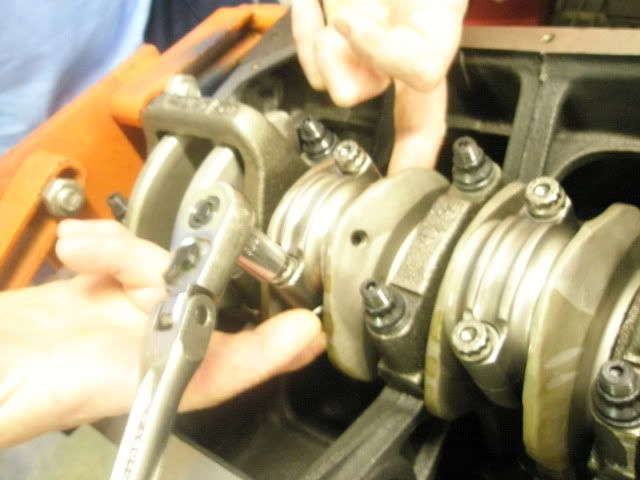
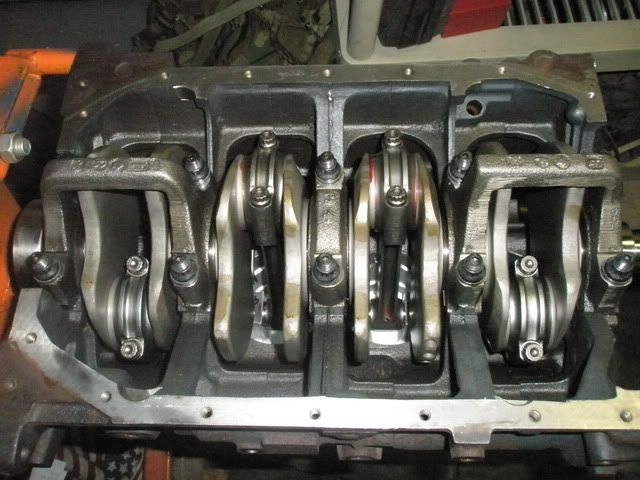
Install the dampener pulley bolt in crank. Then install one rod at a time. (I pulled all of my rods after plasti-gauging the oil clearances, you don’t need to in order to do this step, you can lube each rod after plasti-gauge if you are doing them one at a time) After installing a rod, rotate the assembly so that the whole crank spins around with a pretty even force. What you are trying to feel is that there no hard spots or points in the rotation where there is binding. Do this adding one rod at a time and spinning the crank again a couple times making sure everything spins freely until all the rods are attached. I used a little ratchet wrench so that I could really feel any abnormalities.

Mine felt great, can’t wait to get rings in it. By the time you get to this point you’ll have an idea of what you are feeling for, anything that is not butter should be cause for concern.
After making a few rotations with lube this is a great time to check Rod endplay with a feeler gauge. Make sure to really pull the rod to one side.
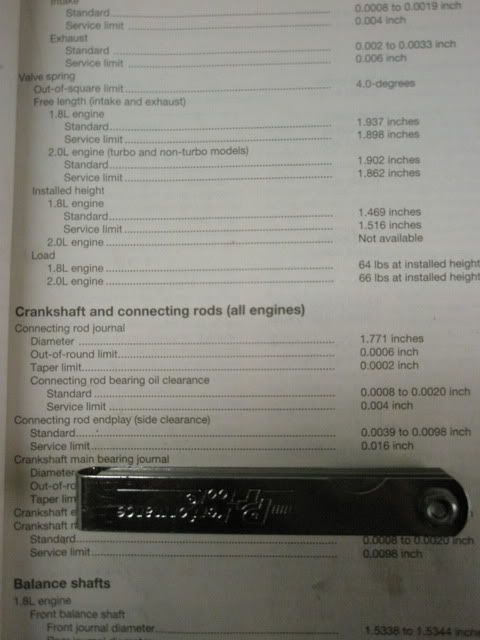
One and two were .006 and three and four were .007, with-in the limits of the book.
At this point I took a step back to double check is everything in the right direction.
-
All my numbers on the rods are facing the back of the block. -
All of my dots on the pistons are facing the timing side. -
Arrows on the main caps point toward the timing side.
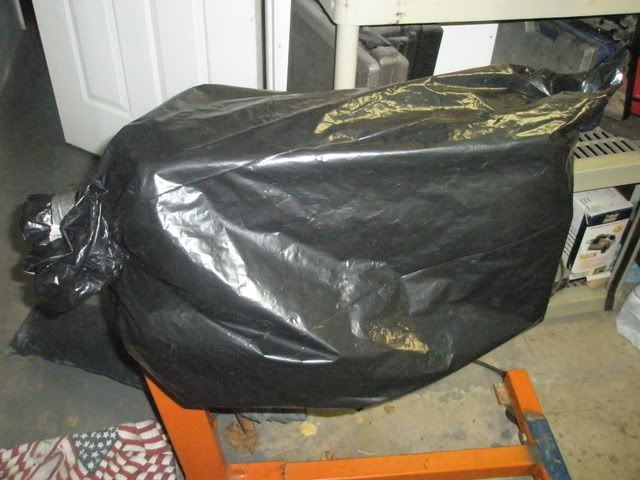
I’m going to bag it up though from now. Later I’ll get the rings in, I don’t know when because I have another car showing up on my doorstep tomorrow and I’m going to try to finish building the motor for the Mr2.
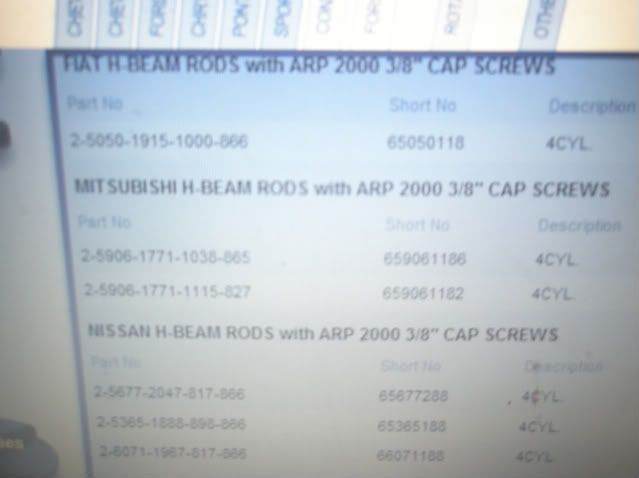
There is now a big pile of boxes that I can get rid of but, before I do here are all the part numbers of what I have used in the bottom end so far.
Rod bearings, main bearings, main studs, rods, pistons.
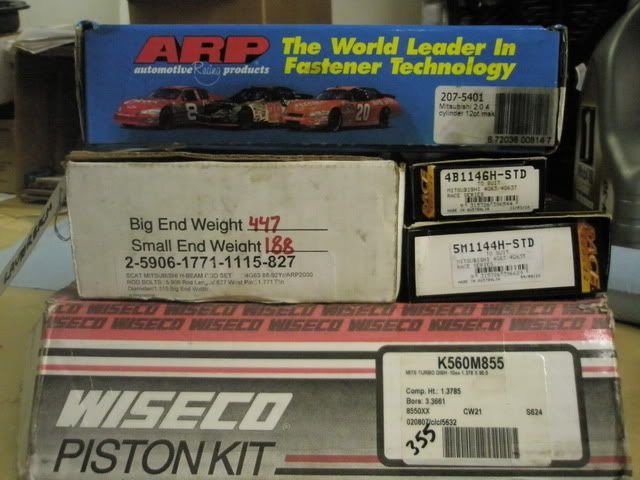
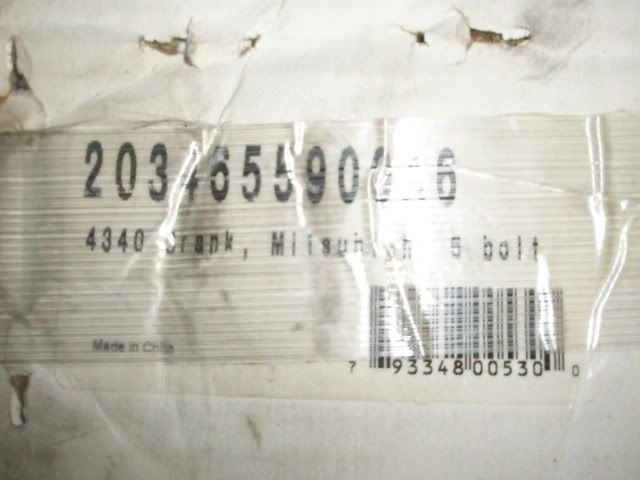
Crank.
Next step for the engine will be to install the rings.
ben, my motor fired up last week. I was so nervous hahahhaa. I hope everything goes well with yours!
You are serious with your write ups!
Love it though, thanks for taking the time
On the oil jet washers I forgot to put those in, I’ll get some of those before I go any further on the bottom end.
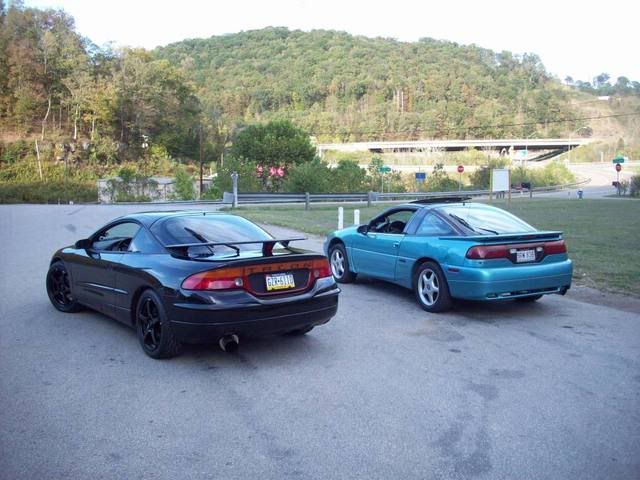
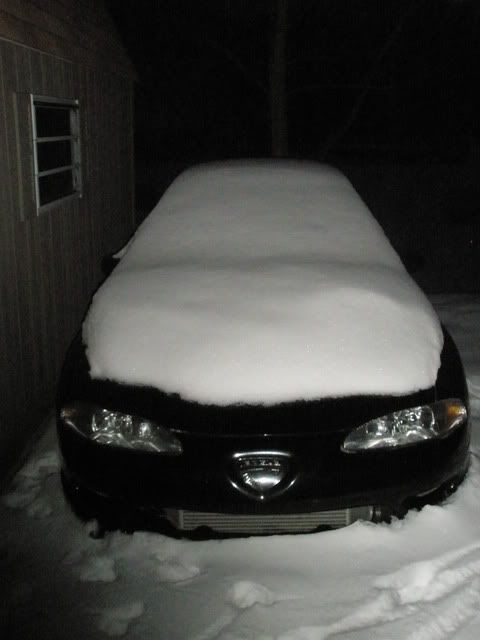
Well, my Talon got parked at the end of November. Her days as my daily driver and one and only car are over. This is how she sits now; nothing has been touched since the car was parked 2 months ago.
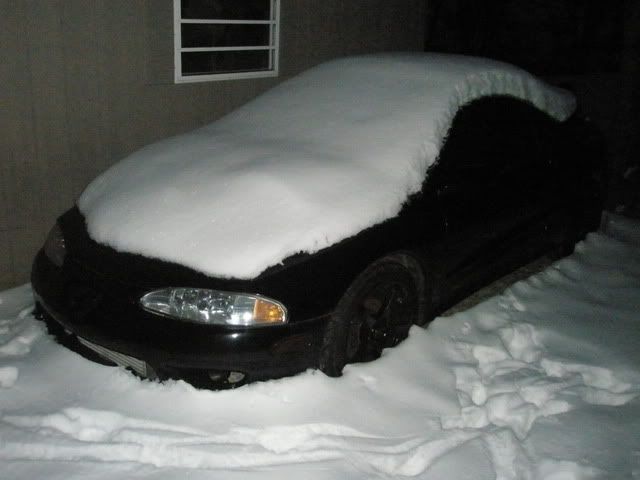
The plates were transferred over to my new Daily Driver. This thing drives great, gets 32mpg, is quiet and super reliable. It’s a 96 Honda civic hatch DX with one owner before me. It is as stock as it gets and perfect for daily driving duties. It even has AC, something I have been without for the last 10 years.

The best part about the civic besides that I don’t care what happens to it, is that now my DSM can get a break and be down for all the great things I have in mind for it. By the time it goes back on the road it will become more of a weekend street/strip car.
The plans are to pull a lot of the parts off my Talon like the manifold, turbo, maft, etc. that I’m not using and send them on their way. Clean up the wiring, relocate things then take my new flux core welder and auto darkening helmet and plug up the holes in the engine bay that I’m not using. With some fresh paint I’ll get her clean enough to eat off of under the hood. (Relatively speaking)

While cleaning things up under the hood, I’ll be powder coating my own brackets, control arms, i.c. piping and anything else I can fit in an oven.
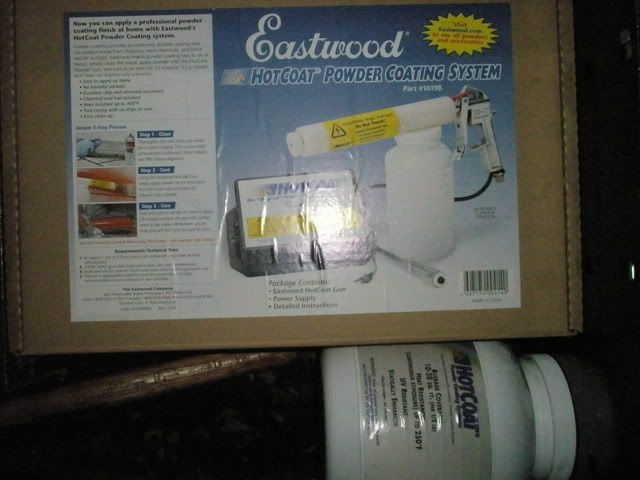
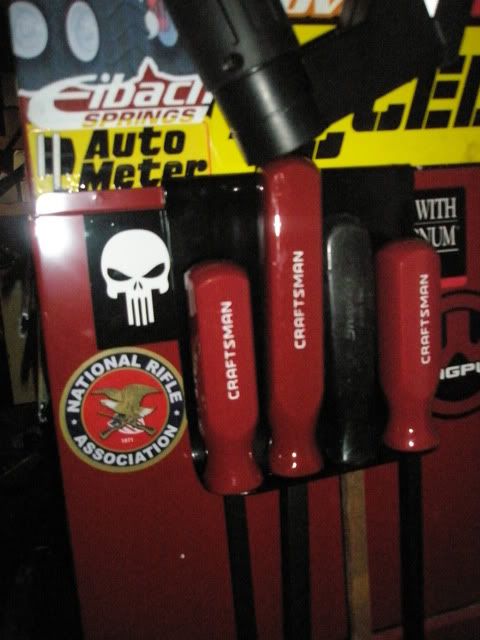
Following what Kurt (T-70) taught me when we powder coated my wheels, I attempted it for myself with my new gun from eastwood. Gloss black on a bracket that I made to hold my pry bars. I’m very happy with it and I can’t wait to get powder coating!
Thats good new Ben!! It always helps a ton when you have a second car to DD.