I kind of advised to halt any more fab work until he had the studs issue resolved with the motor, and the exhaust he wanted to run on hand. We don’t want to go fabbing mounts for rearsets and smooth the frame and paint it only to realize super late in the game that there are fitment issues. Want to get everything the bike will have on it mounted at once before finishing the fab work so that everything going into finishing stages at the same time.
 back to work…
Haha I just saw this :tup:
Got a lot of progress done tonight. Our big hiccup was how to finish the tail of the bike. We didn’t want to go in over our heads with metal fabrication and what not, so after quite a break from this project it hit me…KISS (Keep It Simple Stupid).
Cut that shit off and make life much easier.
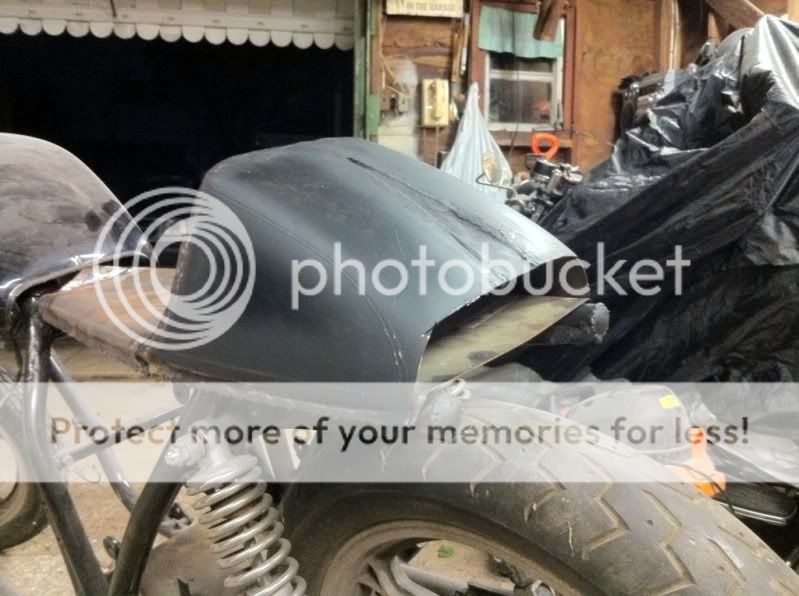
Cardboard template mocked up and sprayed for awesomeness:

Welded up the top:
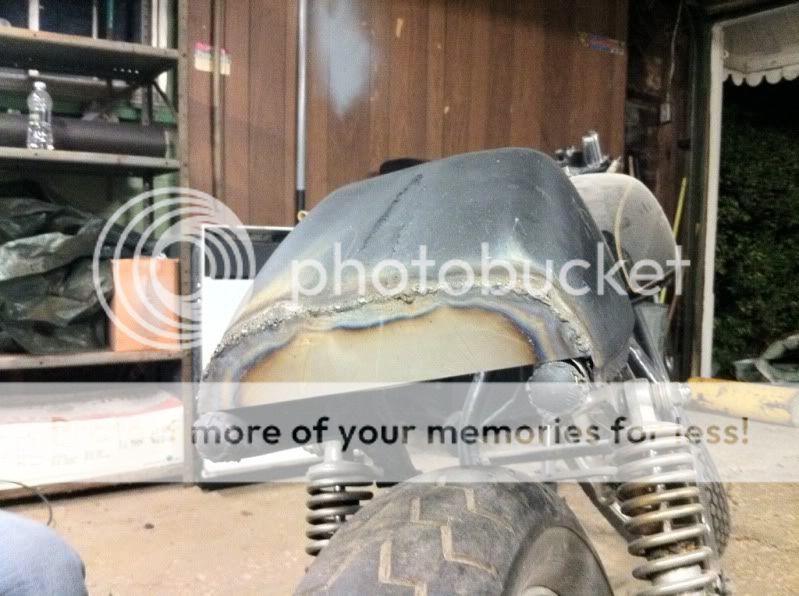
All welded up and ALMOST ready to be hit with the grinder and bondo’ed up:

We would’ve finished but we kinda ran out of wire lol…not a big deal, we got a TON done. Felt really good to be in the garage again. :tup:
I was SOOOOOOO mad I ran out of wire haha. Welding pictures make me wet. :tup:
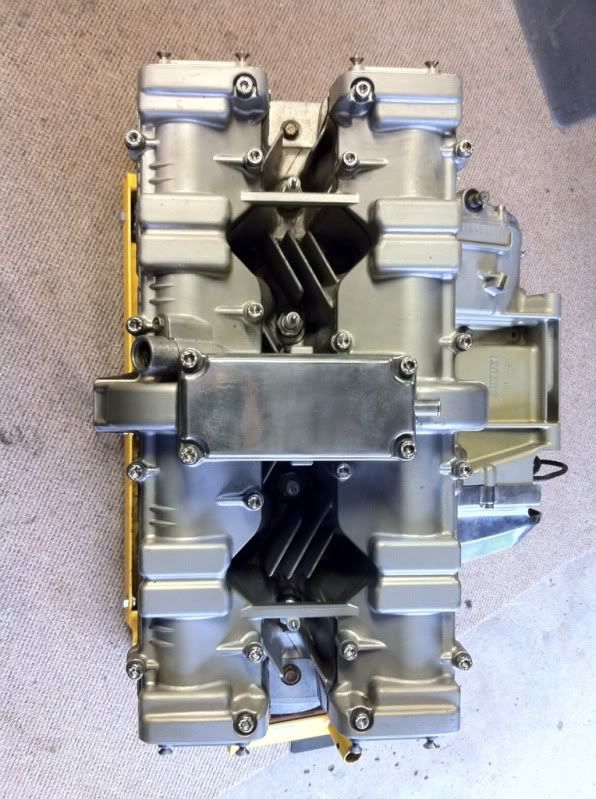
Finally got around to swapping out all the 86 steel screws for SS allen bolts, BLING BLING YO!
I also ordered a whole new gasket kit as well, so once that comes in…it’s time for paint.
Looking good dude.
You planning to get another bike to replace the SV or is this gonna be it? Not saying that in a negative way, this will be one bad ass bike to cruise around on next year.
Yeah I’m not replacing the SV. I don’t know where I’ll be in the next year so I’d rather not have to transport two bikes.
Plus…riding a bike you built > riding a bike you bought.
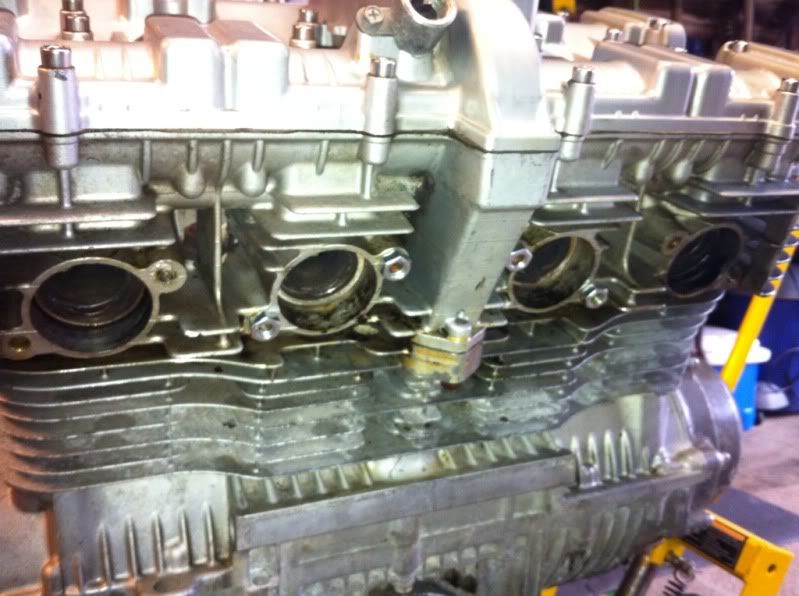
So…I had 5 broken exhaust studs sigh
My first order of attack was to see if I could drill out one with left handed drill bits…no luck.
So then Nick and I decided to try to weld nuts onto the ends of the bolts…no luck. They kept on breaking off the ends and I wasted $1 worth of nuts (not a big deal actually lol)
Finally, I bucked up and bought a nice Titanium Nitride tap and die set from work, normally I hate having to buy expensive specialty tools but this set is AWESOME!
So, with the help of Nick we went to town tackling the bolts.
Side note It helps that I have a Titanium Carbide drill bit set…these things chewed through metal like it was playdough
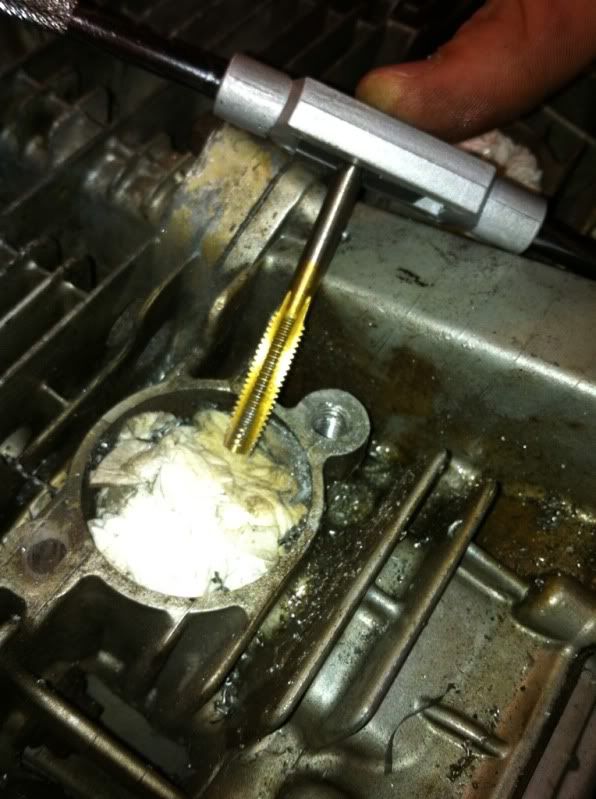
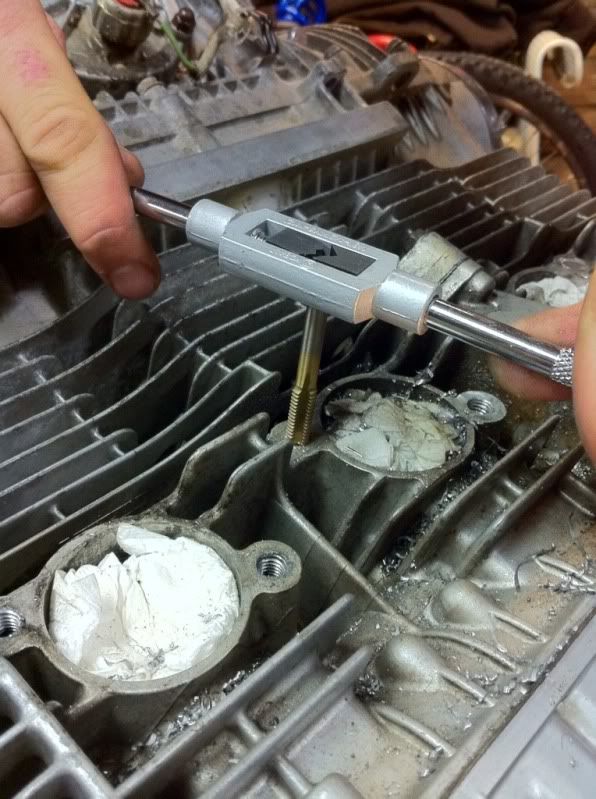
Fast forward 3 hours and a can of PB buster…we got all of the broken exhaust bolts drilled and tapped, chased all the existing bolt holes and did some welding on the seat pan 
The final results of our labor tonight:

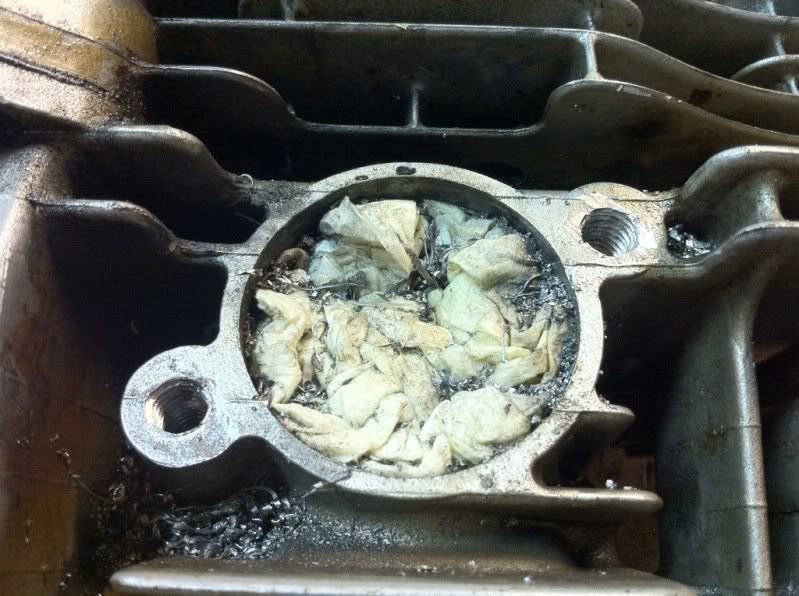
Just a TINY bit of wiggle from the tapping, but I plan on running exhaust studs on using a TON of red Loctite.
I’m off tomorrow so my plan is to get the tail/seat pan all ready for Bondo, I’ll post more pictures as I get to it tomorrow
-Chris
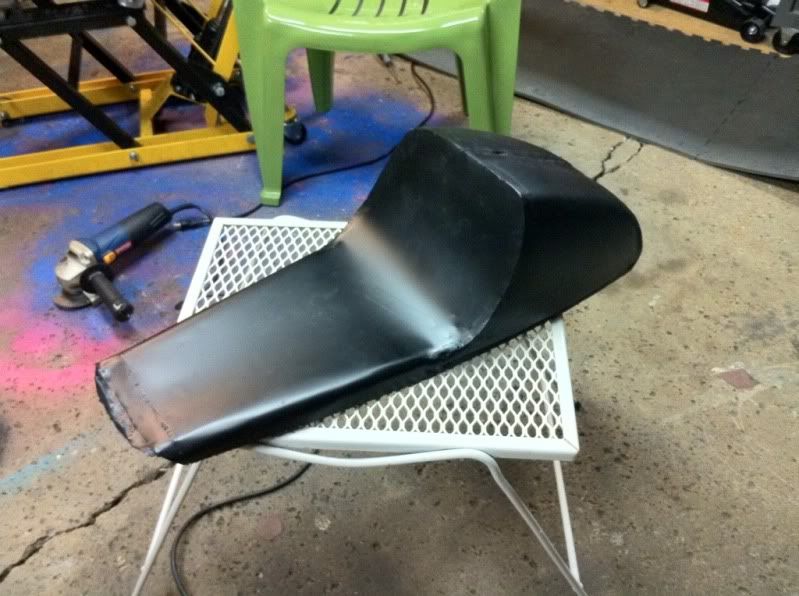
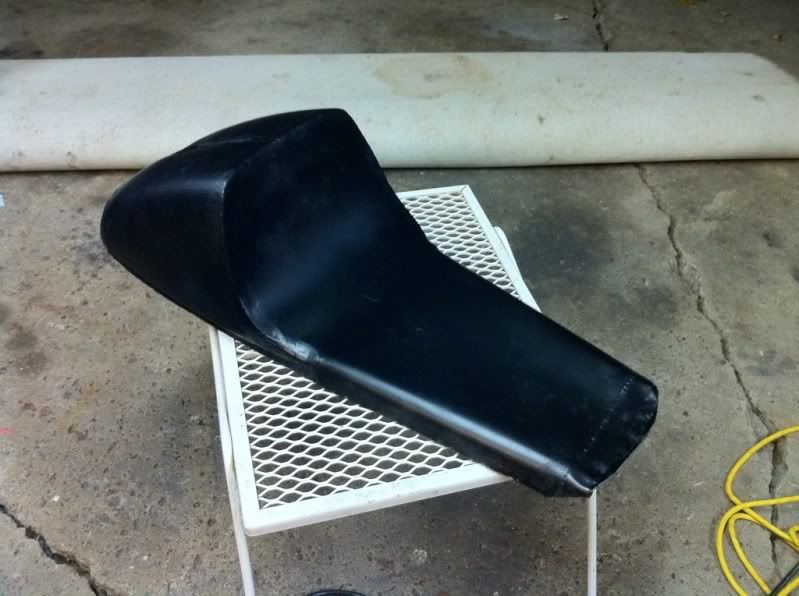
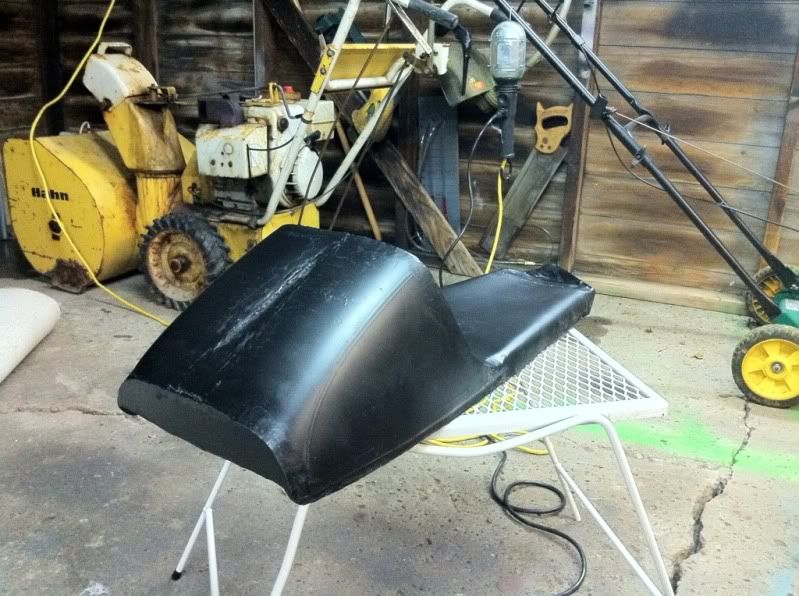
Here’s some photos of the cafe tail after cleaning up the welds and some paint to see how the lines look:
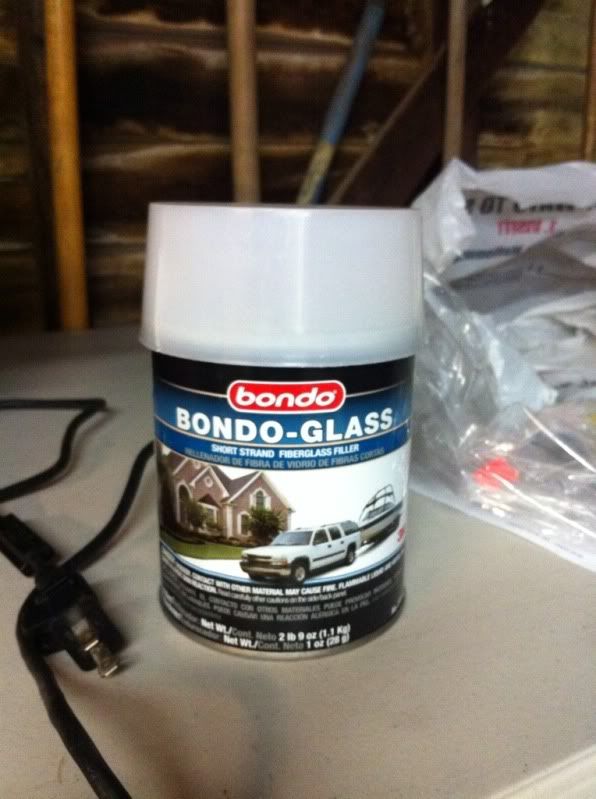
This is the Bondo I’ll be using to shape and finish the tail:
Hear ya on that.
Way to put a plug in for your own place of work lol. Good to see the progress.
![]() Sounds familiar
Sounds familiar
+1
It’ll hold.
Lol, I thought of that the second it wiggled
Hahaha that was an epic night/adventure.
i would reconsider using that body filler…it sucks and is pretty hard lol
shouldnt be too much needed for filler there right? i think i have a good amount of evercoat rage gold(i think i got that name right) left over in my box of paint supplies if you want to try it out…smoothest sanding filler on the market and pinholes are non existant.
edit…its this stuff. and make sure you really rough up that surface, take like a 36grit flap disc on your grinder and rough up the sheetmetal quick before using the filler.
I LOVE evercoat rage haha. I’ve been way too broke to stock up and I’ve run out. The plan was to use this hard stuff for shaping and then skin coat with regular filler over that before finishing and painting.
how far out is it that it needs that much filler? i would hammer it out some if possible and to help shape it to keep filler to a minimum
that spot down the center of the contour on the tail is going to need about 1/8" of filler…I don’t have a hammer & dolly set (and have never been shown how to use them)…
At an 1/8" I def wouldn’t bother using that chop fiberglass stuff, its not needed. Ill check the garage tonight when I go out there but im pretty sure I have about a half gallon of the evercoat still. Chris I still have your number ill let know you if you want it.