Figured I would make a more photo oriented writeup and a little bit of info on my car on here.
Initial Build
How and why it happened:
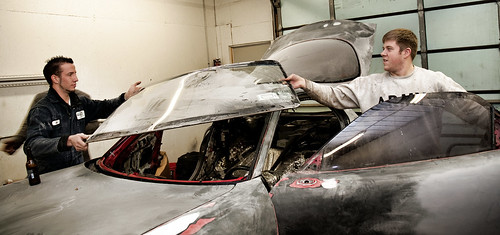
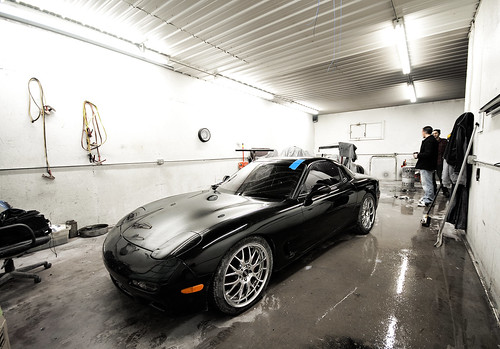
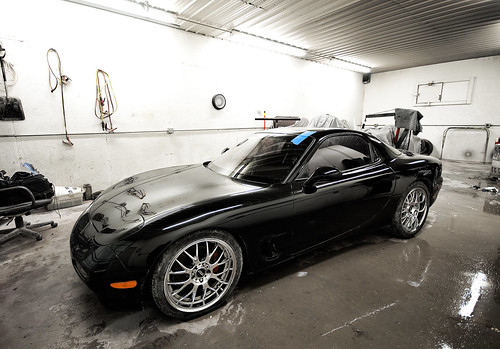
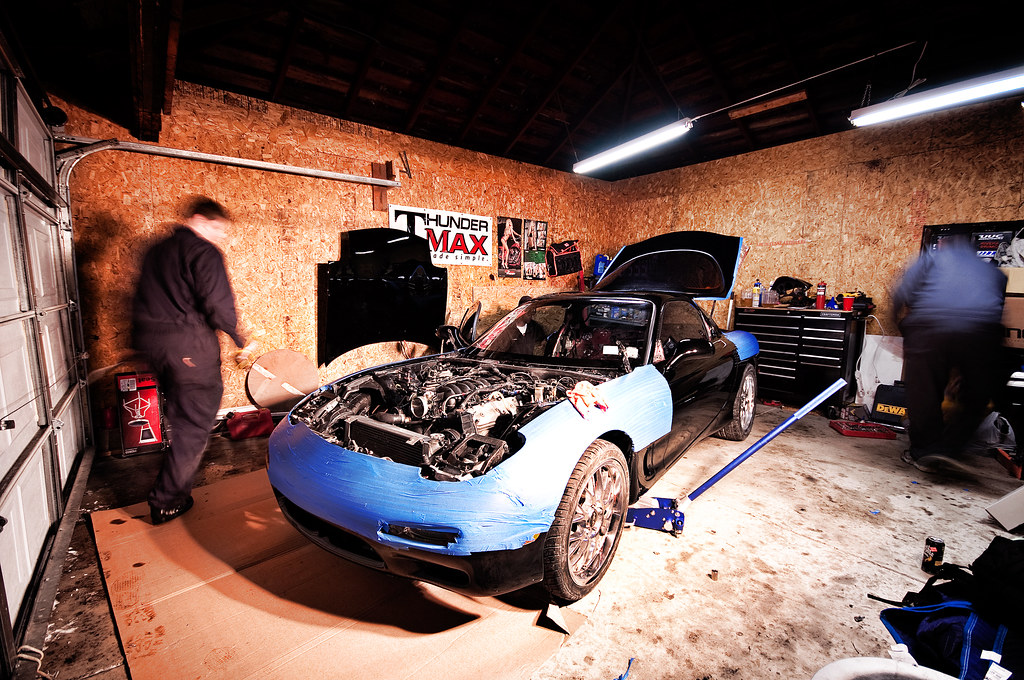
Well I have wanted a ls powered fd for quite some time and had an itch to get working on a car again. I found a nice donor car and got to work.

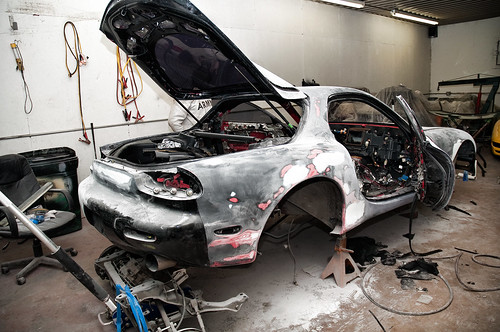
Then right away we started getting it ready to be painted
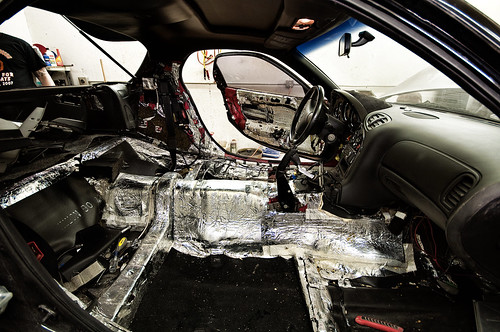
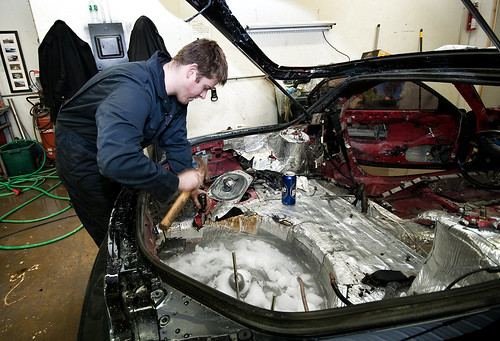
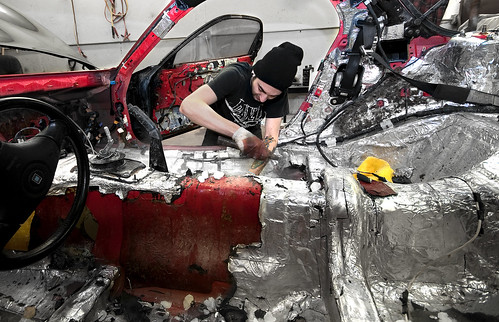
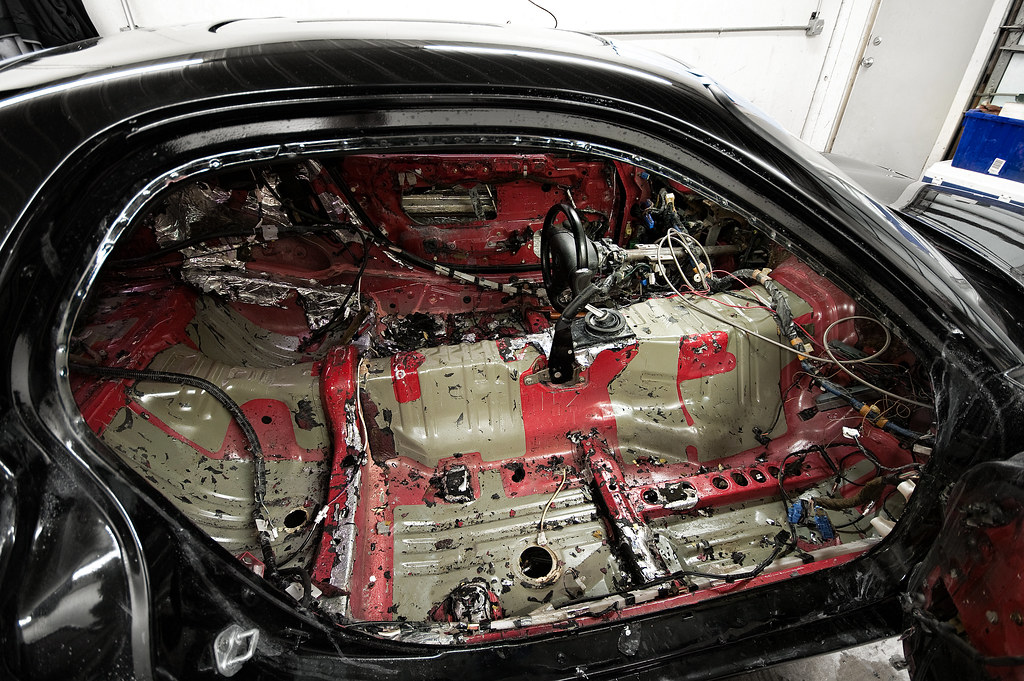
Then for whatever reason I decided to remove the entire interior(including dash now) to do some weight reduction, swap to black carpet, and clean everything real nice.
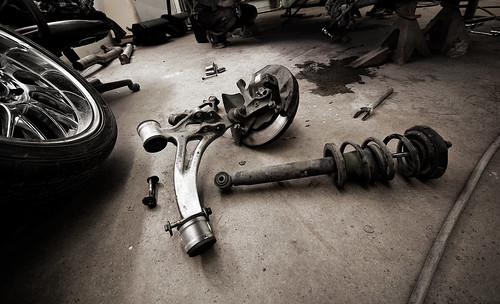
For another unknown reason I decided the entire suspension, subframe, EVERYTHING had to come off the car. After I got everything apart I had brilliant ideas such as I NEED STANCE COILOVERS! I NEED A FULL DELRIN BUSHING KIT and I NEED TO POWDECOAT EVERYTHING!!! as well as ss brake lines+ebc yellow pads. Which led to this:
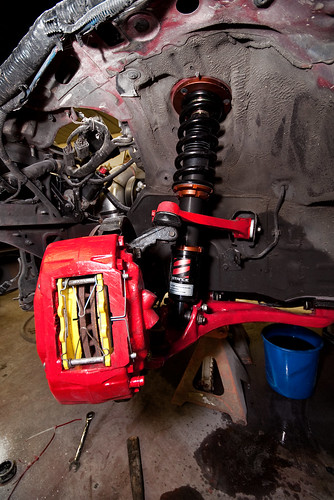
BLING!!! (calipers sanded after to show mazda)

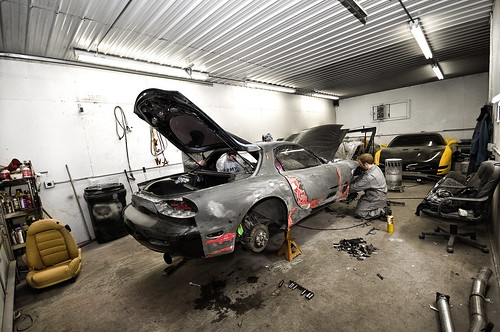
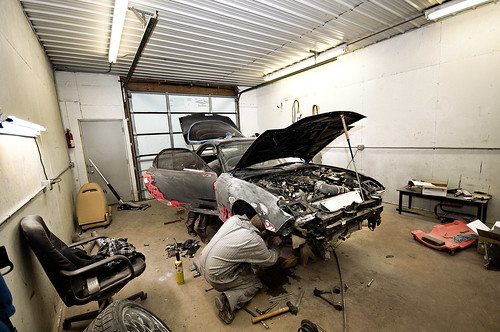
Here is some random progress shots:


I have been so busy with school I have not worked on it the last few weeks. Paint will be done soon this week I hope(black) Then I need to finish the interior and it is done mostly. I will get underhood shots once it is cleaned up some.
Motor is an 02 with 35k miles and as for mods just your classic cam-only Trex setup with a bottle if necessary.
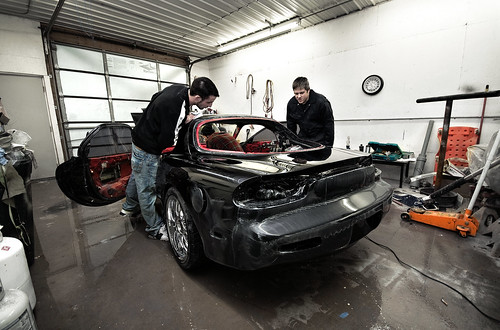
snky first pic of it painted.

Some pics are coming in now!!! Thanks Ian!!! <3

Ugh I <3 it

Man looking at the pics I am kind of amazed
Before

During

Just took these out!
Wheels look super dope on but like 2min after test fitting I started tearing the car apart as always.
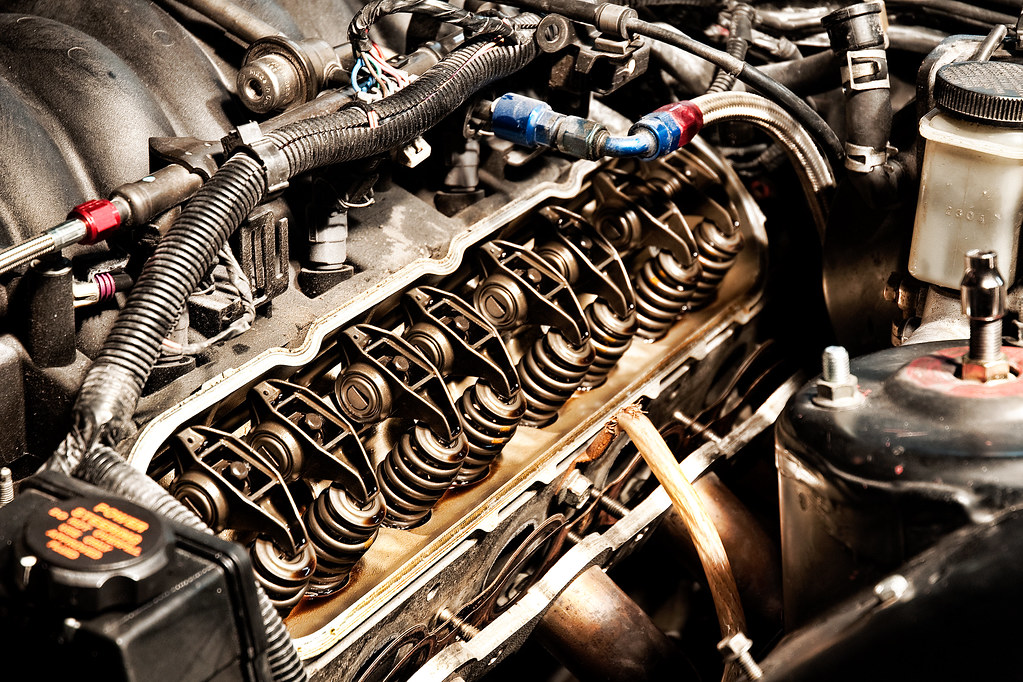
Last night we mostly finished the cam install, new cam is in and everything is done but I still need to tq the crank bolt. So for the motor I need to still bolt on the new headers when they show up, make an intake, make an exhaust, and then clean up some wiring. Here are some random pics I snapped yesterday.

most expensive bushings in the universe(rear pillow balls)

After dust shield removal and paint


New springs after installation (patriot .660 kit)


I <3 my new steering wheel


New cam is in!!!

Yeah thats right snky studderin all the way from roch last night. :snky: :snky: :snky:

!!!

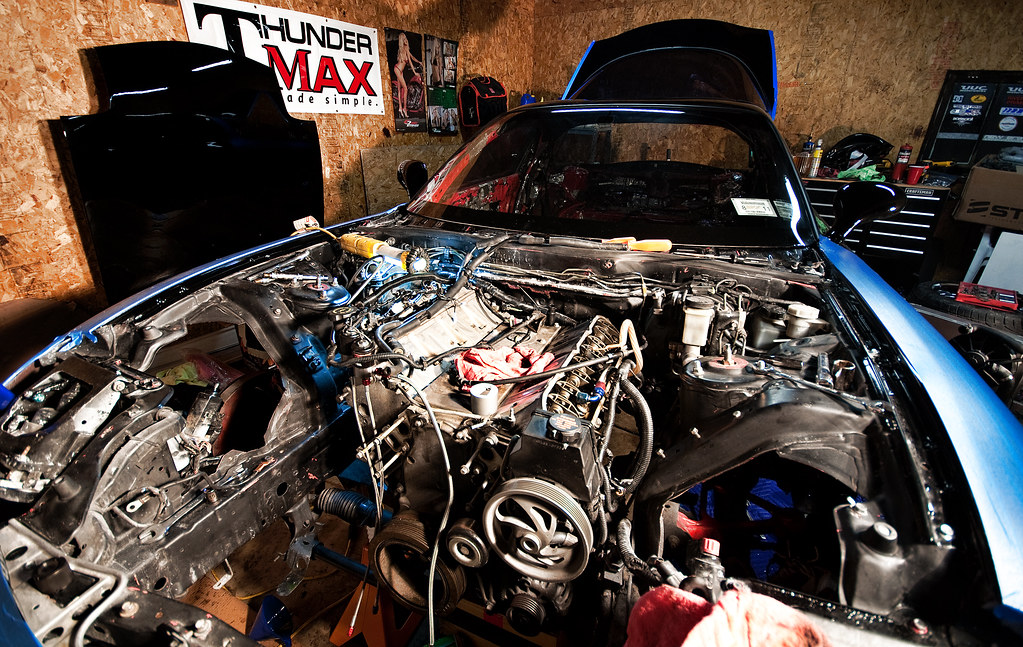
Now I give you the closest thing to a real motor we have seen yet!

---------- Post added at 07:42 AM ---------- Previous post was at 07:41 AM ----------
I win


Not drunk

Perpetual spark device

Juat?


New bathroom

dis go in da car?

I FUCKING WIN FGGT MOTOR AND FGGGT CAR AND FGGGGT HEADERS!

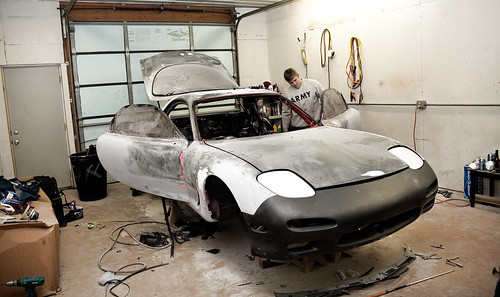
Makin it purty again

Seal of approval

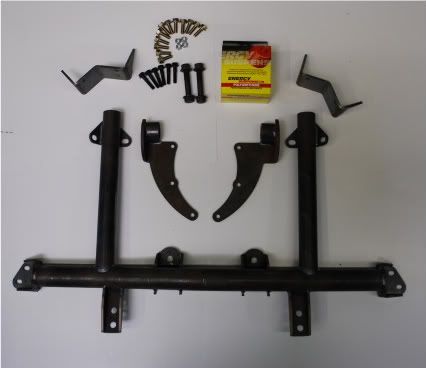
More parts!!!

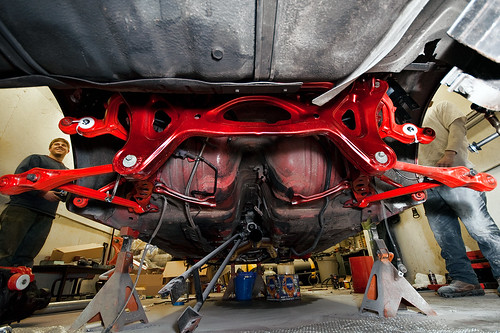
Rear suspension+brakes all done.


Wheels are on the back now…Still not 100% on which set I will run.

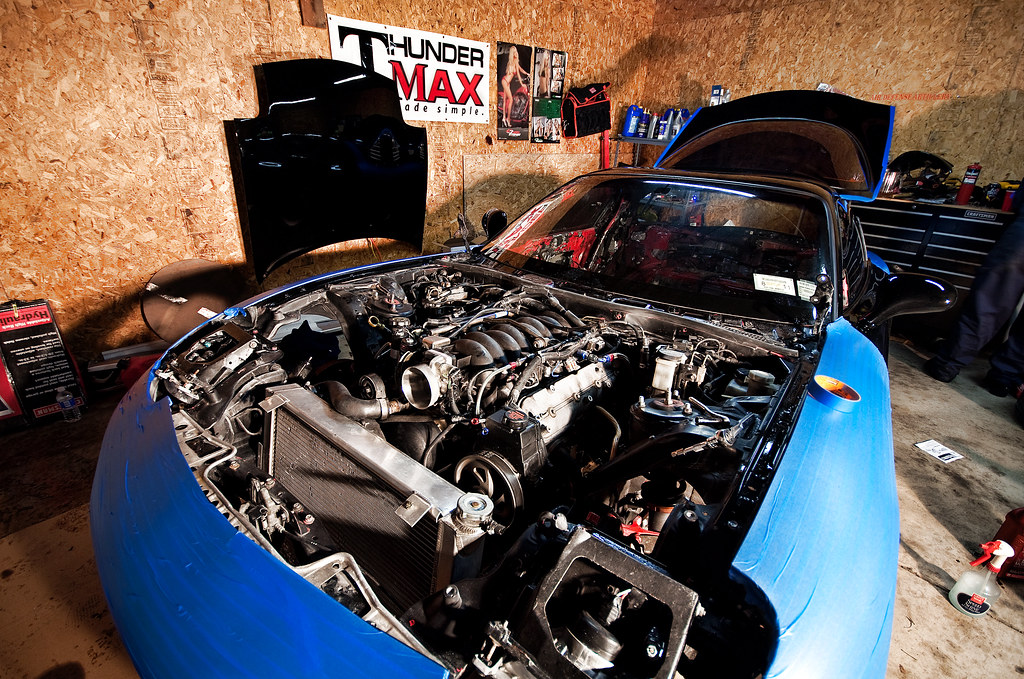
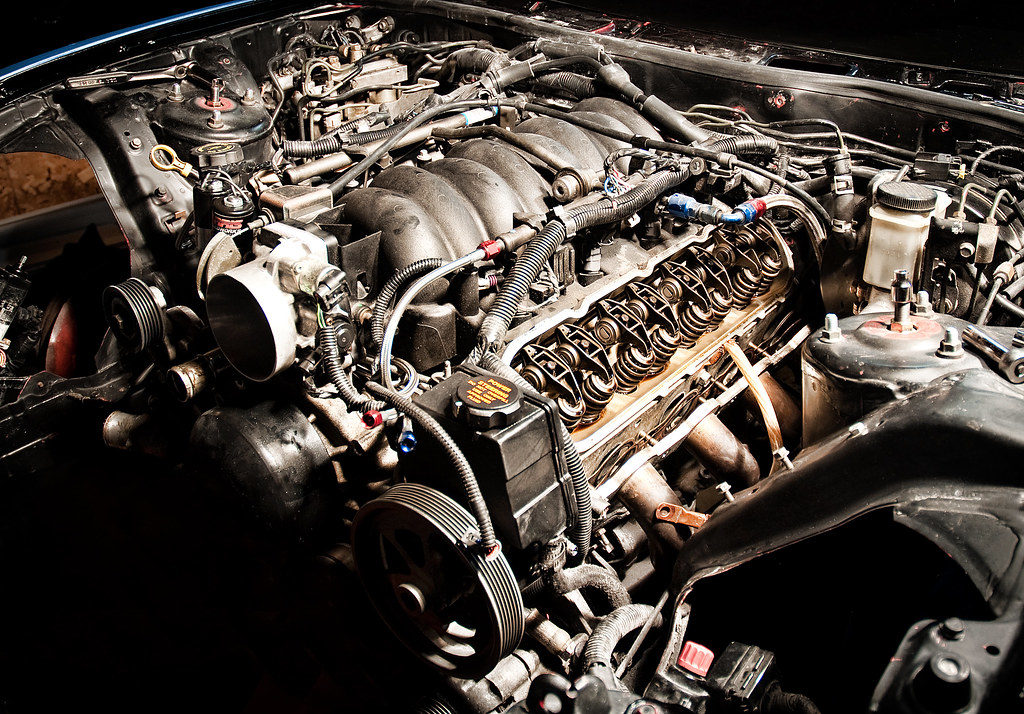
Motor shot! Spent HOURS cleaning up wiring and such to make it look somewhat better. BTW this is not the way im running my intake haha

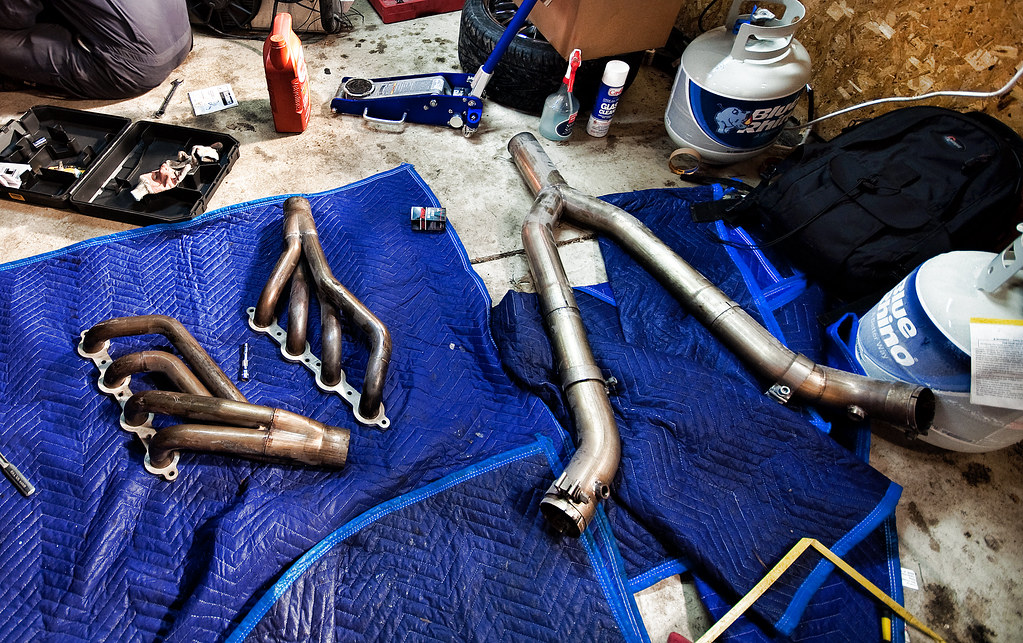
Craig(half-breed) made me this sweet ass exhaust. 3"y-pipe to a 4" cat-back using flowmaster merge and hooker muffler. I <3 it.


Oh look its ILC!!!

A few motor shots with the new covers on to end the night. Don’t mind the wiring on the right that is tucked I pulled it up to look at something.


New oil pan baffle


Exhaust fitment

Then painted


Steering issue before

After

MOTOR SHOTZZZZZZZZZ


You can kinda tell here but I have the front suspension back in 100% But I am not putting the car on the ground until the exhaust has all the kinks worked out and the car runs so I can check for leaks and such.


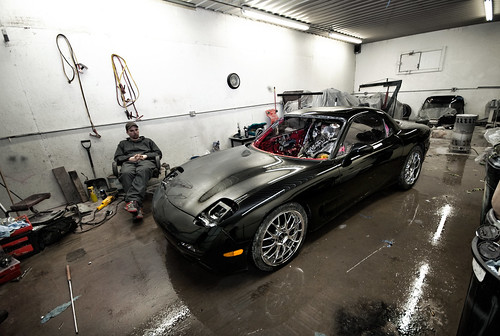
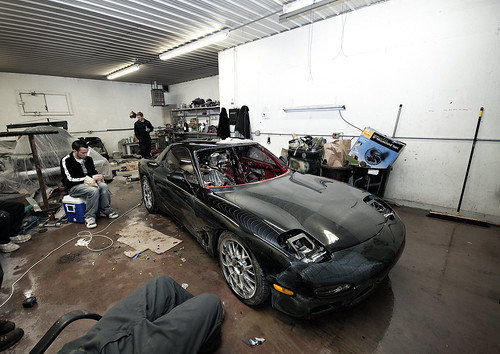
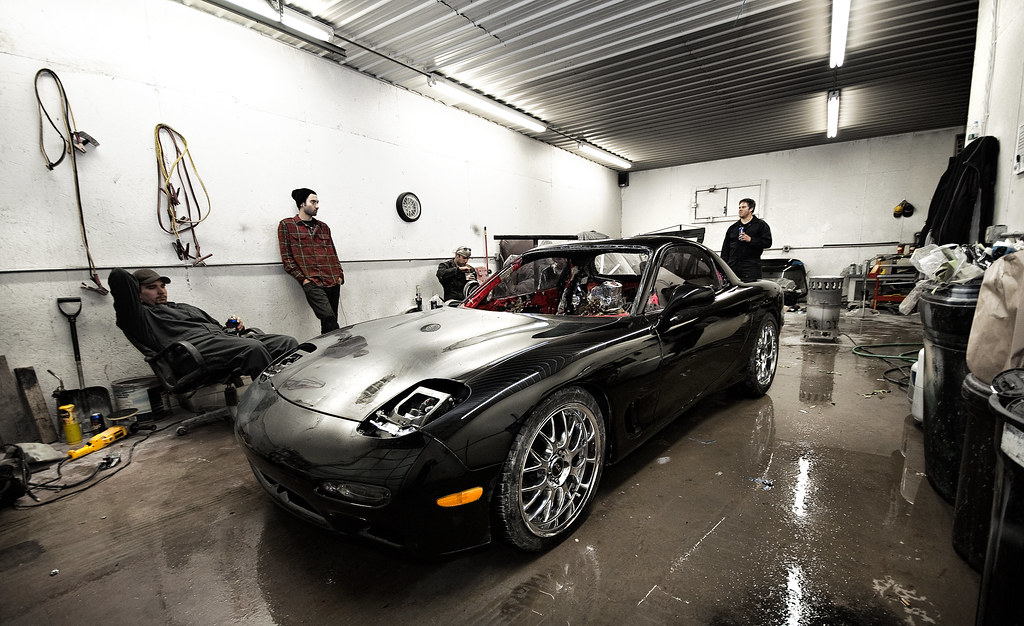
Dirty as hell at Pats shop


 I am looking to get it to ~2600 lol. Thanks for the compliment I am super in love with how the car is coming together.