my bad, I figured the condensed thread was utd too.
Naw I have been lazy. However!!!
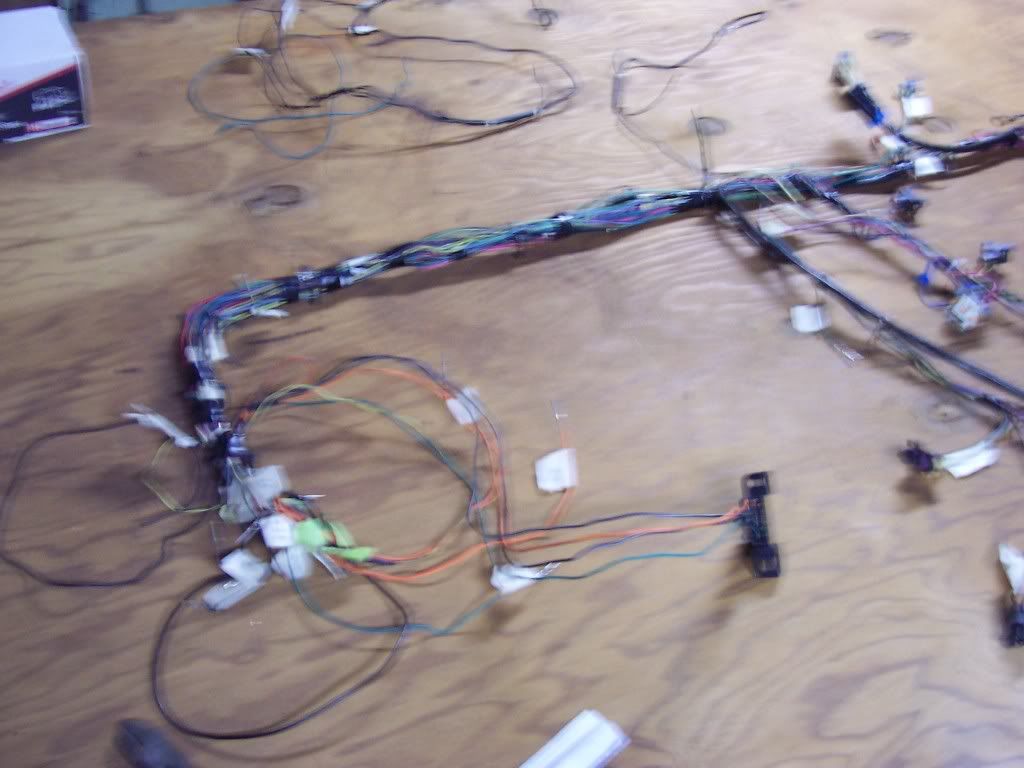
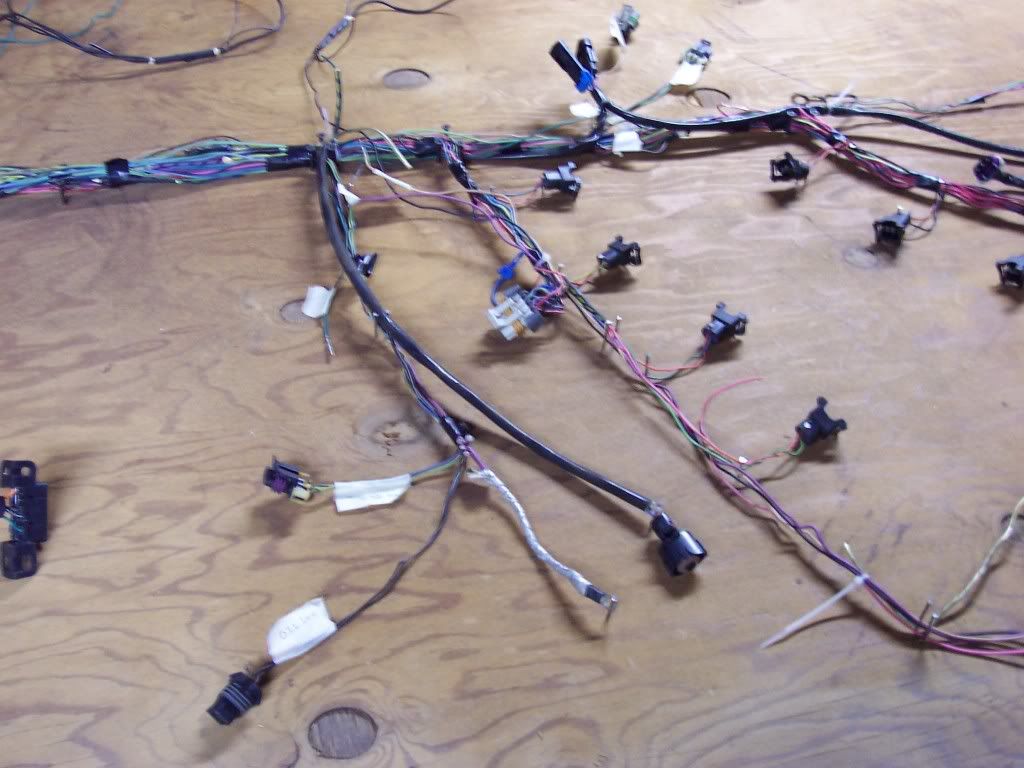
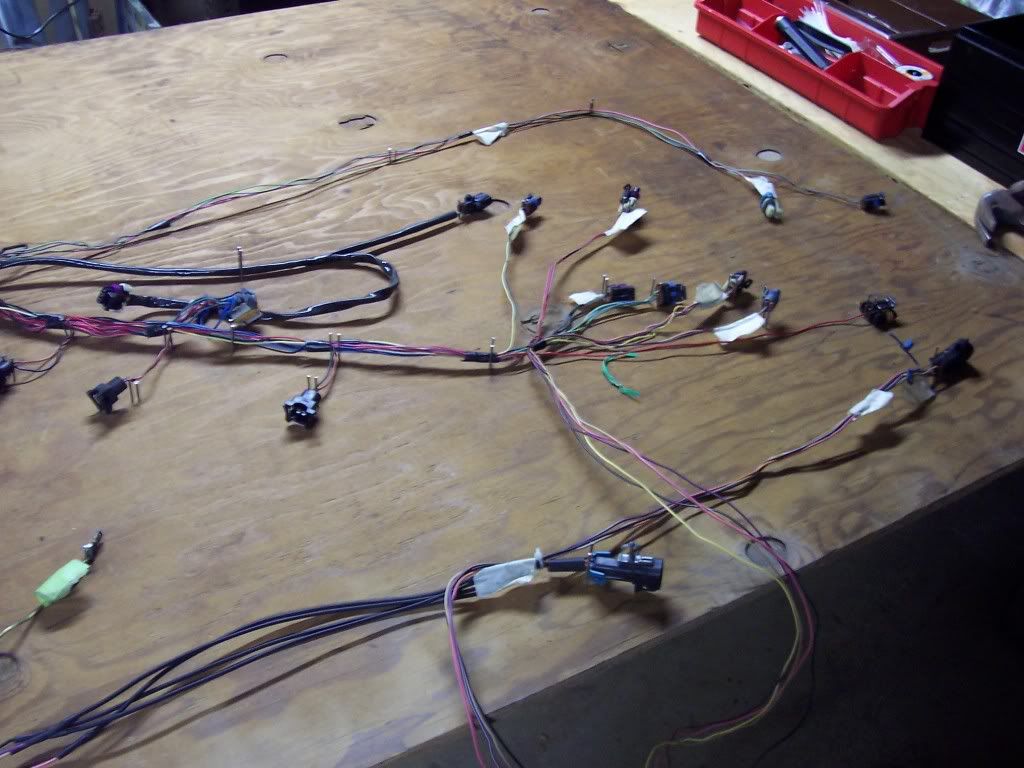
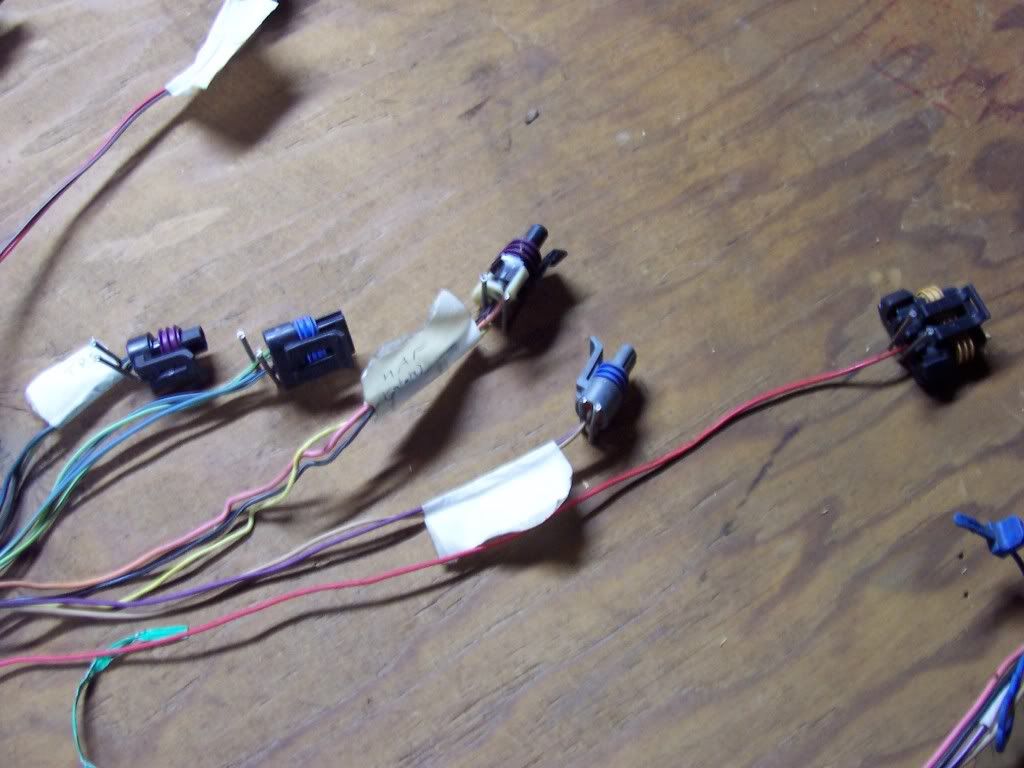
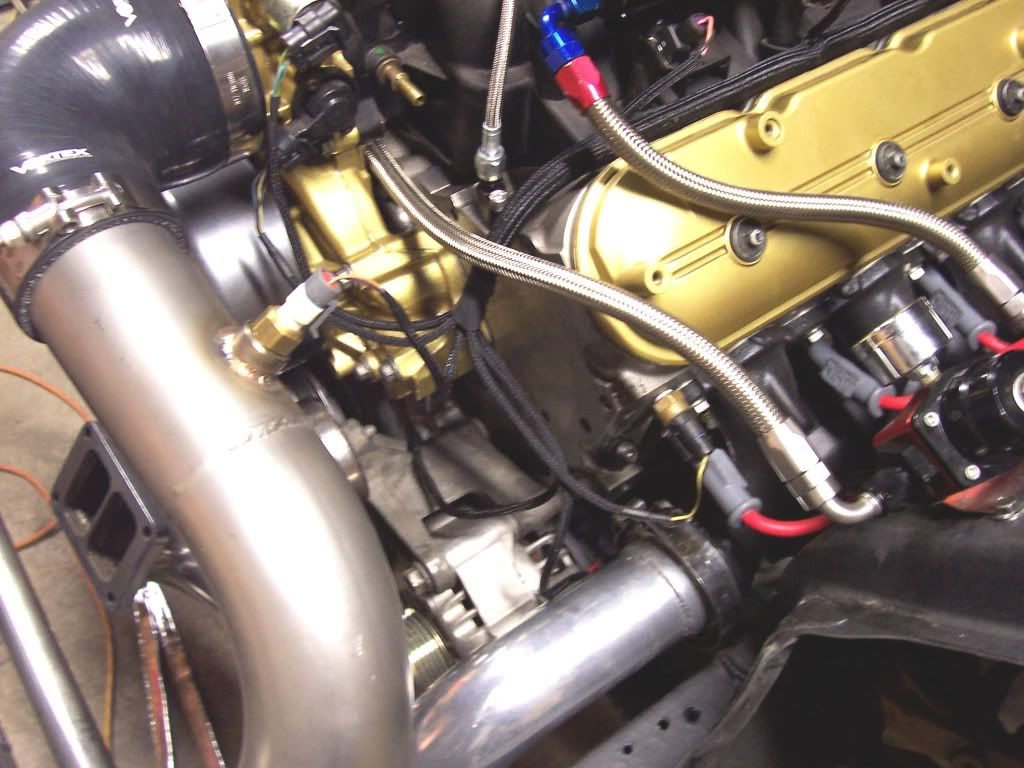
Wiring!
Boot removal then I clean, regrease and replace the boots
Starting to setup the rear subframe
Then I got distracted
Well I have really been slacking on the pics but I have been working on the car some.
Painted the rear hatch and all the jambs but only have pics of the hatch.
Started putting the suspension together to make it a roller. Right after I put it down I realized I put the rear suspension upper a-arm on upside down. Two years in a row I did this haha. Hence the rear being up a lil high. I will fix it in a few days when I have some time. Only takes a few minutes.
Roller time!
Mr. Turbociv getting some work going on the turbo kit. Sadly we have to wait on a few more bends. Also while there I swapped the rear suspension piece I had on upside down and it is sitting nice and low again.(no pic srry)
Lil work done today

MOAR!

This given an idea of how much room I have for the fans. Should be plenty.

Then……look how pretty.

this makes me hard.
So I decided to bead blast my cold side stainless and I LOVE the finish. Hard to get a pic of but you get the idea. Manifolds and hot pipes are out getting coated right now.
Washed the engine bay, steel wool, then red pads, then strubbers, then mitt. Always using soap water/exchange water buckets. Got the bay perfectly clean.
Then started sanding with 220. Mostly done and then I will do 400.
So as we all know I am really happy with how the underside and wheel wells turned out. After much thought I decided last minute to shoot the bay with the same 3M product. Super happy with the results and believe me this stuff is durable as all hell. One of the reasons I shot it over the single stage gloss black I have on hand as well.
Ready
Primed
Wet
Finished
Some more pics from the last few days.
I installed a new pilot bearing
Spec p-trim twin setup
Spec flywheel
New slave/tob
John Donovan welded in a -12 oil return line
Installed -4 feed
Old slave wouldn’t go flush messing up my air gap, after removal and tapping the inside ring I got it to giving me a proper air gap for clutch install with no shim. However I didn’t like that I had to beat on the inside and replaced it for a new one. Sorry didn’t take pics of the clutch install process.
Installed temp sensor
Feed and return
John welded in IAT bung and Innovative bead rolled my cold side
A million dollars in AN/Fuel stuff
Starting to assemble
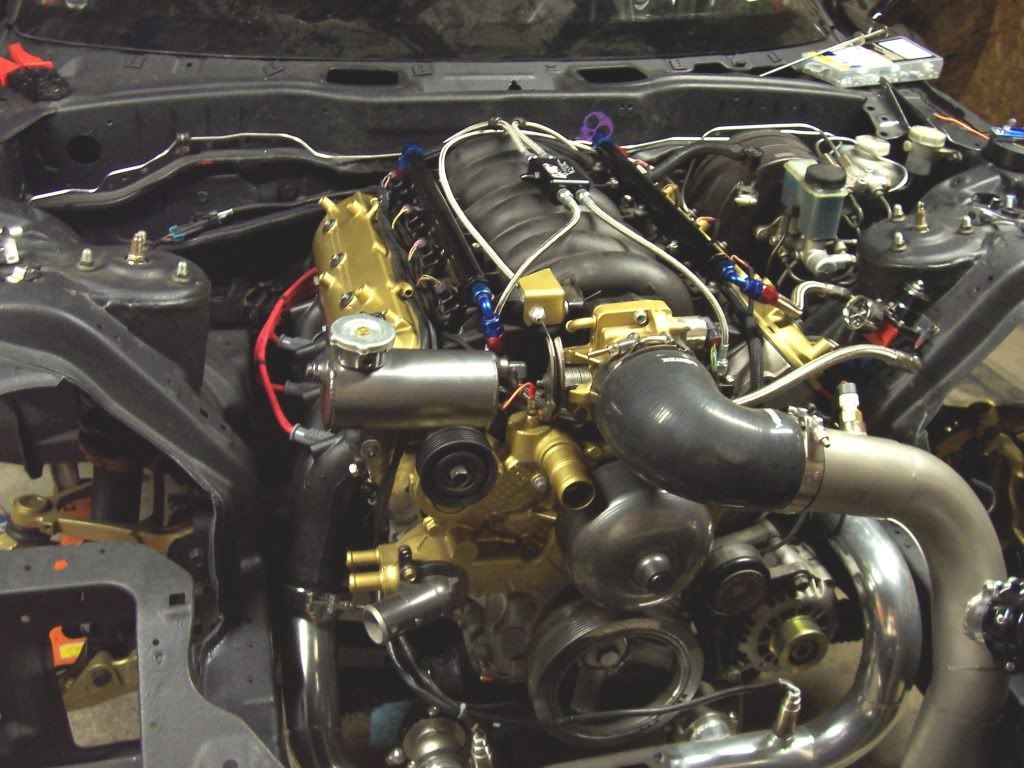
Ahhhhhh finally back in. I am happy with how it looks.
Grabbed everything from blasting/coating
---------- Post added at 11:07 PM ---------- Previous post was at 11:05 PM ----------
I made a fuel system from scratch(man this was a lot of work) sorry I didnt take many pics and it looks super ballin under the car. Twin 044s using magnafuel y -10An to -8 each rail, each rail to return.
---------- Post added at 11:07 PM ---------- Previous post was at 11:07 PM ----------
I made a fuel system from scratch(man this was a lot of work) sorry I didnt take many pics and it looks super ballin under the car. Twin 044s using magnafuel y -10An to -8 each rail, each rail to return.
---------- Post added at 11:09 PM ---------- Previous post was at 11:07 PM ----------
My welding and fab skills are coming along decent. This isn’t the prettiest weld I laid down but is literally the ONLY pic I took today (unless you want to see my garden).
So I will try to fit and weld all of the bars soon!
Light washed it out real bad so I just threw the effect on it meh you get to see how I did the front split this way lol
Rear split hidden above sway bar
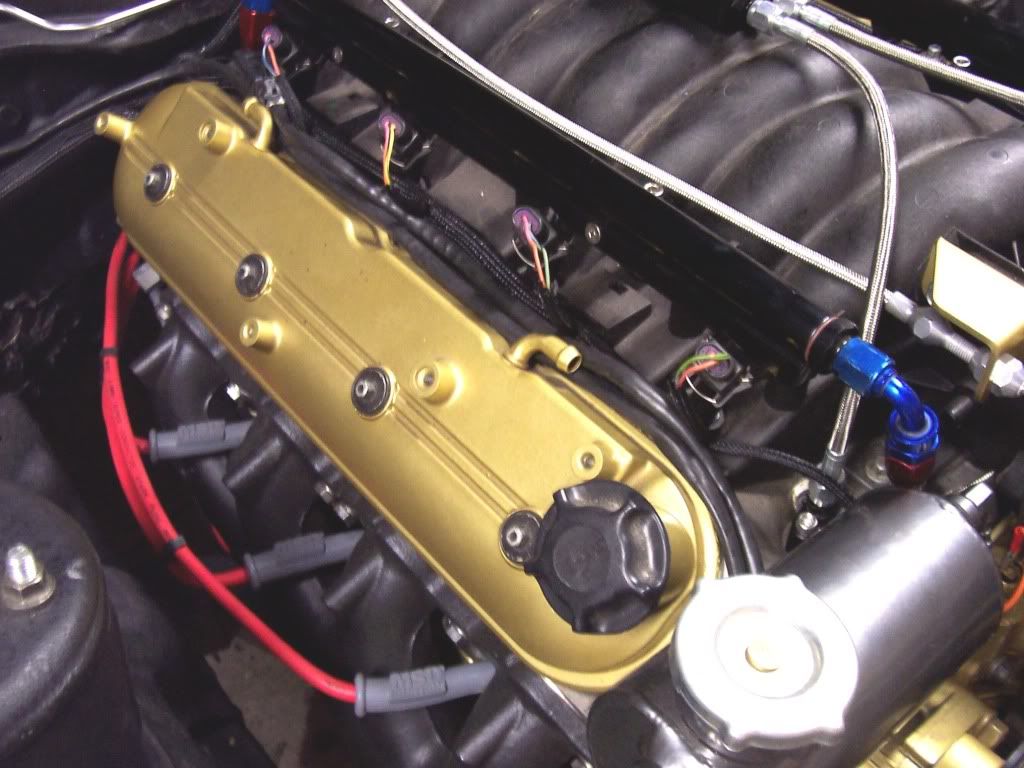
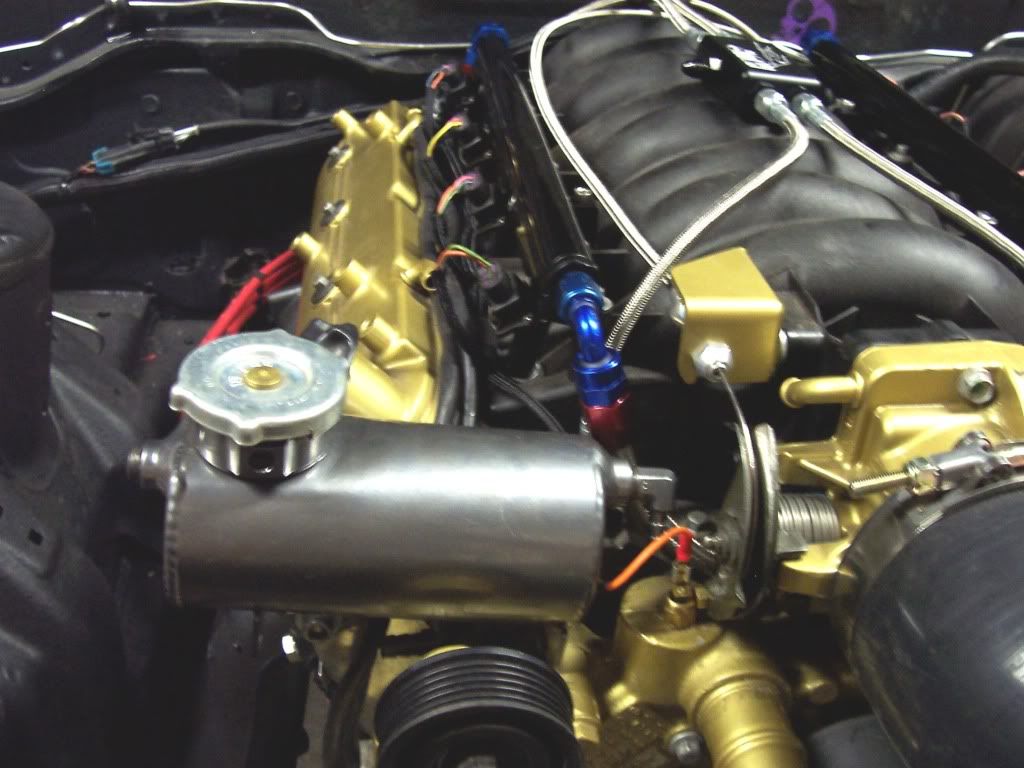
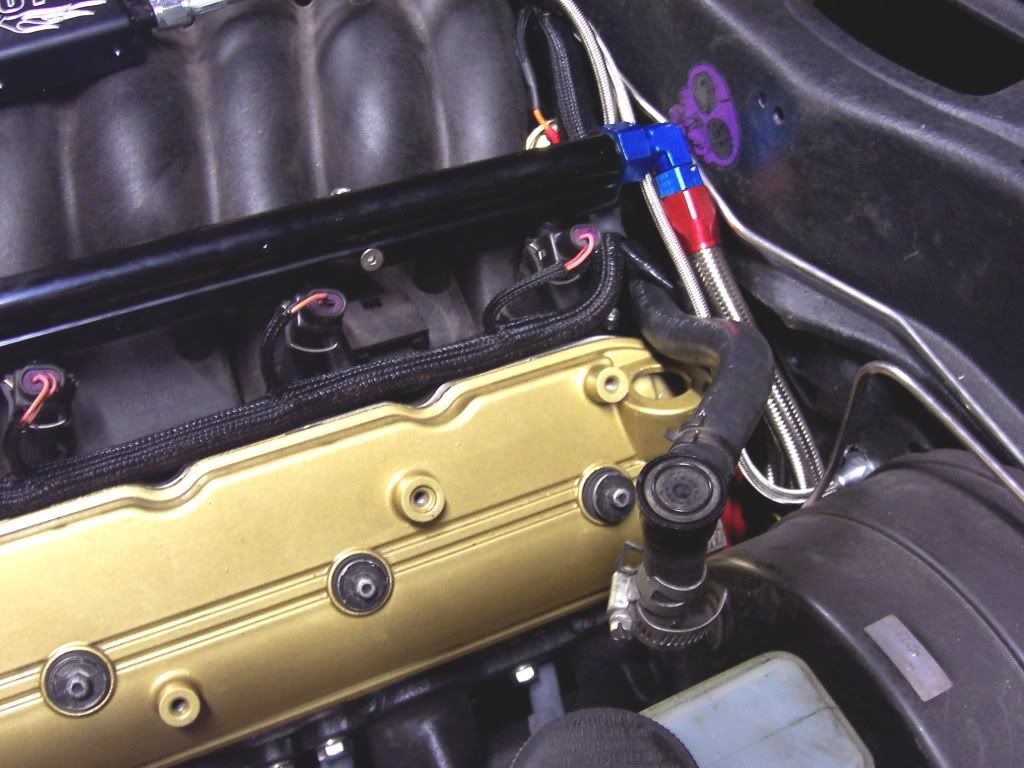
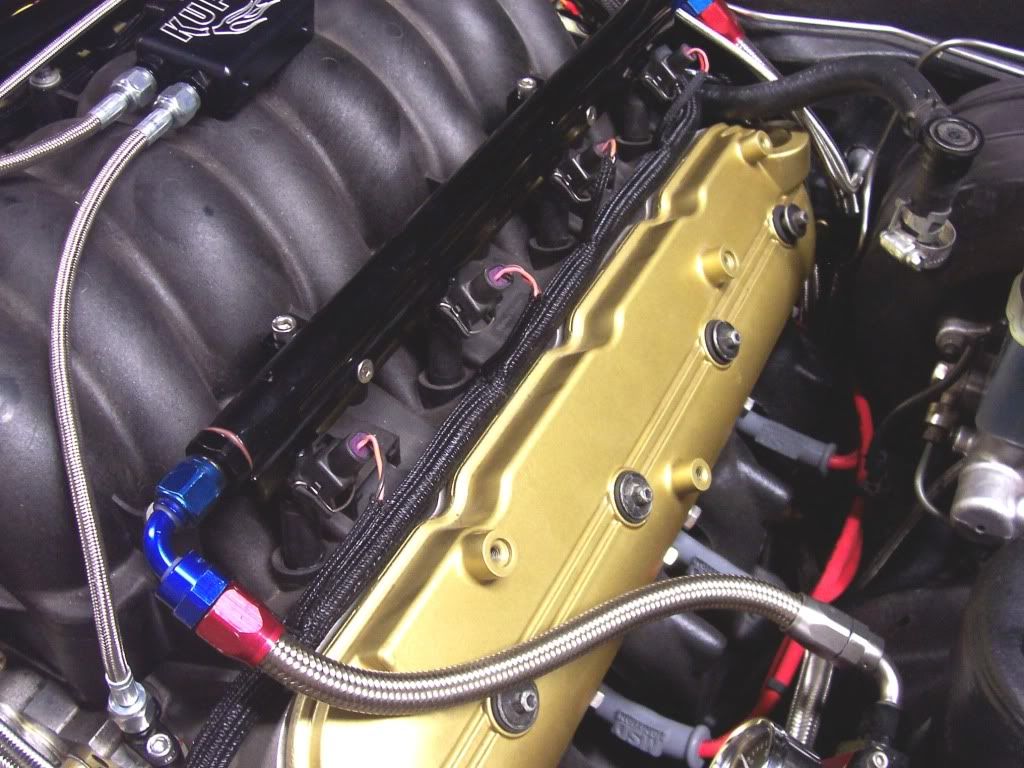
Couple motor shots, turbo is out for some :snky: as you see but I installed the new steam port system and need to put the wires through the firewall and attach the boots
So yesterday around 5 I finish with my daily adult like stuff and make my way to the garage trying to get some of this cage fitted and tacked in by myself. What a whore. Soon as I just got the bottoms of the main hoop to the perfect angles to tack it in Joe Foureyed saves the day and shoots me a text seeing what im up to. Thank god cause let me tell you trying to hold the hoop and weld it would have been a bitch. Anyhow from the moment Joe got there the extra hands were great and I was able to make big time progress. All parts in the pic are fitted and tacked ready for final welding. Only think left is the door bars and installing the removable door bar kit…then final welding the entire thing. PS I dont know if I have ever used an angle grinder so much in one day!
Well I got the cage DONE today. All I know was this was a ton of work between shaping the plates and getting proper angles on the feet and notches. I am glad I finally gathered up some confidence and did this thing! Here are the pics from today.
Had to beat this plate just a lil to make it fit haha
Many people were here today but only one wore my turbo blanket as a diaper haha. Lookin pretty thin there Pat? We should have taken pics of the cooler of beer, two pizzas and a million wings lol
After some hammertone rustoleum paint. One more layer needs applied. Thanks Brian 302N20 for bringing this over today.
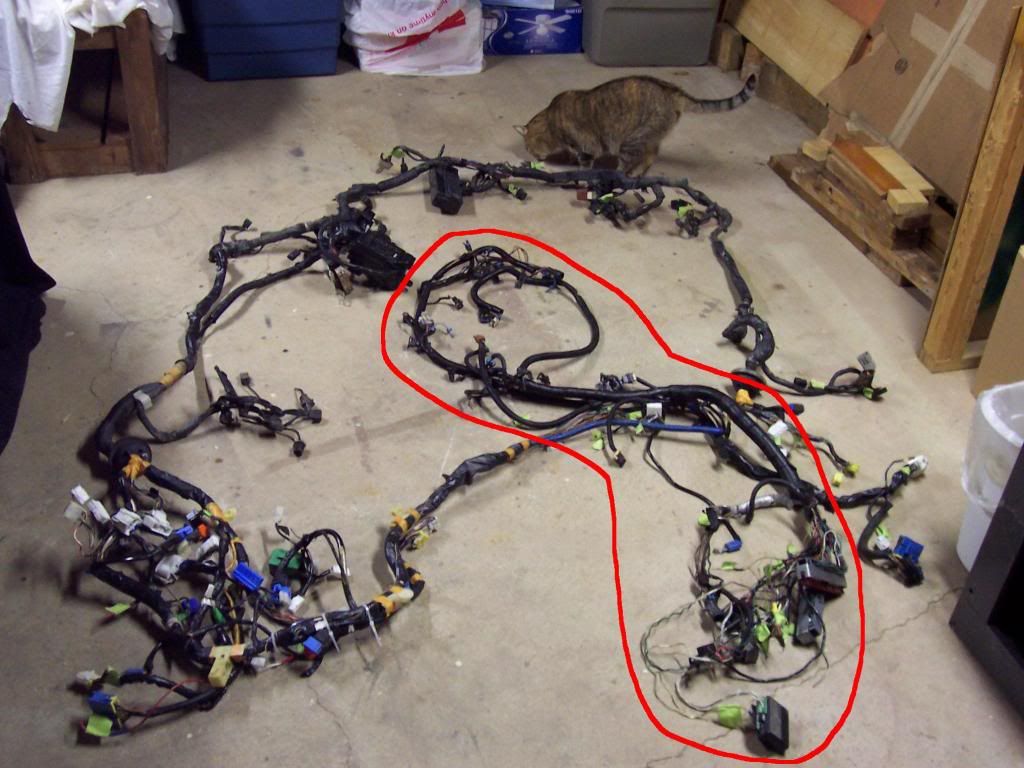
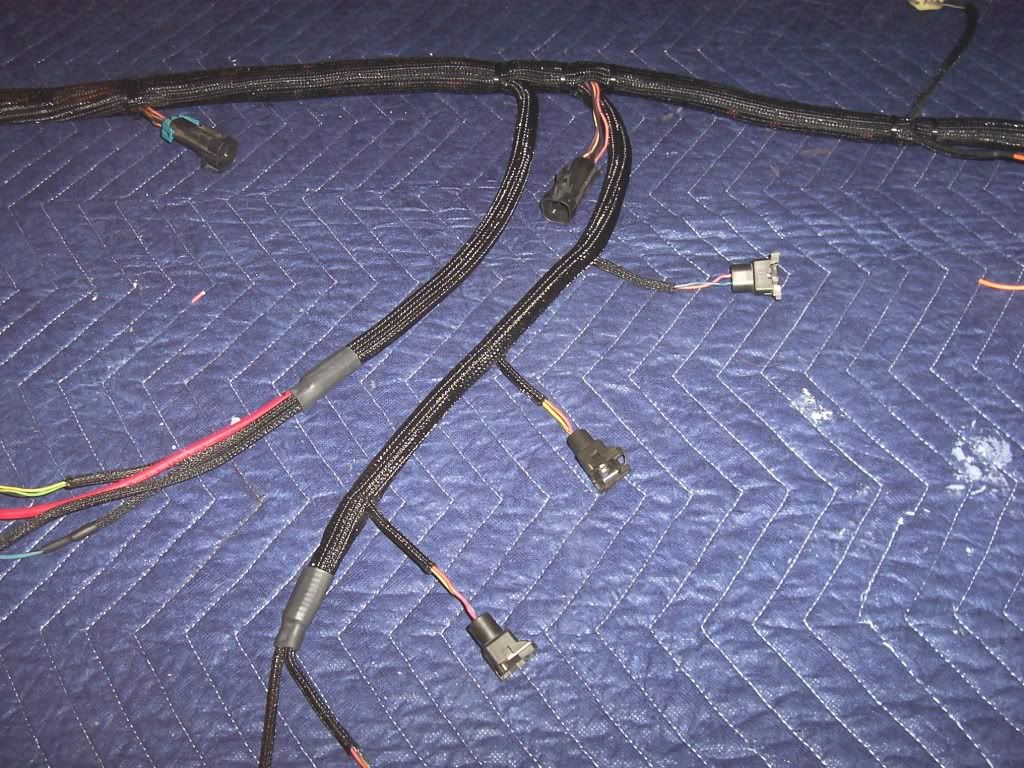
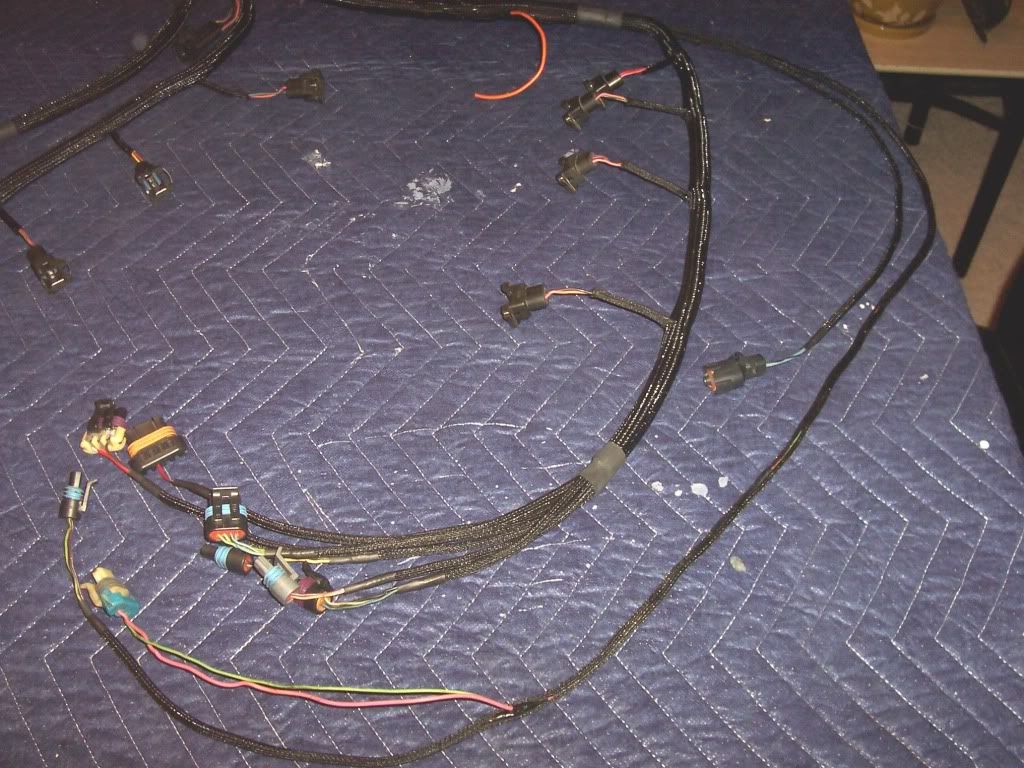
Wiring Re-cap:
To refresh your memory, this is what I started with:
(http://www.nyspeed.com/showthread.php?82611-My-Build-Thread-LS1-FD-Its-Fast!&p=3132919&viewfull=1#post3132919)
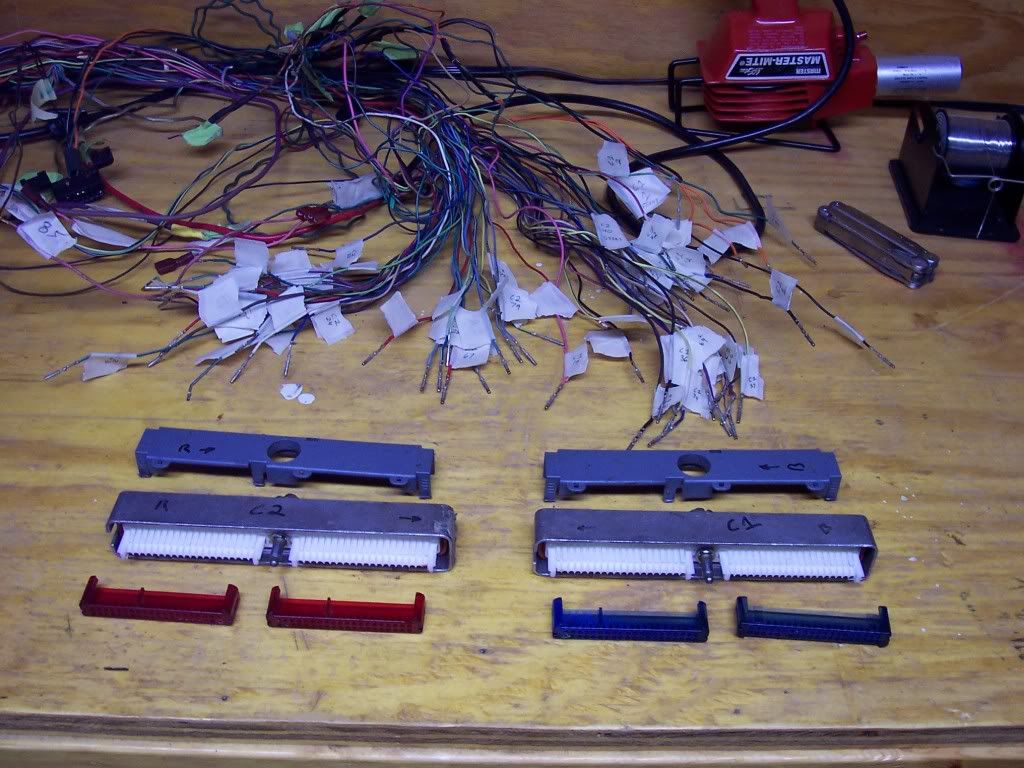
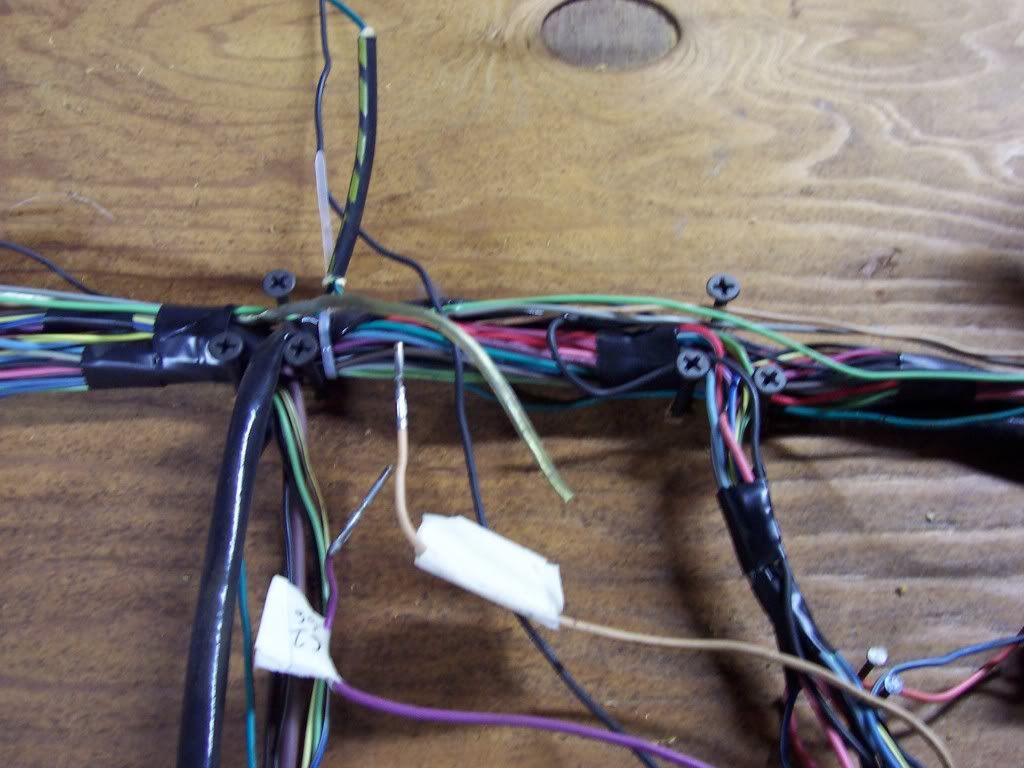
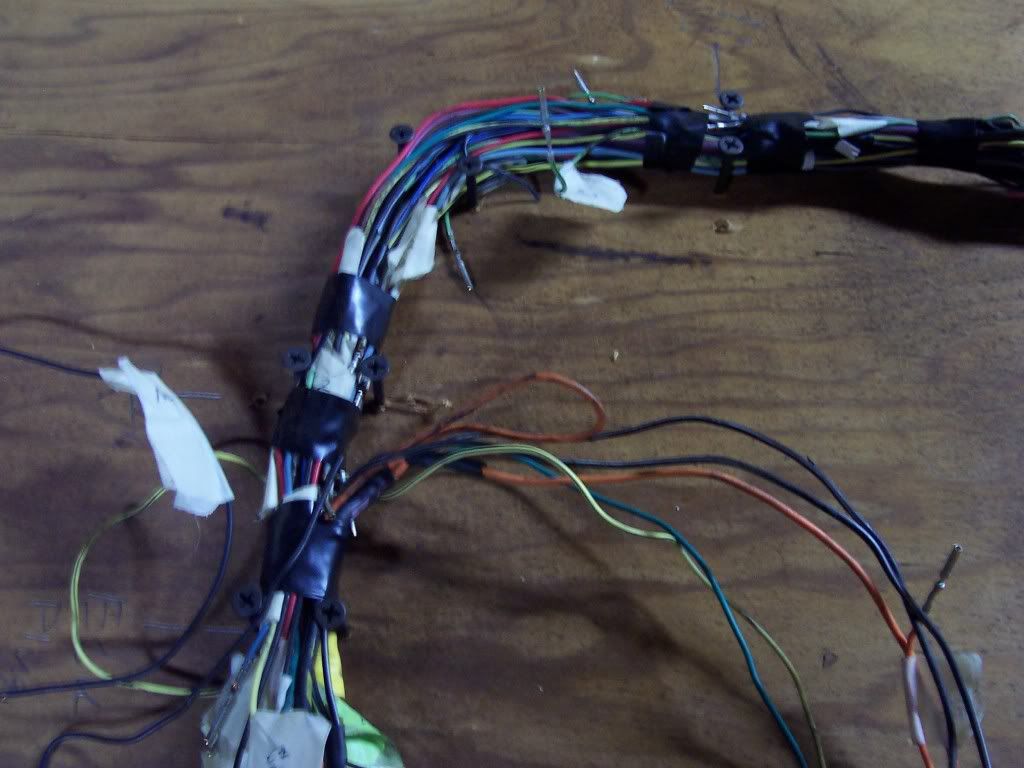
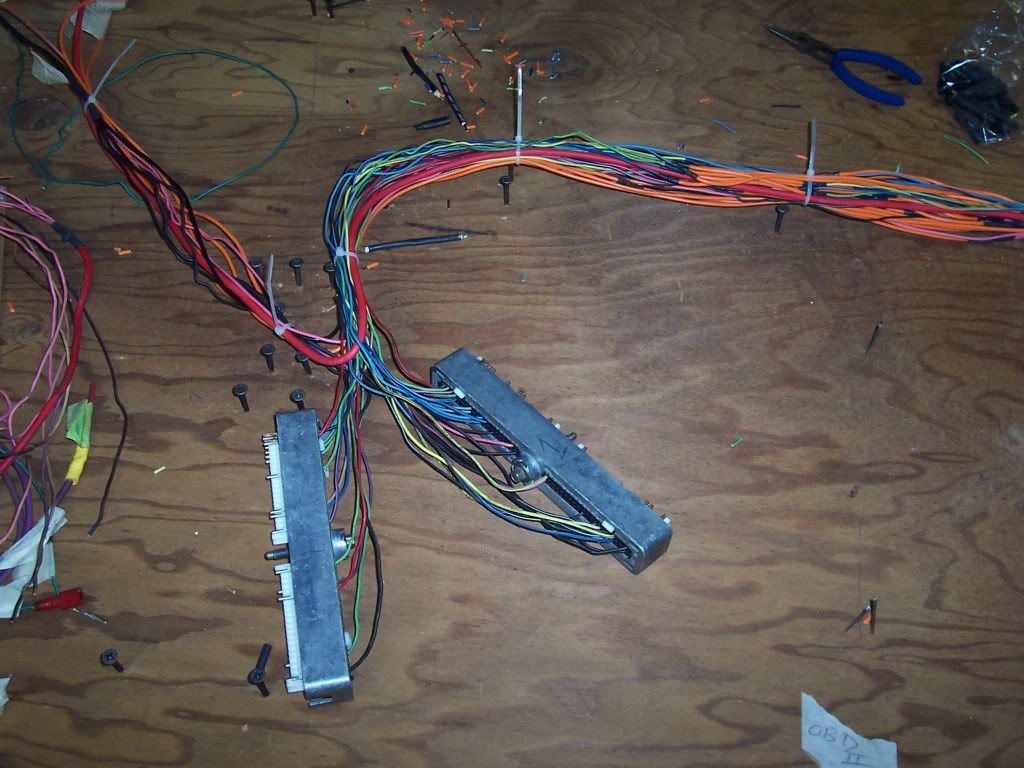
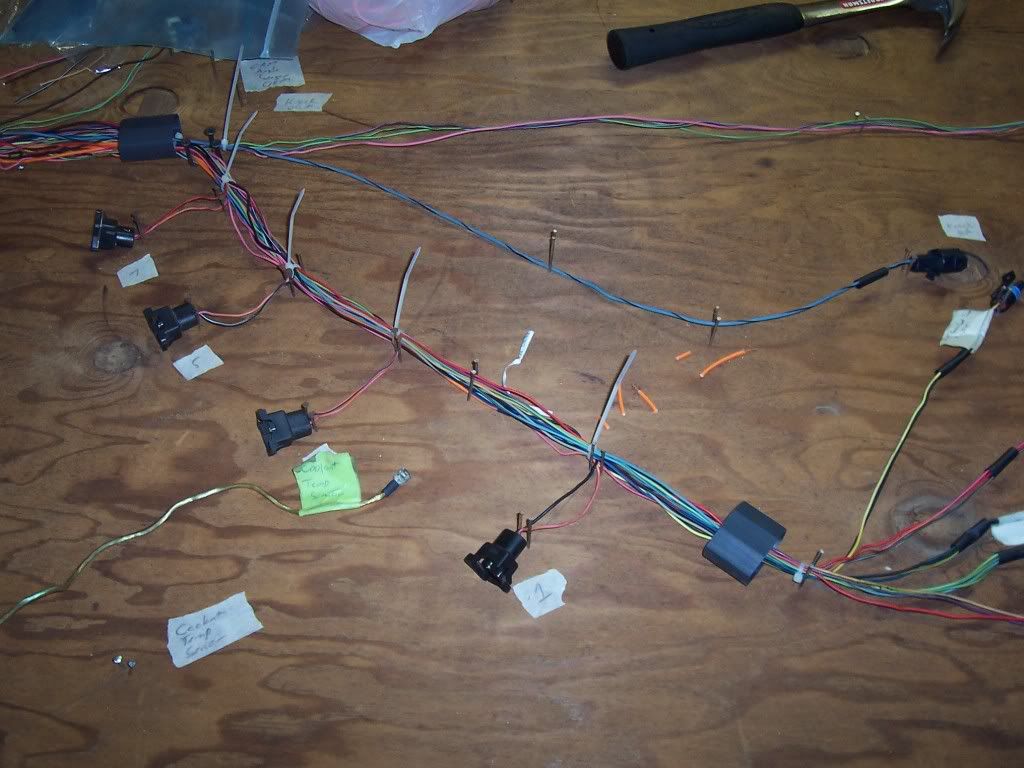
I pulled all the tape and loom off of the harness and inspected the wiring. I removed approximately 2 feet of charred wire due to a bad ground. I also repaired numerous holes in the insulation and replaced fatigued wiring. Once the harness was “repaired” I was ready to lay the harness back on the motor. In order to do this I de-pinned the ECU connectors, marked each pin, and bundled each separate connector harness.
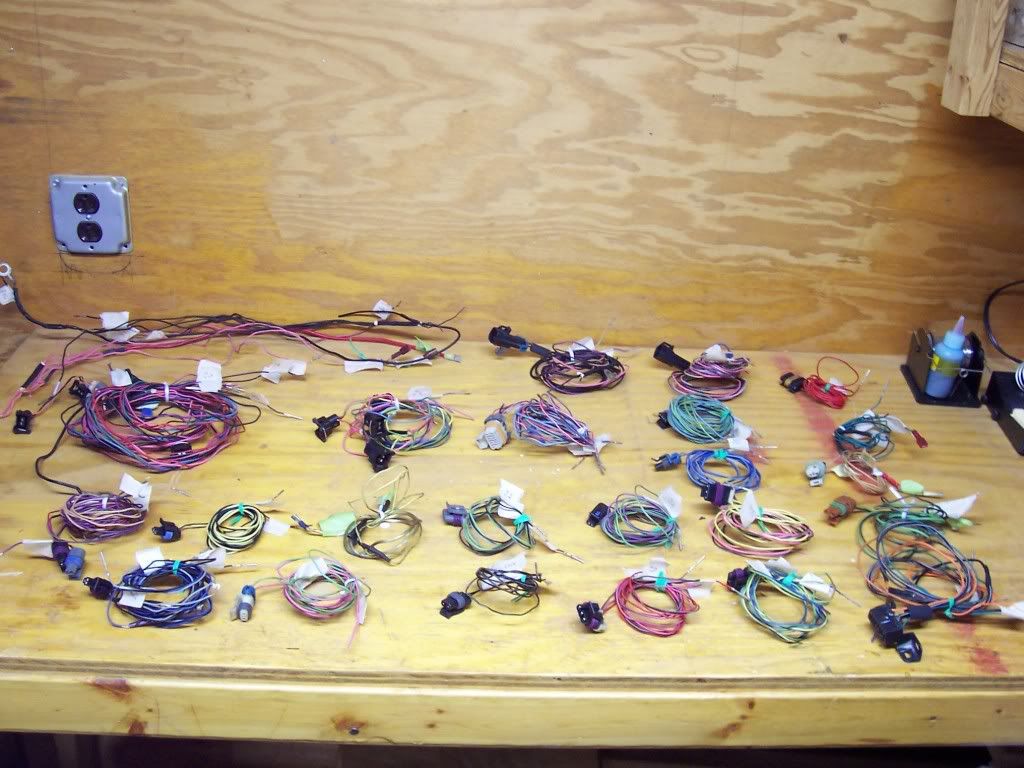
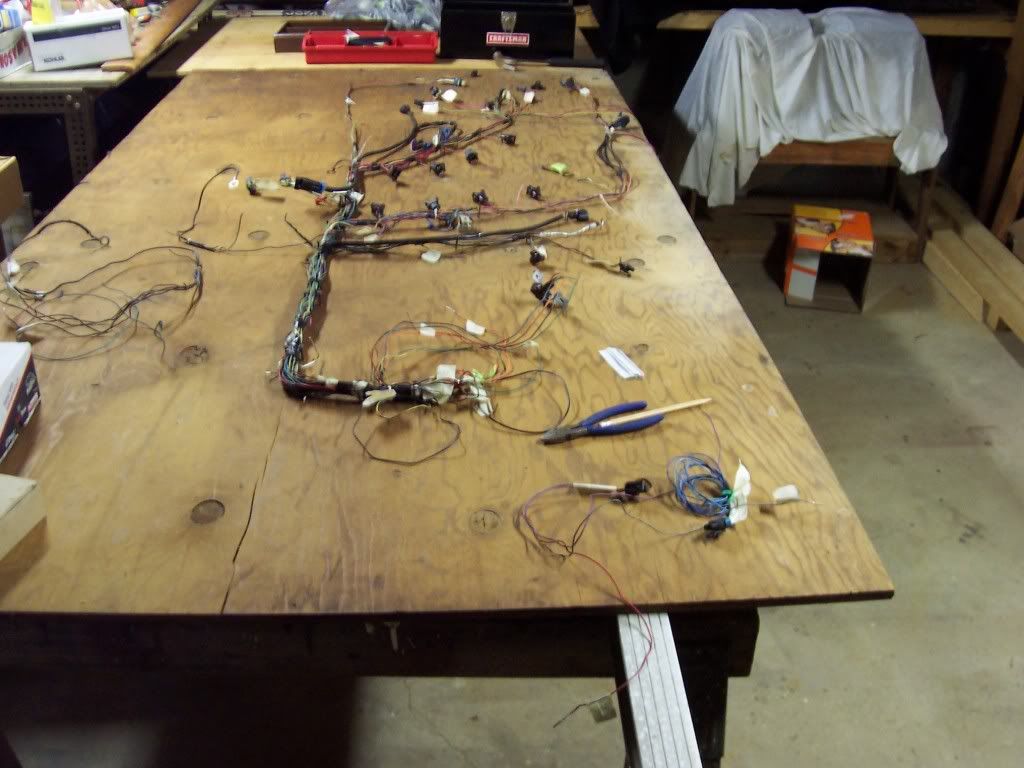
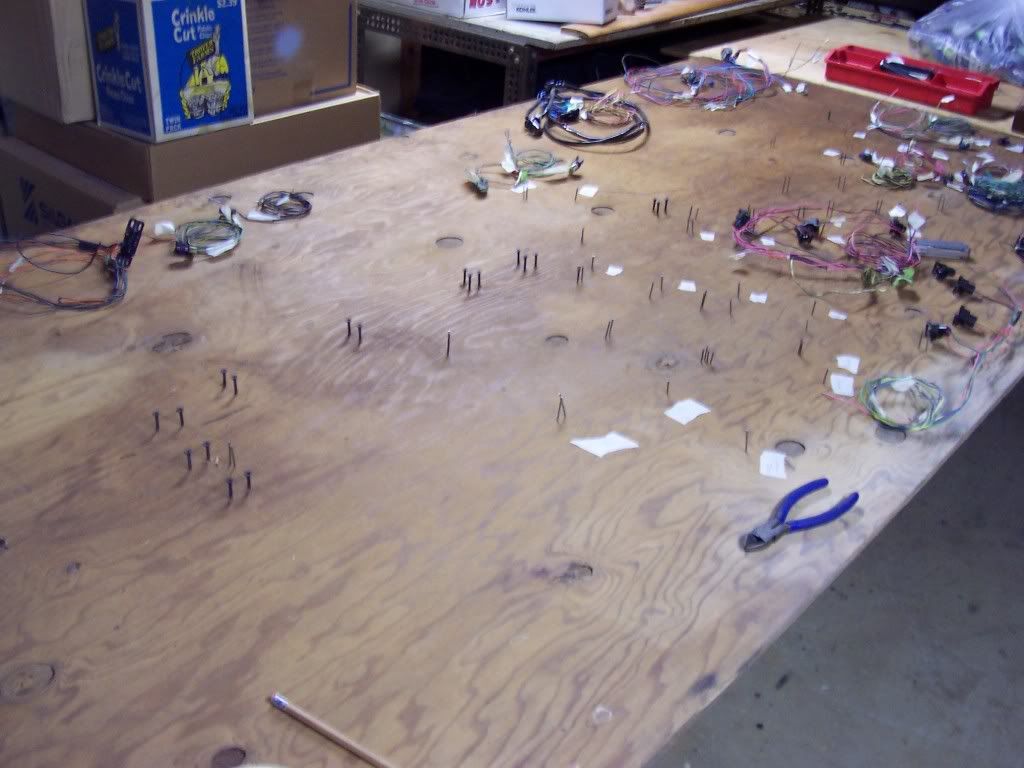
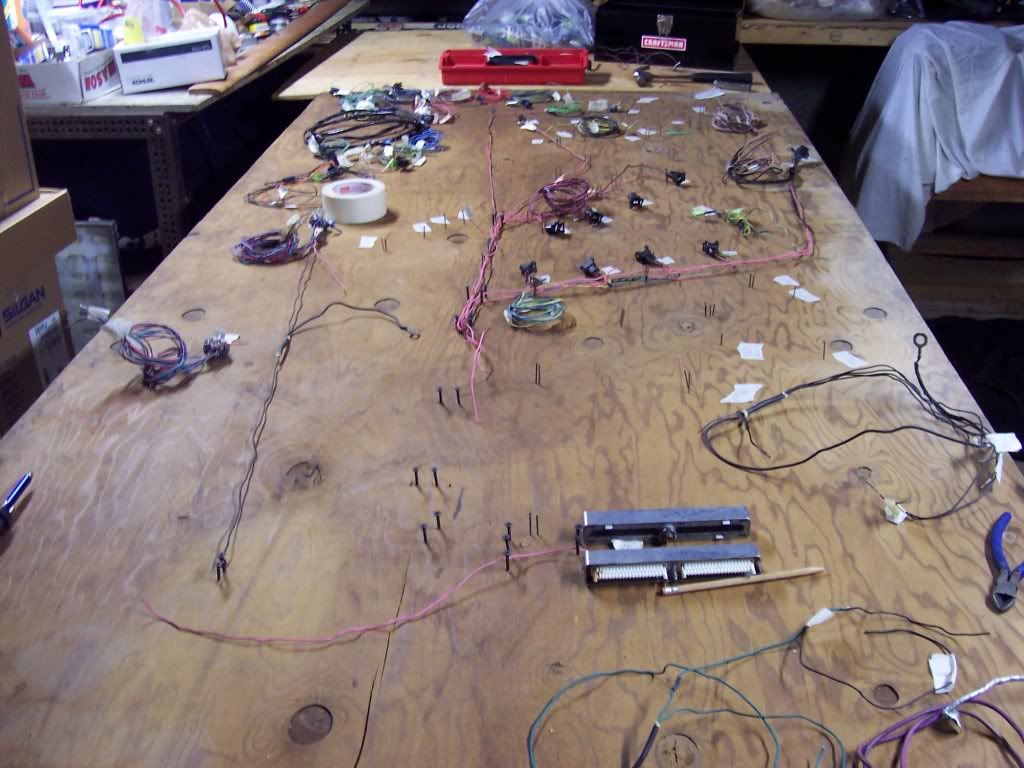
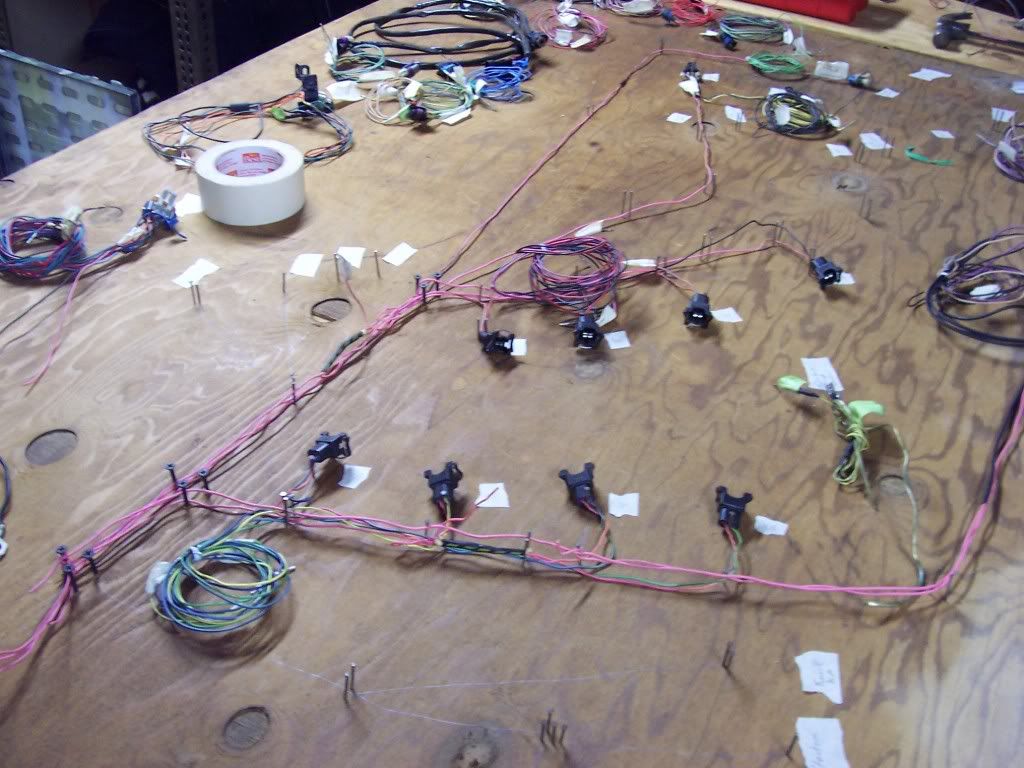
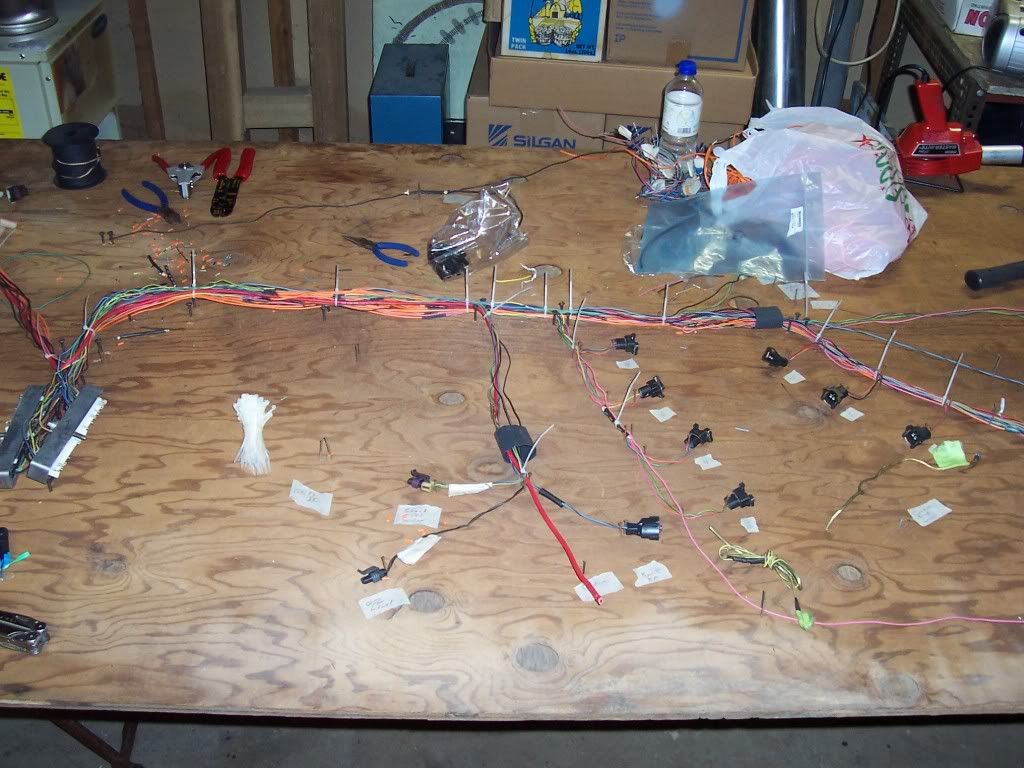
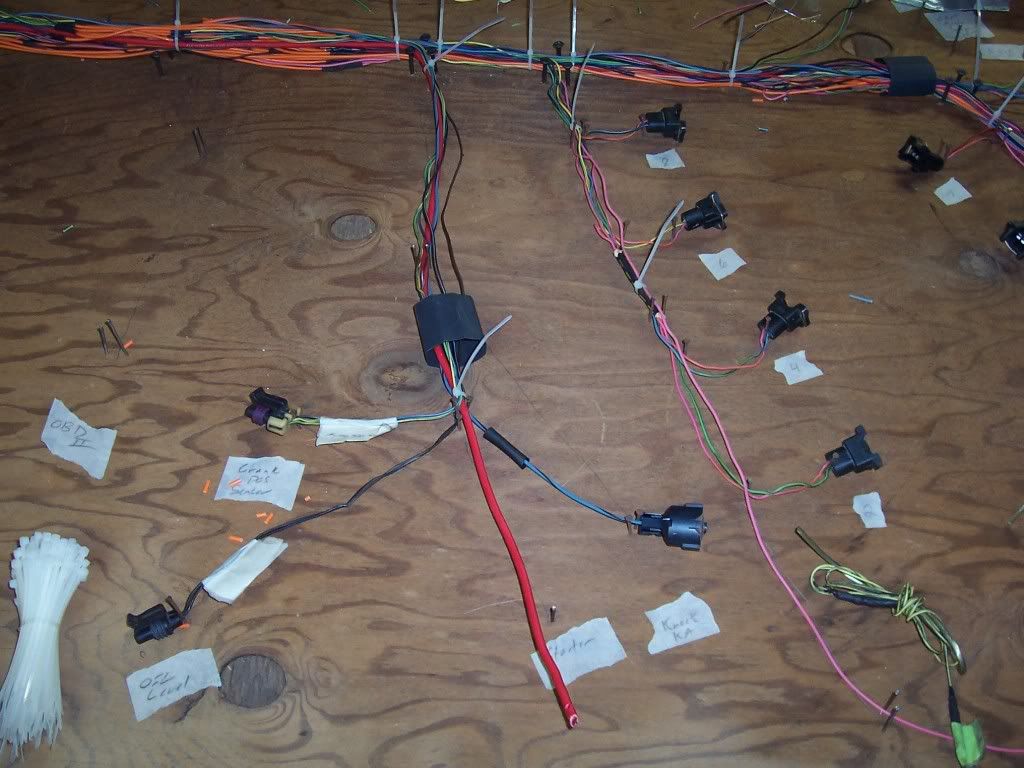
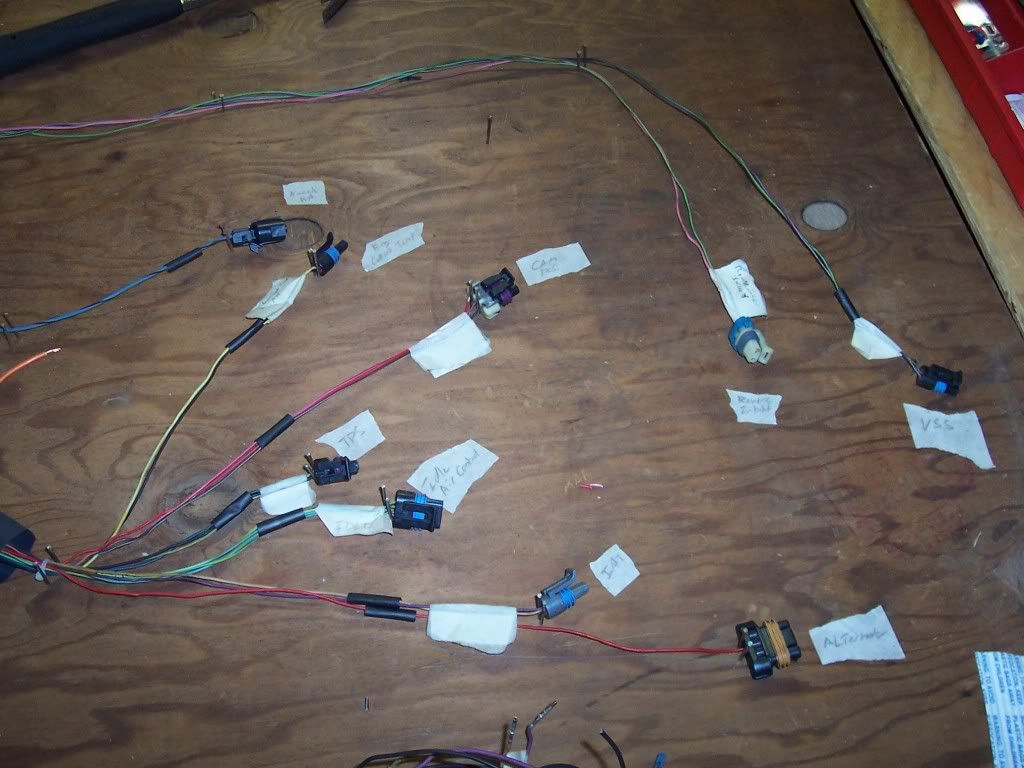
Once Drew and Mr. Donovan finished up their fab work on the piping I was able to relocate all the necessary sensors and O2 sensors. With all that laid out I measured the wire lengths, laid them down, and bundled the harness. Once the harness was the right length and had the proper wire routing I created a wiring board from it.
I marked and placed guide points on key areas on the harness. This gives me reference for the next step…
Once the board is done I take the whole harness back apart and start all over.
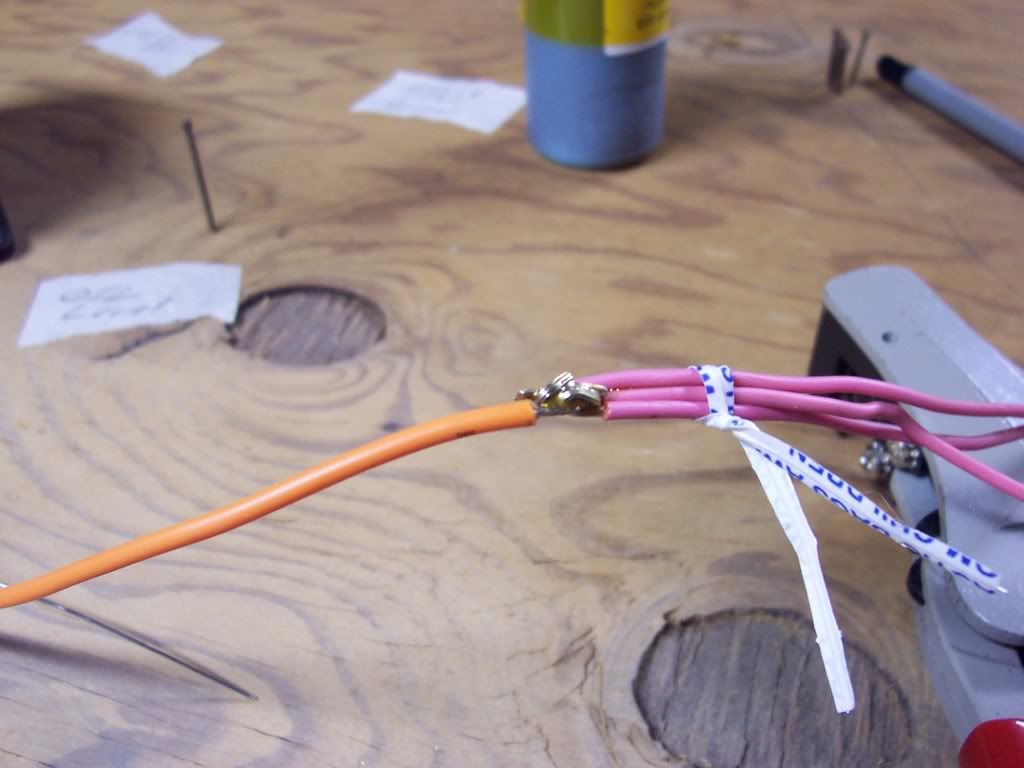
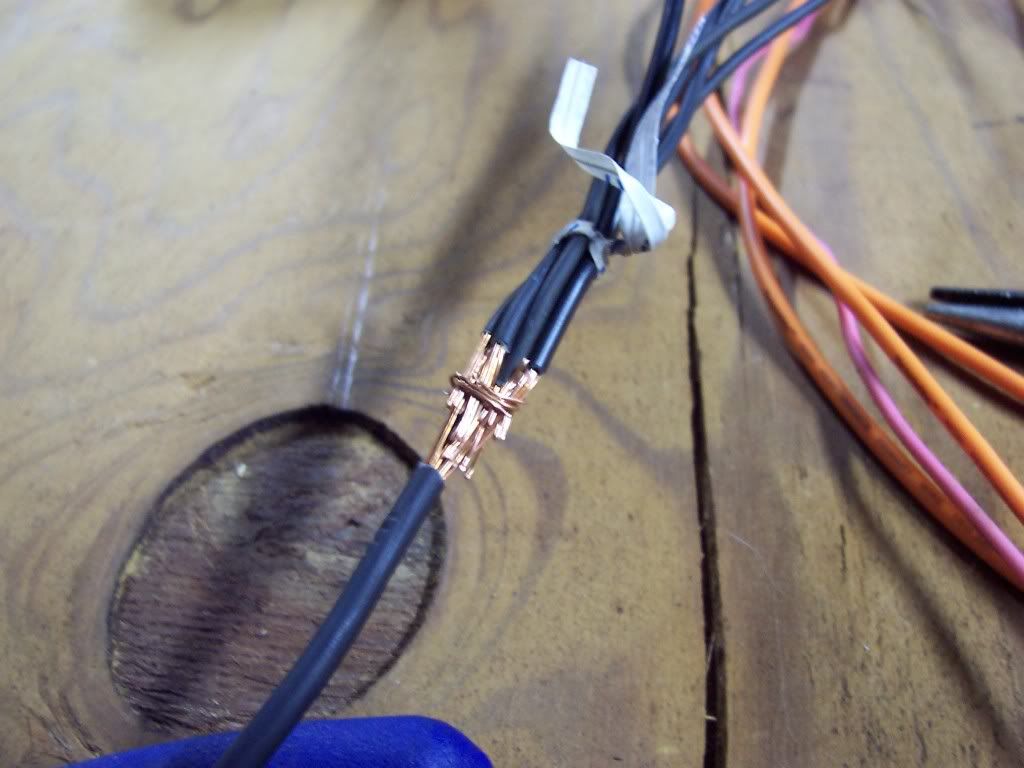
I first laid the common power wires and then the common grounds.
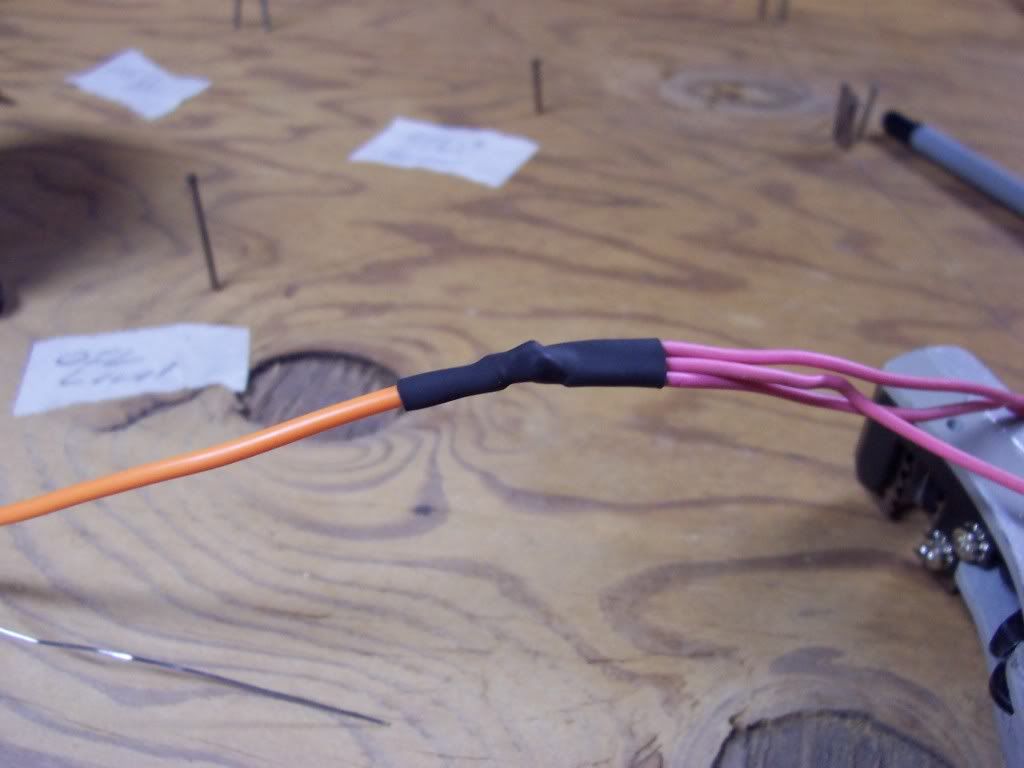
(Note - I did not get a picture of the wires soldered. This was to show how to properly attach multiple wires. These connections are stronger than using a solder splice.)
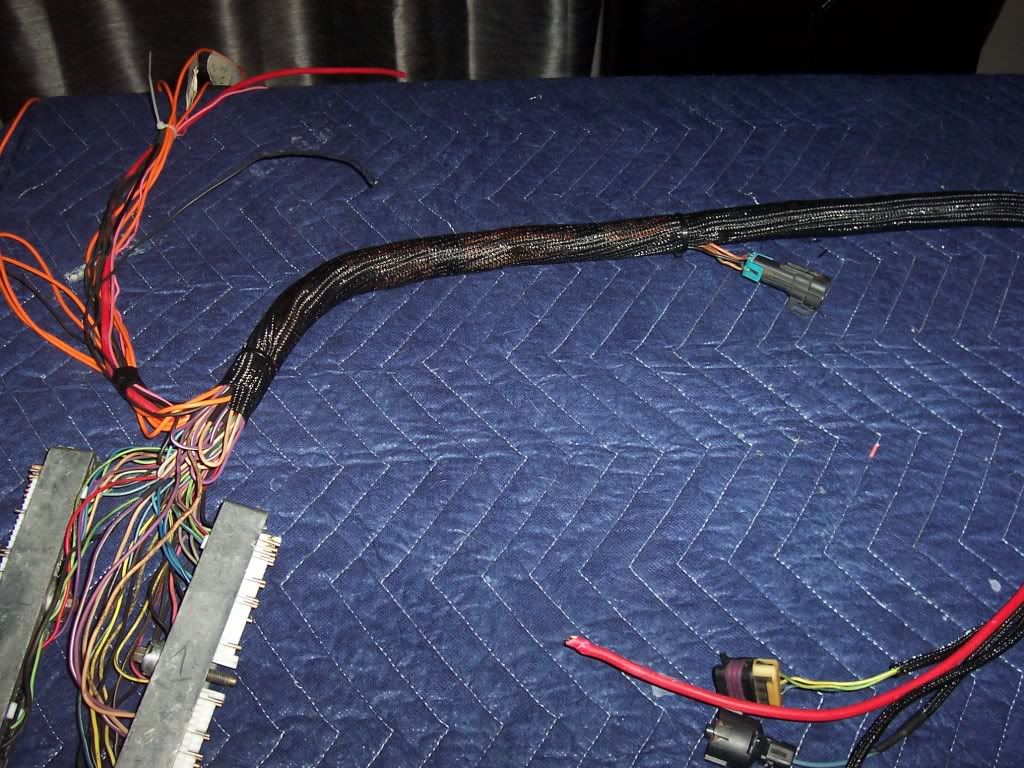
The rest is to lay down the connector on the board in the appropriate location, cut the wires to the ECU, pin the wires, and add a length of new wire back in to re-connect. This needed to be done due to relocating the ECU to the passenger side kick panel in the A pillar.
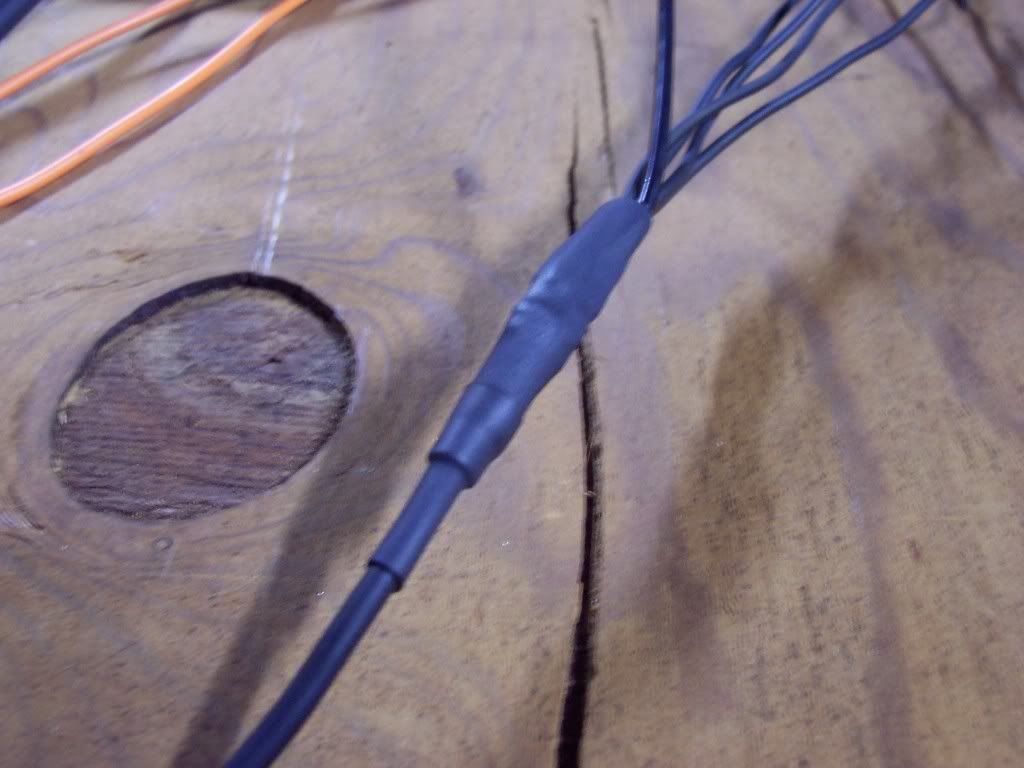
As I built the harness I slid shrink tubing on each wire group that I was able to get at in order to hold the small wrap. For the main harness I used a high ratio shrink tubing to hold all the secondary breakouts and for added strength.
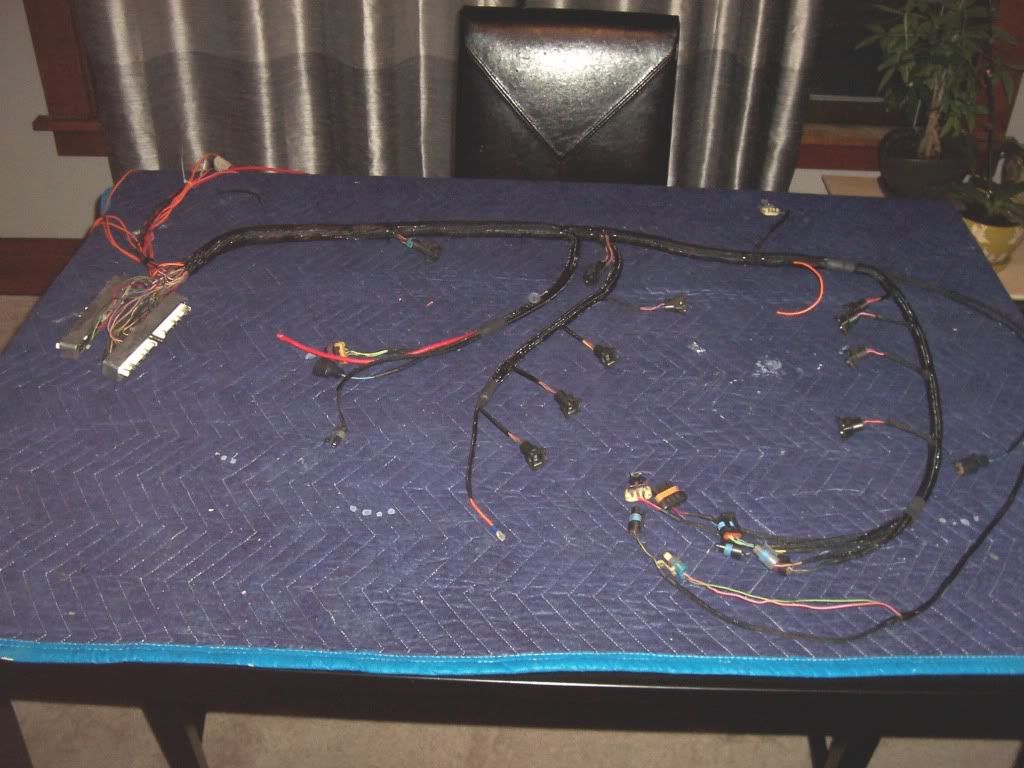
The final step was to tie the harness, run the actual wrap, and shrink the connections.
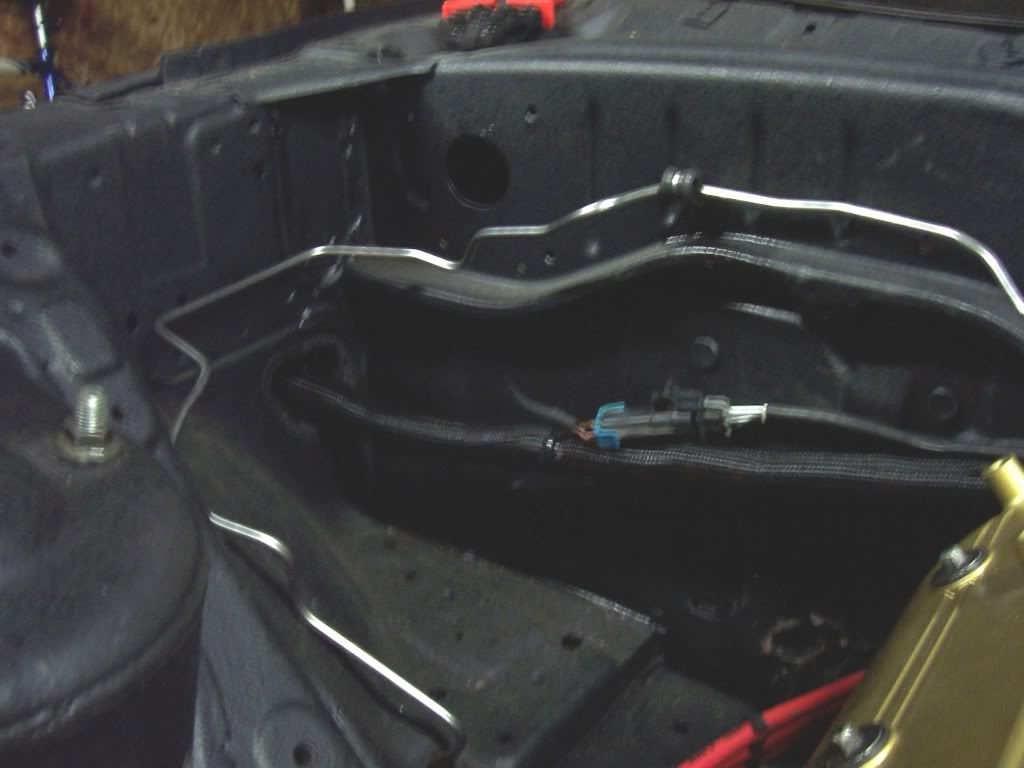
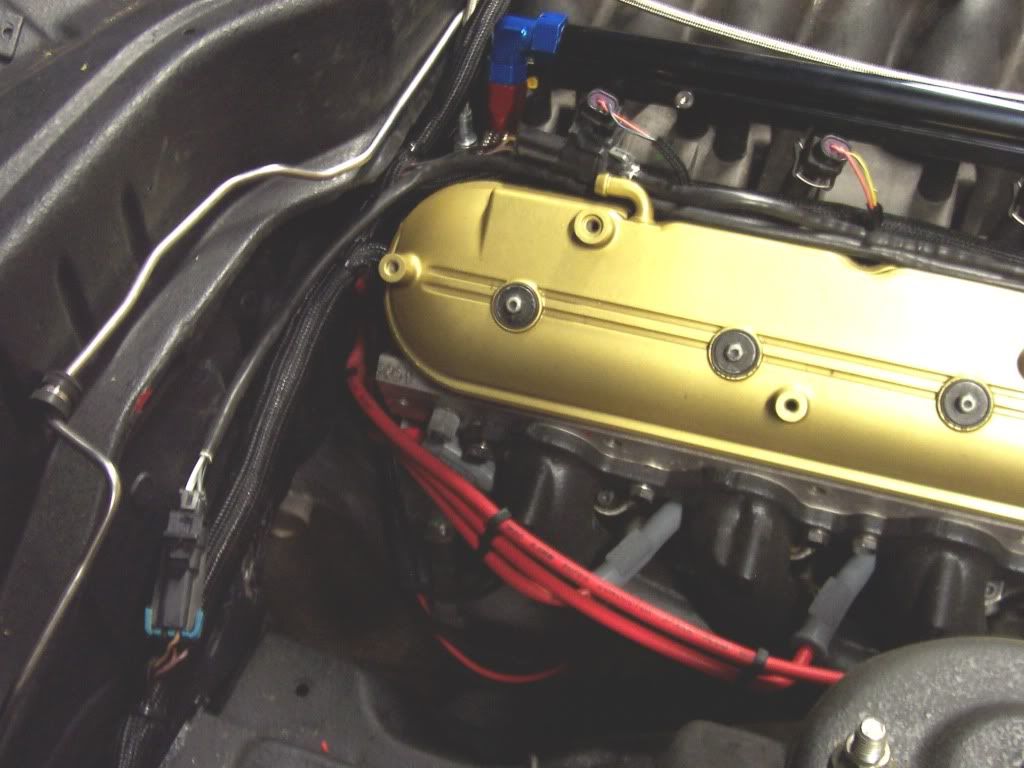
Then comes the final install…
…and Done.
Just for kicks…weight comparison for the LS1 harness.
Starting Weight = 6.4 lbs
Final Weight = 3.2 lbs
Hell yeah…
Holy crap, that harness looks amazing. Impressive, impressive job.


