You should relocate the W/G pipe coming off the manifold to another place (i.e. front of the manifold), right now you will only be looking at problems when it comes down to test fitting and actually making the W/G work. You might as well fix it while you can and before you waste time mounting it. On a side note manifold and turbo setup looks good though!
nice lookin manifold billy!
wow lucky you.free rb26
Haha, I wish. It turned out to be $1500 rb26. The guy who owed me the favour sold the motor without telling me… see earlier post.


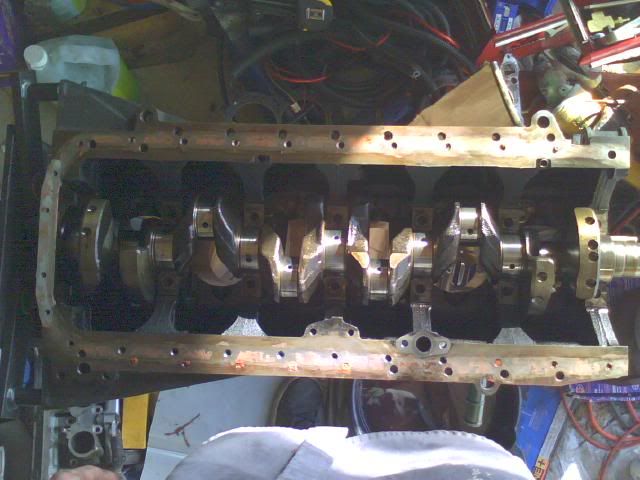
Lateral and end play well within specs;

Thanks for the support guys!!
-Bill
Nice setup man…the rb26 is a great motor if you treat it right and address certain things before putting it in the car as I see you are doing much of that.
I’d like to clear up a couple incorrect posts in here however in hopes to maybe help you or someone else on SON wanting to do this swap. First of all the crank collar issue does not only affect early rb26’s it affects ALL rb series motors up until the r34 rb26…even the r34 neo rb25 still has the crank collar issue in SOME cases. With that being said the crank collar issue is not an issue if you are daily driving the car and not running it up in the high rpms all the time. Tuned ecu is a great way to tune the car…and you can safely tune this motor well to the reaches of a pretty much stock motor while retaining the safety of the stock knock and retard features of the rb ecu. Power FC is a nice option but for a daily try finding someone with a moates ostrich and wire in your consult cable,get a wideband with datalogging capabilities and a good egt gauge/sensor setup do some street/dyno tuning this way then flash the rom over and enjoy. You have the r33 crossmember now but if you didn’t you could have used the stock s-chassis one with custom mounts,you will no doubt in order to get your engine back far enough to clear the front sway bar have to dent in the trans tunnel about an inch right around where the heater core is carefully to get the big rb25 bellhousing to fit. Glad to see your changing the timing belt,idler,tensioner and water pump before you swap this in.Also the S15 LSD uses axles with more splines so the axles hold up better then stock ones. An rb26on street tires shouldn’t break axles that often as is.
Don’t use solid mounts for the road lol For god sakes nooo you will hate life,the reason the old mckinney mounts made the motor lean is the isolators were cheap and flexed way too much. There is a thread on www.nicoclub.com where Darius shows how he made his own isolators with I think flexane and dixies cups worked out awesome.
Some things you may want to think about addressing are:
Heat issues…these motors run hott and are a bitch to bleed,Redline water wetter is your friend,stock clutch fan is too,all the ducting you can get in there helps alot,and a nice thick rad, tofit the stock clutch fan you will need to mod the rad support.
Heater hoses: You will need to run 1/2 rb hose and 1/2 240 hoses you will see the diameter of the 2 is different.
Any questions feel free to ask…also guys these guidelines mostly only refer to the rb26…other rb swaps have their own process,issues,and special mods to the chassis.
RB20’s still drop into s-chassis cars with the r32 lower crossmember,and stock rb20 mounts,use stock driveshaft and with an automoatic ka trans crossmember bolts that in too. All thats left is plumbing and wiring and fun!!!
Good luck and I’ll pop in to have a look…progress is comming along!!!
Kendal
Kendal, thanks for the input! I will definitely keep these things in mind when I do the swap. +1 for that link, it gave me plenty of ideas for making mounts for this swap. I have decided against the power fc; maybe next season, due to costs of tuning and the initial product itself. This is all money I could be spending on more integral parts such as injectors or fab material. Also, NO expense will be spared in the cooling department. Nissan motors love to run hot, as I found out through my last few motors, and I have a few tricks up my sleeve to combat that.
Thanks for all the input everyone, keep it coming!!
Bill
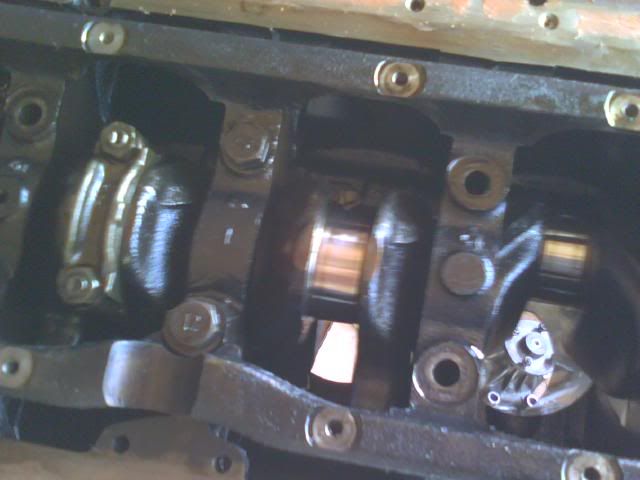
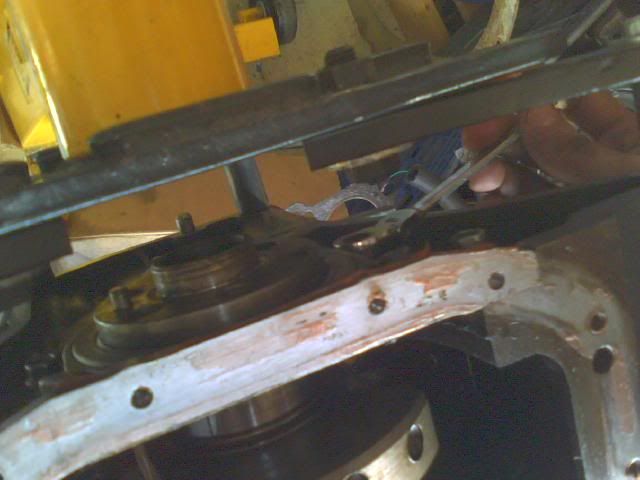
So I finally got some spare time to get to work on the bottom end. I pulled the water pump off and found a the inside of the pump to be pitted out as well as nicely oiled lol.
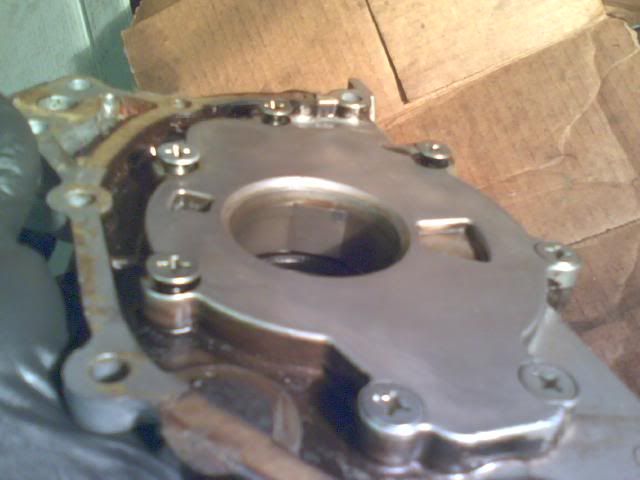
First off, when I pulled the oil pump, I found that 4 of the 7 pump housing screws were loose… I mean really loose. One of the screws was only holding on by a 2 and a half threads. I backed them out a bit to show which ones were loose (except for the topmost one, that one was like that already);
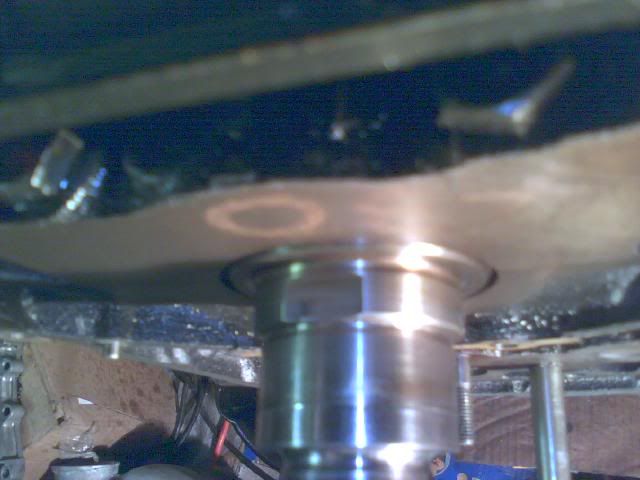
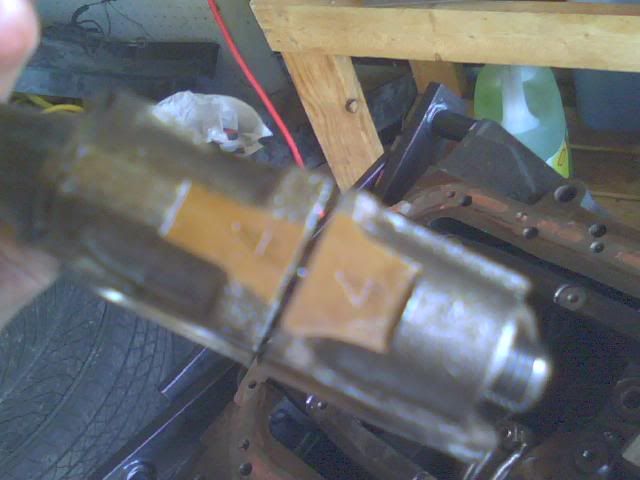
I also took a few pictures of the oil pump and crank collar to show the infamous RB “crank collar issue”; Mine is showing a fair bit of wear.
The crank collar. Wayy to short. You can see the blue (burned) section closest to the front, which is the contact patch for the oil pump drive.
This is the pump gear, where it contacts the crank collar. As you can see, the contact patch is nowhere near big enough to support a modified (or even stock) RB26.
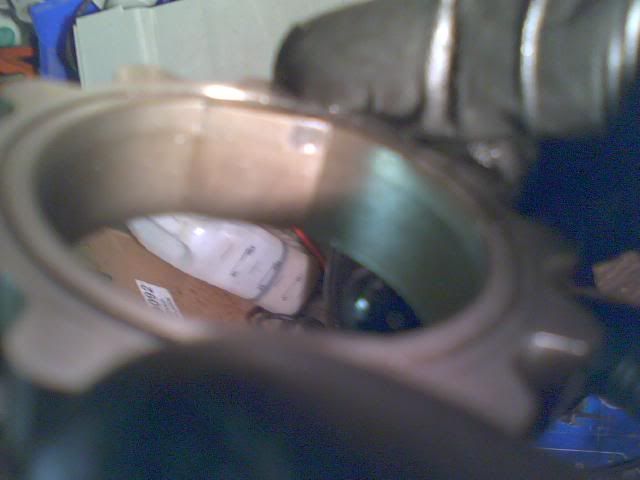
What you can’t really see from the pics is that those wear marks are actually pretty deep grooves into both surfaces. I placed the inner ring gear (last pic) onto the crank collar, and there is a fair bit more play between the two than is tolerable in my standards. I’d hate to see how it behaves at over 6000rpm…
Anyway, that’s my update for tonight. Tomorrow I will be ordering new genuine water and oil pumps. I don’t think N1s will be necessary, considering this car will be daily driven, not living constantly around redline. I will also be ordering a new crank collar, which brings me to my next question: Are the main and rod bolts reusable? Or strictly TTY? The fsm doesn’t state anything about requiring new bolts, but I’d rather be sure. Regardless, I will measure each bolt for stretch and fatigue upon removal.
That’s all for now.
-Bill
sounds good bill…how much psi are you runing for that size turbo?
and if i were to biuld an sr20 how big of a turbo would you run for this sr engine with a full rebiuld and how much psi let me no
thanks
compressor_serg 
I’m planning on running around 1.2bar (roughly 17psi) daily, but may keep a high map handy as high as around 1.9bar (~28psi). My goal is to build a strong, reliable motor with a fair amount of power behind it.
Serg, I PM’d you regarding the SR. Try to keep it on topic here, man.
PM or call me if you have any more questions, you have my number.
Thanks,
-Bill
28psi is a crazy amount of power lol how much hp you planing to have once your project is done?
let me no thanks
serg.
Hey Bill,
If these are your goals I think you need to re-evaluate your stance on getting an aftermarket ecu. I’d hate to see you loose this setup going “cheap”.
I ran 18psi on a custom built turbo to and beat it hard on stock rom tuned ecu, I have a good friend in NC who runs over 400whp and 22 psi on a gt3076r with stock rom tuned ecu (which he threw out his failed power fc to run). My current setup I will be running an AEM however it won’t be an rb with an 8 meg ecu that can be easily rom’ed.
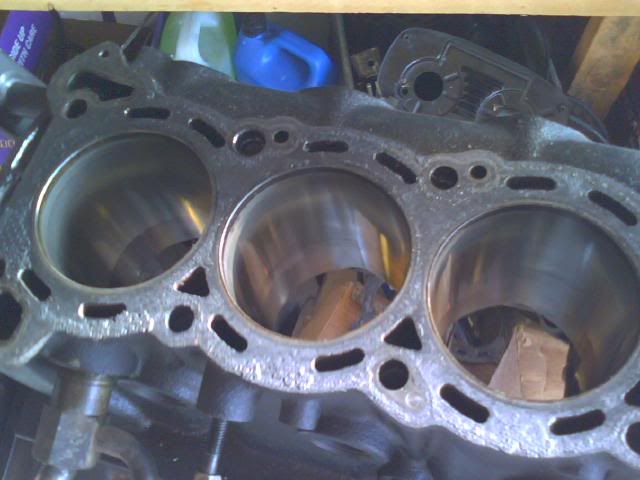
Got a few minutes to break down the block in prep for a little machine work;
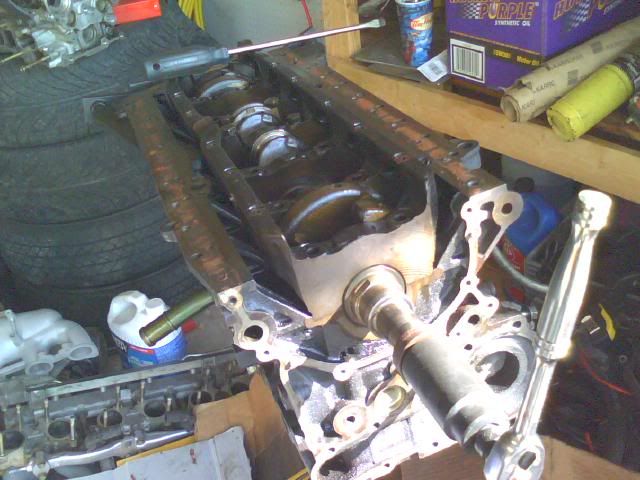
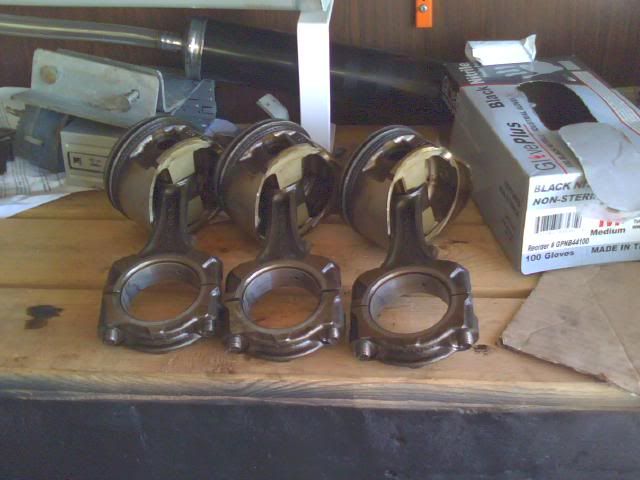
Nissan made it pretty much foolproof to put this thing back together; it’s kinda blurry, but you can see that on either side of the rod fracture, the pistons are numbered; all you do is line the two numbers up and you’re good to go.
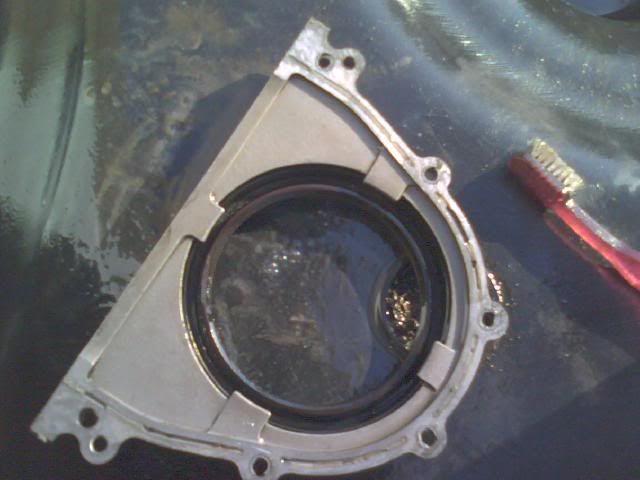
A good 10mm ratcheting wrench proved to be invaluable for getting the rear cover off while on the stand.
Also, I took a tip from TurboBuick. com and picked up a can of oven cleaner. This stuff works awesome, but don’t leave it on aluminum for too long or you won’t have much a useable part left after. I made sure to clean every part I used the stuff on thoroughly with dishsoap afterwards.
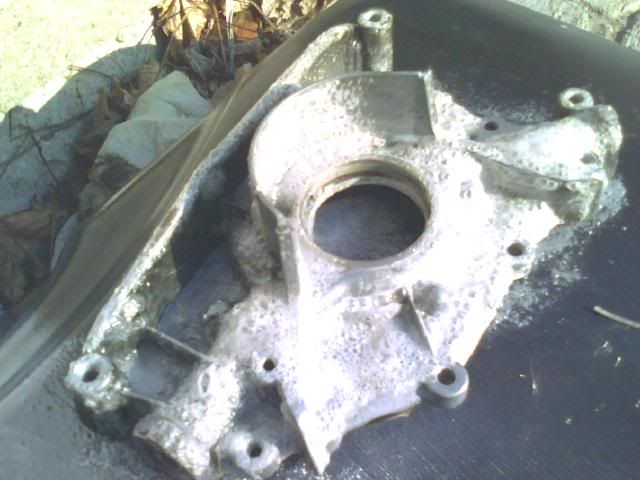
This is how the rear cover turned out after sitting for 2 minutes with the cleaner:
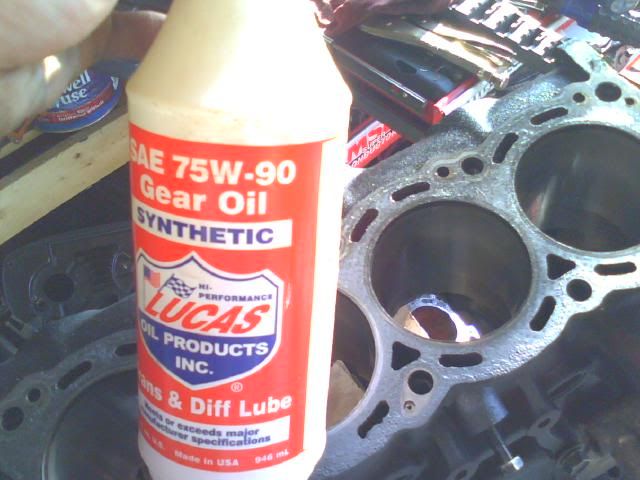
Last but not least, wiping the cylinder walls, crank journals, and bearing surfaces down with lucas; this will keep them clean until they get to the machine shop.
That’s all for now; I will have more pics to upload later after I have a little fun with the sandblaster
Thanks,
Bill
this is an awesome build man, I always thought with the rb26 you had to sacrifice power steering and air condish, is that true??
Air conditioning, not sure. I’m sure it’s POSSIBLE. Any A/C shop could make lines if necessary. As for power steering, you can use the hicas rb26 pump, but it must be modified if you’re planning on running 2 wheel steering. Either that or you could use an rb25 pump with an rb25 crank pulley, as the 26 pulley won’t line up the belt correctly.
Best of luck with your build and i appreciate the advice with mine. Still have yet to start it though…
I’ve been spending some time lately getting the engine bay prepared while I wait for parts, getting rid of all the crap cluttering it up. It’s unbelievable the amount of mess in there that was removed.
PICS
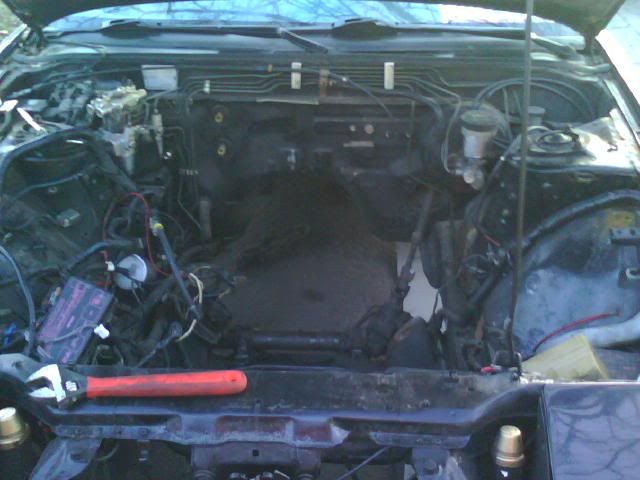
SR out:
Engine bay; disgusting.
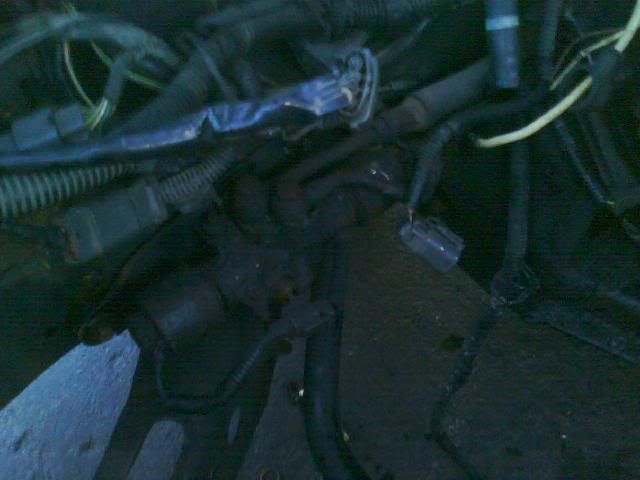
Pain in the ass not-so-super hicas; that’ll be going.
Rust check primer is the shit, whether you actually have rust or not haha
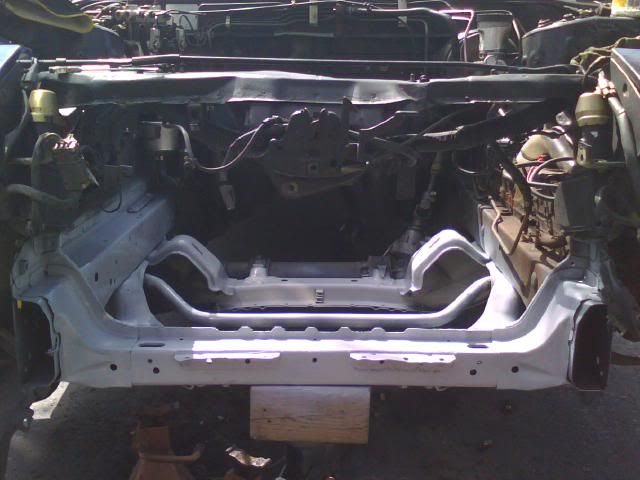
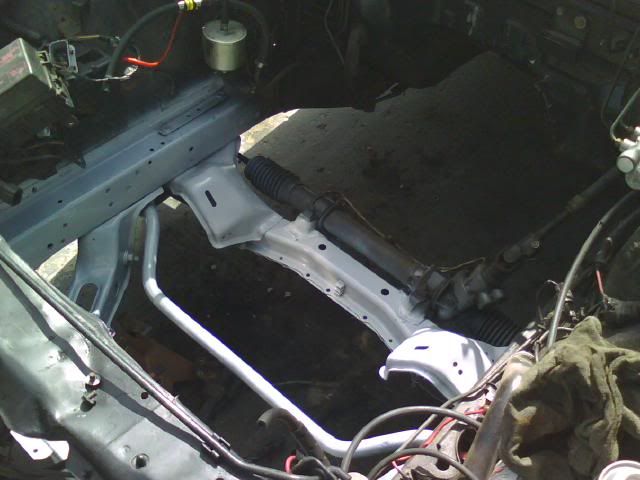
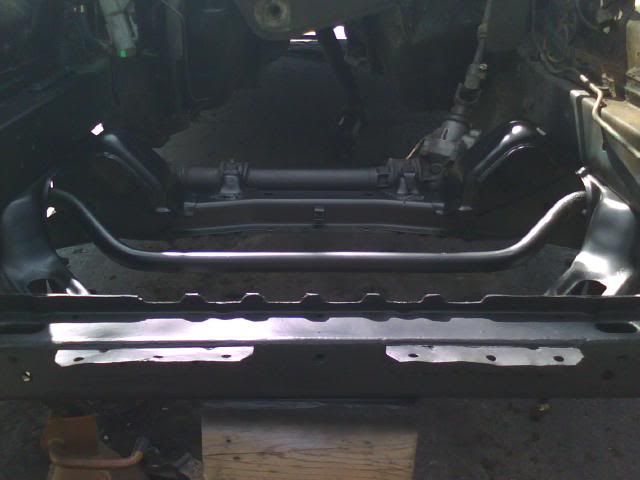
RB20 crossmember in; stitch welded along the bottom brace
The condition of my frame rails; Ali, this one’s for you.
Top coat of satin black
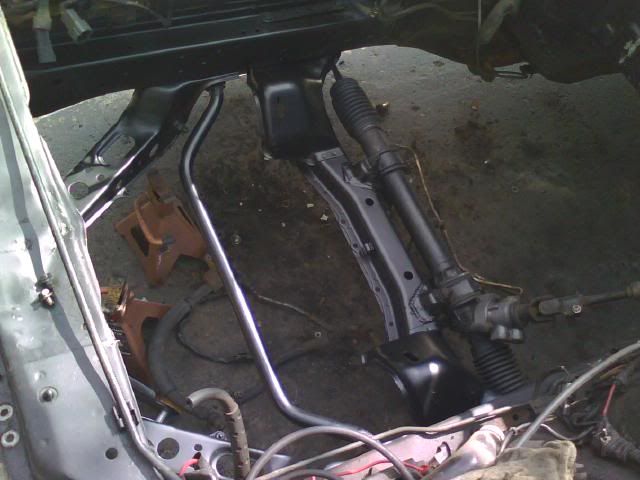
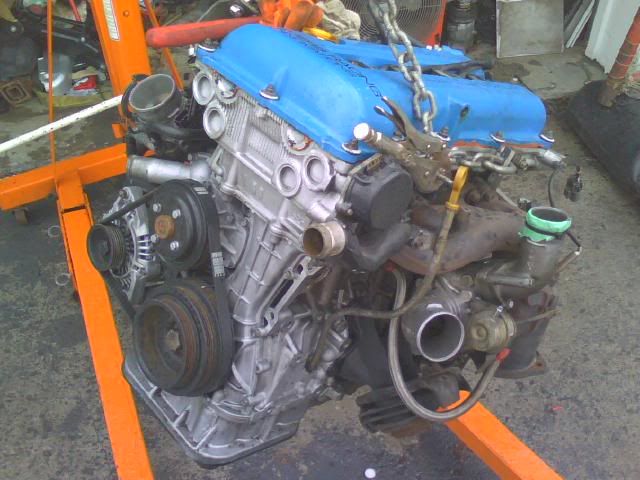
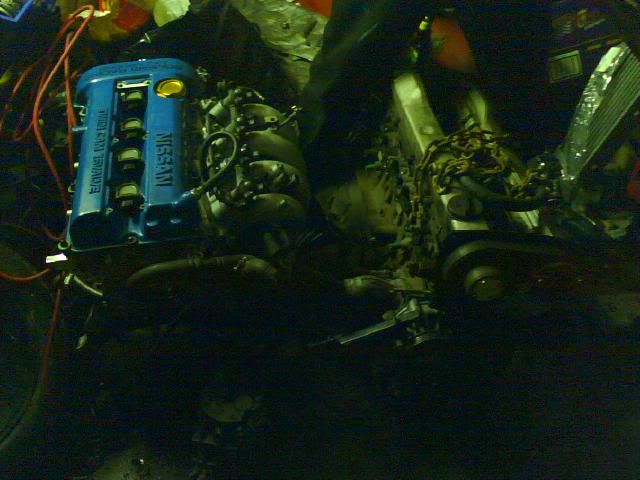
Last but not least, the spare rb25 being used for test fitting
That’s all for now, many more updates to come.
-Bill
But the chassis, shes not stiff yet. What are you gonna do? Viagra?
I’ve decided to extend the 26 build for a little while; it will give me some time to gather some quality parts to finish this build right. In the meantime I’m dropping in my 25 with a fresh head gasket and gasket kit to get my car back on the road. It’s a basic series 1 rb25 with a 0.7 bar (10psi) rb20 wastegate and an MSD digital window switch to control the nvcs (vtec). I’ll also be using an S&S//Garagebuilt manual boost contrloller and mishimoto front mount intercooler w/ custom piping and pretty much calling it a day modification-wise. Updates to come on new 26 parts and 25 install.
Bill
Almost forgot to post up the new intake! Found it on gtrcanada for too good of a price to pass up.
[ATTACH]15483[/ATTACH]
That’s all for now!