Big update from this weekend. Video below 
Edit: Video’s are converting on Vimeo. I’ll update them when they finish.
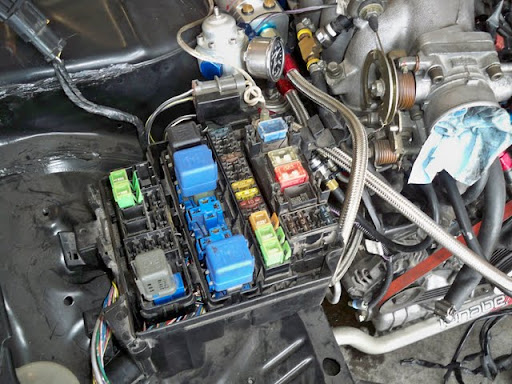
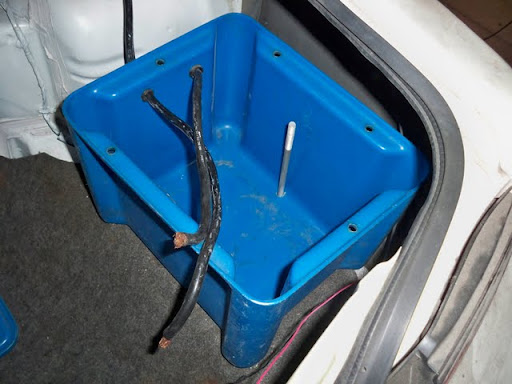
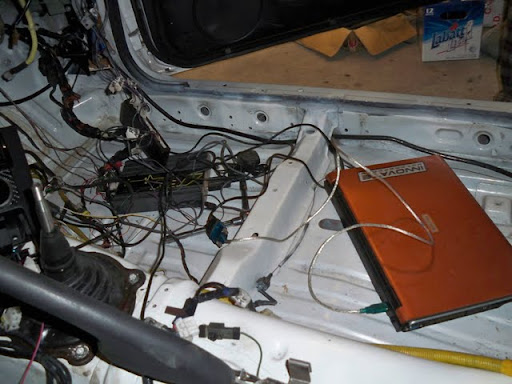
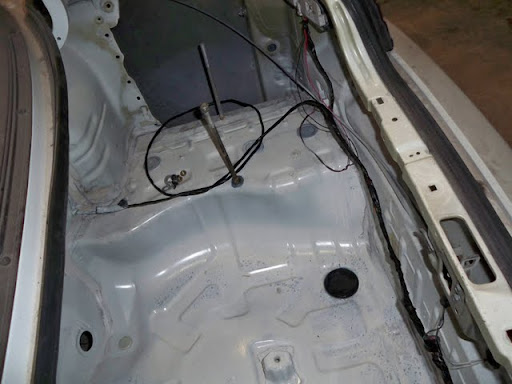
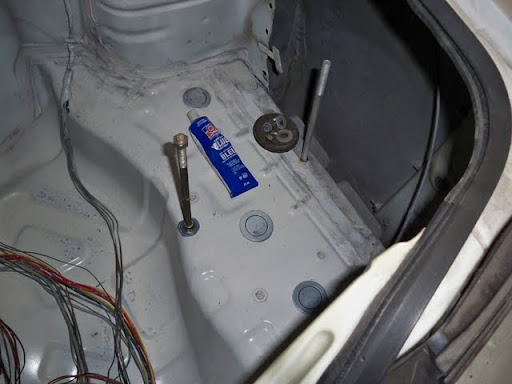
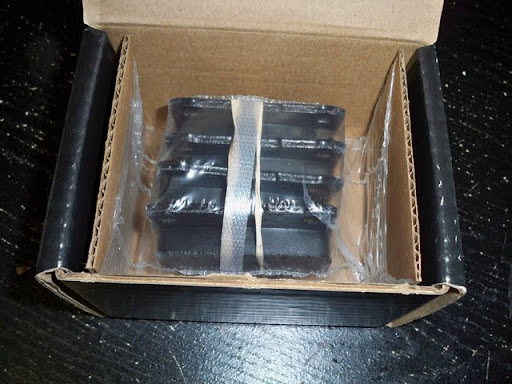
Yesterday I installed the battery box, ran the ground wire, and installed the battery.
Turns out I had a power cable grounding out, so it made for an interesting spark when I first tried the connection. Fixed it up, killed the alarm, and the electrical was in working order.
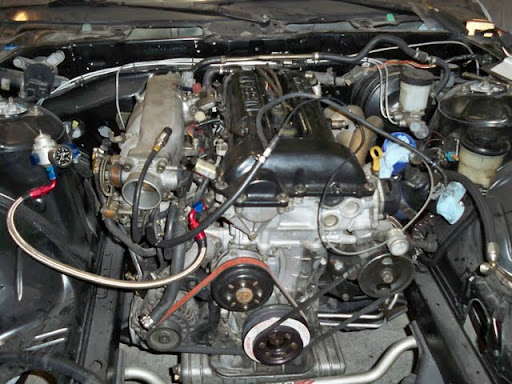
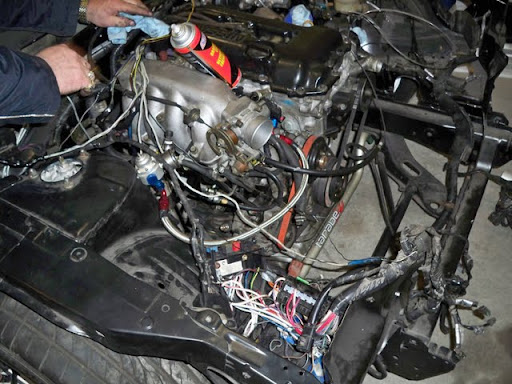
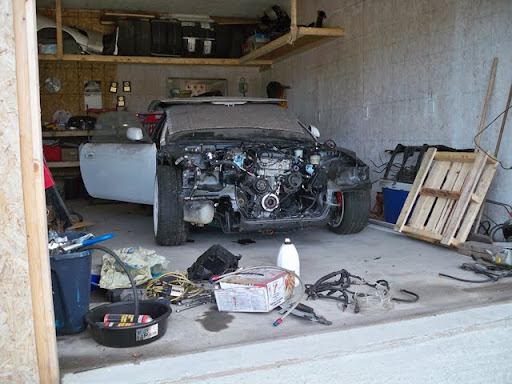
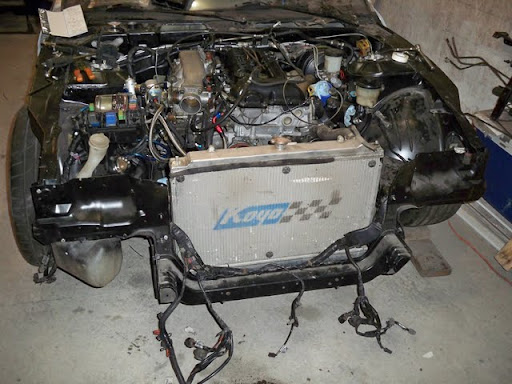
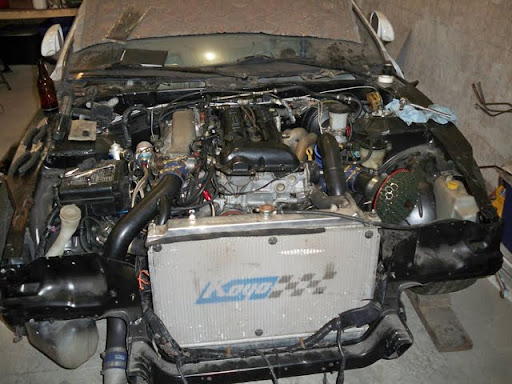
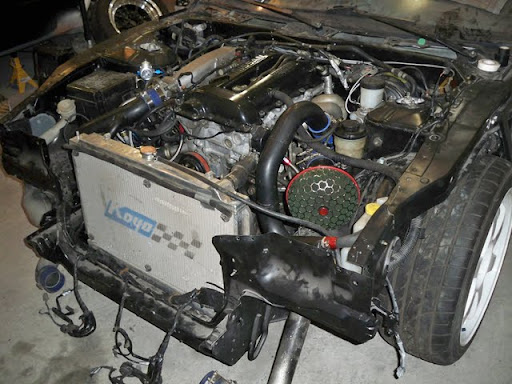
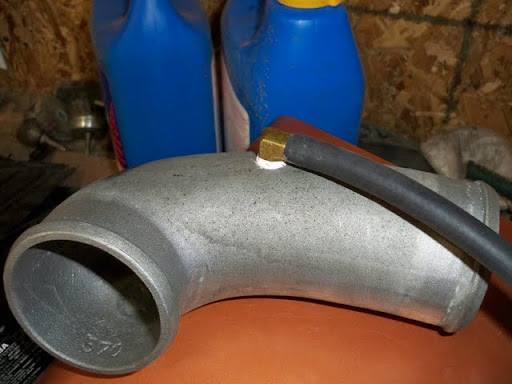
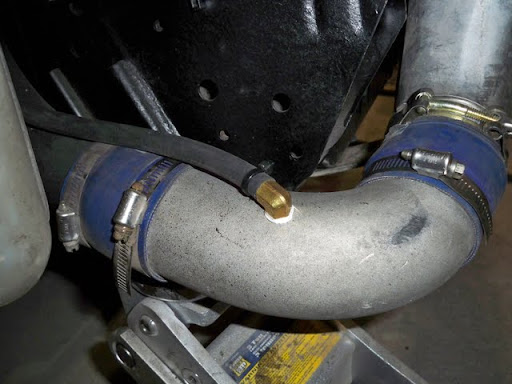
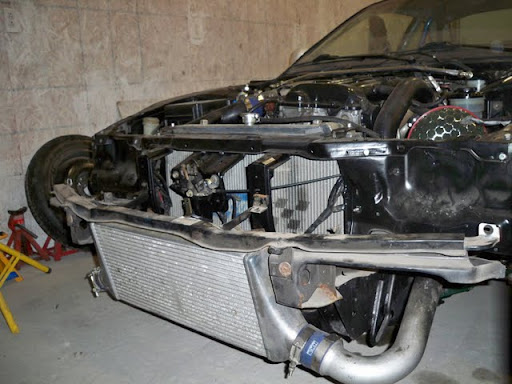
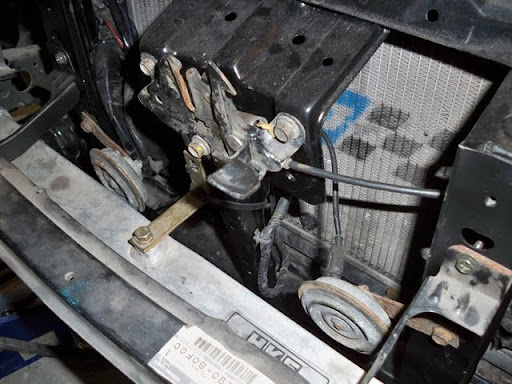
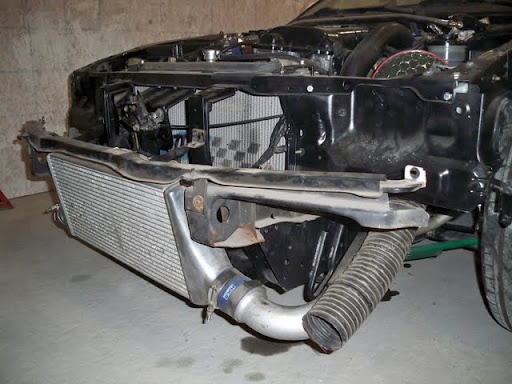
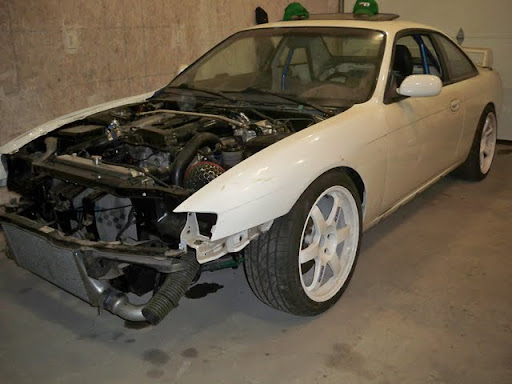
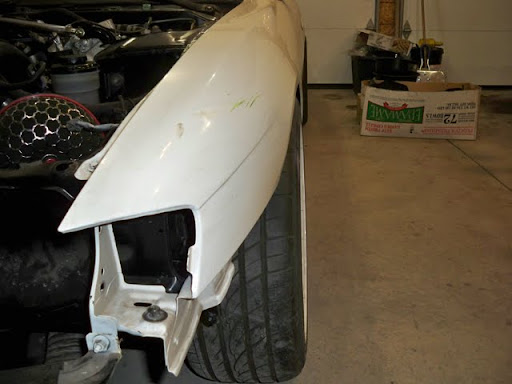
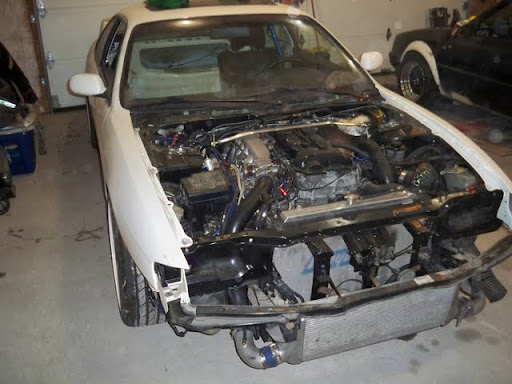
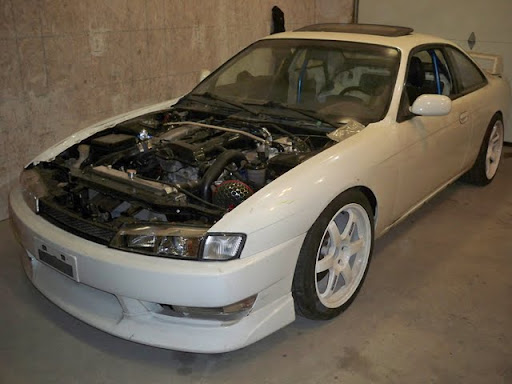
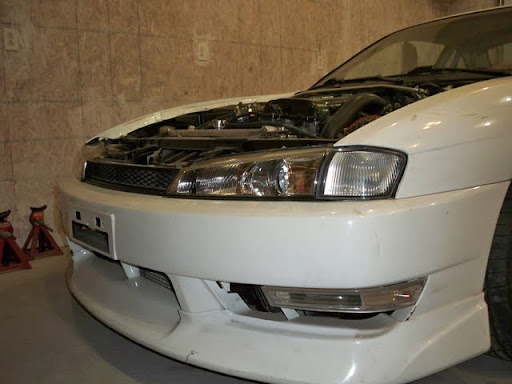
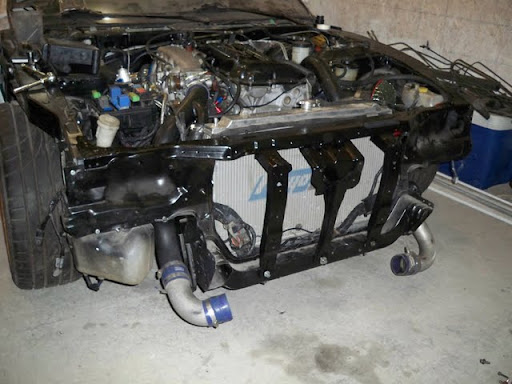
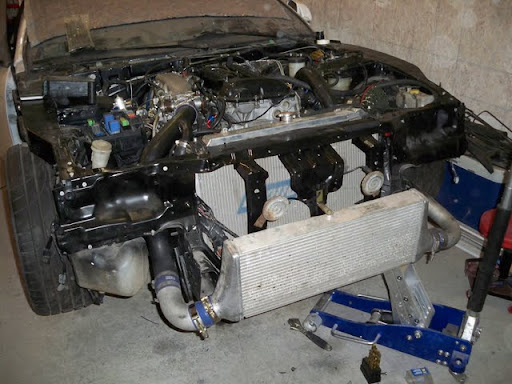
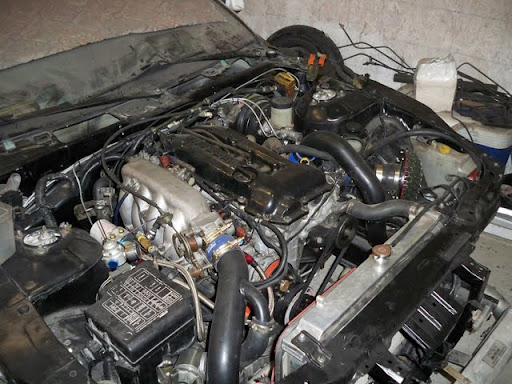
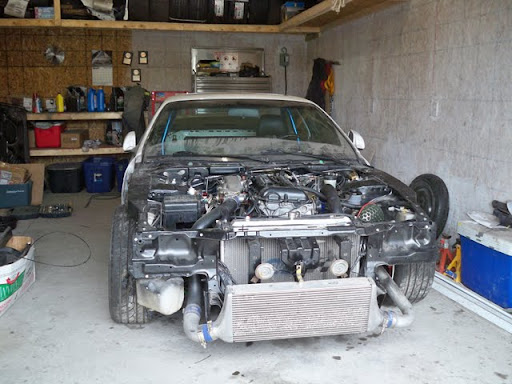
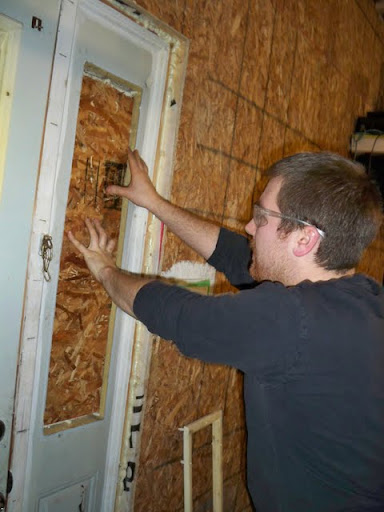
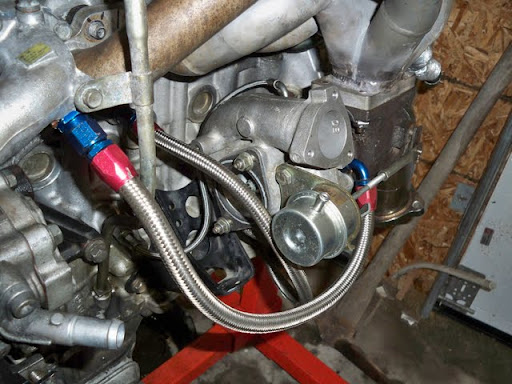
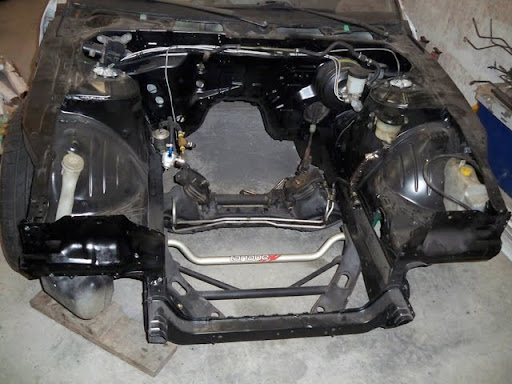
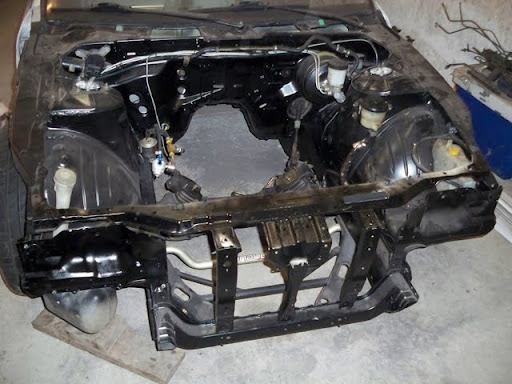
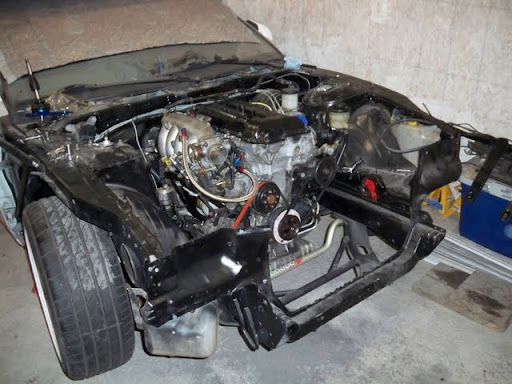
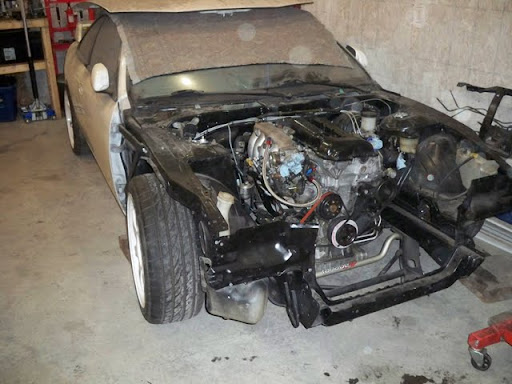
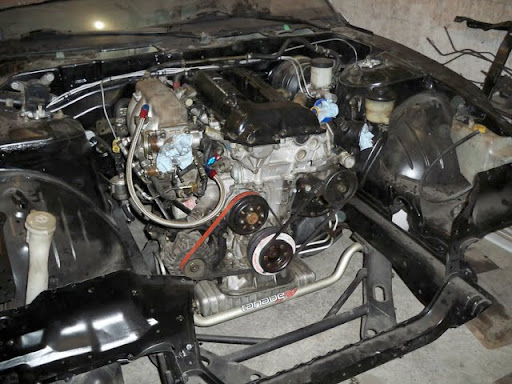
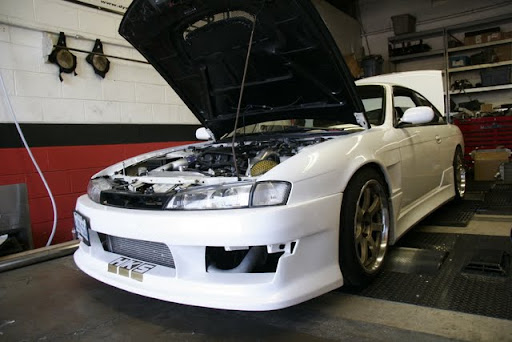
Next I fitted up the front section, bolted it into place, and installed the intercooler and horns.
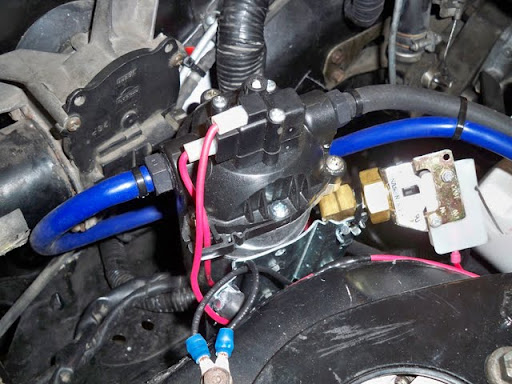
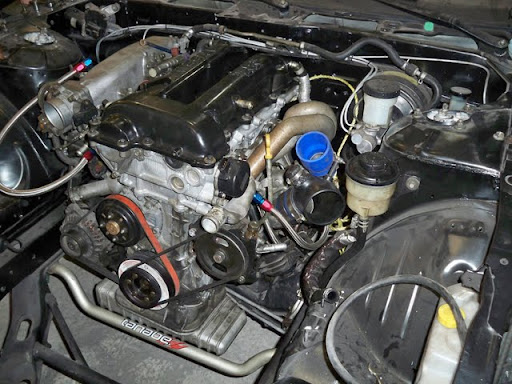
Next up was installing the heater core, filling the coolant and checking all the lines.

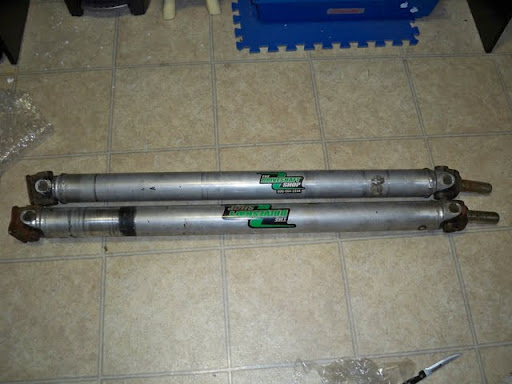
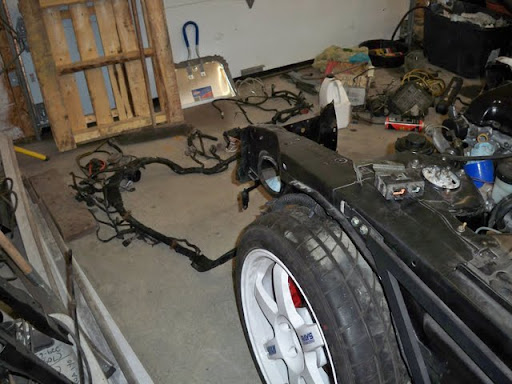
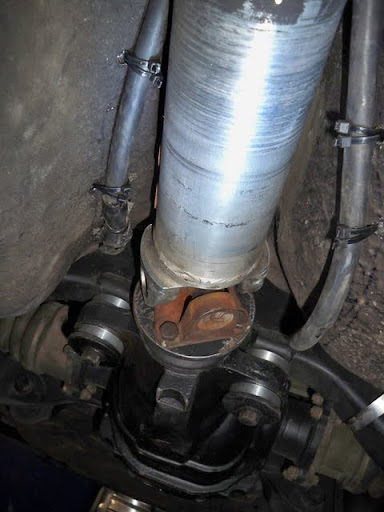
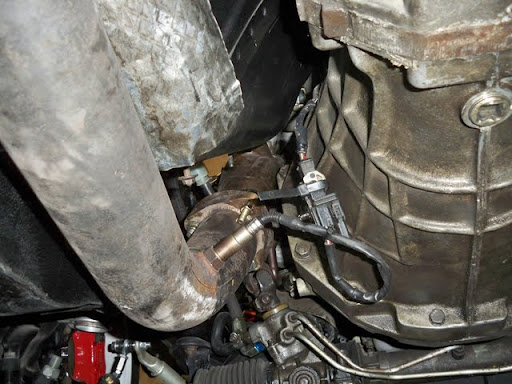
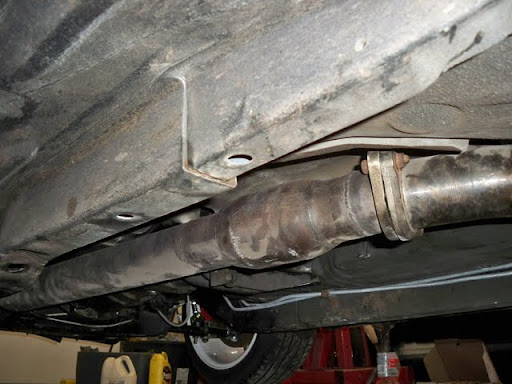
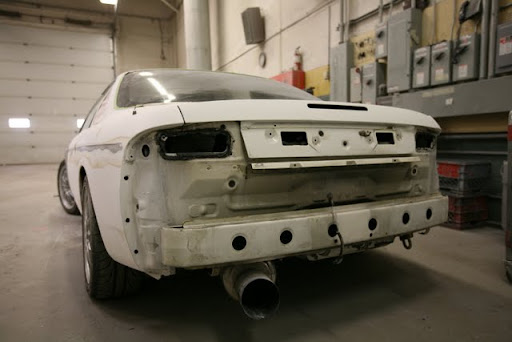
After that, it was under the car to install the handbrake cables, the driveshaft, exhaust, and rear sway bar.
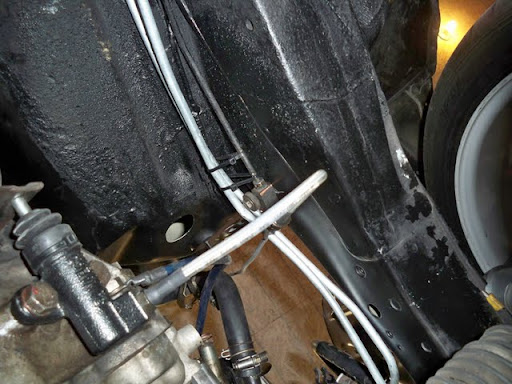
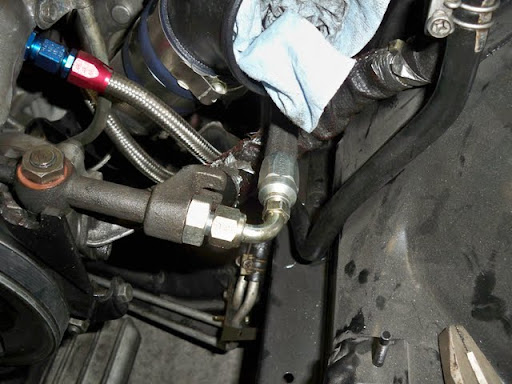
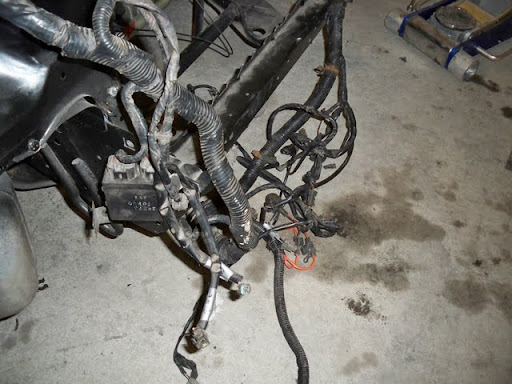
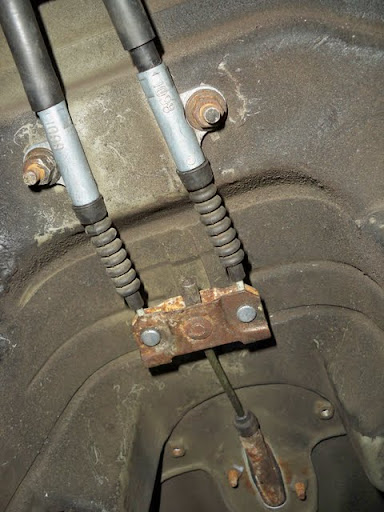
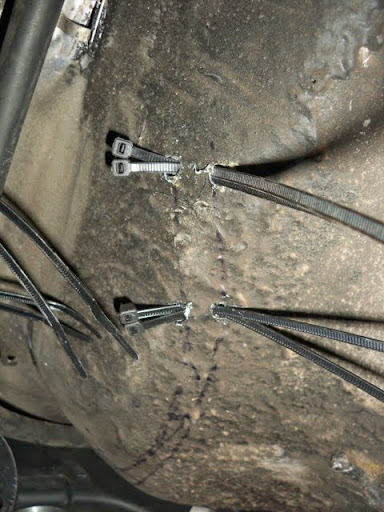
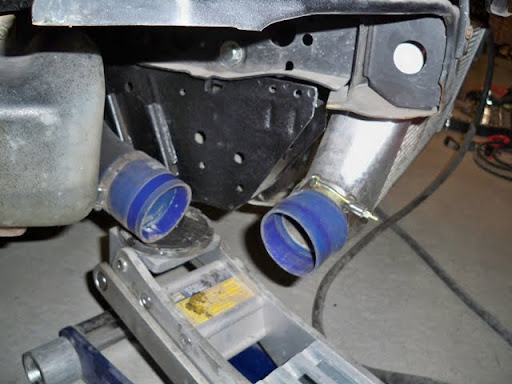
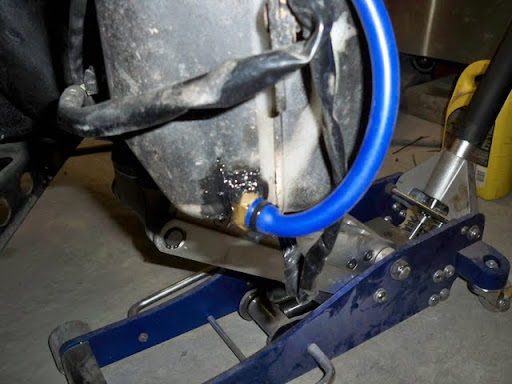
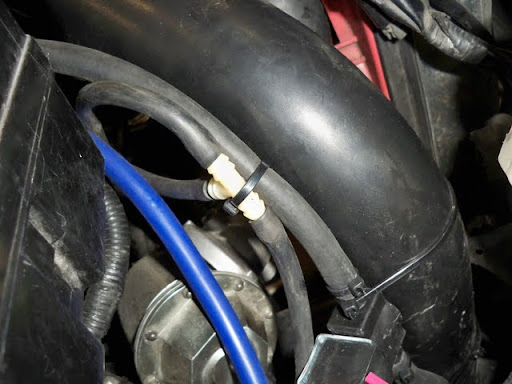
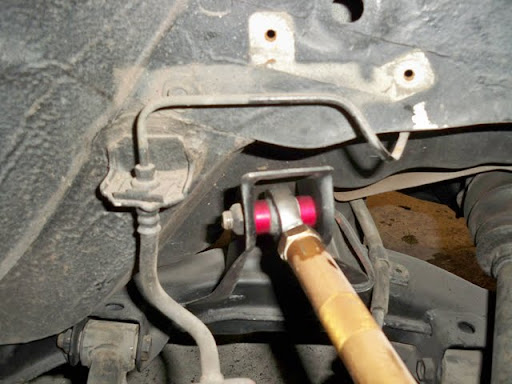
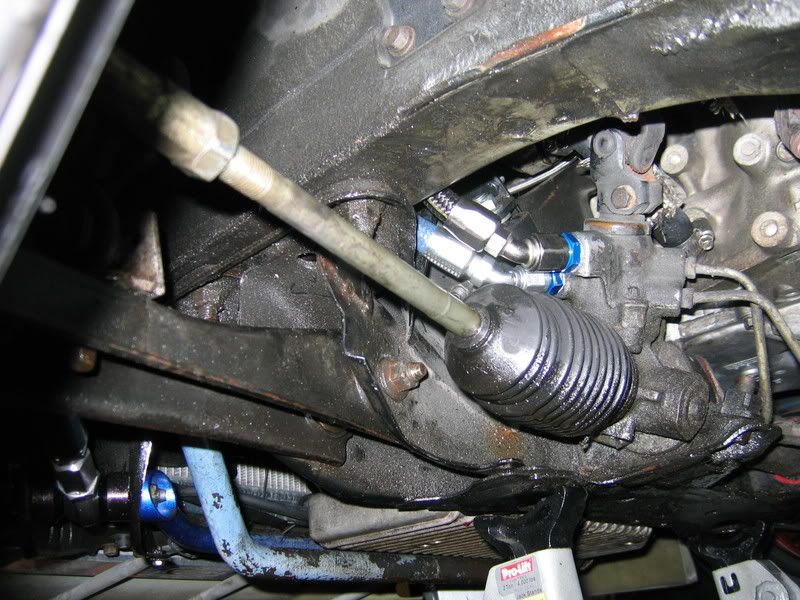
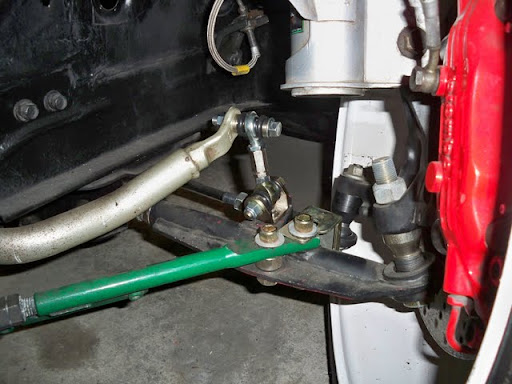
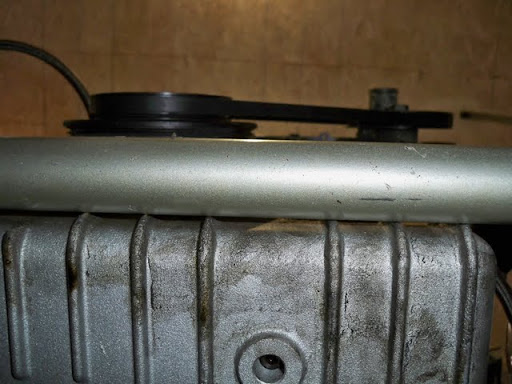
First up was cables. You can see how little clearance there is at the differential nose, especially with the raised subframe.
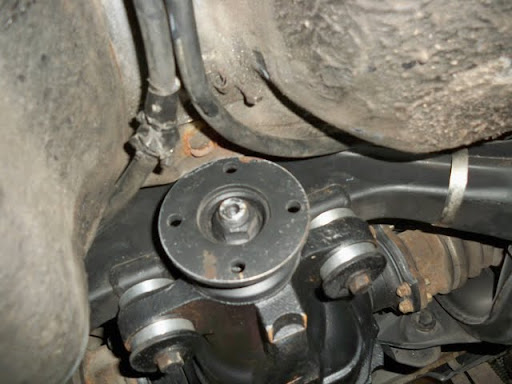
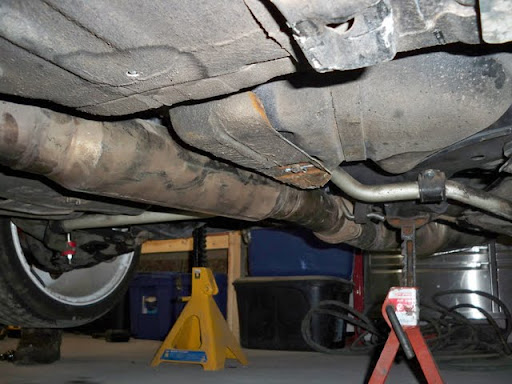
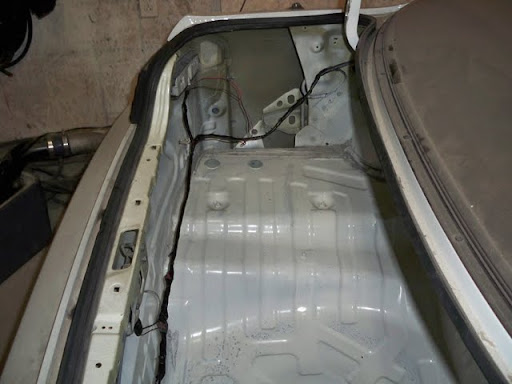
I decided to tie the cables off to either side to avoid the driveshaft as much as possible.
Basically punched holes in the heat shield and ran some zip ties through to hold the cables. The gas tank is directly above this, so there was no possibility of screwing a bracket into place if I had made one. I think this works pretty good actually. The skin of the cables are very close to the driveshaft at the front where they meet and bolt before the handbrake, but it’s a great improvement over the previous setup. I don’t think they’re close enough to actually do any damage, maybe just some cosmetic rubbing if anything.
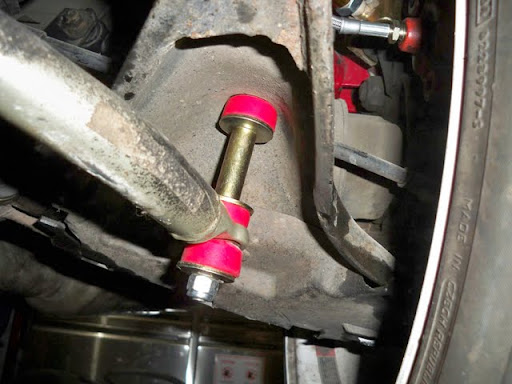
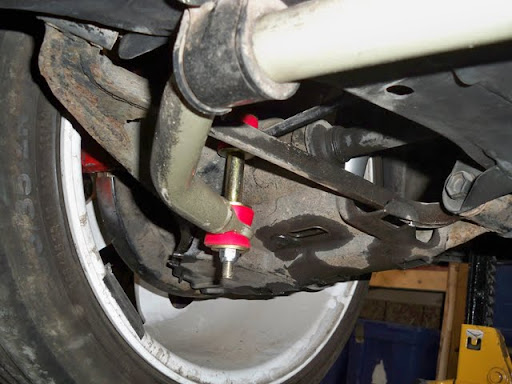
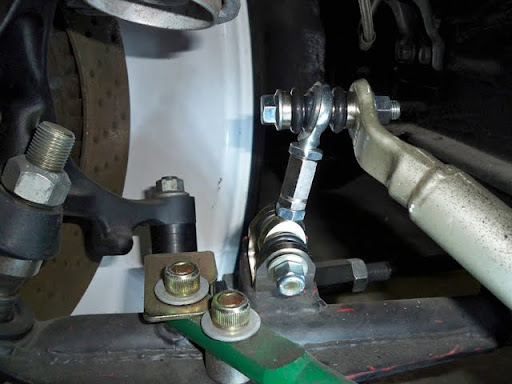
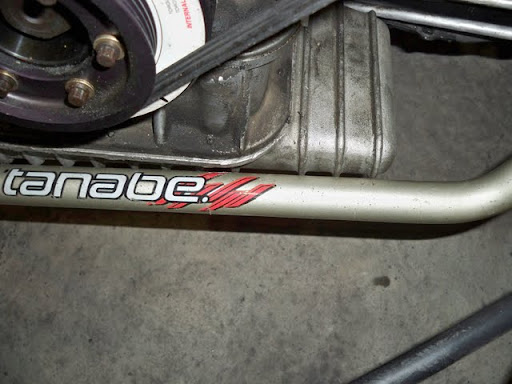
While I was under there I installed the Energy Suspension rear end links and Tanabe sway bar.
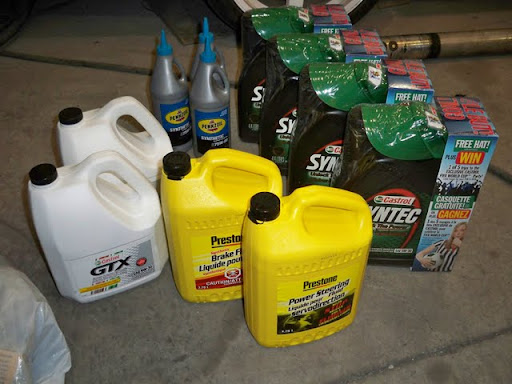
Bled the slave cylinder and added gear oil to the transmission.
I went with Penzoil synthetic GL-4, the only GL-4 I could find in the city actually…lol
Bolted up the exhaust and wideband.
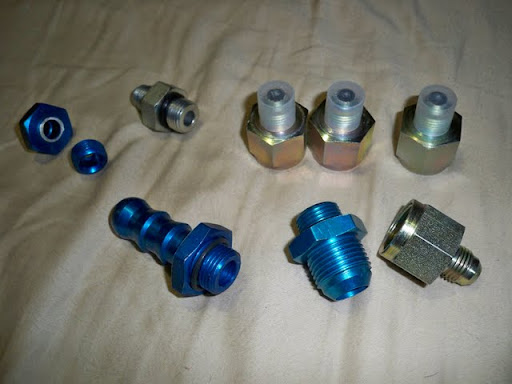
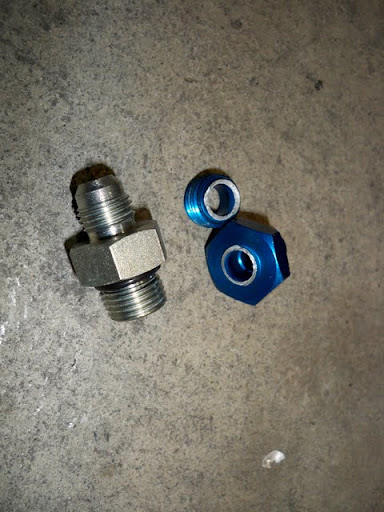
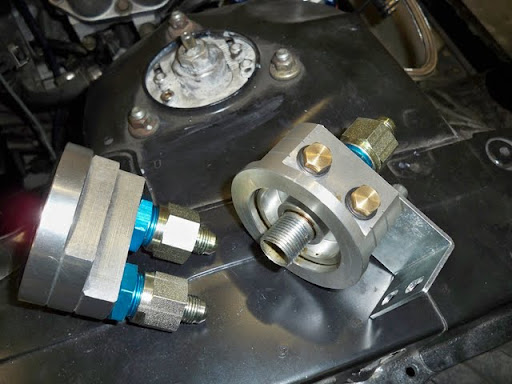
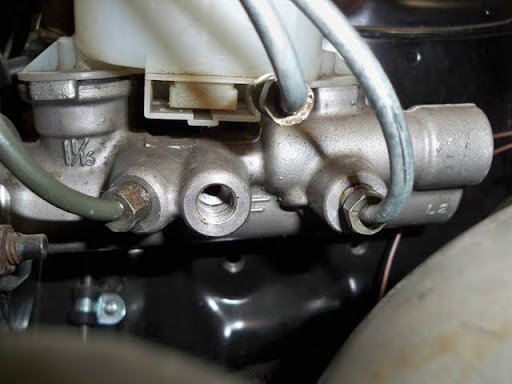
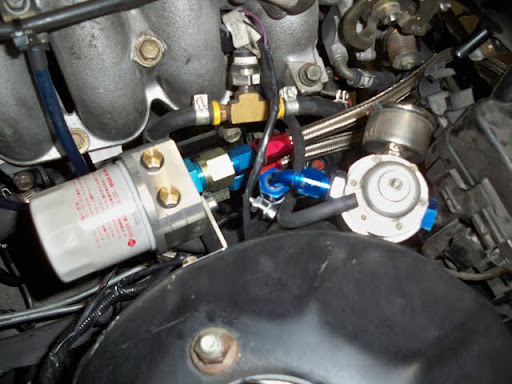
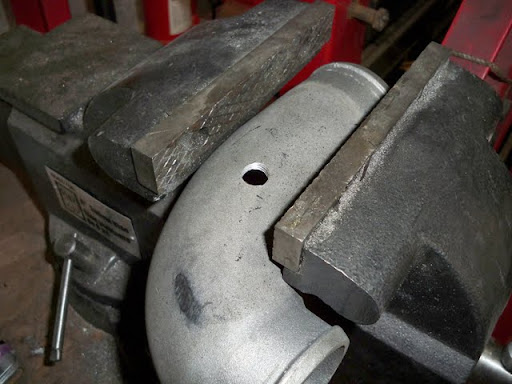
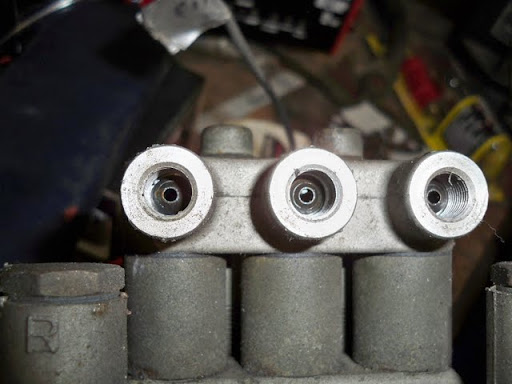
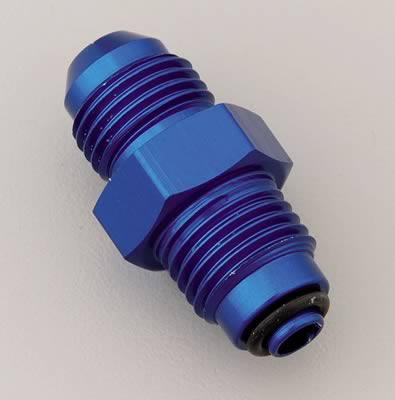
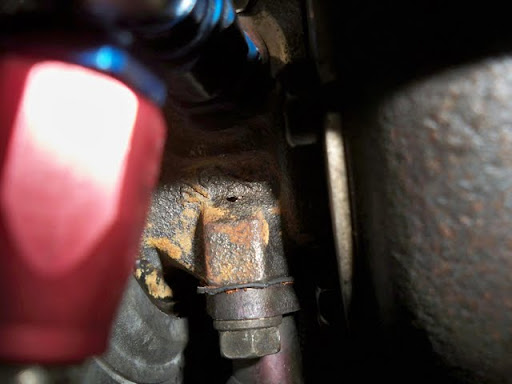
I had bounced around a couple of ideas for the BMC issue I was having. My second front outlet didn’t have the inner flare fitting, and a “regular” double flare fitting was going the entire way into the bmc and not sealing anything. (I assume, as it was loose). One option was to try a bubble flare, however my outlet fitting still wasn’t long enough to seal, so that was out of the question.
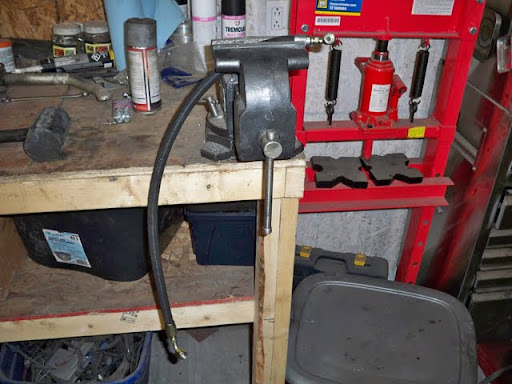
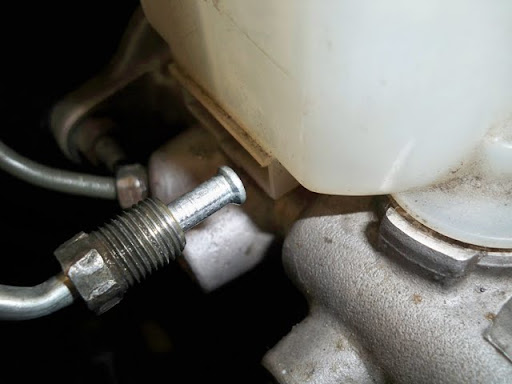
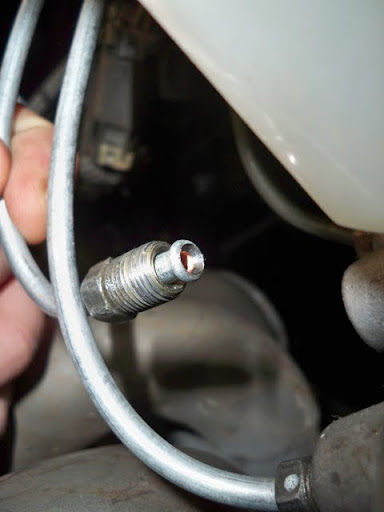
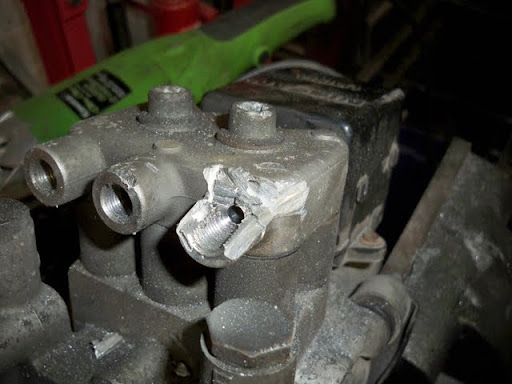
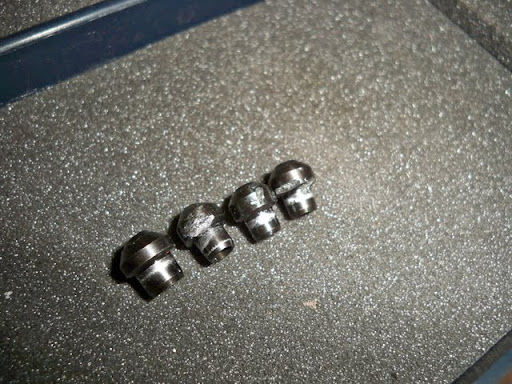
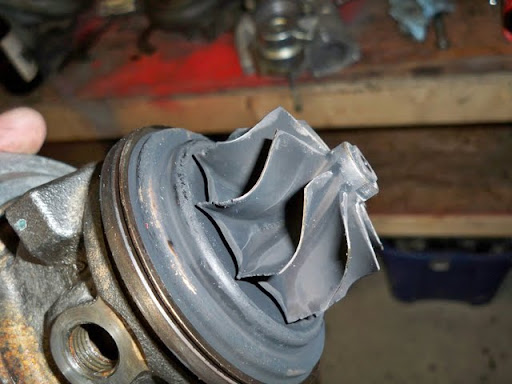
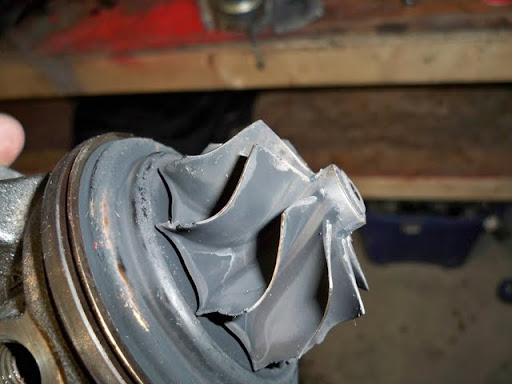
I checked my ABS block that had been removed from the car…and sure enough I found some of the flares. I followed the cutting procedure that a lot of guys do with the stock bmc, and got what I needed. As you can see, between myself and the old man, we had 4 tries…and only one was unharmed…lol
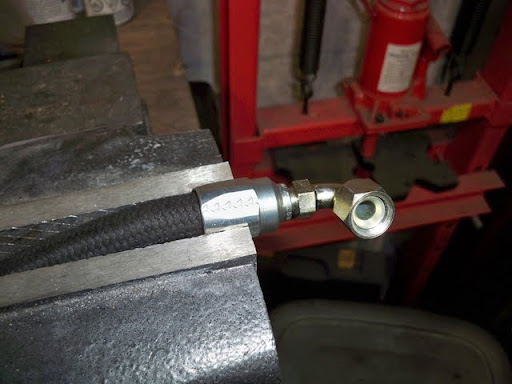
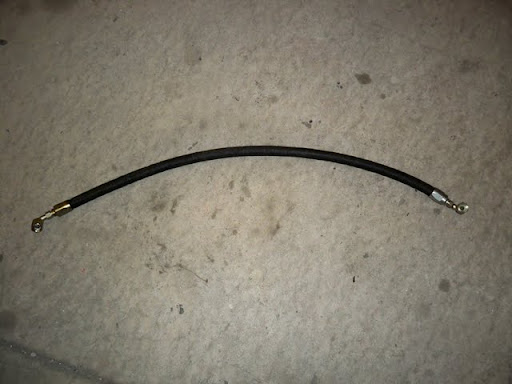
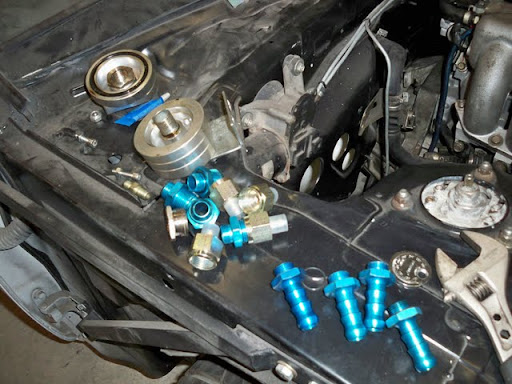
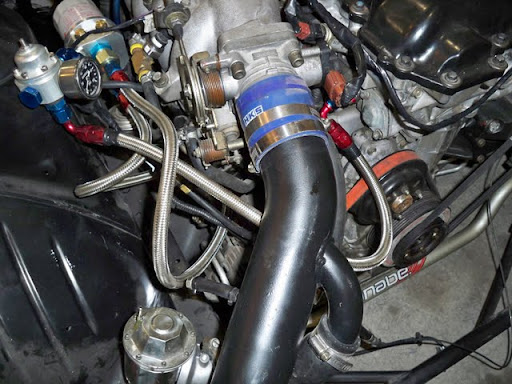
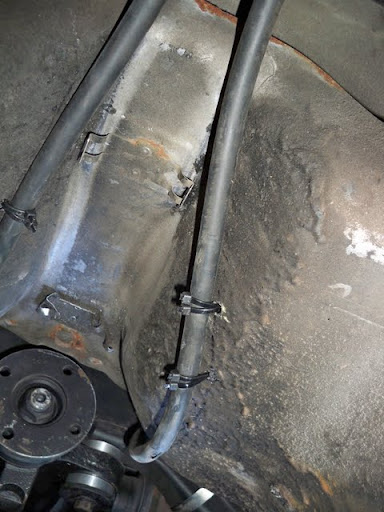
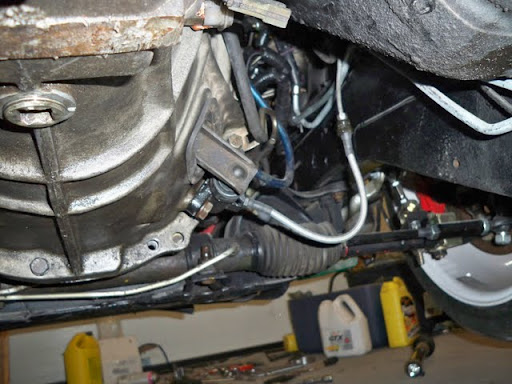
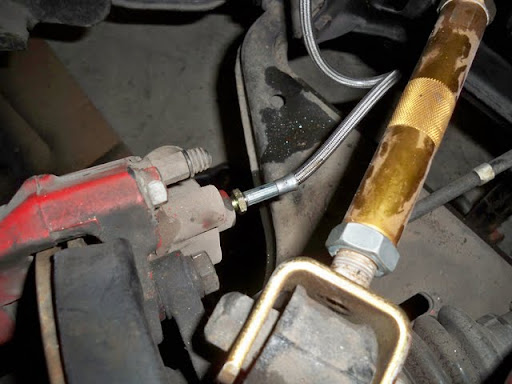
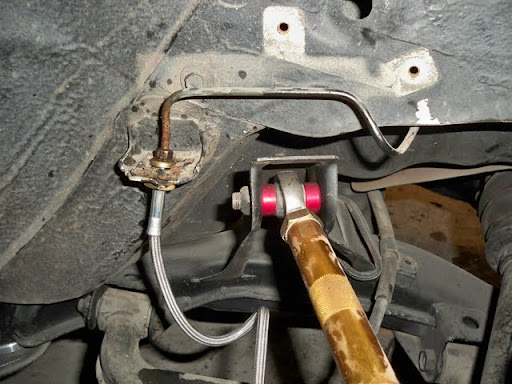
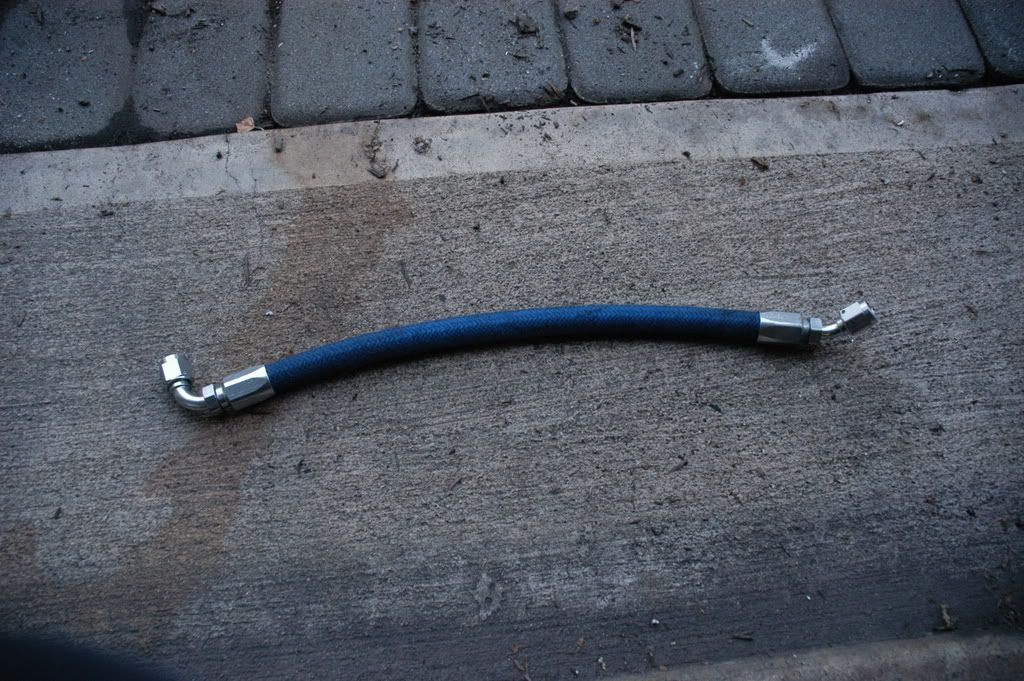
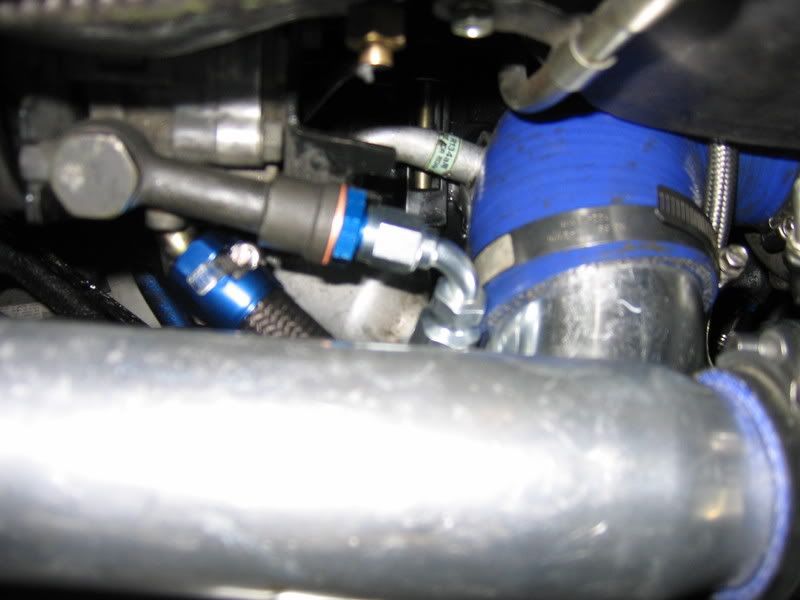
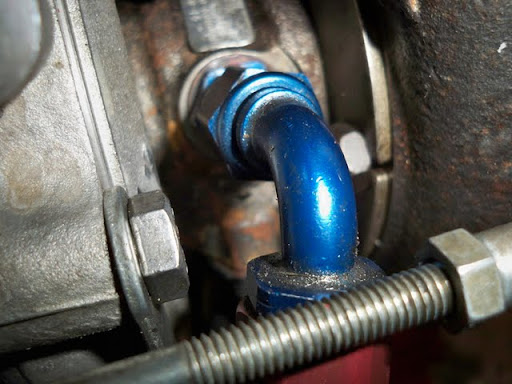
After installing the flare, I went ahead and installed the rear DIF braided lines and bled all around a bunch of times to get the air out of the new lines.
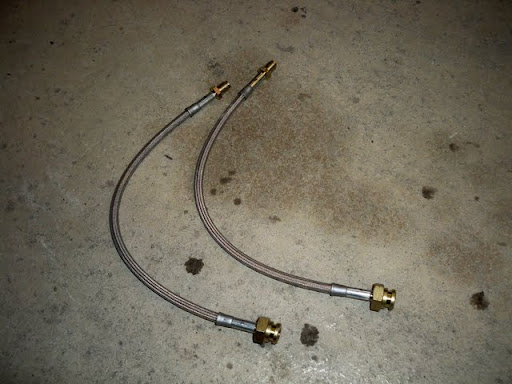
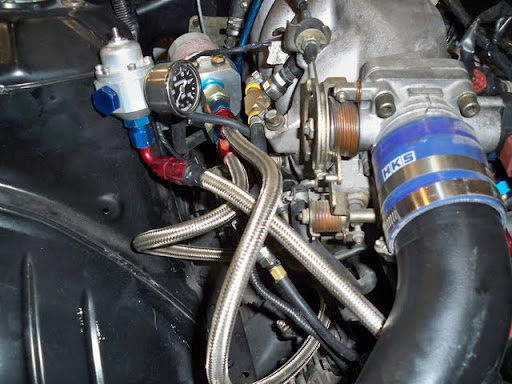
If any of you guys are considering these lines, here’s a tip for the install. Both lines are the same, and one is ran backwards in relation to the other one. This is because there is a splitter on the passenger side, which the line uses, however the driver side has a hardline running all the way from the passenger side.
The passenger side runs from the caliper bracket to the splitter block, with large end at the caliper. The driver side is opposite, with the smaller side on the caliper, and the larger side at the hardline. This requires removal of the caliper bracket on the driver side only, and removal of the hardline (at the splitter) on the passenger side.
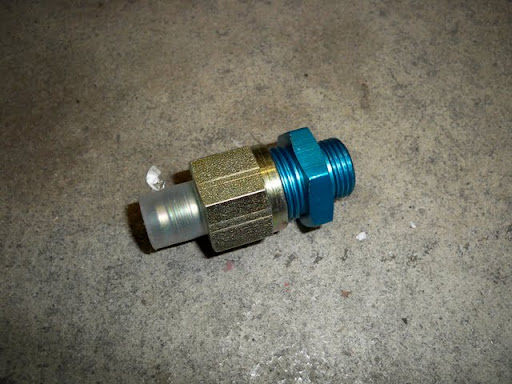
The small fitting also doesn’t turn on the line, so this side has to be installed first, and the existing small fitting then screws into the large fitting on the line.
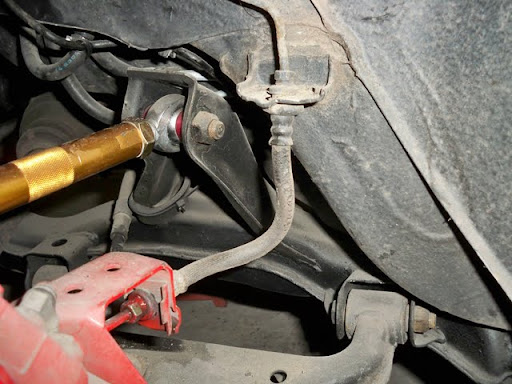
Passenger.

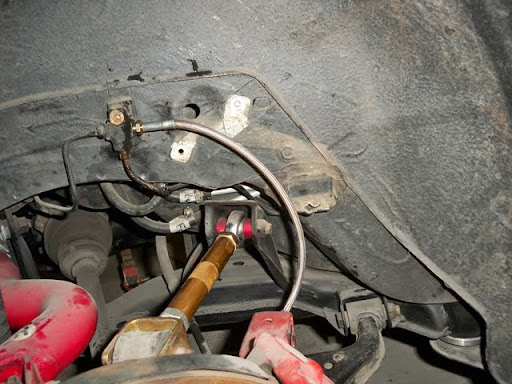
Driver.
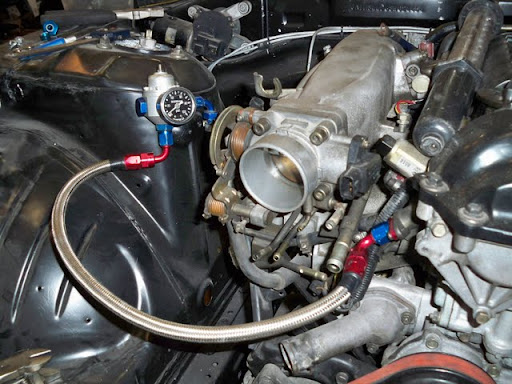
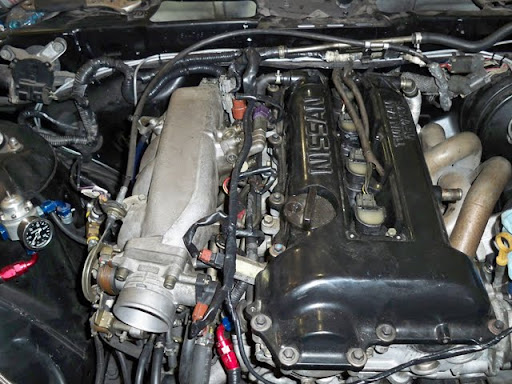
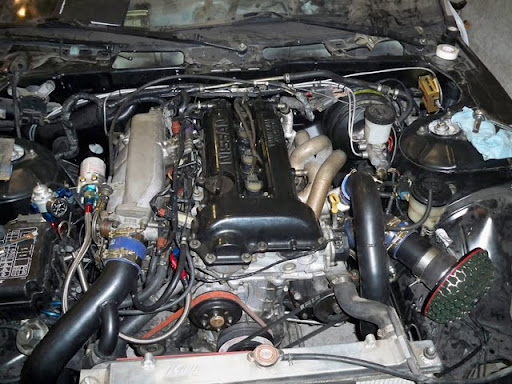
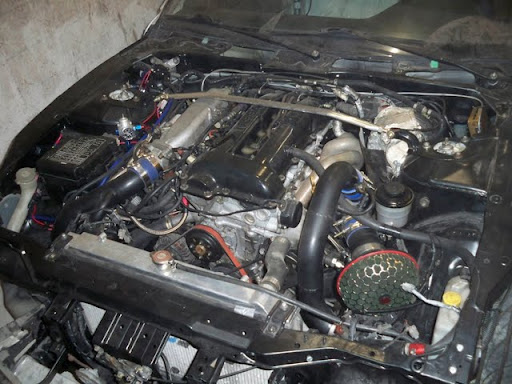
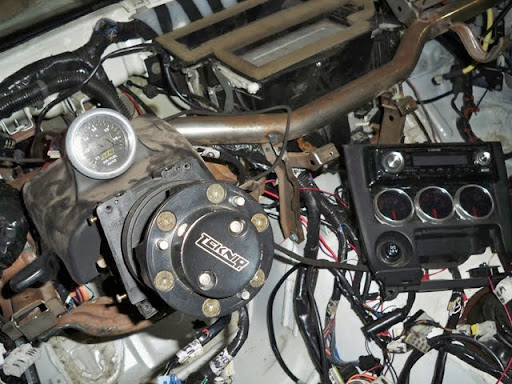
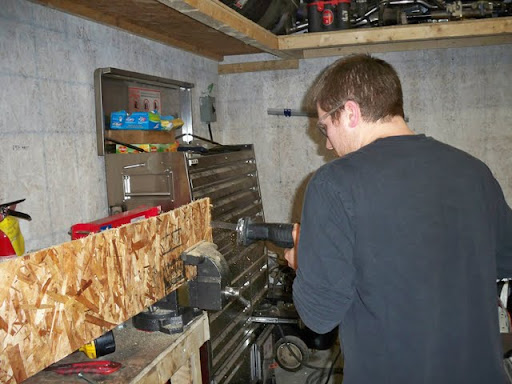
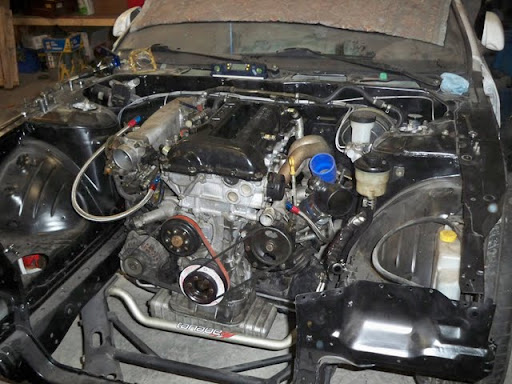
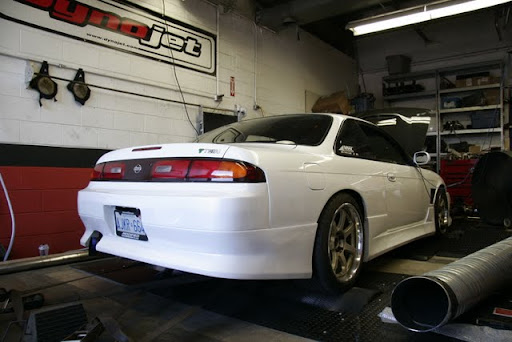
After all of this, I filled the fluids and temporarily hooked up all of my gauges so I could keep an eye on things during first start-up!
There are two videos here.
The first is the first actual start-up of the car…complete with a healthy slapping from the head before the oil got to circulating…lol
I cranked it a few times with the CAS unplugged to get some fluids moving, then plugged it in and my buddy shot this video.
The 2nd video is from a few minutes later when everything warmed up, and it sounds a lot better. As a note, my new tune would not start the car at all, so I’m currently using the older dangerous tune.
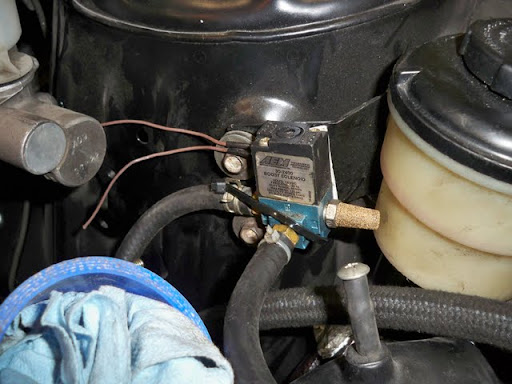
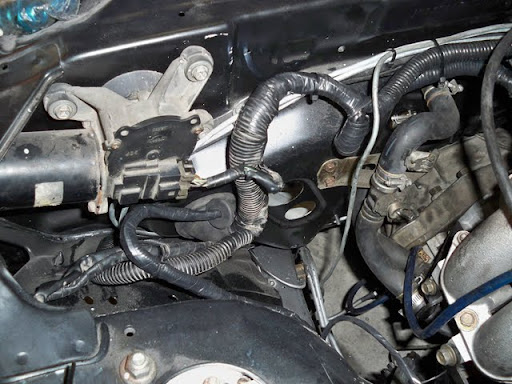
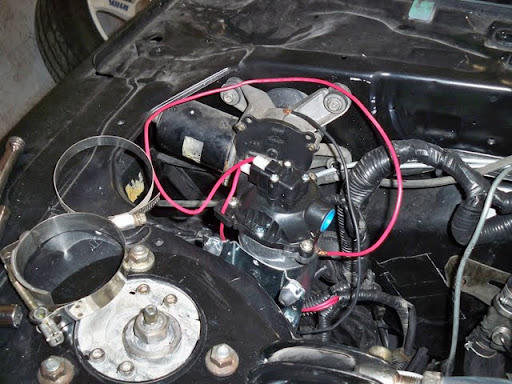
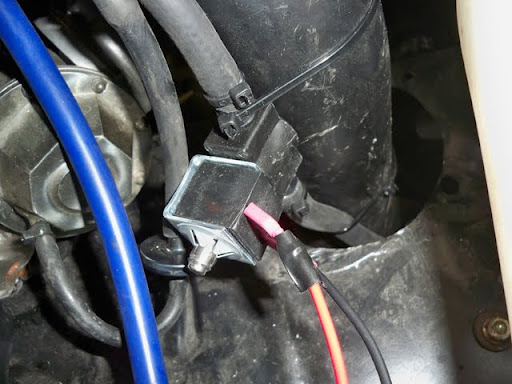
There were two minor issues with the start-up, and they’re things that I’ll have to chase down this week. Any advice would be appreciated on the solenoid issue. The AEM solenoid started to buzz constantly (even with wires switched around), so I cut them to avoid the issue temporarily and get the car started. I don’t know what I’m going to do, has anyone had this issue with a boost control solenoid before? There are only 2 wires and the boost/vac line running to the unit.
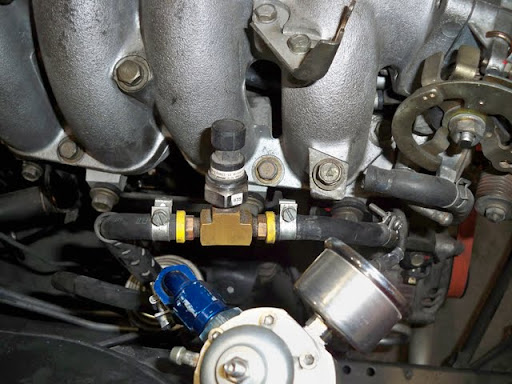
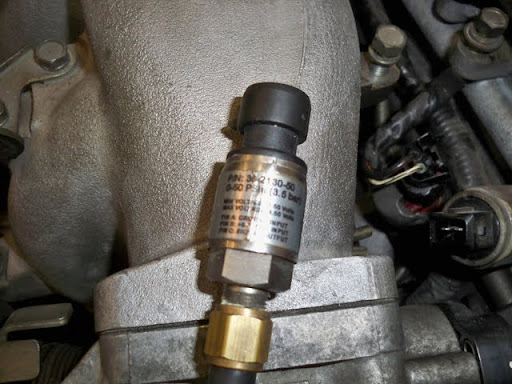
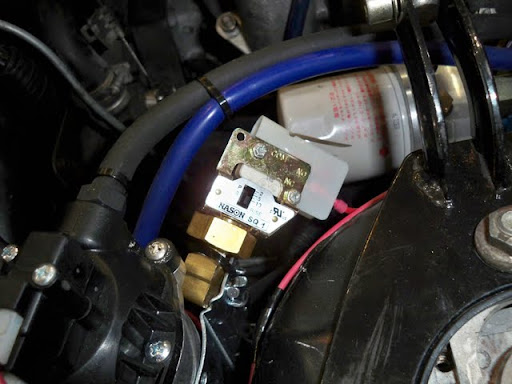
The 2nd issue was that the fuel pump sounded like it was straining to prime/run, and I was getting conflicting readings on my electronic (sensor) fuel gauge and manual (on FPR) gauge. Turns out I had the AN lines reversed, so a quick swap of line placement took care of that this morning.
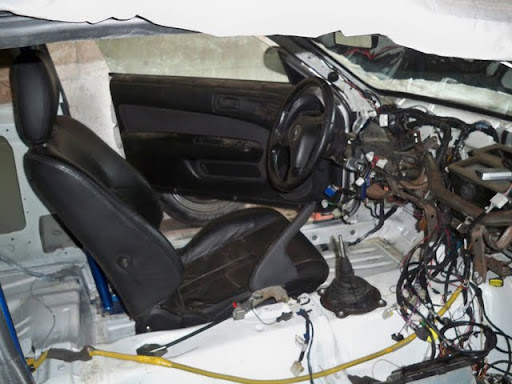
This morning I installed a seat, checked everything over, bled the power steering rack, and got ready to take it for a test run.
There are 3 video’s here.
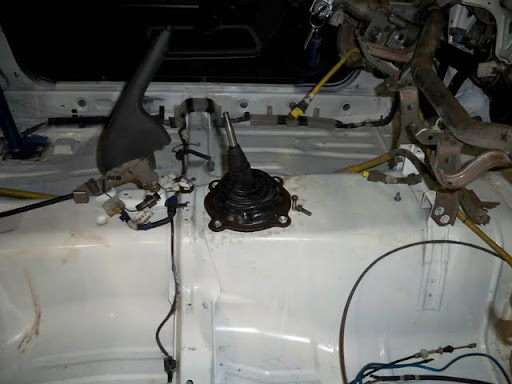
The first is an attempt to start up and drive out…but I realize I don’t have a shift knob, lol
The 2nd is the actual start-up and drive out…plus some “JDM Camera Work” by Mike.
The 3rd is a quick clip from when I was pulling back into the driveway.
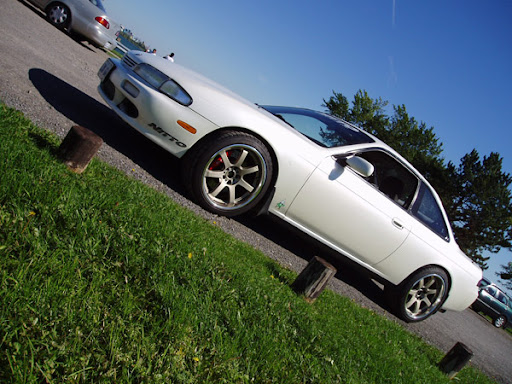
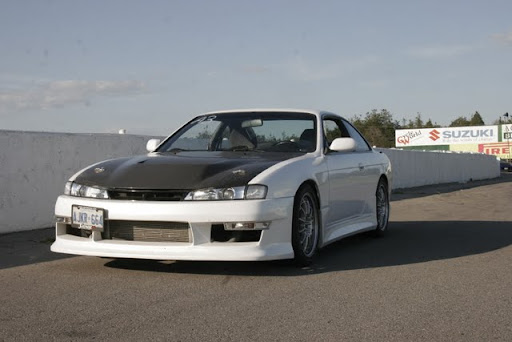
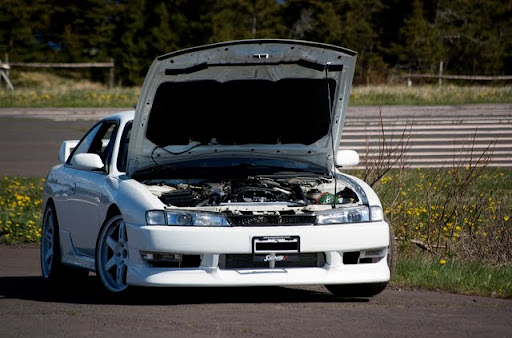
The car actually ran really well. I didn’t want to do too much, as I have no good tune right now, but I did go sideways around one turn by the house…lol
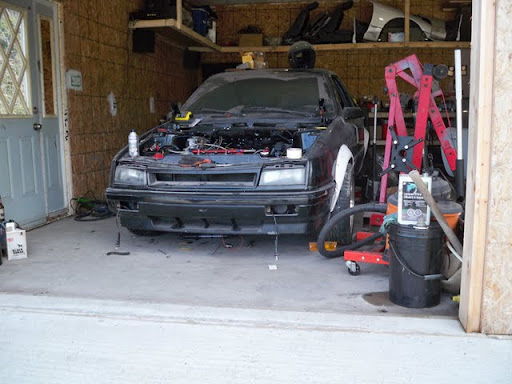
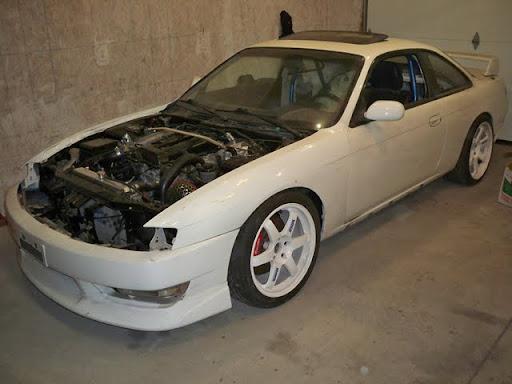
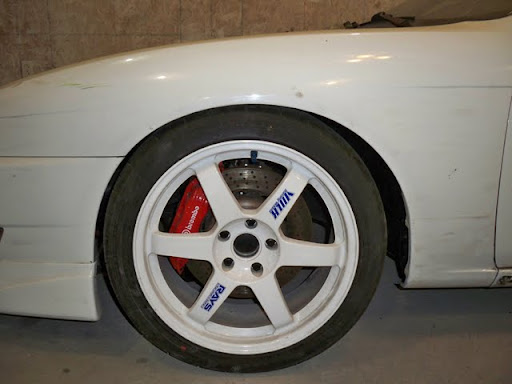
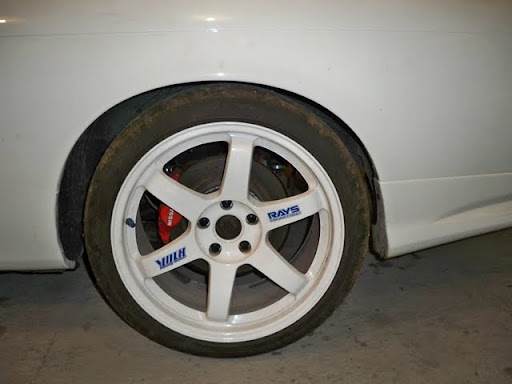
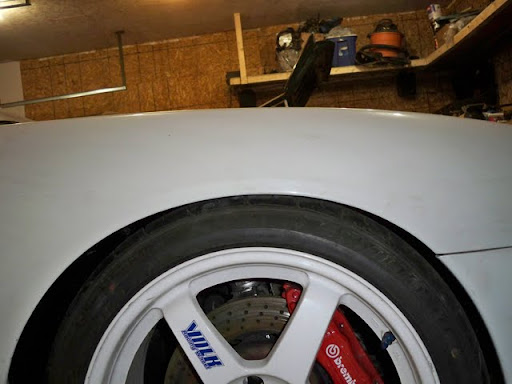
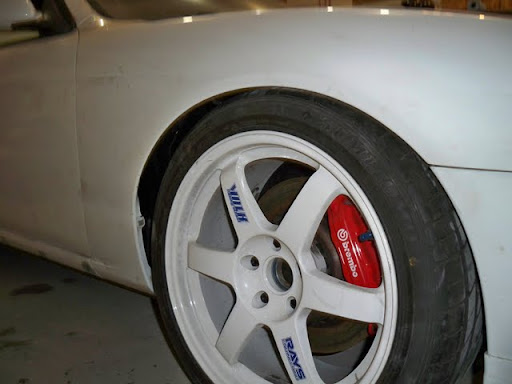
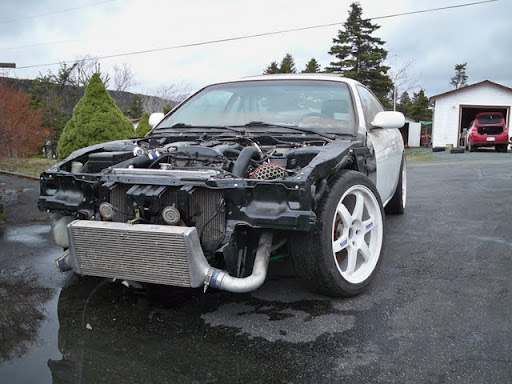
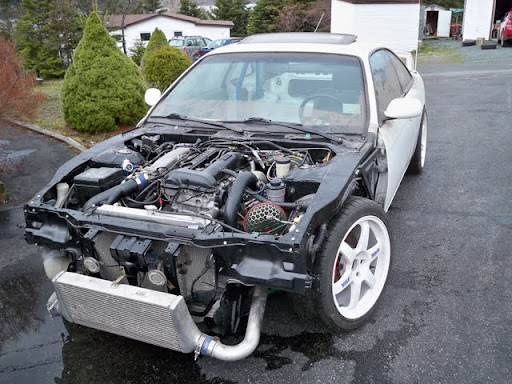
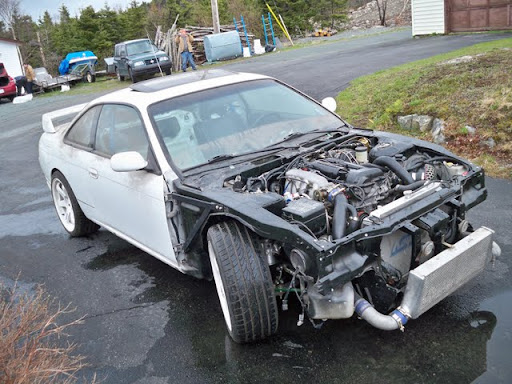
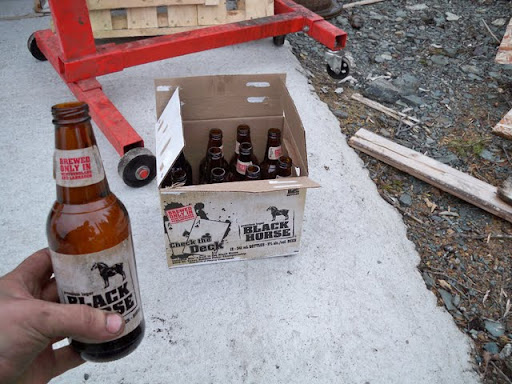
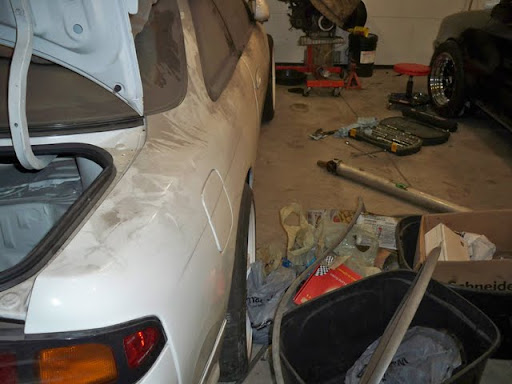
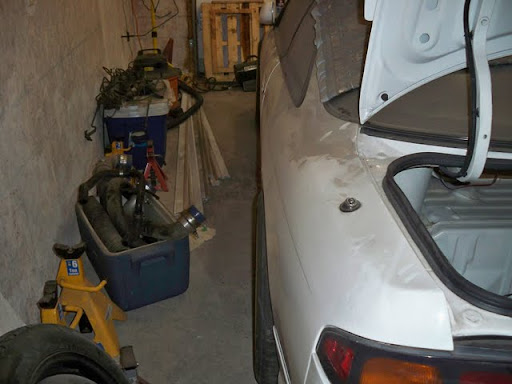
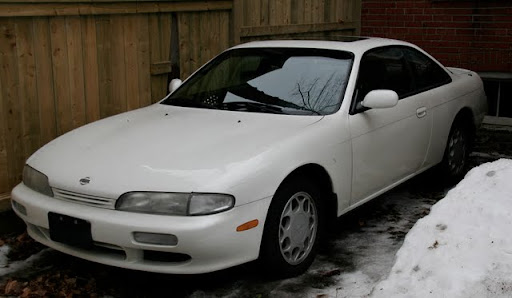
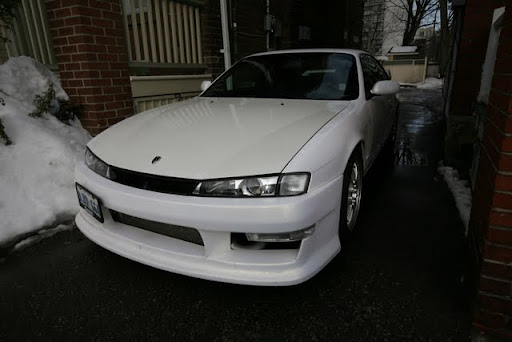
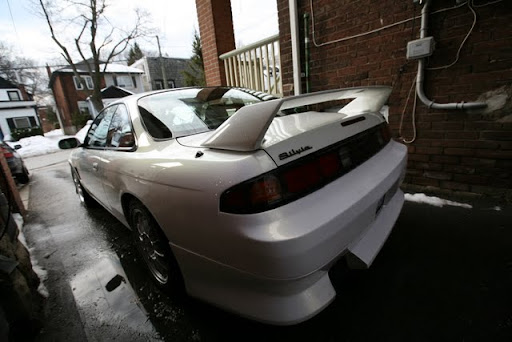
After that we snapped a few pics, parked the car, then took a break for some celebration beers.
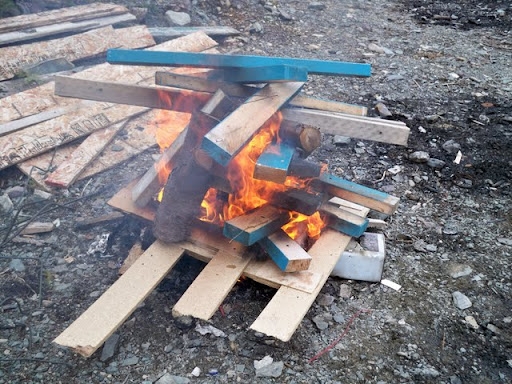
And Mike built a fire…lol

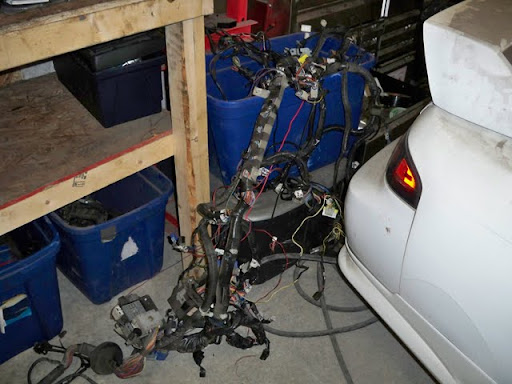
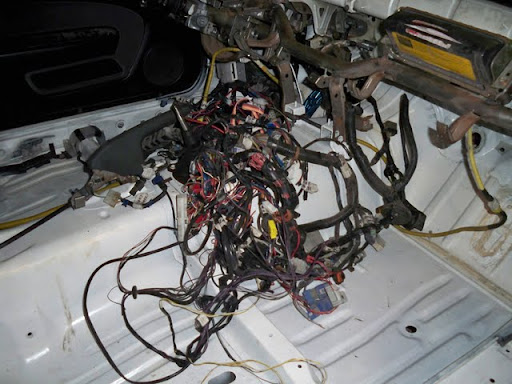
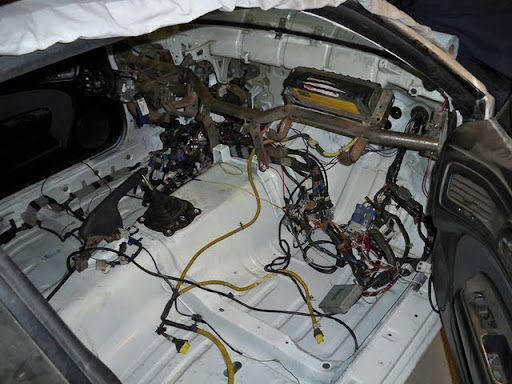
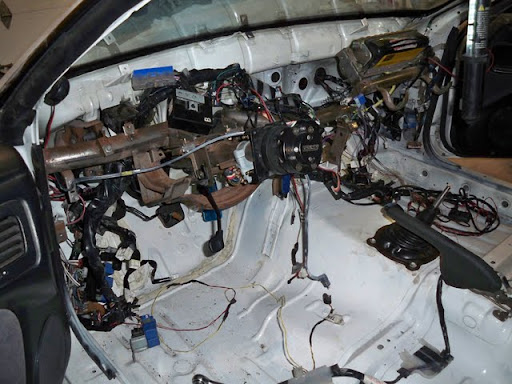
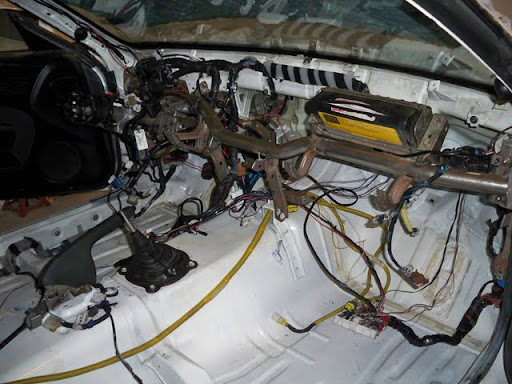
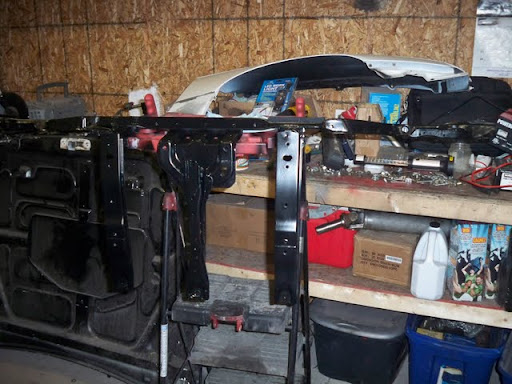
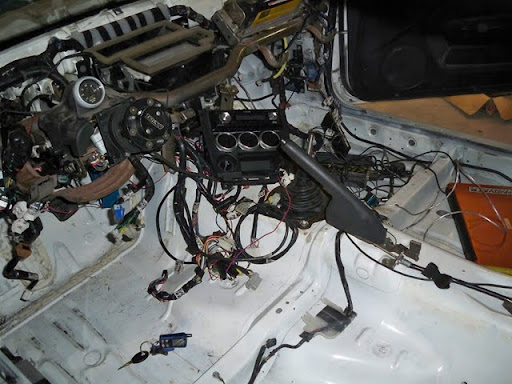
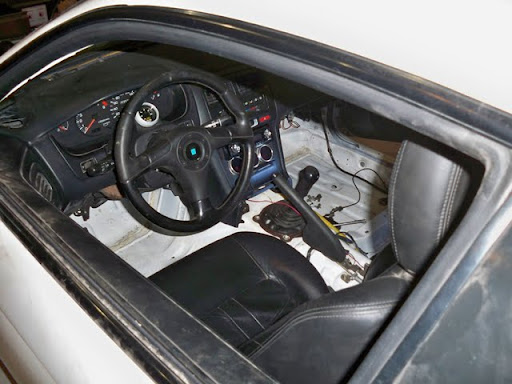
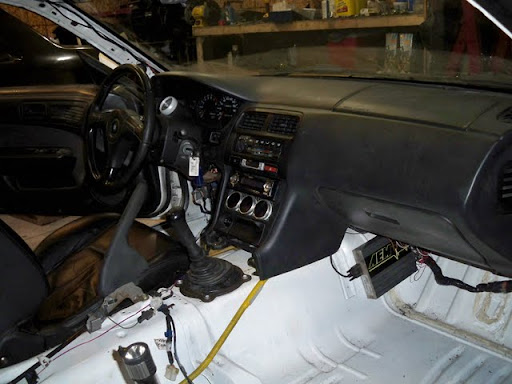
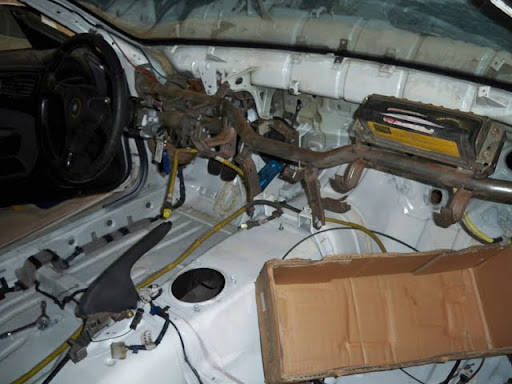
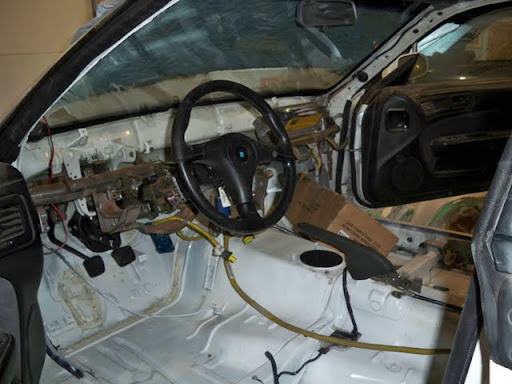
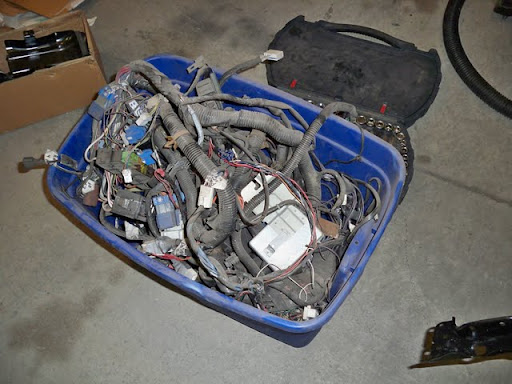
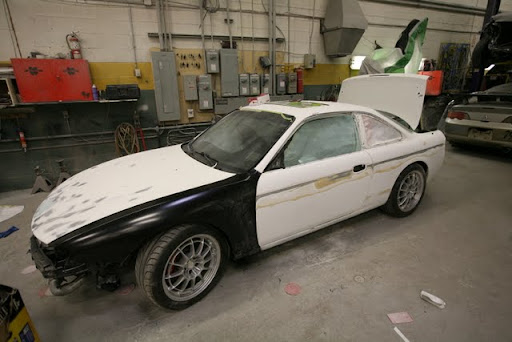
Tonight I took the time to finish up the interior wiring and install the dash and accessories.
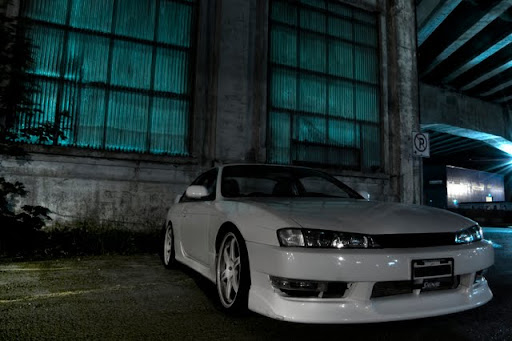
It’s really coming together now.
 [COLOR=Silver]


 Good job and good luck with your build!