Lol. I havent started putting it back together yet either… 
Been picking away at the trans here / there.
First I had to free the ring gear from the oem differential. It was pretty simple. Two steps of drilling, then tap off the rivet heads, and finally drive them out with the air hammer.


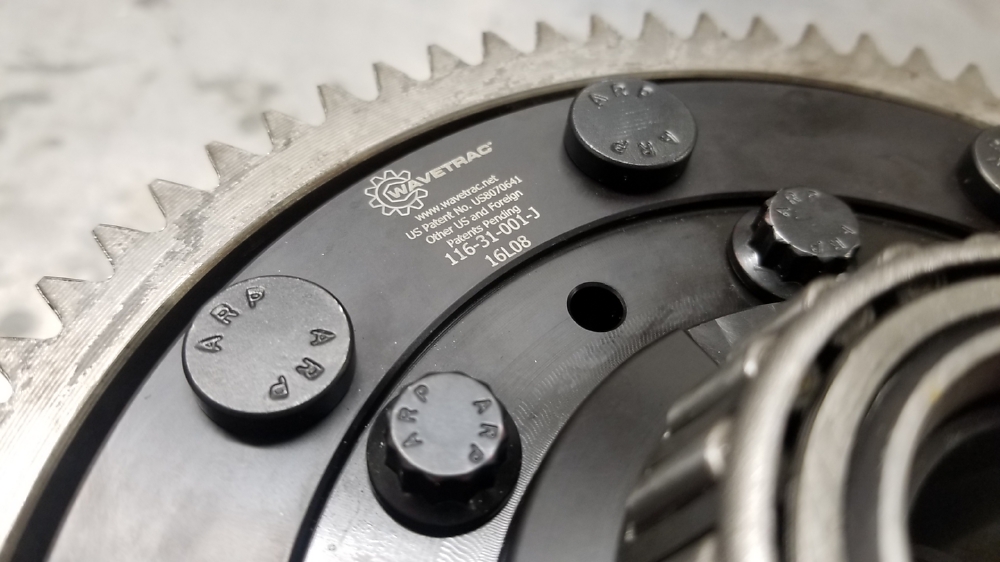
Ready for assy.
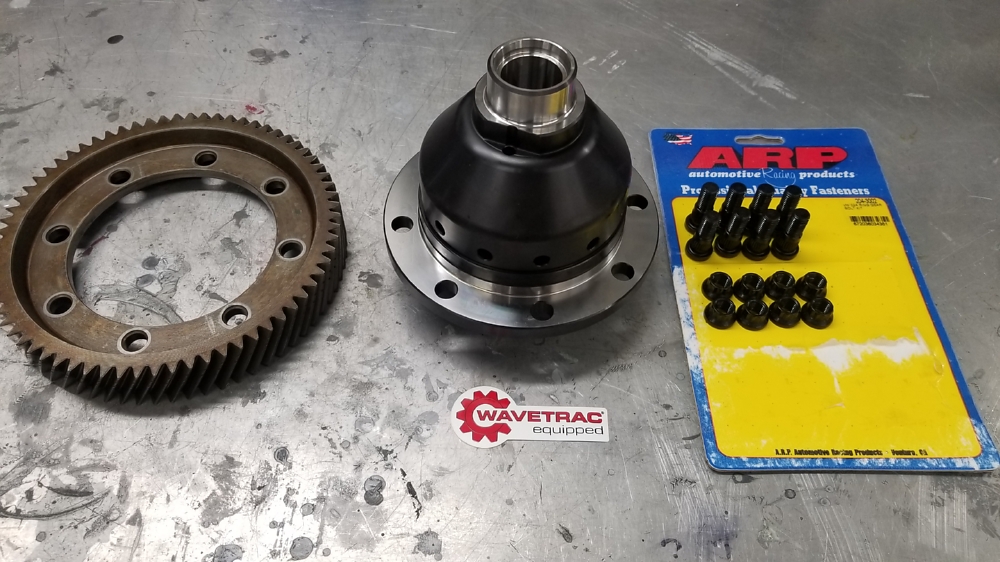
Pressed in two studs to get the party started. Then heated the ring gear to 200C so it would basically drop on the diff. (i did end up using a propane torch some as well)


All assembled with ARP hardware, a new VSS ring, and new bearings.


Finally, installed the new bearing races in the case without shims so I could measure for the new shim. Turned out I needed a 0.92mm shim vs the 0.80mm installed orig.

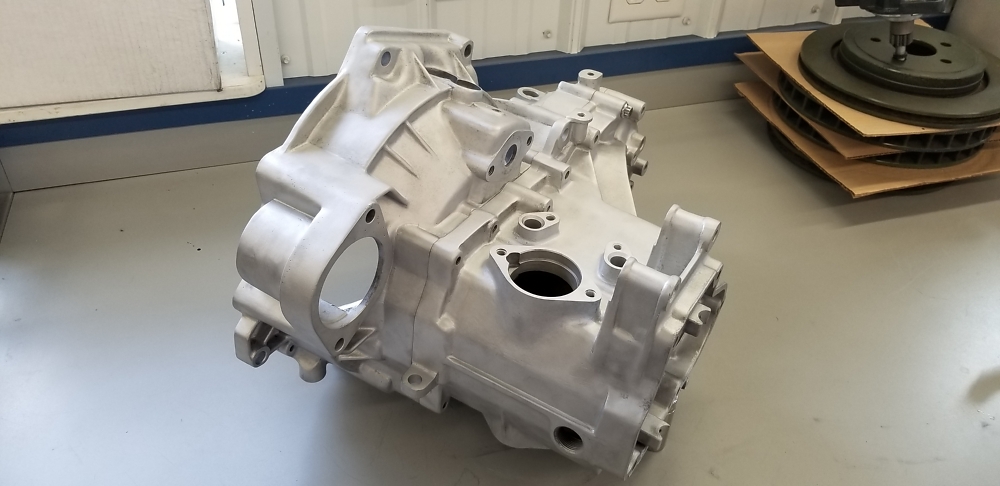
Then it was time to tackle the cases. I had a friend of a friend wash them at his shop. He has a big heated parts washer thing he uses for transmissions. Well, it wasnt the result Id hoped for to say the least.


So I brought them into work and spent a couple of lunch hours bead blasting them inside and out. @JayS


And done. I chased all the threaded holes and washed / blew everything out really well. Installed the acquired diff shim / bearings etc.


Dan
1 Like
Painted some parts this weekend. All shots are of the clear right off the gun. Im still tickled at how well this SPI clear lays down.


And then I just had to mock up a few parts on the trans. A video was necessary.
Dan
2 Likes
Looks like candy 
1 Like
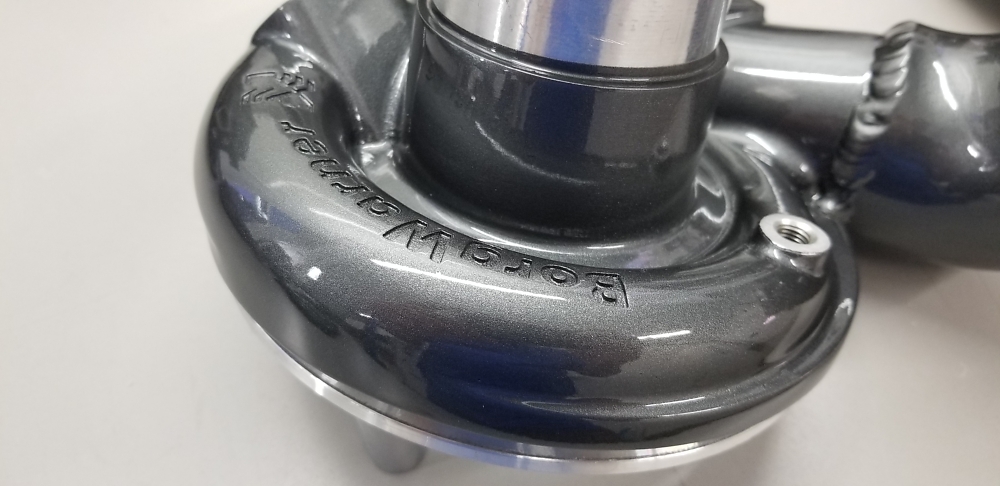
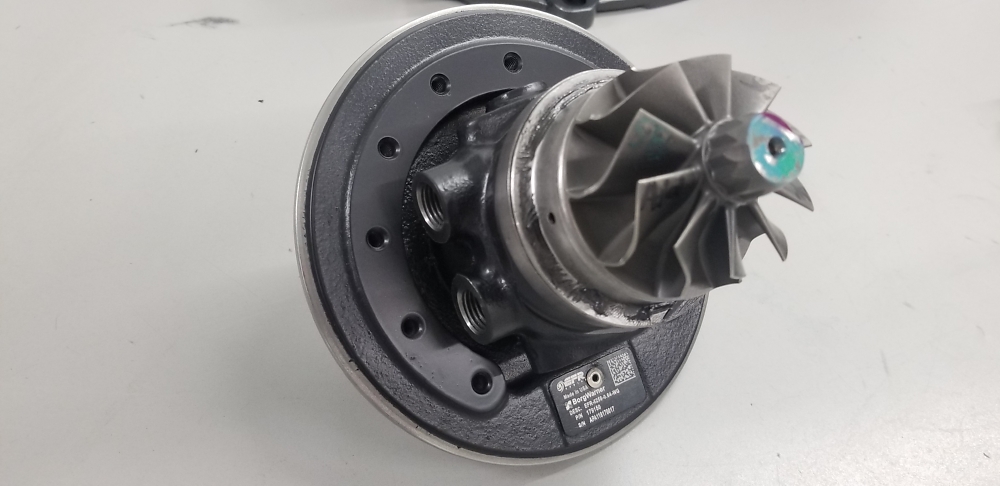
Since I was too cheap to upgrade to the aluminum bearing housing on the EFR (dumb plan) I decided to Cerakote it to keep surface rust at bay.
It was super simple and looks good. I had to pick up a touch up gun to spray it as they call for a 0.8mm tip and my smallest was 1.3. For $18 it worked great.


Hoping to start trans assembly tonight.
Dan
2 Likes
A little behind on updates, so here it goes.
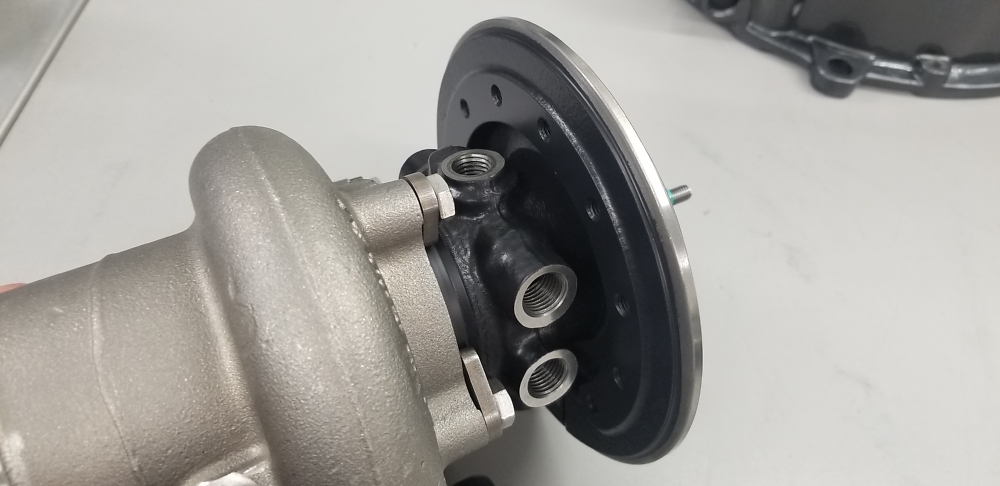
Turbo is reassembled.


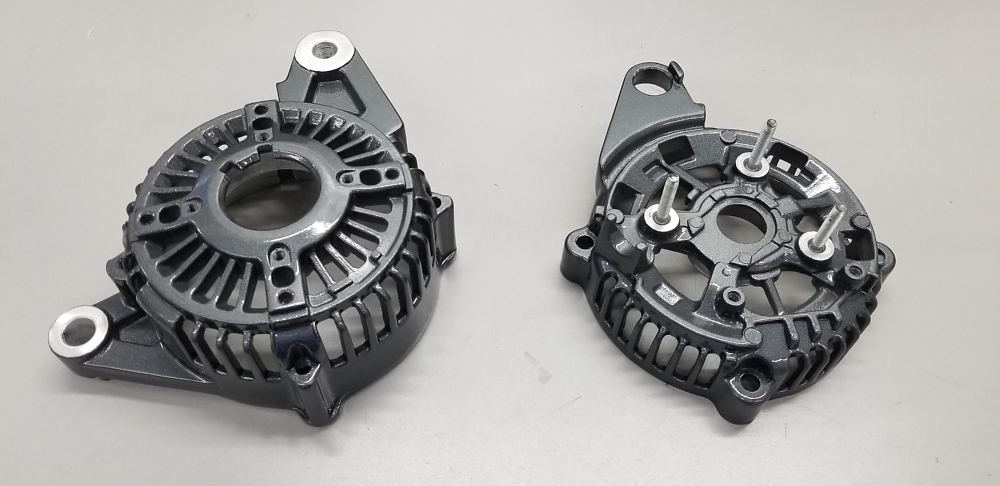
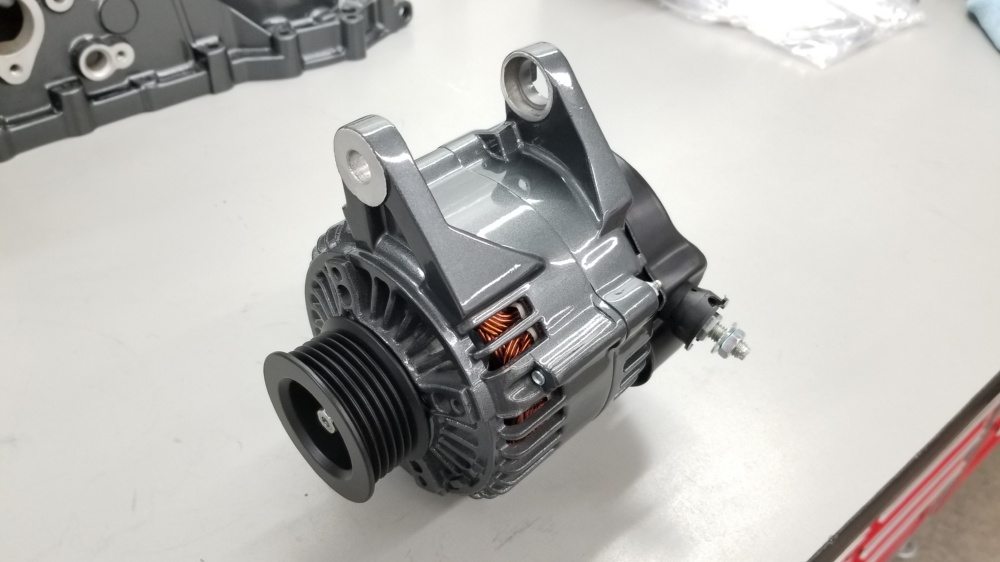
Alternator reassembled.


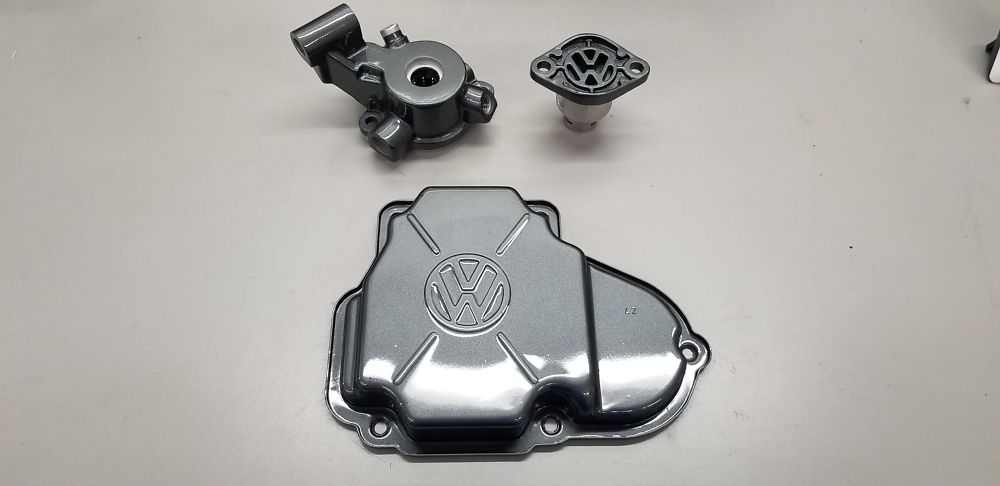
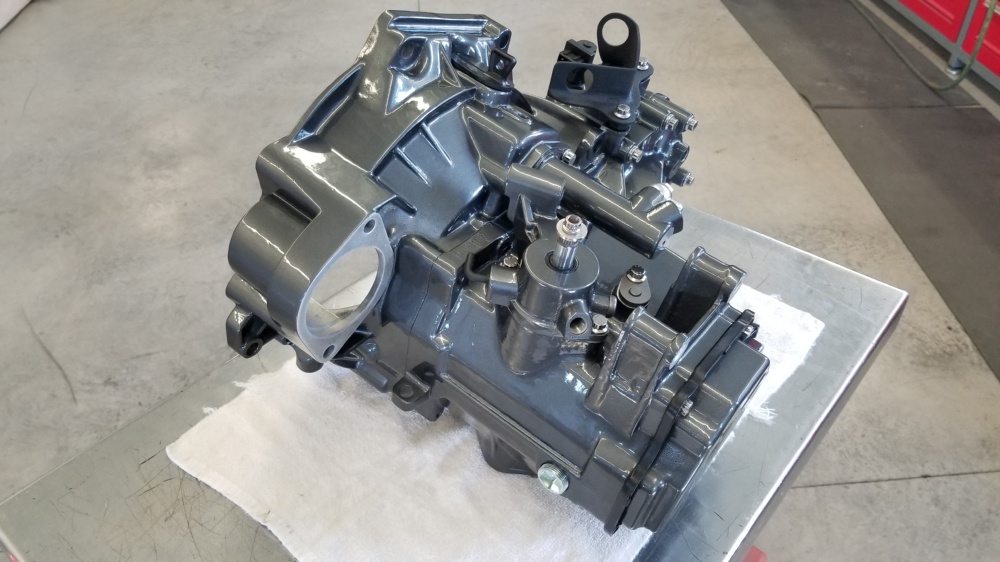
Transmission reassembled.
Cleaned up , in progress

Swapped the 02A 0.795 5th gear for a 02J 0.744 for some lower highway RPMs

Bolts inside the bell housing were cleaned up and painted with Steel It paint. Its amazing stuff so far.

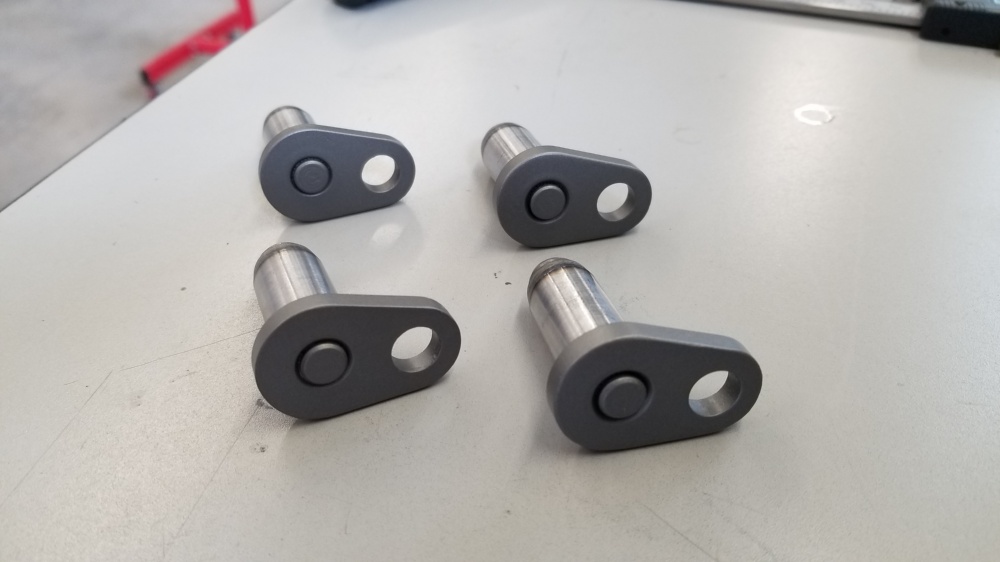
Also used it on the pivot pins.
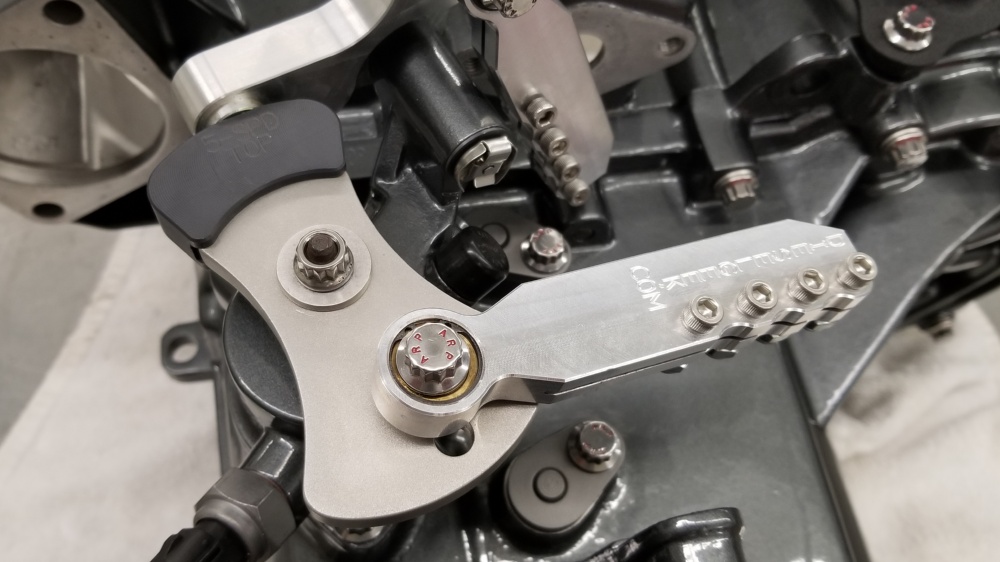
The rest of the bolts were all replaced with 12pt SS APR, including those on the Diesel Geek shifter. Also installed a new VSS, and new inspection hole plug.


Dan
1 Like
Looks amazing as always. Had to laugh a little at cleaning up bolts on the INSIDE of the bell housing though.
1 Like
Just. Had. To.
I will however, not be refinishing the clutch fork since its not rusty and still has some zinc left. Just cleaned up the grease, good enough.
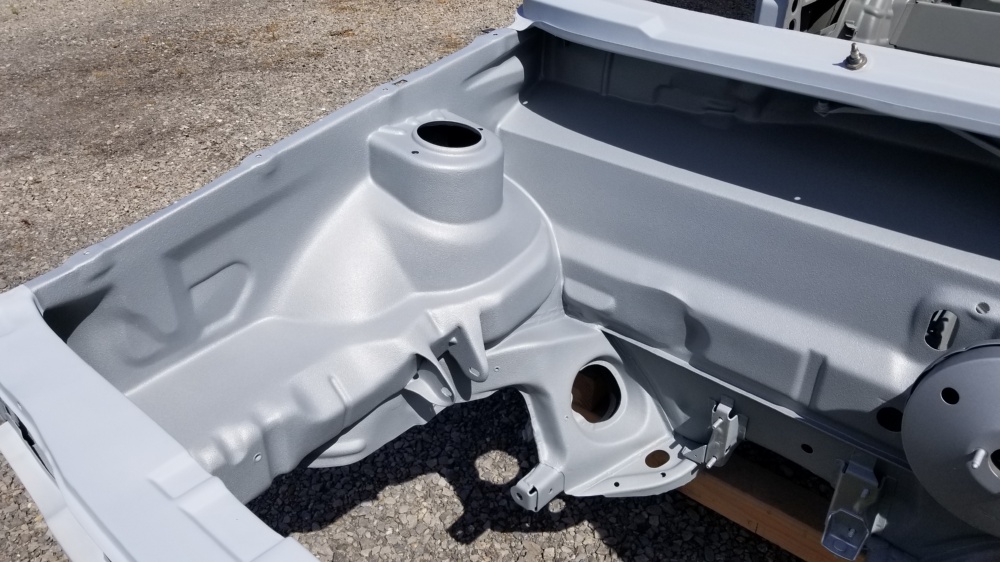
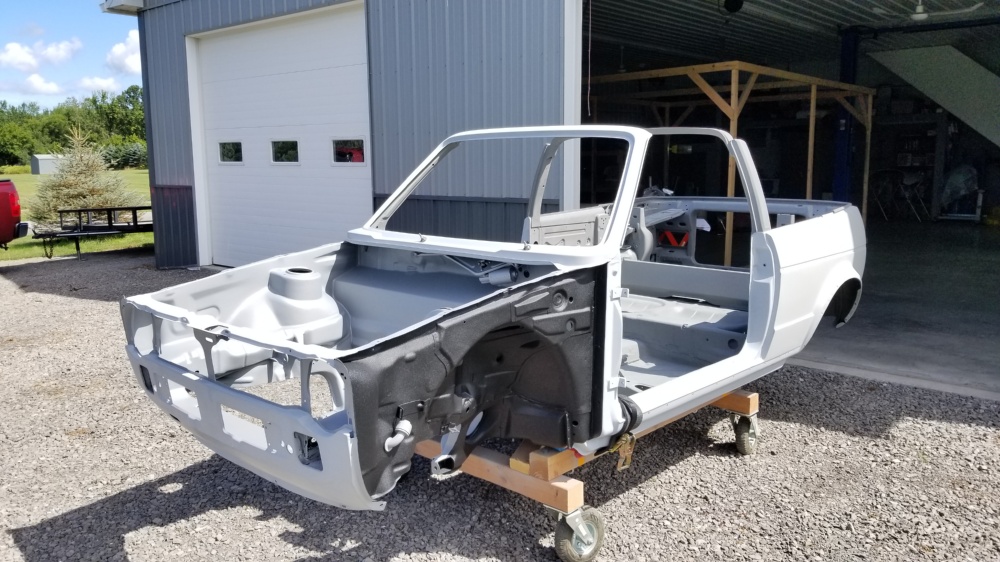
Weather was perfect this holiday weekend to roll the chassis outside and start blocking out the slicksand.
First time seeing the bay in the sun.

Quarters blocked out with 320 and sprayed with prosol to see how it will look painted. Not bad…


Trunk jamb and drivers door jamb also sanded with 320.
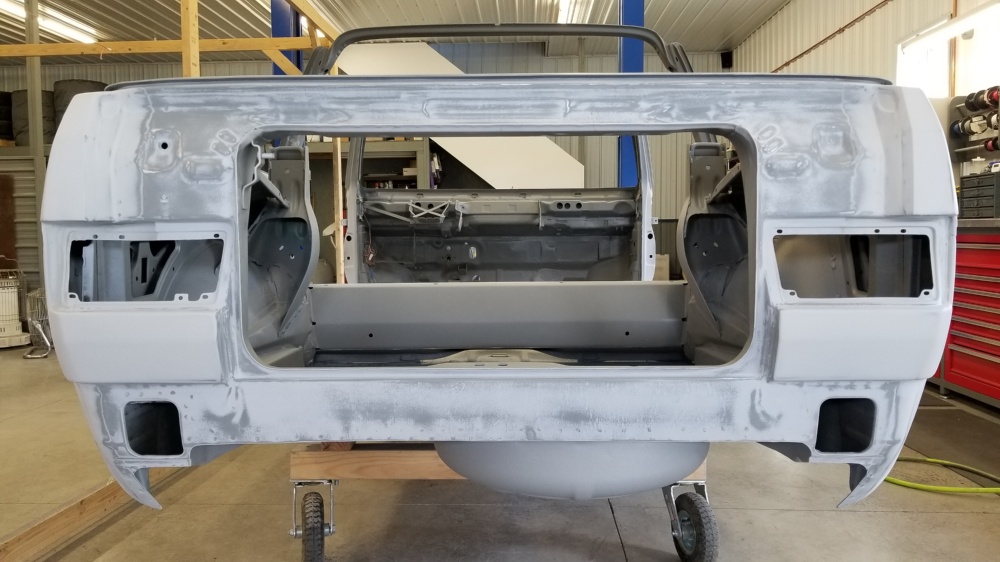

Sanded the window frame and cowl. They arent great. I think they are going to need a coat of slicksand and a good blocking. They just arent flat enough for me.

All in all great progress. Maybe Ill be painting the shell in a couple weeks.
Dan
3 Likes
I am really excited to see things go back in for good on this. What a marathon project you fucking madman.
1 Like
You and me both. Its getting exciting.
1 Like
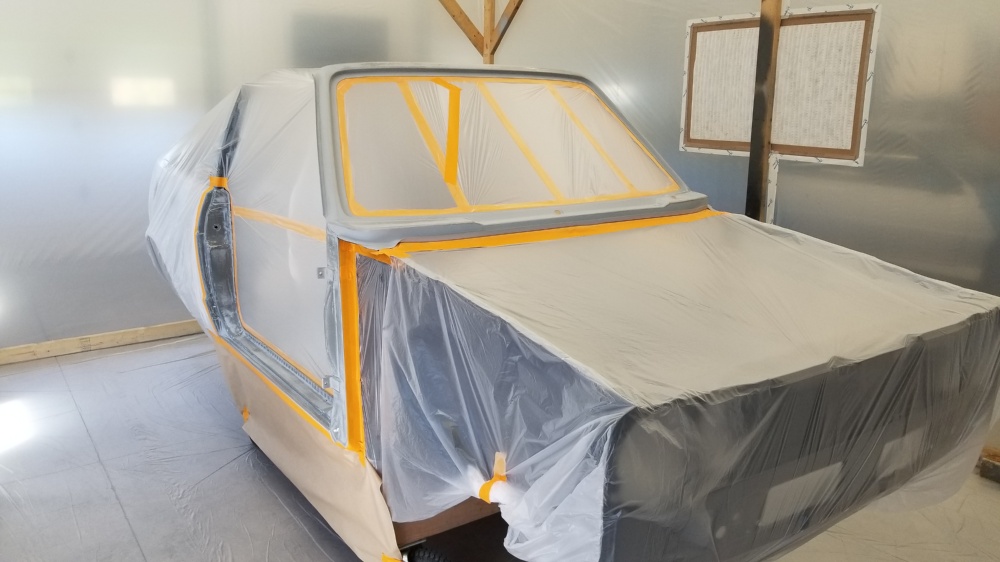
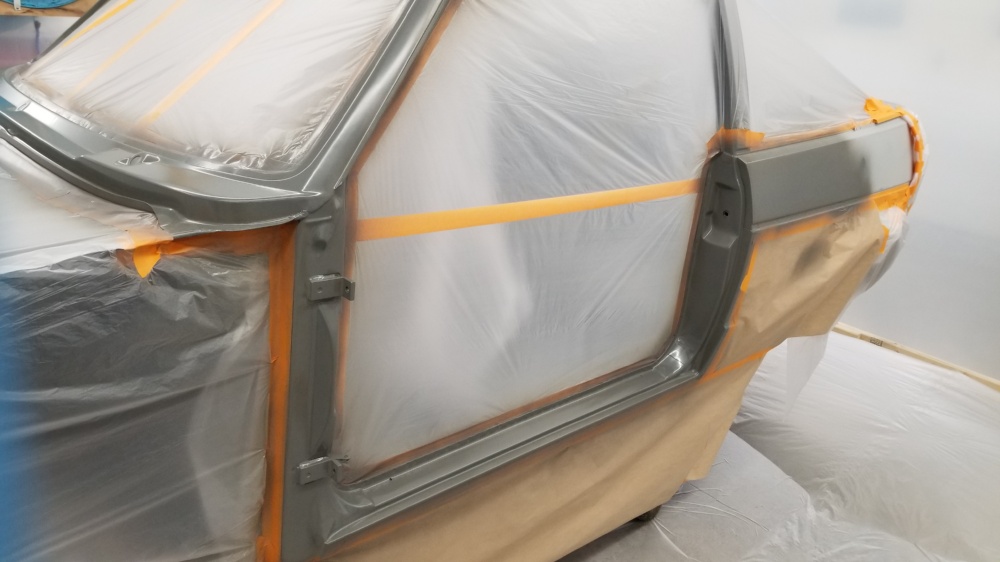
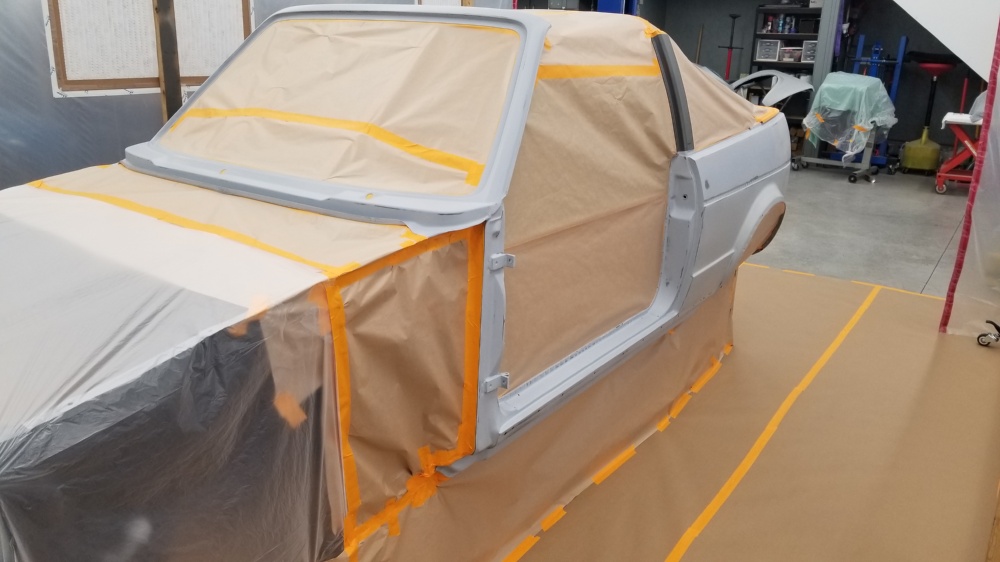
Decided I needed to paint the area inside below the rear window and the B pillar so they will match the front doors.
Welded up the coat hook holes, and did a quick bit of filler on the spot welds.

Primed

With that done it was time to get them painted along with the radiator support / front end. So of course, masking…


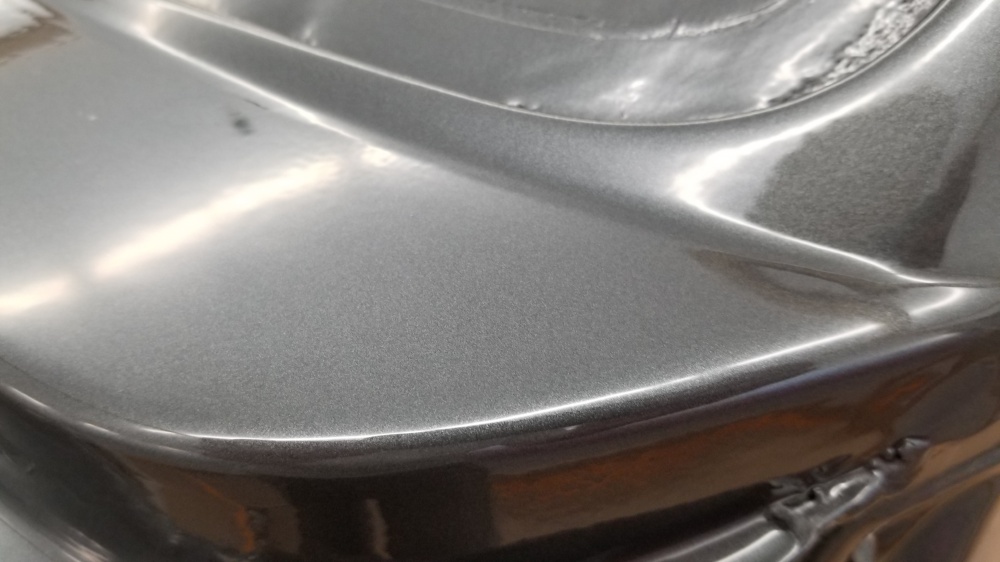
I did the front clip with Upol Guard 10

Sealed and base
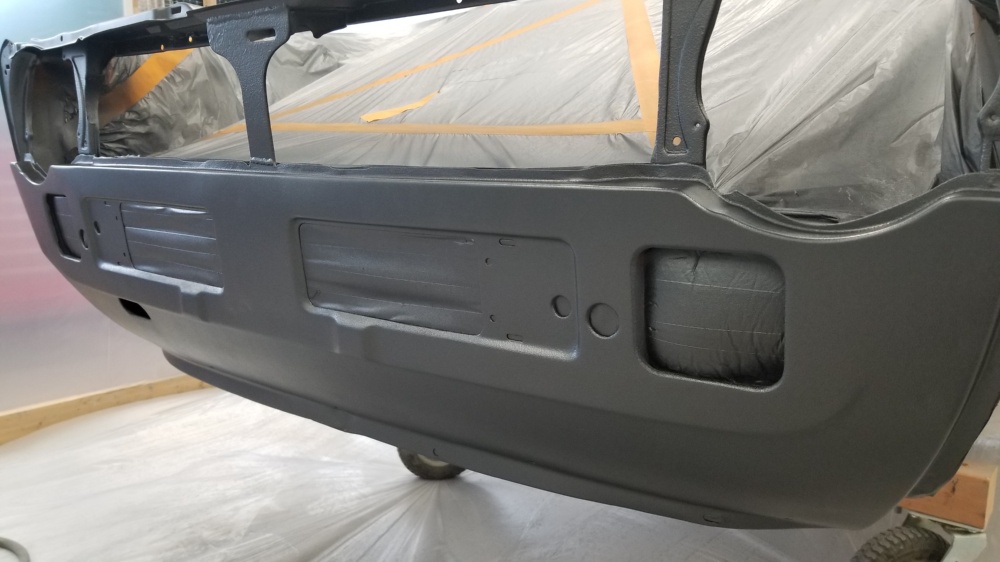

And cleared

And with a little added light - this color really pops in the light


Dan
1 Like
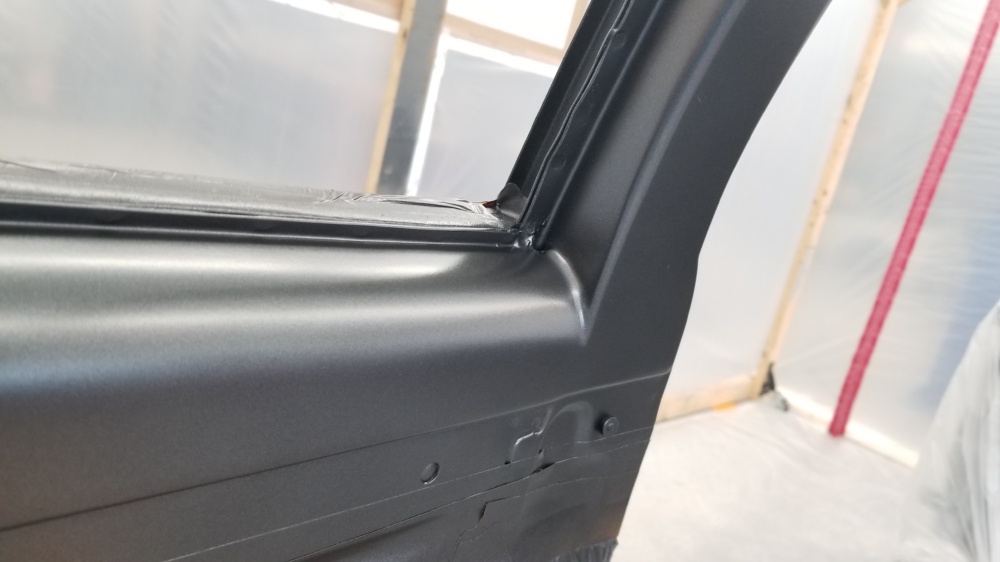
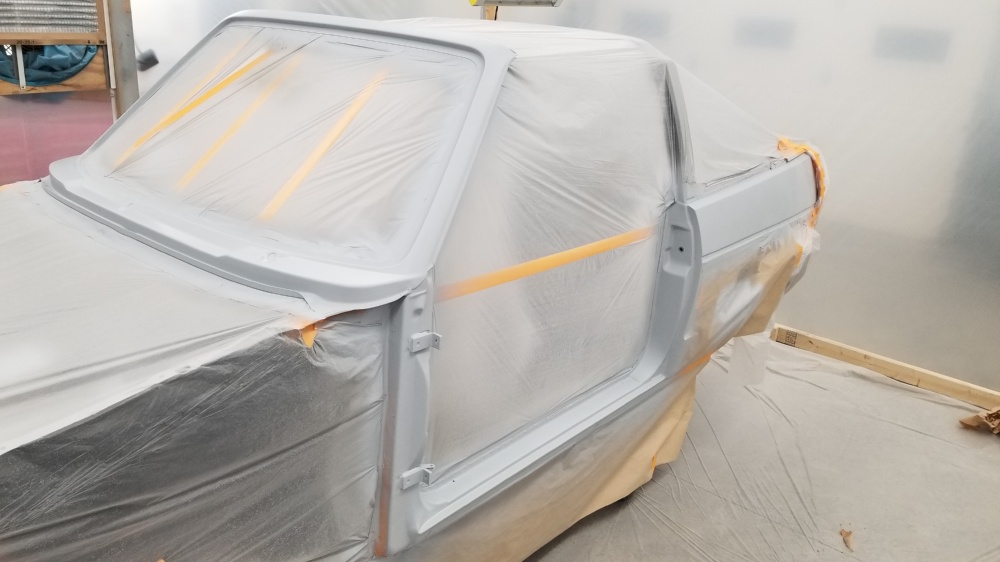
With that done it was time to mask, again, and get the last bit of primer on the cowl, windshield frame, door jambs and the quarter that I had to do a little more filler work on.


Some people have been asking about the paint and color, here it is.

Dan
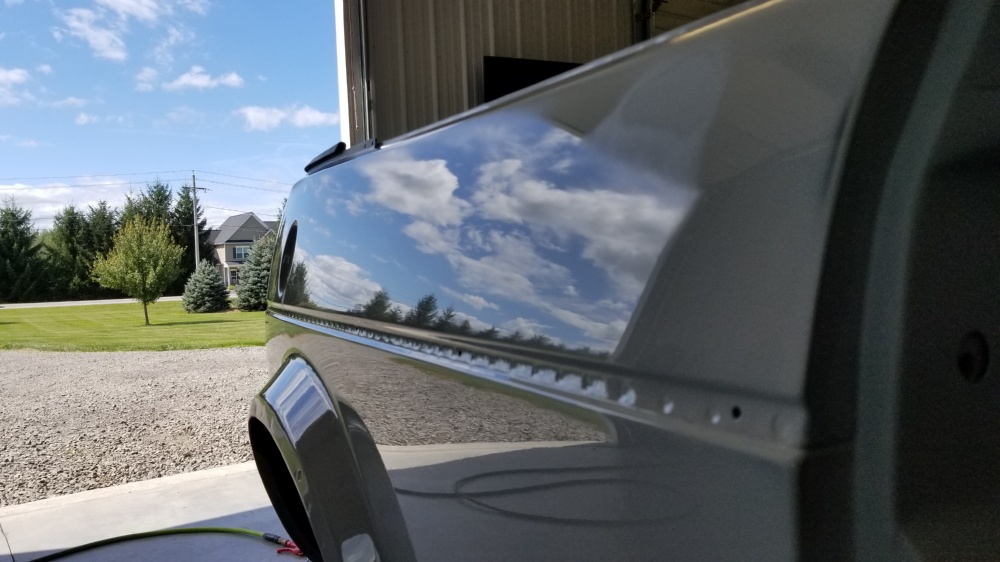
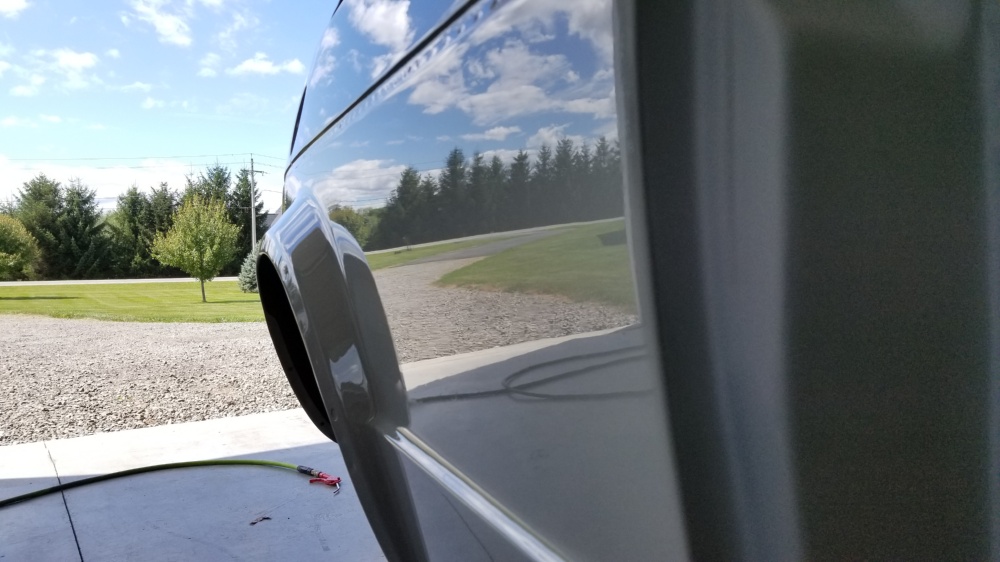
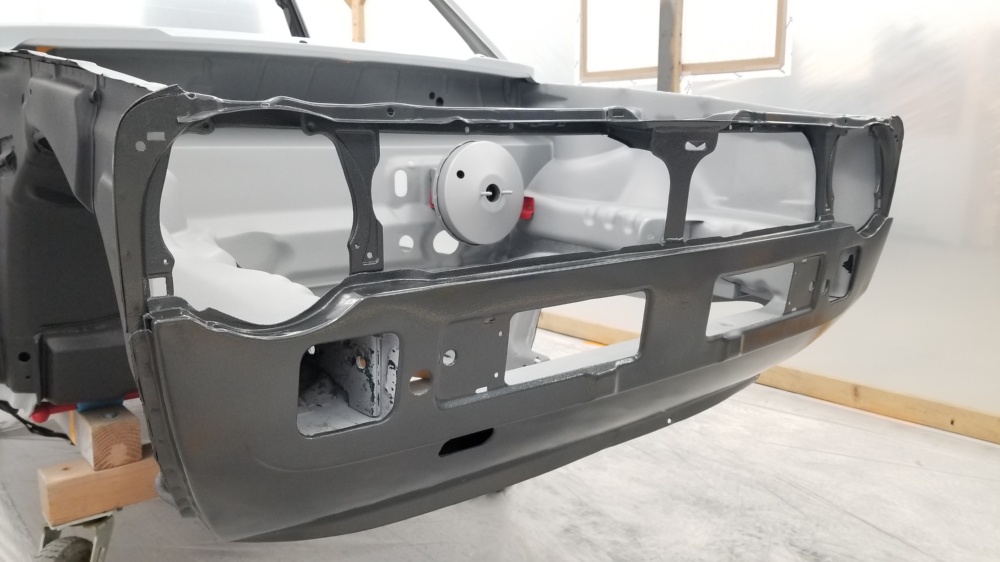
Epic milestone reached this weekend. The chassis is painted.
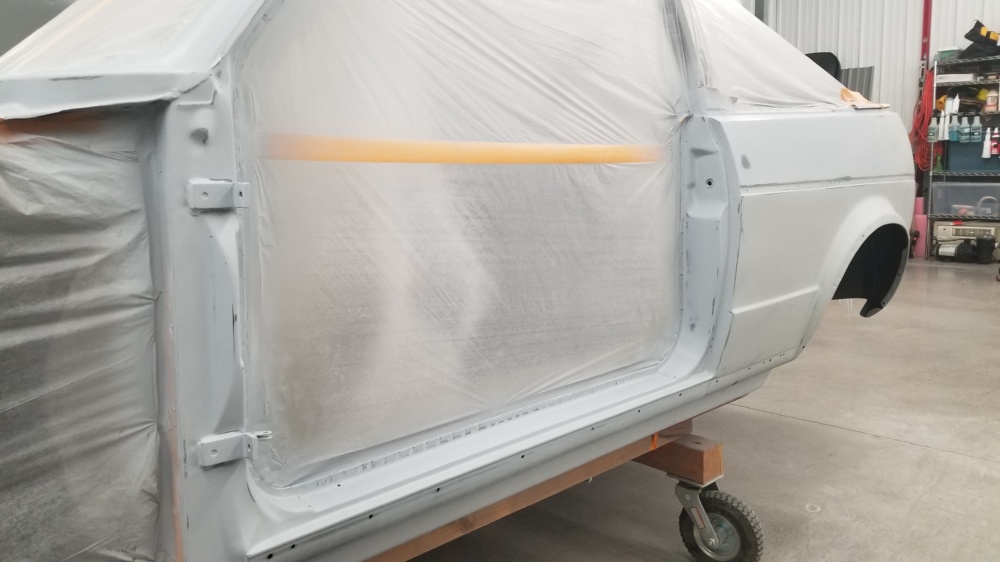
Finished blocking out the primer with 320 and 400 dry.

Spent like 8 hours masking the car and the booth.

Sealer. Had a little issue here. My stupid tack rag left a few drag marks. Luckily I was able to wet sand them out quickly with 1000 grit after freaking out for a few mins.

Three coats of base which turned out perfect. There was just one tiny spot of trash near the wiper cowl, i was shocked.


Three coats of clear. This is where it went a little wrong. While Ive had great luck on the small parts doing these large panels was a bit more of a challenge. I ended up with a variety of results. Some huge runs (not shown), a lot of orange peel, and a few spots that were near perfect. Im going to pick up a different gun before I clear the next parts as technically im using the wrong size tip.
Overall though, for a first time paint job in my garage, Im pretty happy. I definitely have a lot of wetsanding and buffing in my future, but I think its gona look amazing.


Dan
3 Likes
Sun pics. It def looks better in the pics than in person, lol

Started assembly while Im waiting for clear to cure.
So far:
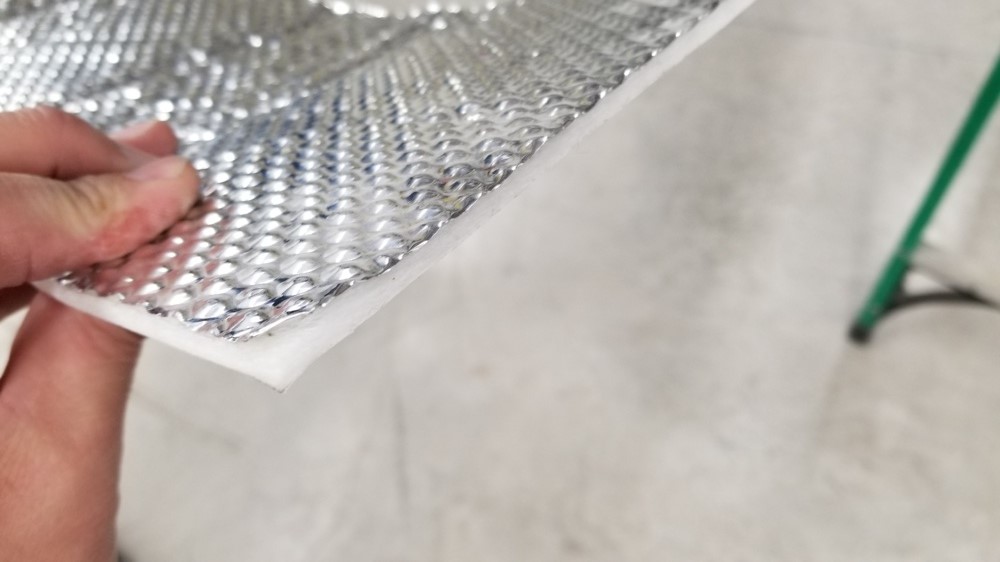
- insulated exhaust tunnel
- installed shifter (the gold box) which still needs cables
- rear brake line
- fuel hard lines
- parking brake cables
- gas tank
- rear exhaust section
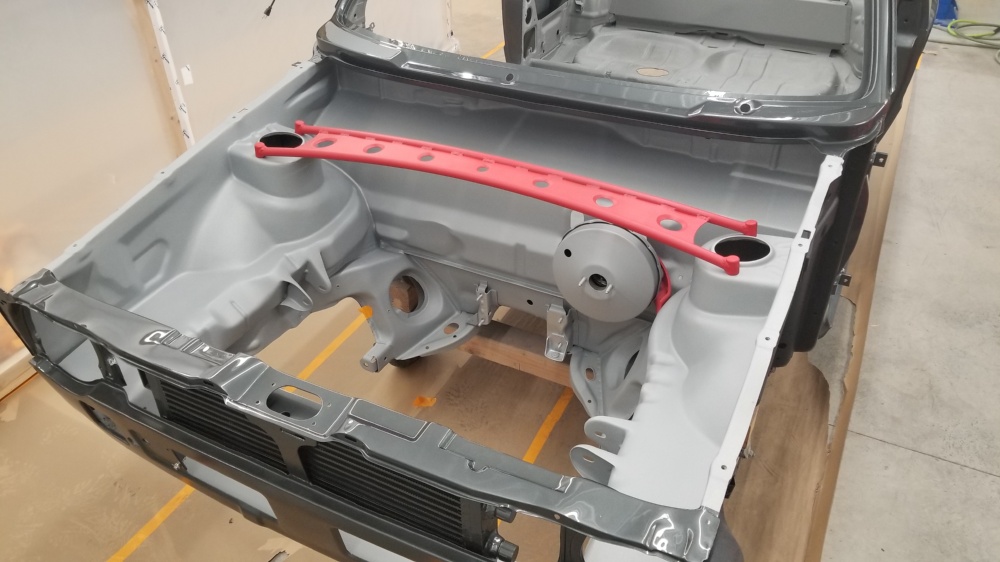
- painted and set the rack in place, Im missing the 12pt nuts I need to install it fully right now


Used this stuff on the tunnel.
Fuel line clips


Dan
2 Likes
Looking more like a car all the time.
It is. And its exciting.
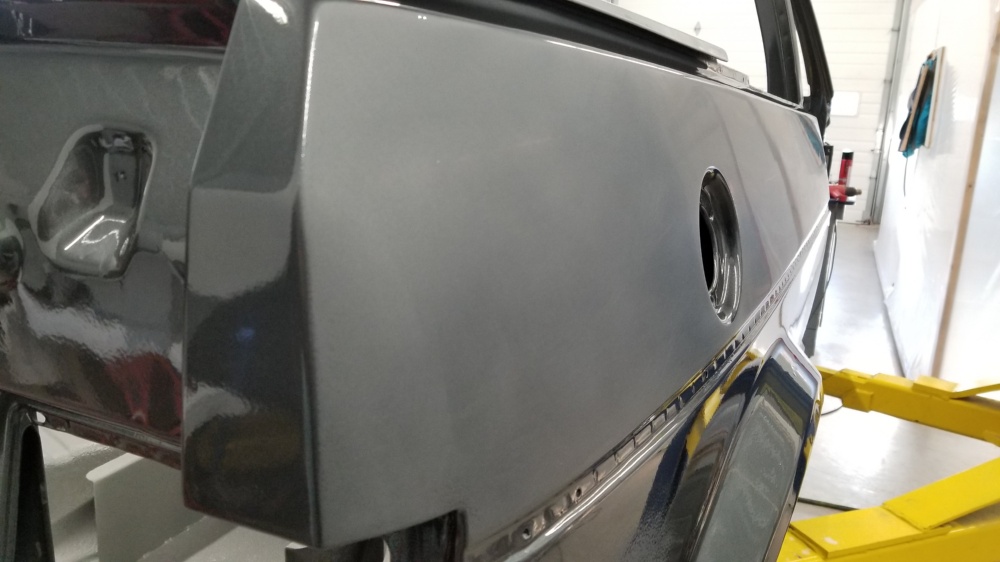
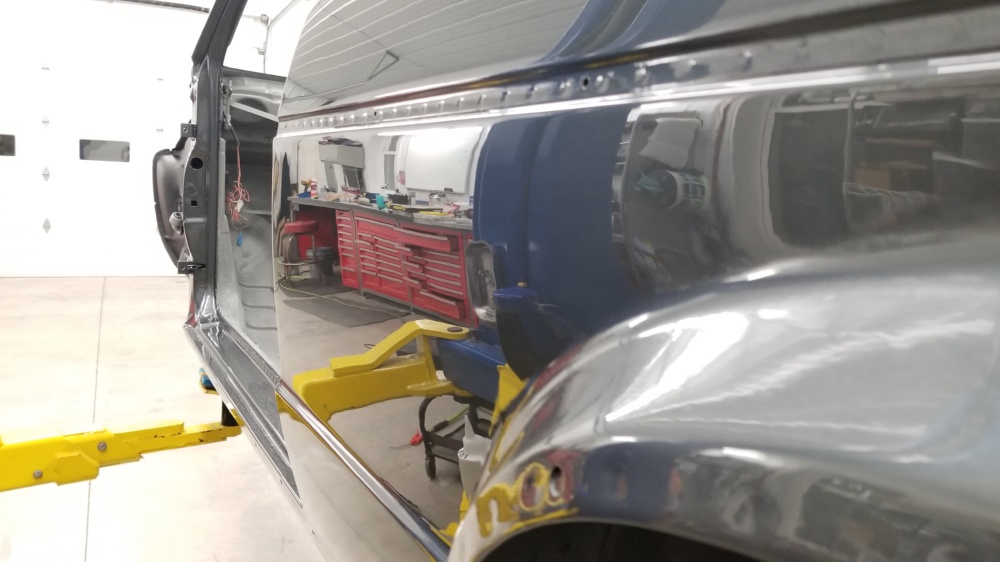
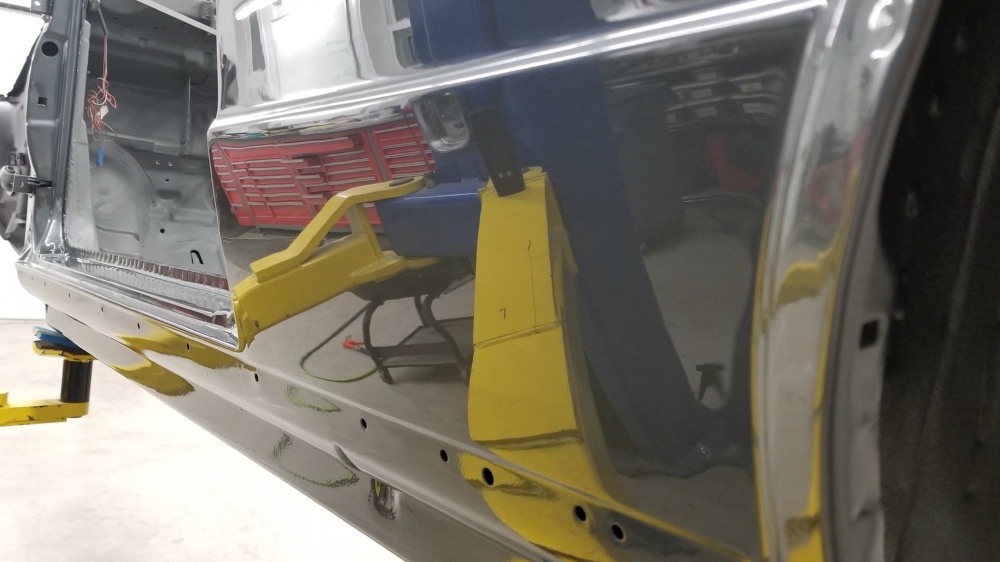
Started wet sanding and buffing this weekend.
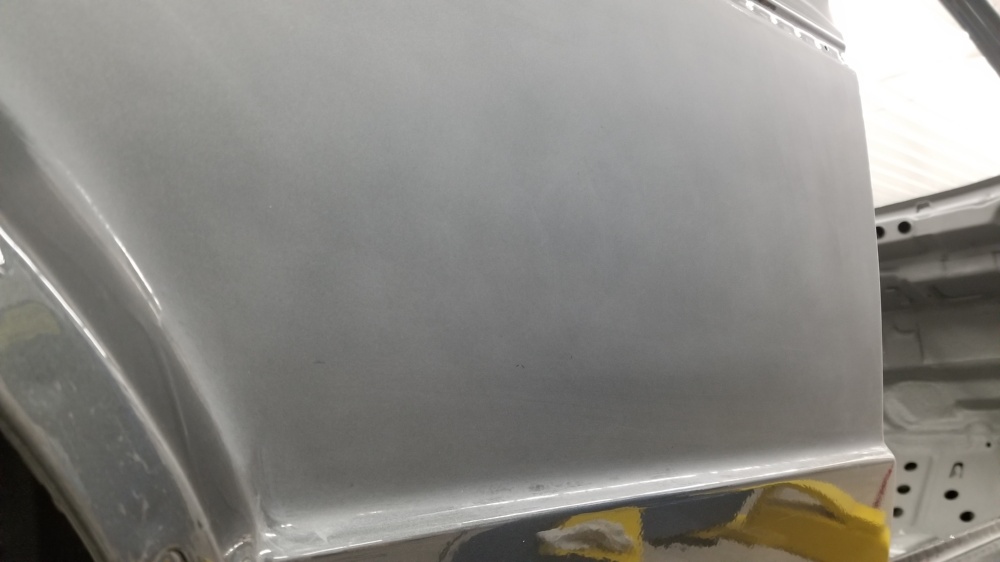
The clear was pretty thin on the rear part of the pass quarter (just shy of sanding through) and there is a decent tiger stripe in the color, so at least this top section will need to be resprayed.
Overall though Im very happy how its turning out. So far Im doing a quick sand with 1000, then finishing the leveling with 1500, and finally going over it with 2000. Then Im using Megs 105 on a orange foam pad and 205 on a black foam pad using a Rupes 21 d/a buffer.


This is the spot I was talking about. Its very hard to get a pic of.

This area is where I had a huge run (of many). You def cant see it now.

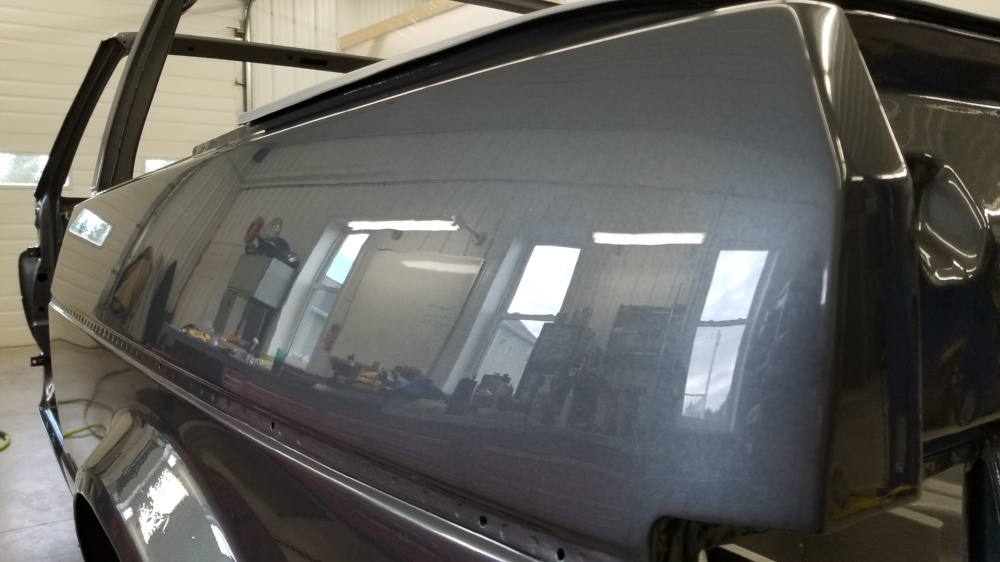
The drivers side turned out much better. I think I figured out to do less sanding with the 1000 grit, and more with 1500.


I picked up the mini Flex rotary and some 1 and 2" pads to do the small flat areas, jambs etc. So far I just used it on the top lip of the quarter, seemed to work well.


Dan
2 Likes
Did some more sanding and polishing. The drivers side is about 98% there. I have the pass side fully wet sanded to 3000. I think I may end up respraying the whole pass side so Ive decided not to buff it for now.
So a few more boring pics of that progress


Giant run previously mentioned. oops

And mostly sanded out. I dont have any pics of the pass side all sanded out, but whatever
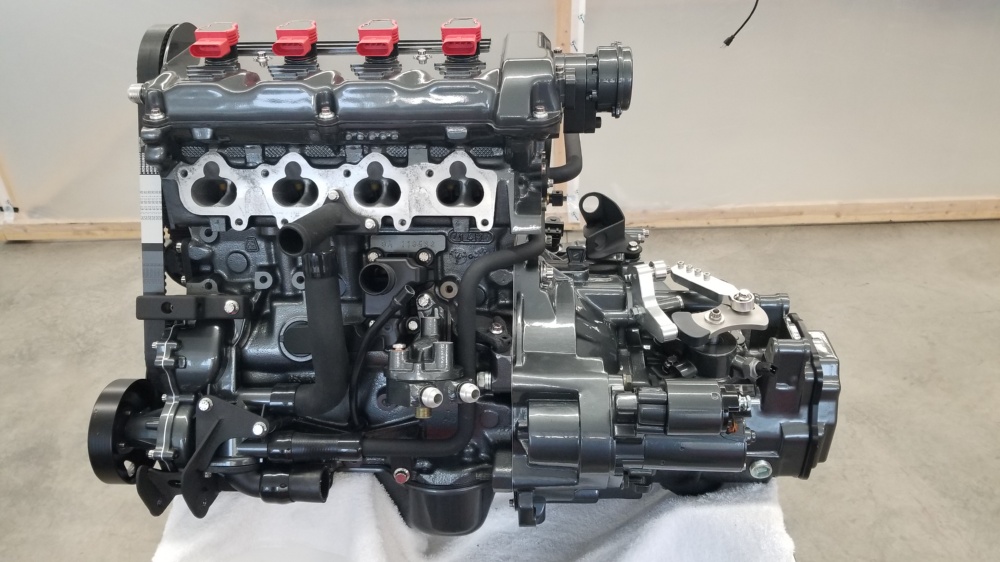
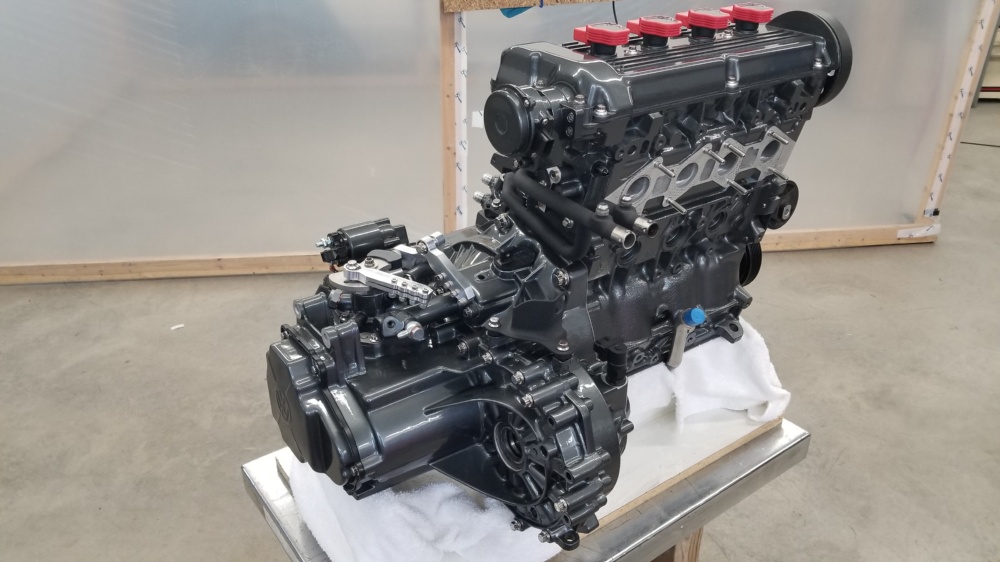
Took a break from sanding to get the motor and trans mated.
First, since I A. couldnt find a decent dust sheild, and B. I hated its mult-ipiece design I made my own from 0.030" stainless.
Made a template using poster board. I find the edges by rubbing a piece of aluminum bar stock around the trans with the posterbaord taped in place in a few spots. Its quite accurate.
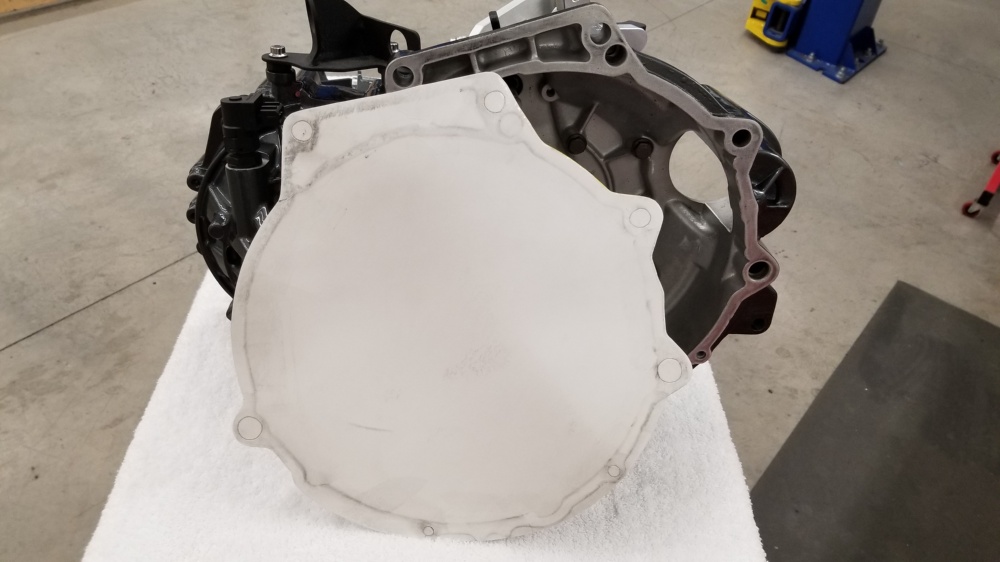
And used the billet rear main seal carrier to mark the location of the cutout once I found the center of the bell housing.

Fast forward thru the cutting and sanding and here it is in place along with a new rear main seal.

And then the freshly resurfaced flywheel and new bolts.
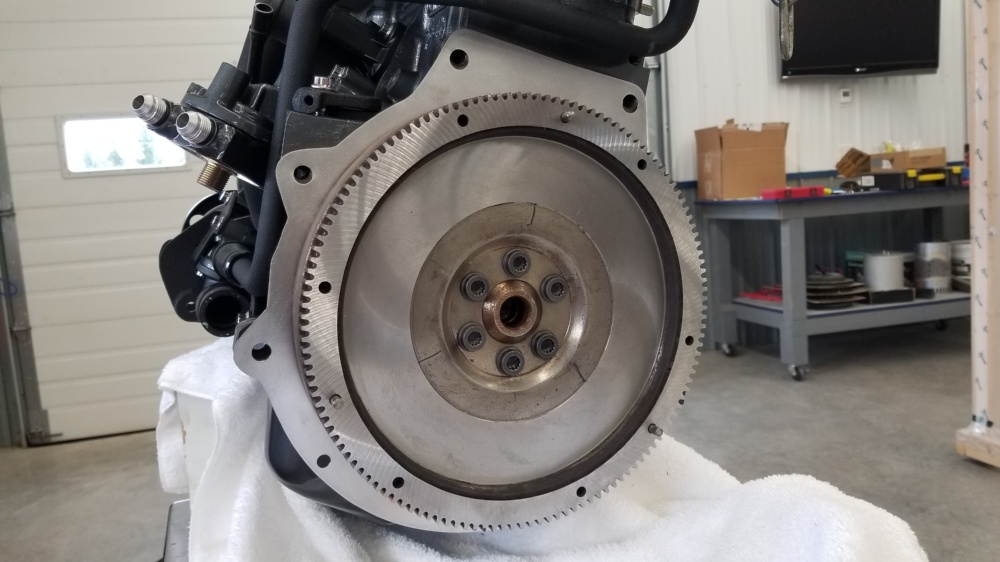
Stock VR6 clutch

And mated up. The dust shield fit perfectly.

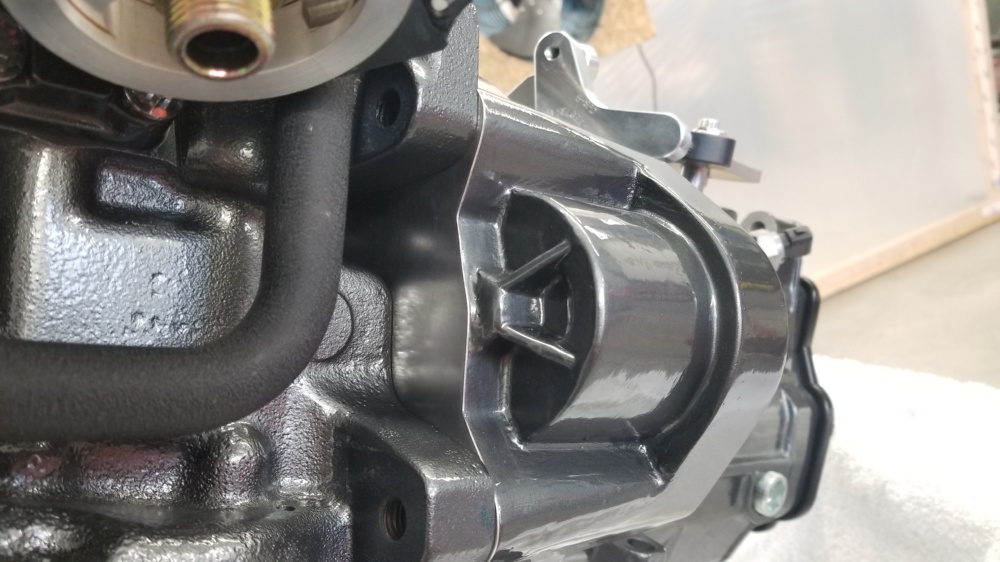

And here is the whole package ready for install.


Dan
2 Likes
I wonder if VW corporate would be interested in this for their marketing or social media. Wouldn’t hurt to reach out to them considering this:
Or maybe @beck could put it in his showroom once it’s done?
2 Likes
VW shows projects not nearly as cool as this on their FB feed all the time (at least the did back when I had a VW and followed them).