^Haha Tom…nice! Perhaps I should convert to an inboard and run thru-hull exhaust???
And Jeller, I don’t get too worked up over wear and tear. I build to enjoy, and if some scars happen along the way then so be it!
^Haha Tom…nice! Perhaps I should convert to an inboard and run thru-hull exhaust???
And Jeller, I don’t get too worked up over wear and tear. I build to enjoy, and if some scars happen along the way then so be it!
I don’t know if you can ever go wrong with an Italian V-12.
I have full intentions of building a 20’+ center console runabout in a few years…possibly a modified version of something like this below…would make a nice home for something throaty.
https://www.boatdesigns.com/products.asp?dept=765
http://glen-l.com/designs/hankinson/edmundson/edmundson-frame.html
God damn…still not done with this thing. So, with the big gap in the rear deck I decided this would be a great spot for a cooler to store beer. Started with framing in the substructure. I can only I assume this gap was an access to the gas tank and battery, however I have plans to put in a nice gas cap/door onto the subdeck so the tank will never have to be accessed. In the event that the battery ever needs to be reached, that can happen by removing the cooler (which I still have to source out) 
With that in place I capped off the rear most section with the same 4mm plywood as the rest of the deck. Can also see the framework for the door held in place with shims. The shims provided the proper gap…was a lot of back and forth with saws and sanders to get the fit just right.
The door will be hinged with some beefy pieces I picked up at Rockler (woodworkers wetdream of a store). 3 layers of 3/4" cedar were added to the subdeck as this part of the build was an afterthought so I had to work back a few steps to make sure all would be struturally sound.
Well nuts (treaded rivets) were installed into the 1/8" metal plate to ensure strength and ability to remove the hinges in the event they ever need to be replaced…(I’m not sure how these will last in a marine application). 8/32 stainless screws provide the bite.
And boom. Beautiful thing that the hinges hold it open.
The biggest goal with this was for a flush fit with all hardware hidden…a storage area designed into the boat, rather than something that looks like an afterthought. From here I’m going to play with a spring loaded, magnetic stop as a means to open the door…with this bit of hardware you’d simply press on the top of the door and it will pop up by about 1/2", then just lift her up! Also, rounded corners to mimic the front (near the dash) to tie it together…I’m a designer, these are the things that drive me.
*since last post the entire sub deck has been glued, screwed, and trimmed. #8 1" brass screws spaced out every few inches keep the shit held down. Gorilla Glue expands at a ratio of about 4 times it’s initial volume, so this wants to move the 4mm plywood…hence all the hardware.
So carefully considering the text, we can conclude that the construction of the Ark did not involve the 120 years mentioned in Genesis 6:3 but 75 years at the most.
so you got a boat for free, and it is only you a couple of years… God didnt give Noah a boat, he just told him to make it and it took him 75 years.
So I think your on track… looks great!
Is this thing seaworthy yet?
You’ve always had a thing for sea men.
^^LOL.
looking good. now hurry up and finish it so you can take me cruising for bitches. haha
LOL, dick.
I couldn’t work on it, Paulo has been using it as a storage space.
Kick his ass out and get this ready. It’s gonna be one helluva hot summer. 
I heard Paulos been living in it ![]() times are tough
times are tough
bump because i saw a bunch of old wooden boats on keuka lake for the holiday, including a gorgeous barrel back.
God I want one of these…
What’s the proper amount of seamen you expect this thing to handle?
Is this done yet?
Paging @Mike93 because I love this project and want to know too.
Fuckers. I was hoping this wouldn’t happen, lol. Ironically enough I’m painting the engine tonight. A lot has progressed, however I’ve neglected to update this as the project took second fiddle to opening a business so I’ve only been on and off in short bursts. I’ll post up some pics in the next few days.
Few days…few months, whatever. I’m going to copy / paste images directly from FB, if pics aren’t showing I’ll re-host them.
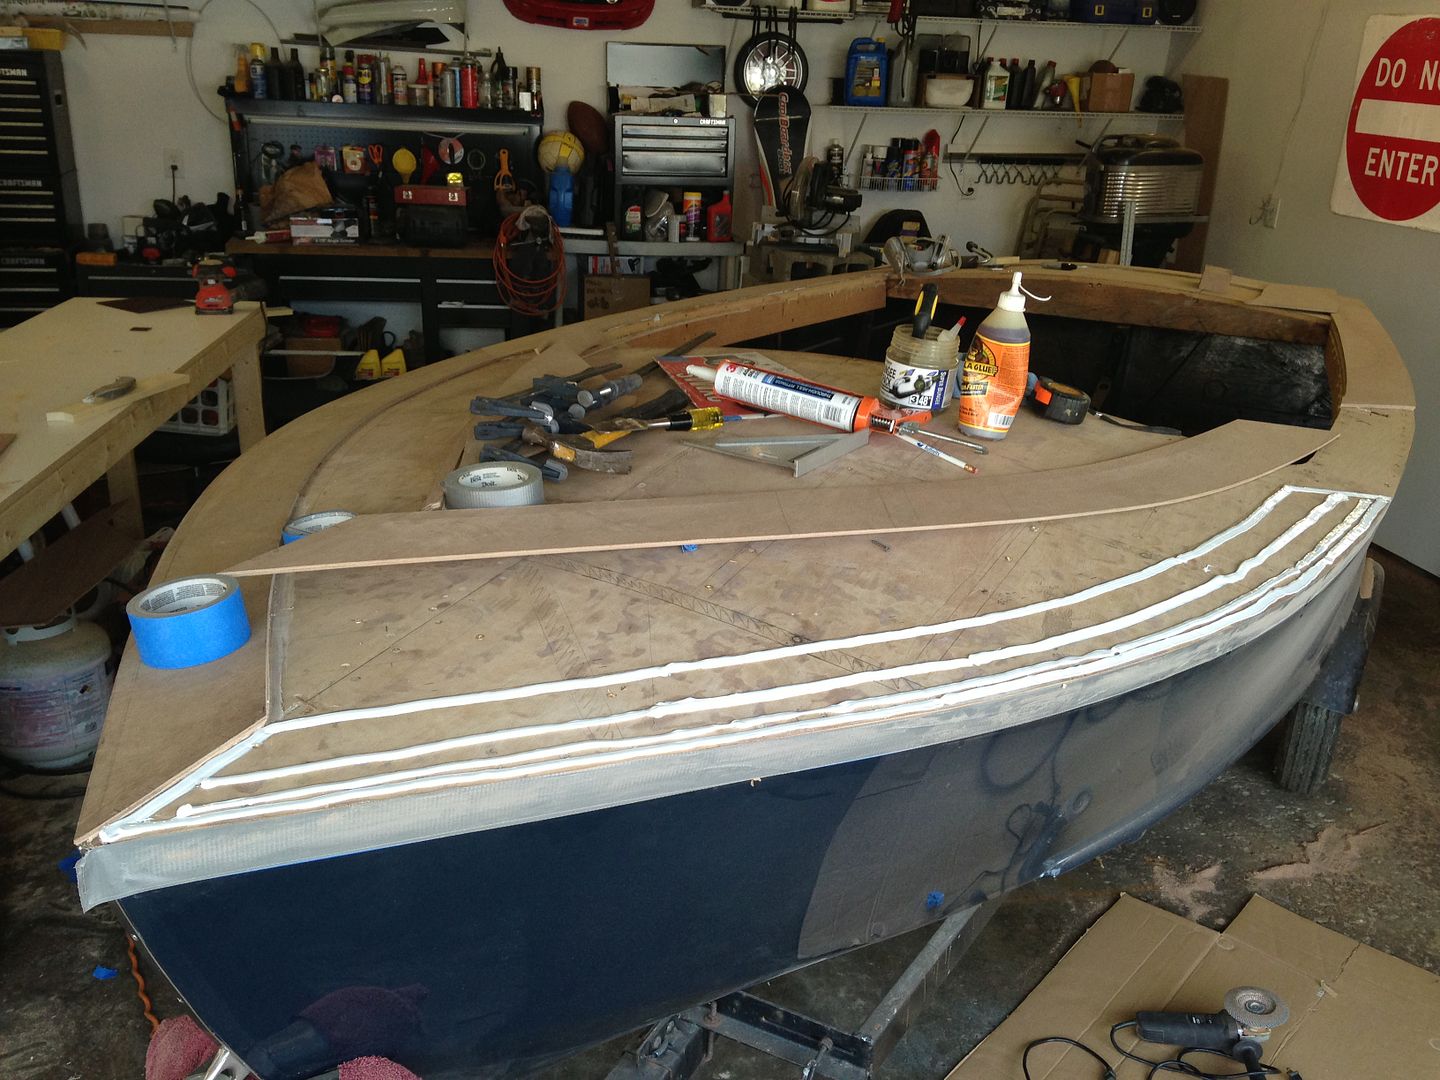
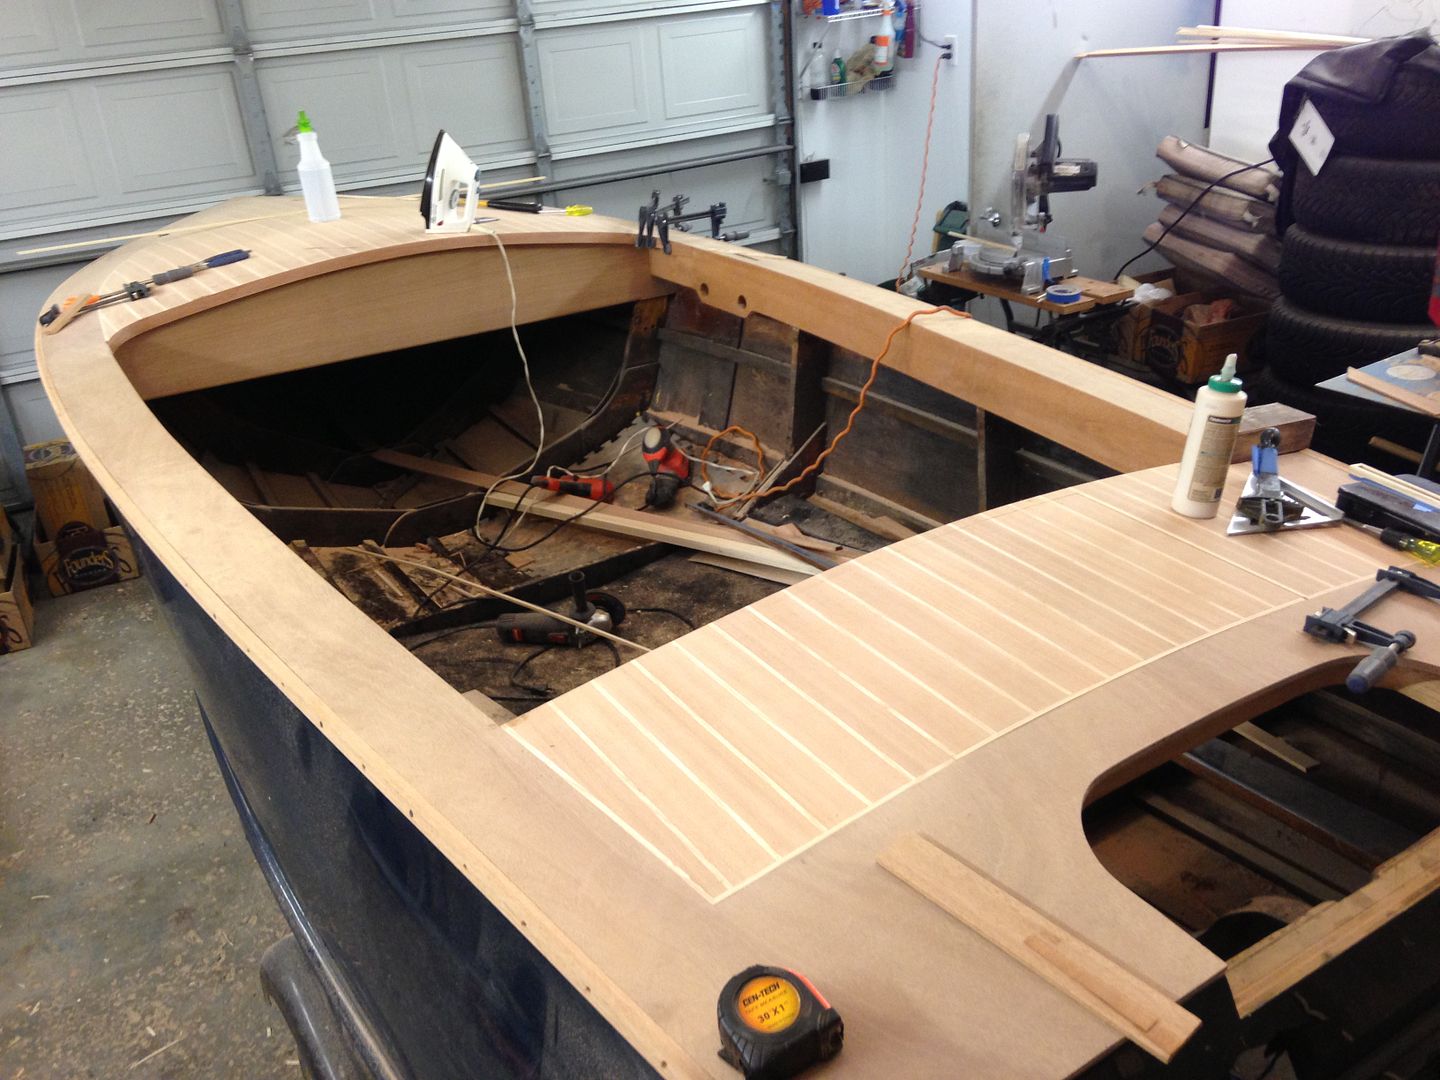
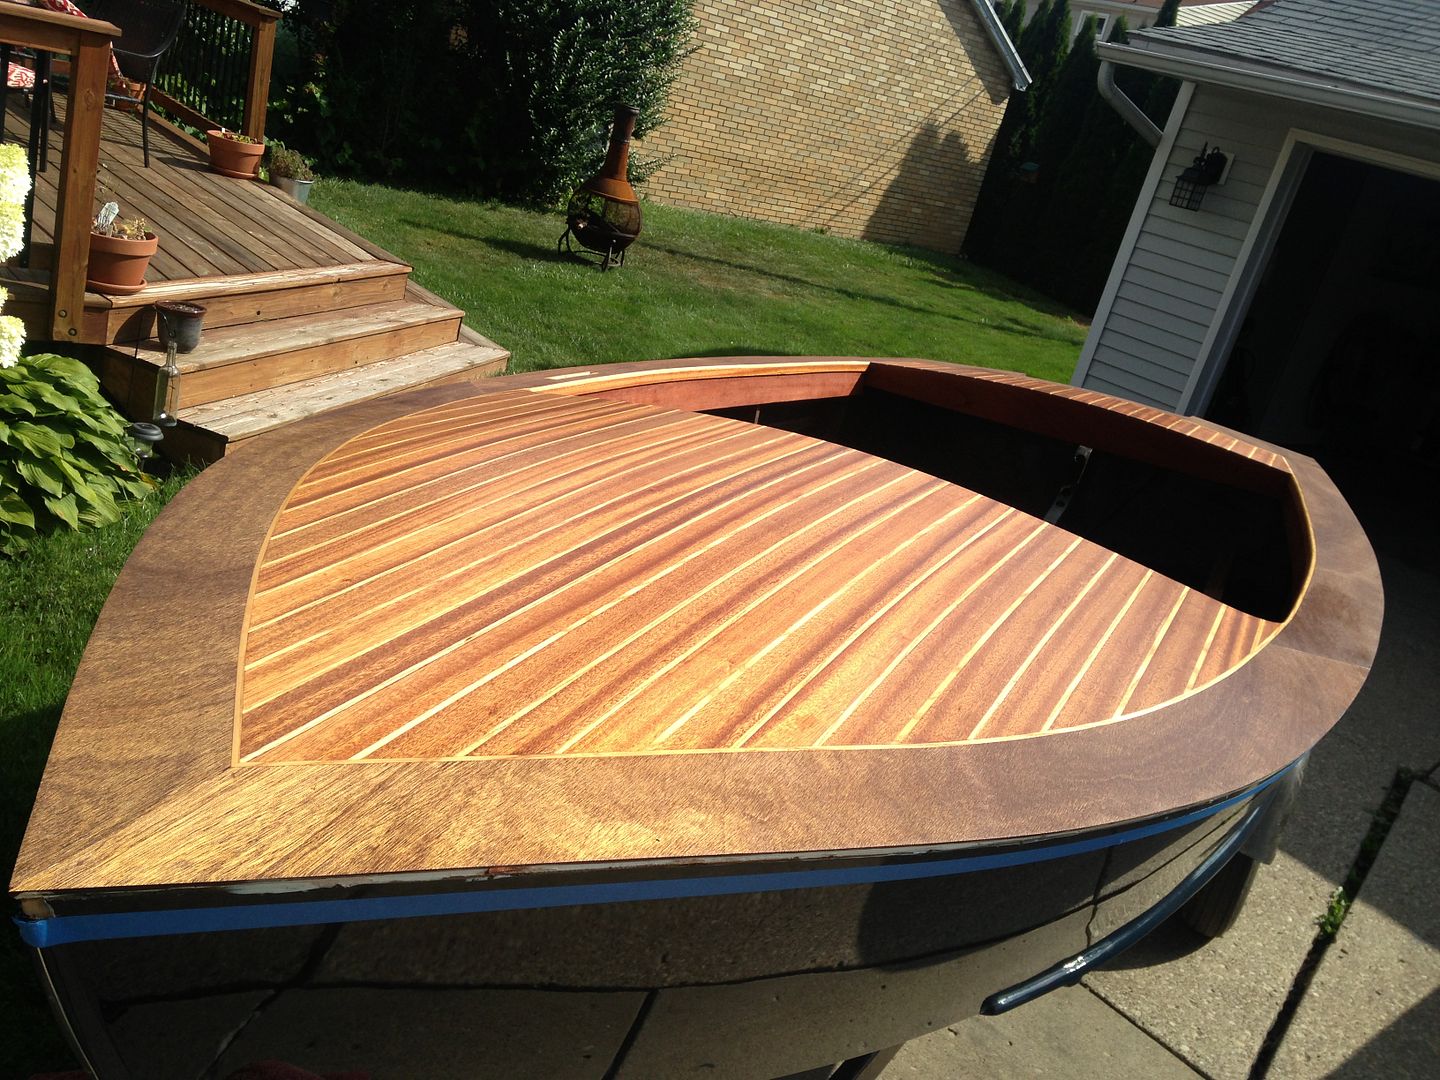
Here goes…After the subdeck had a few years to settle, top side going down. 1/4" Mahogany plywood.
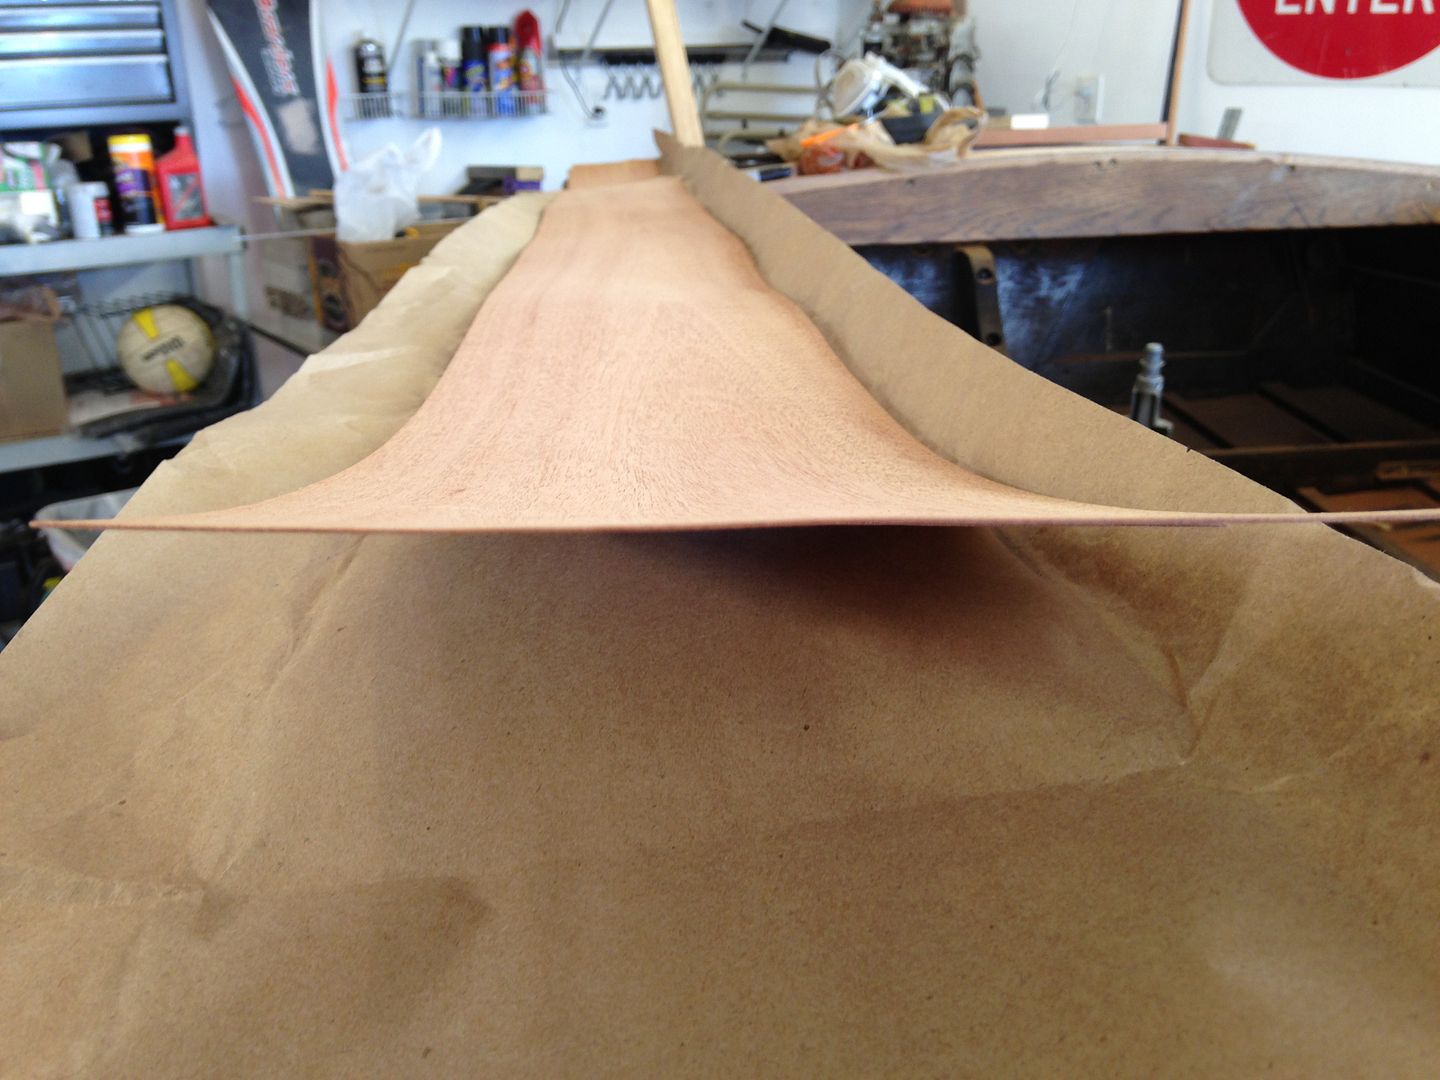
Beautiful mahogany veneer sourced 20 miles away from Certainly Wood.
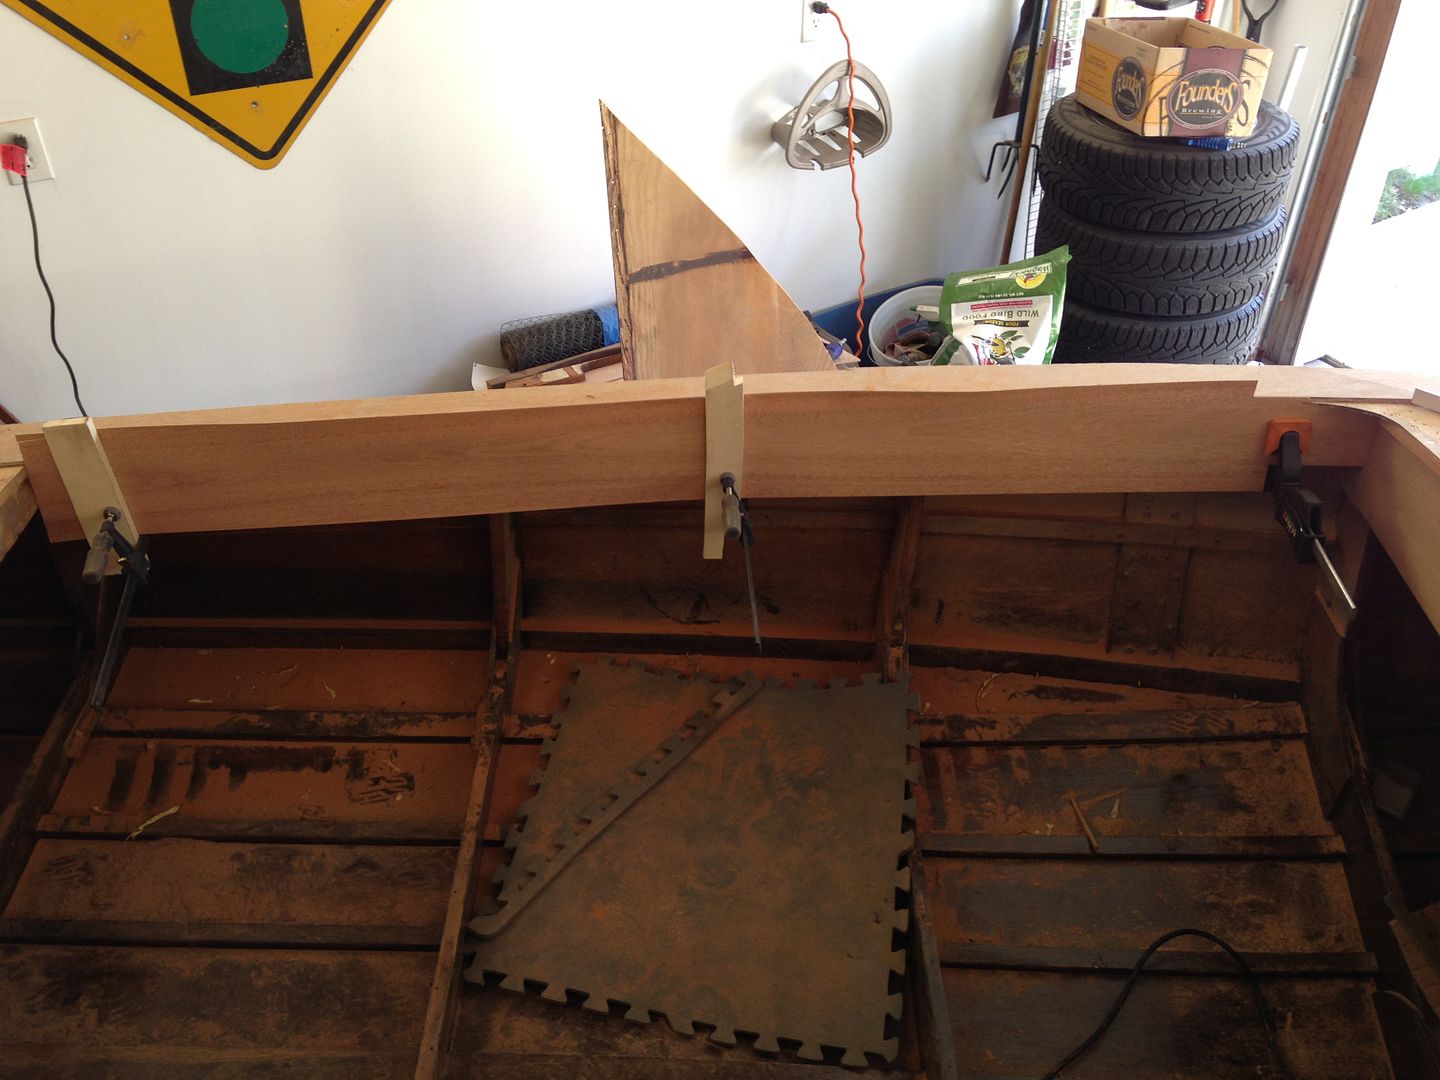
Mocked. Apply wood glue to both sides with a roller, let fully dry, then with veneer in position iron to melt glue.
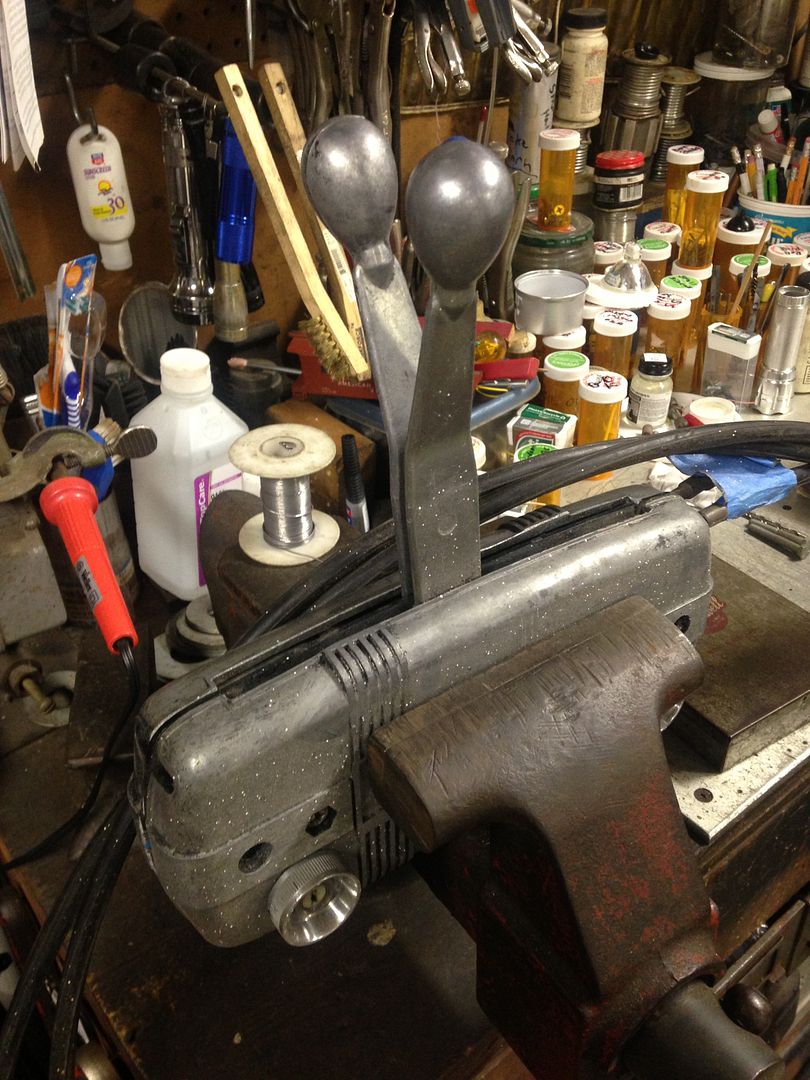
Mounted throttle control box to inner frame for that smooth look.
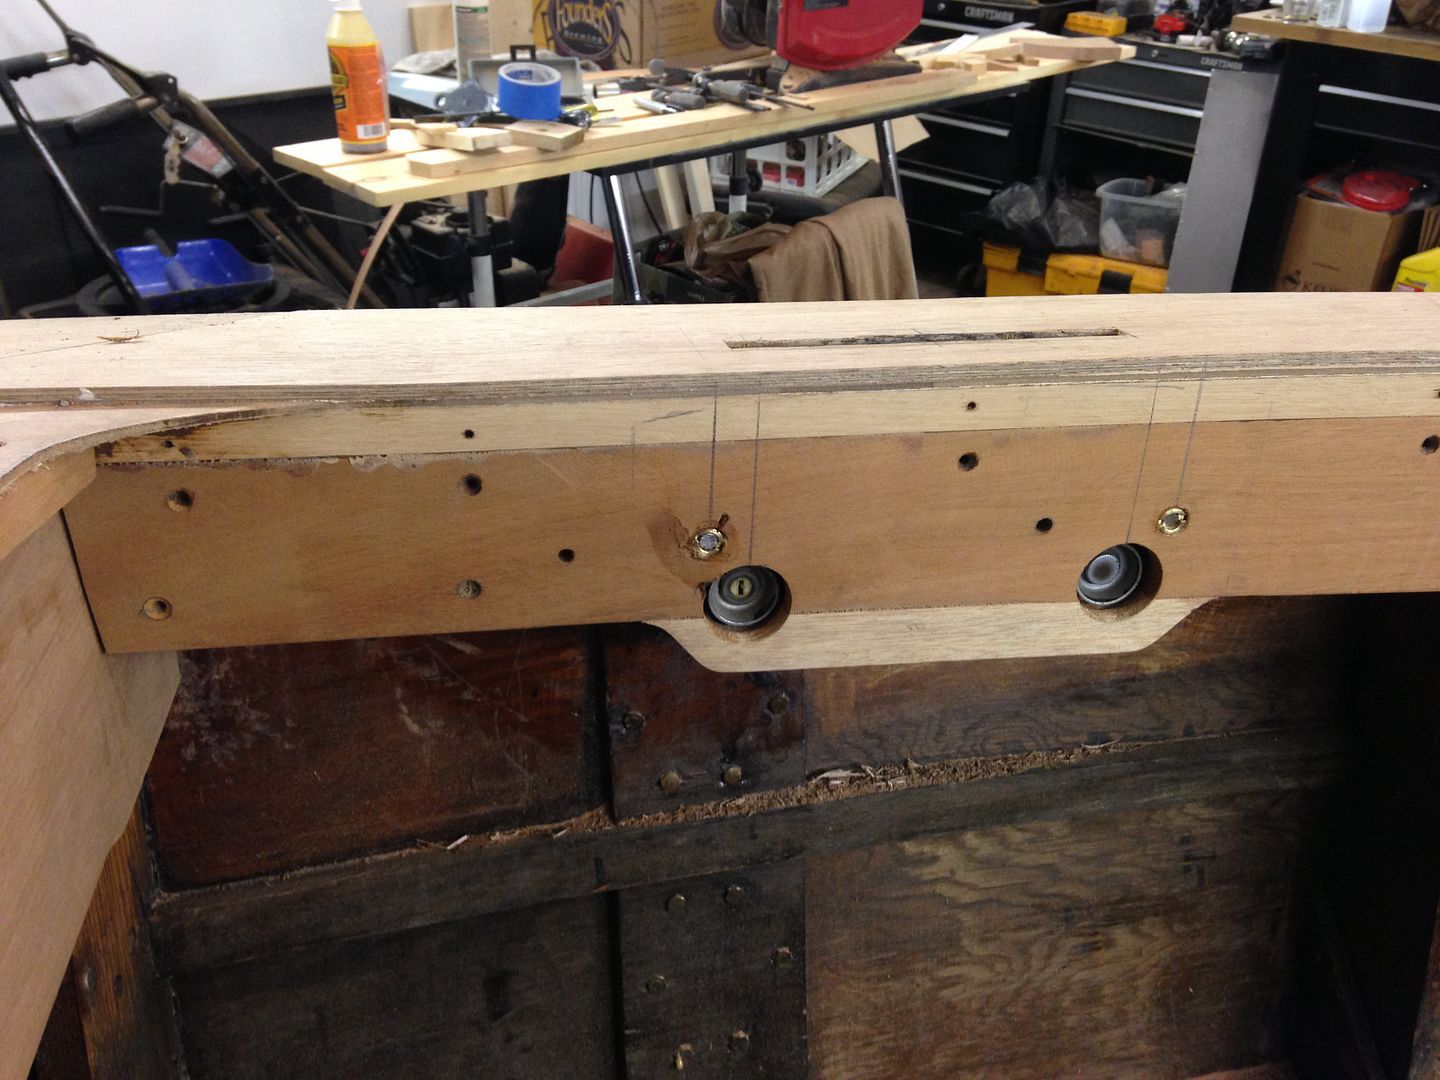
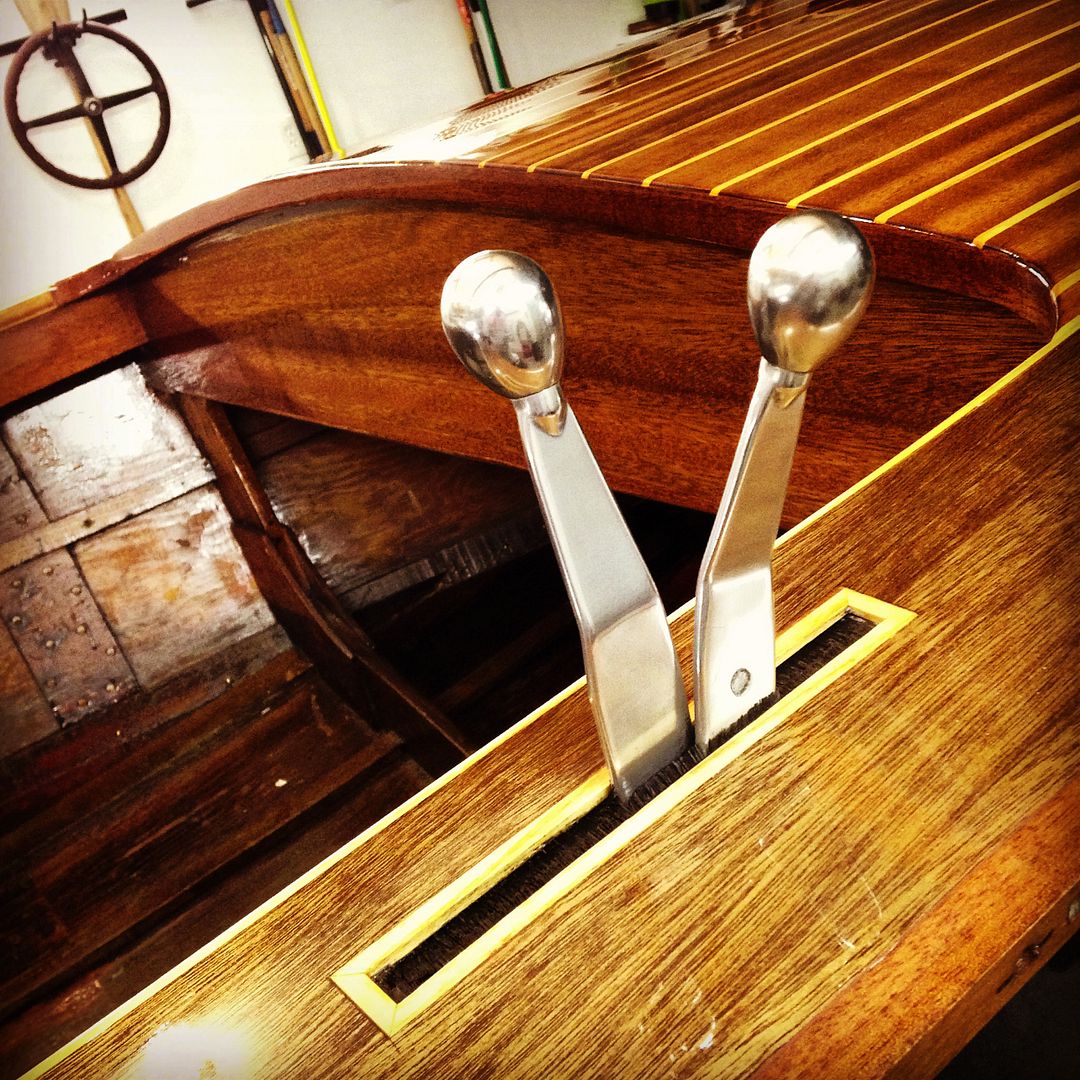
This was super important to have the throttle and gear levers exposed like this, also added a few thousand hours to the build time…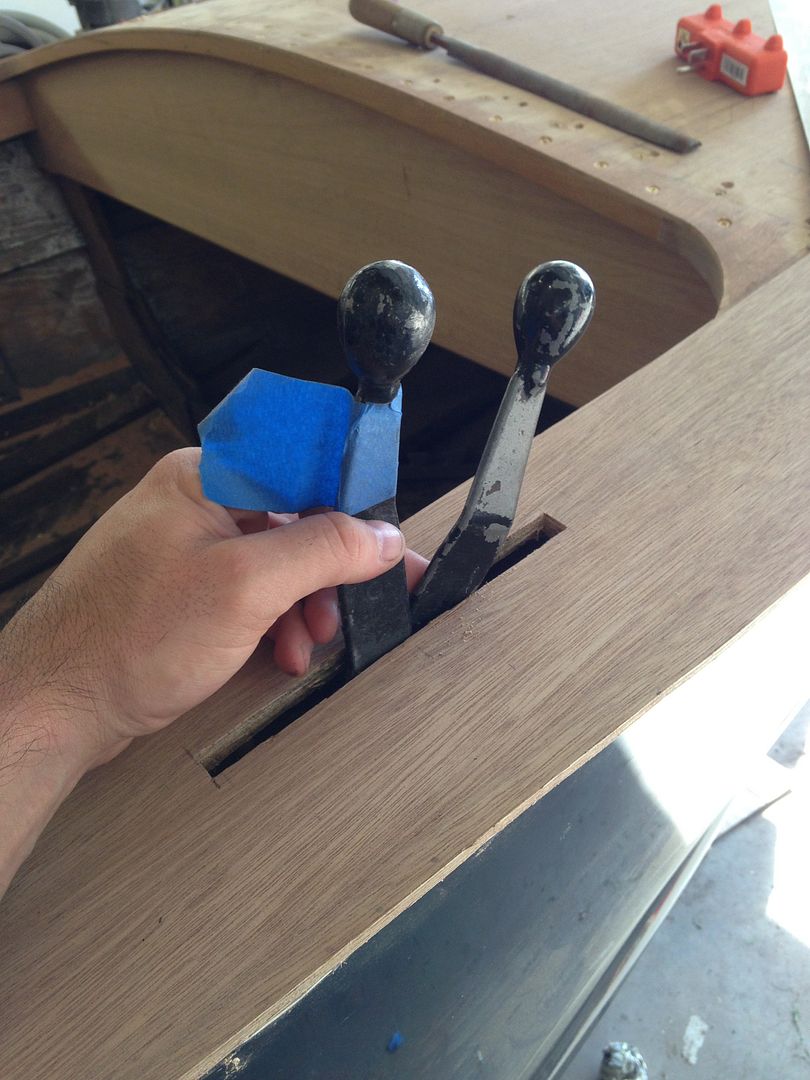
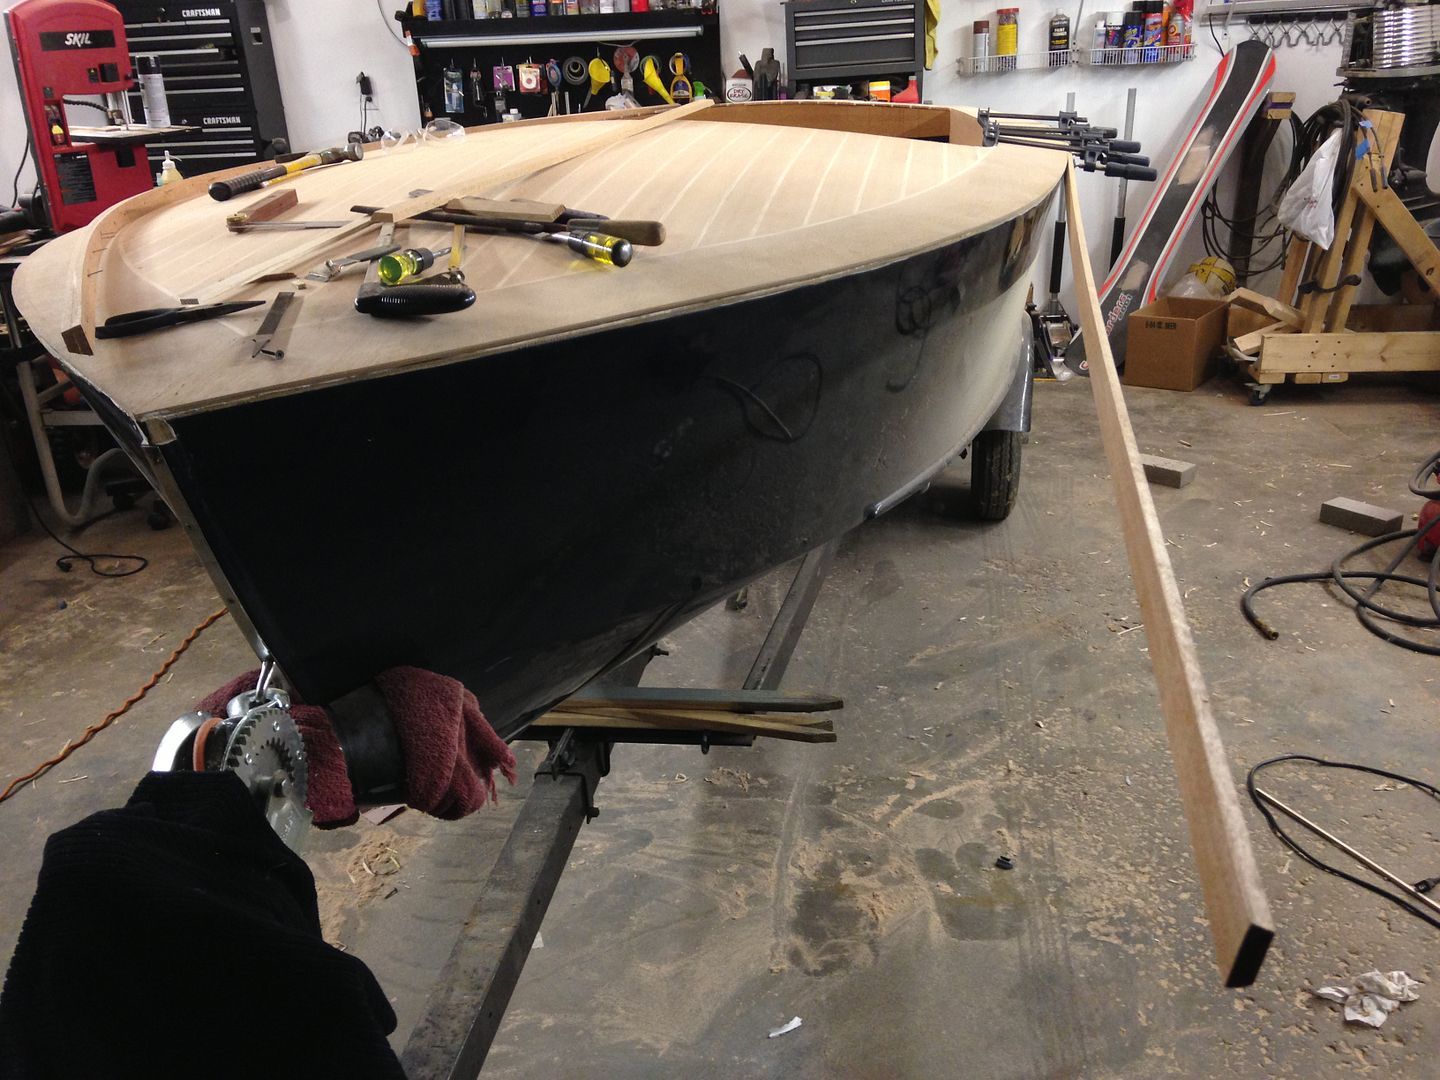
With outer ply fully cured, 2" wide solid mahogany strips and 1/4" ash pre fit into place. The solid chunk of mahogany was about 2"x10"x12’ before being cut down.
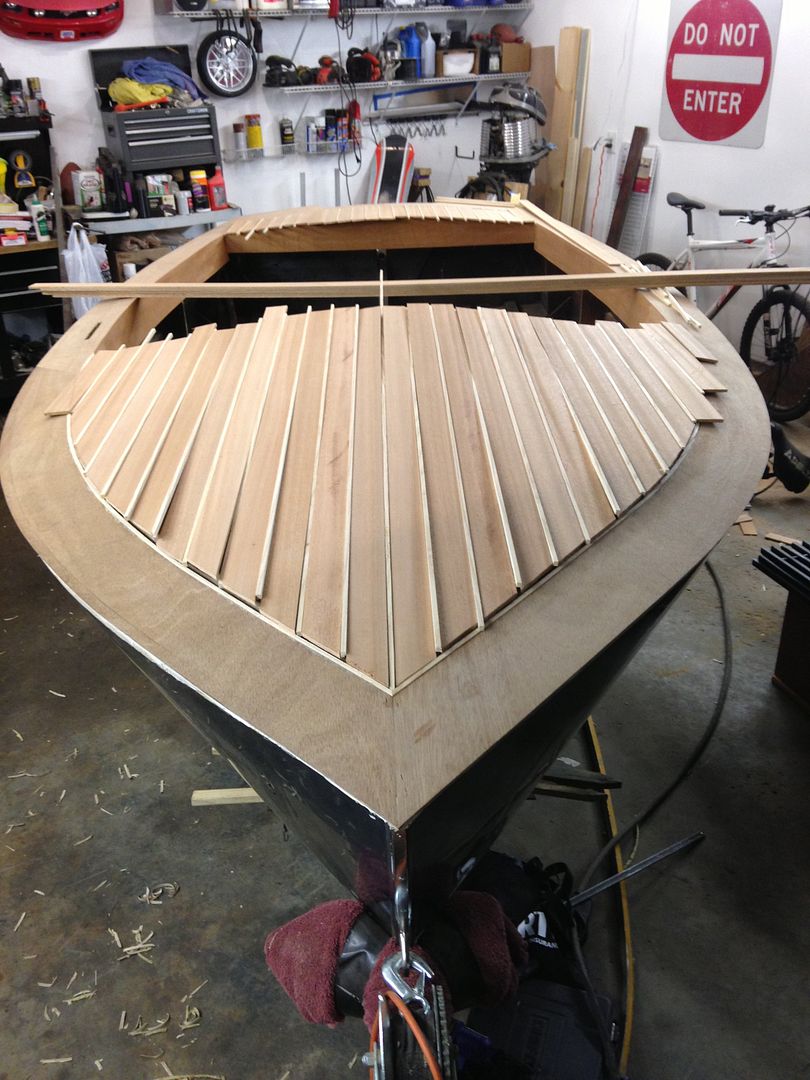
Had to use two layers for the compound bend that was happening front to rear…er bow to stern.
Bulked up the upper dash, I think I cut up the old dash for this piece…trying to preserve some elements of originality here.
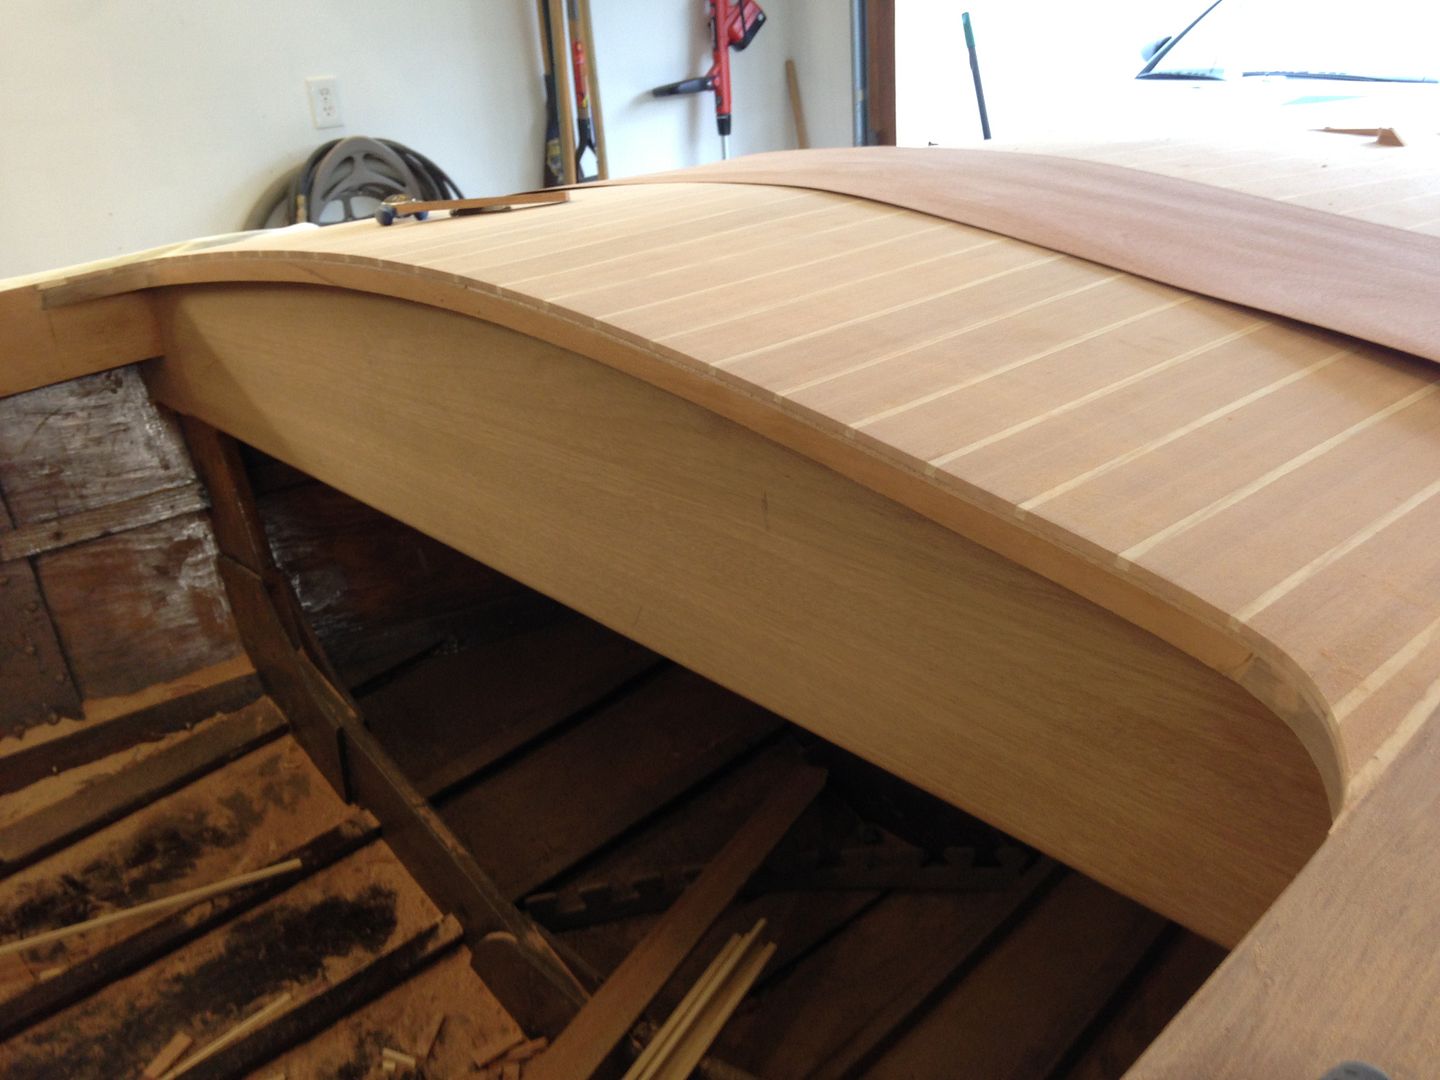
Veneer work on upper dash piece.
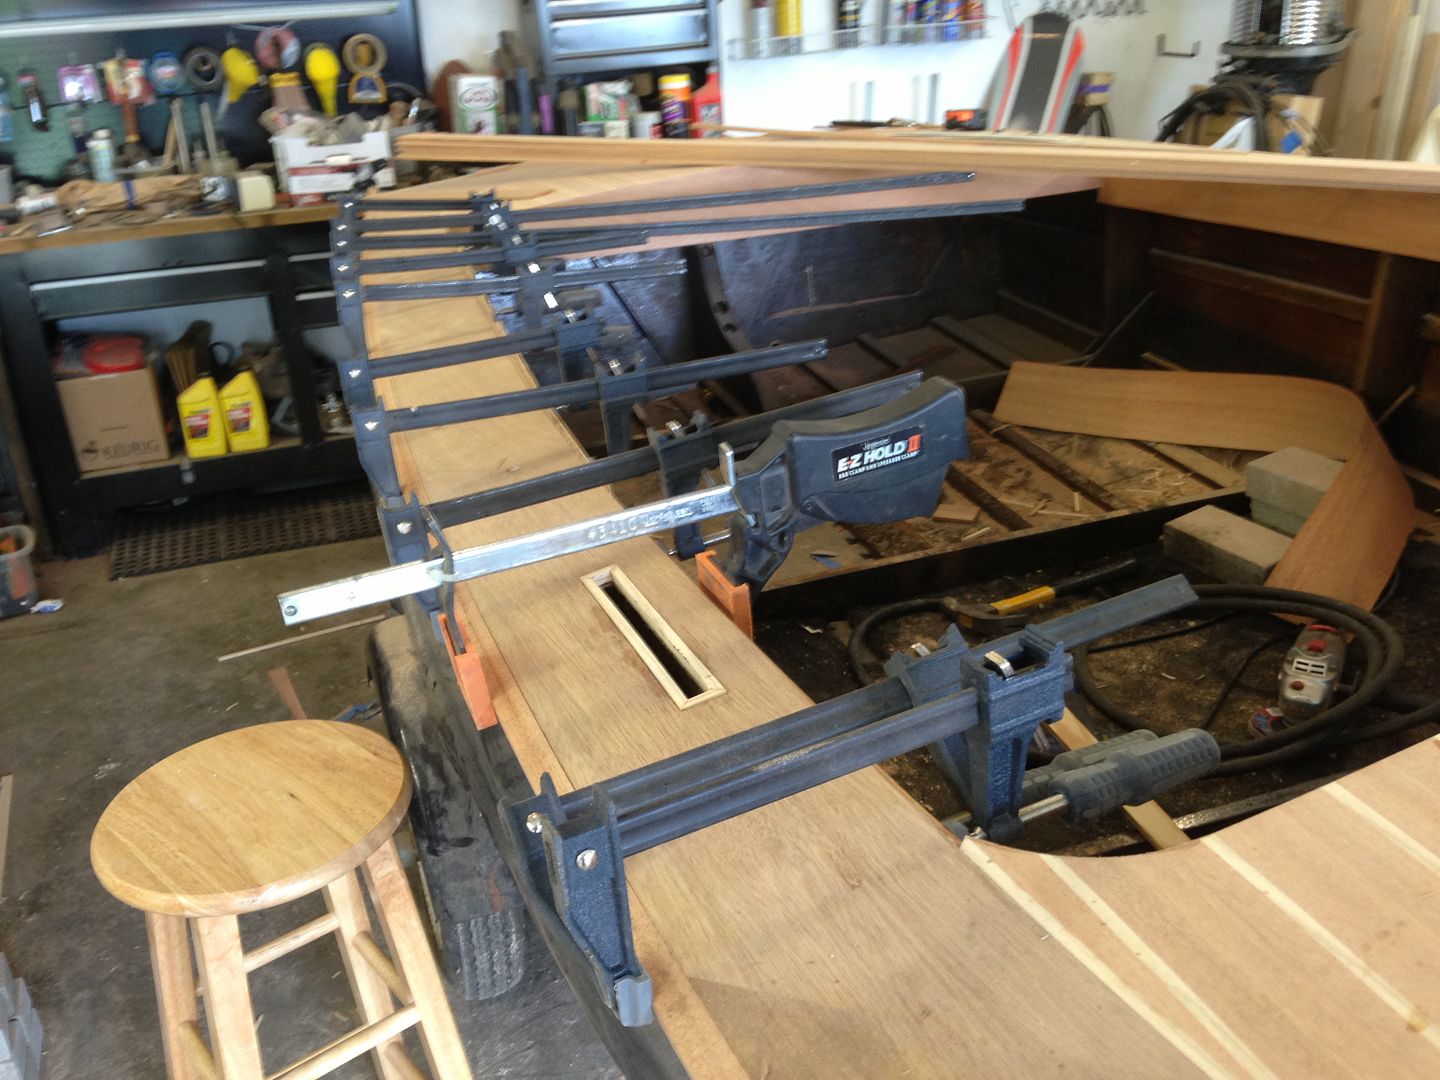
Clamping. Wanted to carriy the ash from bow to stern and needed a strip for it to mount to.
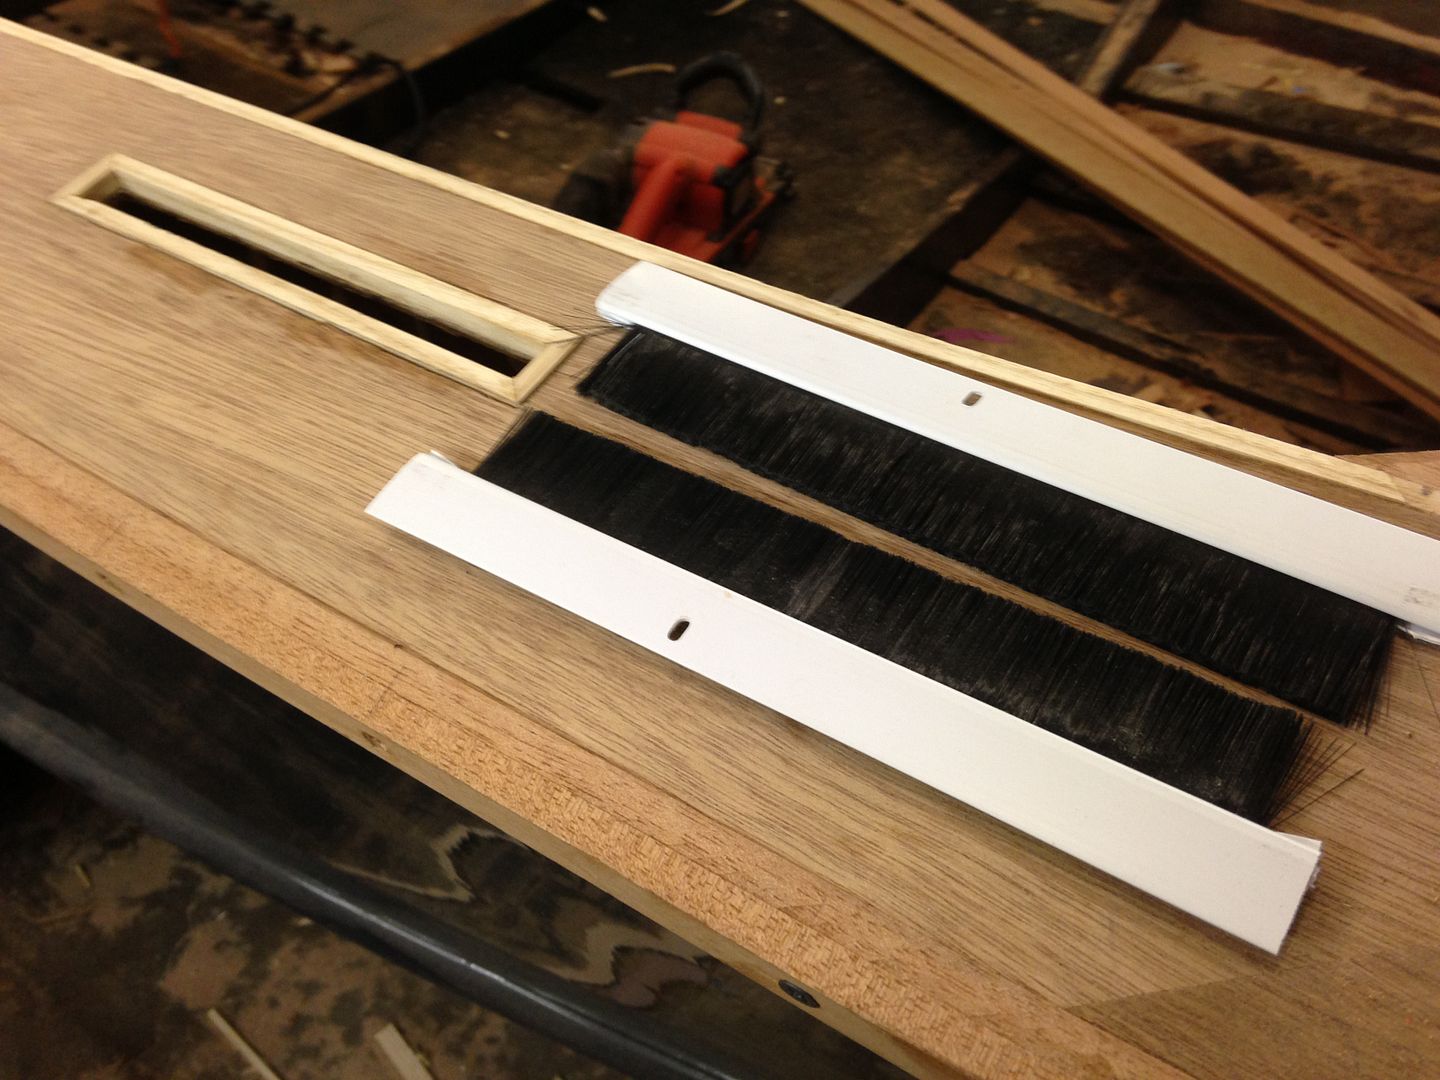
Used a door sweep for what will be the I don’t know what to call it where the levers go.
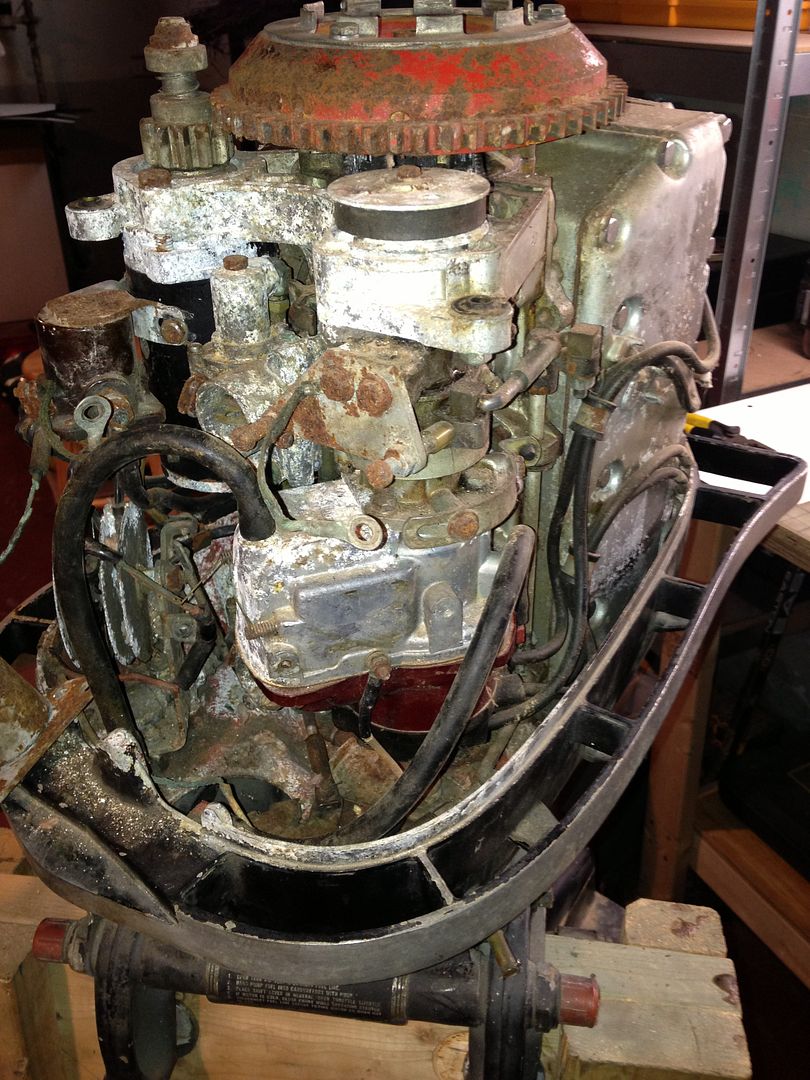
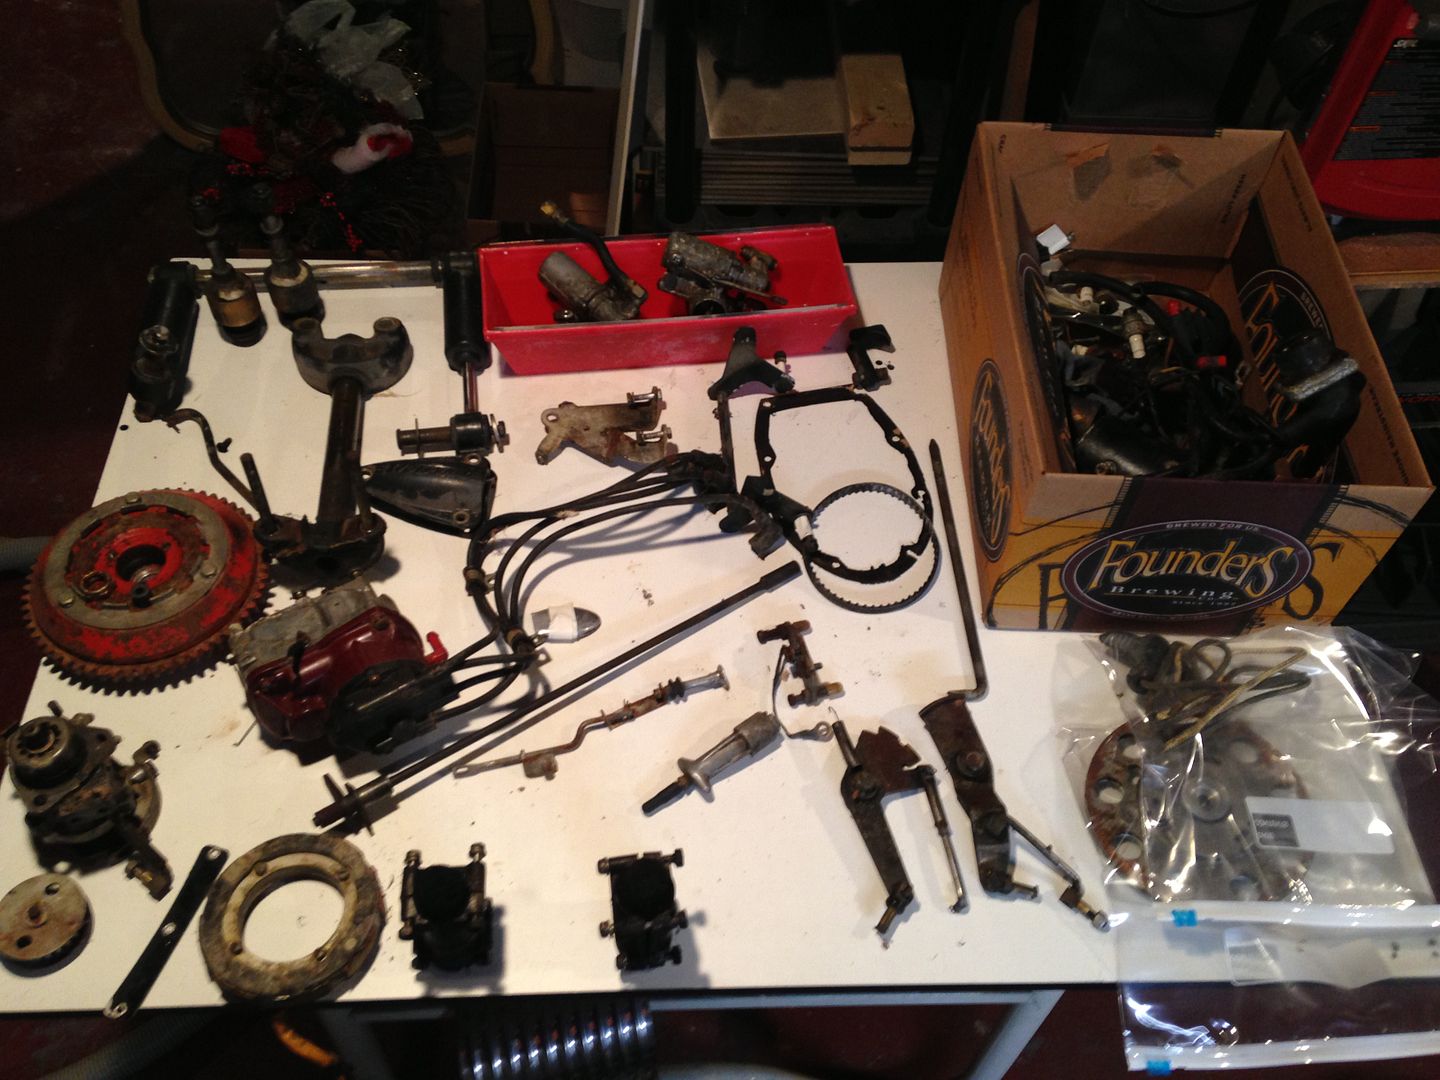
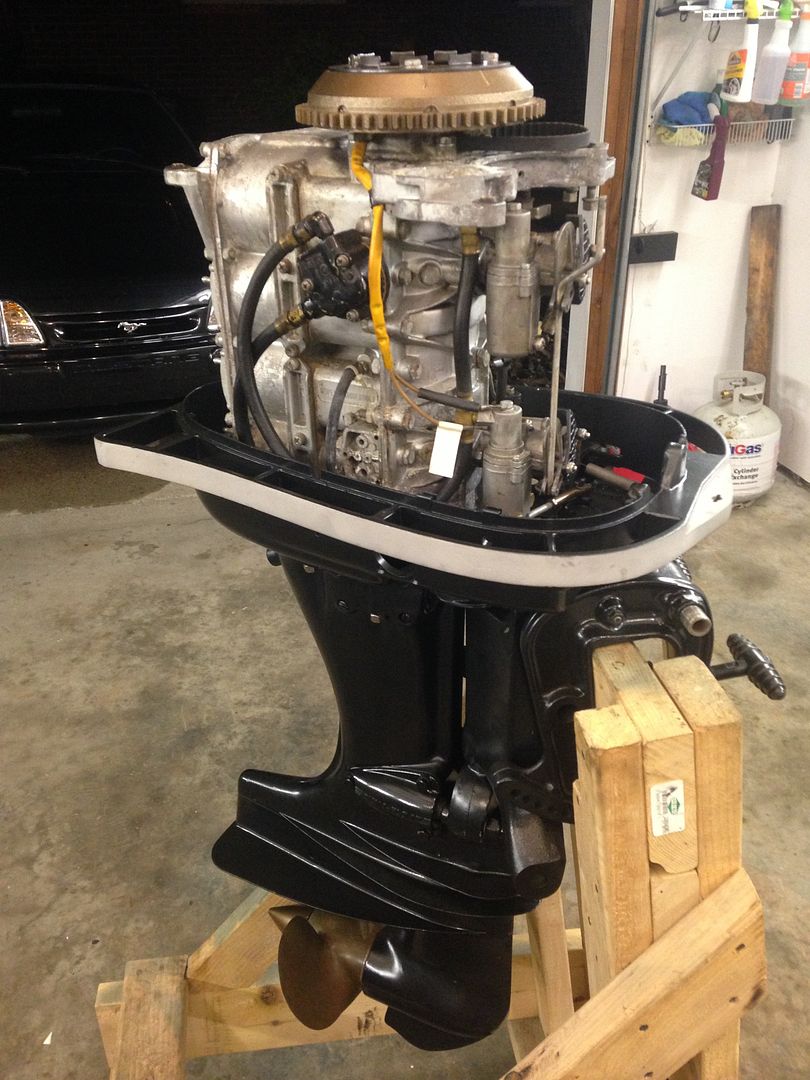
But first, that dirty, grimy, corroded Mark58 former beauty queen…years of damp storage and a mouse making residence, damaged much of the accessories. 45 hp carbs were beyond repair, so I replaced with a set of ~50 hp units off a 70’s vintage Merc:)
Took as many usable parts, sandblasted and painted, or replaced with new pieces.
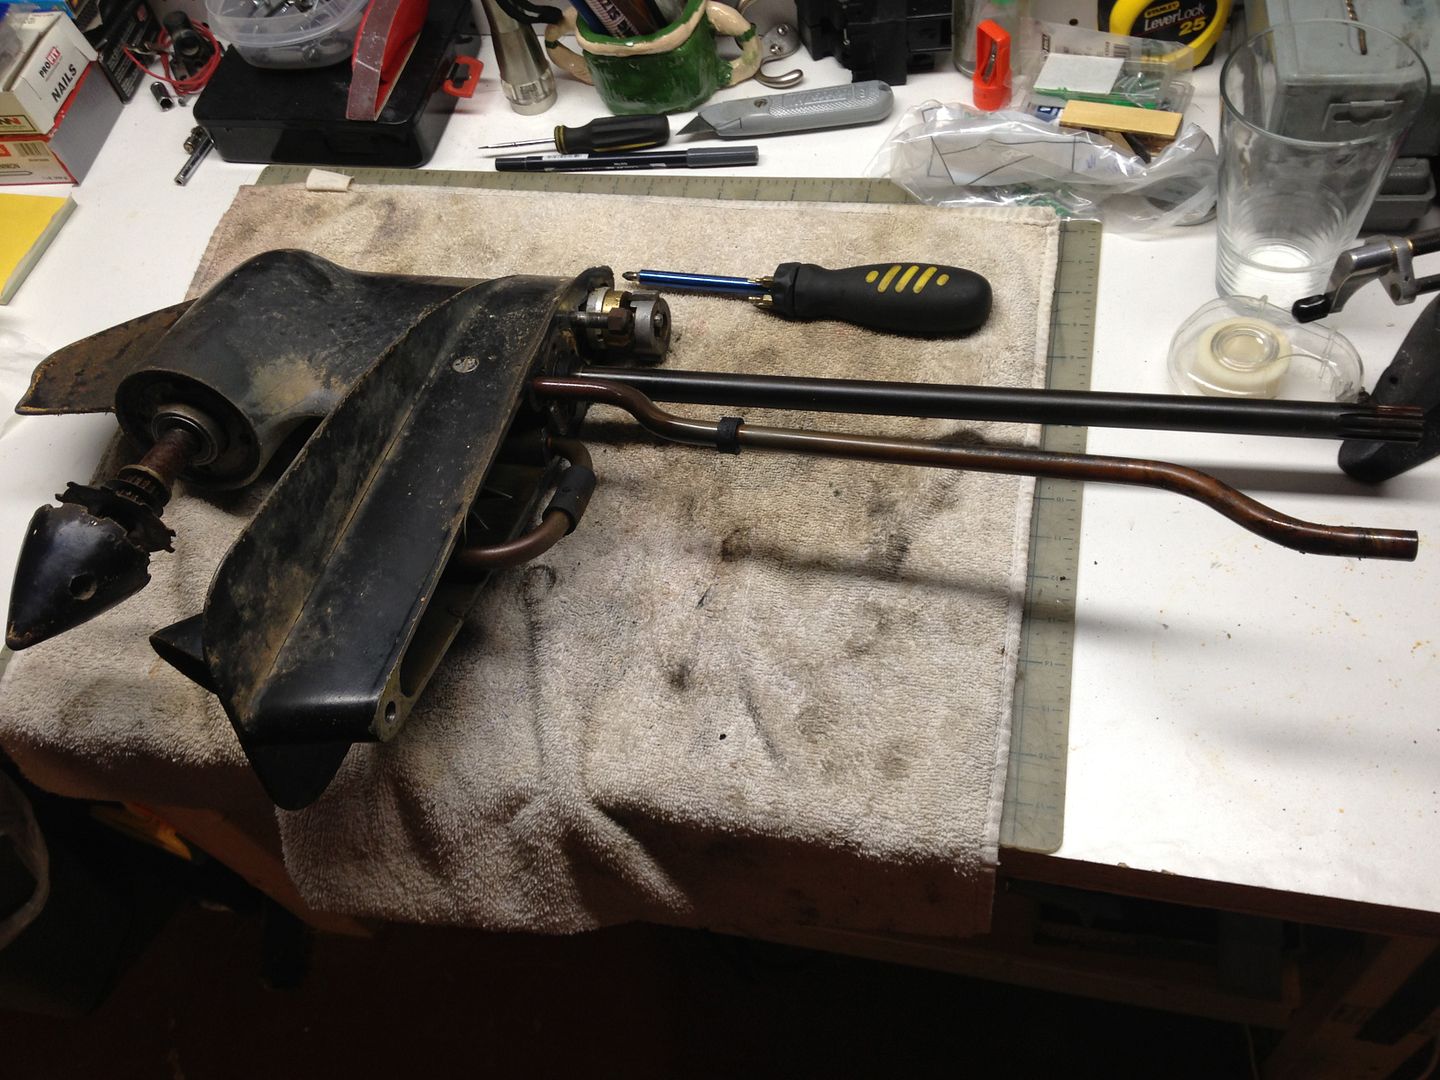
Lower unit received new water pump impeller, bearings, and seals.
Kept this one away from the blaster, used a wheel to remove the many layers of old paint.
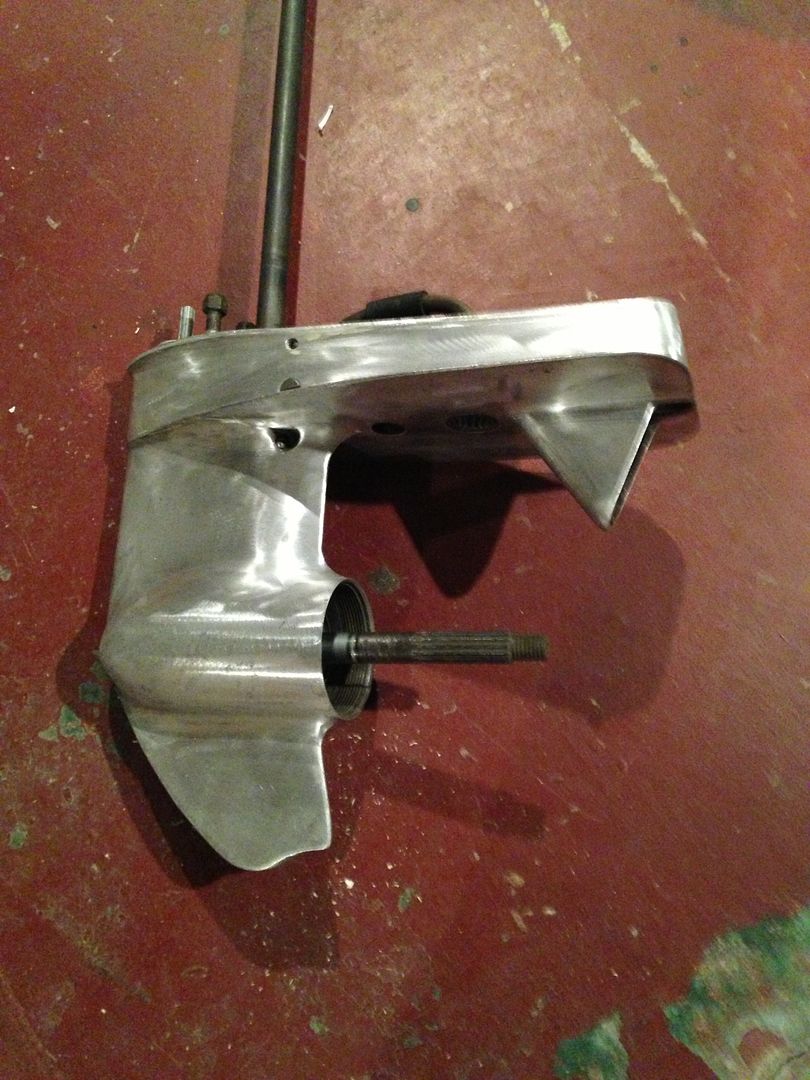
One of the few pics of the post-sandblast work done atGreat Lakes Media Blasting.
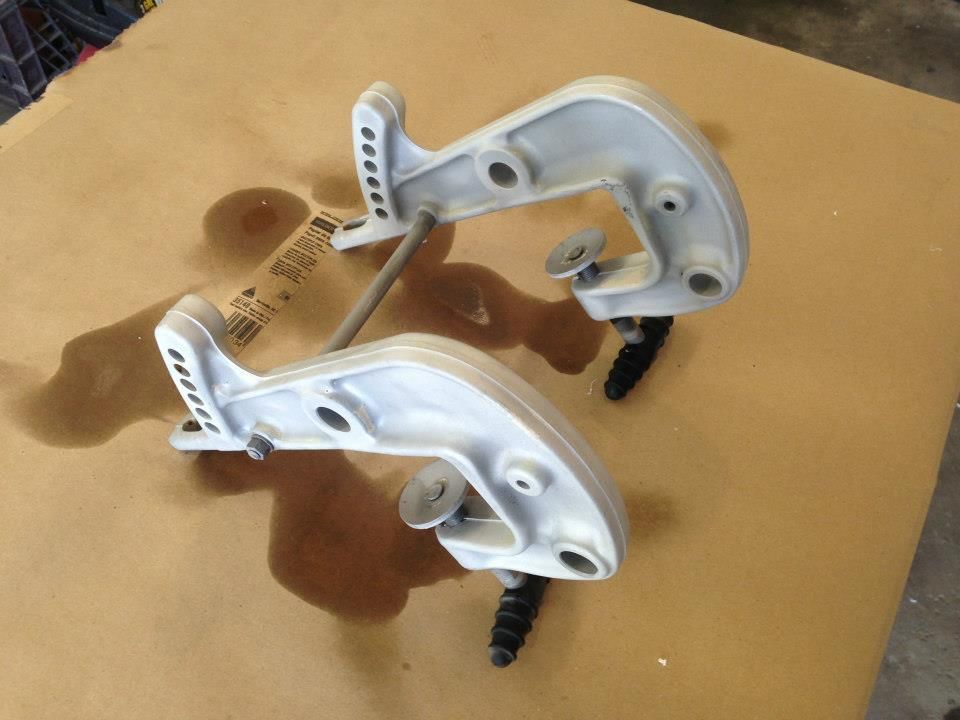
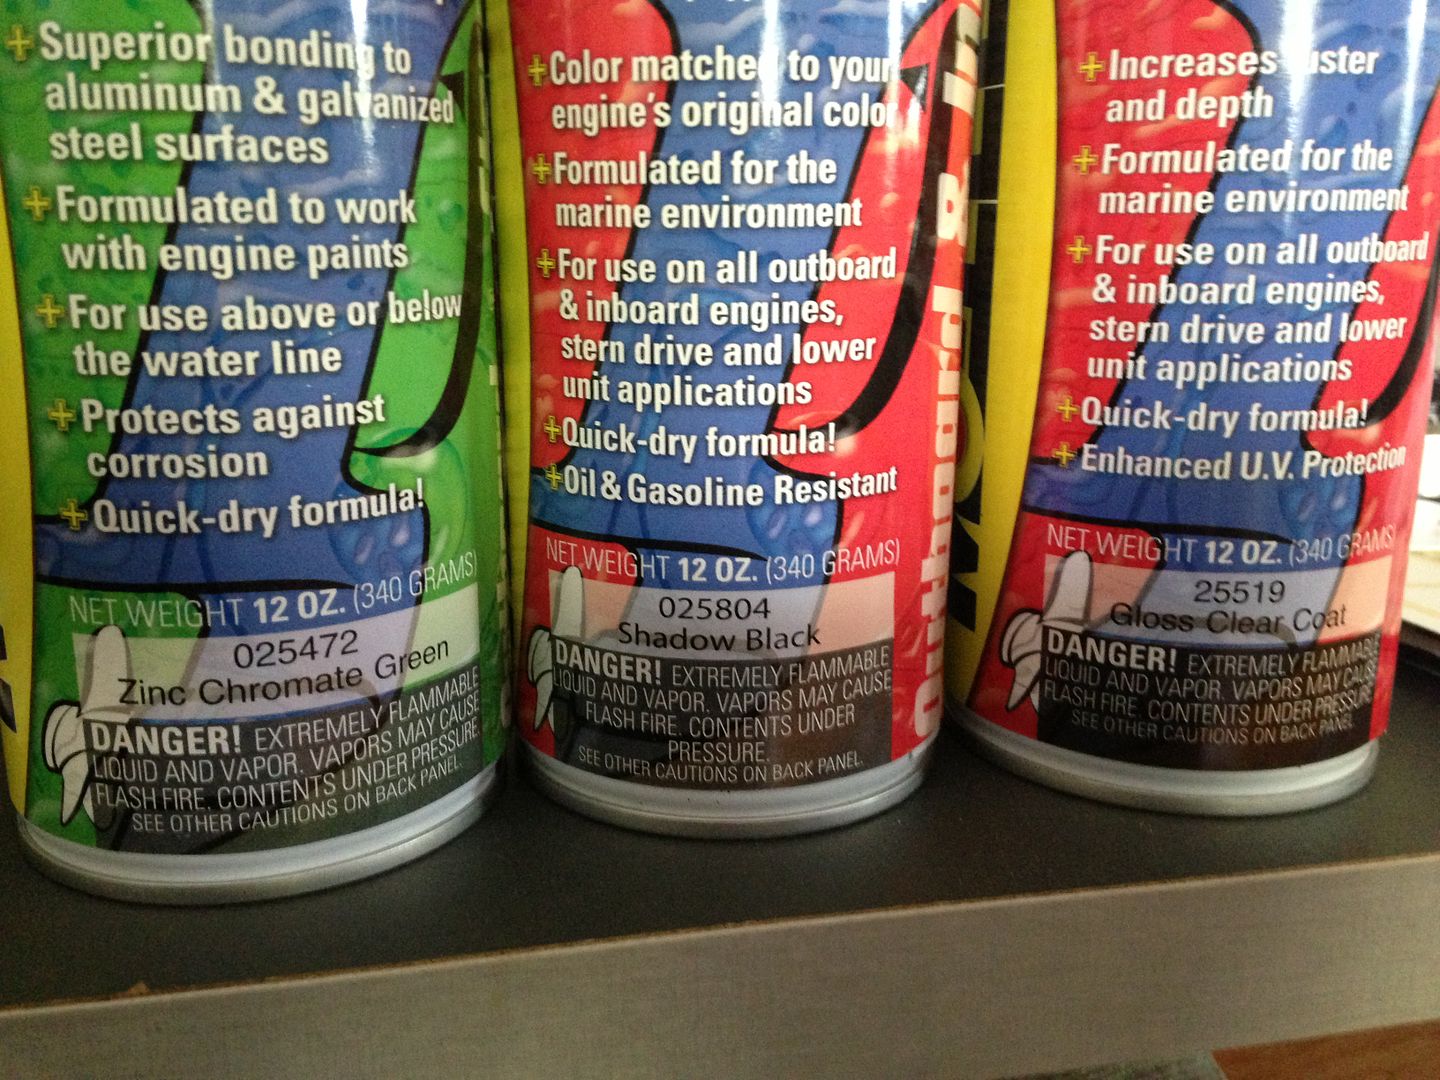
After much debate with powdercoat, automotive base clear, ceramic coat, etc I found a marine grade specific engine primer, paint, and clear set-up. Took three different orders to find the perfect color in Shadow Black.
Tossed the refurbed engine back in
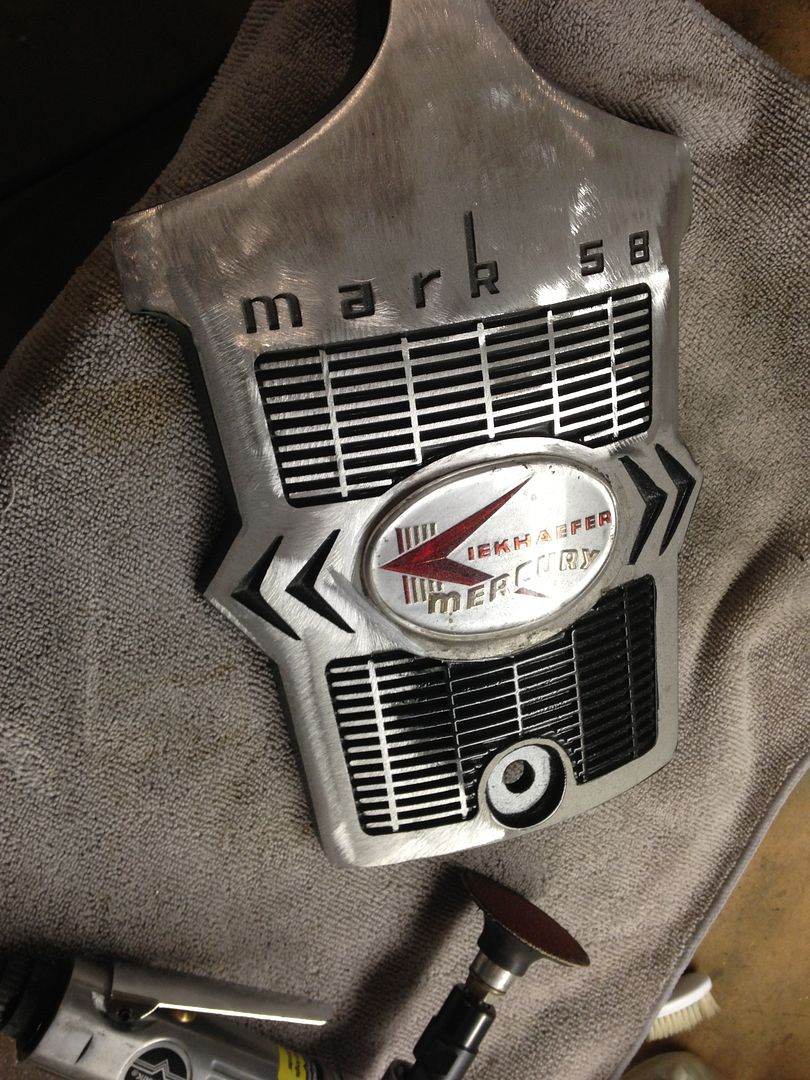
Working on that machine aluminum look, here I painted the whole piece to get color into all the valleys, sanded off.
Back to the wood working. Epoxied the bare wood to fully seal against moisture, prepping for clear coat.
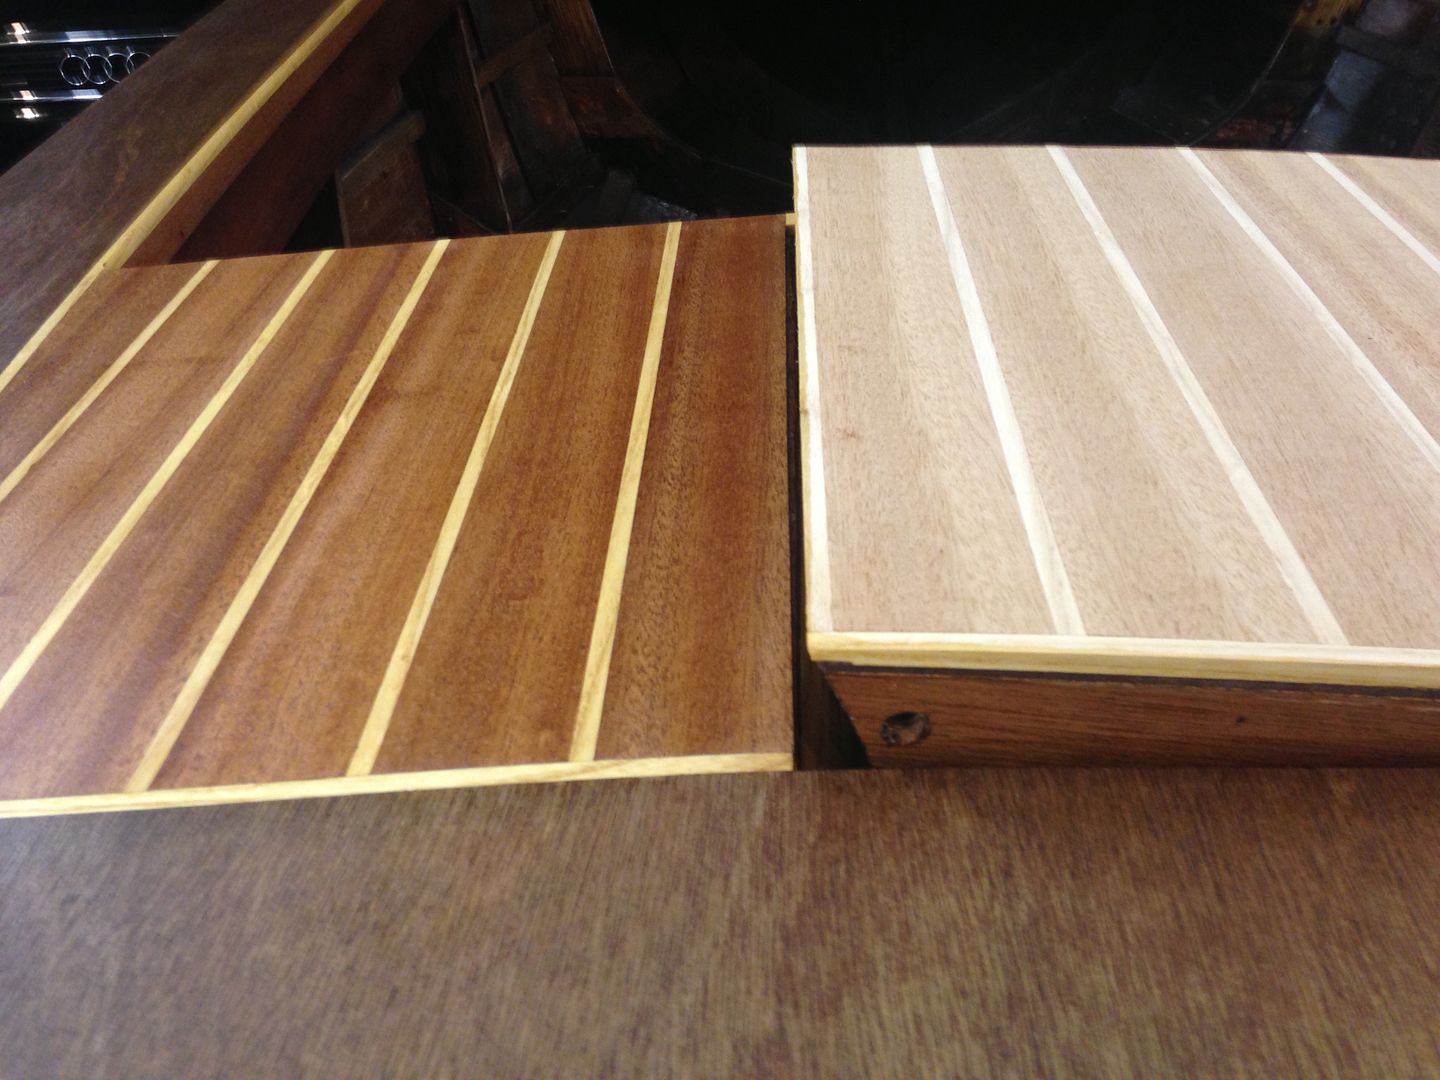
Amazing what light does to this wood!
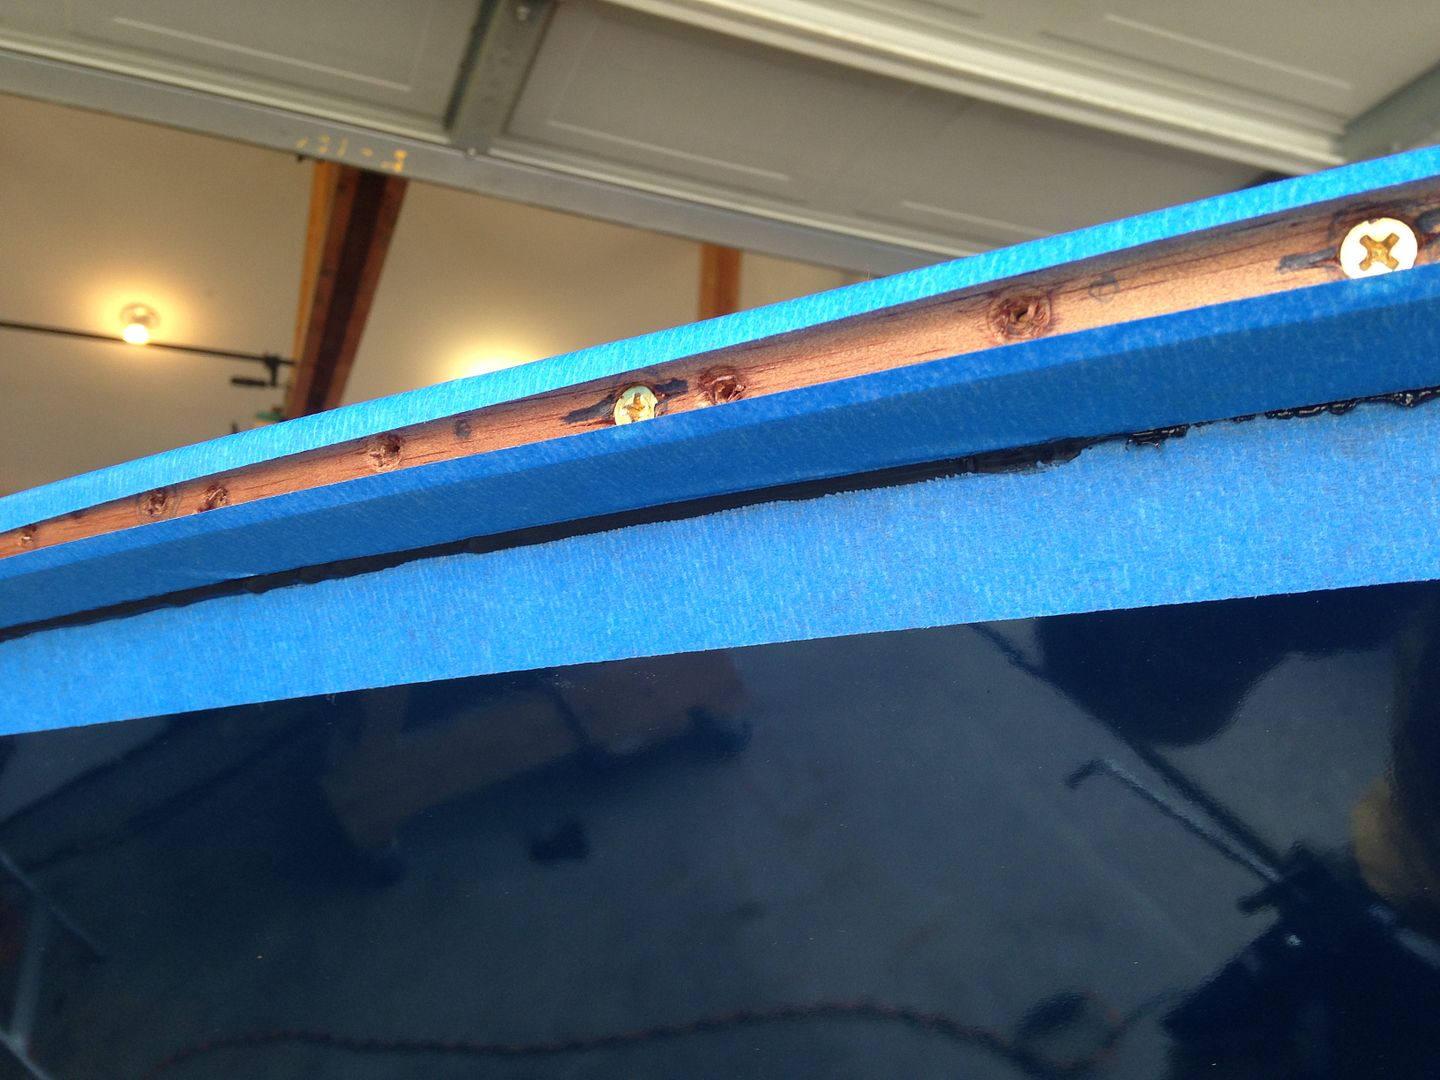
3m 5200 caulk to seal the underside from water.
So with that slim void for the levers to protrude from needed to make the upper knobs removable so the whole unit could be mounted.
In the garage level spray booth, first coat of PPG 630 automotive clear coat went down. Got about 6 layers on there.
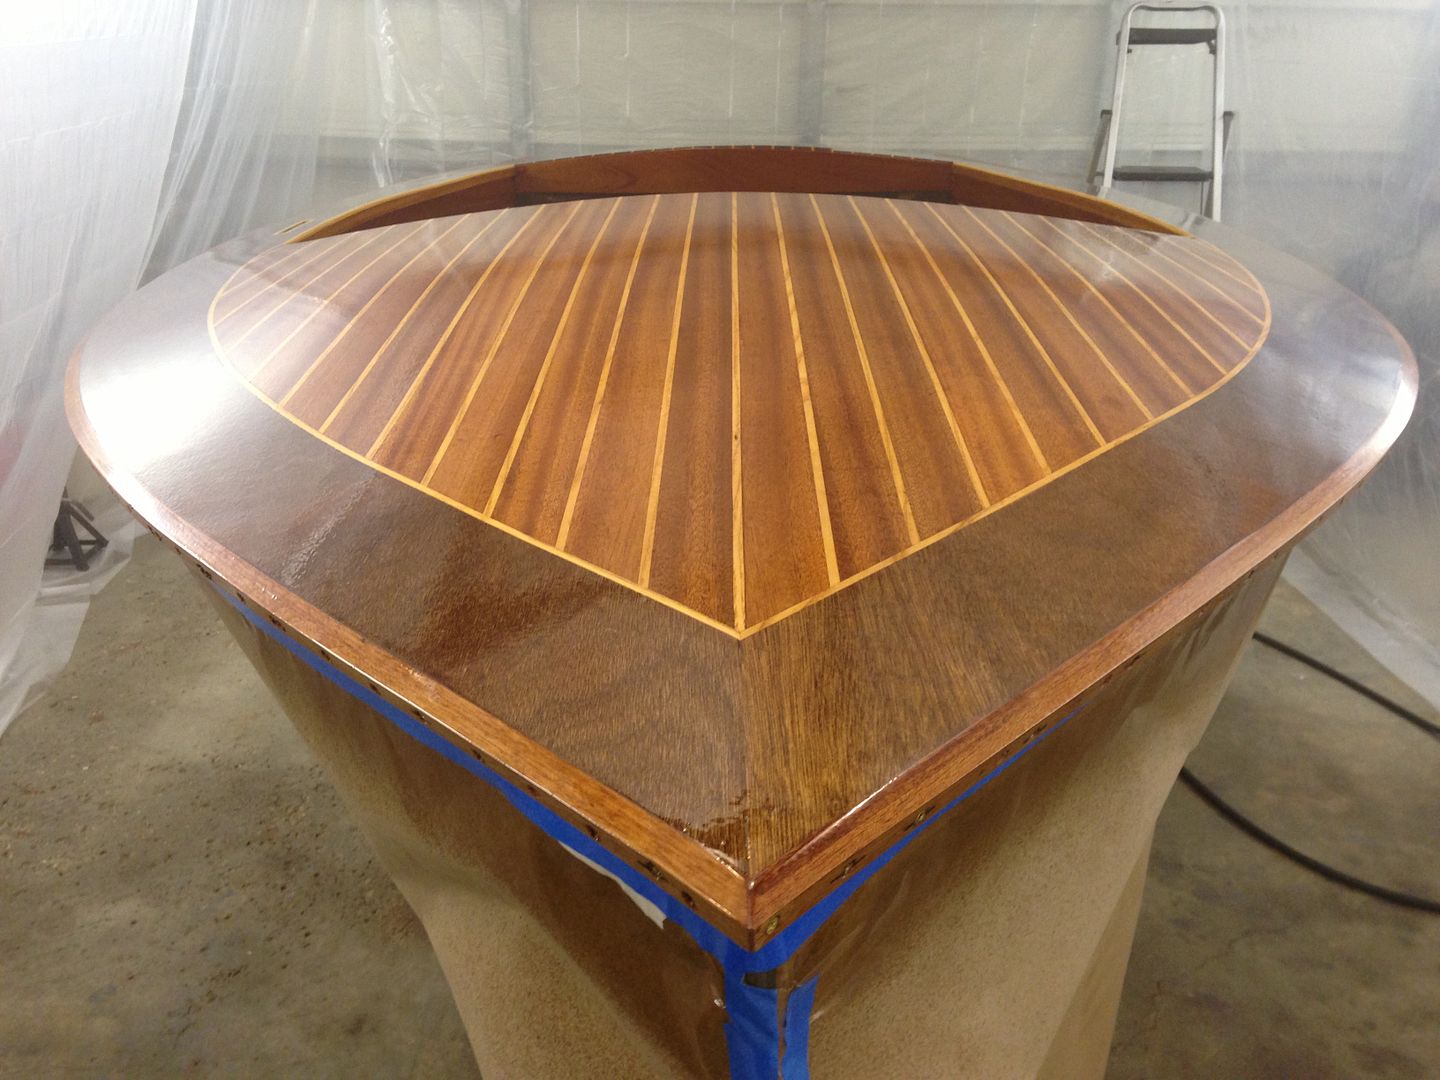
800 grit wet sand to remove all the garbage from the garage level paint job.
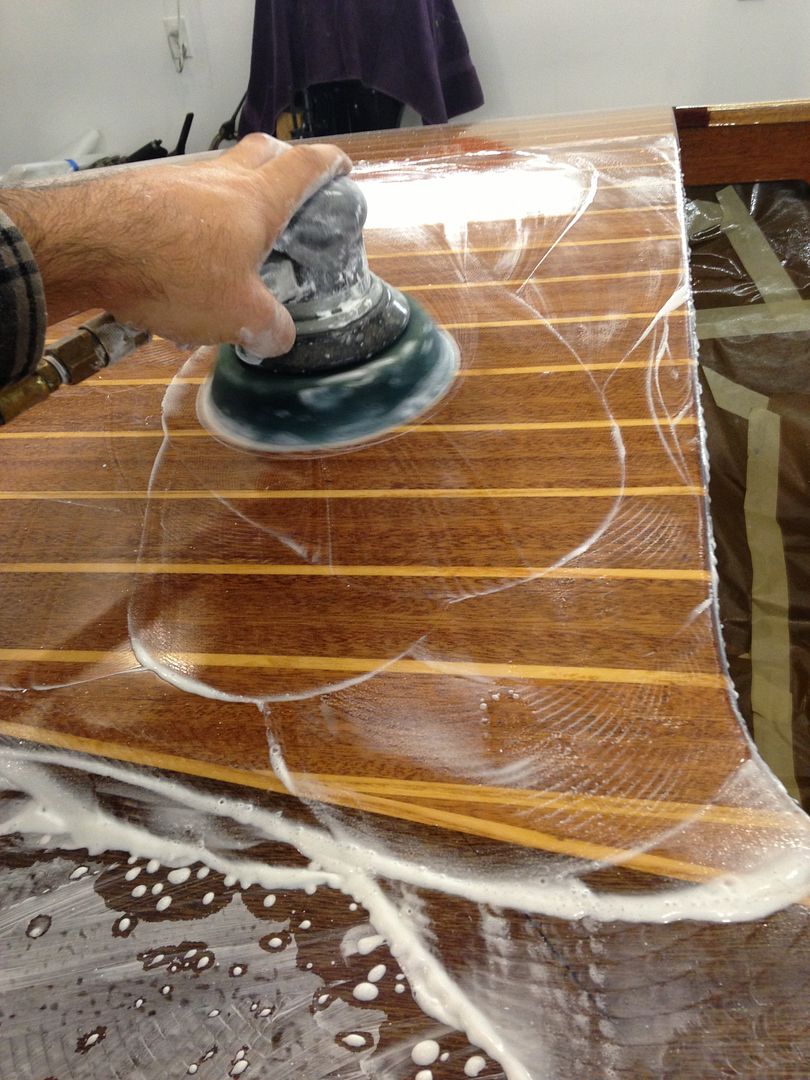
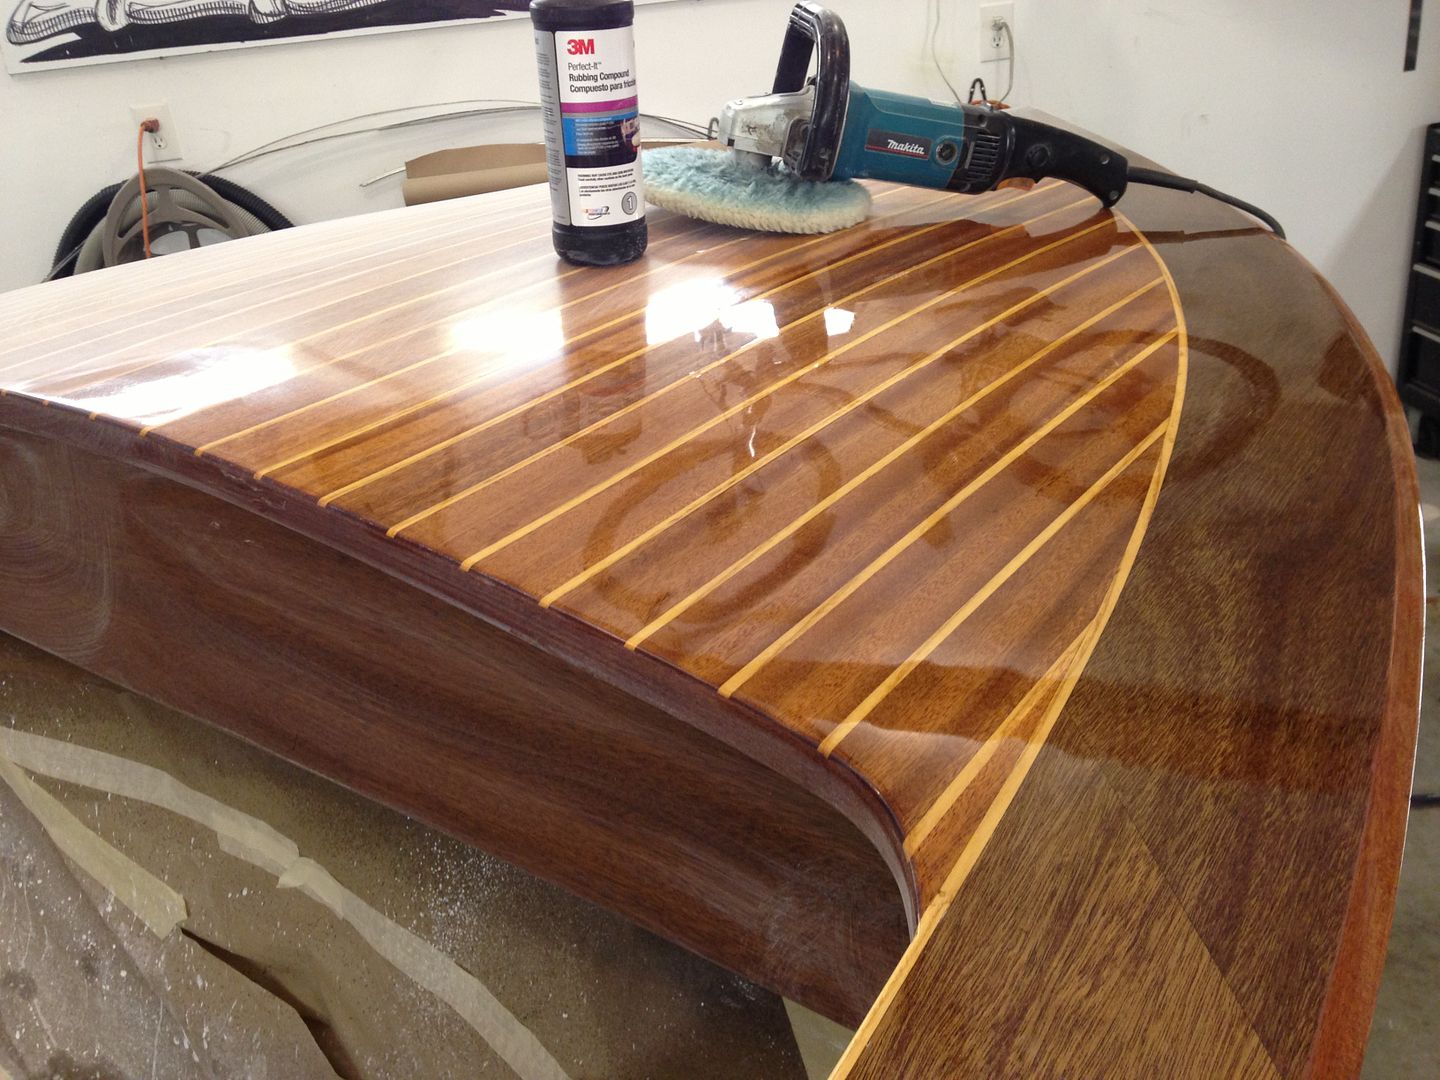
After first of 3 or 4 stages of buffing, I can’t believe the depth already!
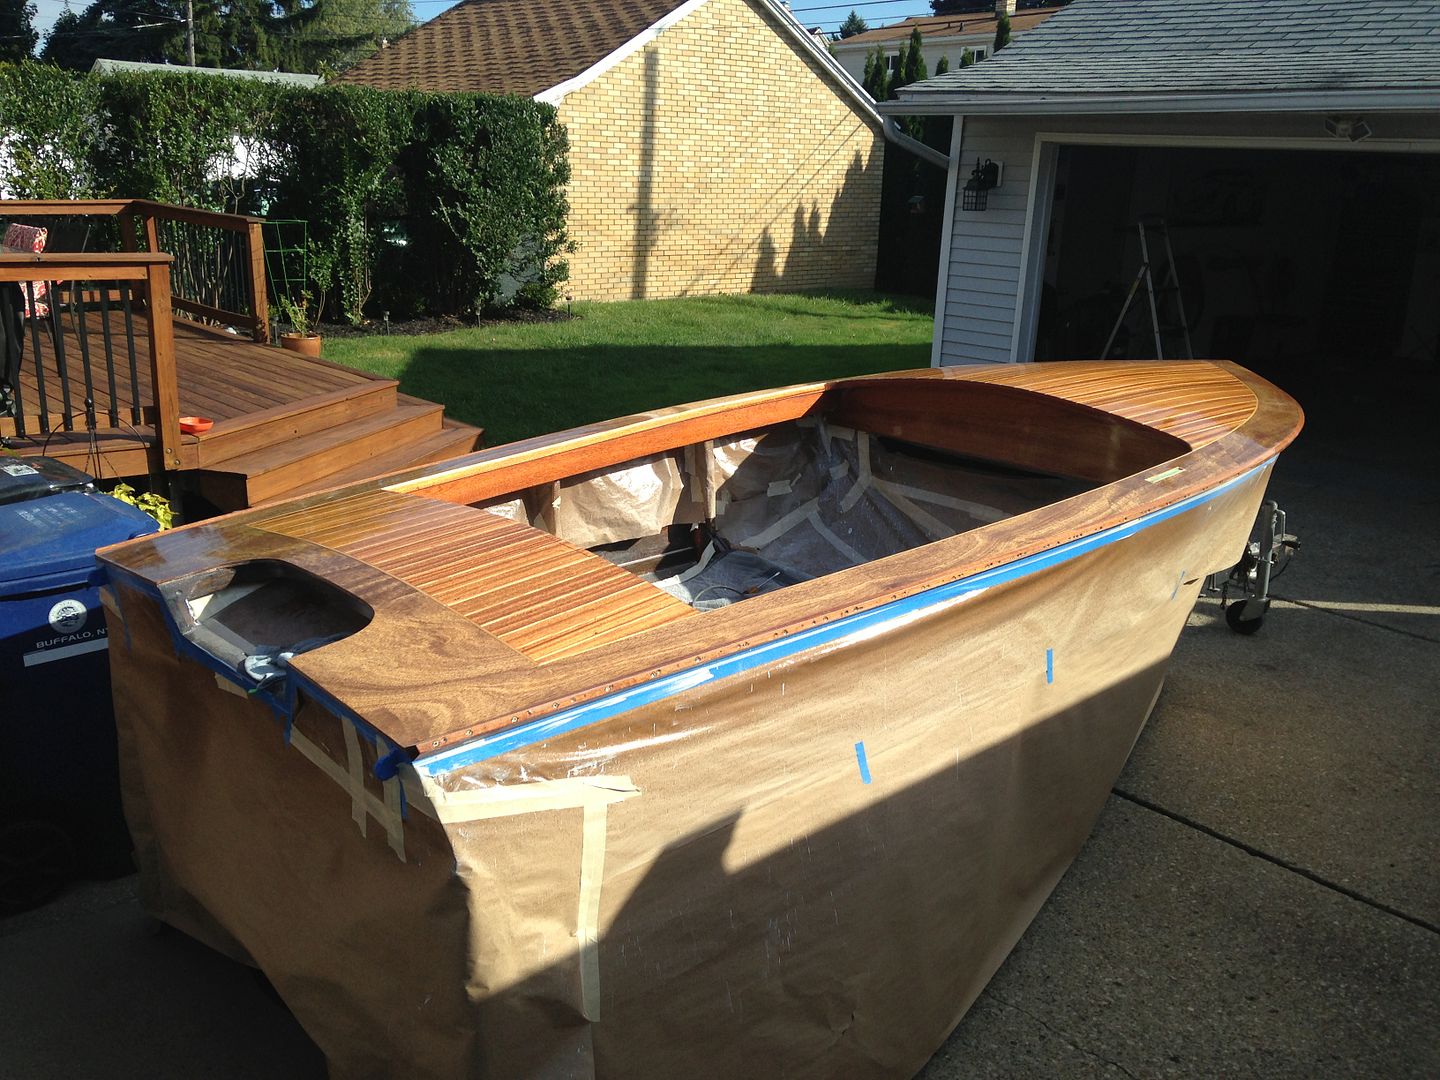
Took her out, wearing her dress still, to get some fresh air.
Done buffing, still have clean up to do but opted to get the dusty engine back to its home instead. Also picked up an early 1900’s era automotive steering wheel. Little by little…
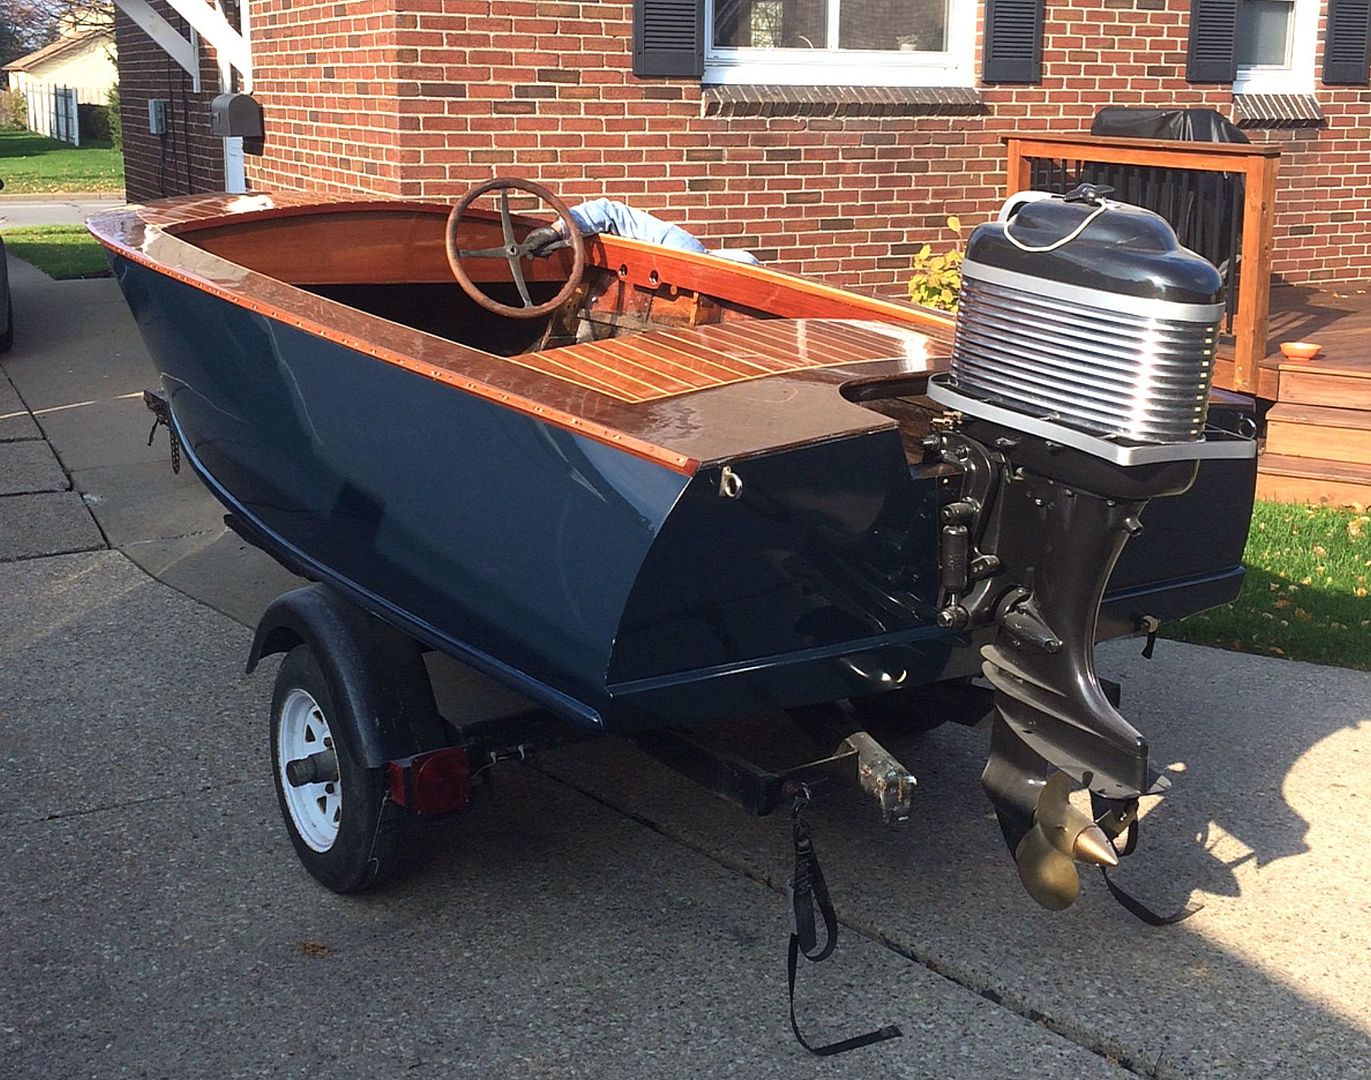
Finally got the throttle / gear shift levers tucked into their new home.
Wow, she’s a beaut!
Solid update man :tup: Looking really good. I keep looking at the pics and thinking about how much time all of these steps must have really taken.
Are you going to put any stripe or design on the blue painted part?