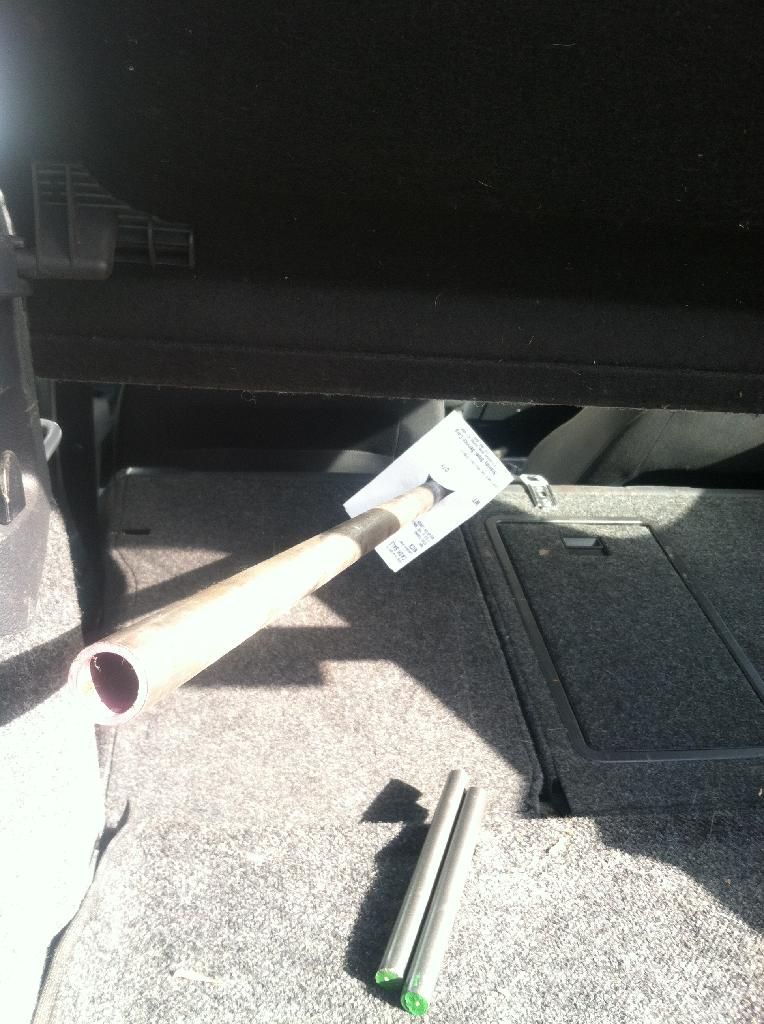
Stanley Steel (William near Bailey) $25 for a 103" length of 1"ODx.120" wall. Also scored 2 9" lengths of 3/4"OD solid round bar from the scrap bin fo free! If anyone’s looking for steel at all, I’d call Stanley!
sparks are gonna fly around here shortly!
I’m just waiting for Willybeen to chime in with his overwhelming discontent.
Honestly man, I thought it was proper as it was. I wouldv’e started on another project, but I like where this is headed. Keep it up.
he’ll come around haha. I’ve converted more than one nay-sayer. Most people that know what they are talking about argue rake/trail, weight, corner stability, etc…
that said, maybe I don’t do things as new-school as I CAN, but using a basic level, angle finder, chalkline, and a plumbob…the ride height, trail, etc are ALL very close to what they were stock…and with the modern suspension, there is all of the adjustability in the world to get this bike to REALLY handle lightyears better than it ever could…and with the motor plans, this bike should be a real joy to ride…I wager it will have power/riding characteristics similar to that of a supermoto, esp since it has 6 gears to play with sprocket sizes
Motor plans? 6 gears?
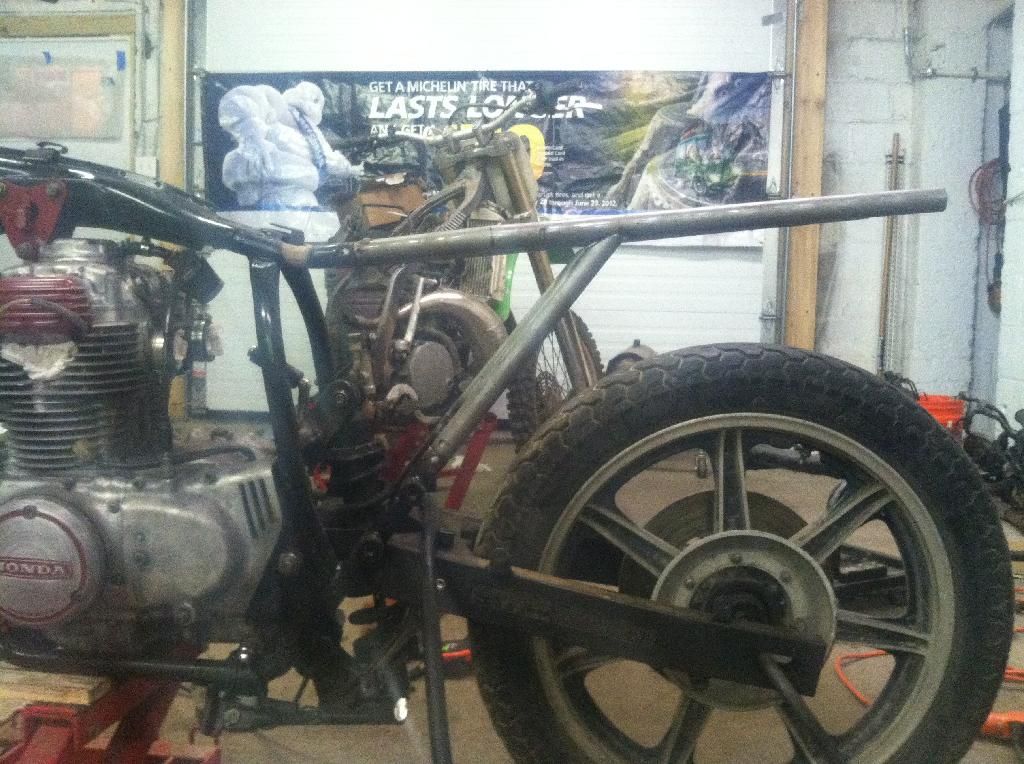
cb360’s were ahead of their time…one of the first bikes that came with 6gears back then. going big-bore with it…
Fuck I had no idea. I figured since mine, and every other 450/550/750 of the era was 5, then his was too.
Cool. Should be fun!
now you know why we love cb360’s lol. Luke has one now too, and we aquired a parts bike cb360 so we can do the build on one motor while the one in this bike is still running if we want.
heres what i scooped up from Stanley Steel. it fit in the rabbit with room to spare!
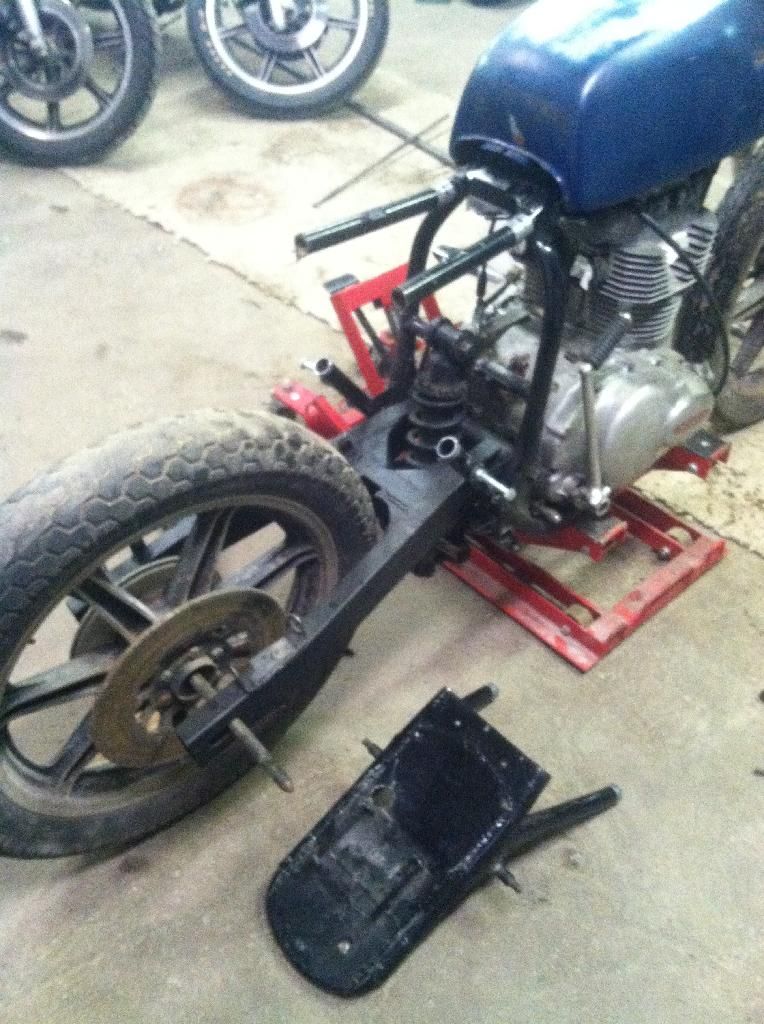
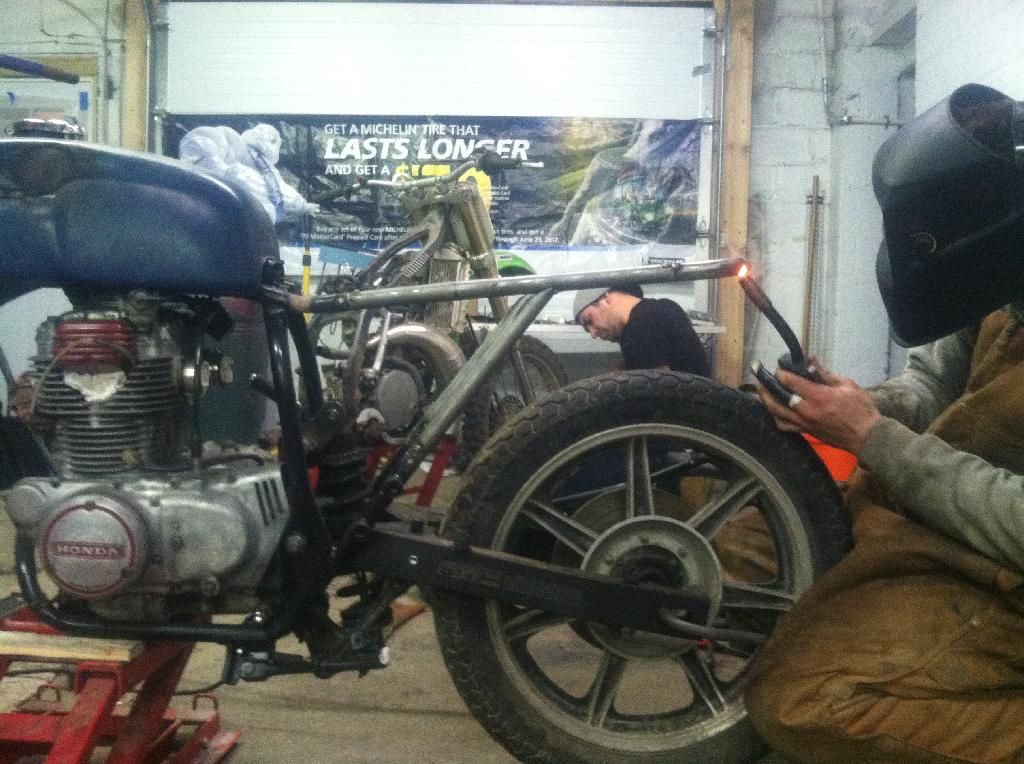
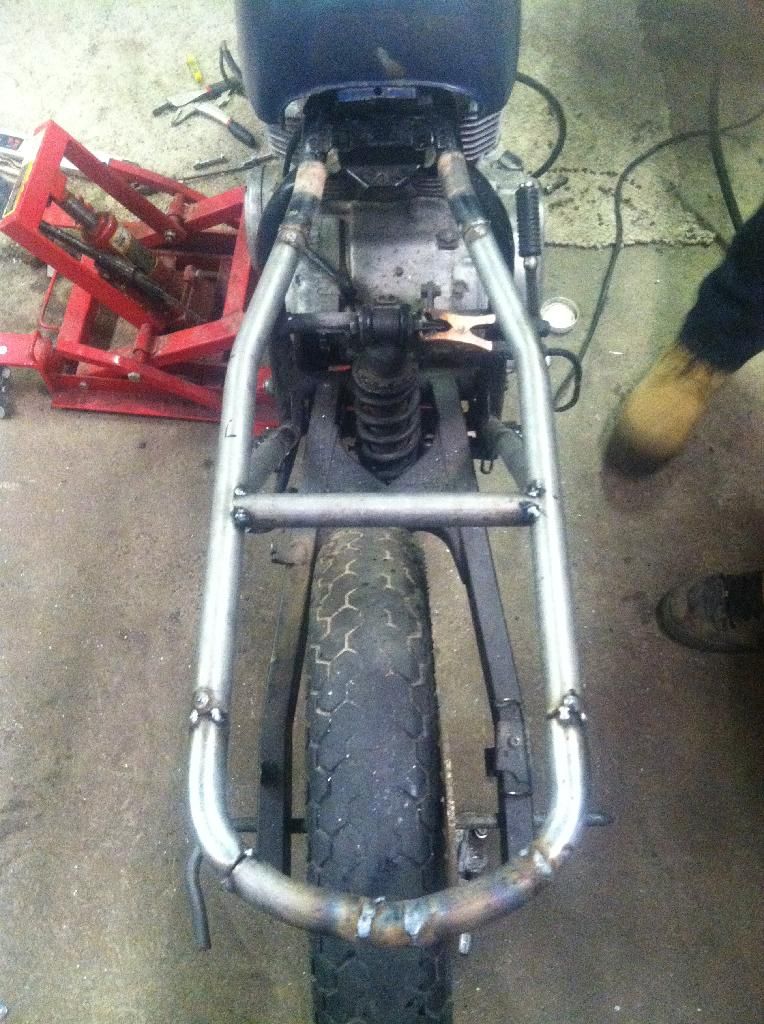
then we messed around trying to figure out the gas heater not working/wiring issue. nick and derek got zapped a few times. i was smart enough to not touch wires with the unit plugged in hahaha. then on to chopping. rough chop for now. still have to do finial measurements.
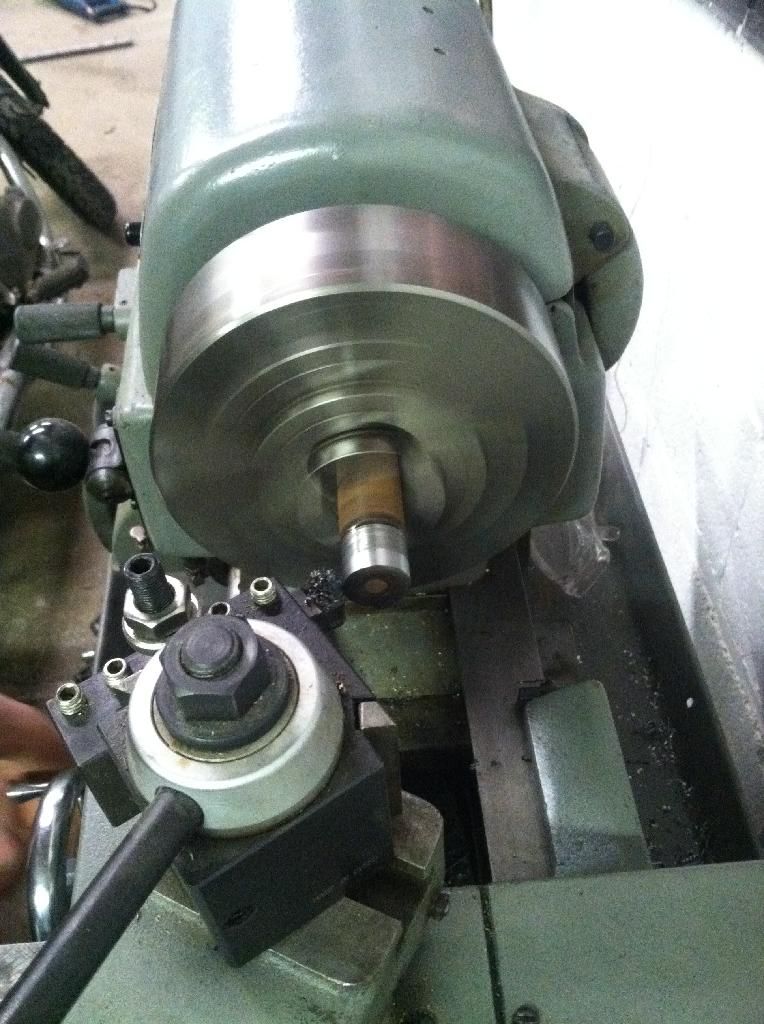
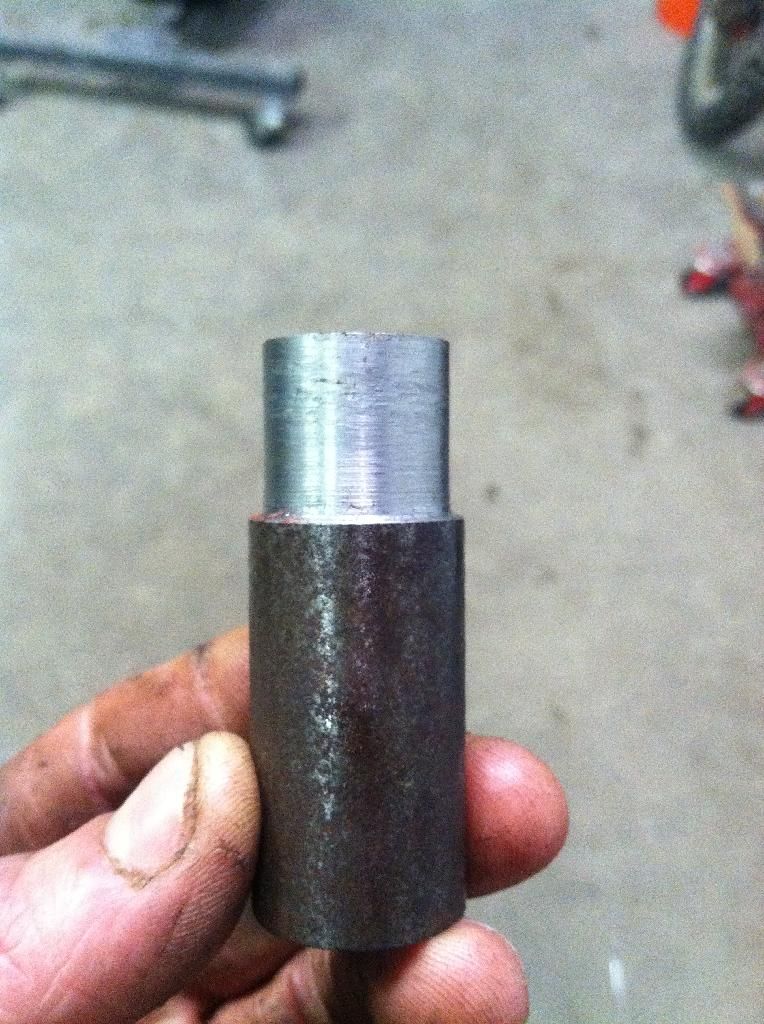
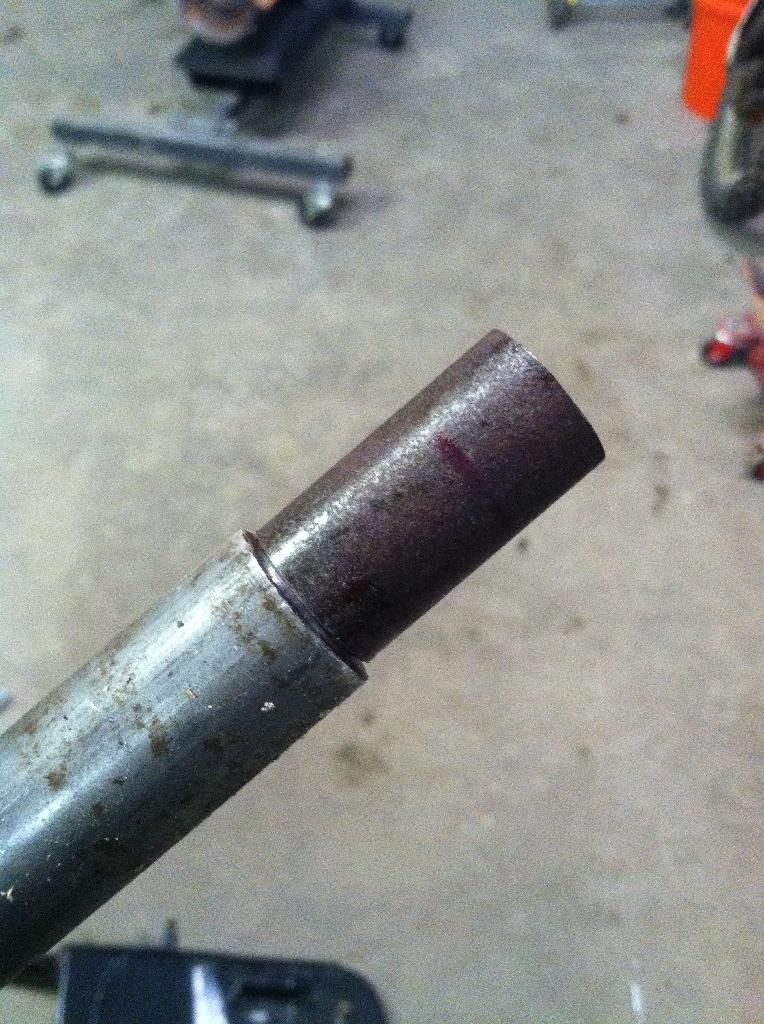
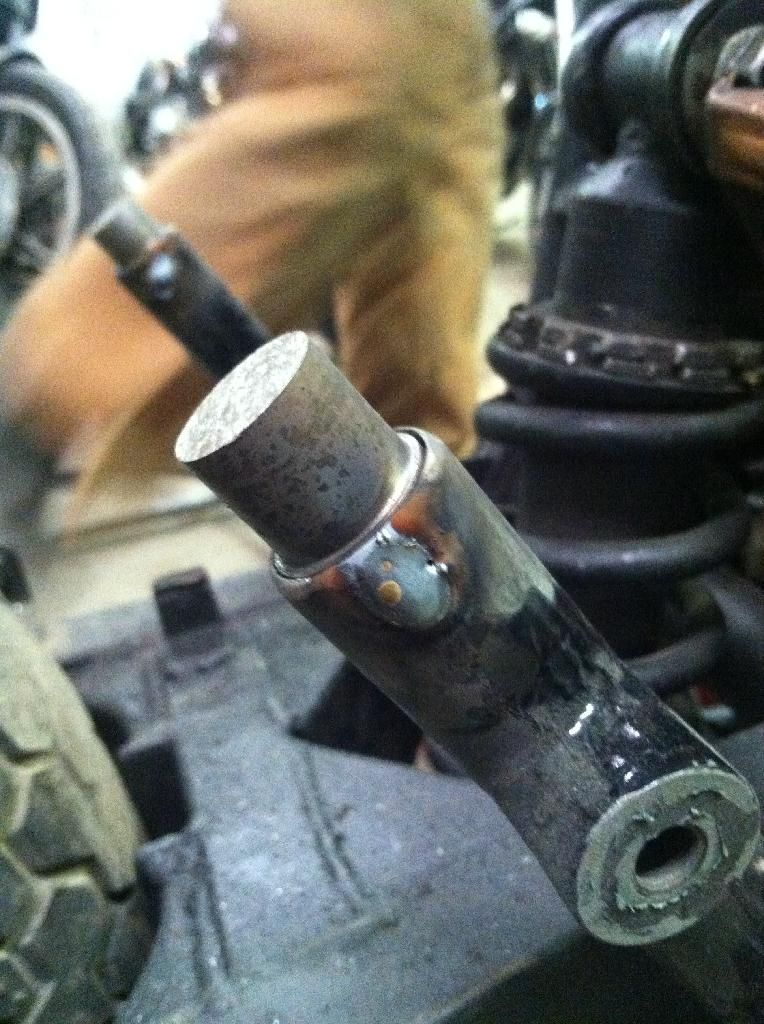
then found out the ID of the frame was bigger than the 3/4" round stock i got. nick remembered we had some slugs from a hard tail kit kickin around. they were the correct OD to fit inside the frame. lathe time! this is the second time nick got to use his new lathe. the first was trimming the swing arm bushing to fit the frame.
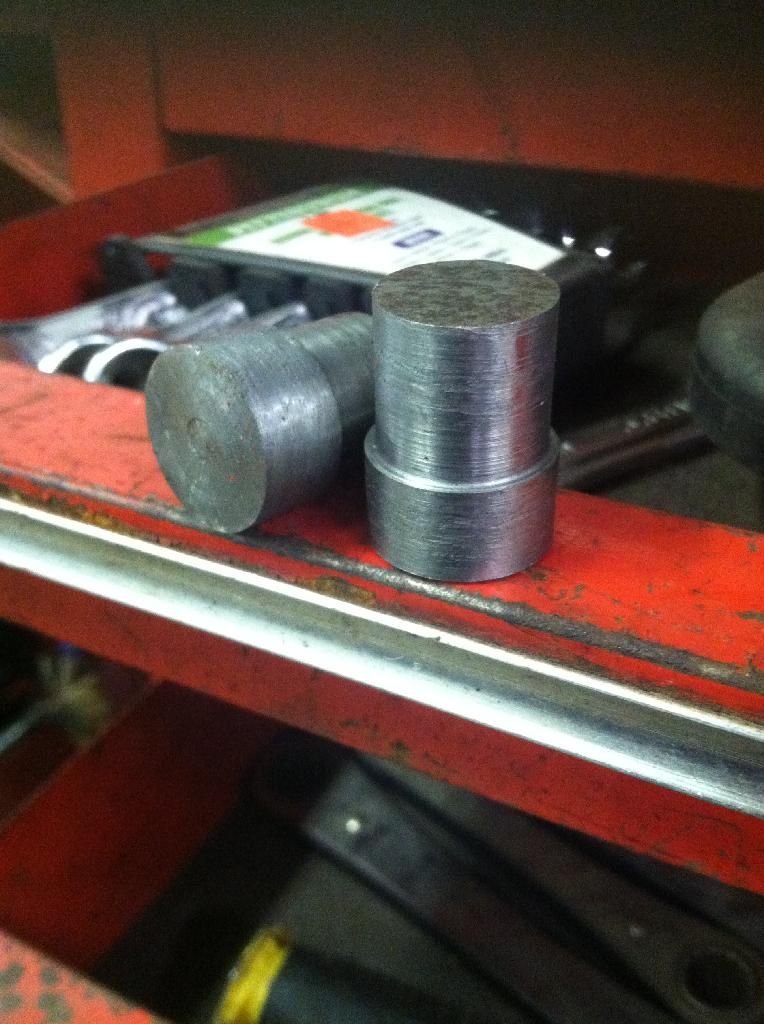
then split them in half for a total of 4
thats it for the night!
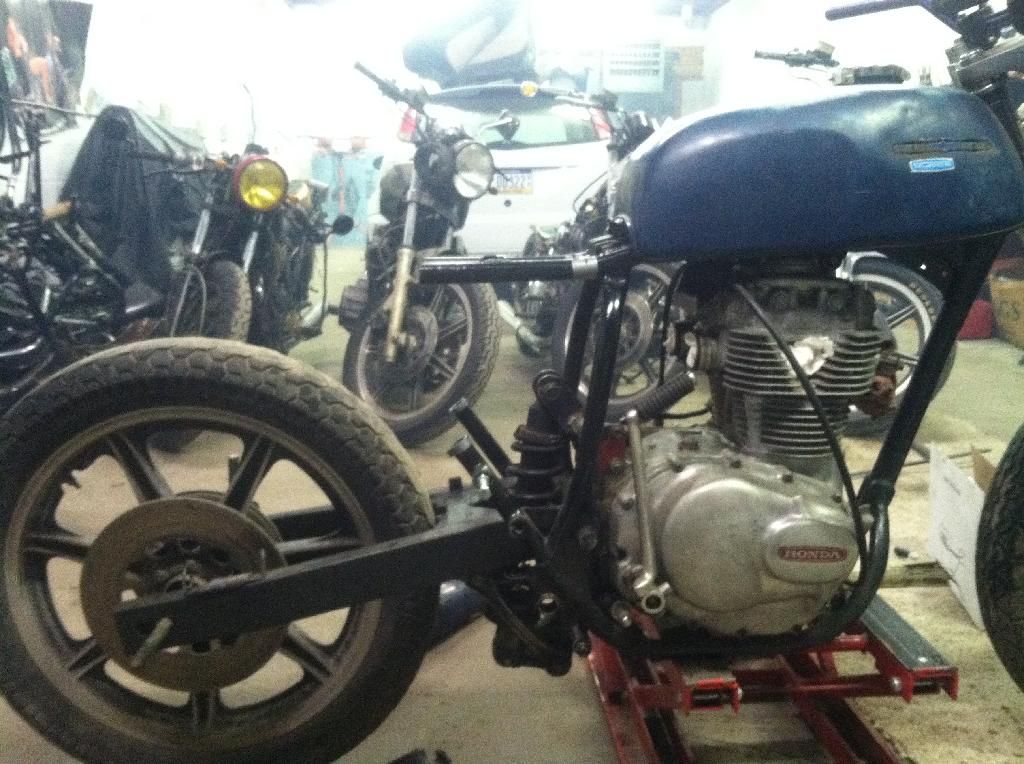
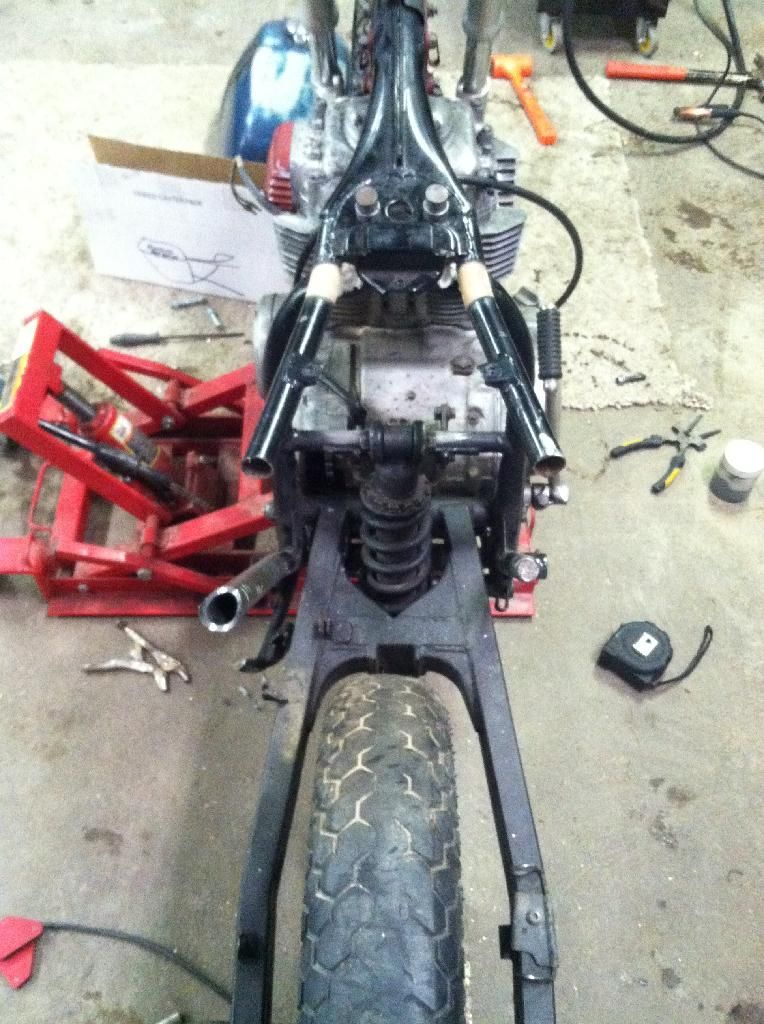
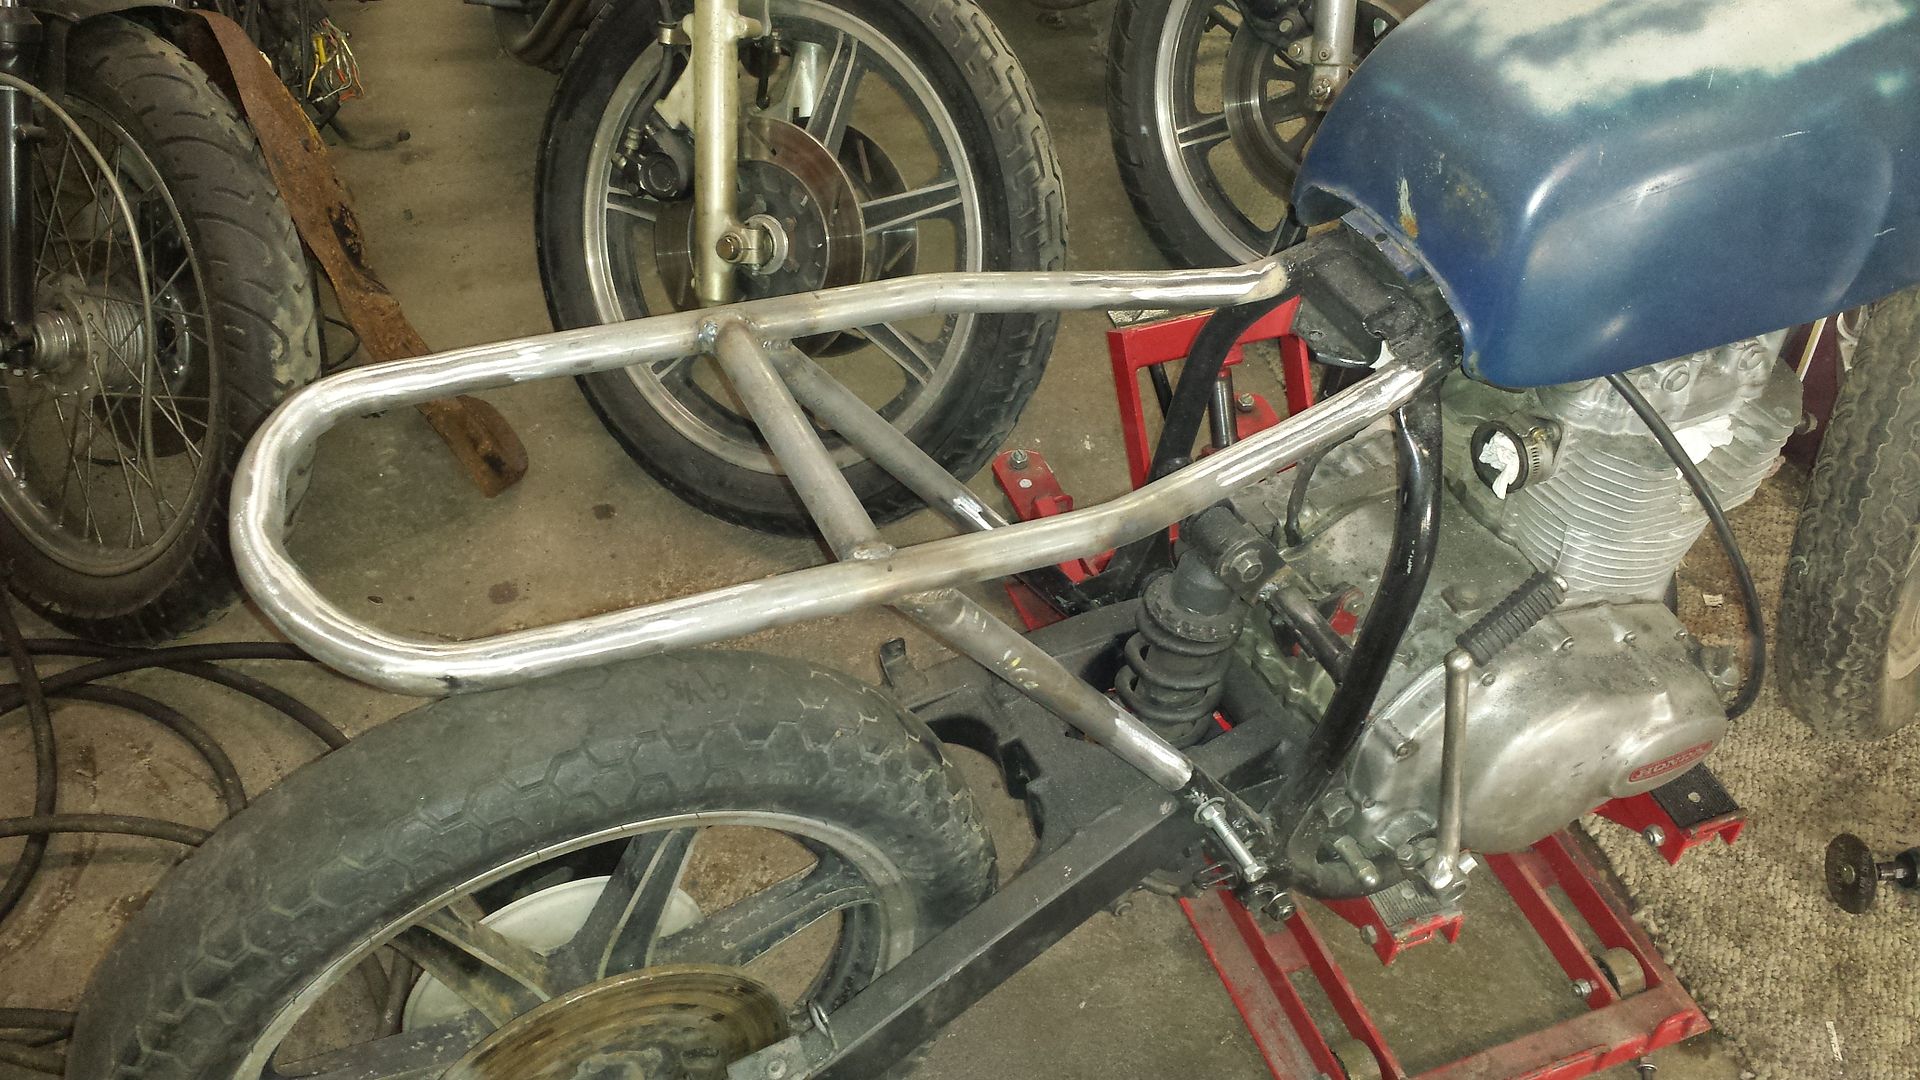
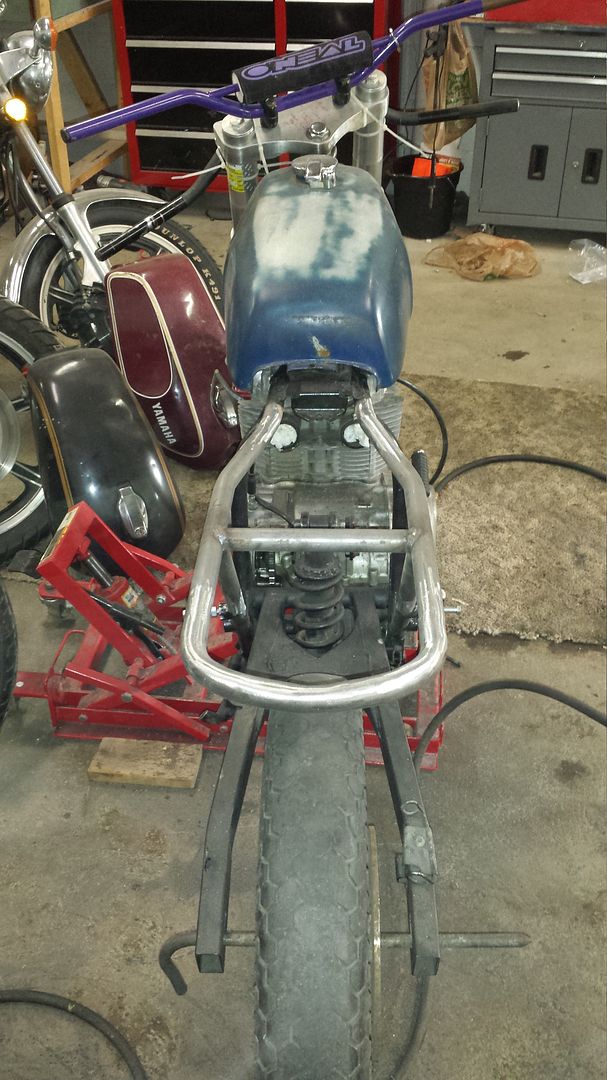
another late night workin on the bike! sub fame is complete!
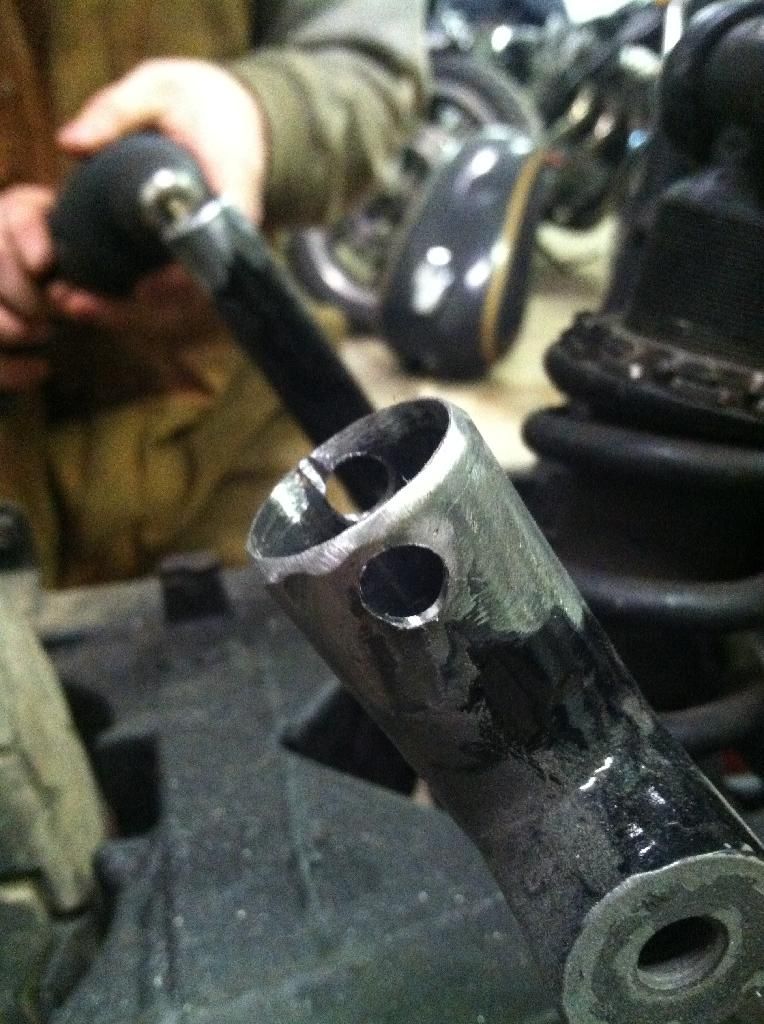
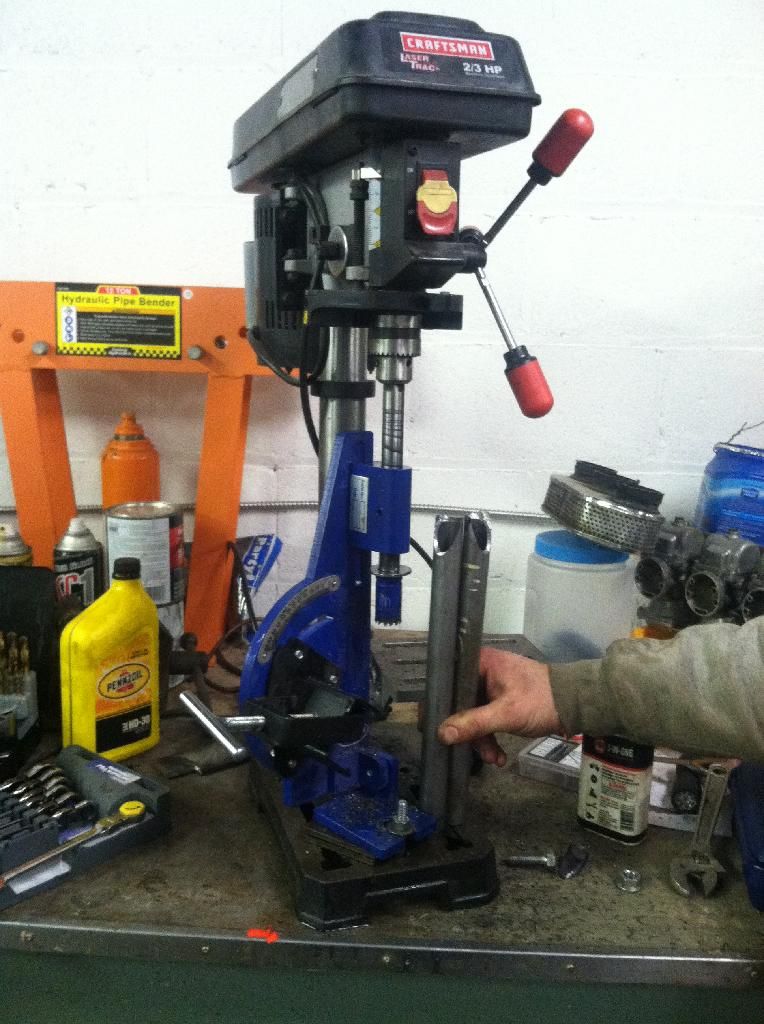
drilling some holes to fit the slugs we made
cut the lengths, used the tubing notcher.
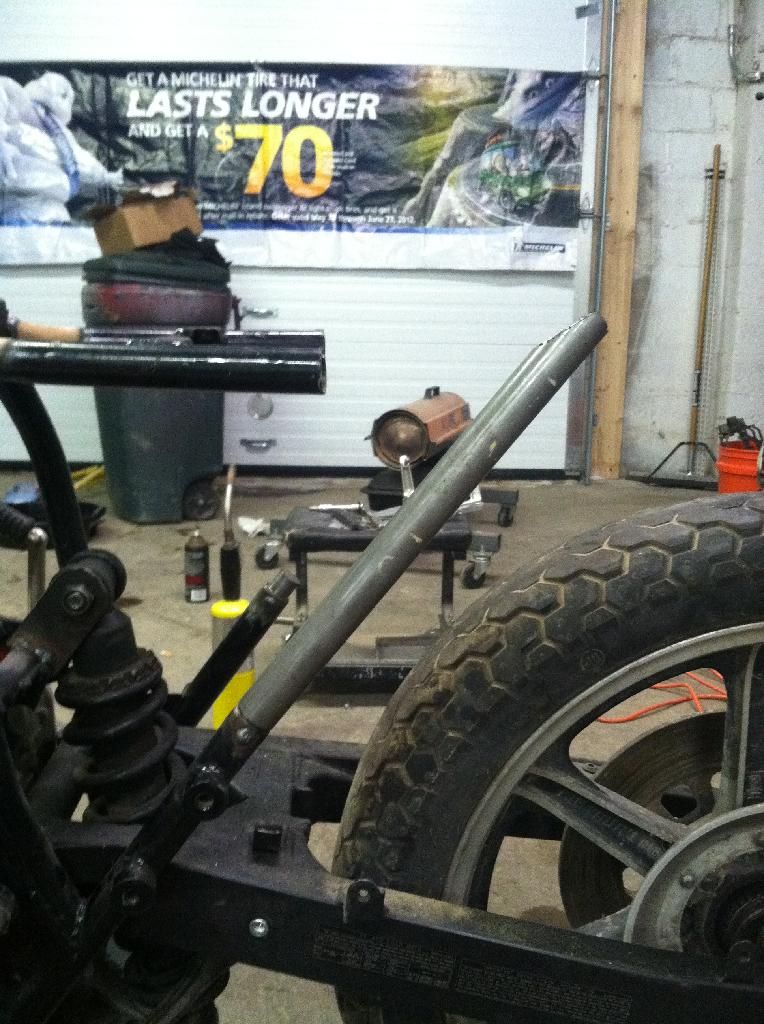
heated the frame to bend the stock part out and up.
used the tubing bender to get the bend required to make the seat portion wider

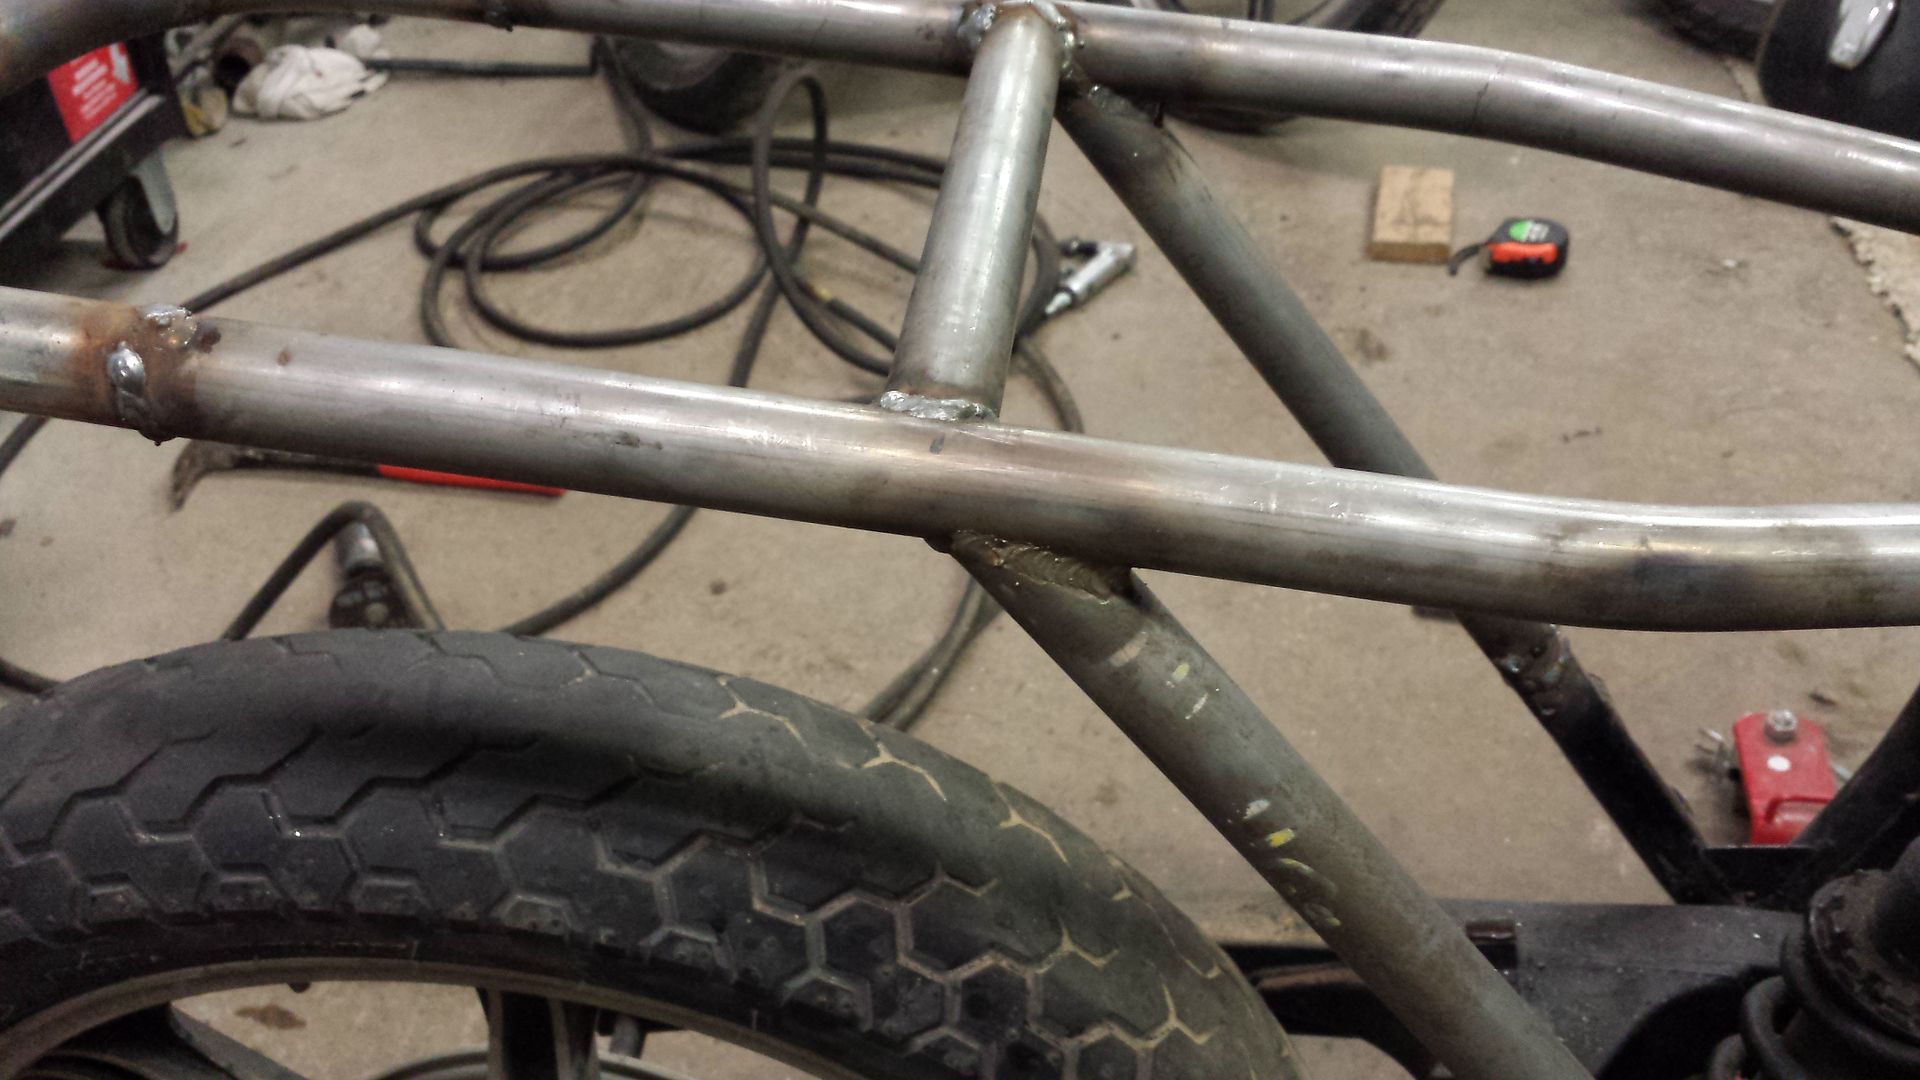
nick welding the hoop section
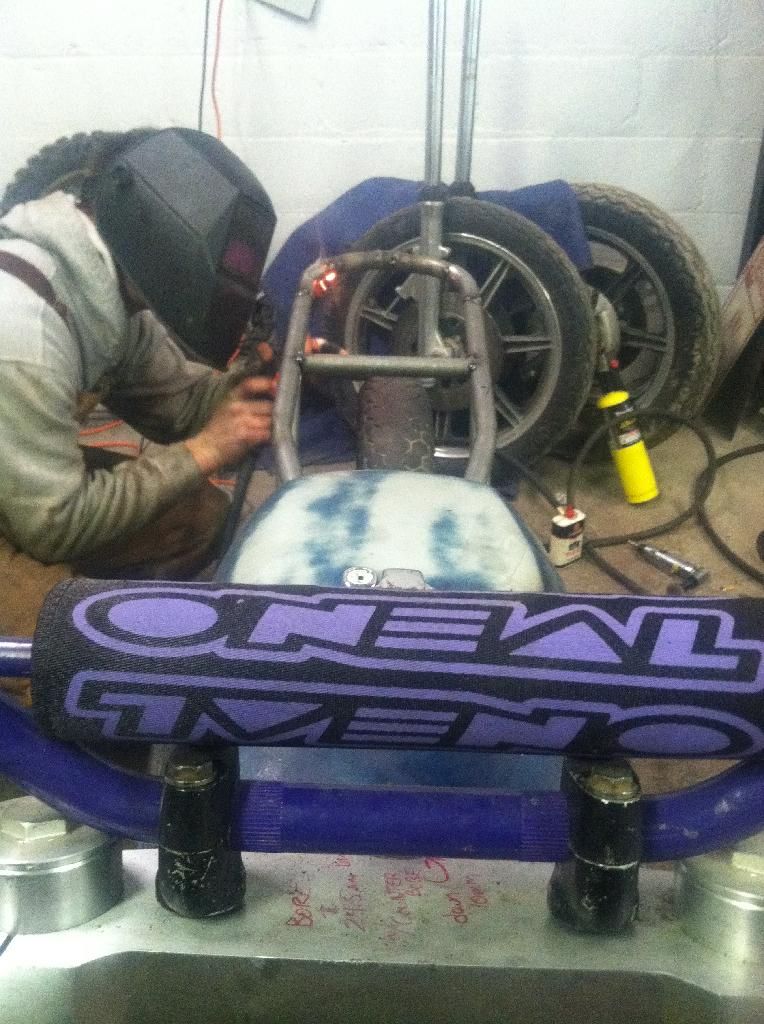
we couldn’t get the bend we wanted for the hoop in one piece. so we pieced it together
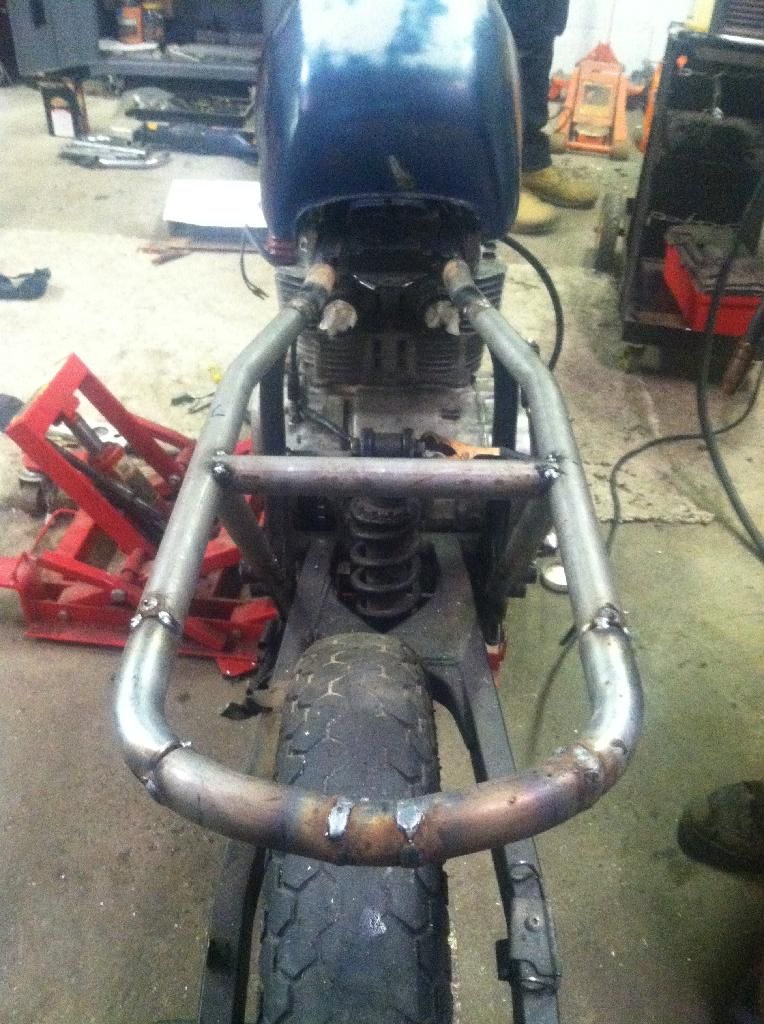
still have to do some grinding yet. but its all welded up. nick has more photos he will post them shortly. the old bungs for the rear sets will be cut off, and new location for them will be on the vertical part of the frame, which is how they should be mounted.
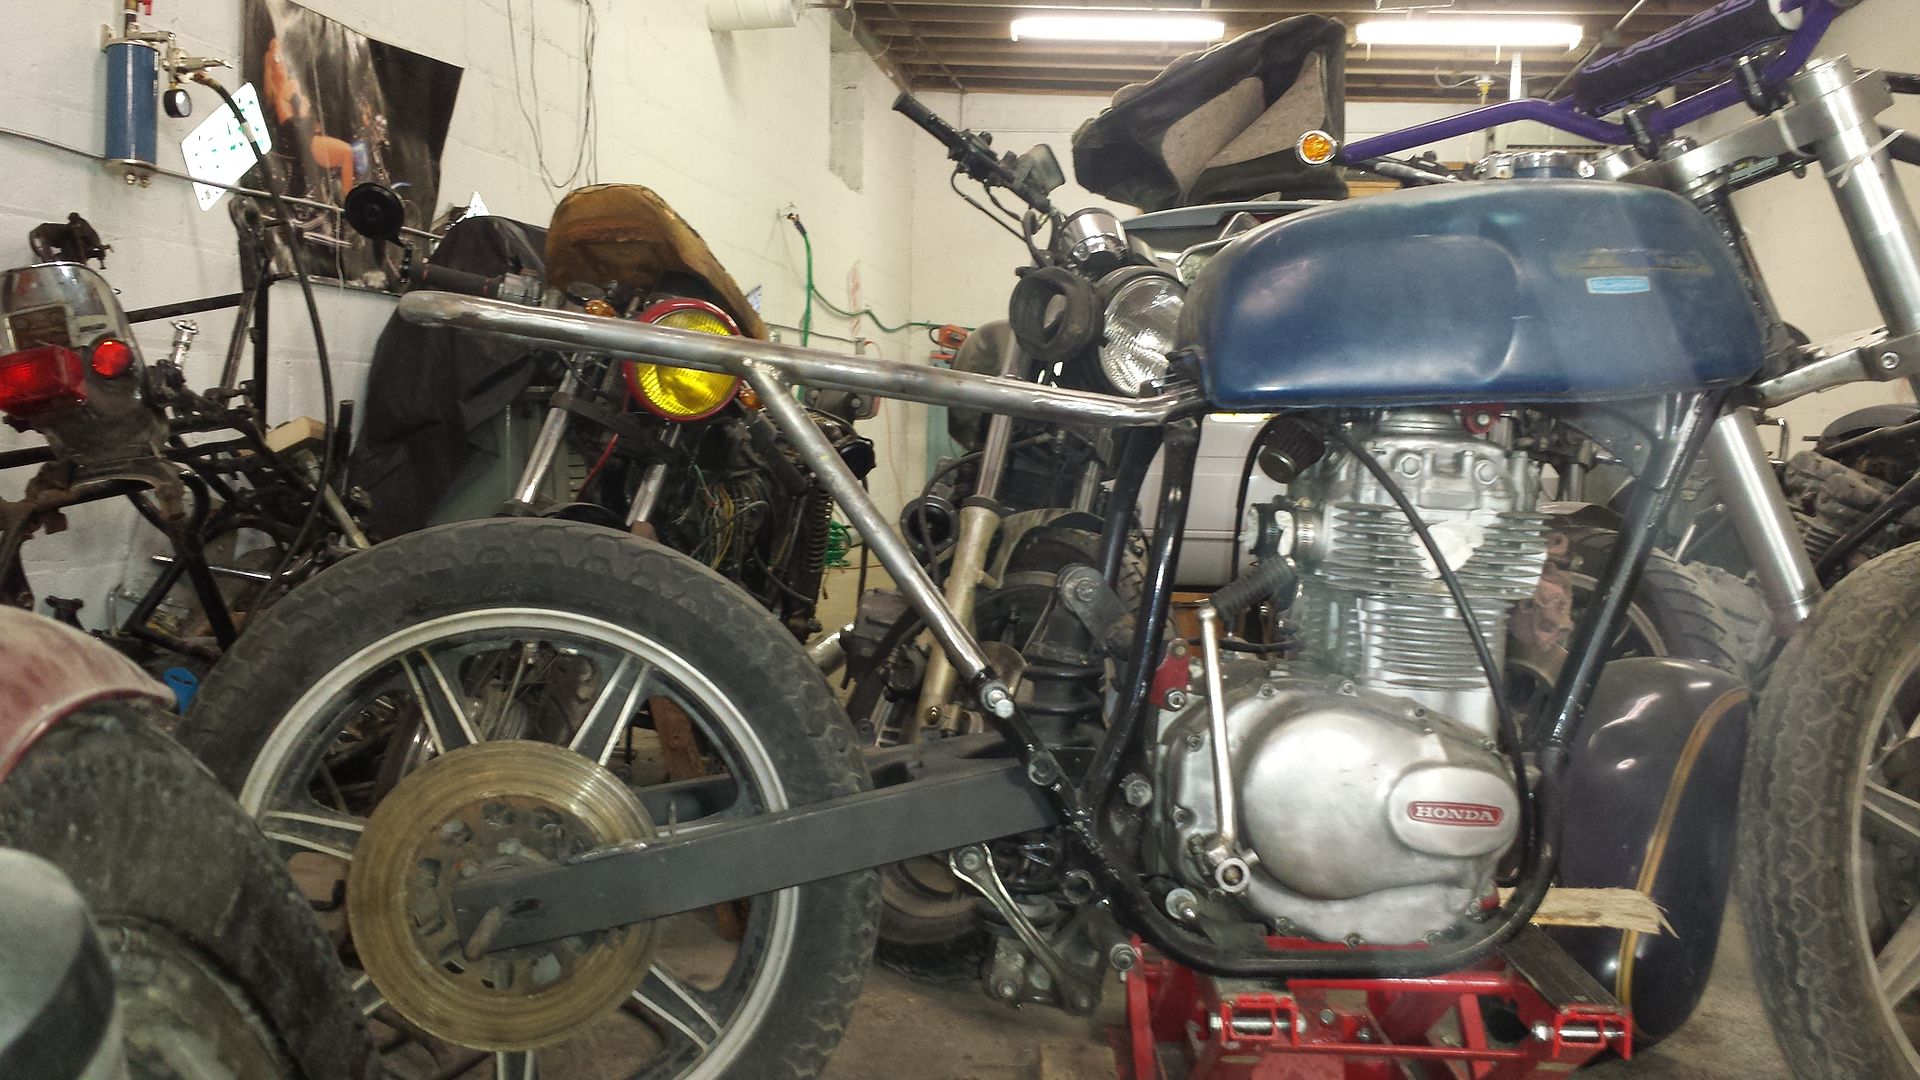
While checko was in Baltimore this weekend I worked on his bike a bit when I was waiting for a few people to come by the shop for various things.
Flap-wheeled the whole subframe for him, came out pretty awesome. He doesn’t know it yet but I also broke down and rebuilt his rear monoshock for his dirtbike project too…which btw was a monstrous pain in the ass!!!
looking good…hope your neighbors don’t hate us
You’re still a sissy for not hitting that sweet jump/mound of happiness.
I’ll show you a mound of happiness.
Thanks for workin on the bike/dirtbike! Haha
Ugh this thread gets better and better by the moment.
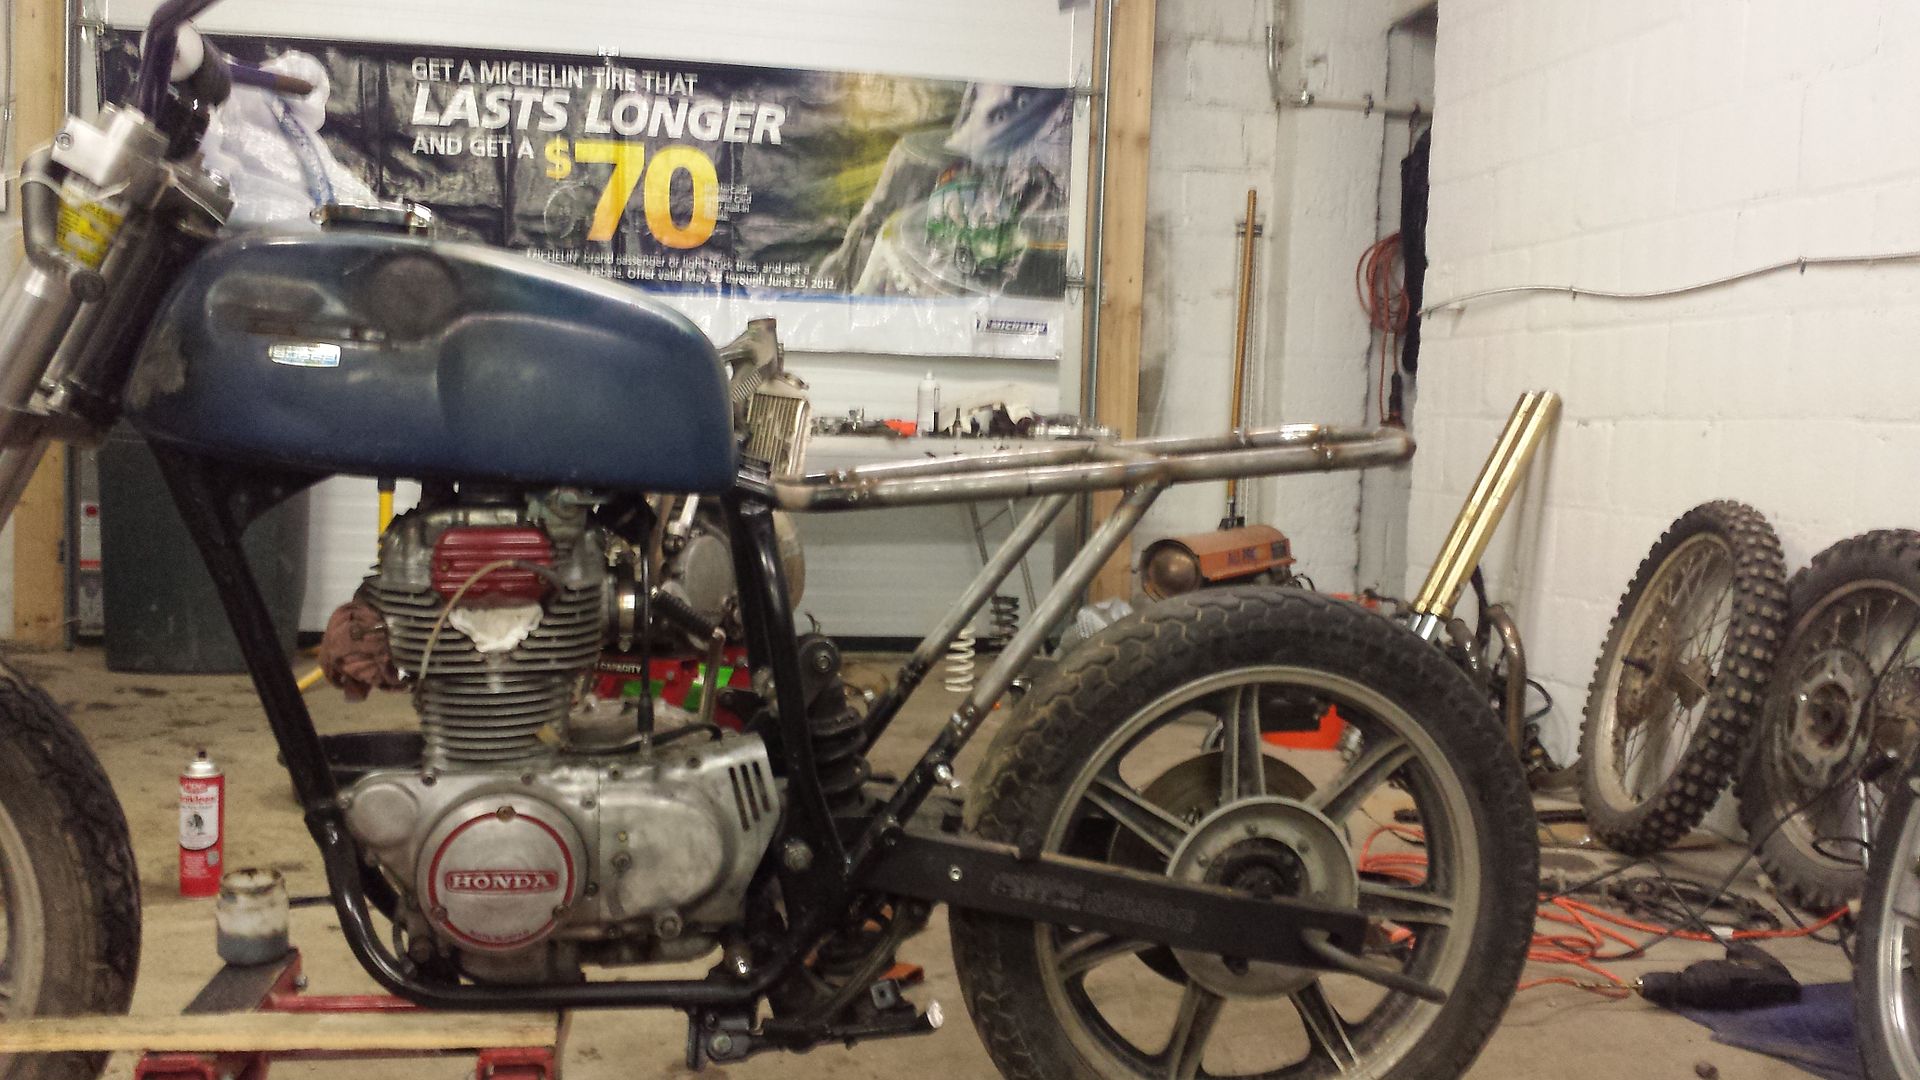
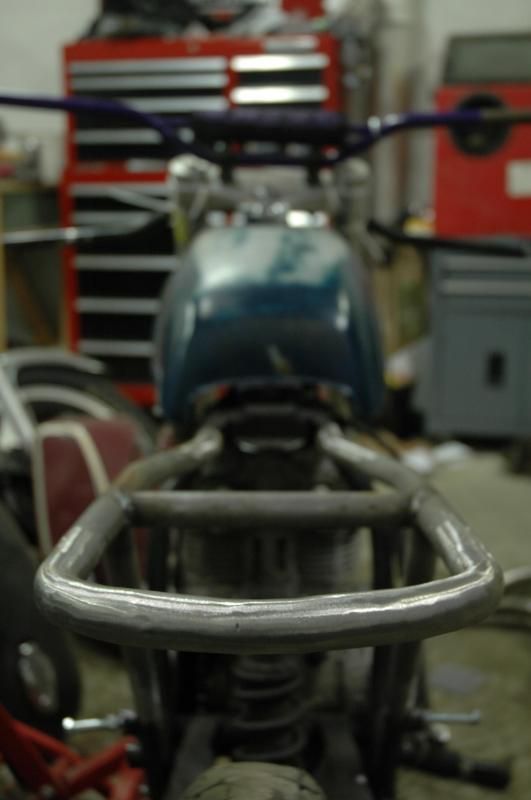
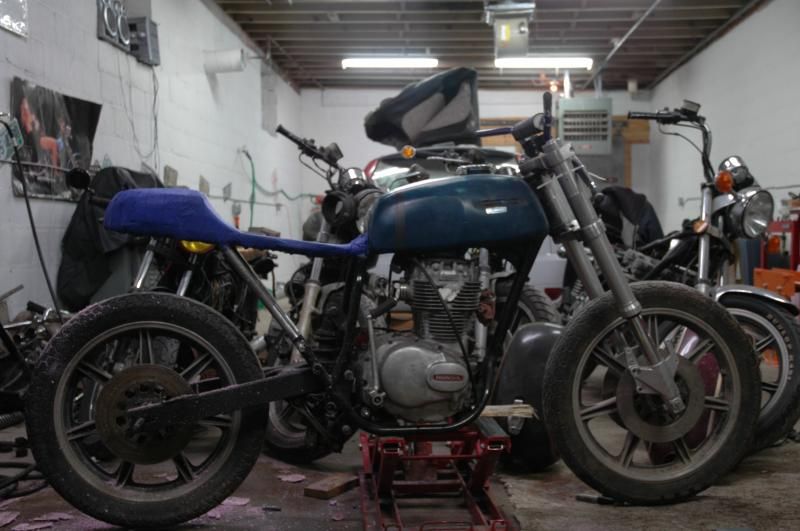
got a new (to me) DSLR camera from my uncle. Nikon D70. Ive never used one before, I’ve only really used an old minolta 35mm camera. this is a whole new ball game to me, but ill get the hang of it.
heres a few pics i took today before starting on the seat forming.

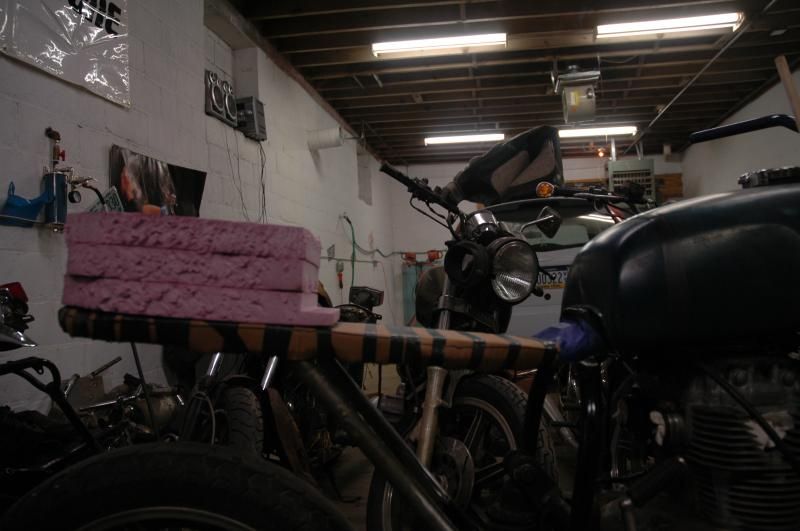
heres a few of the beginning of the seat. picked up some 1.5" high density foam, and started cutting/shaping. It still needs to be narrowed from the front of the seat hump to the rear. we glued 3 layers together and put 4 dowels to keep them aligned and thru the cardboard to keep it lined up with the frame.
Nice, did you add a black stripe to the tank?
Electrical tape holding the tank in place. Temporary!
looking good