[quote=“6spd_ek,post:145,topic:27529"”]
whats so different about tuning non-vtec k-series? :ponder
[/quote]
That’s what I thought. Its just like your running a bigger set of after market cams.
[quote=“6spd_ek,post:145,topic:27529"”]
whats so different about tuning non-vtec k-series? :ponder
[/quote]
That’s what I thought. Its just like your running a bigger set of after market cams.
Thats not correct. If i was running a bigger set of aftermarket cams and still utilizing the 2 lobe rocker setup then i would still be tuning for a vtec crossover. If i wanted to i could tune one map for this car. Vtec is also no longer oil activated. i want a high oil pressure all the time because im in vtec all the time. Its a little bit different than many of you might think. I know many may and have speculated that this will wear out the cam faster. I dont know where this speculation arose but ive never heard of this happening on a setup like mine. Ive heard more stories about people running high quality cams like blueprints, IPS, hytech cams wearing down running a 3 lobe setup!
Reguardless this is my car and its my decision where to get it tuned.
you say you want high oil pressure all the time but when you start the car cold your PSI will run low (like 40 psi)… or do you have something else planned?
If its planned out correctly i should be about 50 psi at cold start, i will be using vtec activation just to be safe. I should hit 90psi roughly at vtec engagement(where i set it on kpro). Oil pressure is always going to be a bit high compared to a 3 lobe car. The vtec solenoid can actually be removed from the car and Toda makes a blockoff plate i believe. Anyway heres some pics from shaving a rocker down. I only did one today because ive gotta get up early but got a bit anxious ![]()


I hope i grinded them down enough. Anyway i used carb cleaner to clean off the shavings, pulled off the gum and put a some oil on the affected regions to prevent rusting. Thanks Ba82 ill post of the rest of the rockers when i finish them tommorow night.
Ok let me state this a diffrent way. Its like tuning a non vtec with bid cams. Did I not say that cause that’s what I meant. Just like killer cams for a B. Vtec head with no Vtec.
I see… Yes its similar except i dont have a vtec head but that doesnt matter its the same concept except im running oem cams that ate equivalent to stage3+ cams oem ftw.
Hell yea dood! I wanna see this thing when your done.
Just finished the exhaust side tonight. Cleared the cams just fine. Most of my ordered parts have already been shipped!! Frank i actually saw your hatch the other day at that truck shop. Getting body work done?
Pretty cool project. How many bolts has Jiggs left on the floor so far?
jiggs quit
This engine is being built solo dolo by roberto
“I will never work on a car again”
-Joseph Giglio
^The above situation has occurred 45-48 times in the past three years.
Yea the guys do great work!
so whats good here bobo, u going fast or what
Fuckin caz wrx on my name
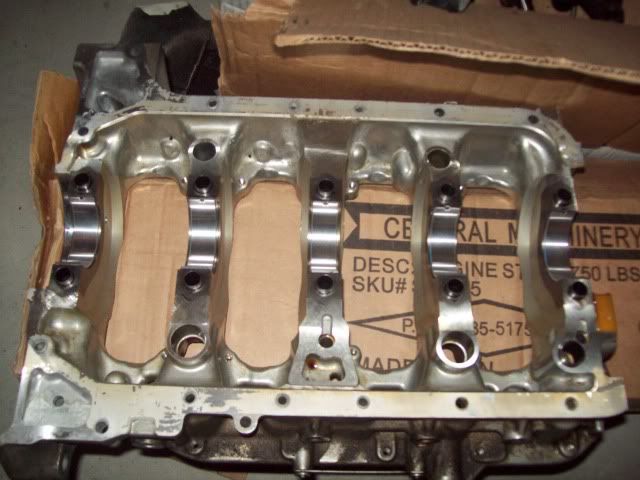
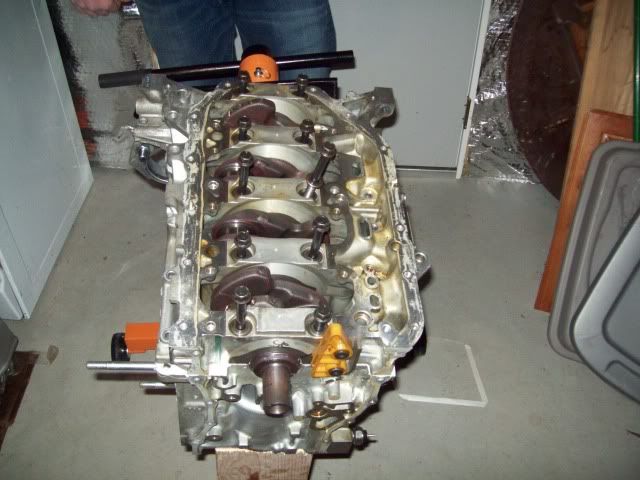
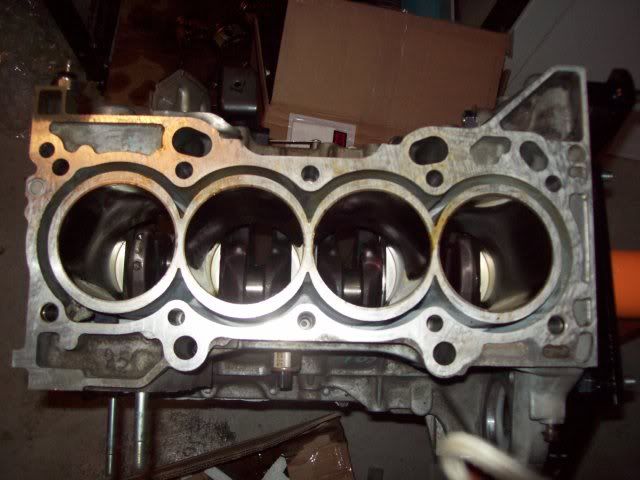
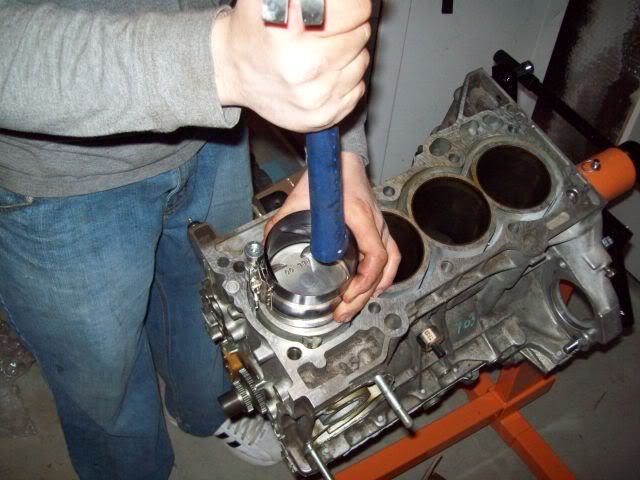
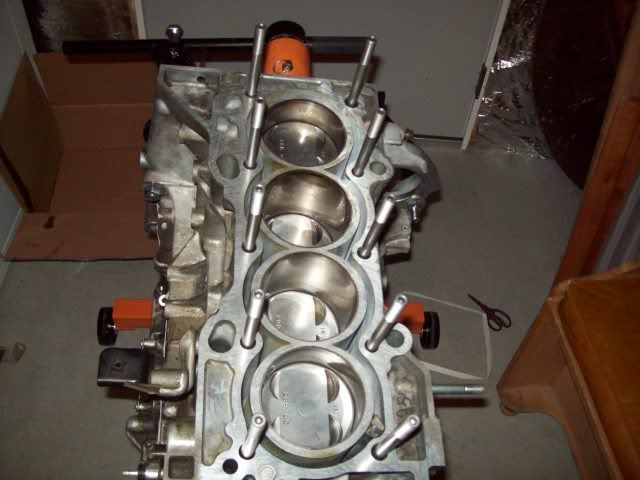
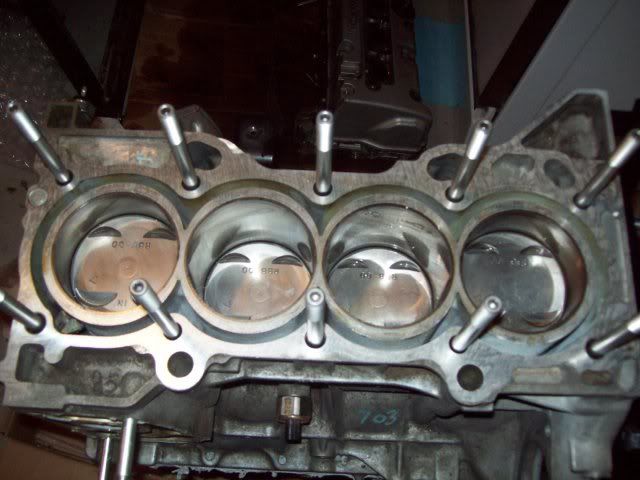
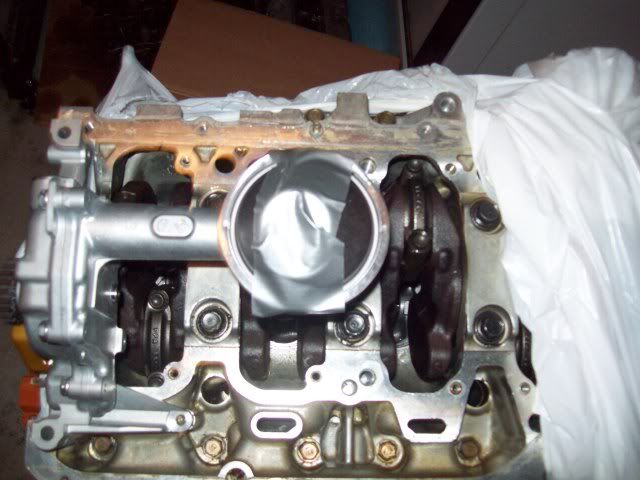
Ok well i decided to go ahead and build the bottom end with the help of my buddy joe jiggs. We finished the bottom end and all clearances are within oem spec which is very good. Here are pics and clearances from the build.
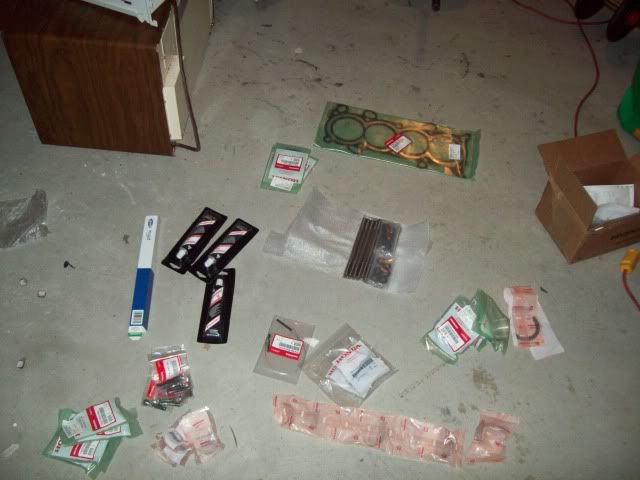
The GOODS
Checking some clearances
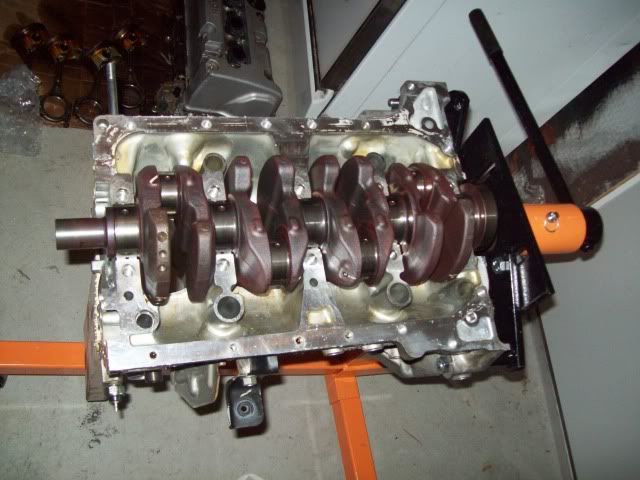
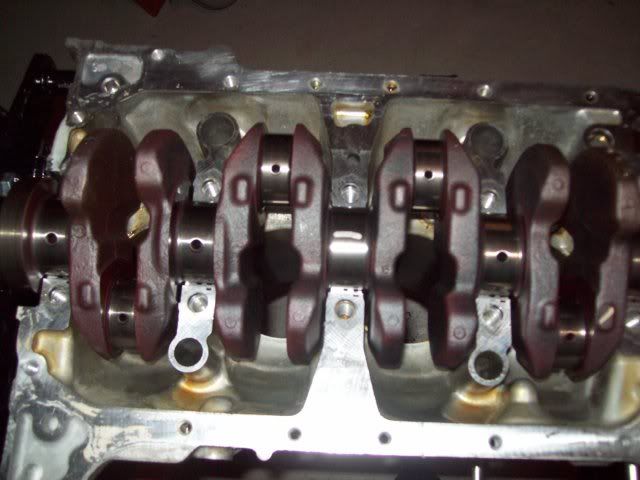


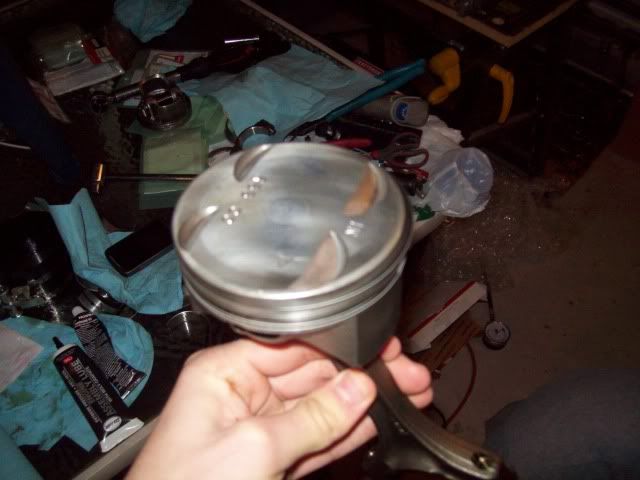
So beautiful. It spins like absolute butter.
Ok now for clearances and torque specs incase anyone wants them:
Engine specifications
Bearing clearances - .0015 bearings blue
Main cap torque specs – 22ft/lbs + 56 degrees - 14mm bolts
Outer main bolts – 16 ft/lbs – 8mm bolts – 12mm head
Rod bolts –14 ft/lbs + 90 degrees - 10mm – Green bottom/yellow top
Rod cap clearance – roughly .002
Ring end gaps set to
Top ring .014
Second .016
Blueprint head studs – 75 ft/lbs
Nah jiggs did the bearings and rings. Hes gonna help me swap the motor in also. Other than that yeah ive been pretty busy with it.
Good shit bobby, I cant wait to see this in person.
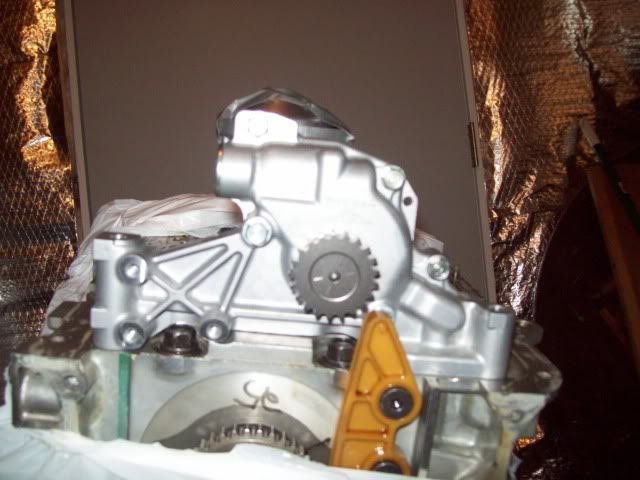
Ok guys i got my oil pump and timin chain tensioner today from honda. Very fast shipping which im very happy about. Anyway heres a few pics i took.
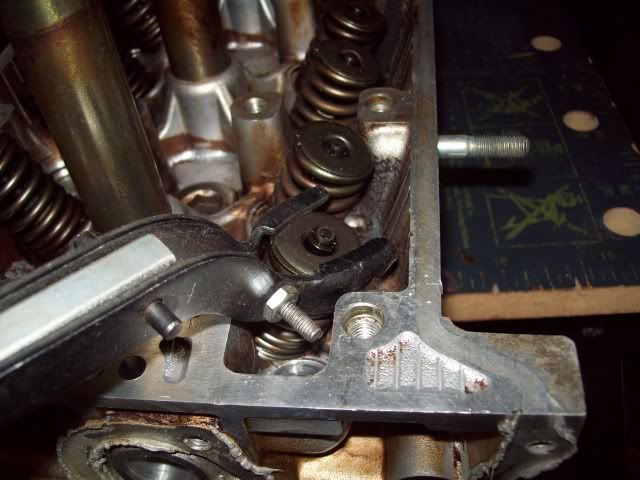
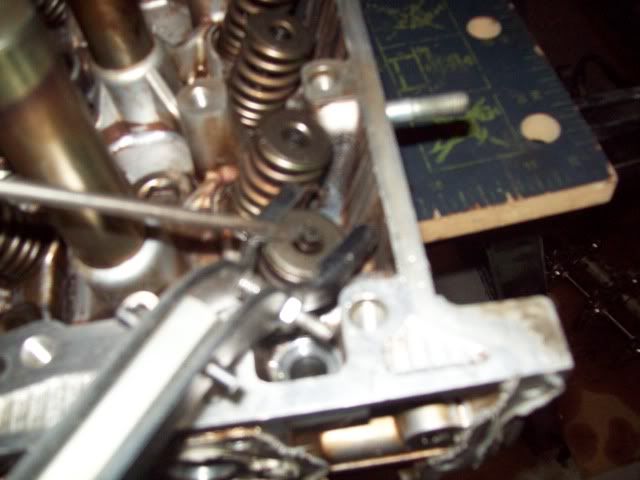
Once the spring is compressed use a flathead to remove the keeps, then slowly release the compressor tension.
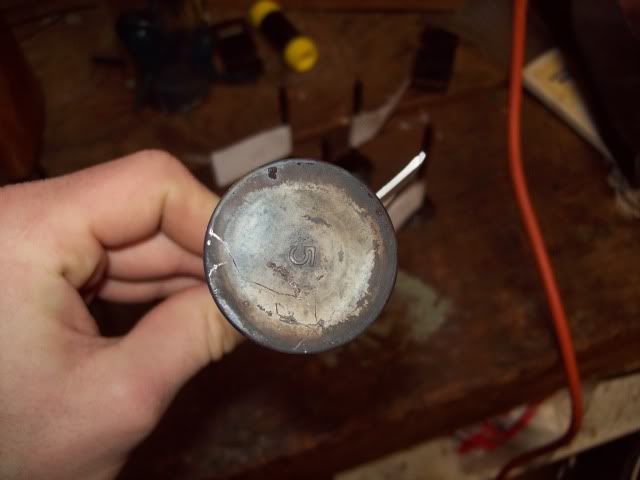
Valves labeled 1-8 intake/exhaust and ready for cleaning!!
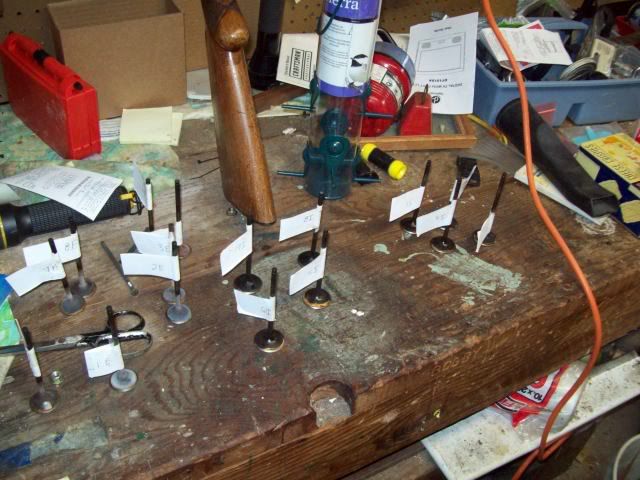
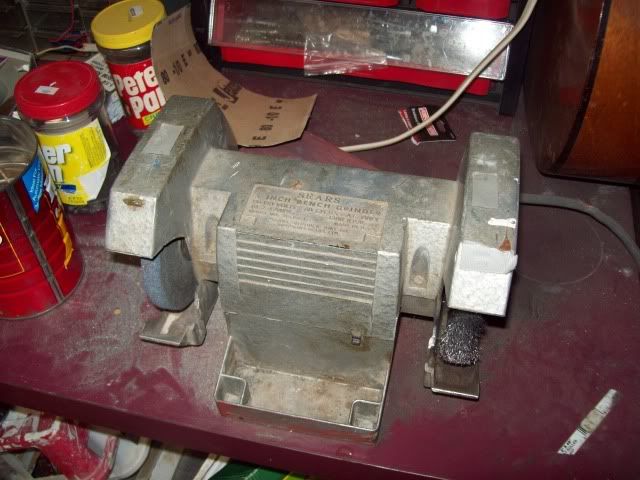
Some gunk buildup nothing the fine wire wheel cant fix
Old reliable 
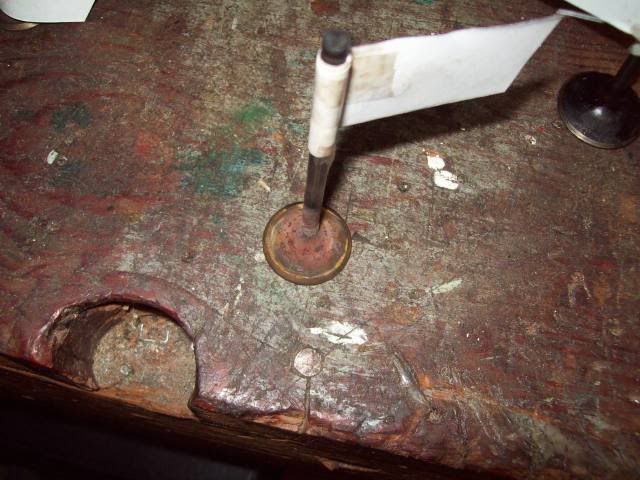
Exhaust valves needed some real work
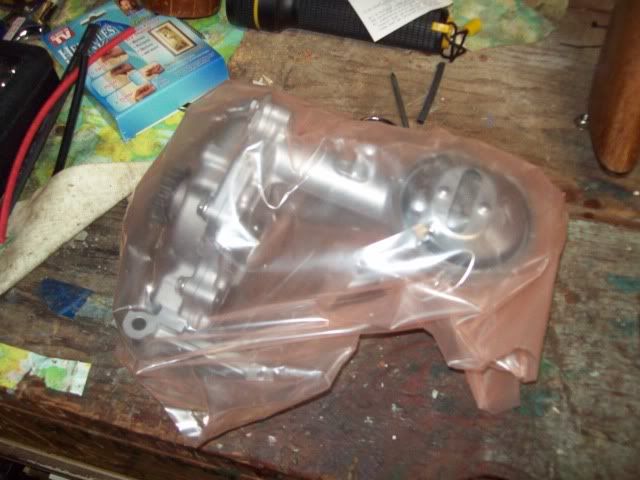
My new a2 oil pump
OLD modified pump vs New unmodified both from k20a2
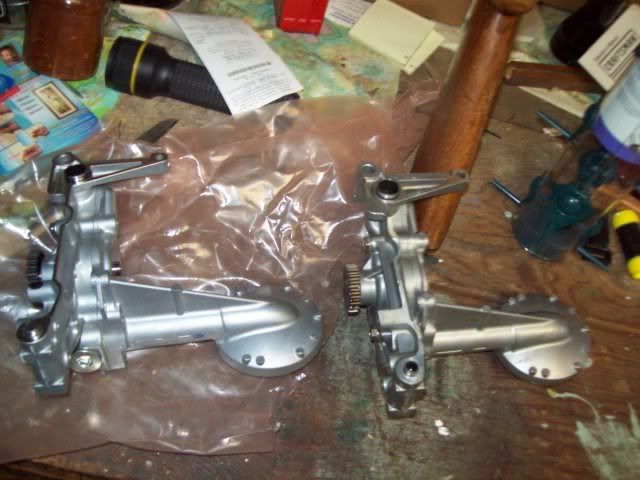
Old modified pump thanks LKSI for giving me a template
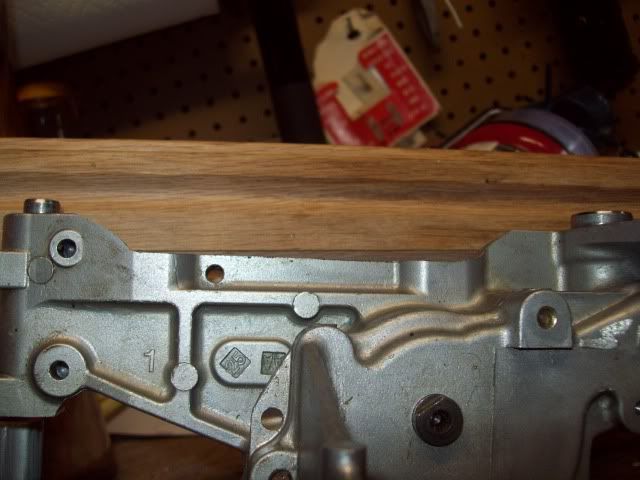
New pump up close of whats about to be modified
New pump, modified to fit, cleaned, now with orifaces covered and bagged up until the final install. The entire motor is covered once again.
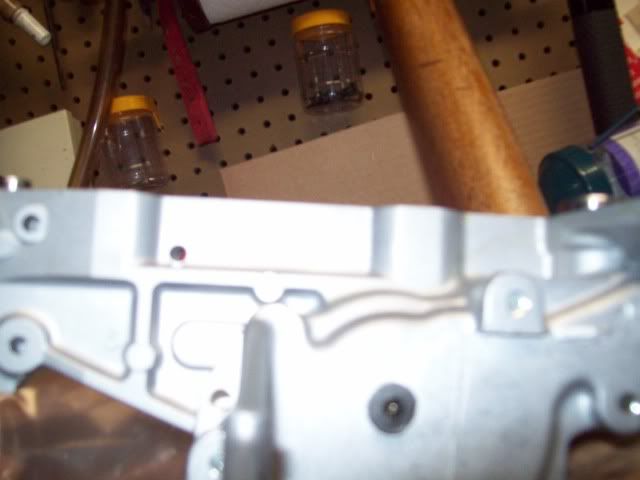
Another angle, definitely dont want to get shavings in there.
Dont set your vicegrips too tight when removing the valve stem seals, just enough to grip the seal.
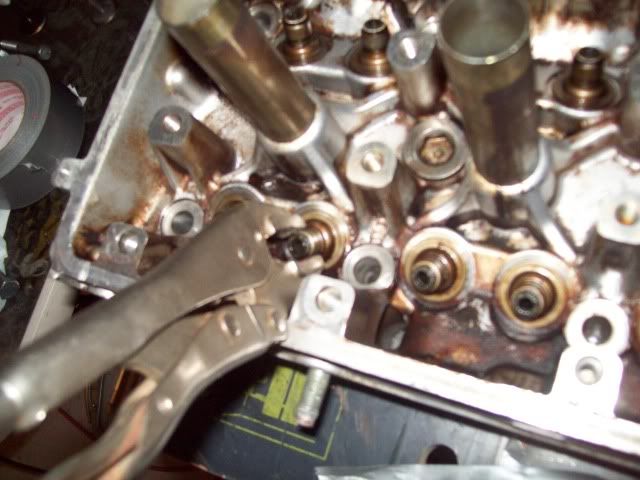
half the seals done, little comparison pic
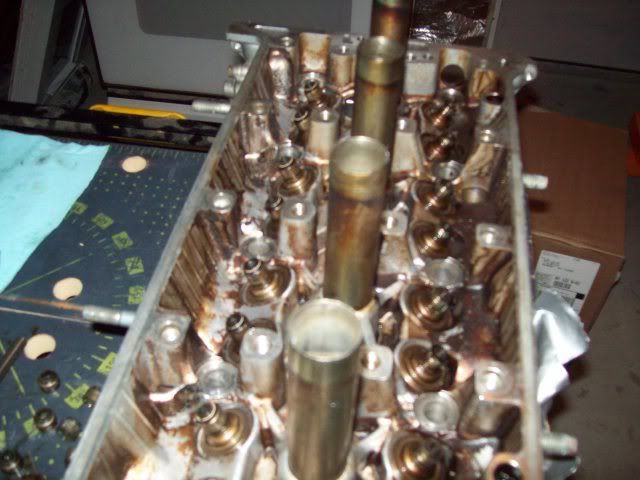
Valve stem seals removed, valve spring seats removed and bagged. Intake should not be mixed with exhaust. Im just cleaning the head at this point. Can i use the k24a1 valve spring seats with k20a2 valve springs?
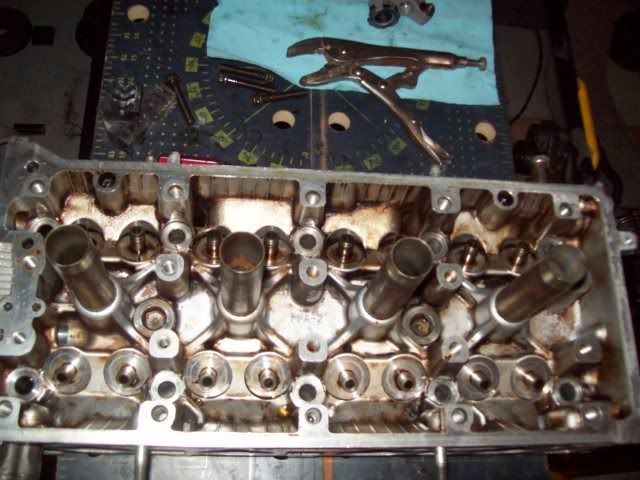
Thats all for today. Im going to clean the k20a2 pan and grind the other rockers down tommorow. Then ill try to put the head together. Thanks in advance for your comments.
Thanks