Thank Liam. I’ve been following your build on zilvia, the cefiros lookin great man, good work.
thanks!
kickass man! i have considered the ka-r’s a few times myself!
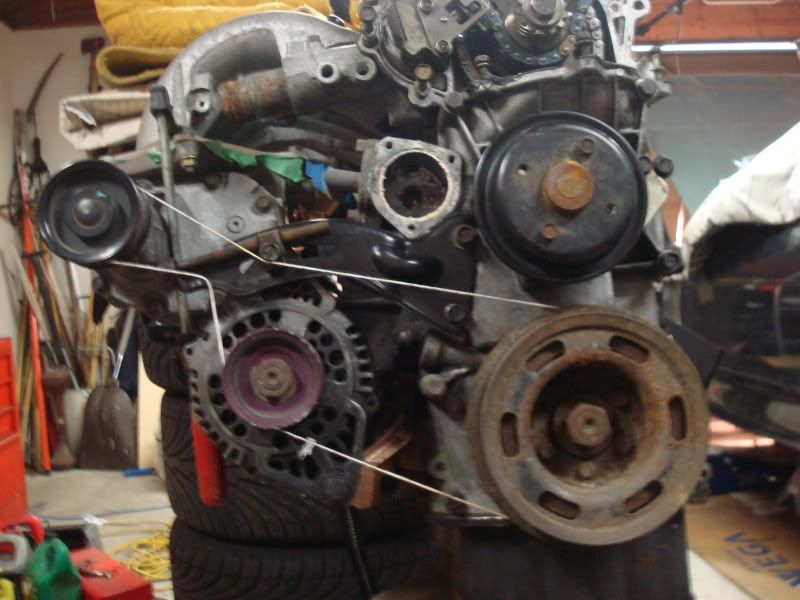
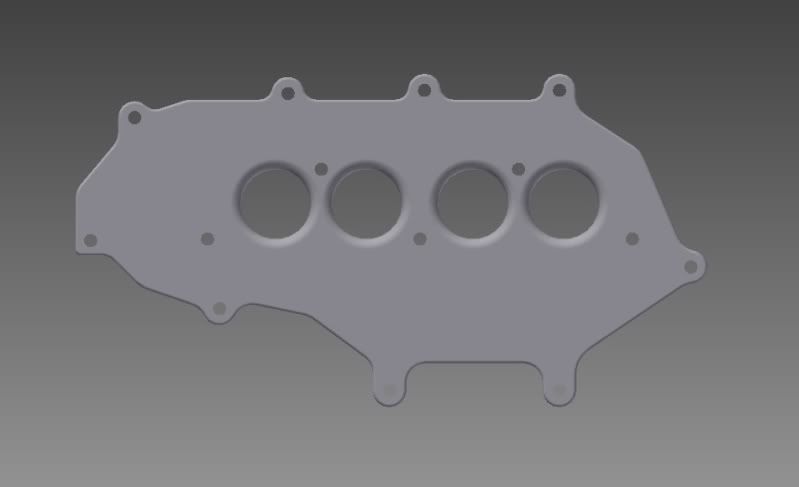
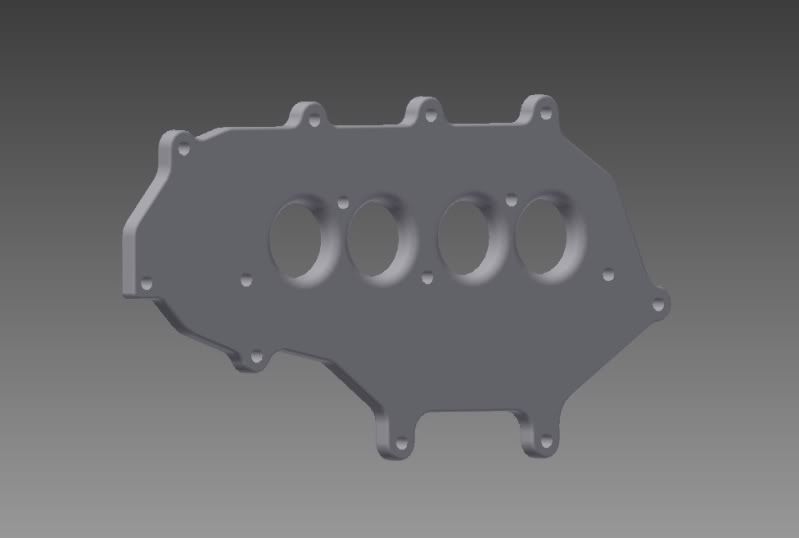
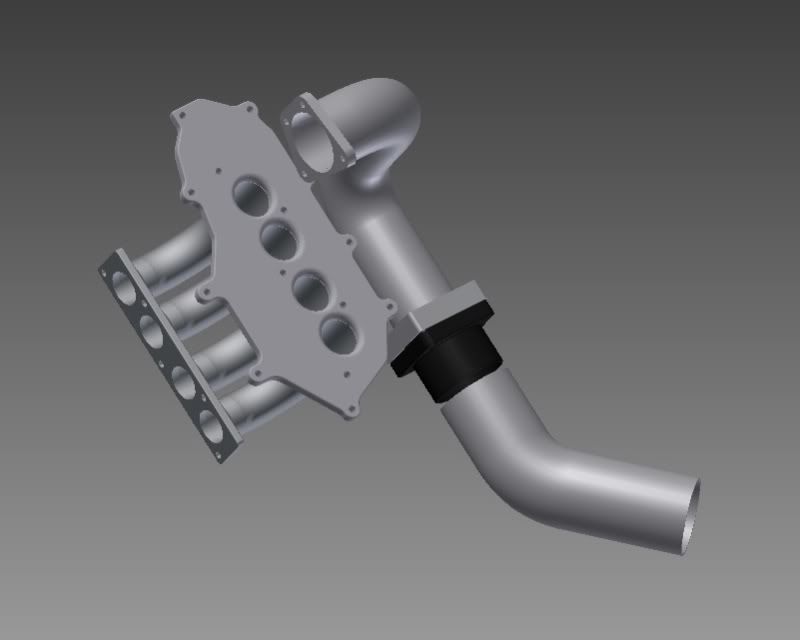
Got the supercharger aligned on the mockup motor and the adapter plate modeled up in Cad
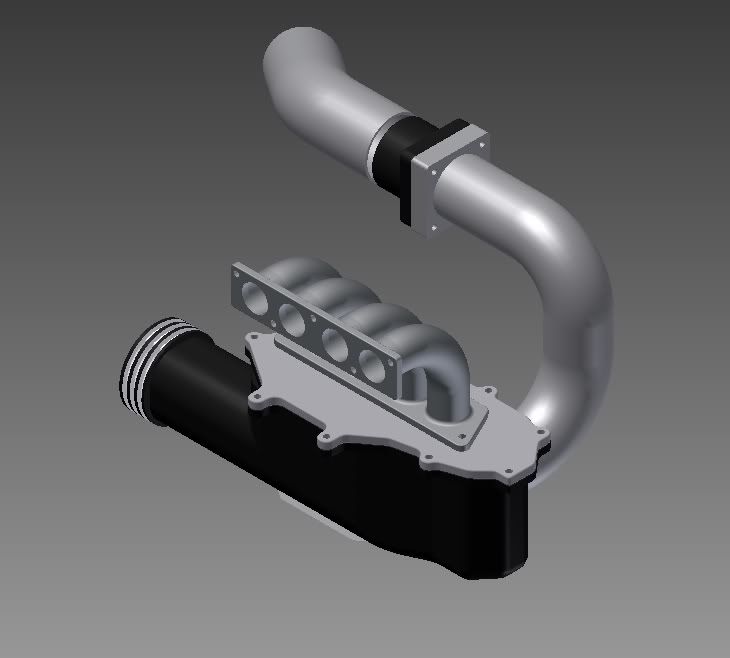
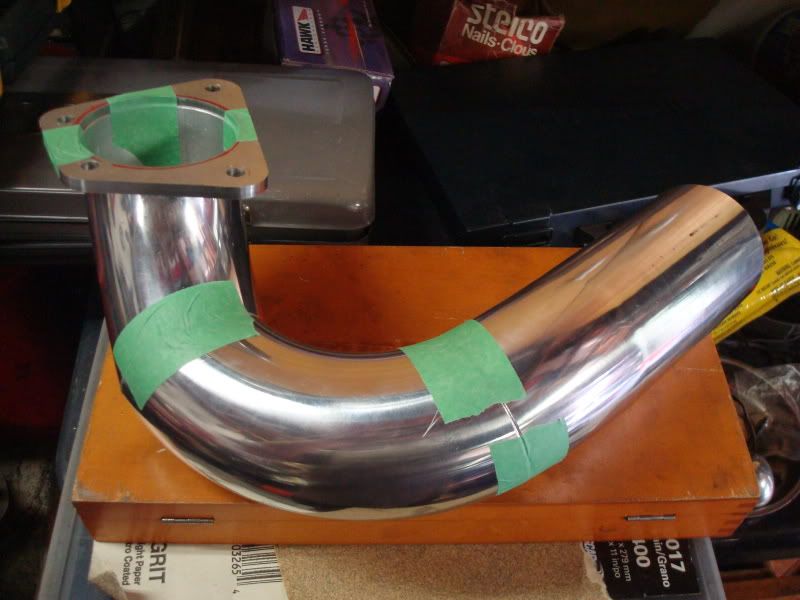
Did a quick model of the whole unit together with the intakes pipes just roughly estimated
Had the CNC operator at Georgian cut me the adapter plate, throttle body flange and inlet flange, I’m picking them up tomorrow.
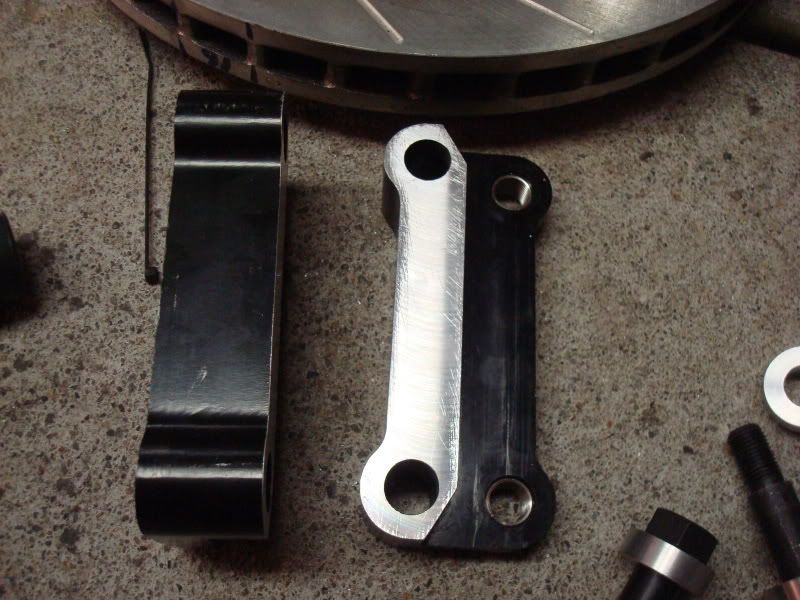
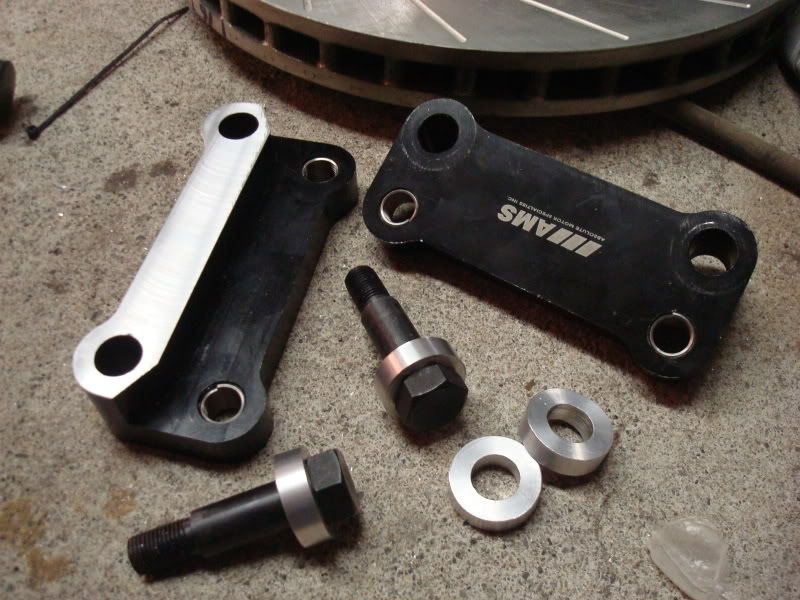
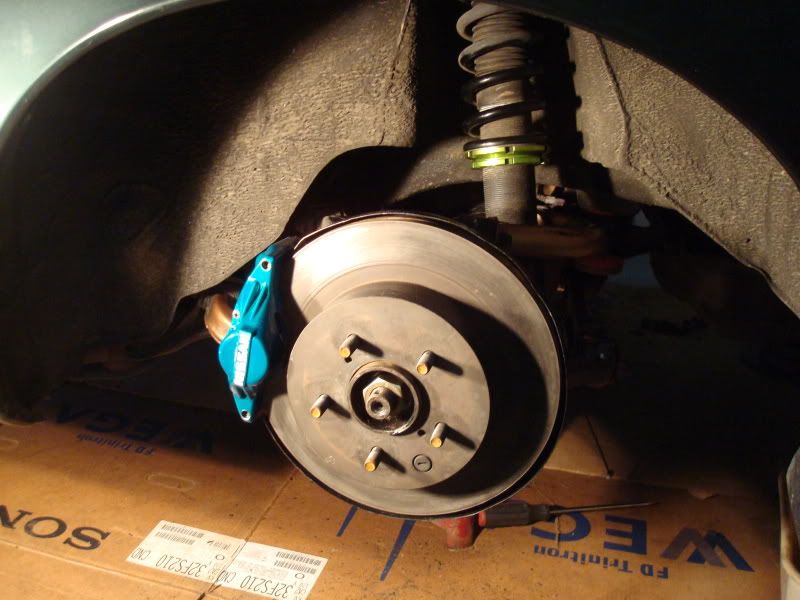
Back to the AMS Big brake kit, the Z32 front caliper mounts are thicker than the 240’s so I had to mill 8mm off the brackets and make spacers to make up that difference to use the supplied custom shoulder bolts
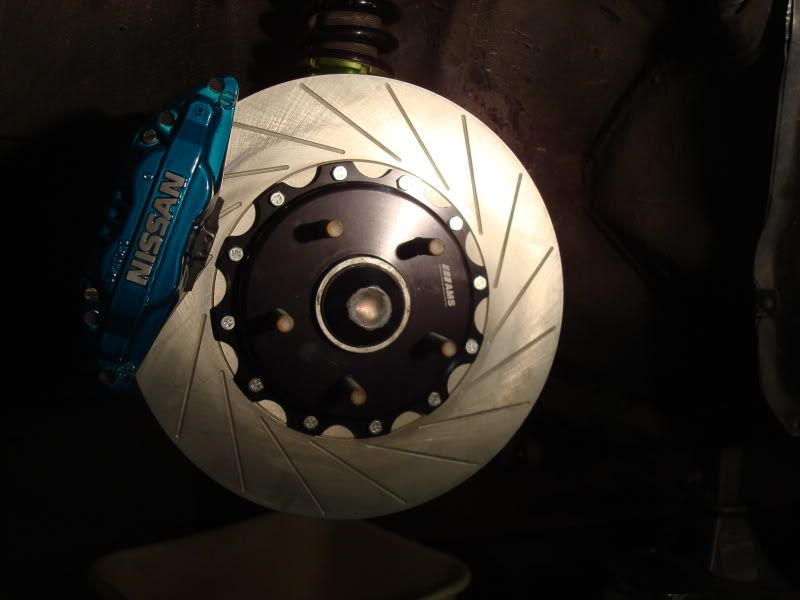
Front brakes all together
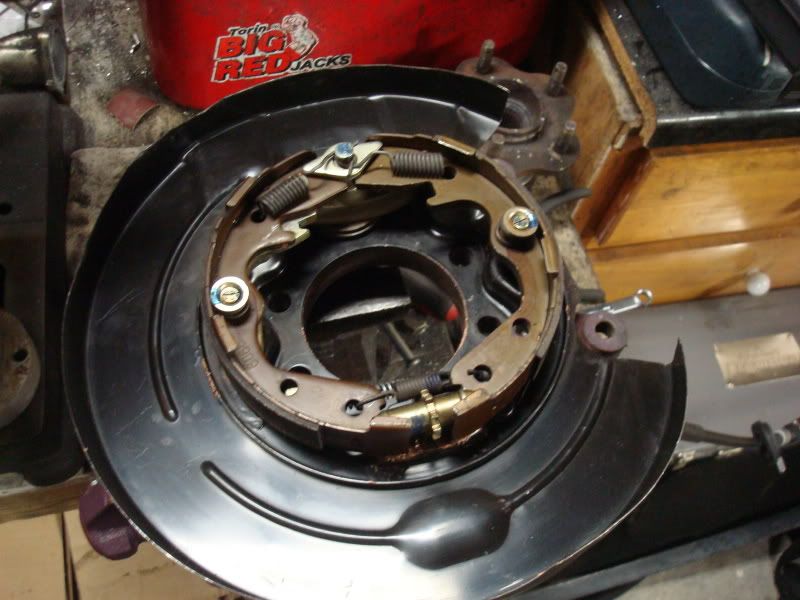
Made some Ebrake cable adapters to fit the Z32 2+2 lines on a S13

Got the ebrake shit back together and on

Finished up… More soon.
This is a sick build, can’t wait to see it finished.
^Thanks man, hopefully it wont be too much longer.
Finished up the rear brakes and E-brake
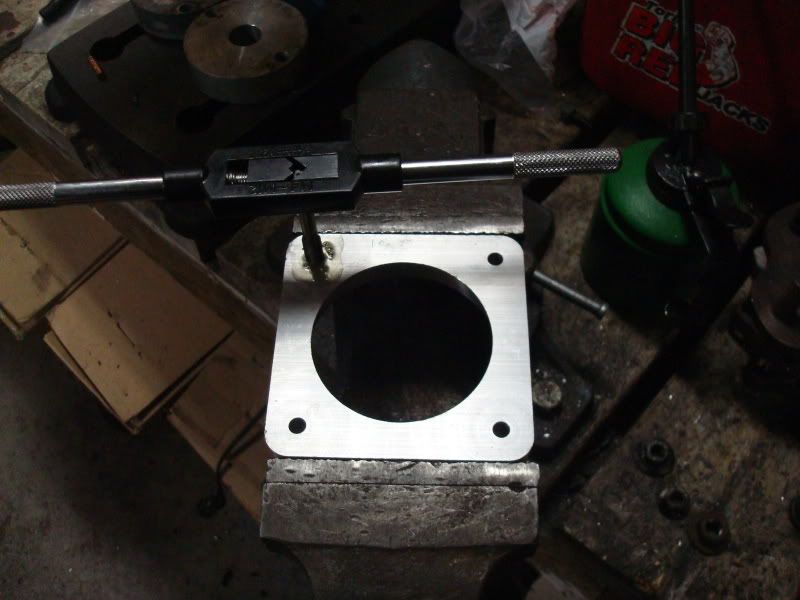
Picked up the adapter plate and flanges I had CNC’d
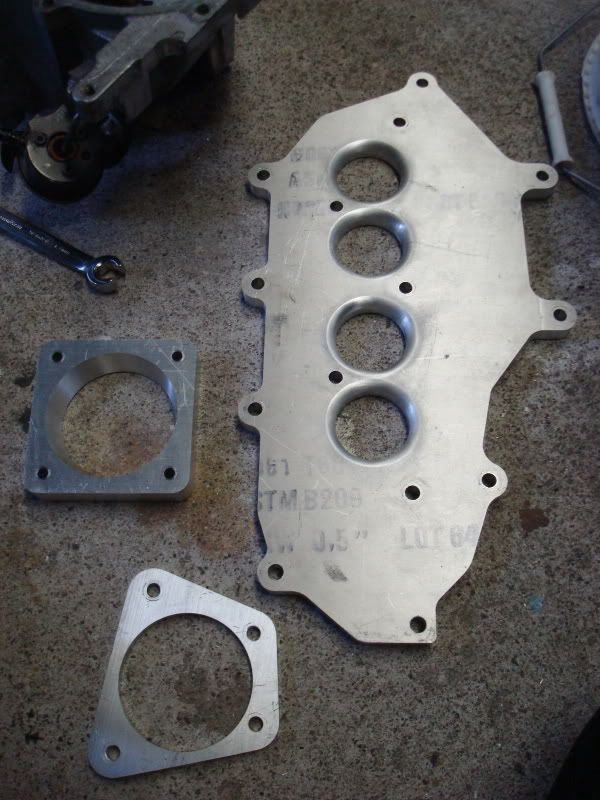
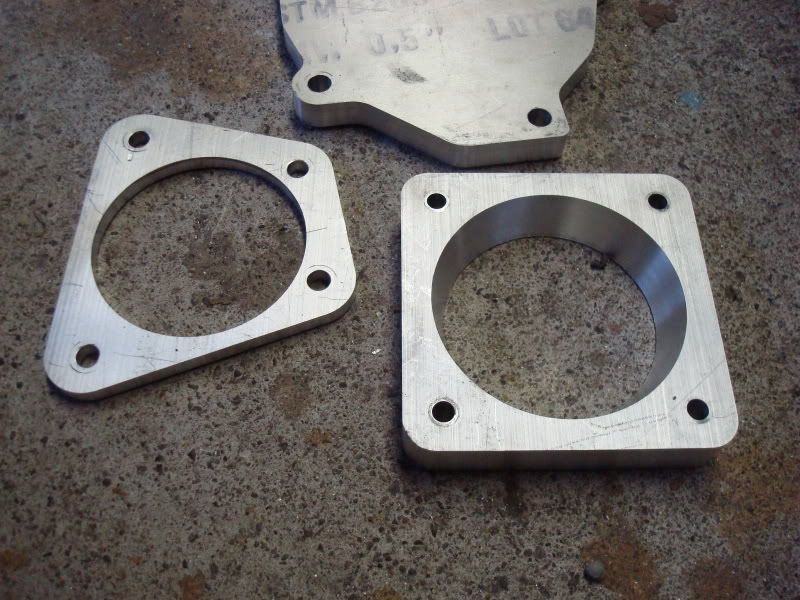
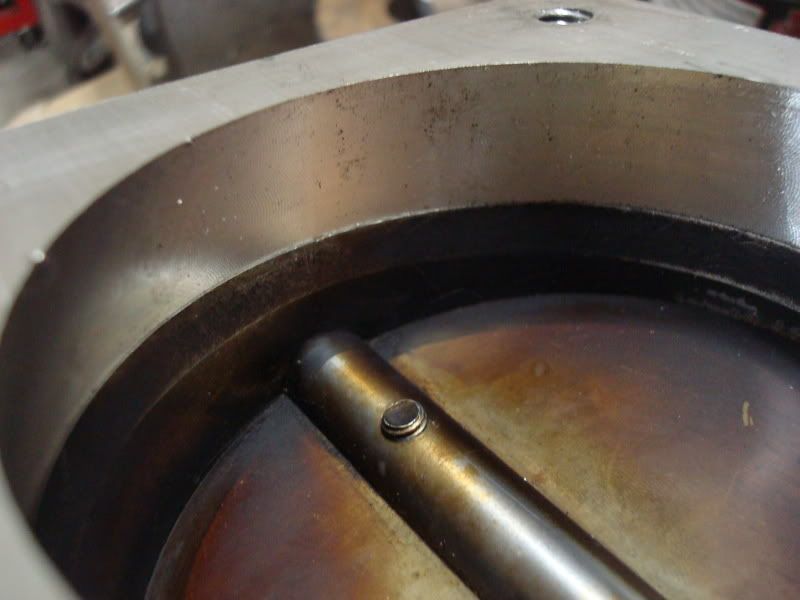
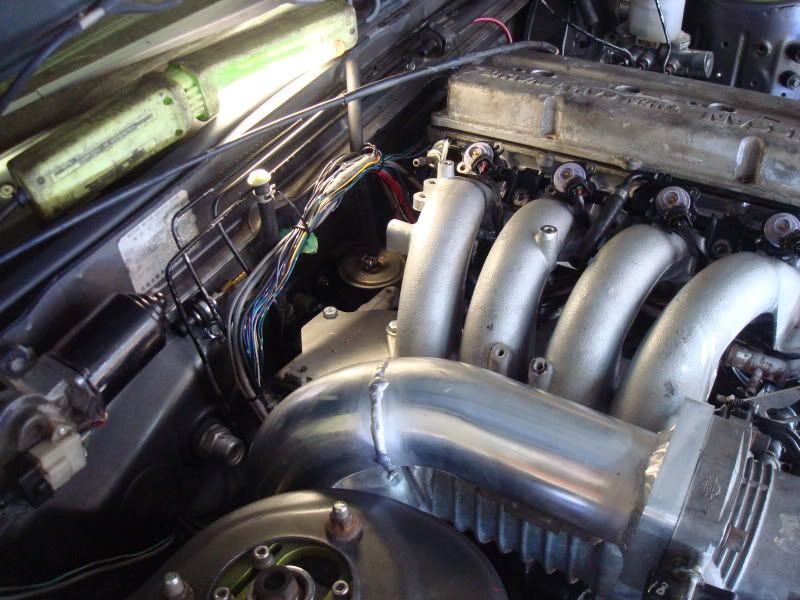
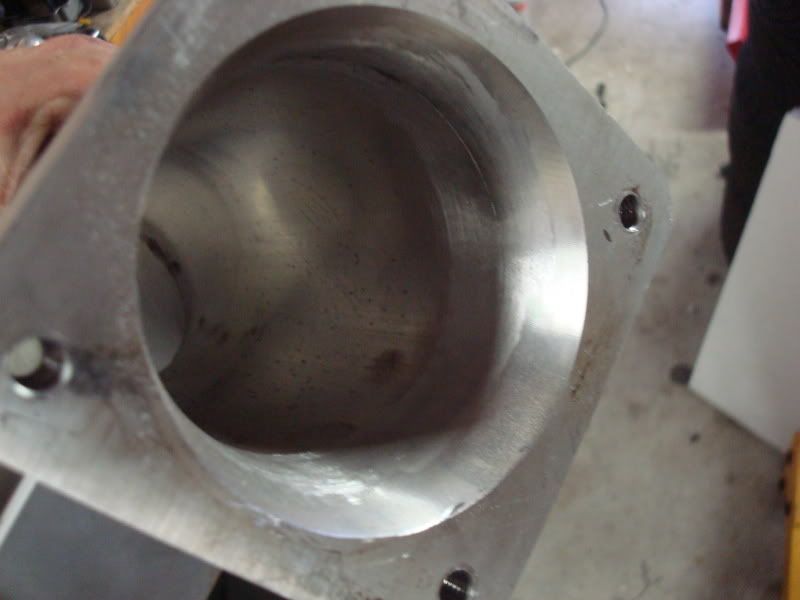
Bolted up the adapter plate, fit is amazing. Radiused inlet holes for smooth flow, transition of the holes from plate to intake mani is practically seemless, so good.
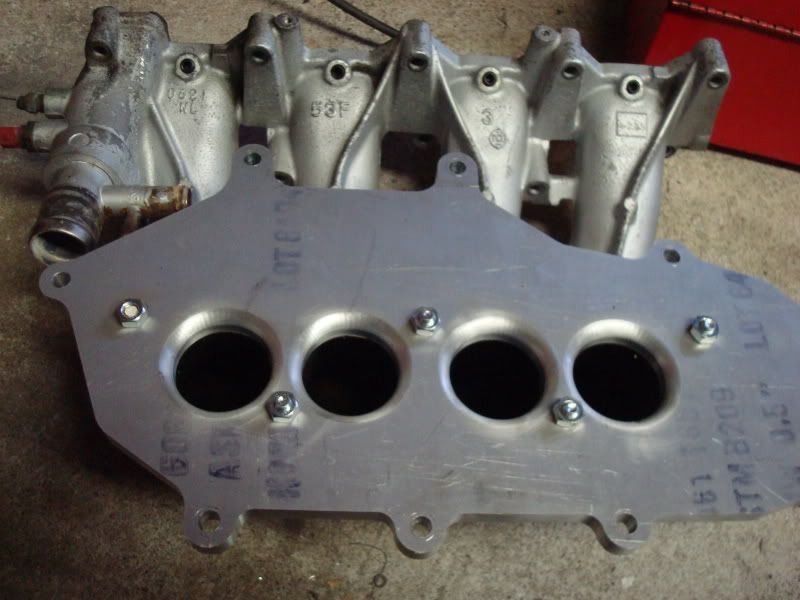
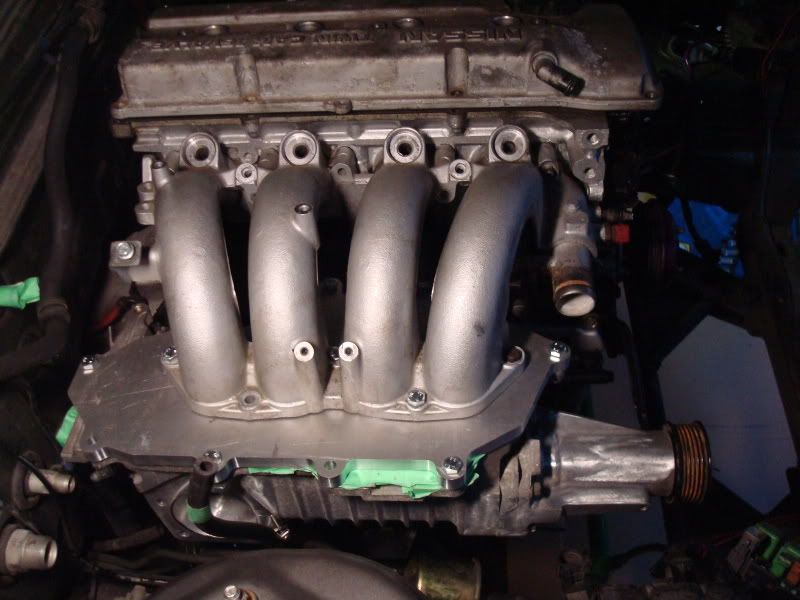
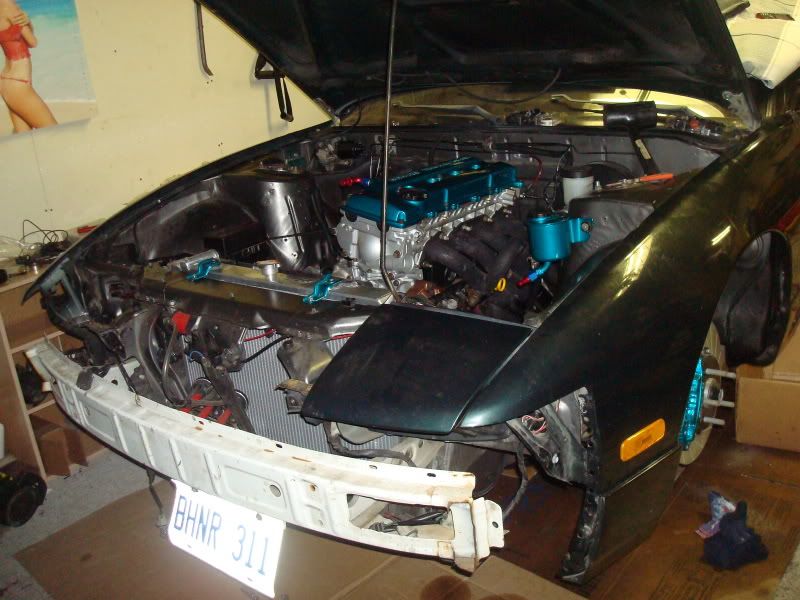
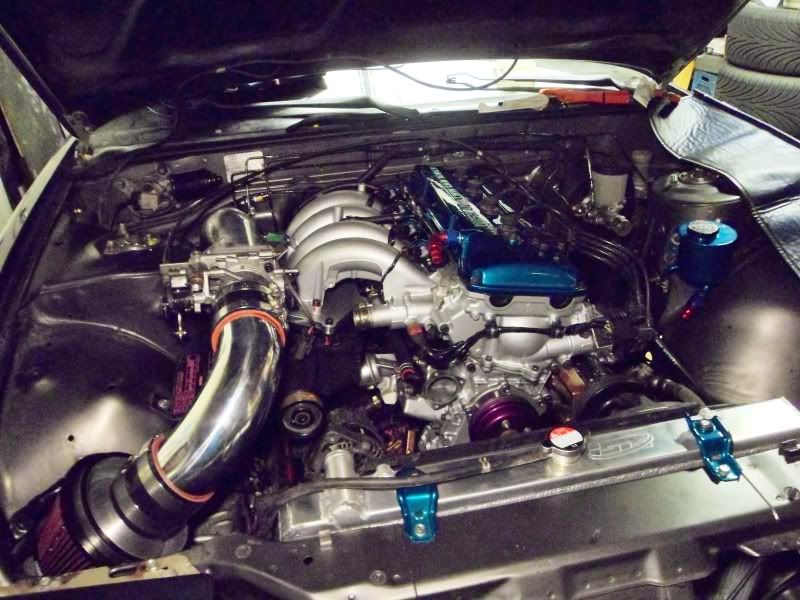
Test fit
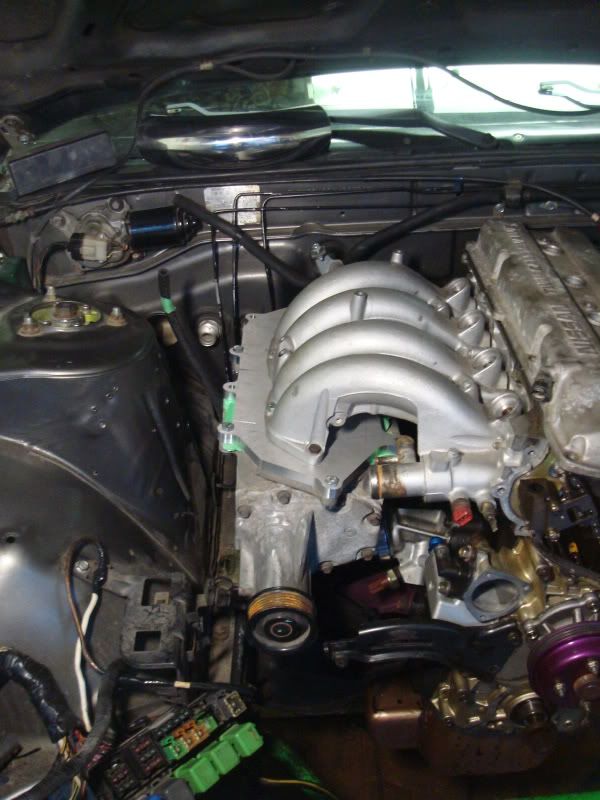
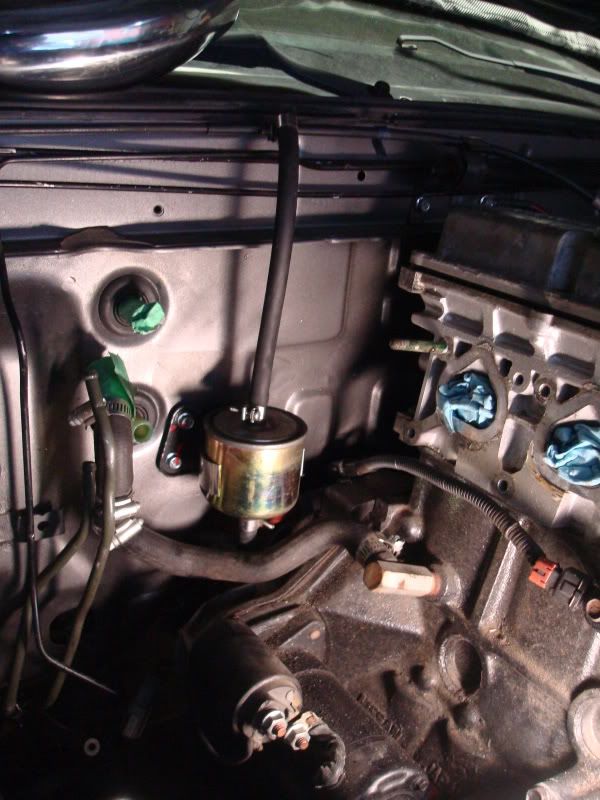
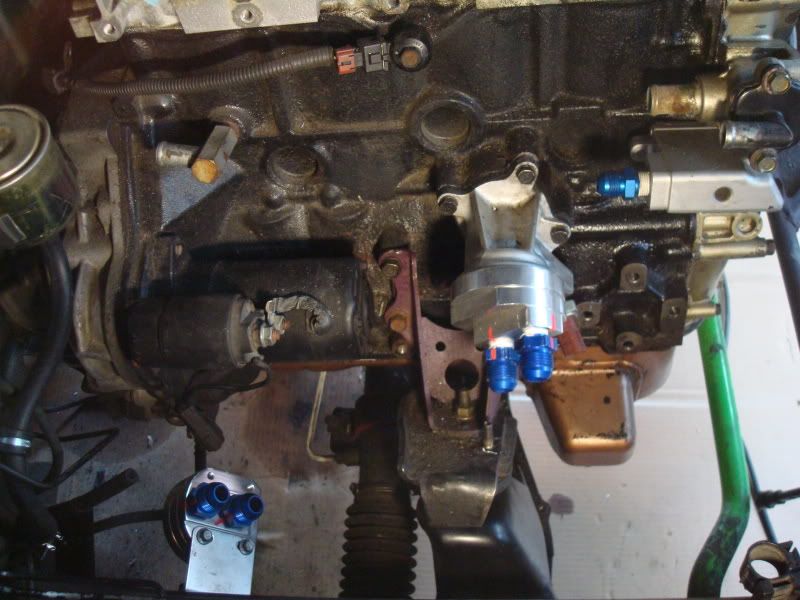
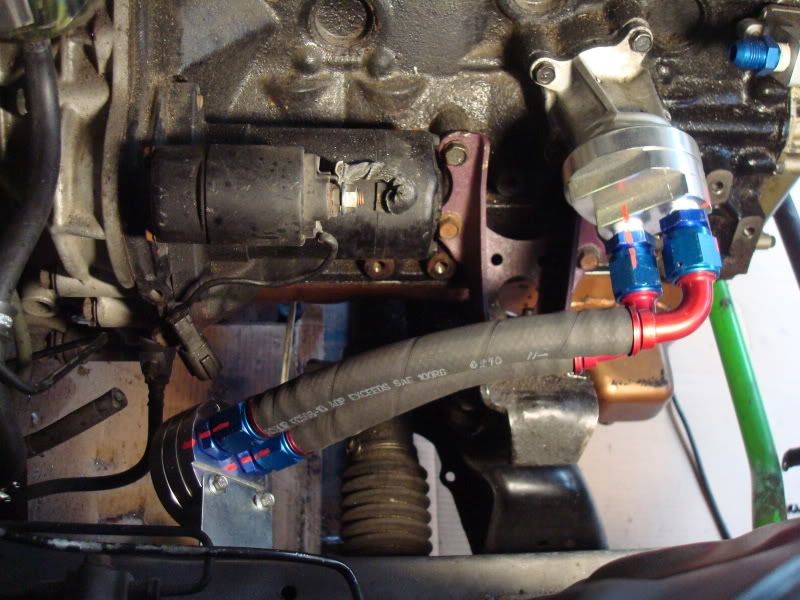
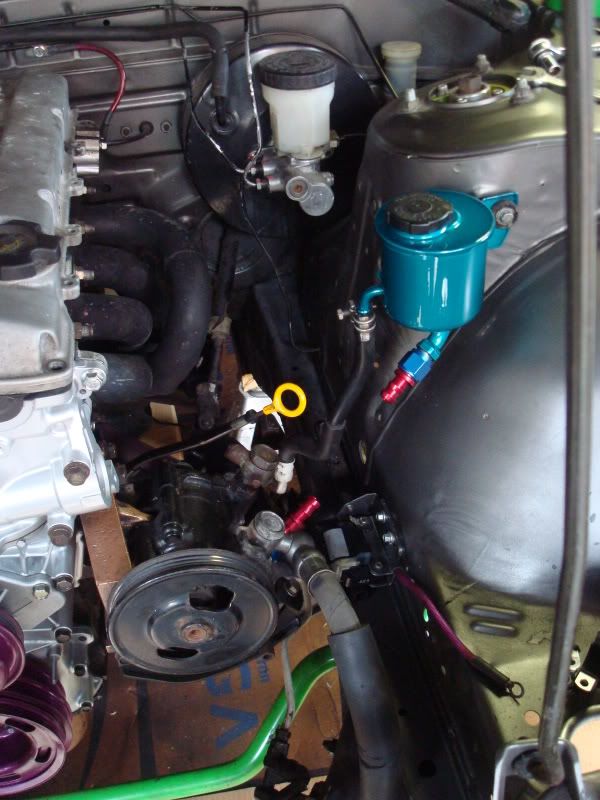
Relocated/tucked the fuel lines and filter
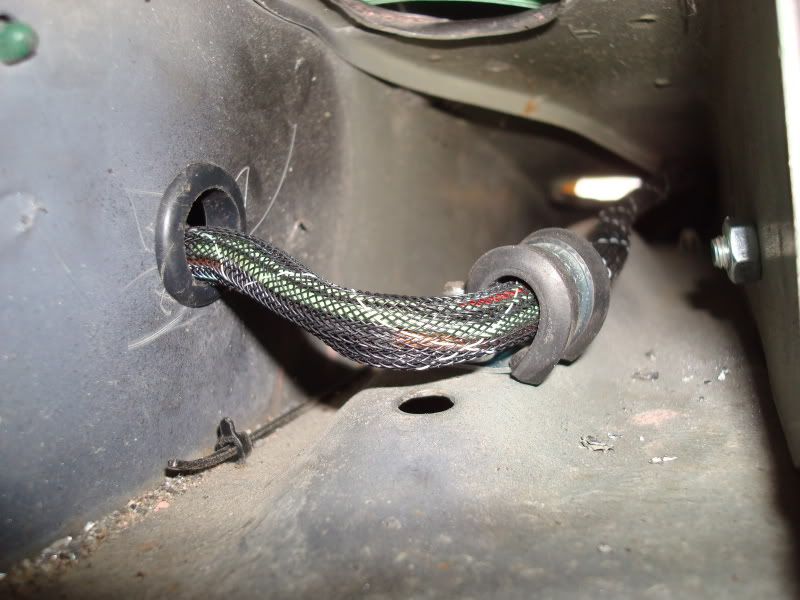
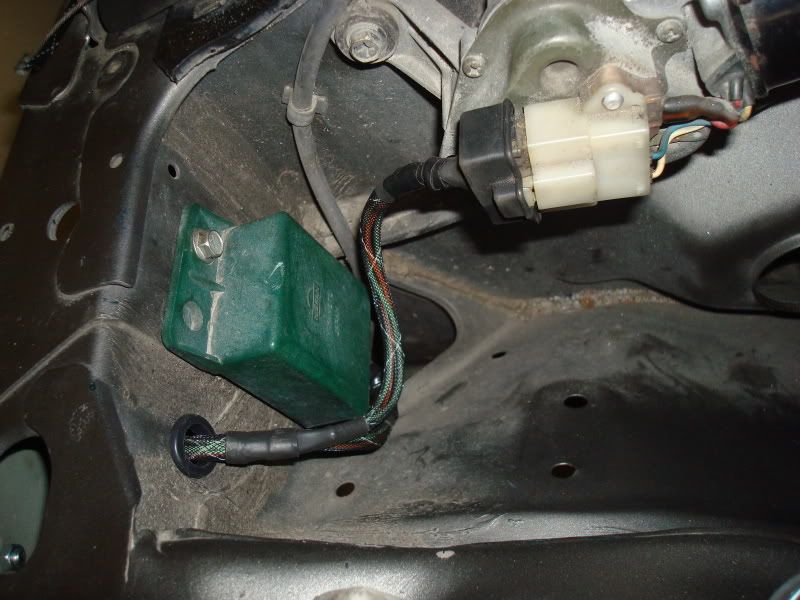
Did some wiring shit, I was originally planning on doing alot more tucking but after unpinning, shortening, sleeving, shrinking, and running the wiper motor bundle through the fender rail, I realised how time consuming that stuff is and due to time restrictions gave up on that idea for now. Ended up just running the remaining harness on the outside of the fender rail again. Adel clamps errywhere.
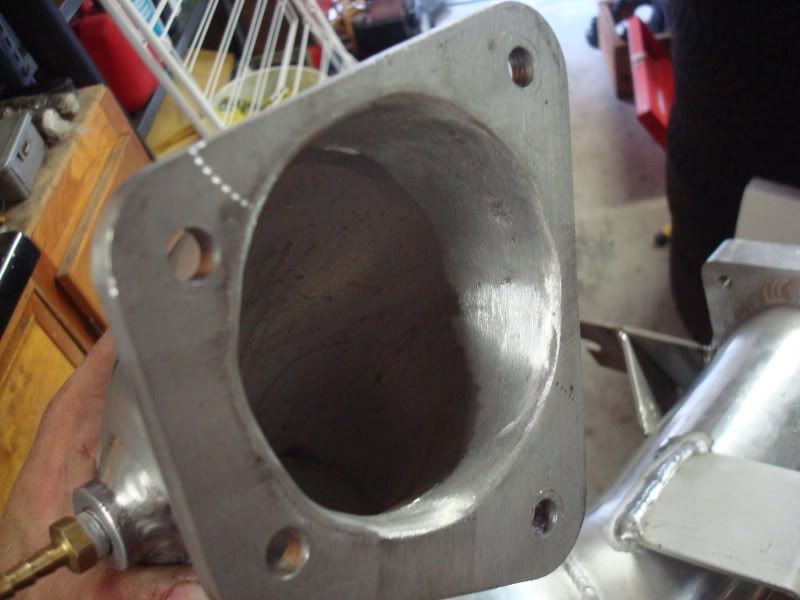
Tapped the throttle body flange and got the Q45 throttle body bolted on to check fitment. Again, wicked fitment. The thickness of the flange is due to the transition from 90mm at the TB side to 3" for the intake side for the pipe to the supercharger.
Flow so sick
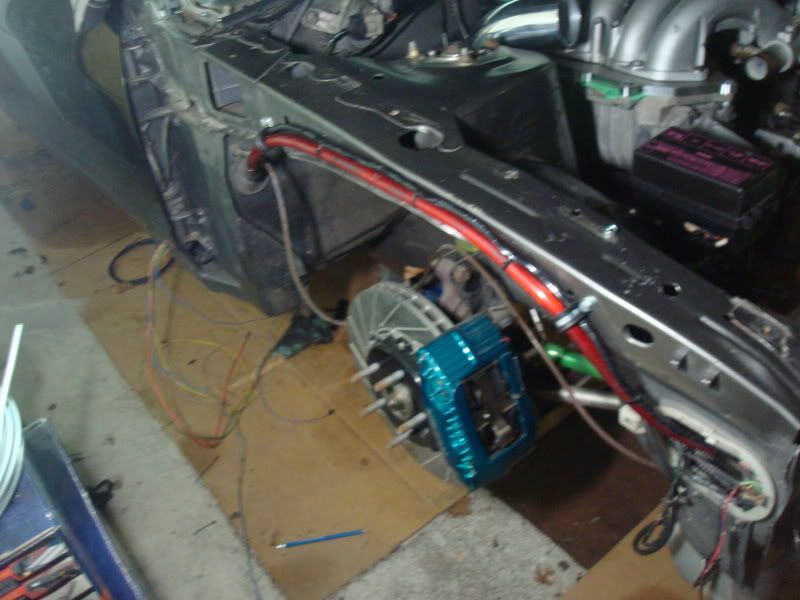
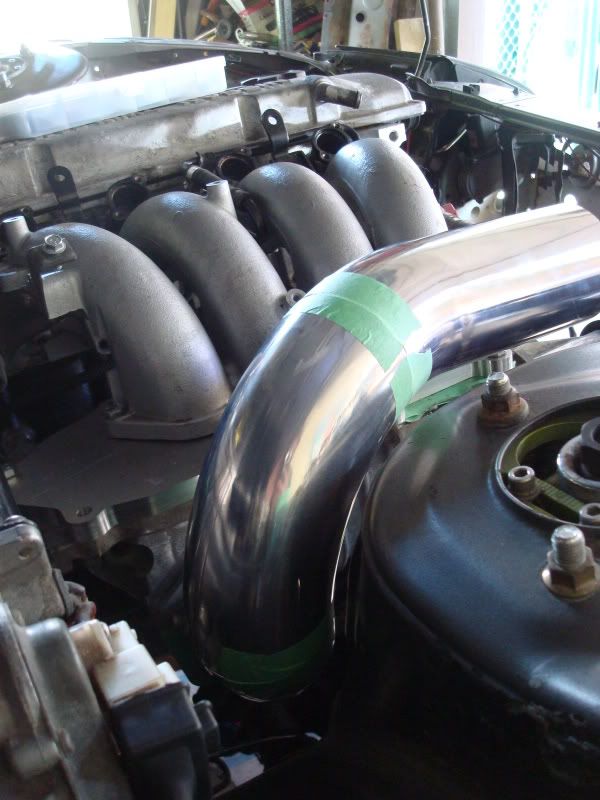
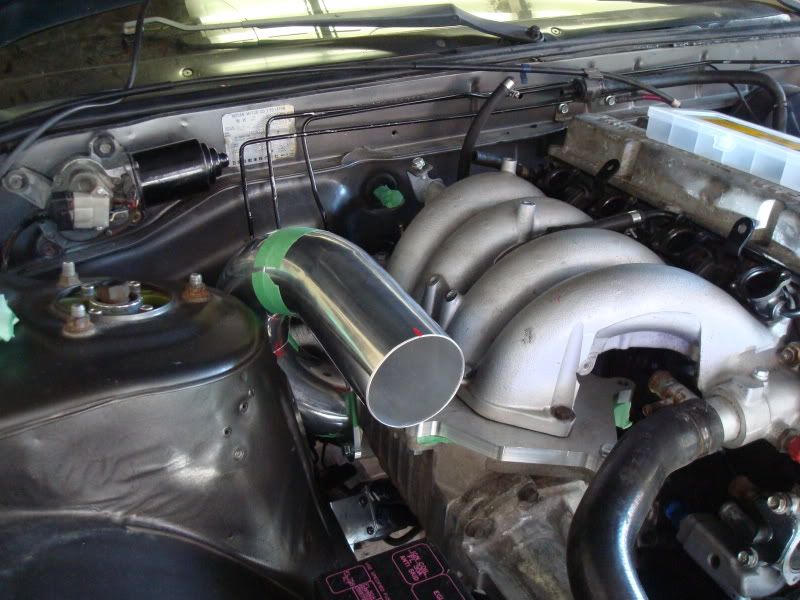
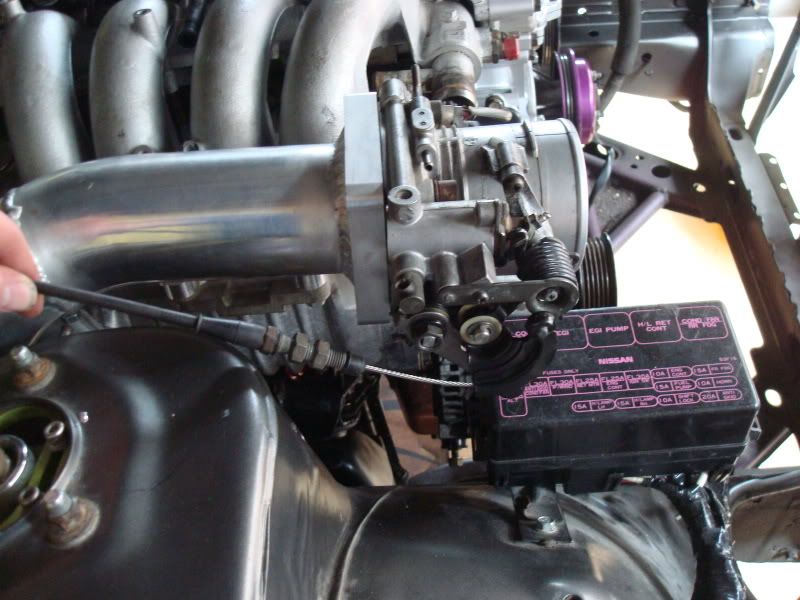
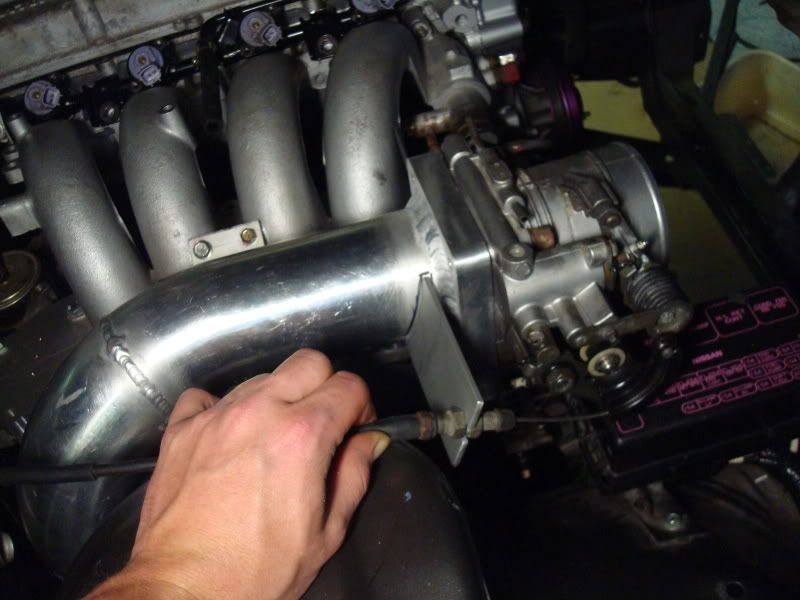
Managed to snake a intake pipe up by the strut tower and position the throttle body justt right. TB clearances with the hood, rad hose, fuse box and supercharger were pretty tight, not lot of room to work with.
Hoping to get it welded up this week by S13counterpart.
More next week.
So clean.
A build thread on son i ACTAULLY LIKE. that wiring and intake got me going!
I am glad you are doing the Supercharger on your car, can’t wait to see this thing when done.
Loving the attention to detail you put toward building this car.
btw, what size is that pulley on the supercharger?
this is great, in for the finished product! (with vids too obv…)
wow big shit happening!
you should start selling kits
good build! you have one of few hatchbacks i actually like! very nice and unique with the supercharger
Awesome progress, I wish I coulda seen it in person when I got that BMC screw off ya lol
BTW, how did you route the e-brake cable trough the subframe with those brackets? Same as the S13 e-brake route? I’ll be doing mine very soon.
Thanks for the comment guys!
SG Inspiried! I wish I could do the rest of the harness the same way but with the car being in scarborough and me living in barrie it’s just not possible if I want it done for the summer.
Thanks Ryan dude. The pulley is just the stock size at 2.64", should run somewhere around 8-10psi like this. I need water/meth injection to run any higher.
Yeup, just routed it the same as the stock cables. You might be able to route then through the traction rod supports, mine are braced in though so I couldnt try.
Theres actually a company that sells kits already, they wernt around when I started collecting parts and I’m using this project as my final tech project for school, thats why im not buying anything pre-made. Plus I’m cheap and like making my own shit.
Been awhile since i updated, projects coming along slowly still but it’s almost done. Next week or two it should be ready for some tuningg.
Oil filter relocation
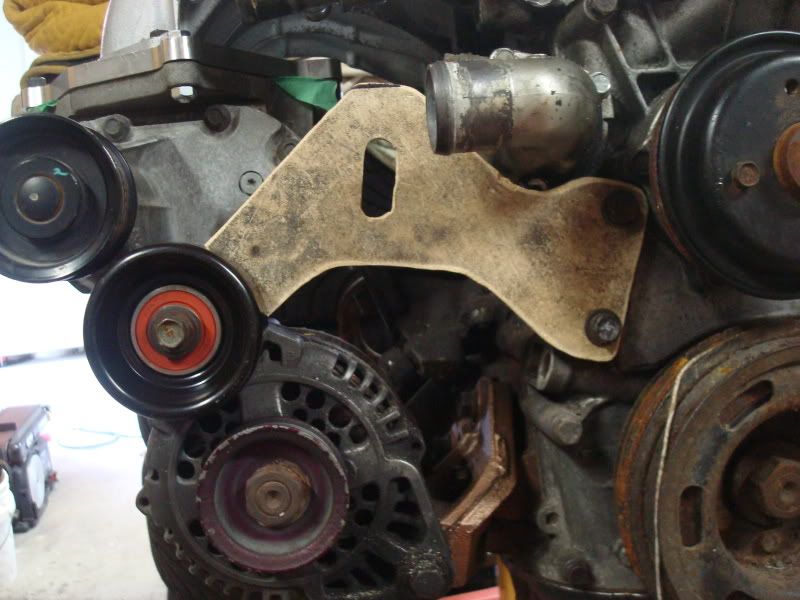
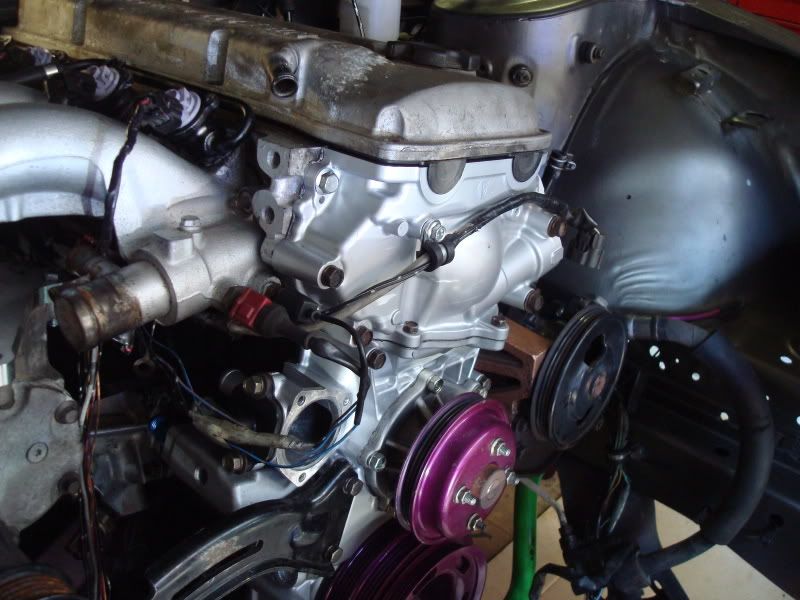
Started mocking up the alternator relocation bracket/pulley setup. Got a standard smooth idler pulley from crappy tire, and picked up a tensioner pulley off a Q45 from the junkyard. Final design ended up being abit different from the mockup
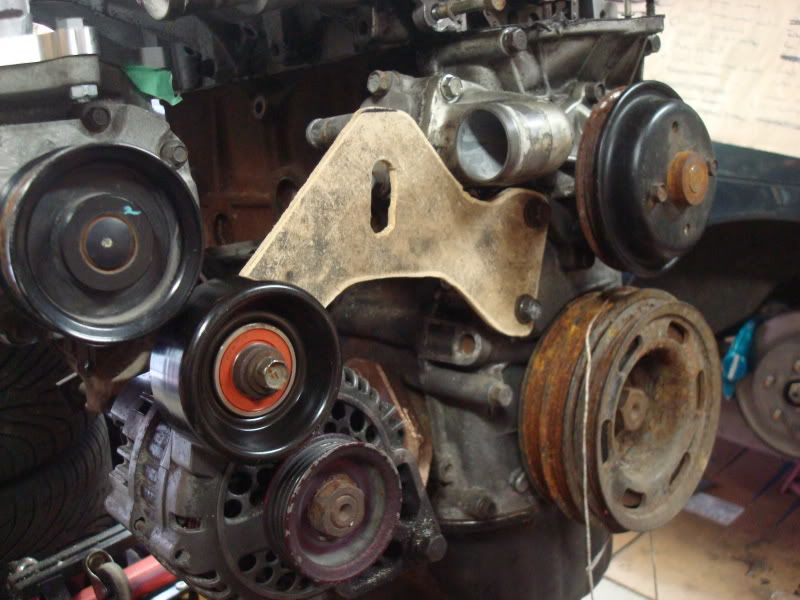
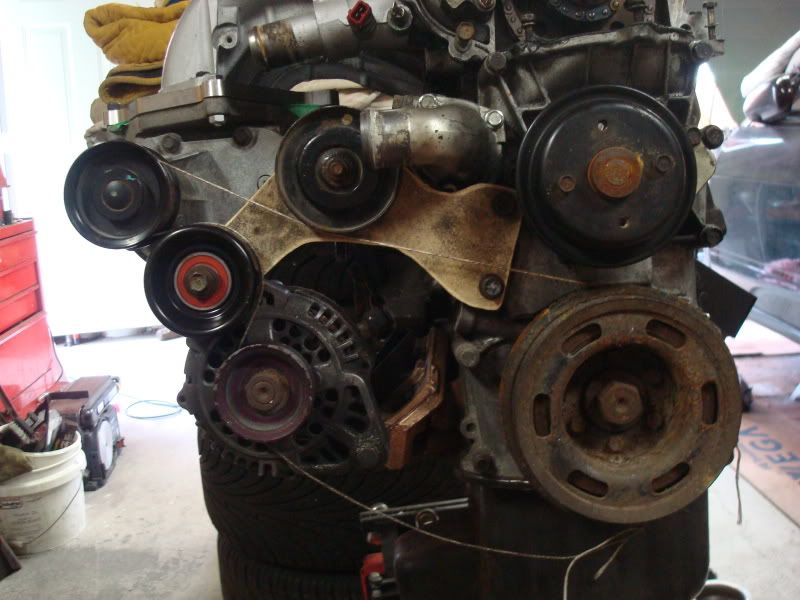
Modeled it in CAD to get it CNC’d
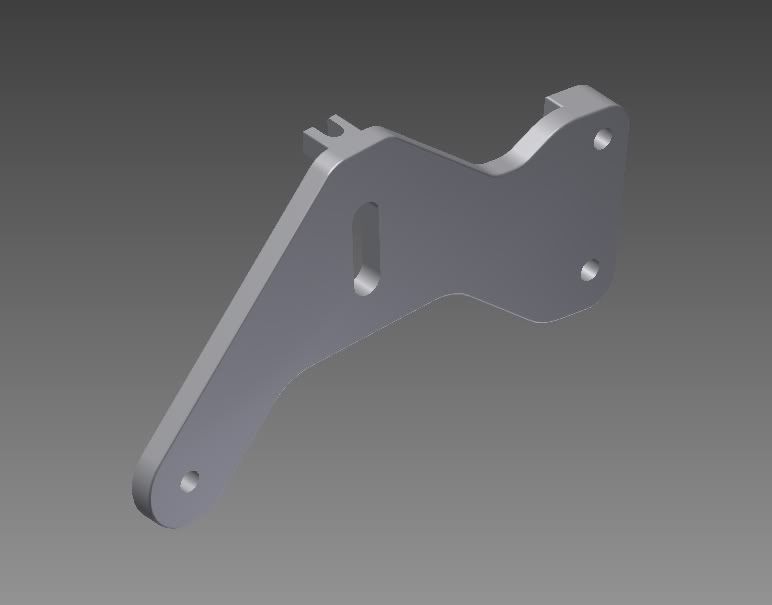
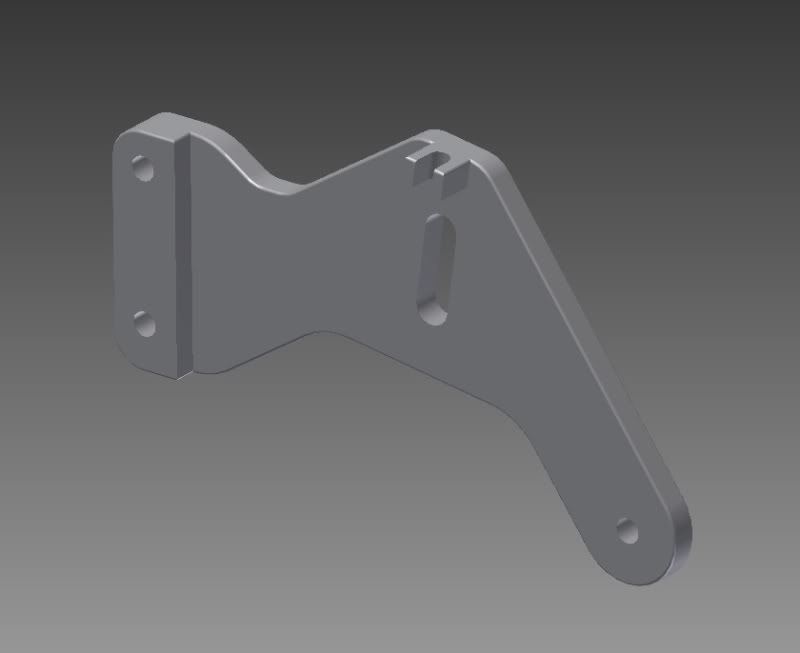
Gave the file to the schools machine shop to get made and they let the co-op stupdent do it… I have no idea how they’re paying him to work in the shop, or thats he even touched a machine or seen a engineering drawing before. He paid no attention to any of the tolerences or even hole sizes. The slot was about 5mm too wide, the hole in the tab 2mm too small, the mounting pad 1mm too small, and so on and so forth. Waited 2 weeks for useless garbage, now I’ve gotta wait anouther 2 weeks get it done properly hopefully.
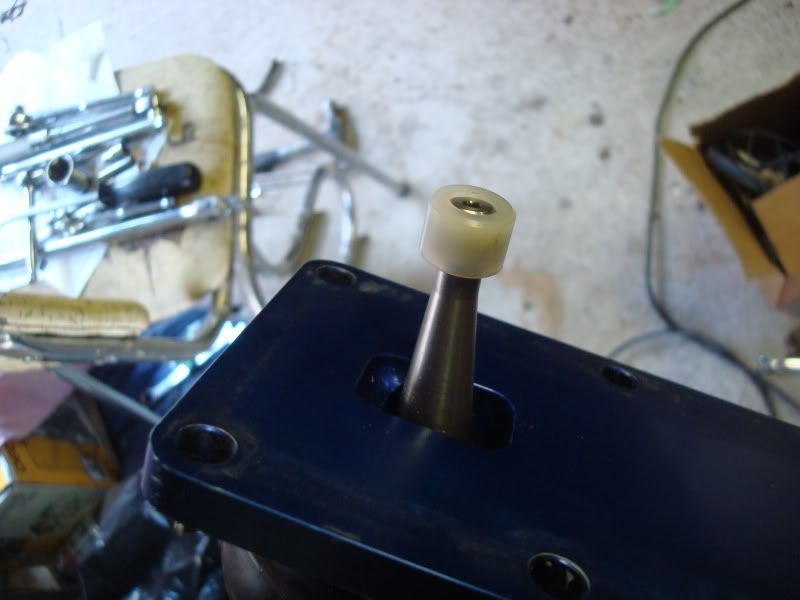
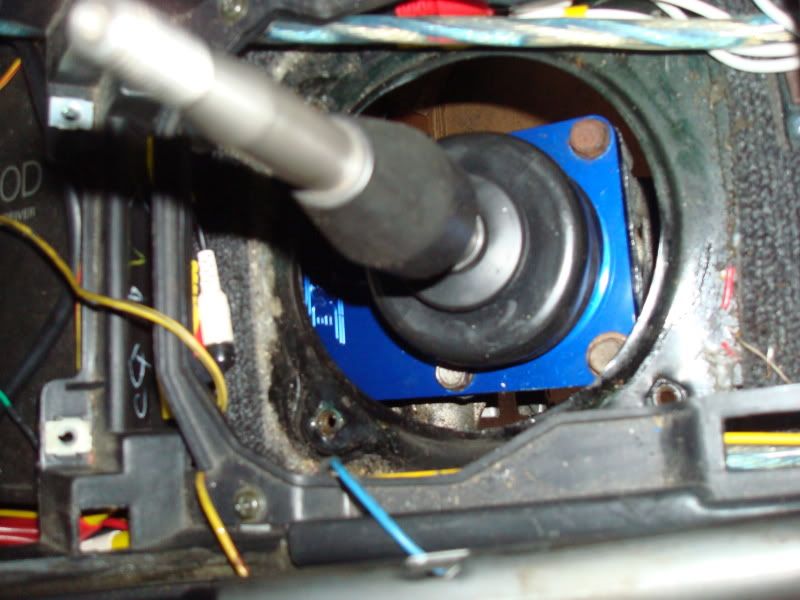
Installed a B&M shifter w/ new OEM bushing
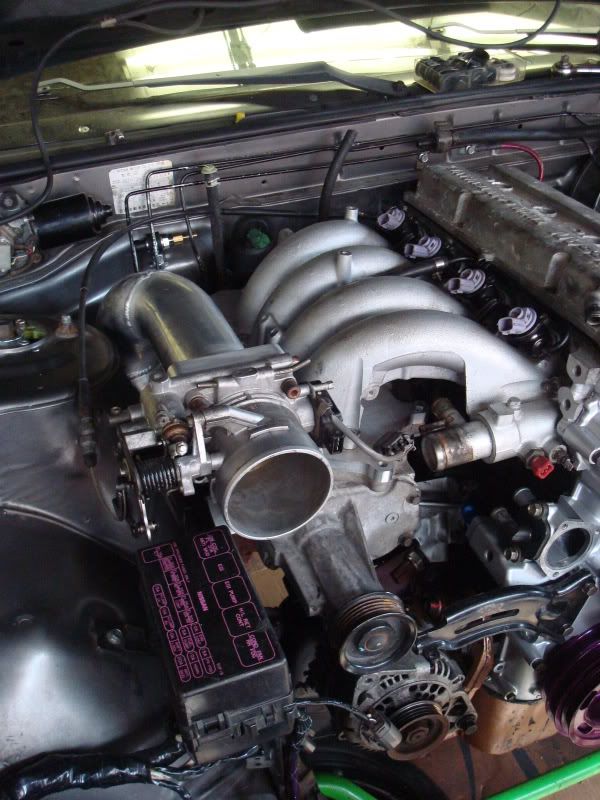
Got the intake pipe back from being welded, fit great
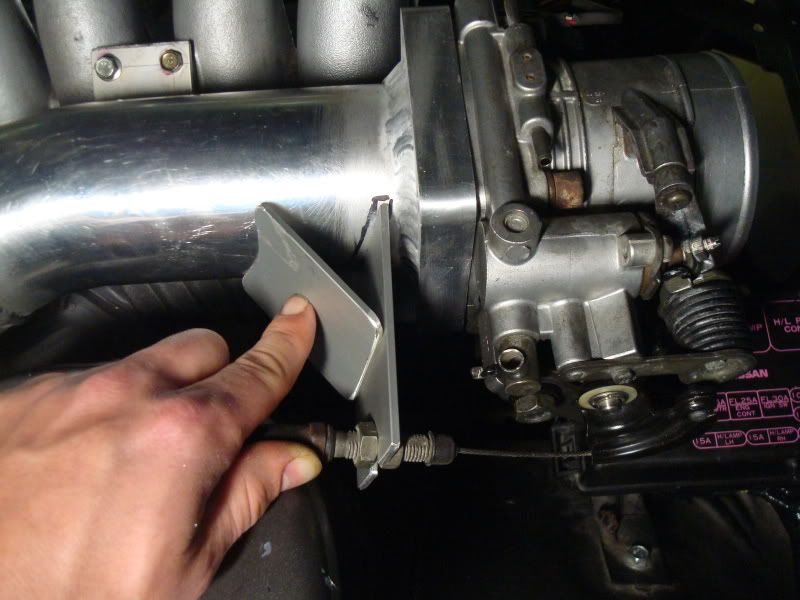
Started working on the throttle cable bracket
Ready to be welded. Looking back I hate how I braced the throttle cable bracket, its big and ugly, I should have just cut a triagle piece to brace it perpendicularly. Oh well, its already welded, I might redo it in the future if it bugs me.
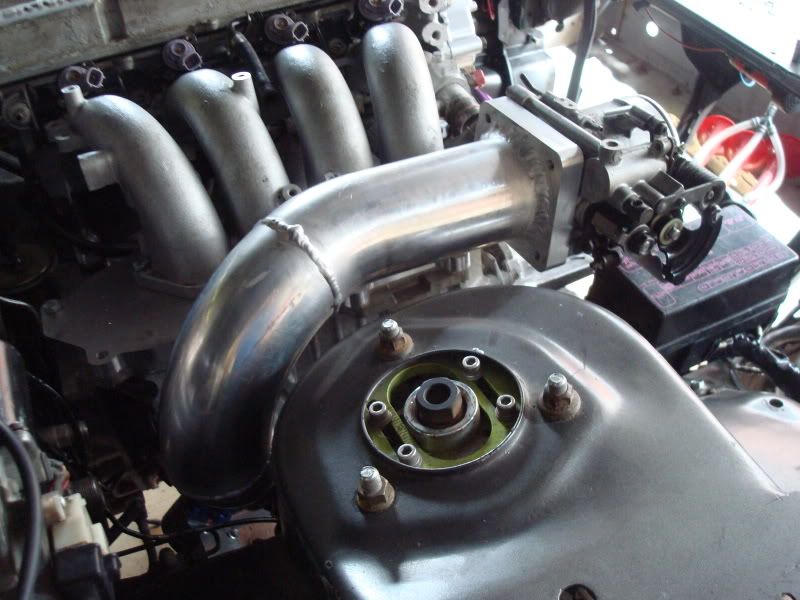
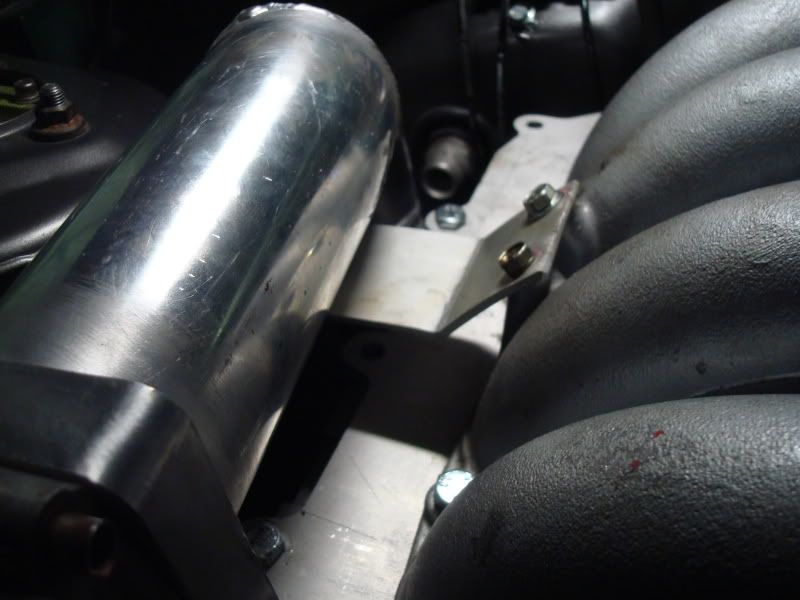
Braced the intake to the intake manifold
Unloomed the harness, removed everything that was unnessesary, added in wiring for the MAP sensor, IAT senor, and relay switch wires for each individual e-fan hooked up to the AEM low side outputs. Set the harness out, tried to tuck it/make it as clean as possible whenever i could.

1/8 NPT bung in the thermostat housing for the Defi water temp sensor.
PS reservoir mounted, just gotta make the main feed hose using the AN stuff there.
---------- Post added at 11:09 PM ---------- Previous post was at 10:48 PM ----------
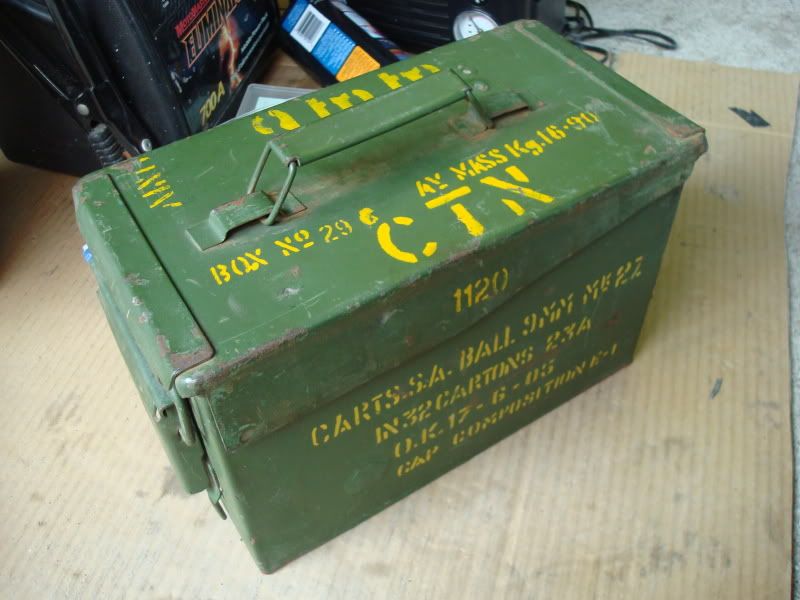
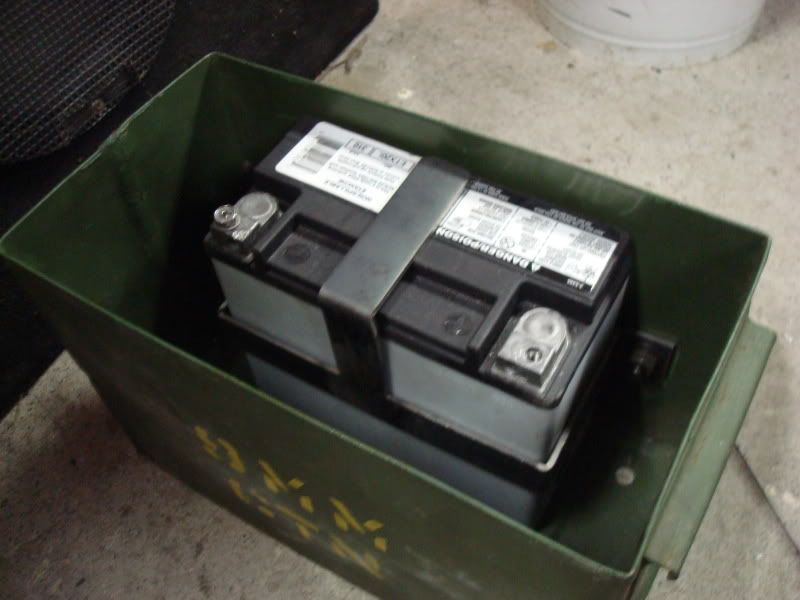
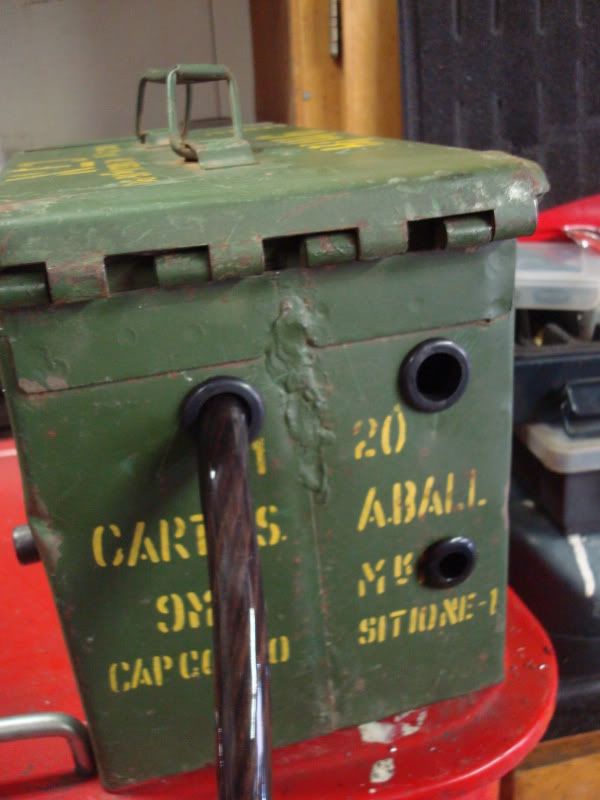
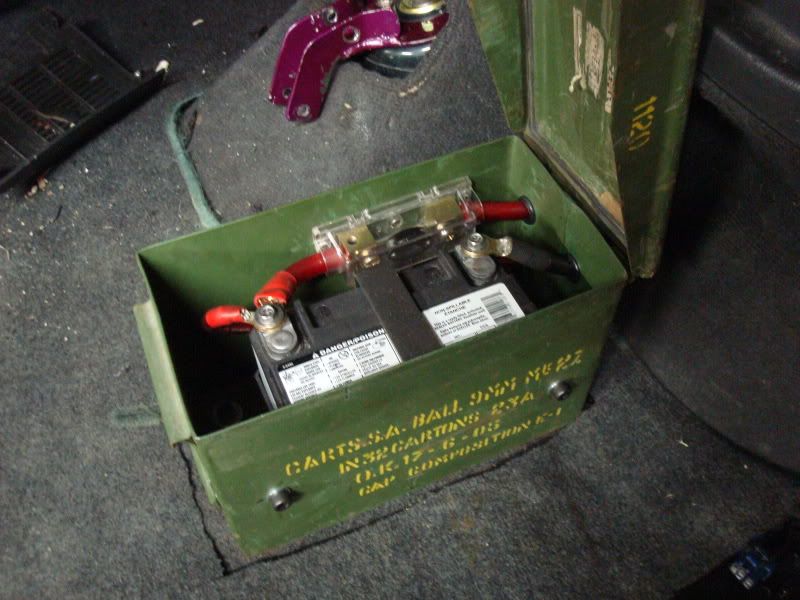
Started on a gangster battery box. Didnt want to spend $100+ on a braille b205 mount so i went to Princess auto and picked up a surplus army ammo crate
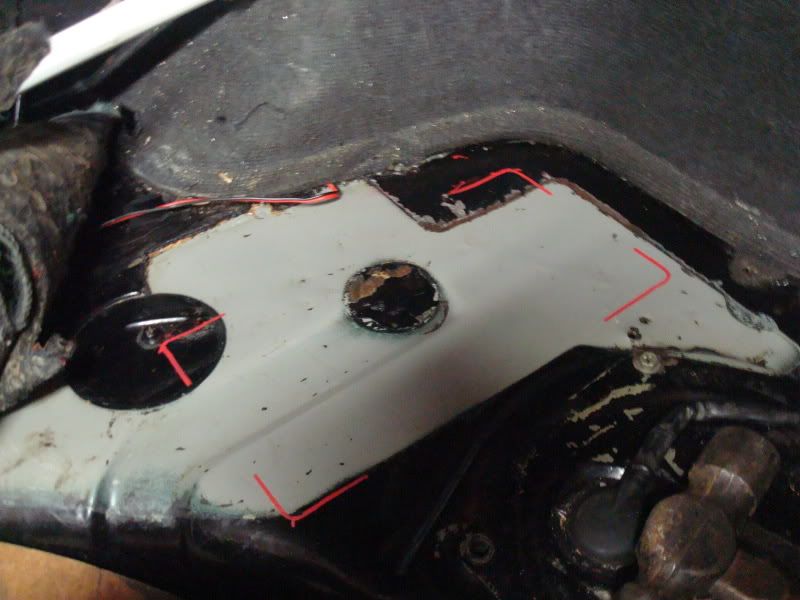
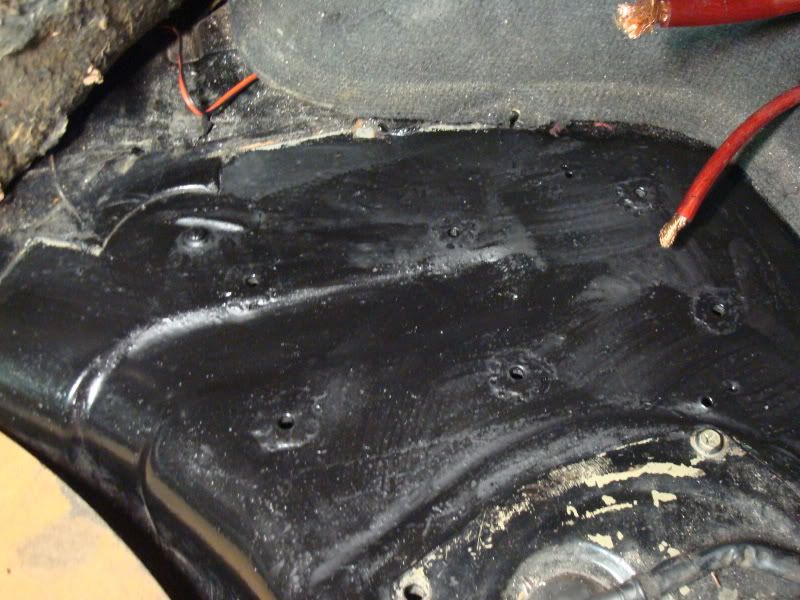
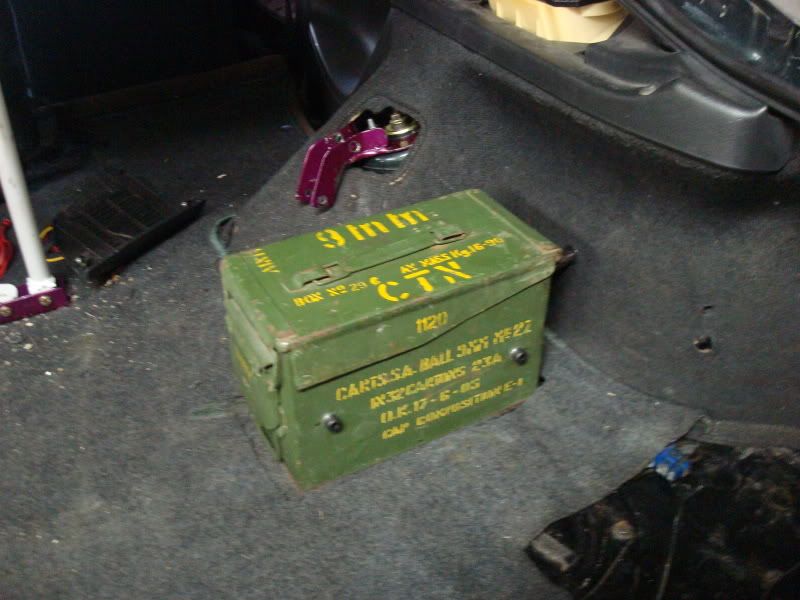
Decided on a spot, removed the sound detoning and cleaned it up so it could mount perfectly flat
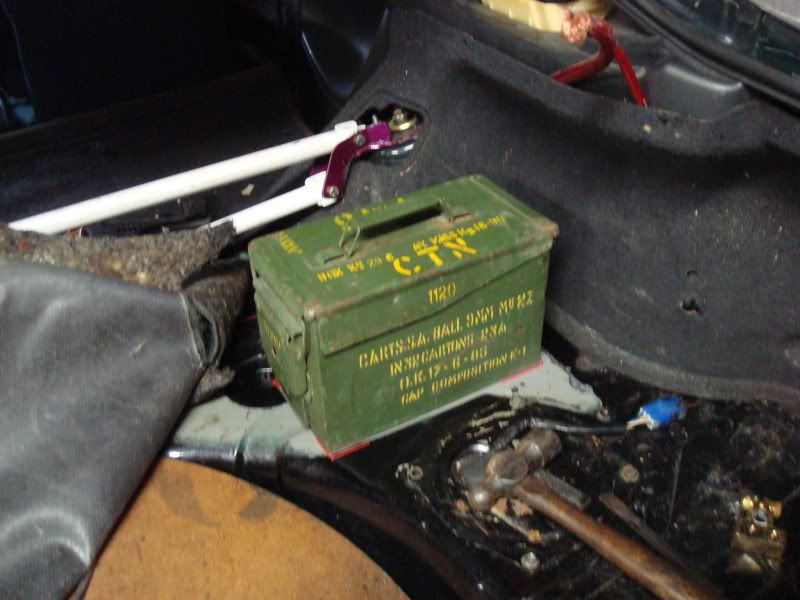
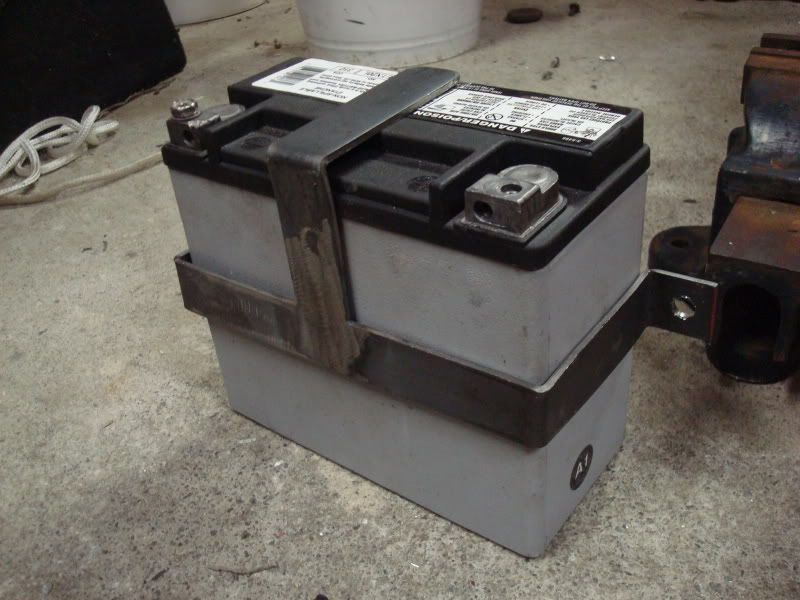
Made the hold down for the battery and bolted it in
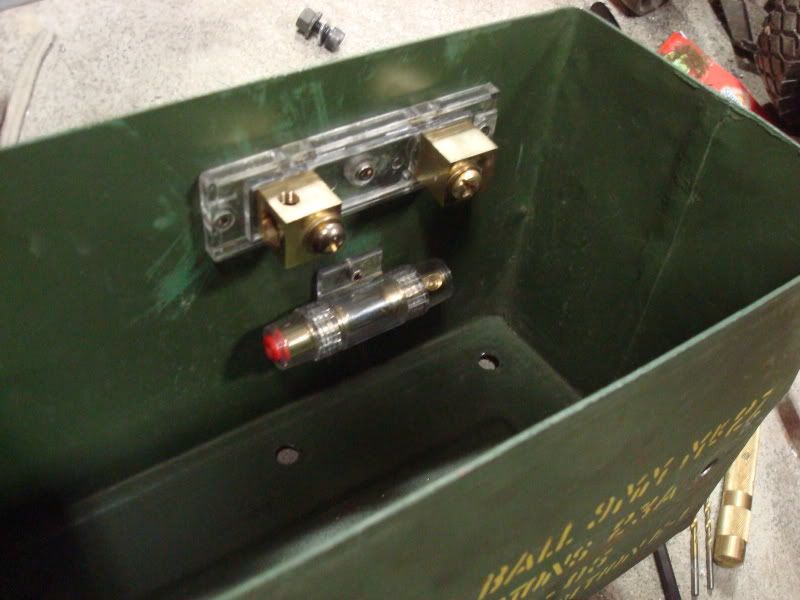
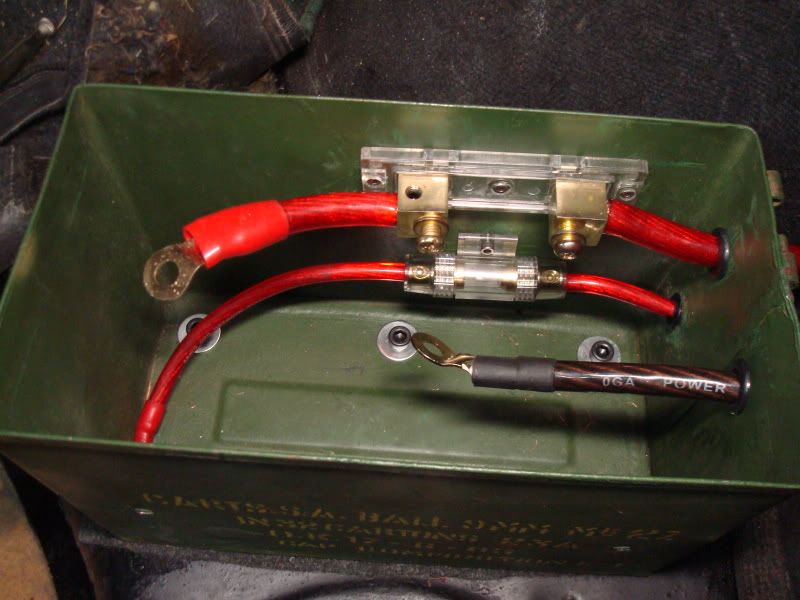
Mounted the main fuse and amp fuse
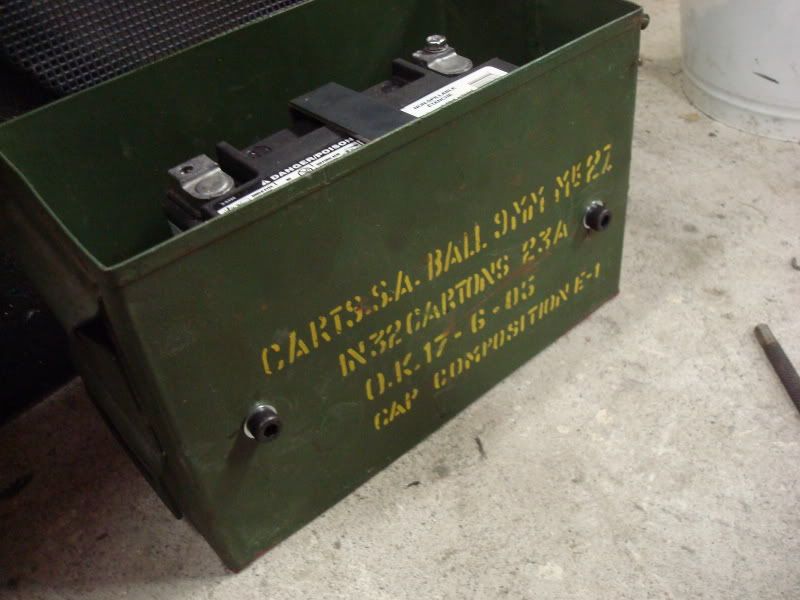
All in
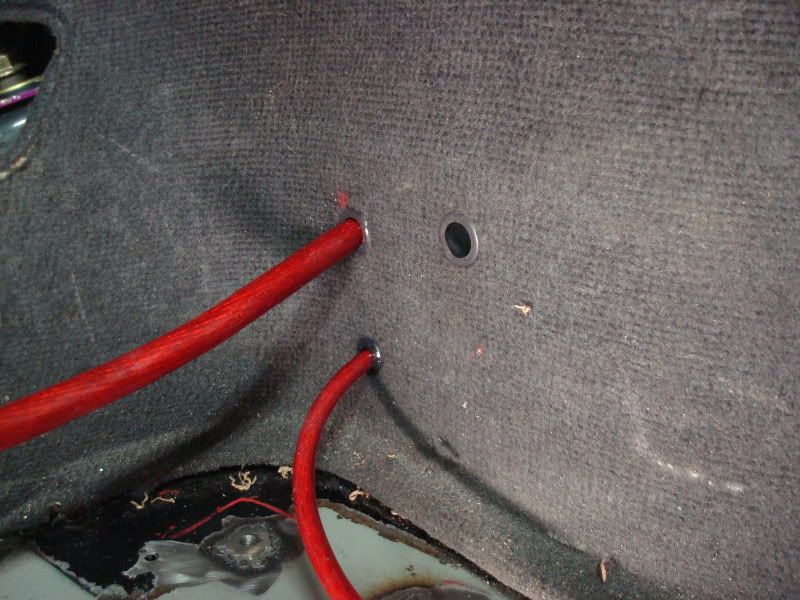
Grommets!
Welded nuts into the floor to mount the box, then POR15’d over it
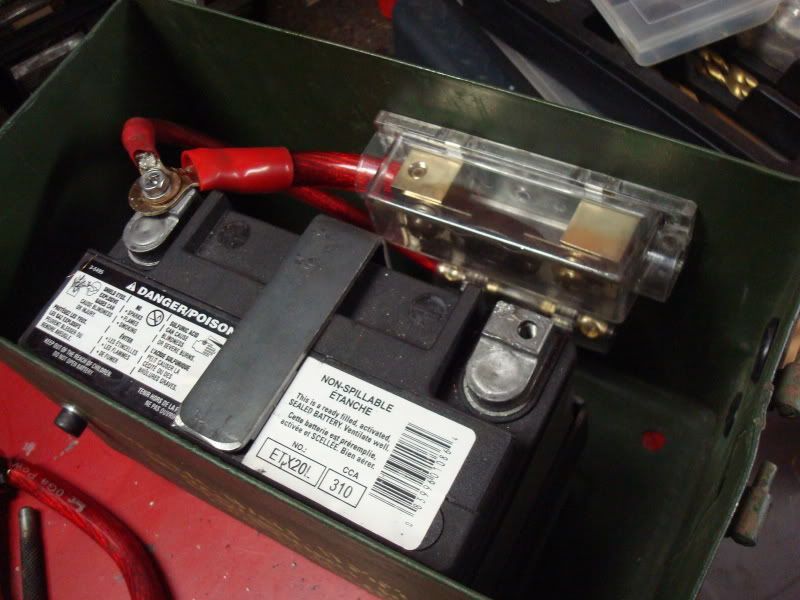
Bolted the box down, bolted the fuses in
And done!
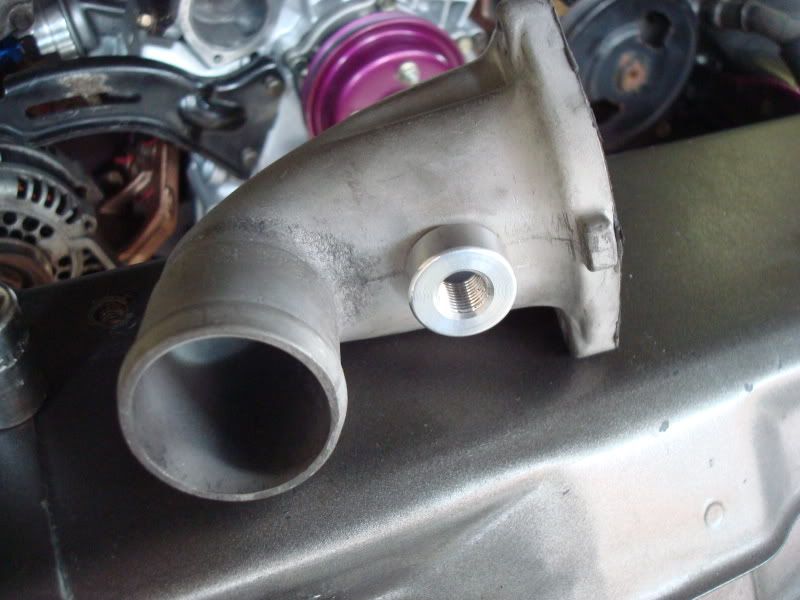
Here the intake with the brackets welded on, and a 1/8NPT bung to actuate the recirc valve
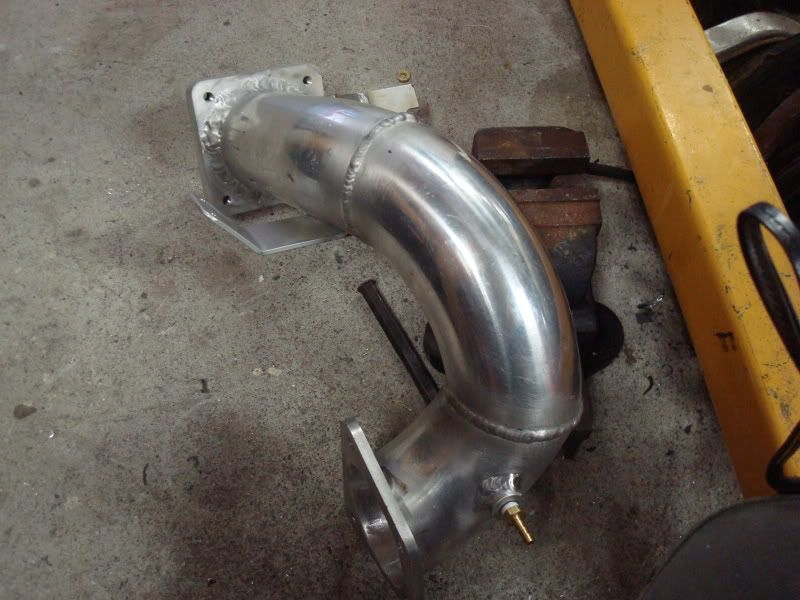

Smoothed out the incoming/outgoing welds
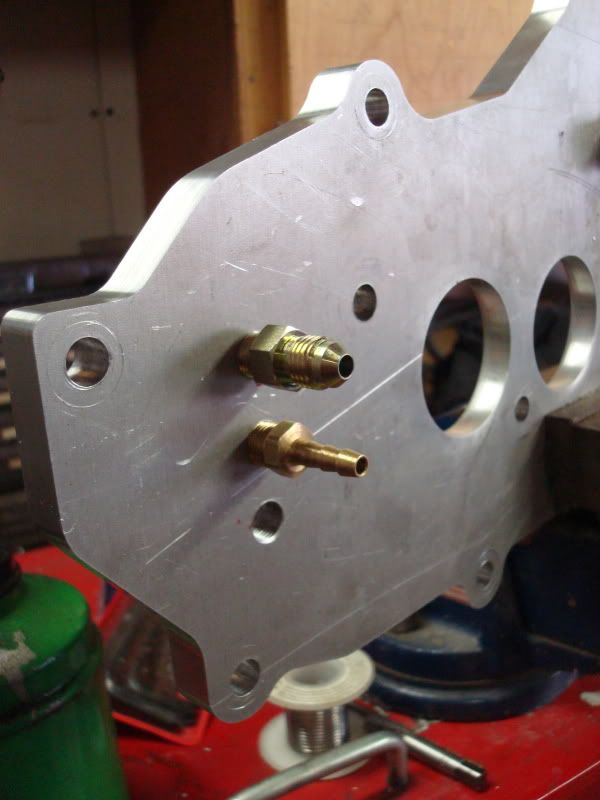
Drilled and tapped the adapter plate for the AEM IAT sensor and three vacuum bungs for boost sensor, FPR and MAP sensor

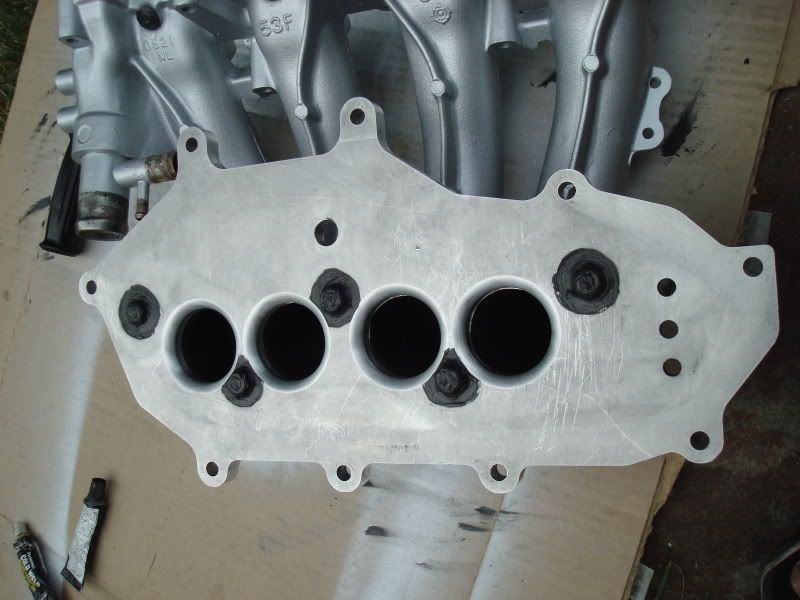
Mounted up tbe adapter plate to the upper intake mani for good. Sealed all the bolts to make sure I dont have any minor vacuum leaks.
As I left it. More next weekend hopefully.
+1 on the ETX20 battery.
I’m not sure if you did your research but that’s pro!
^ Of course, exact same as the muchh more expensive Braille b2015.
Small teaser, I’ll post more when I’m not so tired.
Why’d you put that amp fuse there? It’s in such an inaccessible position with the battery in, it actually bothers me looking at it hahaha!
Very nice!
Looking good. Trying to catch the vibe of the colour scheme but imo, it’s working and it’s not. iffy.
I bought the battery terminals for that battery and they were expensive as hell lol. difficult to find. typical kaka tire ones don’t work as the threaded hole is a small metric gauge.
It’s actually still accessible, tight, but still accessable. And i’ve never had to change an amp fuse in my life, so really its the least of my worries, haha.
The colour in the last pic is really shitty and edited cause the pics was really dark. The purple pieces arn’t really there by choice, their just left over from my last colour scheme and I was too lazy to repaint em.
The thread in the batter are just standard M6, oddesey, hawk and braille all use the same thread pitch . You should be able to pic up M6 to SAE terminal adapters for like 10-15 bucks.