Hopefully you get them lifters!
Thanks guys
I picked my injectors up from being cleaned and flow tested at New Era, two of them are crap, but I’ve got four more on the way.
#1 and #4 were pretty gummed up, and then I guess the pintle on #1 broke off in the sonic cleaner, so now it flows like crazy, haha
Too bad the spray pattern is just a solid stream…
Surprising that the two good injectors are flowing at 37 pounds instead of the advertised 35 though.
I hate when people say lb/hr, cc/min sounds cooler and more precise 
Looks like good work, even though I’m no cavy fan. Keep it up!
Haha, if we just all switched over to the metric system it would be so much easier… I appreciate it though.
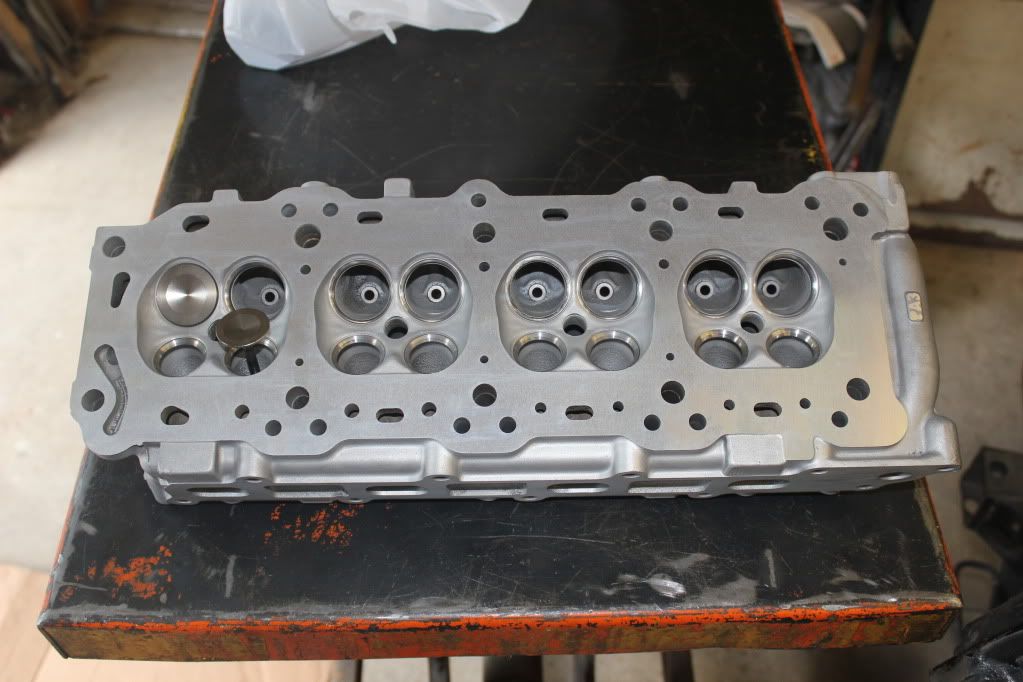
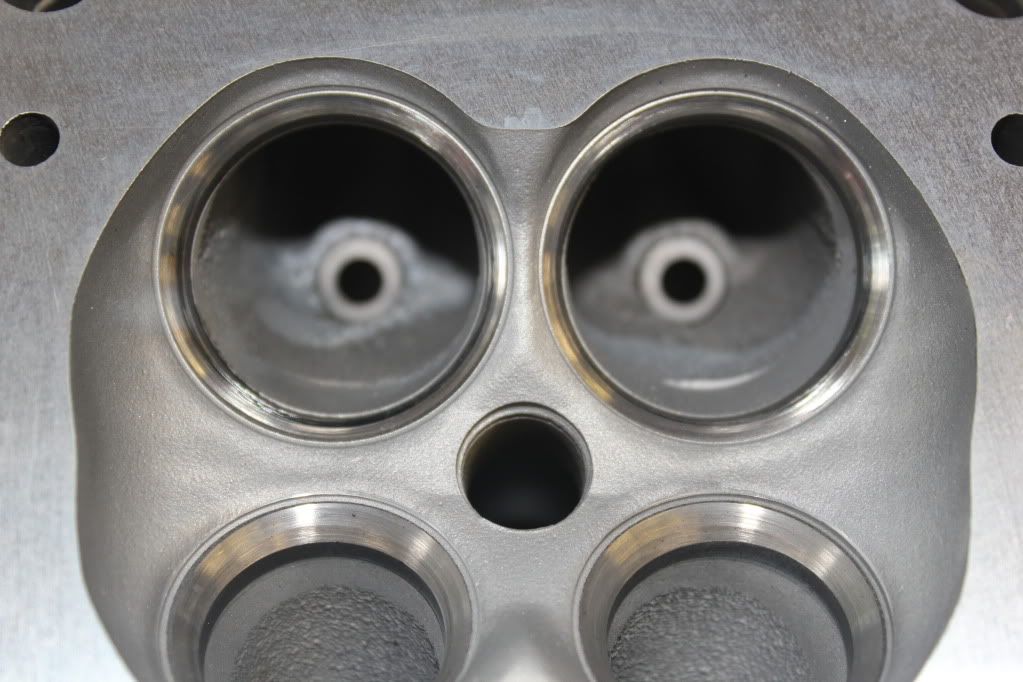
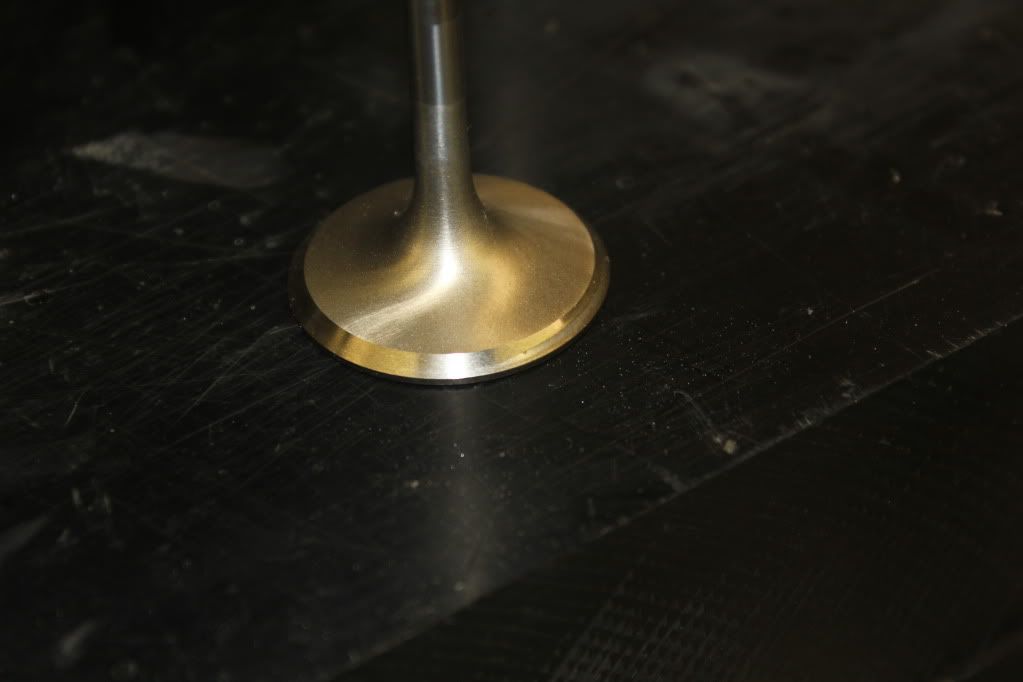
I picked up my head with a fresh 3 angle valve job, I ended up with a bent intake valve though, so I’m working on finding another.
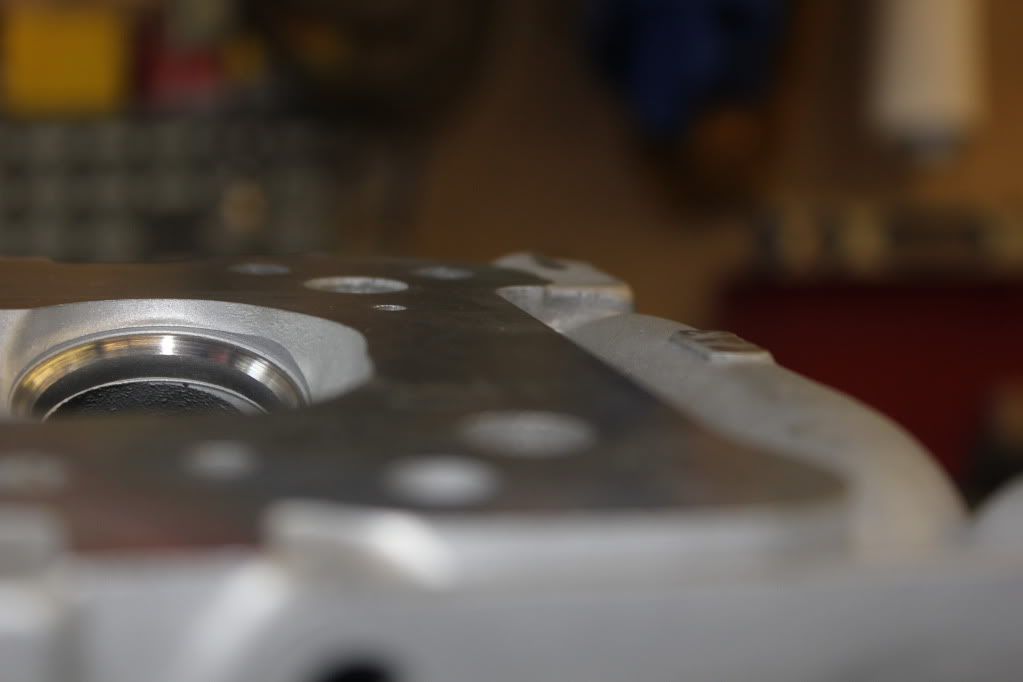
Decked .010 
If you look closely you can see where the valve isn’t lapped, showing that it’s bent
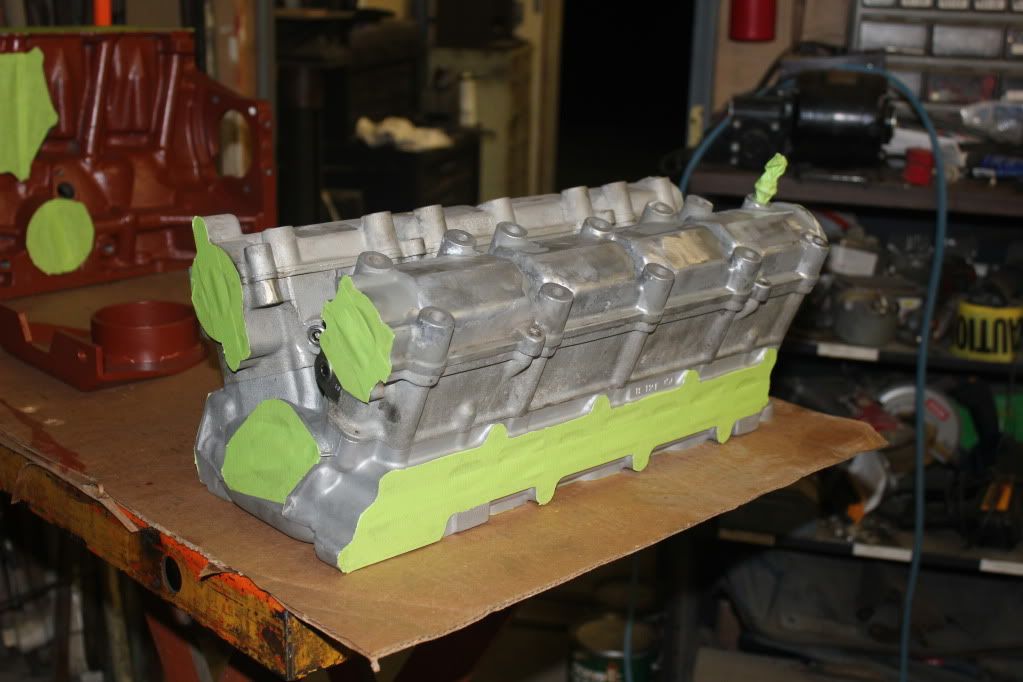
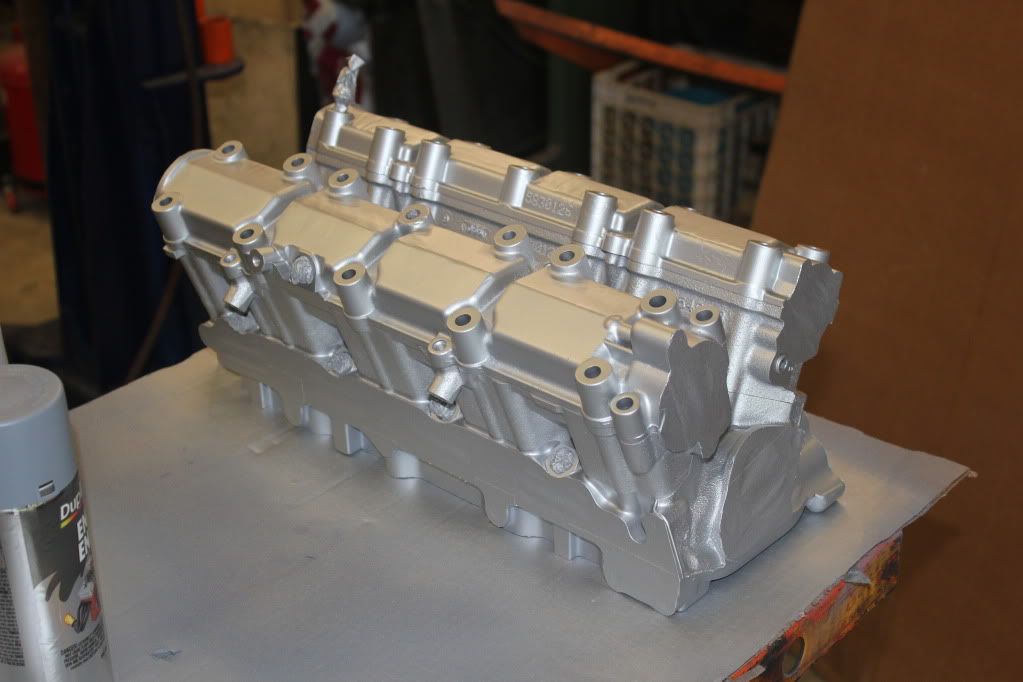
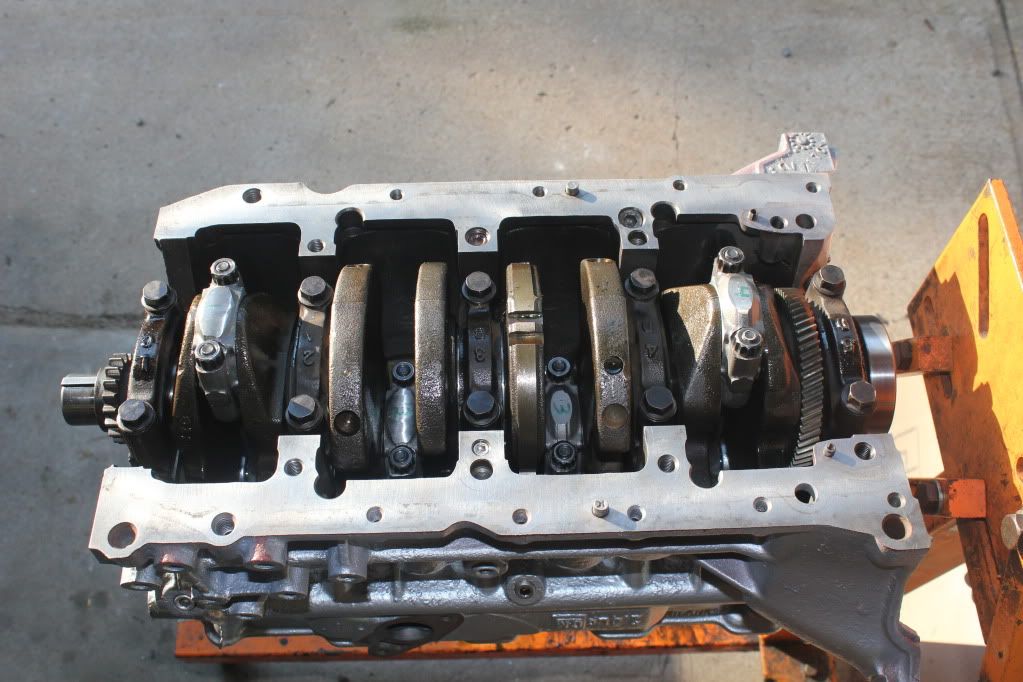
I spent most of the evening prepping my block, head and cam towers for paint
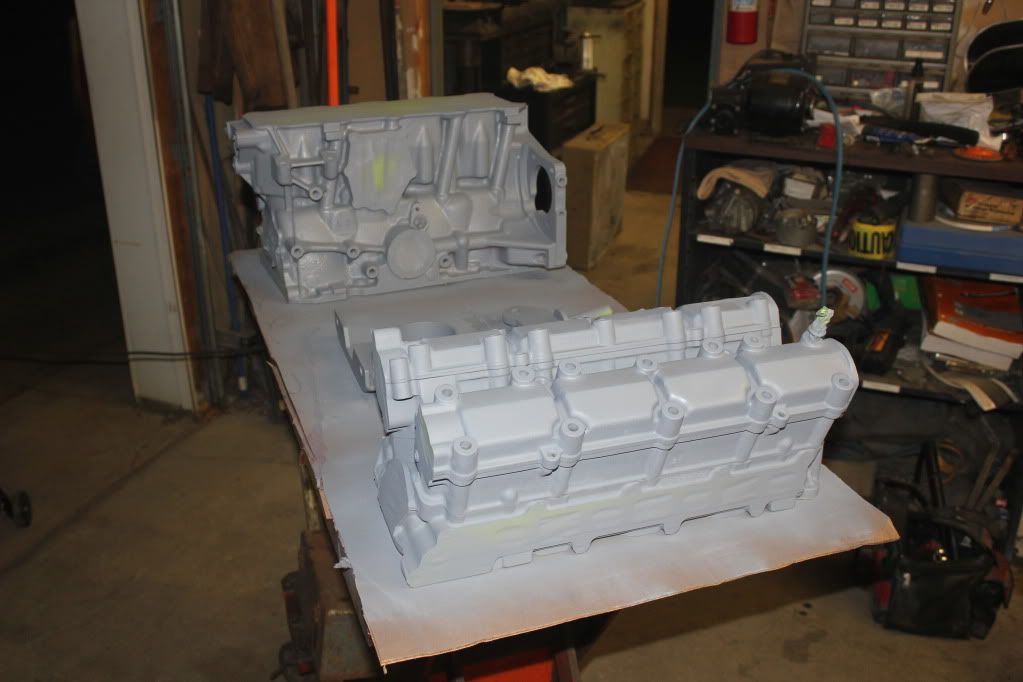
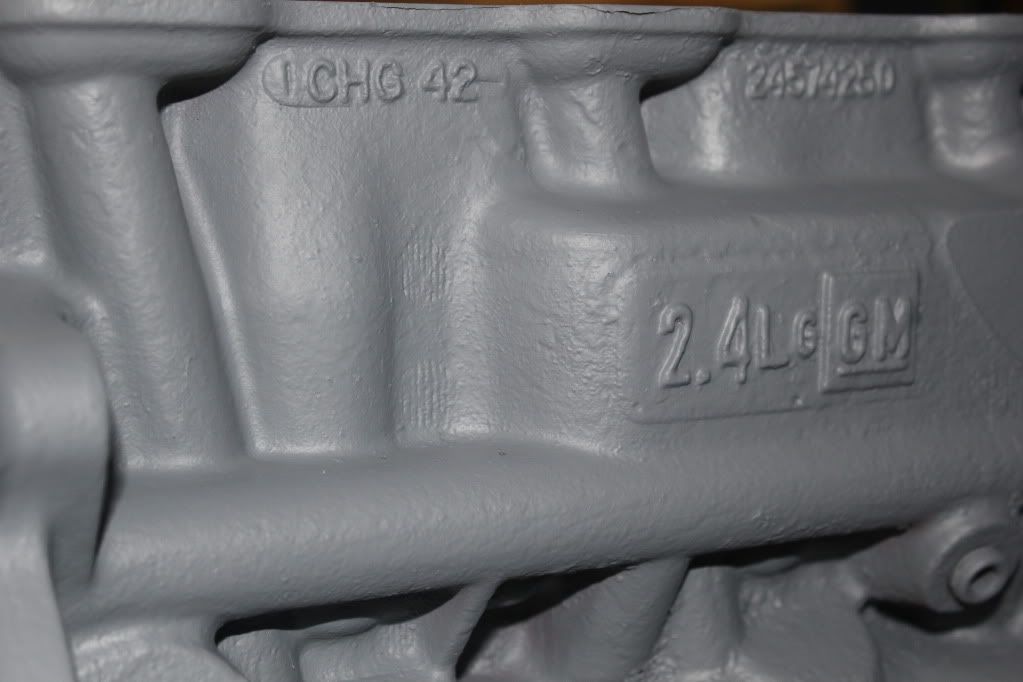
And then sprayed everything with primer
6mm pins and and NPT plugs showed up today as well
More paint tomorrow… how I hate painting…
I would have left the head the natural aluminum color and just cleared it at the most. Head looks pretty nice though. I take it you’re not doing any porting work?
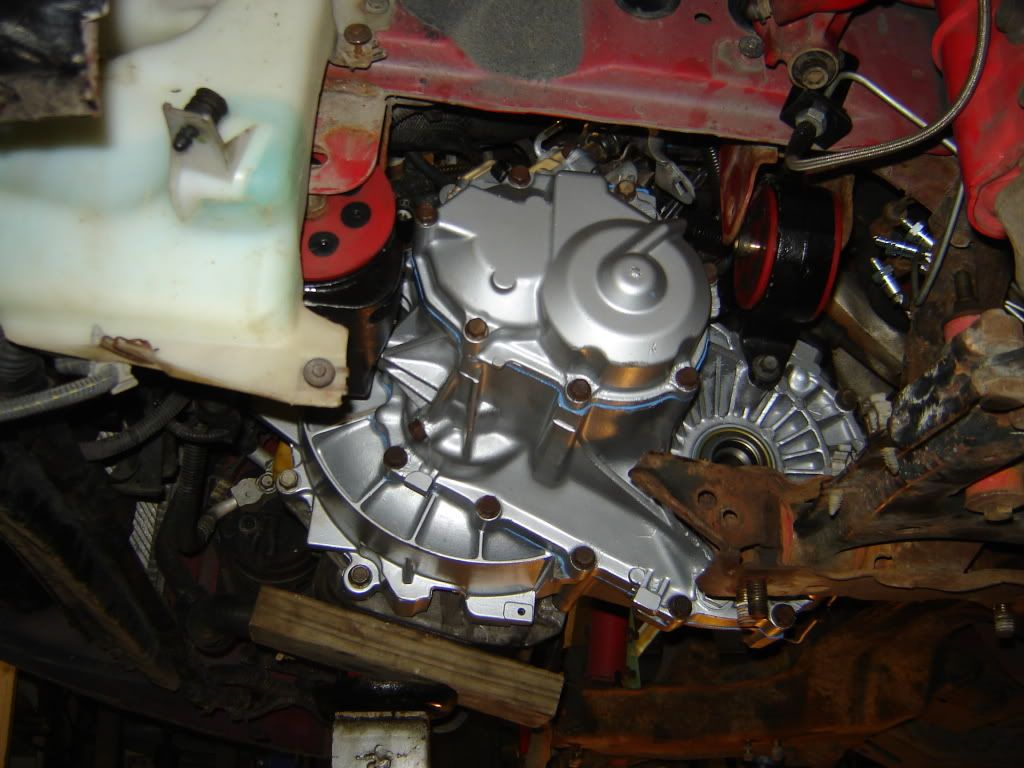
It will look like freshly cast aluminum after the bast coat, just like my transmission below. But yeah I ran out of money for head work, so this will have to do until I’m done with school. I have a spare head I can work on but I really just need my wheels back. I don’t have a steady enough hand to try porting it myself, haha.
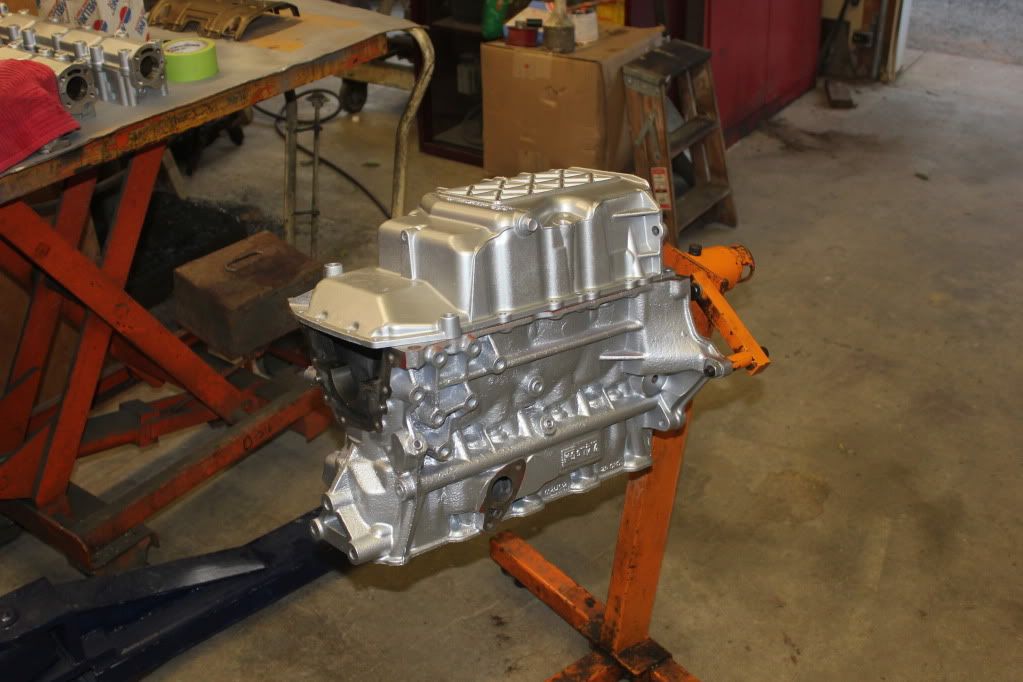
Finished painting the head, cam tower and block today
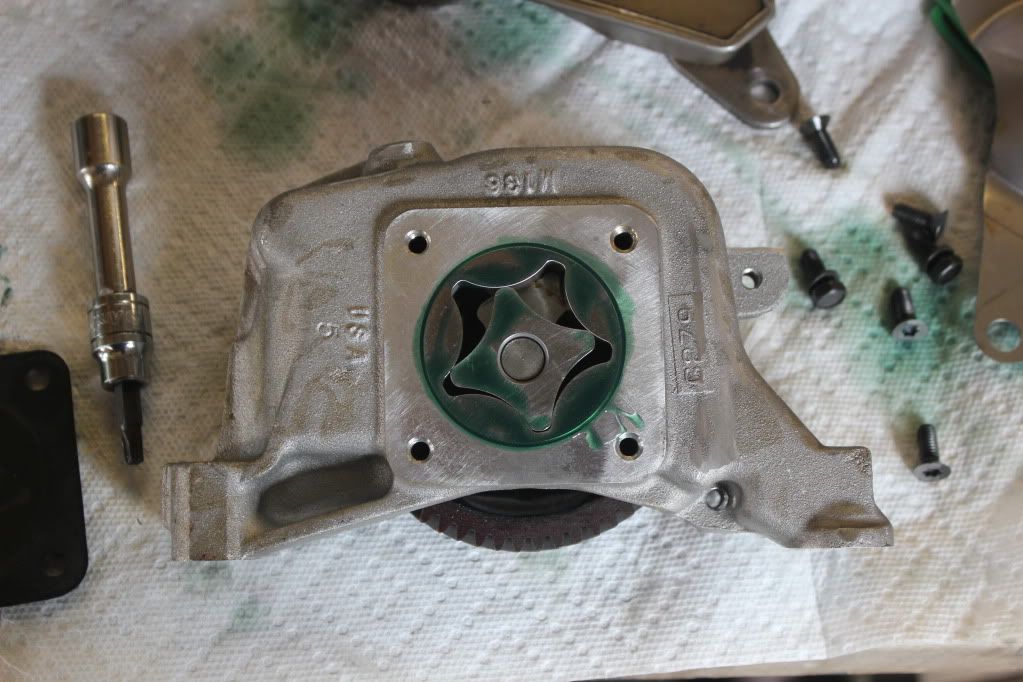
Then I installed the 6mm positioning pins for the oil pump
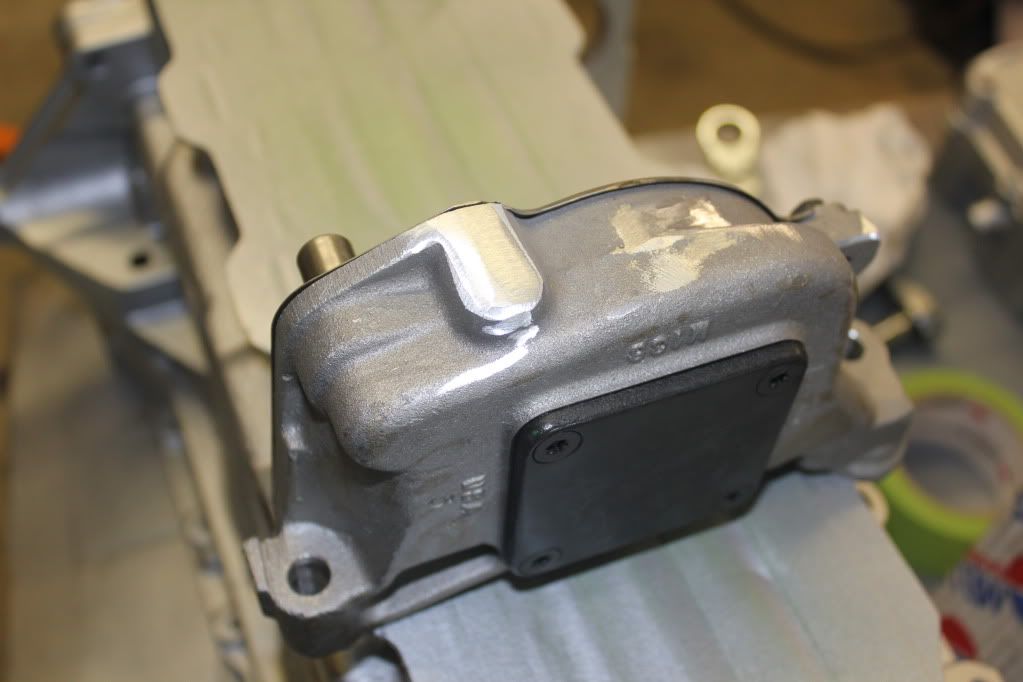
And started modifying my new oil pump, you can see the difference here
Finished pump
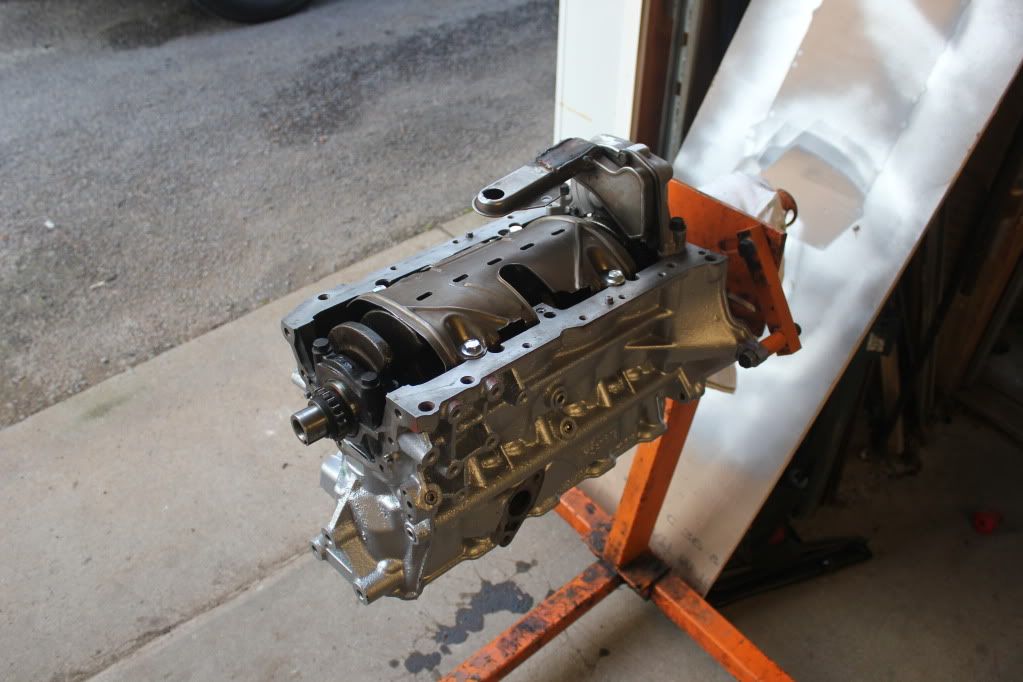
Mocked everything up
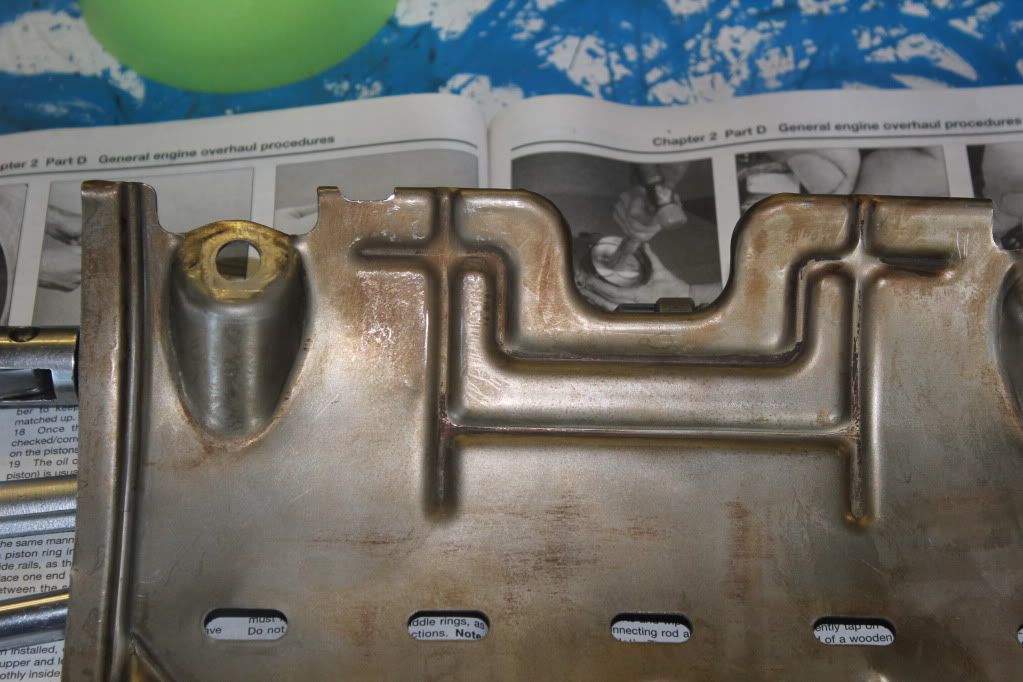
and had to do some grinding on the oil pan for clearance
It fits! There’s about an inch of clearance from the pickup to the bottom of the pan
Lastly I prepped the oil pan and sprayed some primer
I’m going to run out and spray the pan silver tonight, now I need to get the tranny back together so I have another work bench and I’ll start assembling the bottom end 
i love this thread! great work
Thanks, I appreciate it 
You’ve done an amazing job here, great job!
Thanks!
16 more lifters showed up from O’Reilly’s, all but one were the heavy coated lifters, and all 16 were the heavy versions. Then I went to pick up the 16 I ordered from Advance and all 16 of those were the heavy coated lifters as well… soooooooo I pretty much give up on finding the lightweight lifters. Teflon coated liters it is!
3 more Brown Top Injectors showed up today as well, I’ll be dropping them off with a friend tomorrow that said he could drop them off while New Era is open since I can’t make it up there before 5. So hopefully I’ll have flow numbers for them soon.
Finished painting the oil pan as well
Then I started cleaning transmission components to start assembling my transmission, but quickly found this… looks like my diff was just about to blow up… haha. The stress cracks are on just about 3/4 of the teeth, but I’m pretty sure I’ve sourced some new gears from JuicedZ4 locally.
im in love with this build man, keep up the great work!
Thanks dude
I picked up another Geo Storm Diff from Dan (JuicedZ4), and got to drool over his car a bit before I headed home 
The gears are essentially identical, just some notches in the face of the teeth for some reason, but that’s about it.
So I started messing with the new gears, trying to get the lash right in the carrier I’ve been using because I didn’t feel like cleaning the rust off of the new one, but I couldn’t get it right, so I pulled the bearings off of the new housing and it’s soaking in rust remover.
Gotta change things up now and then  Thanks
Yesterday I finished putting my transmission back together, and picked up 3 more injectors from New Era, so now I have a few to choose from.
The flow numbers I ended up with…
I’m planning on running the two 416cc injectors in the inner two cylinders and the 392cc injectors in the outer two cylinders. From the looks of the 2.4 intake manifold the inner two cylinders will flow quite a bit better.
The assembled transmission
And a video of how I got there 
Today I also cleaned the block again, and installed all the oil galley plugs.
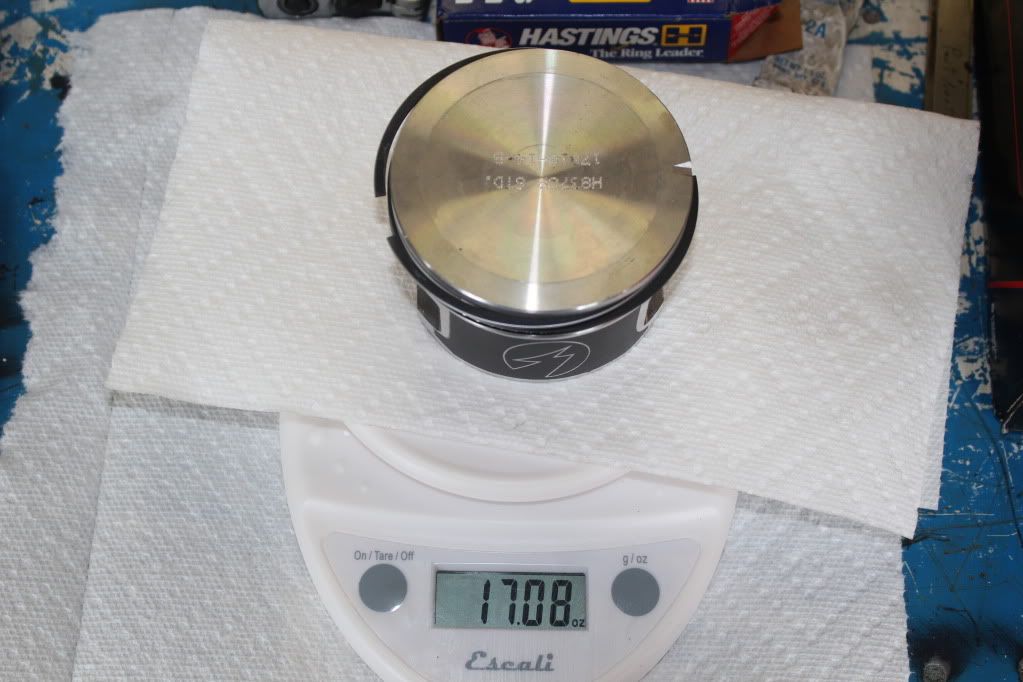
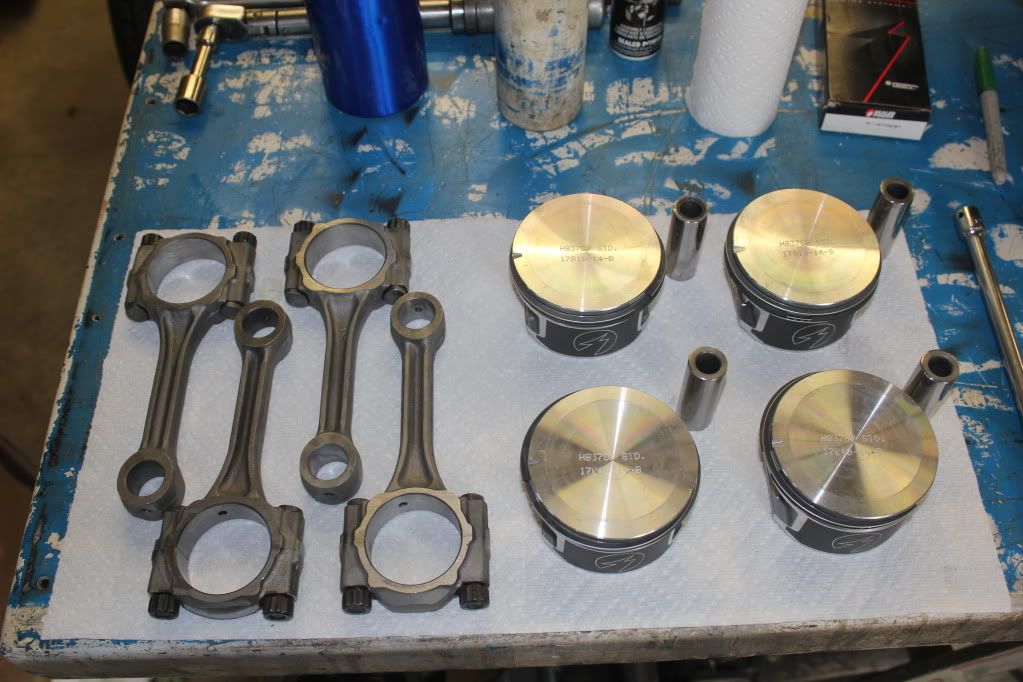
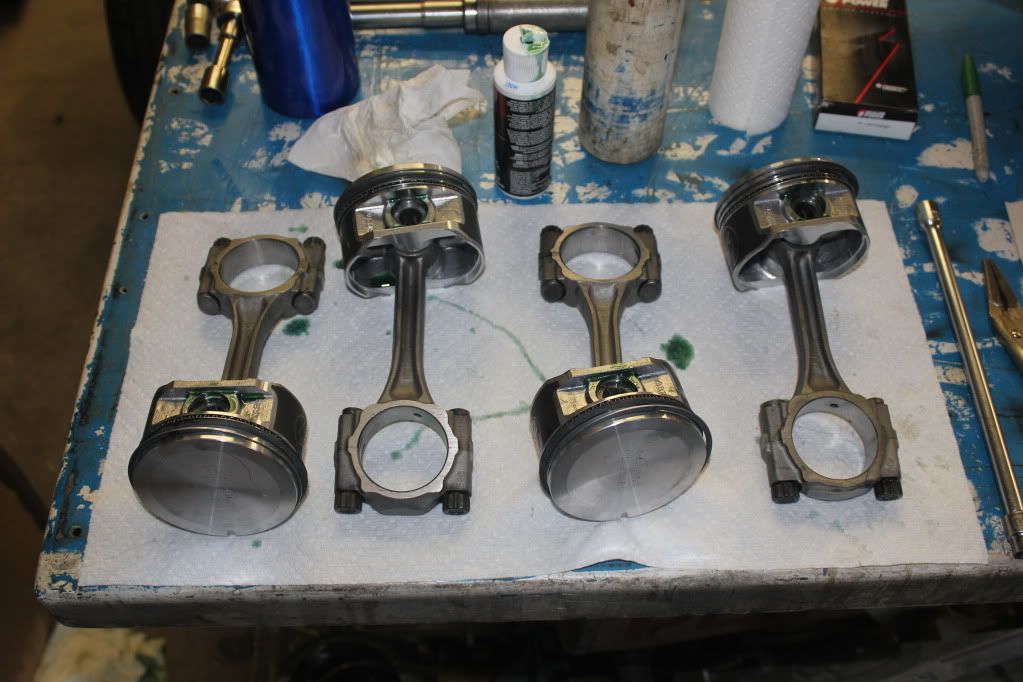
Then checked that all the Piston/rings/wrist pins were equal weight, nice of them to come as a matched set.
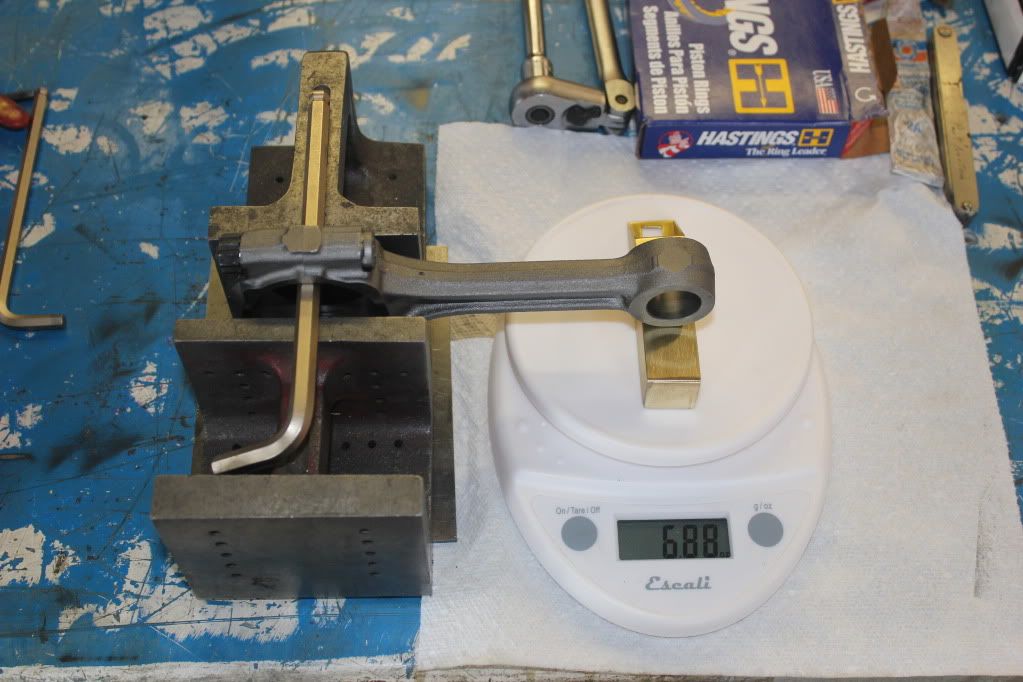
Then I started balancing the rods. The lightest rod was 23.00oz, the heaviest was 23.28, so I had a bit of grinding to do.
A simple rig to balance the rods, it really wasn’t too bad once I got a decent setup built
Then on to installing the new main bearings
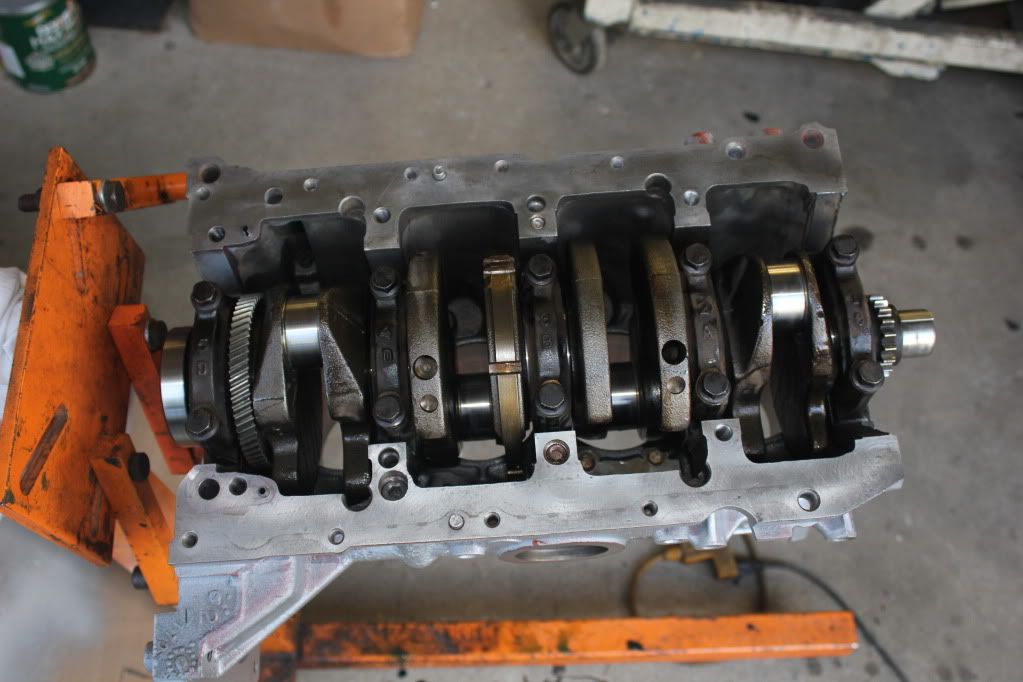
Lots of assembly oil and setting the crank in
Bolting the caps down, and then I realized my torque wrench doesn’t go low enough. I ended up borrowing one but I haven’t made it any further yet.
Prepped and primed the timing cover, and sprayed it silver just a few minutes ago.
AutoX tomorrow, so I doubt I’ll get much done by then.
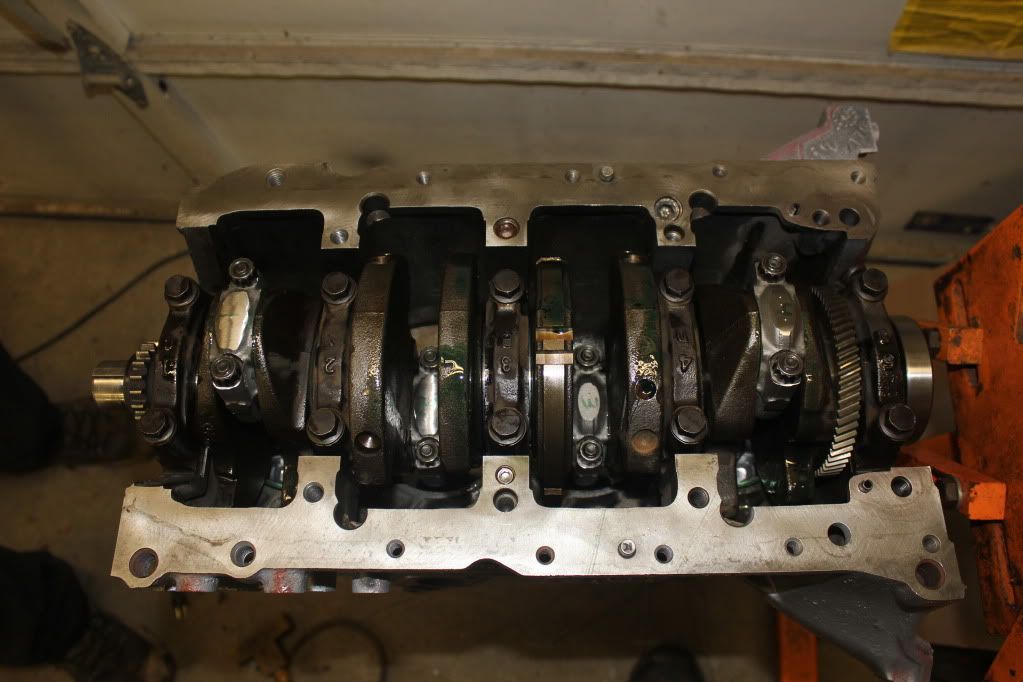
I finally made some decent progress on the bottom end
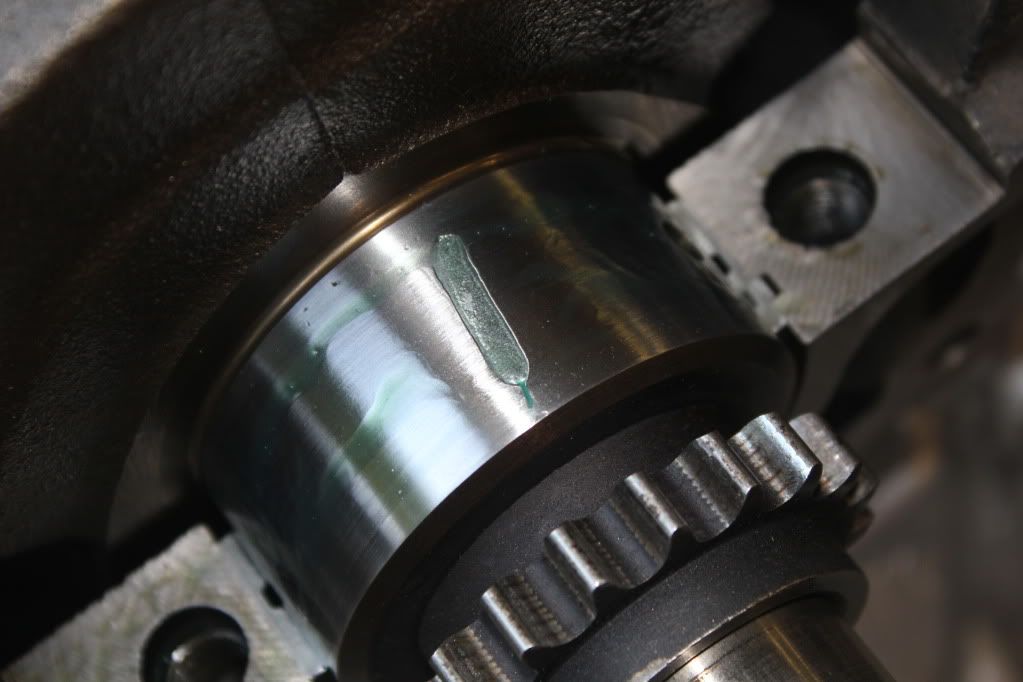
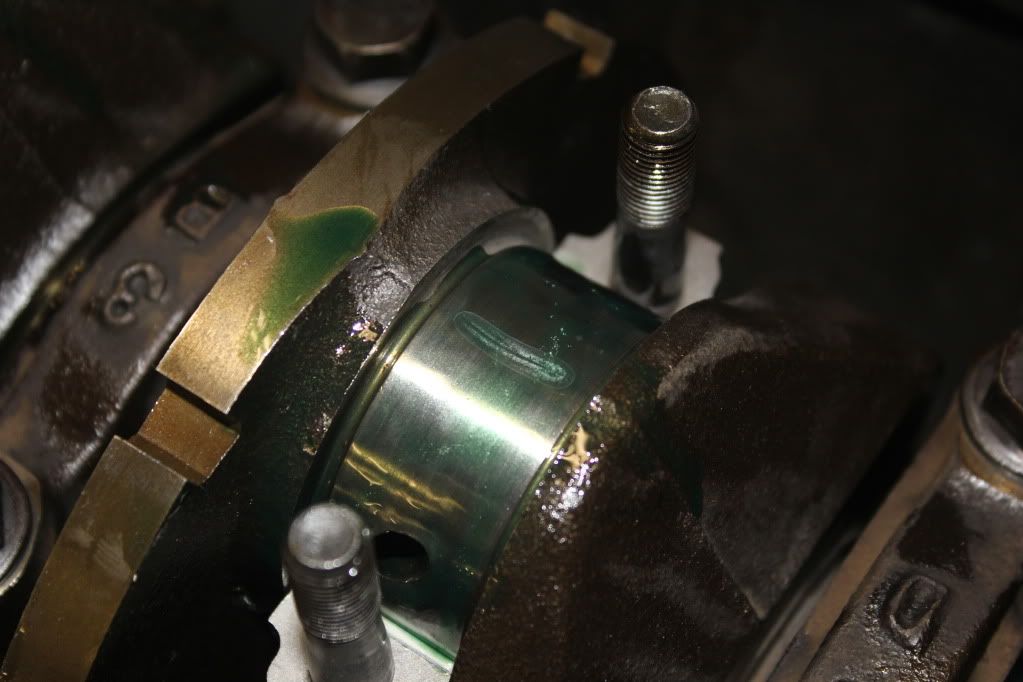
I ended up getting the main bearings plastigaged, before torquing
And after torquing the main caps down
Main caps installed and torqued. All the bearing clearances were good.
Then I cleaned the pistons, rods, rings and wrist pins
Oiled them up and assembled them
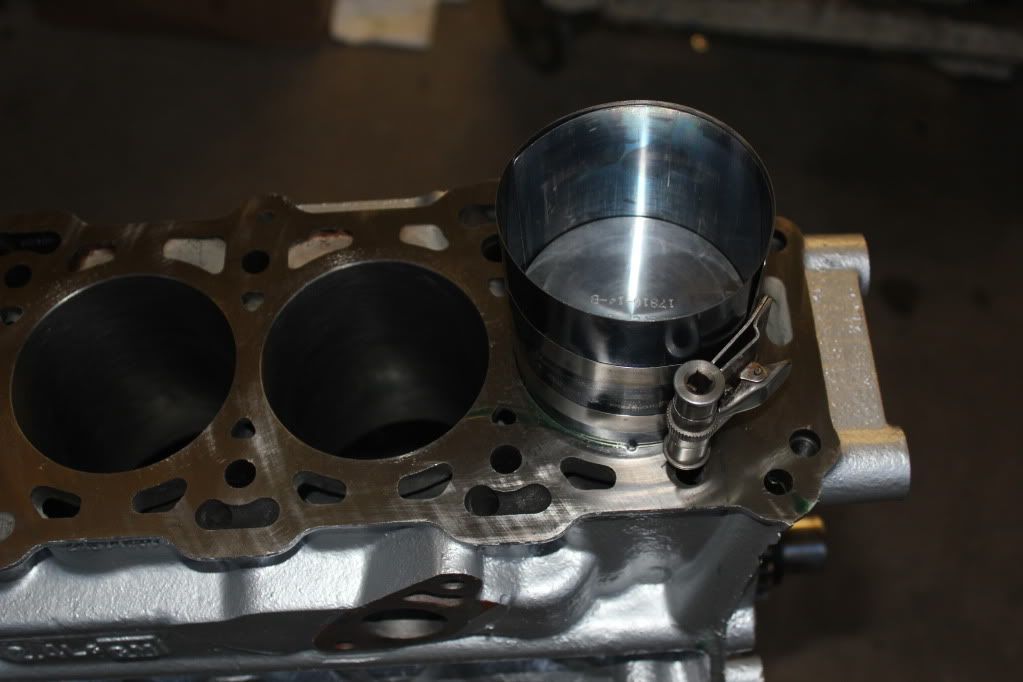
Oiling the cylinders to slide the pistons in
Installing the pistons and rods
Plastigauging the rod bearings, all the rod bearing clearances were good as well
And lastly the rod caps installed and torqued
Oil pump tomorrow, then I need to test fit the head for clearances, I’m pretty sure there is about .020 off of this head, haha.
This stuff always takes way longer than I expect it to
I worked on the oil pump tonight
Surprisingly there wasn’t much if any oil in the new oil pump, now there is
Veeeeery thin line of RTV to reduce leakage at the pump and increase flow and pressure
Same for the pressure port
I ended up having to trim some more of the windage tray as well, two tabs on this side
Here you can see where the rod bolts were scraping the tray
So some more cutting, haha
Thats about it, I spent a lot of time making sure everything cleared and wouldn’t move. Bottom end is pretty much done.
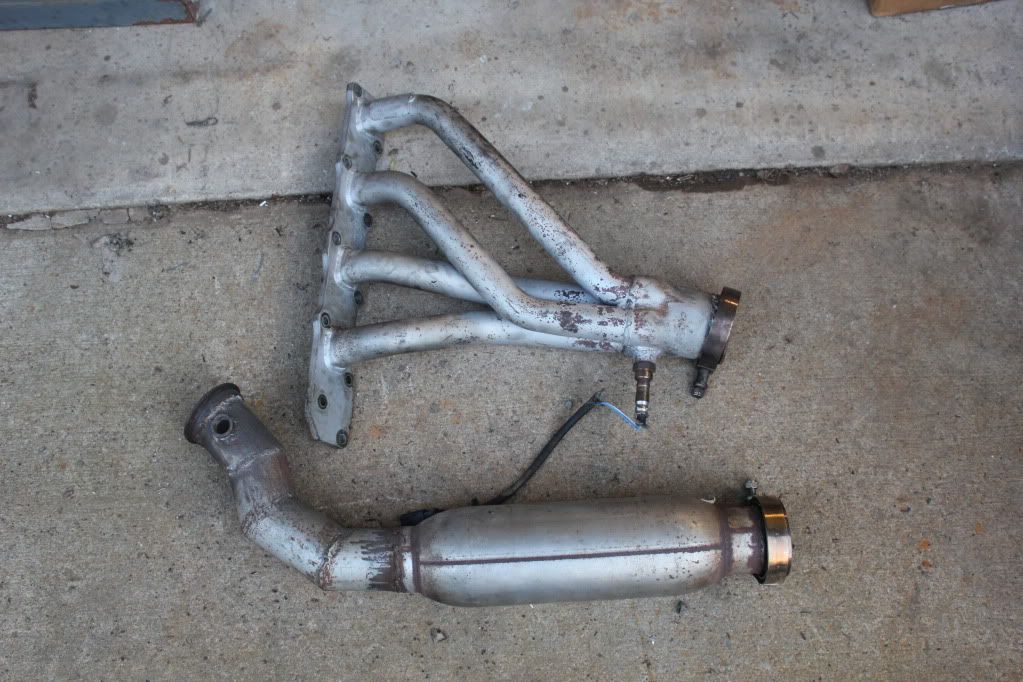
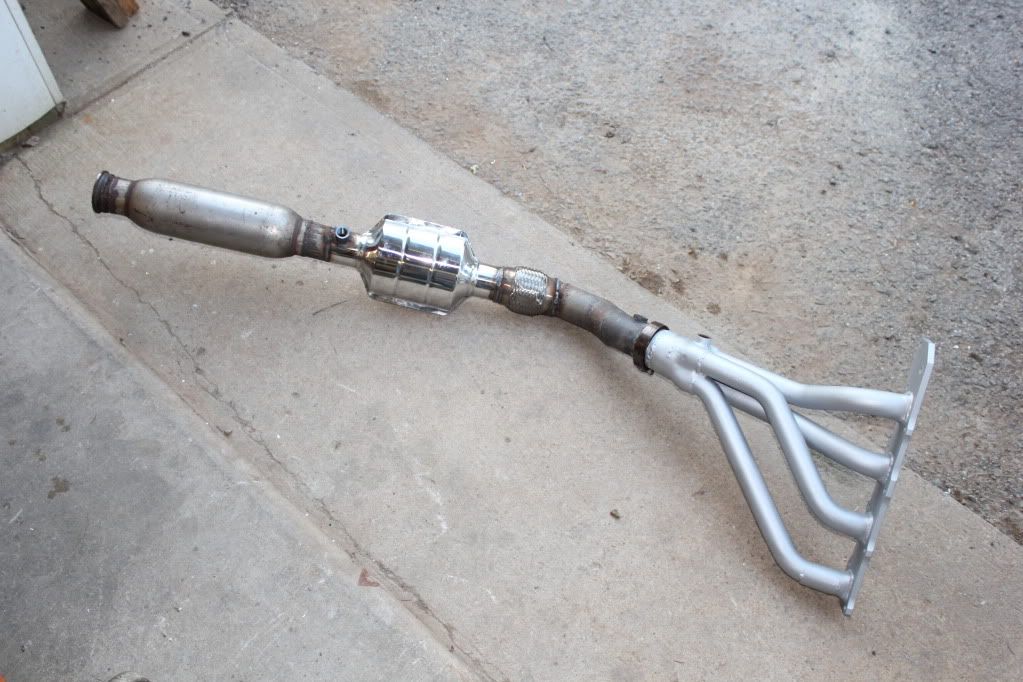
I also had a Pacesetter header and downpipe show up yesterday, not bad for $50. Some fresh paint and it should look good as new.
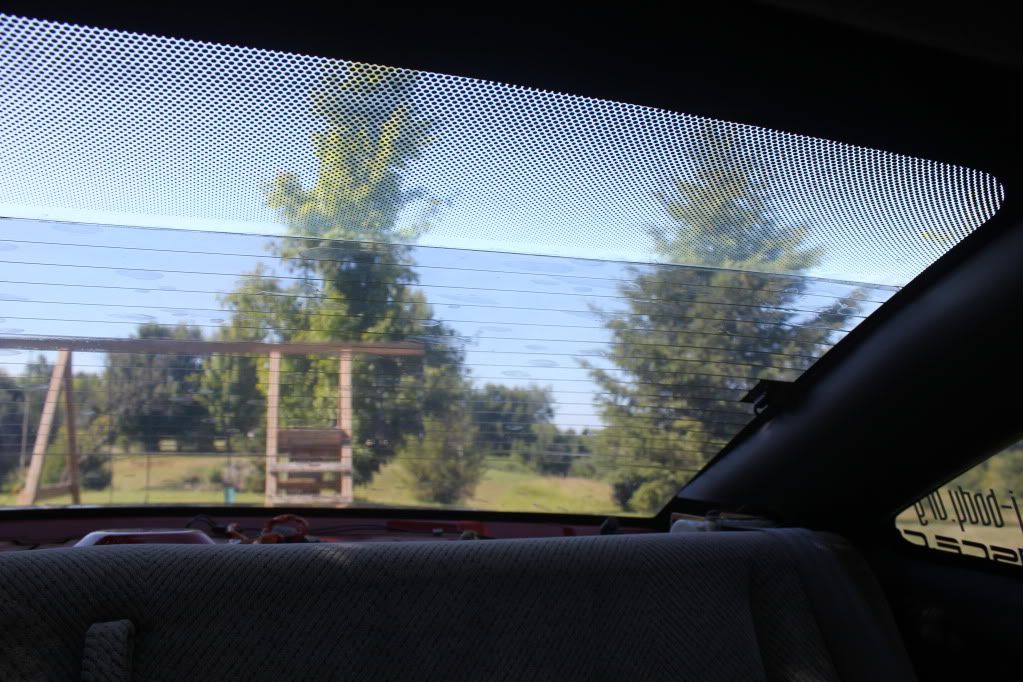
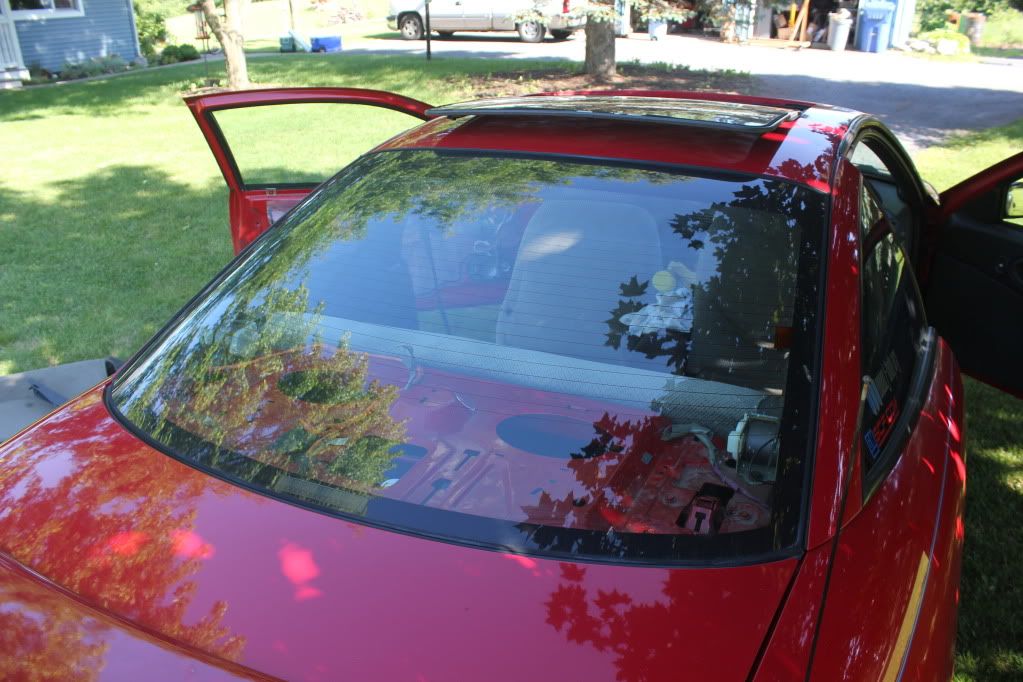
All of a sudden I realized I’ve been putting off removing this old crappy bubbling tint for 4 years… so I borrowed a steamer from a friend and went for it.
Wonderful bubbling 10+ year old tint…
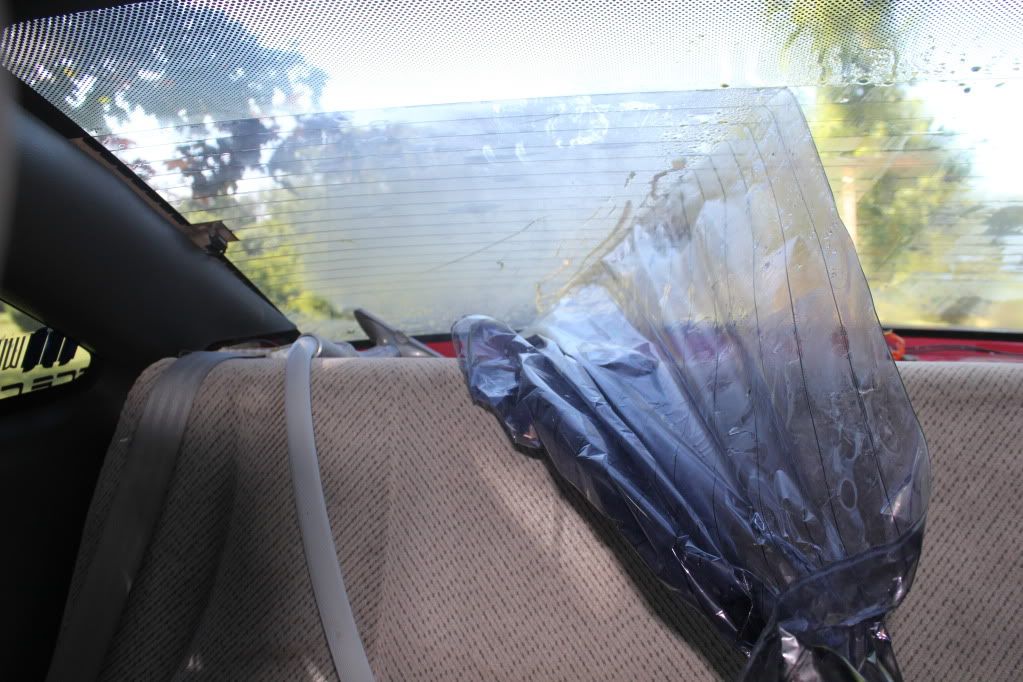
After steaming the rear window and pulling about half of it off
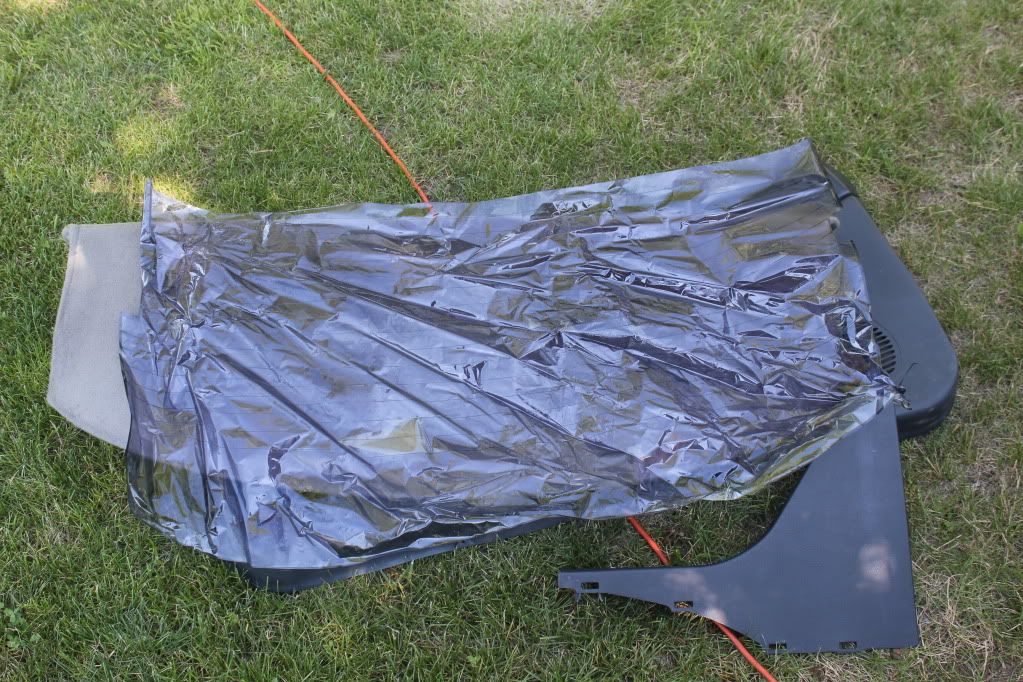
I should really go burn this stuff…
After a quick wipe down with laqour thinner, all the adhesive is cleaned off and it’s nice and clean
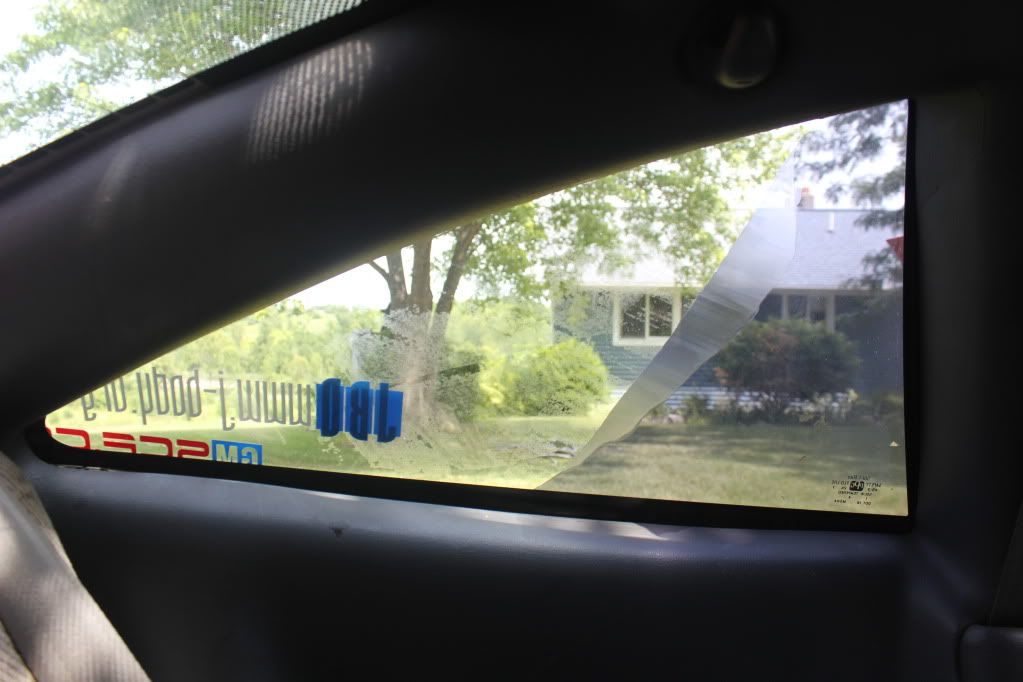
Pulling the tint off of the side window as well
Some of the windows would leave some adhesive behind, but some laqour thinner to soften it up and a razor took it right off.
Finished all 5 windows in just a few hours, I’m glad it’s finally done 
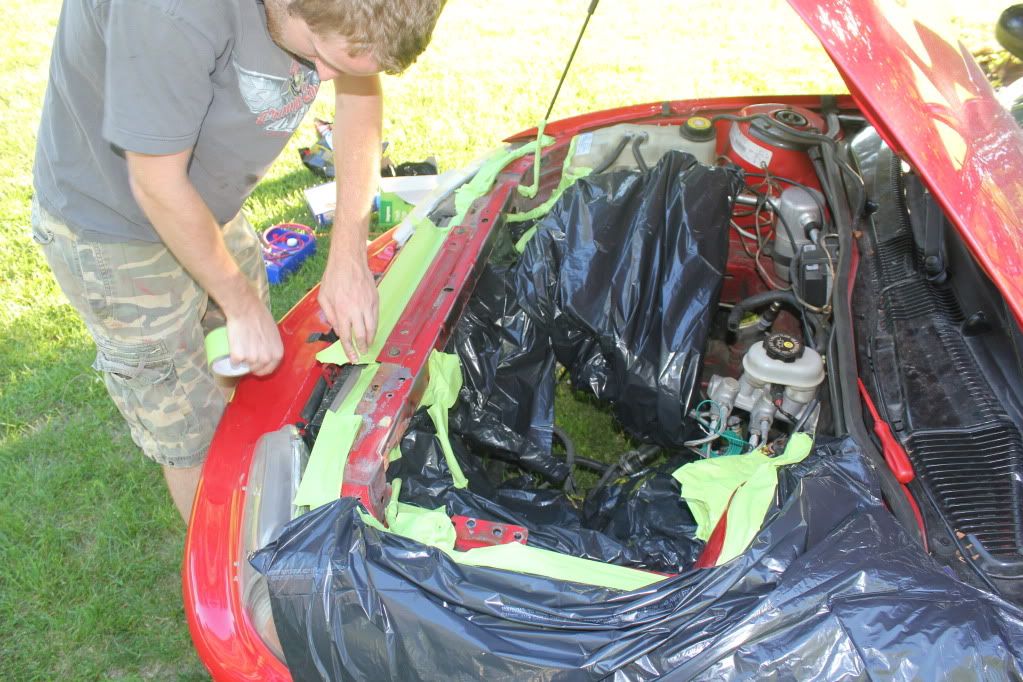
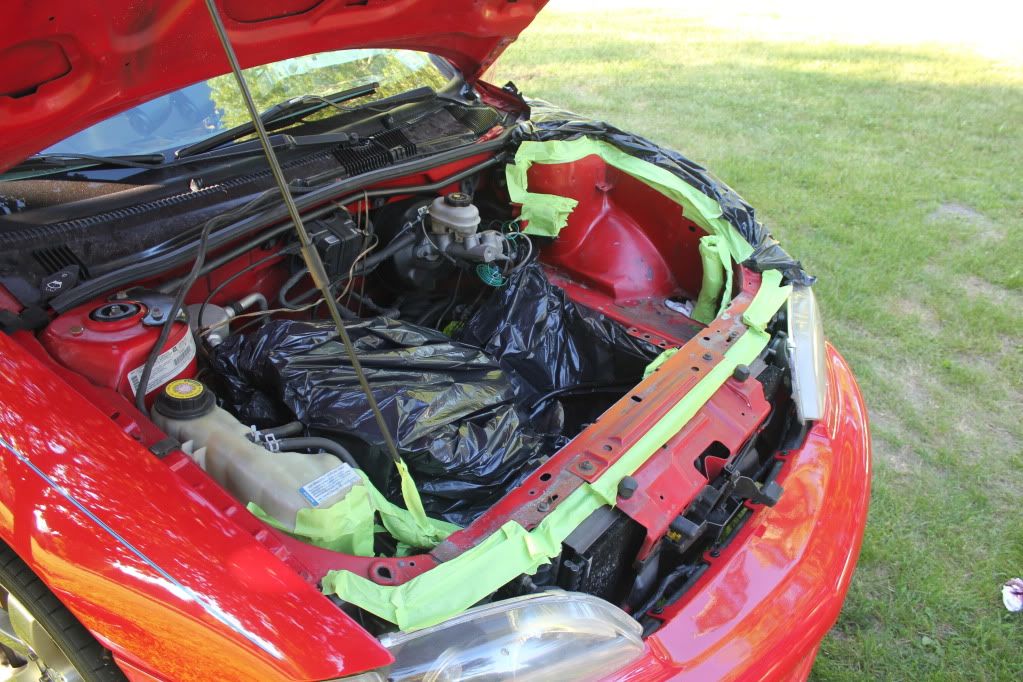
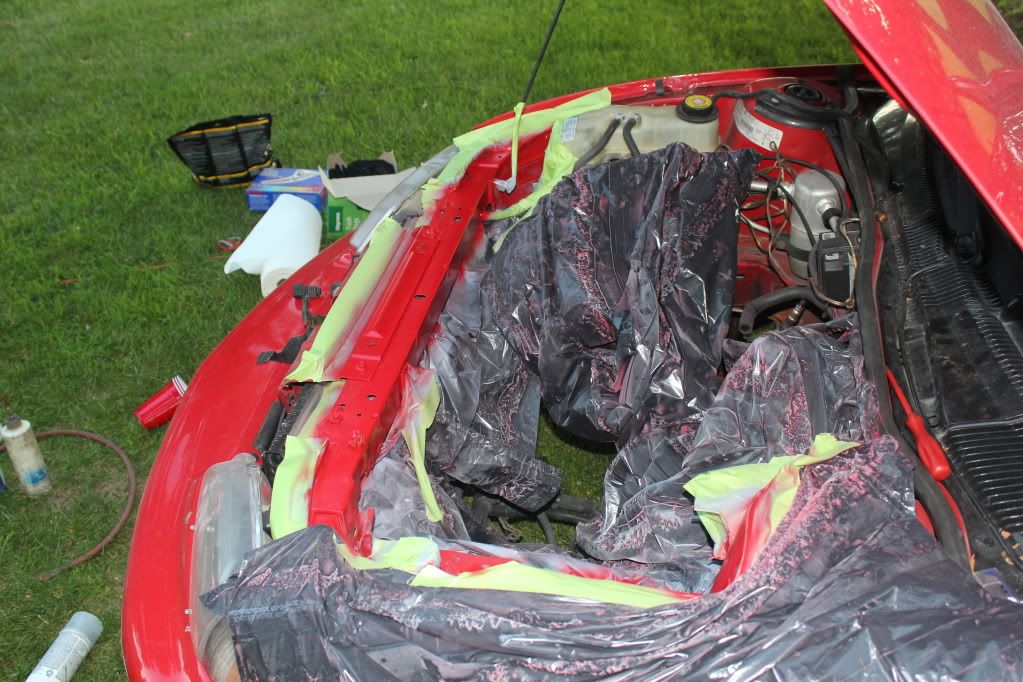
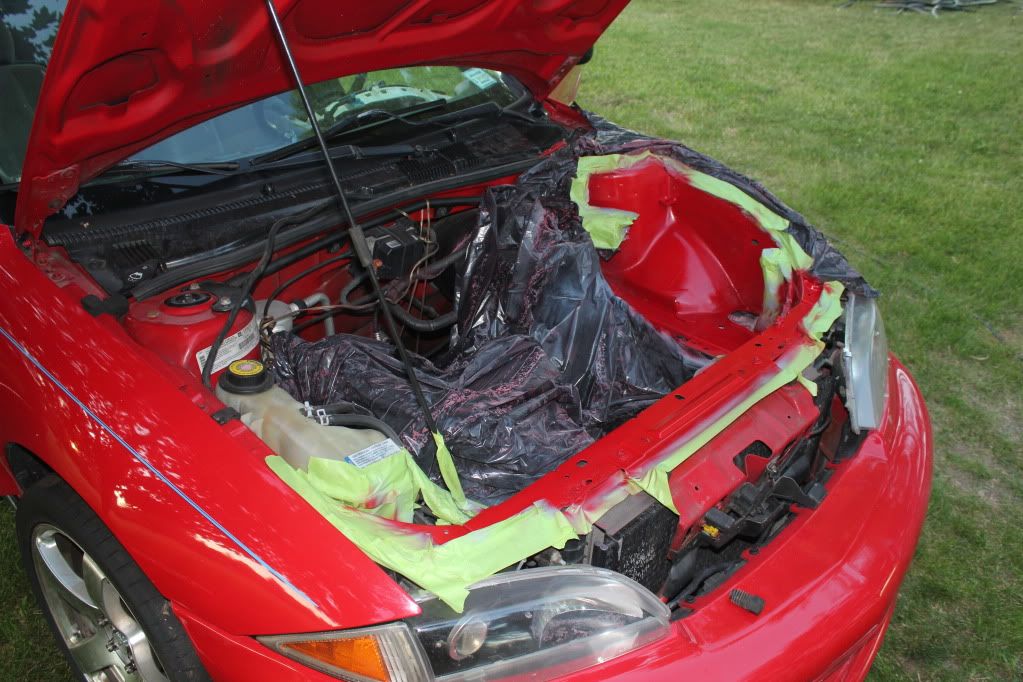
A friend of mine came over this weekend to help me clean up some rust in my engine bay, and ended up doing everything, haha. But it looks much better now 
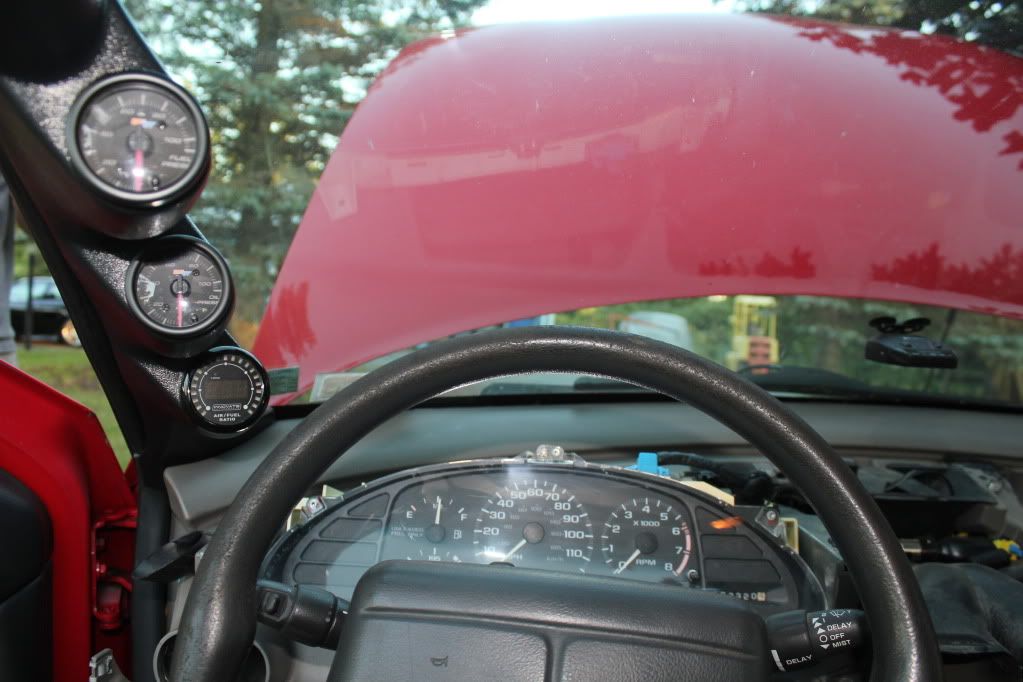
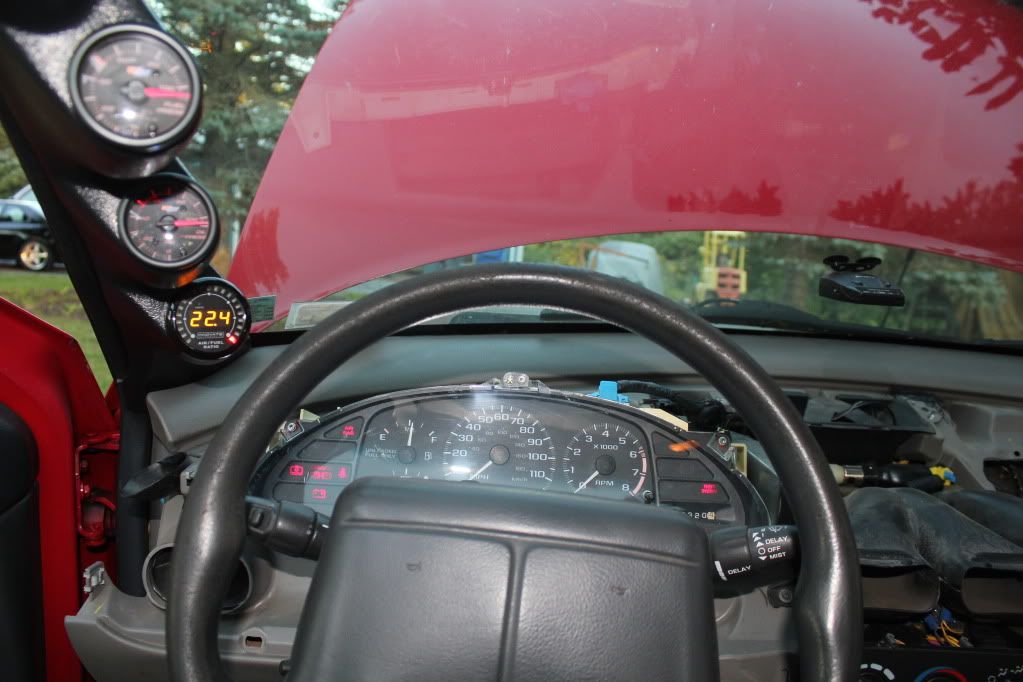
And I also finished installing my wideband this weekend. Surprisingly the data cable is pretty much the perfect length to make it across the dash and into the glove compartment, that way I can just open the compartment and plug everything into my laptop. I’m also planning on moving my OBDII port so I can leave my HP Tuners cable plugged in and do the same thing with it.
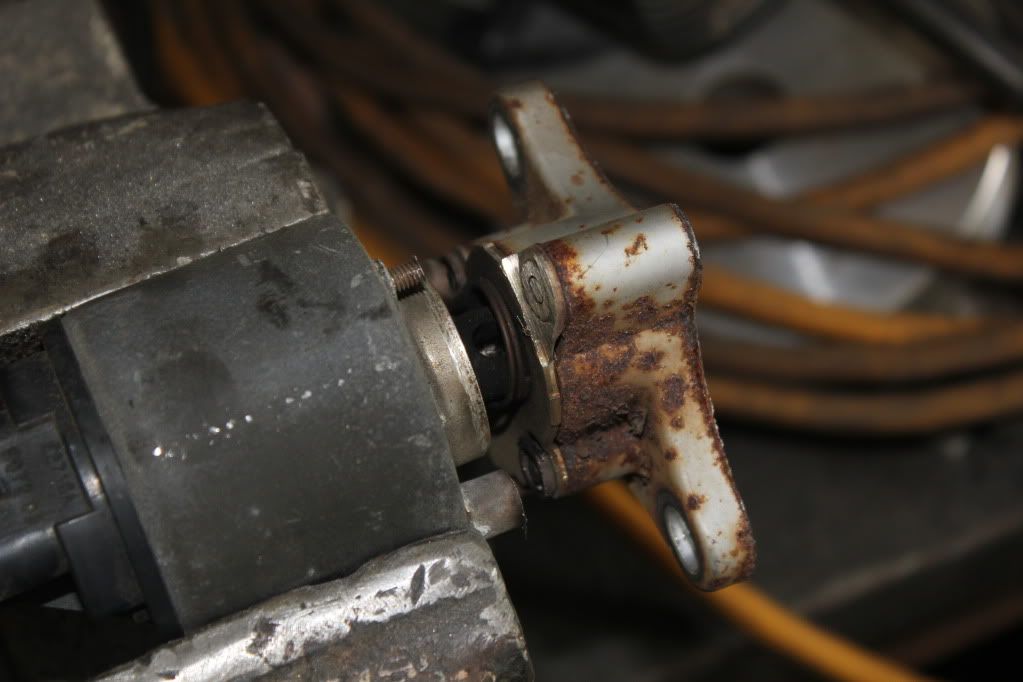
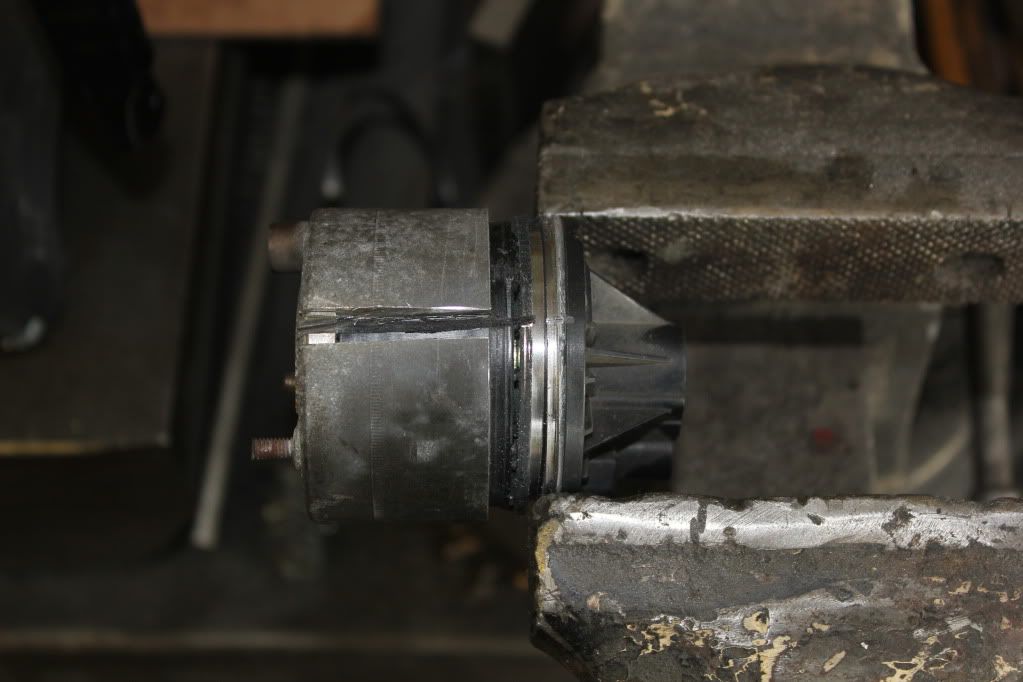
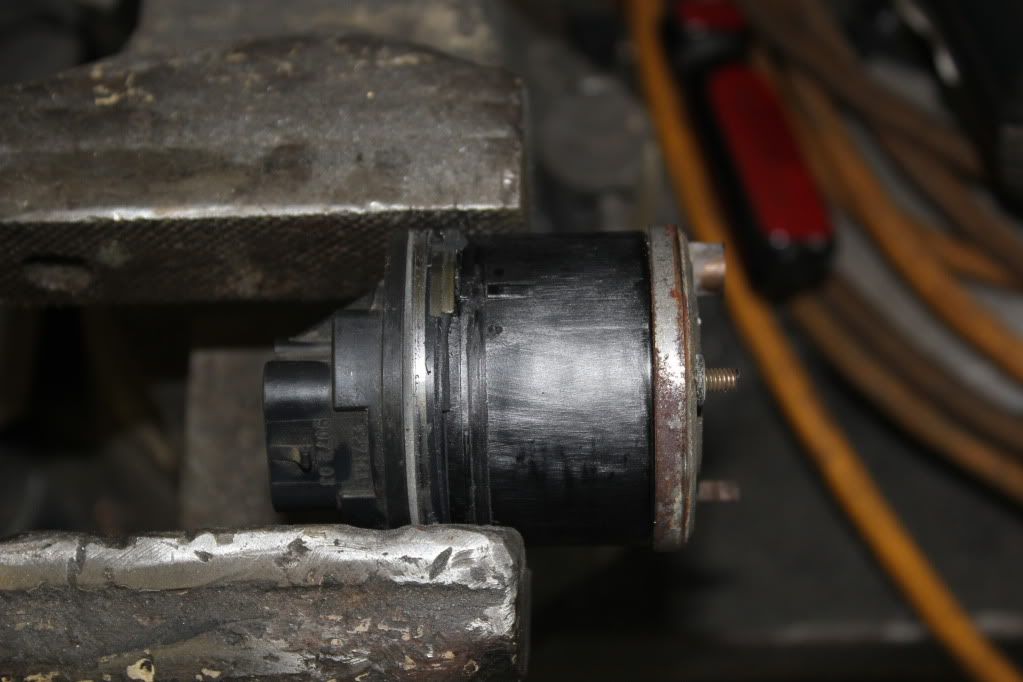
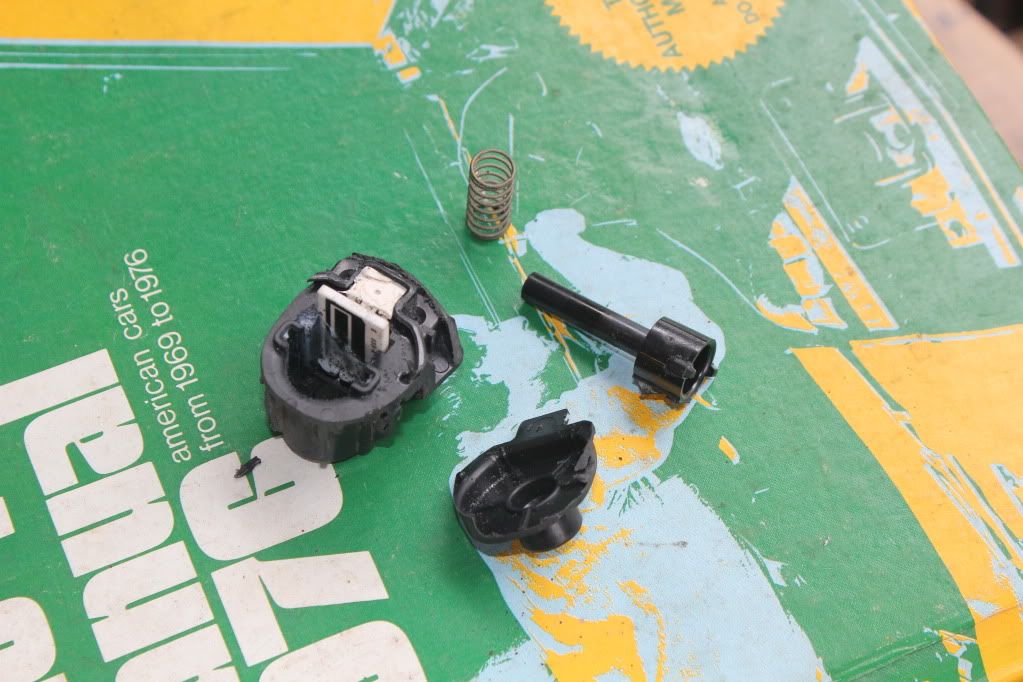
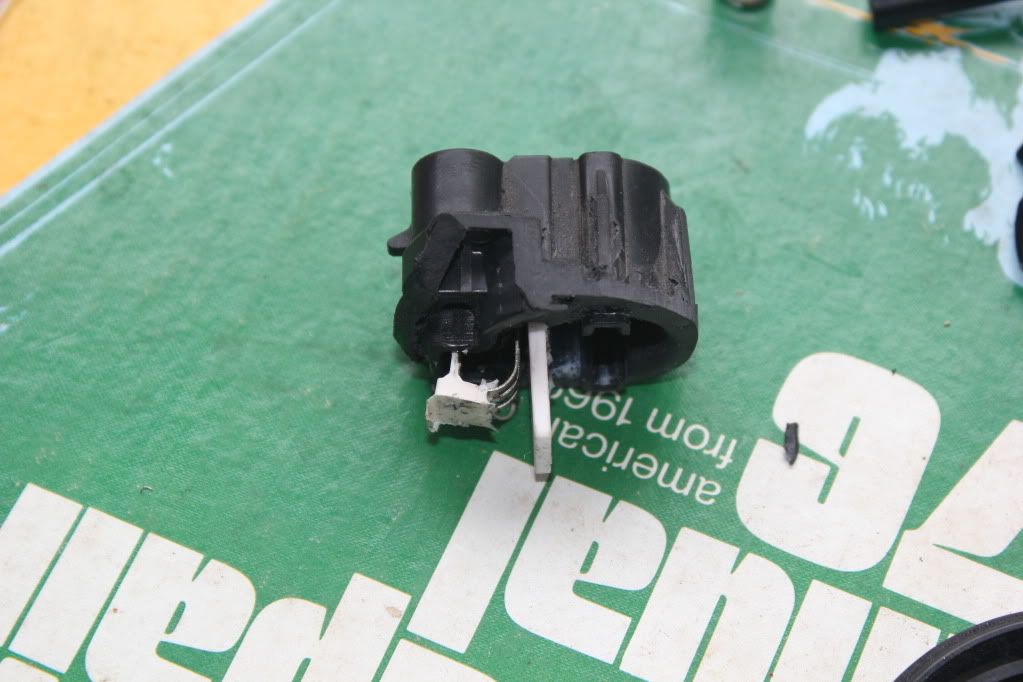
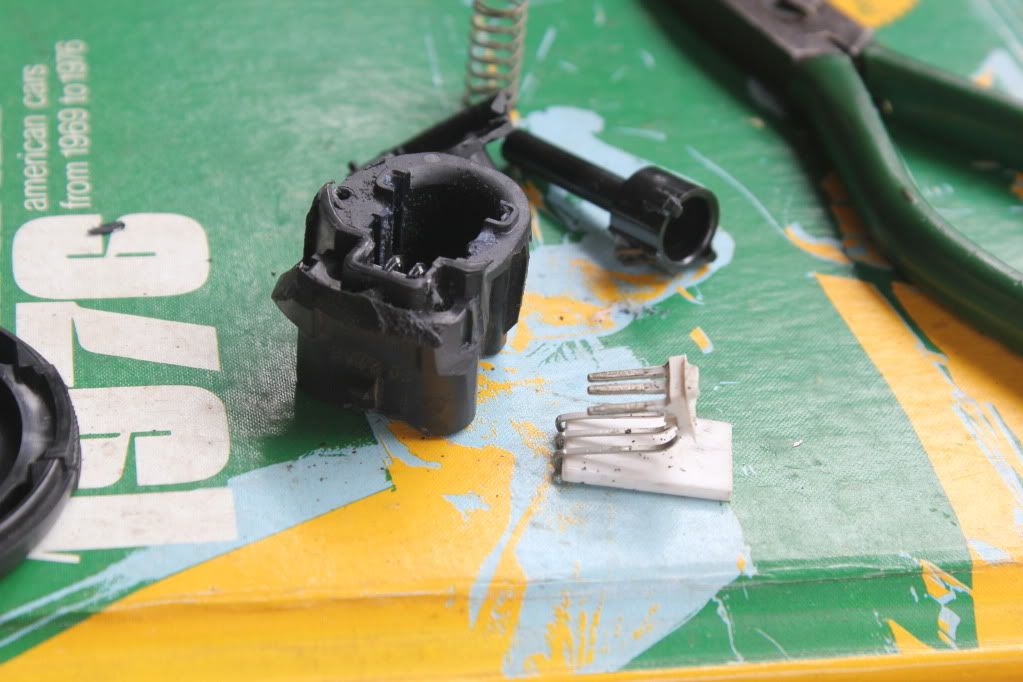
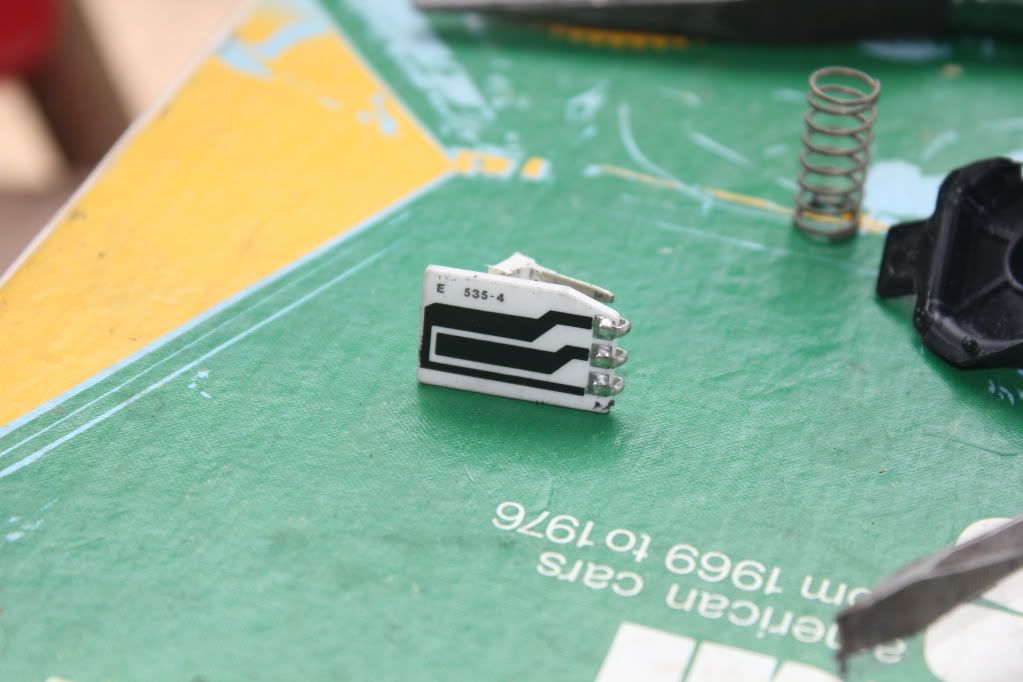
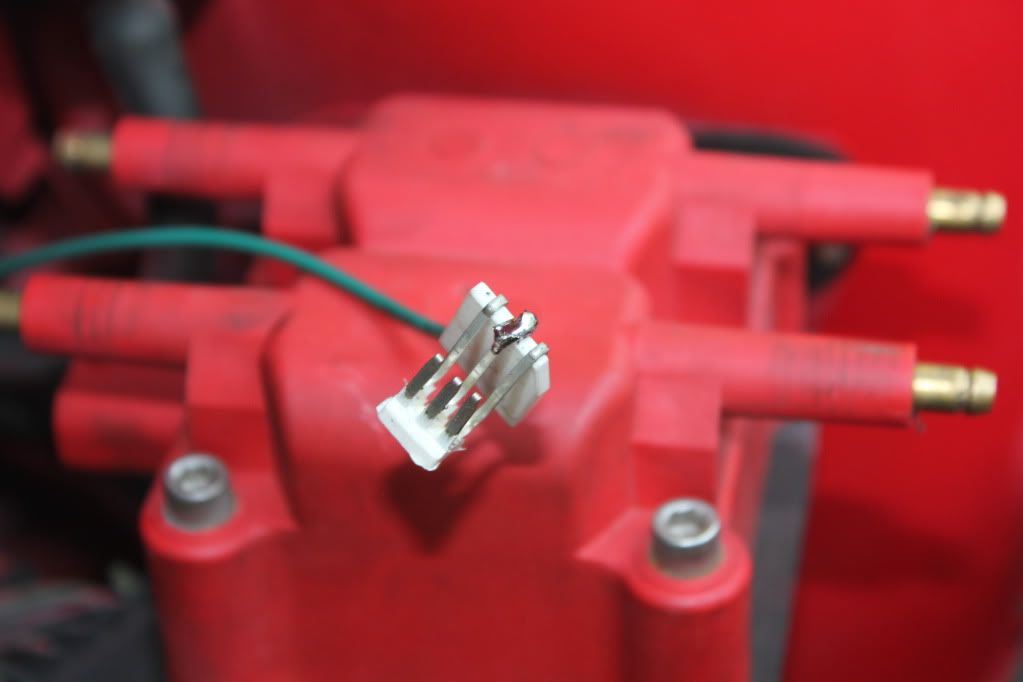
I picked up a used EGR valve at the junkyard today, and started cutting it apart. I’ll be running the 5V signal from my wideband through the 5V EGR position signal wire so I can log AFR through my OBDII port. You cant just buy a male connector with pigtails for this plug and I wanted a waterproof connection without cutting the stock harness.
And finally the connectors I was looking for…
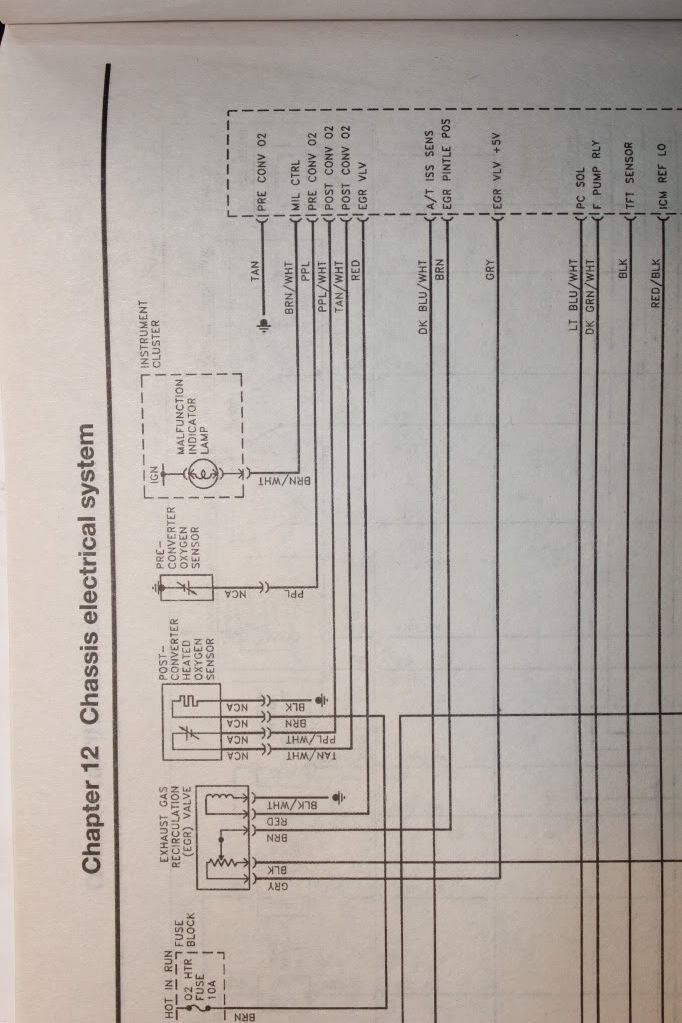
Haynes manual and GM tech books confirm that I needed to wire into the center connector, with the brown wire.
Soldered up
And back in the cap
Now I just need to find something to pot the cap with to keep things waterproof, I’m going to wait until I can make sure it works before I do though.
I copied in a bunch of tables from a friend with the same setup, so I think I have my tune squared away, but we will find out when I flash it and start the car, haha
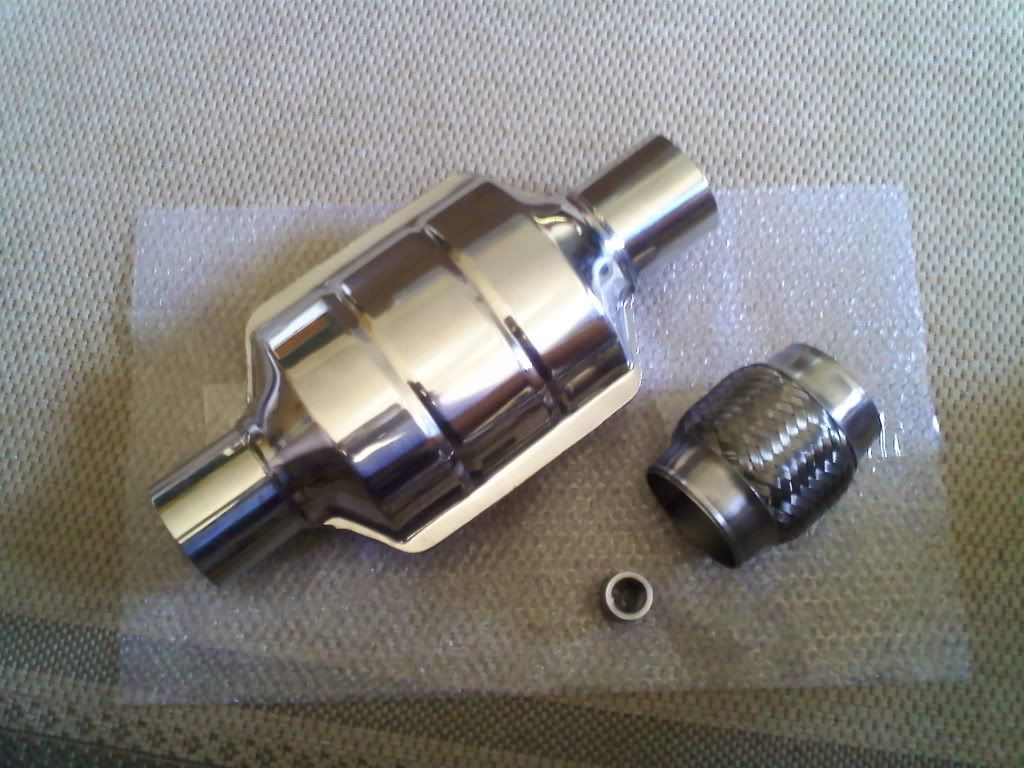
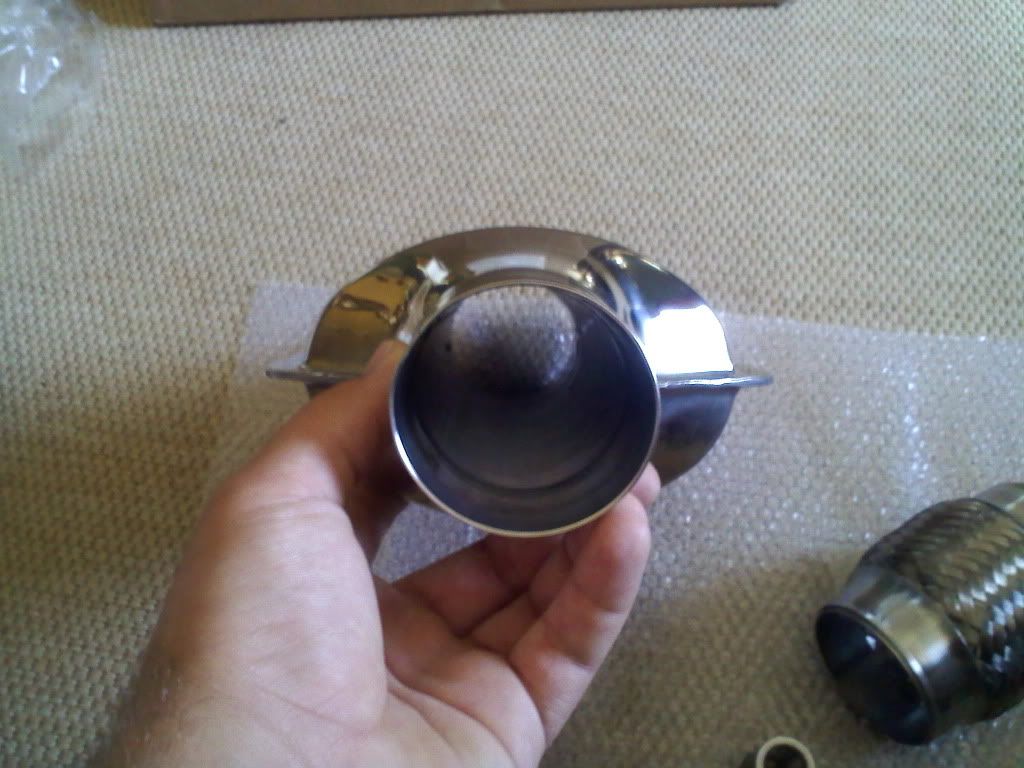
I had some new exhaust pieces show up this week, a flex pipe, bung and a “catalytic converter” 
It seems to be missing something…
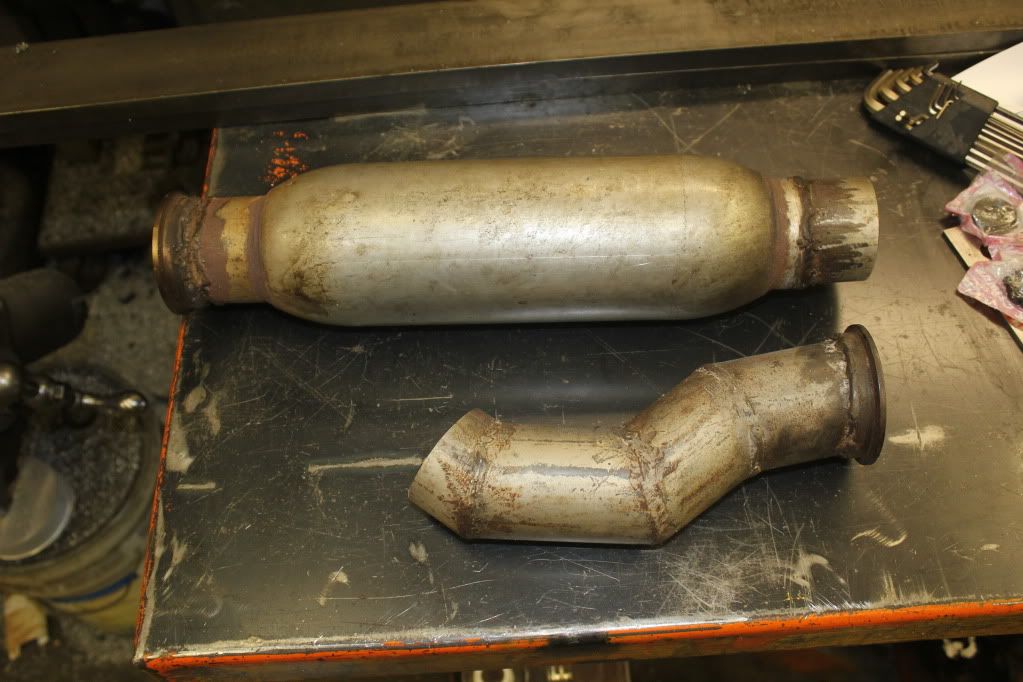
So I cut the downpipe I bought in half
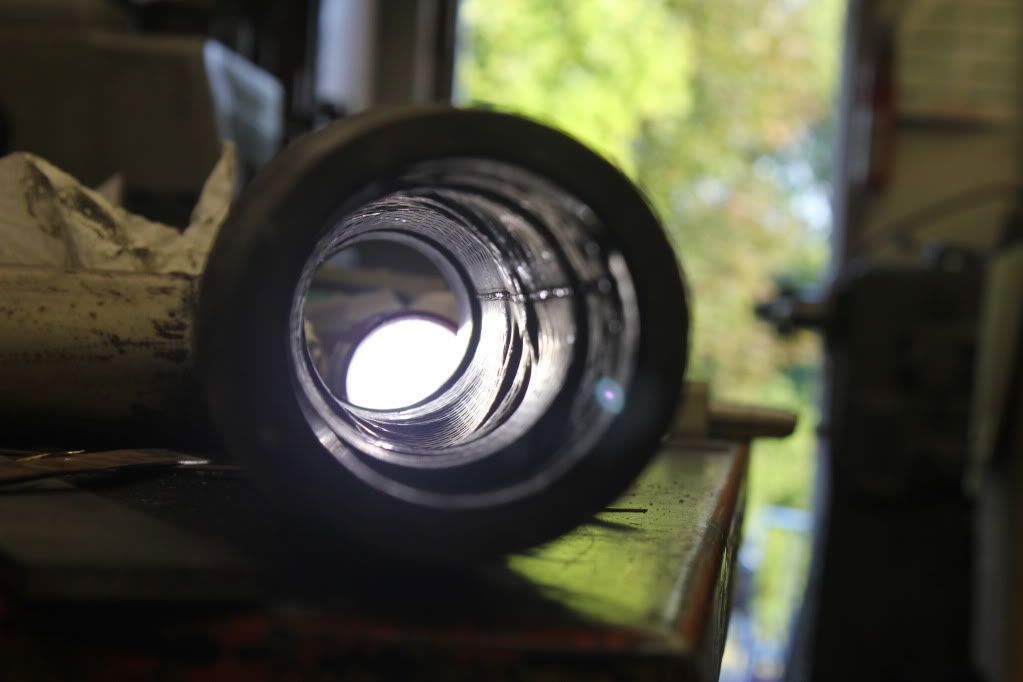
The walls in the resonator were bent in, I have no idea how this could have happened… I should probably ask the guy I bought it from, haha
The other side…
So using a BFH and some bar stock I opened up the flow path again, it doesn’t look pretty but at least it’ll still flow well.
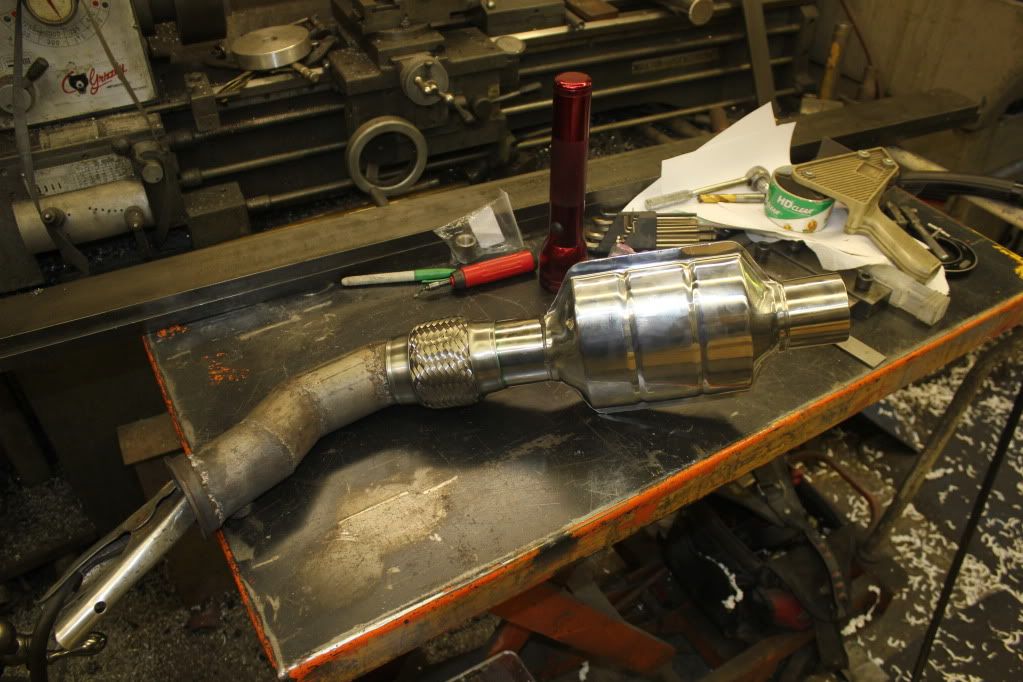
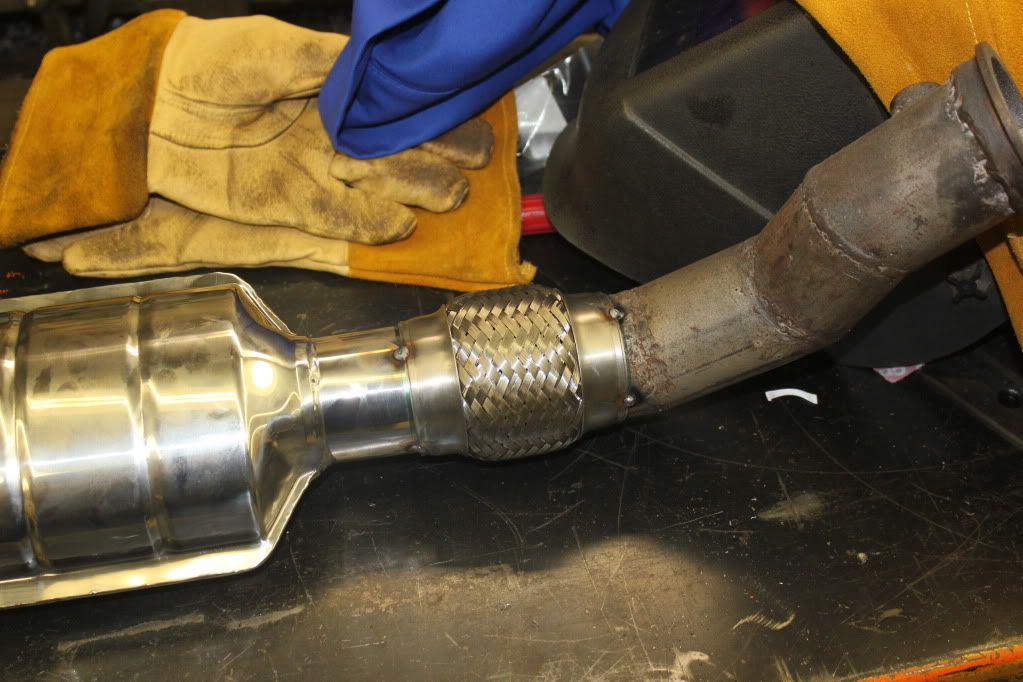
Assembled the downpipe, flex pipe and “catalytic converter”
Tacked everything together
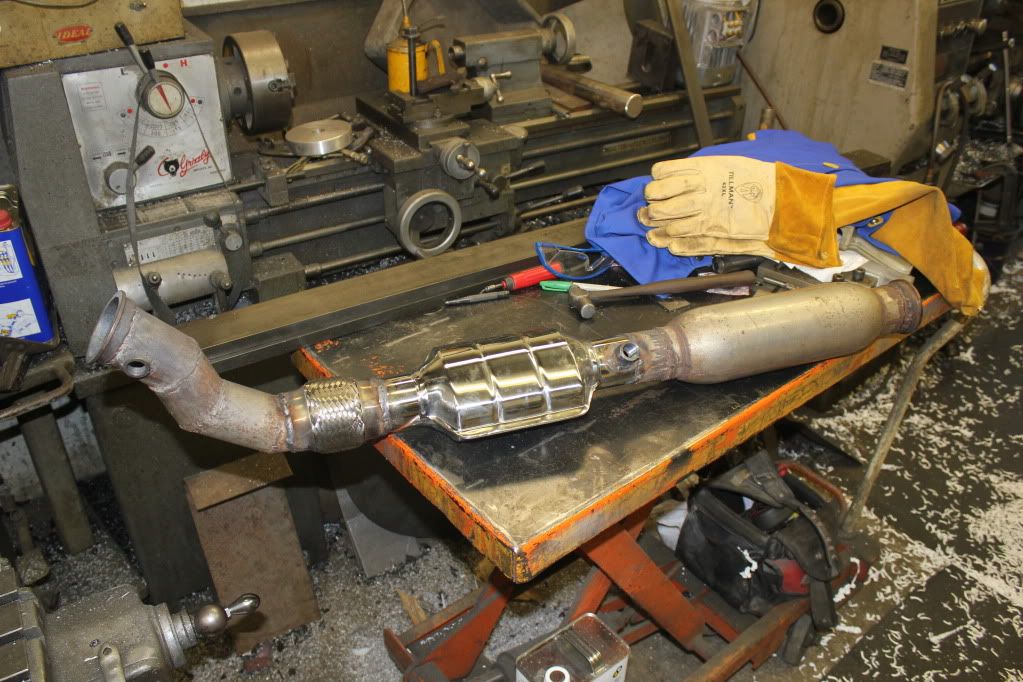
And welded everything up, I also added a bung for the downstream O2 sensor
And the downpipe clamped to my Pacesetter header
Still waiting on valves that were lost in the mail…

